

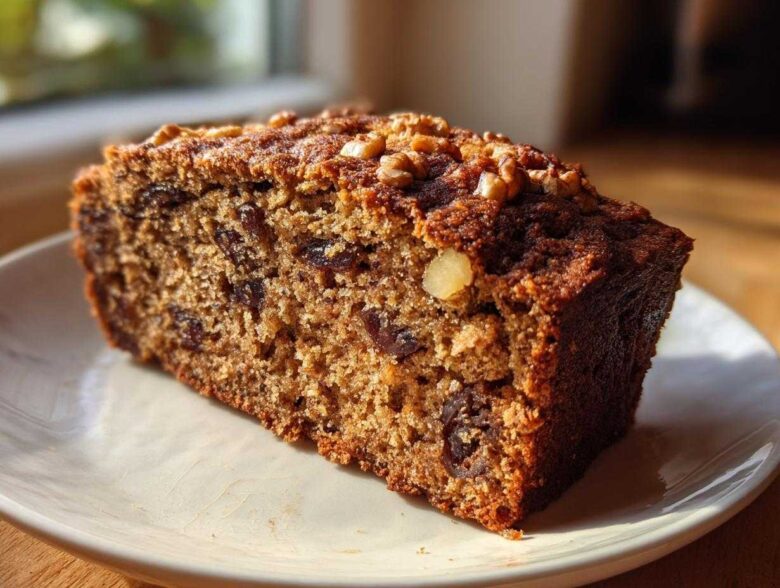
There is just something about comfort food baking, isn’t there? It wraps you up like a warm blanket on a chilly afternoon, and that’s exactly what this Easy, Moist, Old-Fashioned Date Nut Bread does for me. When David and I first moved back to the US, I missed the intense flavors from home, but this recipe always grounded me. If you want to know a little more about our kitchen adventures, you can always check out our story right here!
My grandmother used to make a version of this quick bread whenever the weather turned cool. For her, the dates weren’t just sweet fruit; they were a taste of tradition. She never measured anything exactly, just relied on instinct! But don’t worry about that—I’ve locked down every single measurement here so you can skip the guesswork. This loaf delivers that rich, spiced flavor and incredible tenderness that makes it perfect for breakfast or sending off as a thoughtful gift. Trust me, once you try this, it’s going straight into your regular rotation!
Why This Easy Date Loaf Recipe Becomes Your Go-To Quick Bread Baking Staple
I know what you’re thinking—another loaf recipe? But hang on, this Easy Date Loaf Recipe is different, I promise! My goal with Spoonful Snap is always to bring you recipes that work perfectly, and this one is flawless for Quick Bread Baking. It’s far superior to those drier loaves you sometimes get because of my golden rule: you have to treat those dates right before you start mixing everything up. That little preparation step changes everything!
It’s quick enough for a last-minute breakfast idea but feels special enough to wrap up for a neighbor. It truly is the best combination of speed and rich flavor that I’ve found in years of baking.
The Secret to Truly Moist Date Nut Bread
The absolute key to getting that deeply satisfying, Moist Date Nut Bread every time is putting the dates in a bowl and drowning them in boiling water with baking soda. Don’t skip this! The hot water softens the dried fruit right down to the core, and the baking soda gets to work waking up the flavor. After about fifteen minutes chilling out, those dates are perfectly plump and ready to release all that glorious moisture right into your batter as it bakes.
Classic Comfort Food Baking Appeal
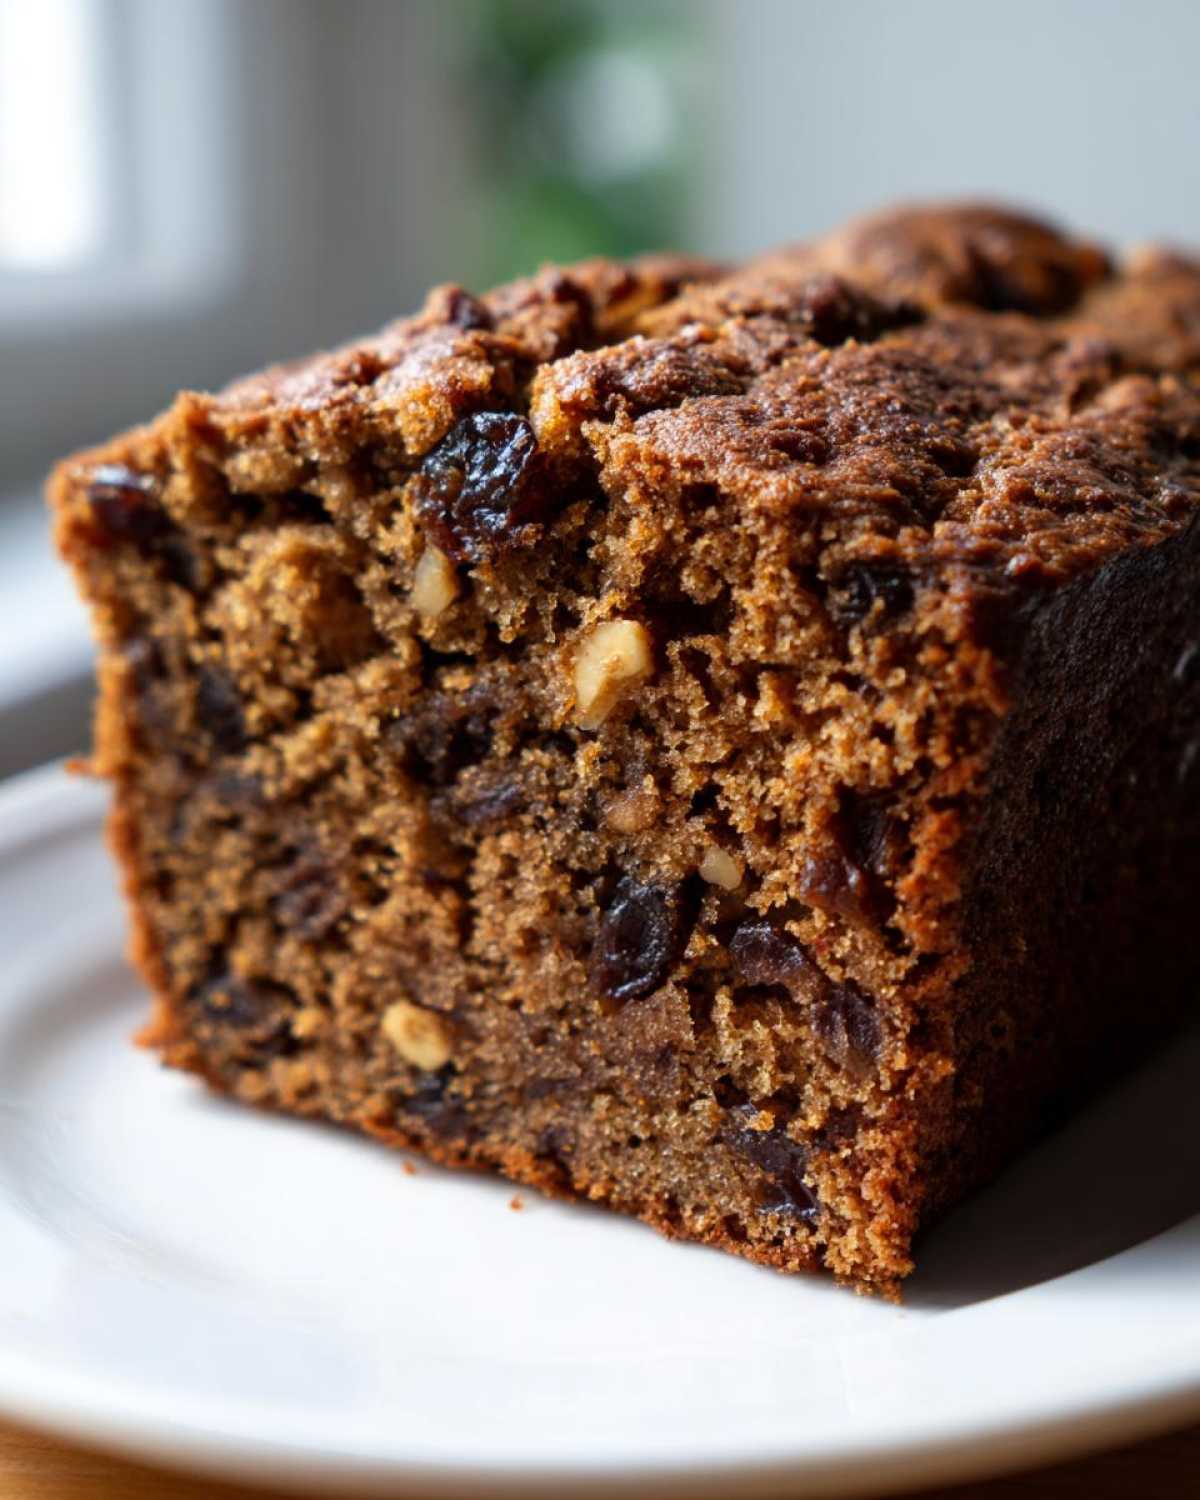
This isn’t some fancy, complicated cake. This is true Classic Comfort Food Baking. It has that wonderfully familiar, aromatic quality that makes people ask, “What is that amazing smell?” It’s the perfect Old Fashioned Nut Bread that tastes exactly how you remember the best homemade loaves tasting. It’s the kind of thing I wrap up tightly in foil on a Tuesday afternoon just to have a slice ready for myself or David when we need a sweet, cozy moment together.
Gathering Ingredients for Your Old Fashioned Nut Bread
Alright, let’s get our mise en place ready! Since this is a quick bread, precision really matters so that everything rises beautifully and stays moist. David always laughs because I stand over the measuring cups like a tiny baker traffic cop! You should have your ingredients ready to go before you even think about turning the oven on. I’ve kept this ingredient list classic—think traditional flavors that highlight that wonderful berry loaf quality we love, but focused on dates.
Make sure you have whole pitted dates, chopped—don’t use the pre-sliced ones if you can help it! You definitely need softened butter, not melted, for that initial creaming step. And don’t be stingy with the nuts; you’ll want chopped walnuts, plus extra for topping.
Ingredient Notes and Substitutions for Date Nut Bread
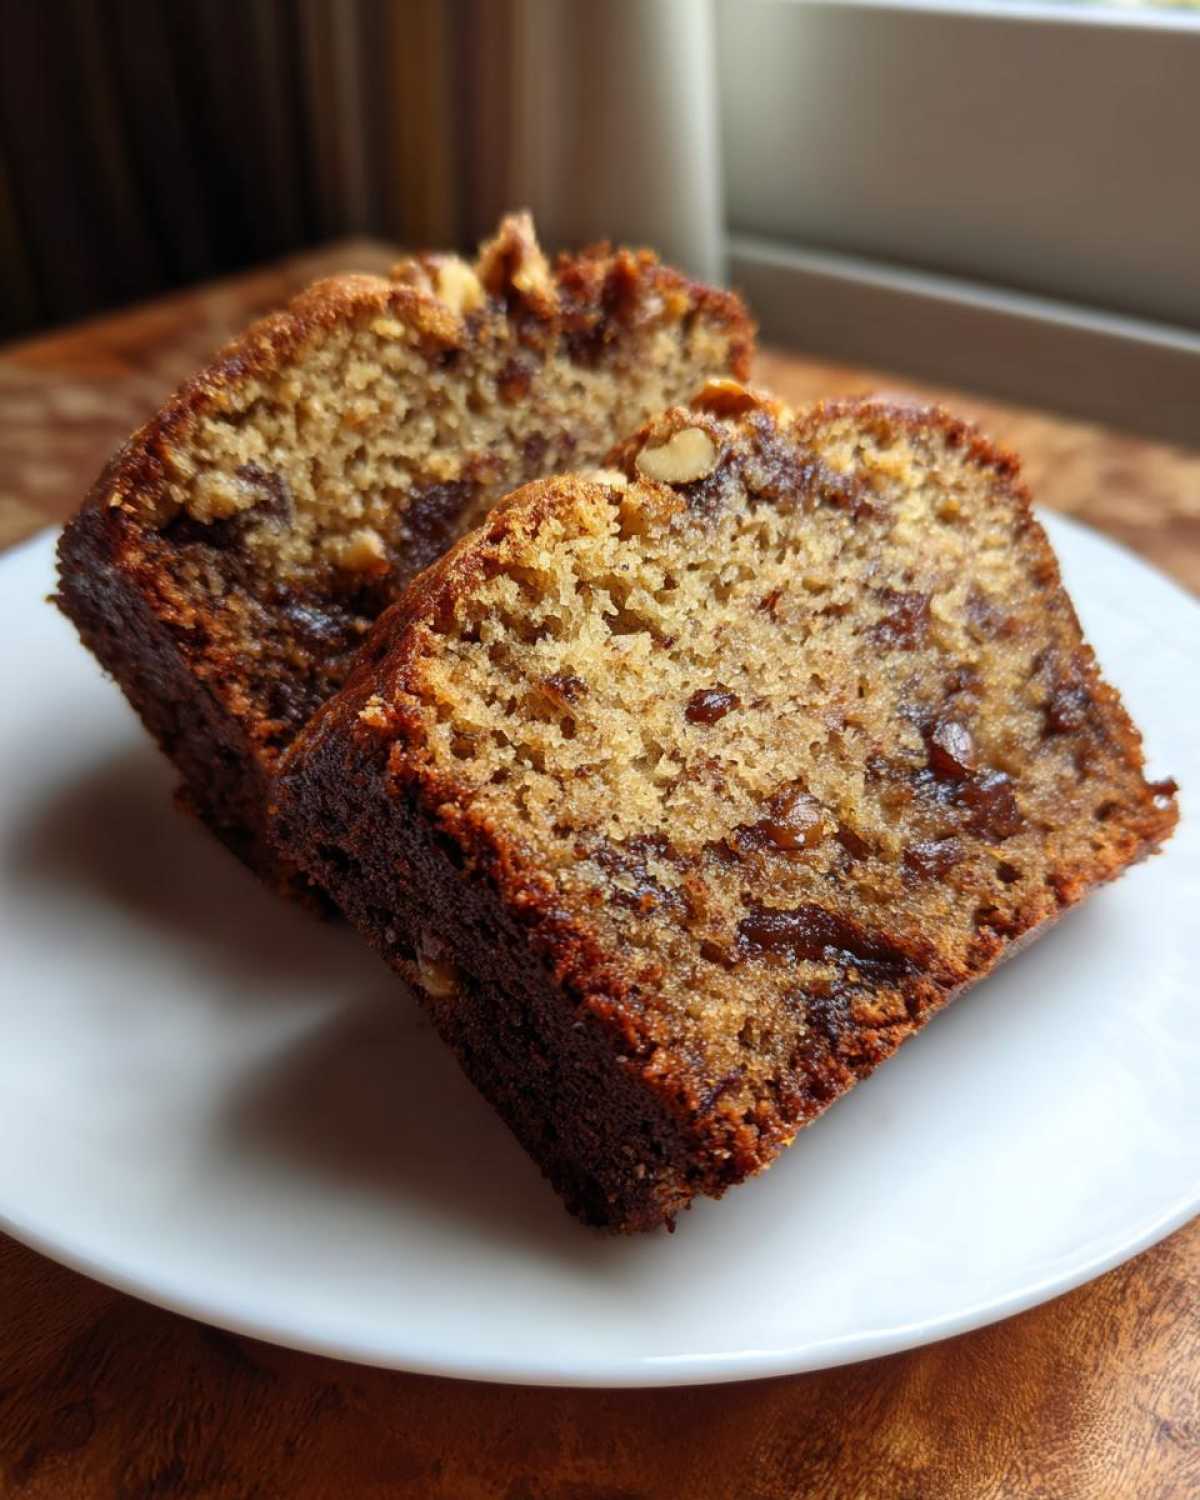
If you want to make this loaf a touch more wholesome, you absolutely can substitute half of your white flour with whole wheat flour. It gives the date and walnut bread a lovely, deeper texture. Remember that little note earlier about adding banana? If you want to try a Banana Date Nut Bread Variation, just mash up one ripe banana and toss it in with your wet ingredients. It gets even softer! You don’t need fancy Medjool dates here; the soaking process will wake up any standard pitted date perfectly. This keeps it accessible, which is what baking should be!
Step-by-Step Instructions for Perfect Date Nut Bread
Okay, here’s where we put it all together! Don’t look at this long list and get intimidated; we’re going slow and enjoying the process. Baking quick bread is really about layering textures, so we make sure each component is perfect before we move on. If you’ve mastered that marvelous carrot cake texture, you’ll handle this beautifully!
Preparing the Dates and Activating the Soda
Before anything else, let’s make sure we get that amazing moisture locked in. You need to boil up one cup of water and pour it right over your chopped dates, stirring in that baking soda immediately. This combination is magic! It softens the dates so they melt right into the bread, giving you that signature Moist Date Nut Bread result. Let that sit on the counter for a full 15 minutes while you tackle the next steps. Seriously, don’t rush this rest period!
Mixing Wet and Dry Components for this Easy Date Loaf Recipe
First things first: the creaming. Get your softened butter and brown sugar whipping in a big bowl until it’s truly light and fluffy—I mean pale and airy! Beat those eggs in one by one. In another bowl, whisk the flour, salt, and baking powder together. Now, add the dry stuff to the wet stuff a little at a time, mixing just until you see the flour streaks disappear. The biggest rule for any Easy Date Loaf Recipe is: DO NOT OVERMIX. Gently fold in the date mixture—all that liquid goes in!—and your nuts last.
Baking and Cooling the Quick Bread Baking Loaf
Pour that gorgeous batter into your prepared 9×5 pan. You’re looking for a bake time between 55 and 65 minutes at 350°F. Here’s a little trick for perfect Quick Bread Baking: if the top starts getting too dark around the 40-minute mark, just drape a piece of foil loosely over the top. This keeps the crust happy while the inside finishes baking. Once a skewer comes out clean, pull it out! Let it rest in that warm pan for exactly 10 minutes—this secures the structure—before turning it onto a cooling rack.
Tips for Success with Your Date and Walnut Bread
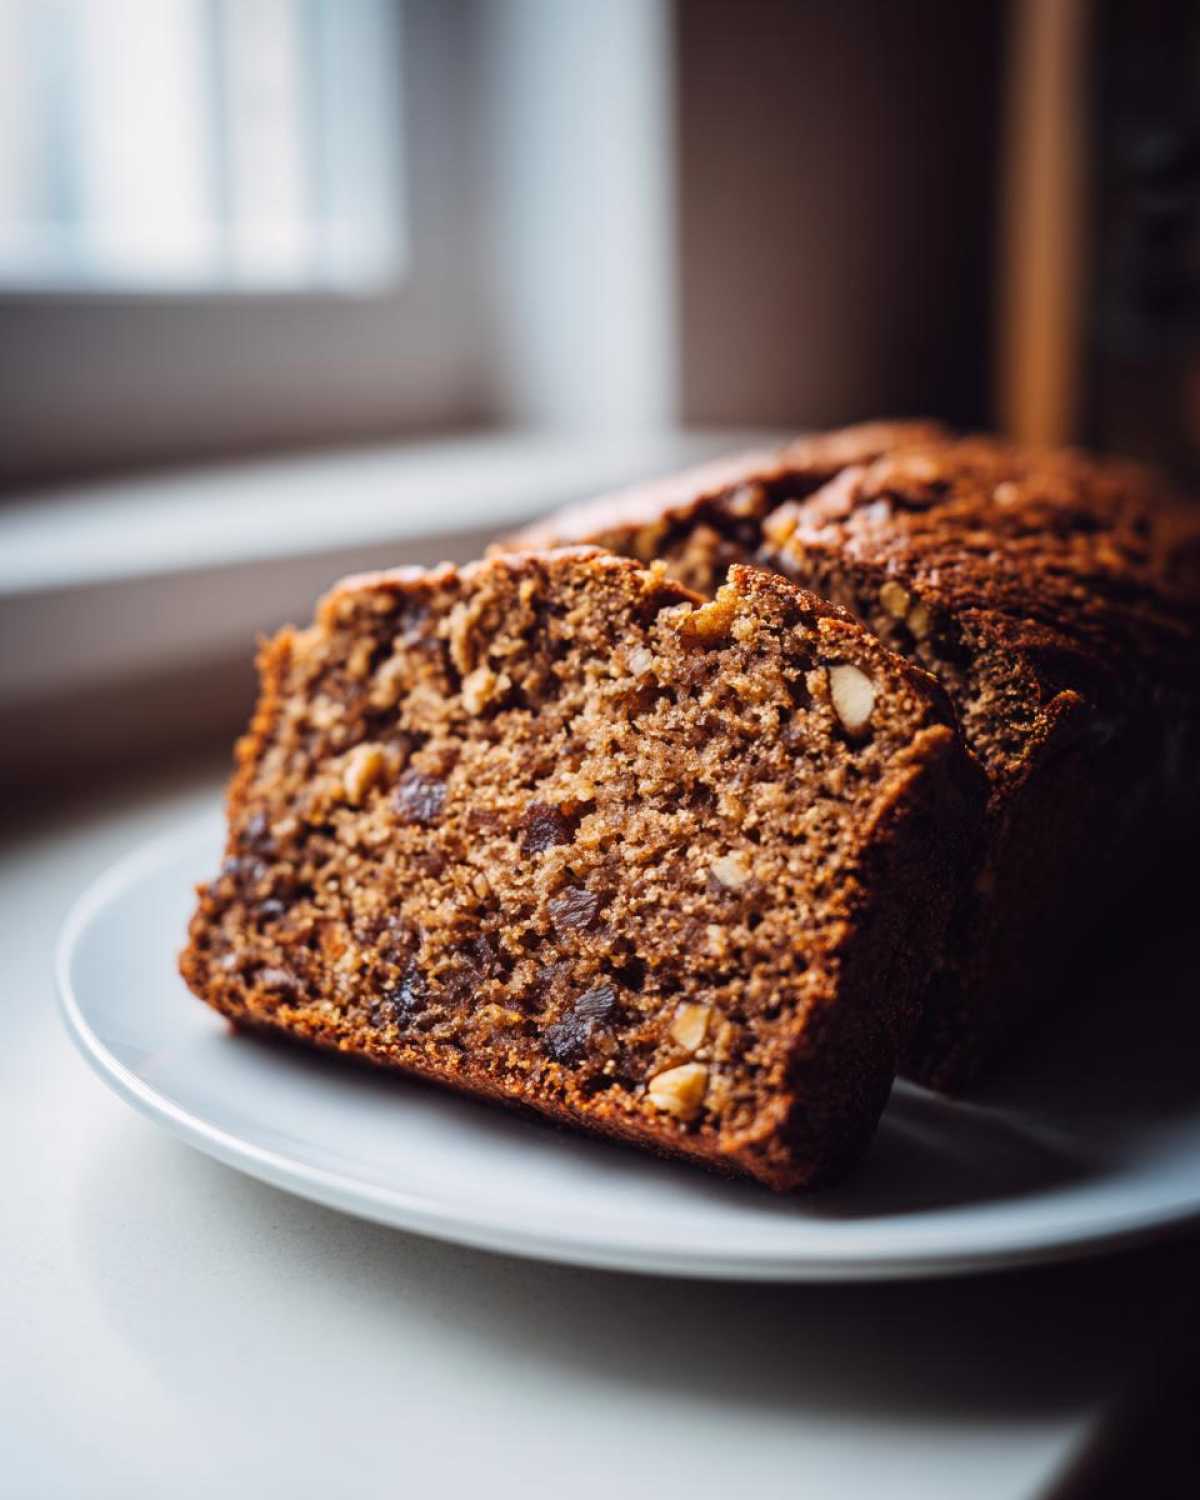
I want you to have the absolute best experience making this date and walnut bread. Since this is an Old Fashioned Nut Bread, attention to minor details makes the difference between good and phenomenal. Remember when I talked about creaming the butter? That really hinges on temperature! Make sure your butter is softened—about 68°F, cool enough that it doesn’t feel greasy, but soft enough for a finger to leave a deep imprint. Also, your eggs should not be straight from the fridge; let them sit out for about 20 minutes.
When you test for doneness, the skewer is just the first step. I always follow it up with a gentle poke on the top center of the loaf. If it springs right back, you’re golden! If it leaves an indent, it needs five more minutes. This is how we guarantee that deep, moist crumb you’re hoping for. If you’ve made my maple cookies, you know I care about the texture!
For a deep dive into classic techniques that really nail the texture on loaves like this, you might want to check out this helpful article from my friend over at The Baking Chocolatess about their old-fashioned date nut bread—they cover some similar ground on technique!
Serving Suggestions for this Simple Spiced Bread
One of the great joys of making this date nut bread—my favorite version of simple spiced bread—is figuring out the best way to eat it! Honestly, that first slice is always best when it’s still slightly warm from the oven. Don’t even think about forgetting the butter; a generous spread melts right into that tender crumb and brings out the sweetness of the dates beautifully. It’s heavenly!
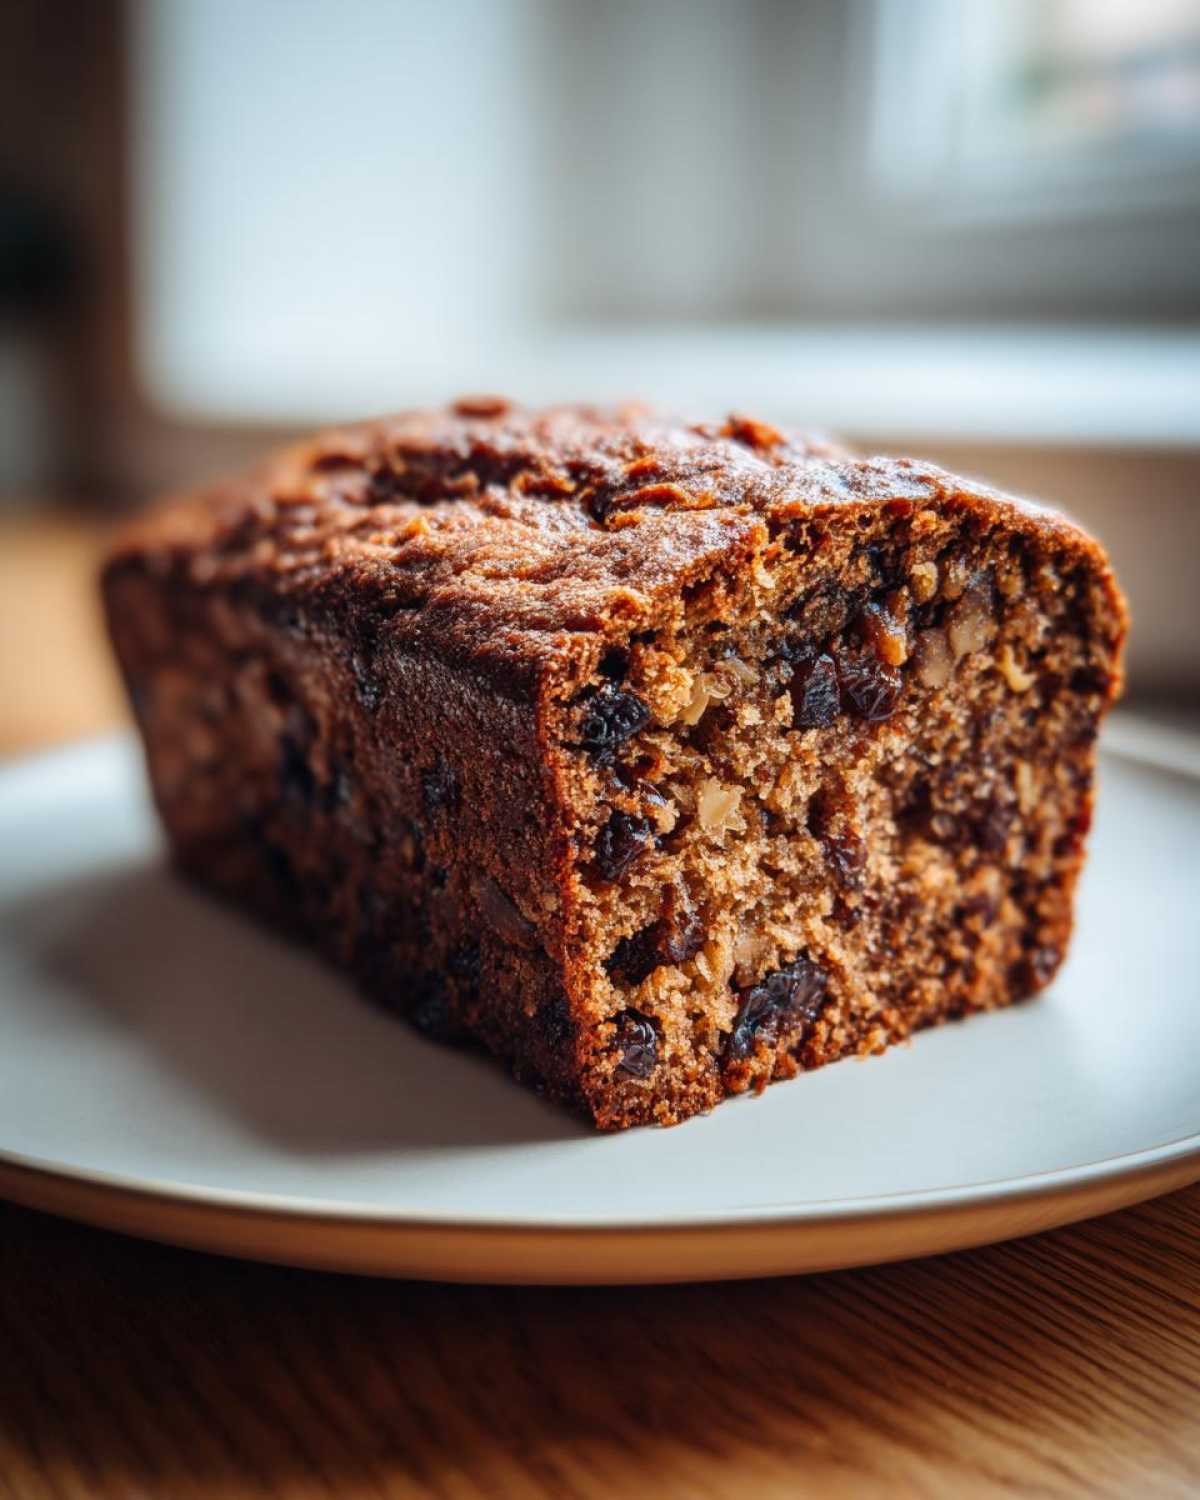
This loaf fits perfectly into my collection of breakfast loaf recipes. It’s sturdy enough to slice thick and eat with your morning coffee or tea. If you’re looking for something sweet and slightly substantial for brunch, this date loaf is always a crowd-pleaser. It’s wonderful plain, but if you want a little extra flair, try warming up a slice and topping it with a dollop of cream cheese or even some of my cream cheese frosting from the cinnamon roll bites!
Storage and Make-Ahead Tips for Homemade Quick Breads
The absolute best part about making a big loaf of homemade quick breads like this date nut bread is that you get to enjoy it all week long—if it lasts that long, that is! If you manage to save a piece, you need to store it correctly to keep that moisture locked inside. At room temperature, wrapped tightly in plastic wrap, it stays genuinely fresh for about three days. I find that wrapping each slice individually is best, especially if you plan to grab one quickly in the morning!
For longer storing, definitely freeze it! Once the loaf is completely cool—and I mean zero warmth left, or it will get soggy—wrap it tight in plastic wrap first, and then wrap that package again in aluminum foil. This double layer protects it from freezer burn. It freezes beautifully for up to three months. When you’re ready to eat it, just let it thaw on the counter, or you can even pop a slice right out of the freezer into the toaster!
If you’ve made my apple cobbler, you know I love food that travels well, and this bread travels even better. It’s a perfect make-ahead treat for when company is coming over!
Frequently Asked Questions About Date Nut Bread
Can I make this a Holiday Date Loaf without adding glaze?
Absolutely! This is already a perfect Holiday Date Loaf on its own. The dates and brown sugar give it such a deep, rich sweetness that it really doesn’t need a glaze to feel festive. We usually just sprinkle those extra chopped walnuts on top before baking. If you want a little extra something, a light dusting of powdered sugar after it cools looks wonderfully snowy on top!
What is the best way to slice the date nut bread?
Oh, this is important! If you try to slice this loaf while it’s even a little warm, the knife will drag and smash that gorgeous, moist crumb. You must let it cool completely on the wire rack, at least for an hour or two. Once it’s completely cool, use a sharp serrated knife—it glides through the nuts and dates so you get a perfect slice every single time.
How do I ensure my bread is the Best Date Nut Bread Recipe?
To guarantee you have the Best Date Nut Bread Recipe results, you have to focus on two things: first, never skip soaking those dates in boiling water for 15 minutes; that’s the moisture secret! Second, check your baking powder and soda! If they’re old—six months or more—they won’t give your quick bread that necessary lift. Fresh leavening agents are non-negotiable for a good rise! Feel free to browse our whole recipe collection for more kitchen inspiration.
Nutritional Estimates for this Wholesome Snack Bread
Because we load this with delicious dates and warming spices, sometimes we worry about how it fits into our day. I always try to keep things realistic, so here are the general estimates for one slice of this wholesome snack bread using the standard recipe. Remember, these numbers will change a bit depending on the exact brands and if you tried my banana variation!
- Calories: About 310
- Fat: 14g
- Carbohydrates: 45g
- Protein: 5g
This is just an estimate, you know? Use these figures as a guideline, but baking with your heart is always the most important part of the recipe!
Share Your Date Nut Bread Baking Adventures
I truly hope this recipe brings as much warmth to your kitchen as it does to ours. When you bake up this beautiful date nut bread, please come back and tell me all about it!
Did you add the banana? Did the walnuts toast up nicely on top? Leave a rating below or pop over to our contact page so we can see your gorgeous loaves. We absolutely love hearing from you.
Happy baking, my friends!
Much love,
Amina
PrintEasy, Moist, Old-Fashioned Date Nut Bread
Bake a truly comforting quick bread that stays moist. This old-fashioned date nut bread recipe is simple to follow and perfect for breakfast or holiday snacking.
- Prep Time: 20 min
- Cook Time: 60 min
- Total Time: 80 min
- Yield: 1 loaf (about 10 servings)
- Category: Quick Bread
- Method: Baking
- Cuisine: American
- Diet: Vegetarian
Ingredients
- 1 cup boiling water
- 1 cup packed pitted dates, chopped
- 1 teaspoon baking soda
- 1/2 cup (1 stick) unsalted butter, softened
- 1 cup packed light brown sugar
- 2 large eggs
- 1 teaspoon vanilla extract
- 1 3/4 cups all-purpose flour
- 1 teaspoon baking powder
- 1/2 teaspoon salt
- 1 cup chopped walnuts, plus extra for topping
Instructions
- Preheat your oven to 350°F (175°C). Grease and flour a 9×5 inch loaf pan.
- Place the chopped dates in a medium bowl. Pour 1 cup of boiling water over the dates and stir in the baking soda. Let this mixture sit for 15 minutes to soften the dates. This step helps keep your bread moist.
- In a large bowl, cream together the softened butter and brown sugar until light and fluffy. Beat in the eggs one at a time, then stir in the vanilla extract.
- In a separate bowl, whisk together the flour, baking powder, and salt. Gradually add the dry ingredients to the wet ingredients, mixing until just combined. Do not overmix.
- Gently fold in the date mixture (including all the liquid) and the chopped walnuts.
- Pour the batter into the prepared loaf pan. Sprinkle a few extra walnuts over the top if desired.
- Bake for 55 to 65 minutes, or until a wooden skewer inserted into the center comes out clean. If the top browns too quickly, loosely tent it with foil after about 40 minutes.
- Let the date nut bread cool in the pan for 10 minutes before carefully turning it out onto a wire rack to cool completely. Slice and serve warm with butter for the best flavor.
Notes
- For an extra rich flavor, substitute half of the all-purpose flour with whole wheat flour.
- If you prefer a sweeter loaf, you can add 1/2 cup of mashed ripe banana to the batter for a Banana Date Nut Bread variation.
- This homemade quick bread freezes well once completely cooled. Wrap tightly in plastic wrap and then foil.
Nutrition
- Serving Size: 1 slice
- Calories: 310
- Sugar: 28g
- Sodium: 210mg
- Fat: 14g
- Saturated Fat: 5g
- Unsaturated Fat: 9g
- Trans Fat: 0g
- Carbohydrates: 45g
- Fiber: 3g
- Protein: 5g
- Cholesterol: 55mg