

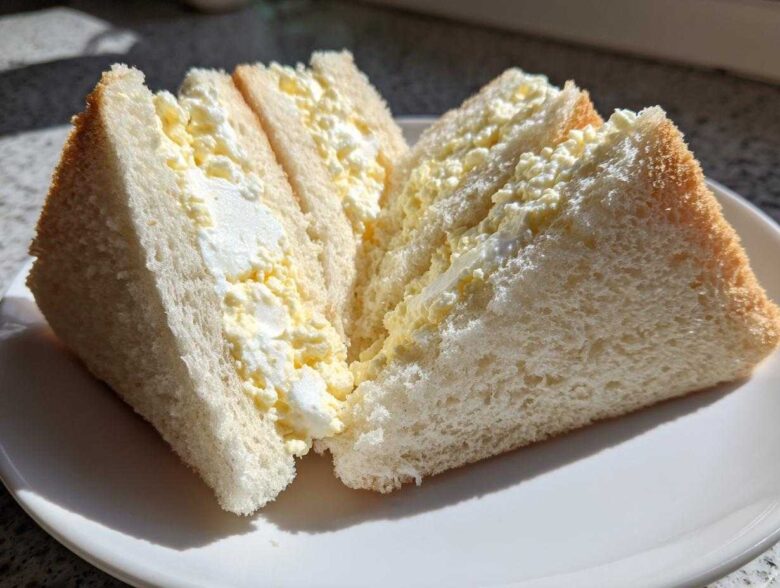
You know those perfect-looking little squares of food you see in Japanese convenience stores? They look almost too perfect to eat, right? Well, the absolute king of those grab-and-go treasures is the Tamago Sando Japanese Egg Sandwich. I’ve spent way too much time—seriously, hours staring at timers—trying to nail that iconic fluffy texture at home. It’s not just egg salad; it’s an art form! The secret, I finally figured out, is getting the dressing flawlessly creamy and sweet-savory, and trusting the ice bath to give me the perfect yolk texture every single time. Once you find that good Kewpie mayo, everything just clicks. If you want to master this amazing breakfast staple, stick with me!
Why This Authentic Tamago Sando Japanese Egg Sandwich Recipe Works
Getting that perfect, cloud-like sandwich requires respecting a few core rules. We aren’t just dumping ingredients in a bowl here; we’re building texture! If you follow these key spots, you’ll get that amazing result found in Tokyo cafés, not just a regular egg salad sandwich. For more pointers on creamy fillings, check out my favorite egg salad tips!
- The texture breakthrough comes from treating the yolks and whites separately. Trust me, mashing the yolks into a paste before adding the mayo makes the filling incredibly smooth.
- We rely on premium ingredients, especially the right bread. You seriously need the softest white bread you can find—that’s what makes it melt in your mouth.
Achieving the Perfect Fluffy Egg Sandwich Texture
The 10-minute boil is non-negotiable for the **Tamago Sando Japanese Egg Sandwich**. Why? Because we need the perfect texture for that smooth base. Pulling those eggs out exactly at the 10-minute mark and shocking them in the ice bath stops the cooking just before they get chalky. This ensures your yolks come out creamy and ready to mash into that perfect, velvety dressing base. If you overcook them even slightly, you get dry bits, and that ruins the whole vibe!
Essential Ingredients for Your Tamago Sando Japanese Egg Sandwich
Okay, the list for this sandwich looks short, but every single item has to pull its weight! Don’t even think about skimping on quality here, okay? We need six large eggs cooked just right, the amazing Kewpie mayonnaise, softened butter, sugar, that little bit of Dijon mustard, and rice vinegar for that necessary tang. And of course, the bread. If you can find true Shokupan, grab it! It’s unbelievably soft.
Remember, the ratio of dressing to egg matters huge for that perfect texture. Don’t eyeball this, or you’ll end up with something too sloppy or too dry!
Ingredient Notes and Substitutions for Tamago Sando
Let’s talk brands because this is where most people messing up the **Kewpie Mayonnaise Sandwich Filling**! You absolutely need Kewpie. Seriously. It has a deeper, richer flavor and that signature slight sweetness because it’s made with egg yolks only. Regular mayo tastes flat next to it.
If you can’t find Shokupan—which is a shame, honestly—use the absolute softest white bread you can find at your local supermarket. Just make sure it’s fresh! Also, for the mustard, stick with Dijon. English mustard is way too spicy and will fight the delicate savory-sweet notes of the filling we’re building.
How to Make Tamago Sando Japanese Egg Sandwich: Step-by-Step
Alright, let’s get cooking! This part is where we bring everything together. Remember how I said precision matters for the **Tamago Sando Japanese Egg Sandwich**? That applies right here to our mixing technique. We start by making sure the eggs are perfectly set—10 minutes in hot water, then straight to the ice bath! Don’t skip the chill time; it makes peeling so much easier.
Once everything is prepped, we move straight into making that beautiful, creamy filling. For the smoothest result, remember to separate those yolks and whites, just like the recipe says. We need that smooth base before we do anything else. If you need a refresher on other things that go well with a nice cozy meal, check out this apple cobbler recipe when you need a break from savory.
Preparing the Creamy Egg Salad Sandwich Filling
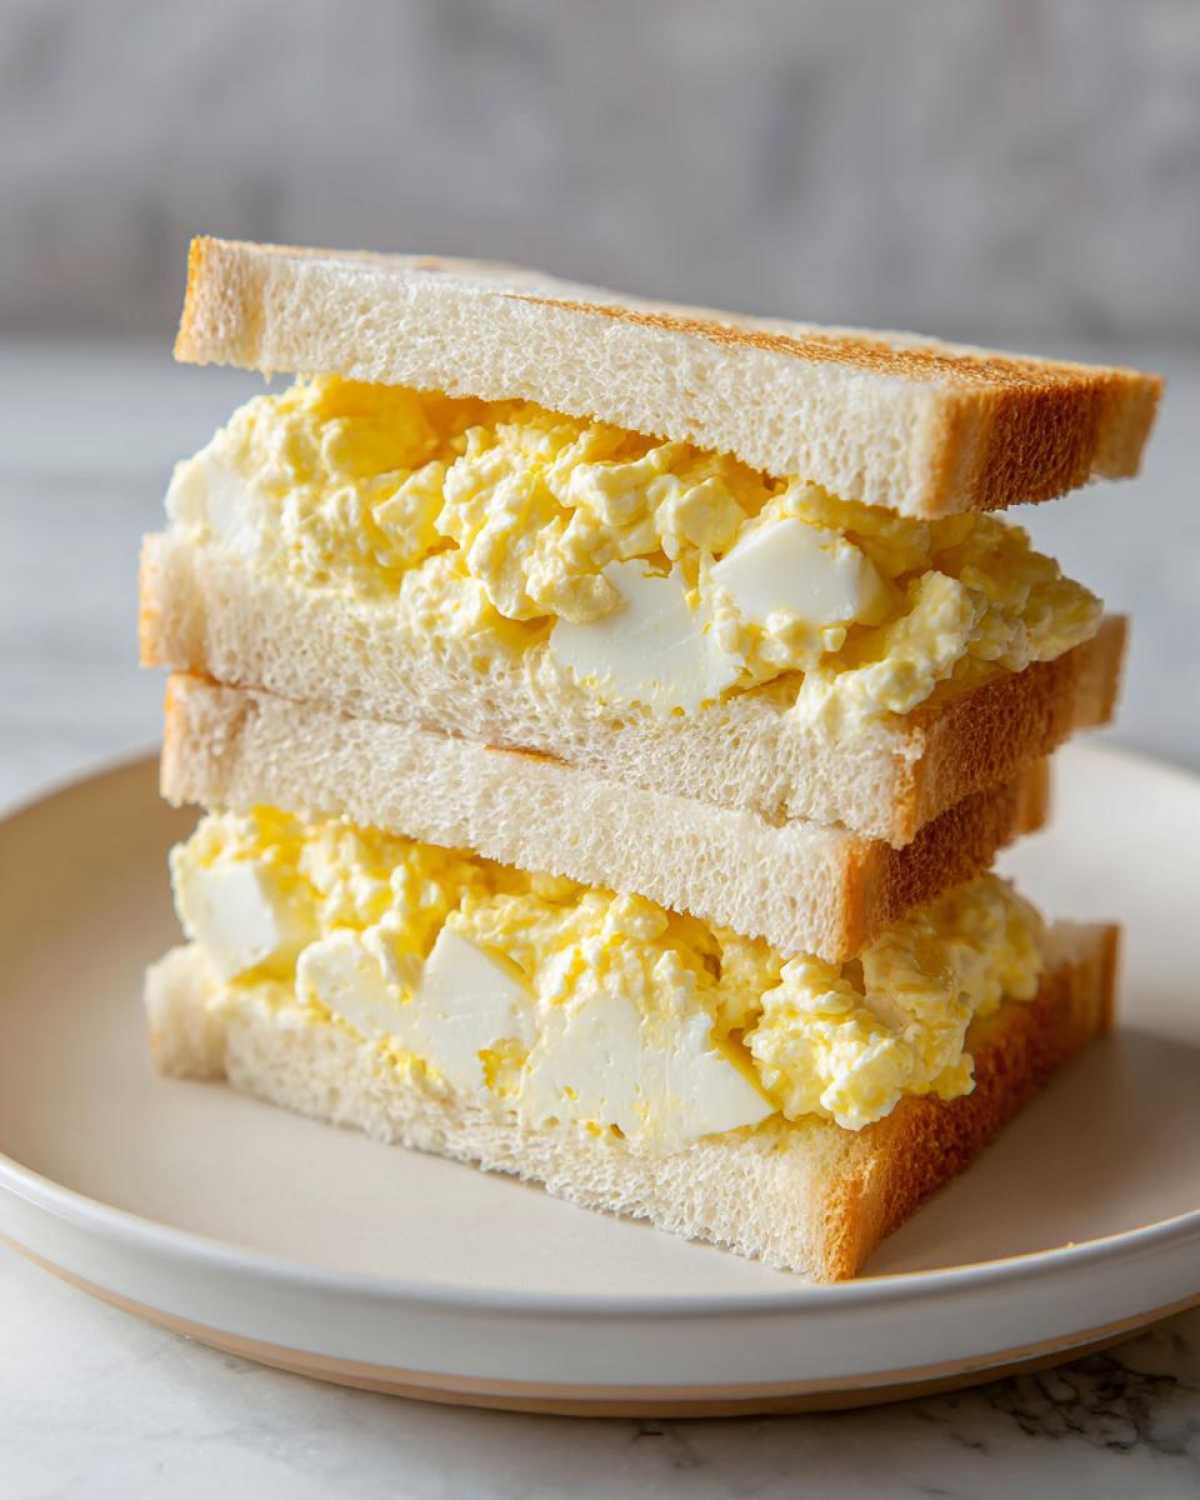
This is where we create the magic that separates this from any other egg salad. Take those six yolks and mash them fiercely with a fork in a bowl until they are completely smooth—think baby food texture. Then, stir in all your dressing components: the Kewpie mayo, the softened butter—yes, butter!—sugar, vinegar, mustard, salt, and pepper. Mix until it’s perfectly emulsified and creamy. That’s the base for the **Best Japanese Egg Salad**!
Now, take your finely chopped egg whites and gently, I mean *gently*, fold them into that creamy base. Use a spatula and just lightly combine them. We want those whites to offer a little texture, but we don’t want them overworked, or your whole sandwich gets spongy instead of fluffy.
Assembling and Pressing the Tamago Sando Japanese Egg Sandwich
This assembly step is vital for keeping the bread fresh! Take each slice of soft bread and spread a *very thin* layer of softened butter on one side. This acts as a delicious, fat-based moisture shield—say goodbye to soggy bread! Then, spread that gorgeous egg mixture evenly over the unbuttered side of two slices.
Put the other two slices on top, making sure the buttered sides face outward. Now comes the signature technique for a **Thick Cut Egg Sandwich**: wrap the whole thing incredibly tightly in plastic wrap. Press down firmly but gently all over the top. This compresses the filling and adheres the layers, which is why you get those clean, perfect squares when you slice later. Pop that wrapped package into the fridge for at least 30 minutes. This chilling step sets the whole structure!
Tips for Success Making an Easy Tamago Sando at Home
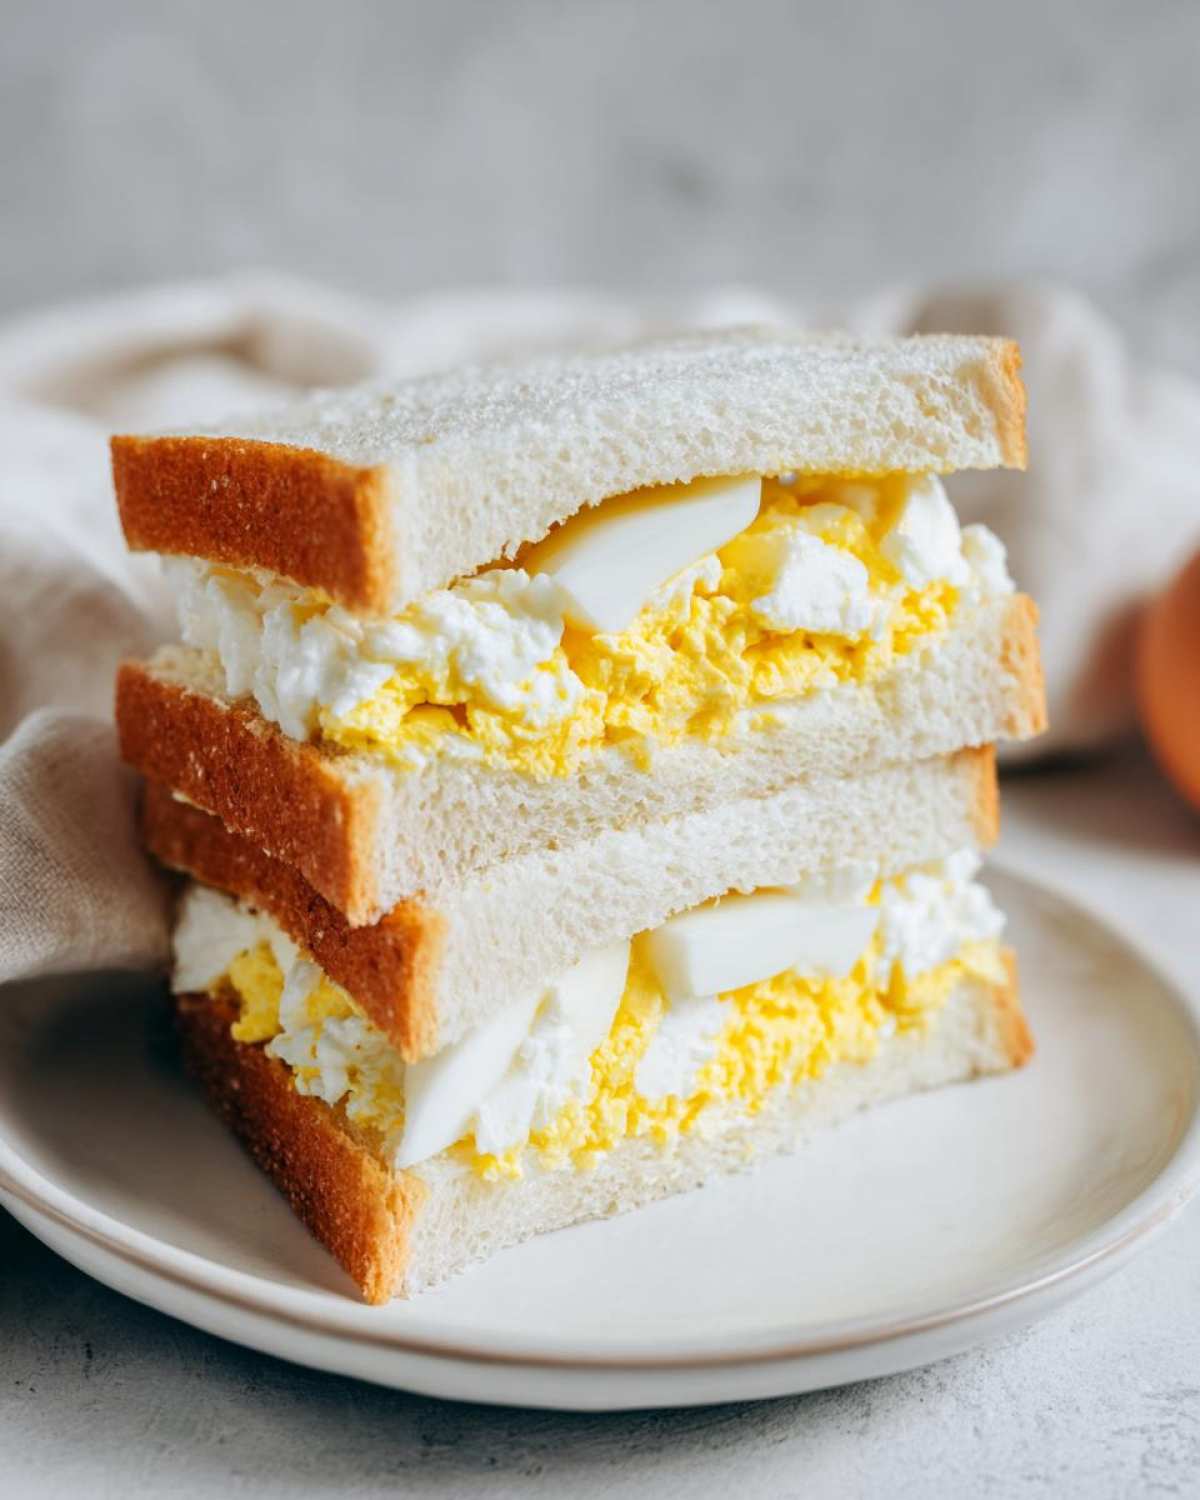
Now that you’ve handled the major steps, let me give you a few insider things I learned that turn an *okay* **Tamago Sando Japanese Egg Sandwich** into something truly restaurant-ready. First off, that tight wrap and chilling time? Don’t rush it! The 30 minutes in the fridge is crucial for letting the dressing meld into the bread slightly and firm up the whole block.
The absolute biggest difference-maker, though, is your knife. You need a razor-sharp, serrated bread knife for slicing. If your knife is dull, you’ll squish the sandwich while cutting, and all that careful pressing goes to waste! I always wipe my knife blade with a damp cloth between cuts to keep it clean, which helps you get those impossibly neat edges without dragging any filling out.
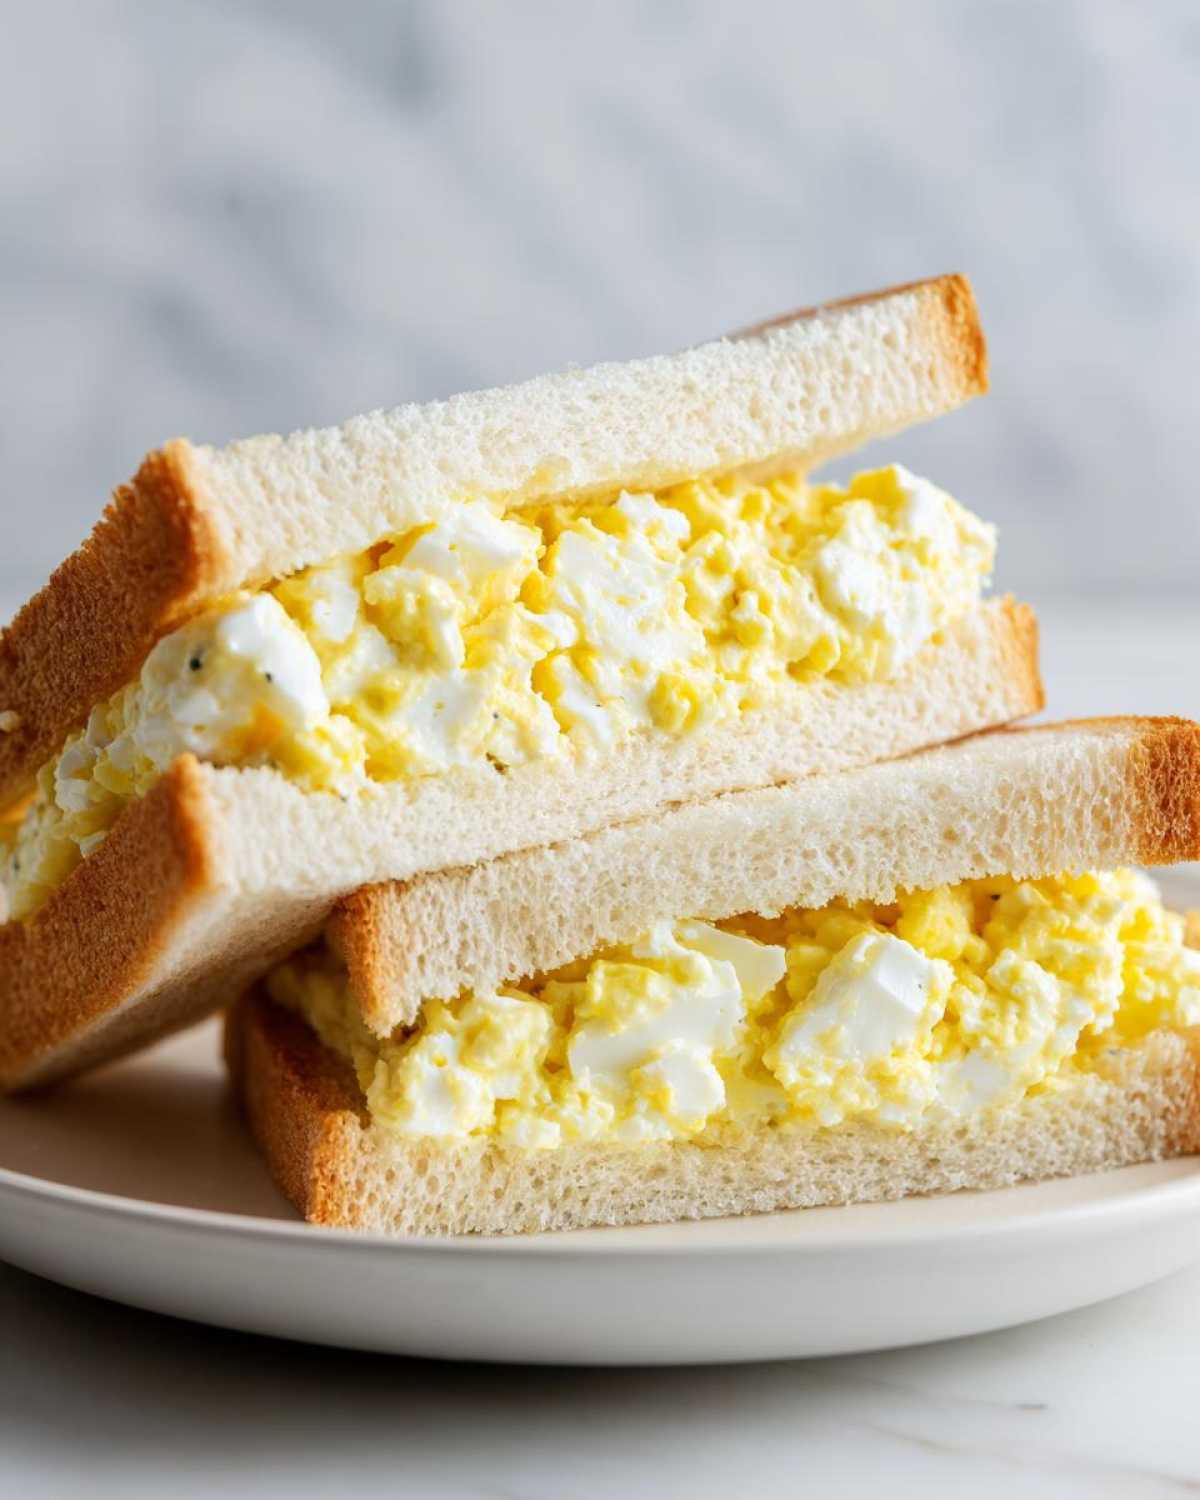
Also, when you serve these, they are best eaten within an hour or two of being freshly assembled. They aren’t really something you make the night before, especially if you want that fantastic, fresh bread feeling. For another fantastic creamy dipping sauce idea, you absolutely have to try my homemade tartar sauce recipe!
Serving Suggestions for Your Authentic Japanese Sandwich
Once you’ve got those perfectly crisp, crustless squares of **Tamago Sando Japanese Egg Sandwich**, presentation matters! These are best served immediately, just like you’d grab one at a Tokyo train station. The traditional look is simple: cut diagonally for beautiful triangles, or straight down the middle for neat rectangles. A fun trick I learned is to wrap each half snugly in a small square of clean parchment paper so you can hold it like street food without getting any creamy filling on your fingers.
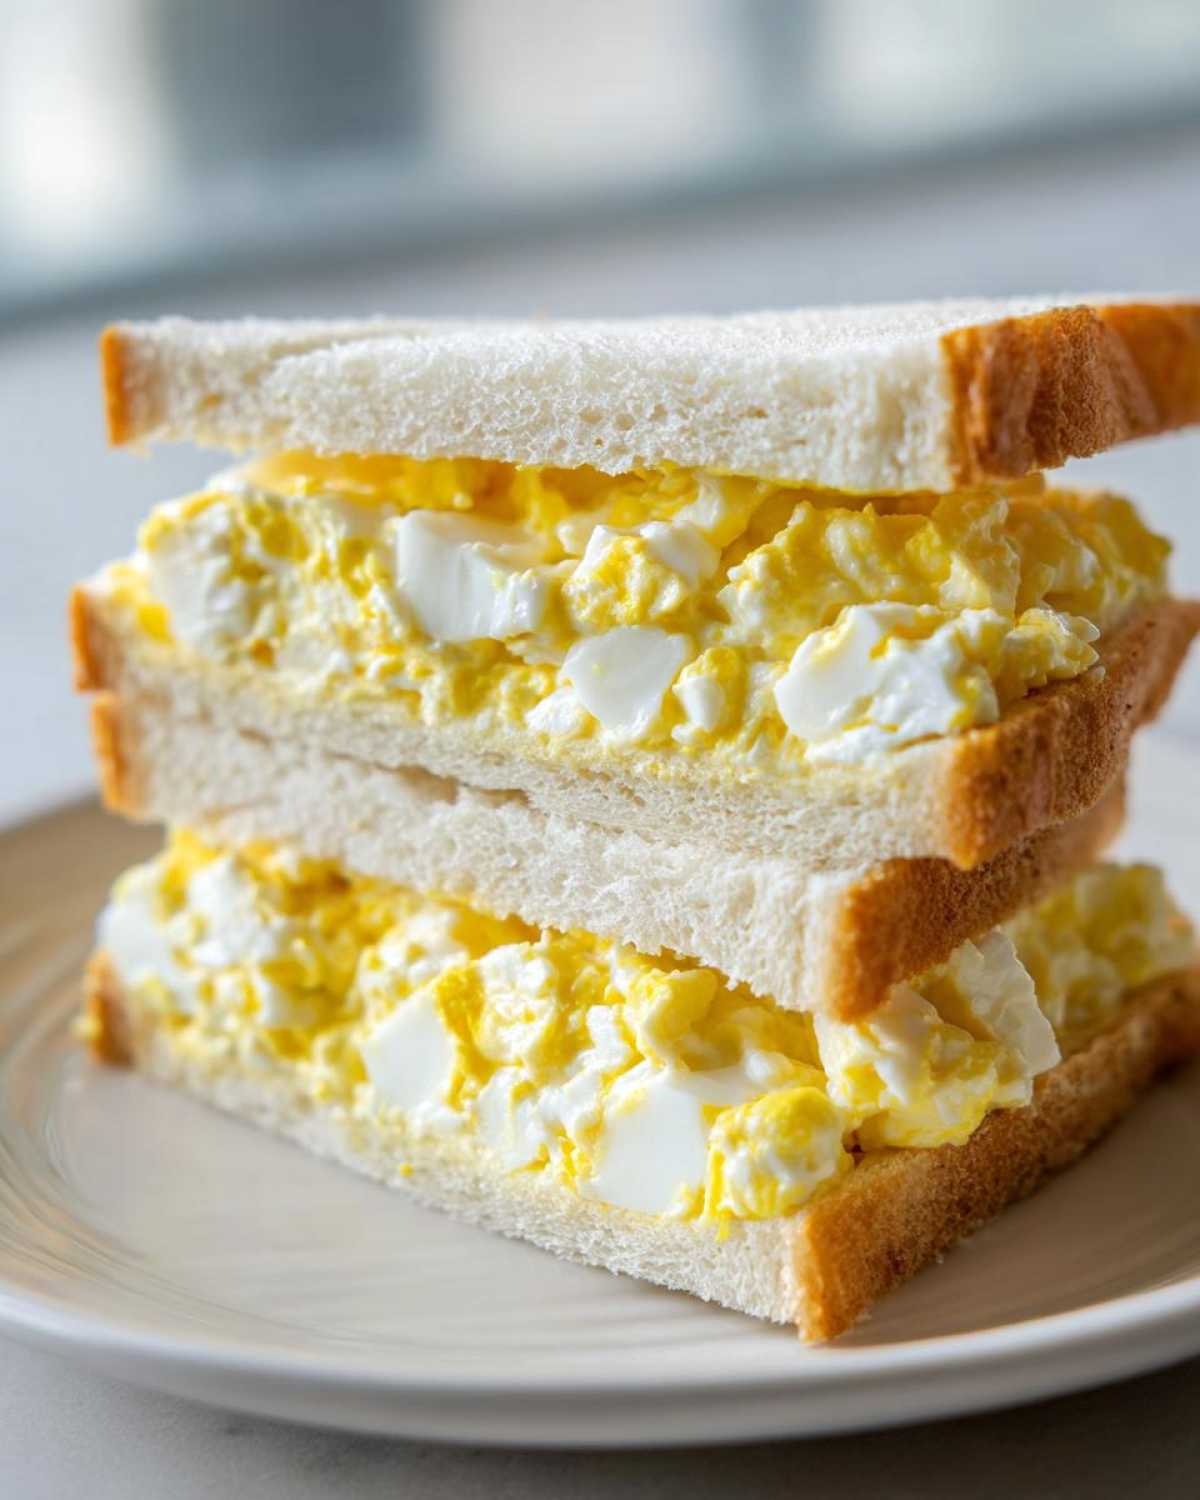
If you’re serving these as part of a bigger meal, they pair brilliantly with fresh, crisp salads or maybe some light pickled vegetables to cut through the richness. If you’re planning a whole Japanese-themed lunch spread, check out my ideas for other great lunch ideas!
Storage and Reheating Instructions for Tamago Sando
Look, the absolute best experience for your Tamago Sando Japanese Egg Sandwich is eating it the minute you finish trimming the crusts off! It’s sunshine in a sandwich, and it really wants to be eaten fresh. Since this recipe relies on super soft white bread and that creamy, mayo-heavy filling, it behaves differently than a deli sandwich.
If you absolutely have leftovers—maybe you made too much or you’re saving one for lunch later—keep it wrapped super tightly in plastic wrap, just like you did when chilling it. Pop it right into the refrigerator. I wouldn’t push it past 24 hours, though. After that, the bread starts to absorb too much moisture from the filling and gets a bit dense and sad.
Now, let’s talk about reheating. Just don’t! Seriously, this one isn’t microwave-friendly or oven-friendly. Heating that soft bread and the mayonnaise-based salad basically guarantees a weird texture—either rubbery bread or a greasy, weeping mess. The magic of the Japanese Egg Sandwich Recipe lives in that cold, compressed, fresh state. Just enjoy it straight from the fridge for the best next-day bite!
Frequently Asked Questions About the Tamago Sando Japanese Egg Sandwich
It’s normal to have questions when you’re trying to nail a new technique, especially something as specific as the Tamago Sando Japanese Egg Sandwich. I remember being nervous about trimming the crusts! Here are the common hurdles I heard about when I first started sharing this recipe.
Can I use regular mayonnaise instead of Kewpie for the Japanese Egg Sandwich Recipe?
Oh, you *can*, but I’m going to be honest: it changes the whole game for the Tamago Sando Japanese Egg Sandwich. Regular American mayo is mostly oil and egg yolk, and it’s quite mild. Kewpie is made with only yolks, which means it’s richer, and it has a distinct, wonderful tang from rice vinegar—it’s much sweeter and tangier than what you usually buy off the shelf. If you use regular mayo, you’ll need to increase the sugar and maybe add an extra splash of vinegar to compensate, but honestly? Just hunt down the Kewpie. It’s worth the tiny effort for the authentic taste!
What is the best way to achieve the No Crust Sandwich Techniques?
This is the fun part that makes it look so professional! Achieving the **No Crust Sandwich Techniques** is all about geometry and sharpness. First, you absolutely must chill the sandwich after wrapping and pressing it—at least 30 minutes is a must. Second, ditch your dull kitchen knife! You need a very long, very sharp serrated knife. Use slow, sawing motions rather than pushing down hard, which squishes the filling out. We are carefully slicing through the outer layers. If you trim the crusts while the sandwich is cold and slightly compressed, the results are stunningly clean. Since we already buttered the inside, the outside crusts come off super easy!
If you are interested in exploring other delicious sauces that go great with boiled eggs or fish, you might want to look into my recipe for homemade Caesar dressing, which avoids raw egg entirely!
Nutritional Estimates for Tamago Sando
I always feel a tiny bit naughty sharing the nutrition facts for something so ridiculously good, but hey, knowledge is power, right? When you’re eating a Tamago Sando Japanese Egg Sandwich, you need to know what you’re getting into! Remember, these numbers are only estimates based on my ingredient calculations—your bread brand, or if you splurge on an extra dollop of that good Kewpie mayo, it’s all going to shift things around. For the full legal lowdown on how these numbers are calculated, feel free to check out my full disclaimer page!
Since this sandwich is mostly eggs, fat, and that soft white bread, it’s definitely a richer snack, but it packs a decent protein punch! Here’s what I’m estimating for one standard serving half of the sandwich:
- Calories: Around 350 (Perfect fuel for a mid-morning snack!)
- Fat: About 25g (That’s the creamy filling texture we love)
- Carbohydrates: Roughly 25g (Mostly from that soft, fluffy white bread)
- Protein: A solid 12g
- Sugar: Keeps it sweet at only 5g
It’s high in cholesterol because we are using whole eggs, and that’s expected for a great Japanese Egg Sandwich Recipe! The key takeaway here is balance. It’s a comforting, satisfying treat, and knowing the numbers just helps me fit it into my week!
Share Your Fluffy Egg Sandwich Tutorial
Whew! We made it through the whole process of building a perfect Tamago Sando Japanese Egg Sandwich together. I’m so excited for you to try this at home, and honestly, I can’t wait to hear what you think!
Did you manage to find that proper Shokupan, or did you have to get creative with your bread choice? Let me know in the comments below if the 10-minute egg timing worked perfectly for you, or if you had to adjust just a tiny bit. Seriously, every single time I make this, I check the comments to see how others are doing!
If you snapped a quick picture of your beautiful, crustless, perfectly pressed sandwich—and I really hope you did!—please tag me on social media! Seeing your creations makes my entire week. It’s just the best feeling knowing this little slice of Japanese Comfort Food is showing up in kitchens everywhere!
If you have any lingering questions about the filling balance or need general kitchen advice, don’t be shy—head over to my contact page and send me a note. Happy sandwich making, friends!
PrintAuthentic Japanese Tamago Sando (Fluffy Egg Salad Sandwich)

Make the classic Japanese Egg Sandwich, Tamago Sando, featuring a creamy, slightly sweet egg salad filling between soft white bread.
- Prep Time: 15 min
- Cook Time: 10 min
- Total Time: 55 min
- Yield: 2 sandwiches
- Category: Breakfast
- Method: No-Cook Assembly
- Cuisine: Japanese
- Diet: Vegetarian
Ingredients
- 6 large eggs
- 1/4 cup Kewpie mayonnaise
- 1 tablespoon unsalted butter, softened
- 1 teaspoon Dijon mustard
- 1 teaspoon granulated sugar
- 1/2 teaspoon rice vinegar
- Pinch of salt
- Pinch of white pepper
- 4 slices soft white bread, preferably Shokupan
- 1 teaspoon unsalted butter, for spreading
Instructions
- Place the eggs in a saucepan and cover them with cold water. Bring the water to a boil over high heat. Once boiling, cover the pan, remove it from the heat, and let the eggs sit for exactly 10 minutes for hard-boiled eggs.
- Immediately transfer the eggs to an ice bath to stop the cooking process. Once cool, peel the eggs carefully.
- For the filling, separate the yolks and whites. Place the yolks in a medium bowl and mash them thoroughly with a fork until smooth.
- Finely chop the egg whites. Set aside.
- Add the Kewpie mayonnaise, softened butter, sugar, Dijon mustard, rice vinegar, salt, and white pepper to the mashed yolks. Mix until the dressing is completely smooth and creamy.
- Gently fold the chopped egg whites into the yolk mixture. Mix just enough to combine; avoid overmixing to keep some texture.
- Lightly spread a thin layer of softened butter on one side of each slice of bread. This prevents sogginess.
- Spread the egg salad mixture evenly over the unbuttered side of two slices of bread. Top with the remaining two slices of bread, butter-side up.
- Wrap the sandwiches tightly in plastic wrap. Press down gently to compact the filling. Refrigerate for at least 30 minutes.
- Before serving, use a sharp, serrated knife to carefully trim the crusts off all four sides of the sandwich.
- Cut each sandwich in half diagonally or straight across. Serve immediately.
Notes
- For the fluffiest texture, use fresh, high-quality eggs.
- If you do not have Shokupan, use the softest white sandwich bread available.
- Adjust the sugar slightly based on your preference for sweetness.
Nutrition
- Serving Size: 1 sandwich half
- Calories: 350
- Sugar: 5
- Sodium: 350
- Fat: 25
- Saturated Fat: 6
- Unsaturated Fat: 19
- Trans Fat: 0
- Carbohydrates: 25
- Fiber: 1
- Protein: 12
- Cholesterol: 300