

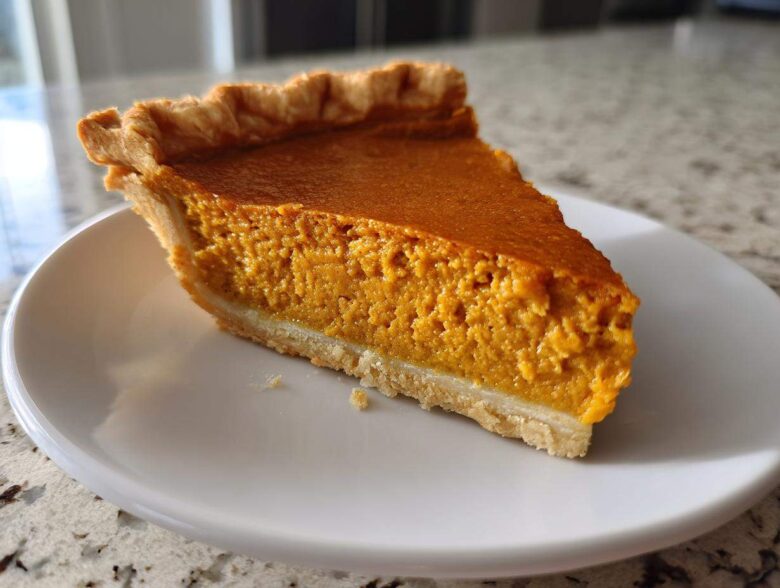
Oh my goodness, the smell of cinnamon and nutmeg mixed with that sweet, earthy pumpkin scent instantly just pulls me right back to Thanksgiving morning every single year! If you’ve ever been burned by a runny center or a grainy filling, then I’m here to tell you that those days are officially over. This isn’t just any pie; this is my tried-and-true, absolute final verdict on the classic pumpkin pie recipe that has graced my family’s table for decades. I’ve been tinkering with the spice levels and tempering the heat just right for years, and trust me, this version gives you that unbelievably dense, silky smooth texture every single time. Making this traditional bake shouldn’t be stressful; it should be cozy, and this formula guarantees your spot as the holiday dessert hero!
I’ve spent ages perfecting this balance, but the best part is that it’s a simple swap or two away from the old standbys. You can read all about my kitchen philosophy over on the About Us page, but here, we focus on flawless results, especially when it comes to pie.
Why This Is the Best Classic Pumpkin Pie Recipe (Expert Tips)
So, what makes grabbing this classic pumpkin pie recipe over the one on the can such a game-changer? Honestly, it’s all about the internal structure—we’re aiming for that ultra-stable, creamy pumpkin dessert texture, not something that wobbles like Jell-O when you cut it. The specific blend of spices I use is crucial; it’s a little heavier on the cloves than you might expect, which balances the sweetness of the sugar beautifully, resulting in that perfect spiced pumpkin pie flavor everyone craves.
This recipe is built on tradition, and honestly, tradition works when it comes to holiday baking staples!
Achieving the Perfect Creamy Pumpkin Dessert Texture
The real magic here is the evaporated milk, folks. Don’t try to substitute it with heavy cream if you want that old-fashioned structural integrity! Evaporated milk is concentrated, and when it mixes with the eggs and pumpkin, it sets up perfectly stable in the oven. Heavy cream can sometimes just lead to a softer, almost custard-like texture that doesn’t quite hold up to slicing. You want firm, smooth, and decadent—and evaporated milk delivers.
The Secret to a Flaky Pie Crust Recipe
Even though this recipe uses a pre-made crust for simplicity (because sometimes we just don’t have time for all that rolling!), you still need to respect the crust dough itself. If you’re making your own flaky pie crust recipe, just remember the cardinal rule: keep everything ice cold! Butter cubes that are too warm will melt right into the flour instead of creating those beautiful, flaky layers when they hit the hot oven. If you’re using store-bought, let it sit on the counter for only ten minutes before filling it; cold equals flaky.
Ingredients for Your Classic Pumpkin Pie Recipe
Okay, let’s talk about what goes inside this beautiful, traditional package. Gathering your ingredients is half the battle when you’re aiming for that classic, foolproof result. We are sticking to simplicity here—no complicated additions that distract from the pure flavor of the pumpkin and the spice. When you look at this list, you’ll feel confident you have everything you need for a homemade pumpkin pie filling that sets up perfectly. Remember that one small detail I emphasized earlier? Make absolutely sure you grab pure pumpkin puree, not the pre-spiced pumpkin pie mix!
For the Homemade Pumpkin Pie Filling
You’ll need the following items ready to go before you start mixing. Having everything measured out (this is called *mise en place*, but I just call it ‘getting organized so I don’t panic’) makes the assembly lightning fast.
- 1 (9 inch) unbaked pie crust (Keep this cold!)
- 1 (15 ounce) can pumpkin puree (Please, please, please use 100% pure pumpkin, not pie filling!)
- 1 (12 ounce) can evaporated milk
- 2 large eggs, lightly beaten
- 3/4 cup granulated sugar
- 1 teaspoon ground cinnamon
- 1/2 teaspoon ground ginger
- 1/4 teaspoon ground nutmeg
- 1/4 teaspoon salt
- 1/4 teaspoon ground cloves
Step-by-Step Instructions for This Traditional Pumpkin Pie Recipe
Now that everything is measured out, getting this classic pumpkin pie recipe into the oven is surprisingly quick! Since we are aiming for that perfectly baked, smooth filling, the order you mix things in really matters. You don’t want any gritty bits lurking at the bottom of your gorgeous pie shell, and that’s where organizing your bowls pays off!
Preheat your oven right away to 425 degrees F (that’s 220 degrees C). We start hot to set that crust properly, which is a little trick I picked up years ago!
Mixing the Homemade Pumpkin Pie Filling
First things first: grab a smaller bowl and whisk together all your dry ingredients—the sugar, cinnamon, ginger, nutmeg, salt, and cloves. You want this spice mixture to be totally uniform before it meets the wetter stuff. In that large bowl you prepared earlier, gently whisk the pumpkin puree, the evaporated milk, and those two lightly beaten eggs until everything looks nice and smooth. Once the wet and dry bowls are ready, slowly pour that spice mixture into the pumpkin mixture. Just mix it until everything is combined; usually about 30 seconds with a whisk is plenty. Don’t overdo it, or you might risk deflating your filling structure!
Baking Technique for the Perfect Spiced Pumpkin Pie
Pour that gorgeous filling right into your unbaked pie crust—no blind baking needed here! Pop it into the preheated 425°F oven and let it bake hard for exactly 15 minutes. This initial high heat gives the bottom crust a boost so it doesn’t get soggy. After those 15 minutes are up, don’t open the oven door too fast! Reduce that temperature down to 350 degrees F (175 degrees C) and let it gently bake for another 35 to 40 minutes. You know it’s done when a knife inserted near the center comes out clean. If the edges start looking too dark, that is your cue to grab some foil for later!
Remember to check out my overnight casserole if you’re looking for other autumn breakfast ideas!
Tips for Success with Your Classic Pumpkin Pie Recipe
We are making magic here, but sometimes the oven works against us a little! Don’t sweat it if your crust looks like it’s aiming for a tan a little too early in the process. That’s the beauty of sticking to a classic pumpkin pie recipe; you learn the little tricks to keep everything looking beautiful for your Thanksgiving dessert menu.
The most important thing now is patience after it comes out of the heat. You must let it cool completely. Seriously, walk away! It continues setting up as it cools down on the rack, which is what guarantees that firm slice later on.
Preventing Over-Browning on This Easy Fall Dessert
If you notice those beautiful crust edges getting dark brown before the center is baked through, grab a strip of aluminum foil. Just cover the edge of the pie loosely—don’t press it down onto the filling, or that nice edge you have will stick! This little shield protects that easy fall dessert crust while the middle finishes baking perfectly.
Serving Suggestions for Your Old Fashioned Pumpkin Pie
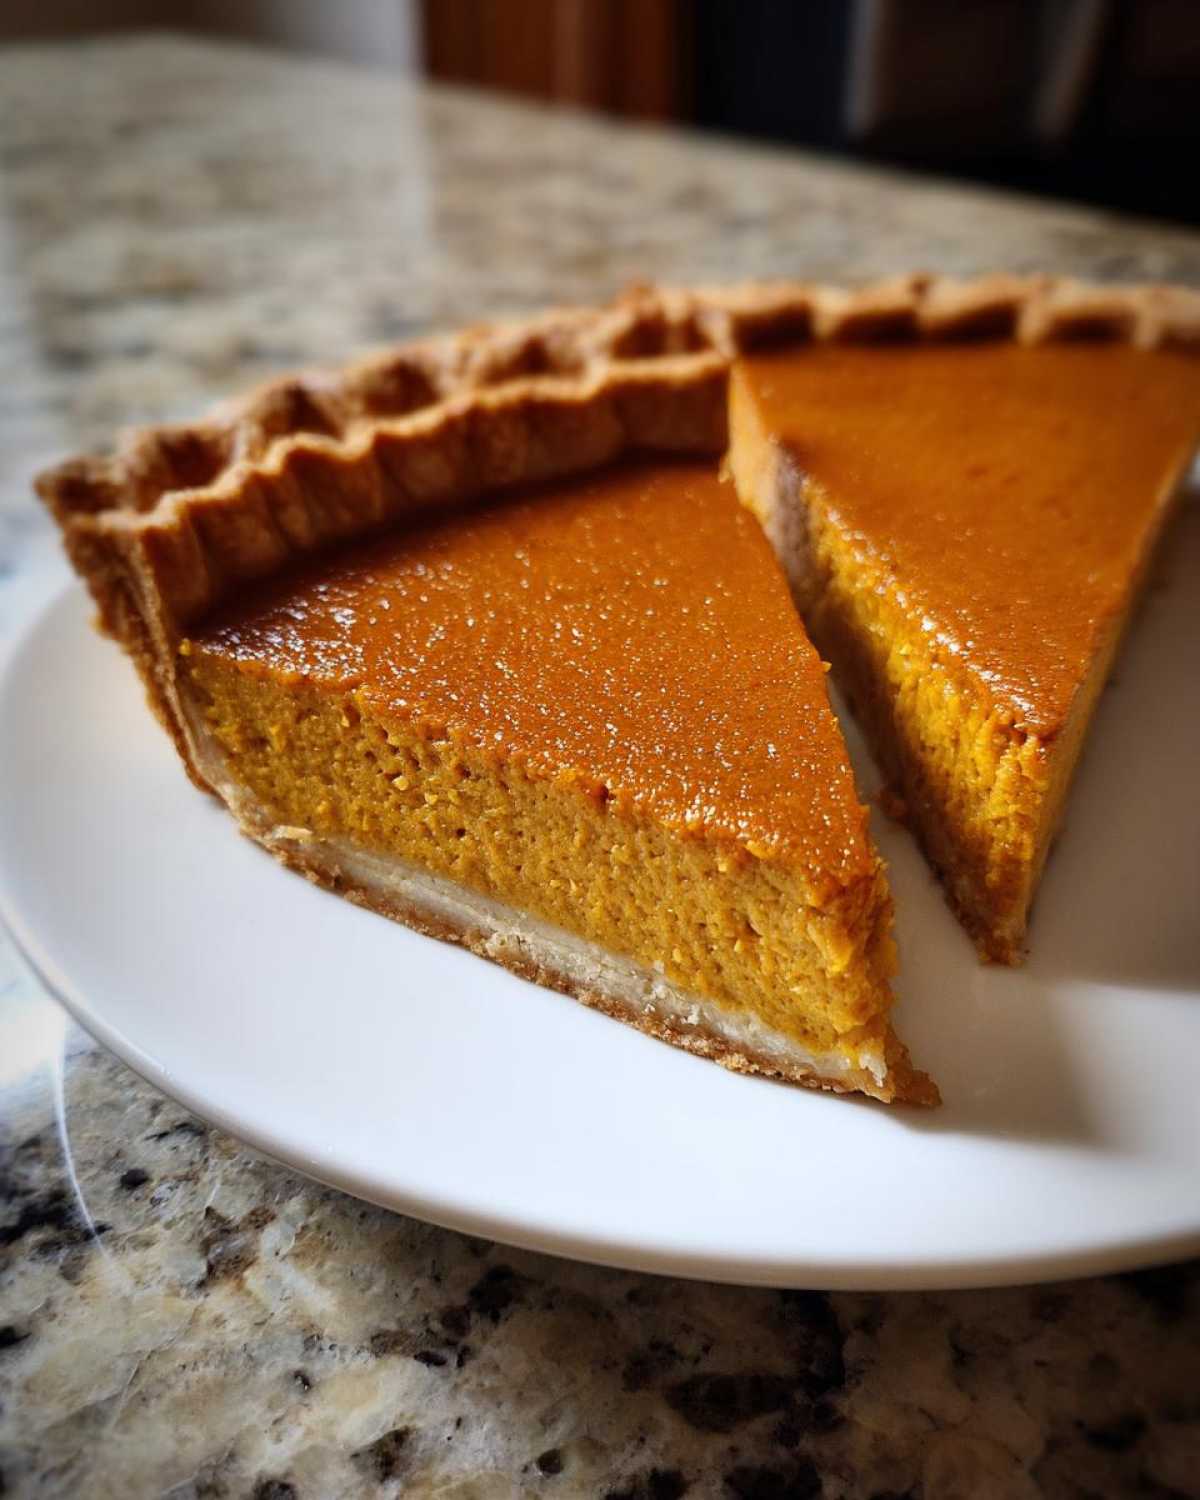
The moment this old fashioned pumpkin pie comes to room temperature, it’s time for the grand finale! While this pie is absolutely phenomenal all on its own—seriously, those spices are singing!—it really does beg for a creamy counterpart. Everyone knows the classic topping has to be whipped cream.
You can whip cream fresh with a tiny dash of vanilla and maybe a sprinkle of powdered sugar. That’s how my mom always did it, and the light, airy texture is the perfect contrast to the dense, smooth filling. But if you’re having a savory main course, sometimes you want a little extra salty-sweet kick on top!
I’ve been known to serve slices topped with a dollop of my homemade maple whipped cream because it just makes everything feel just a bit more special. Or, if you’re feeling wild, try a side of maple candied bacon for crunch and sweet saltiness. It sounds crazy, but trust me, it works magnificently with pumpkin pie with whipped cream!
Storage and Make-Ahead Tips for This Holiday Baking Staple
One of the best things about this classic pumpkin pie recipe is that it’s absolutely fantastic when made ahead of time! It actually lets those beautiful spices deepen overnight, making the flavor even richer the next day. If you’re planning a big Thanksgiving spread, you can totally bake this pie the day before. Once it’s cooled completely—and I mean rock solid cool, usually 3 to 4 hours—you can cover it tightly with plastic wrap. You don’t need to worry about freshness much because that high sugar content acts like a natural preservative.
When it’s time to serve, I usually let it sit out on the countertop for about 30 minutes just to lose the deep chill, but honestly, it is delicious served straight from the fridge. Definitely keep any leftovers refrigerated, uncovered for the first hour, and then lightly covered after that. Seriously, this beauty holds up so well!
Frequently Asked Questions About the Classic Pumpkin Pie Recipe
I know when I’m baking for the holidays, I always have a mountain of questions right before I seal the deal! It’s smart to double-check things, especially when hosting. I’ve pulled together the most common queries I get about pulling off this classic pumpkin pie recipe perfectly, so you can move on to things like setting the table!
Can I substitute evaporated milk in this traditional pumpkin pie recipe?
You certainly can, but I strongly advise against it if you want the results from this traditional pumpkin pie recipe! Evaporated milk is what gives us that sturdy yet velvety texture. If you use regular milk or even heavy cream, the pie filling often comes out too soft and might not set up correctly, especially if you’re looking for a clean slice.
How do I know if my homemade pumpkin pie filling is done?
The knife test is your absolute best friend here! When you slide a thin knife or a toothpick about an inch into the center, it should come out clean or with maybe one or two tiny, moist crumbs clinging to it—no wet batter! Also, the very outer edge should look set, but the center inch might still have the faintest little jiggle to it. It will firm up completely as it cools, promise!
Is this considered an easy holiday baking staple?
Yes, absolutely! Once you’ve mixed the spices together, the assembly takes literally about ten minutes, which is why it’s such a winner for busy hosts. It really is the definition of an easy holiday baking staple that delivers a beautiful, old fashioned pumpkin pie taste without any fuss. If you’re looking for other fun, easy ways to use those fall spices, check out these Pumpkin Spice Cold Brew Popsicles for the day after Thanksgiving!
Nutritional Estimates for This Simple Pumpkin Dessert
I always feel a little funny posting nutritional information because when you’re enjoying a slice of homemade pie, you’re really not supposed to be counting calories—you’re supposed to be enjoying the moment, right? But for those of you who like to keep tabs, I put together the best estimate based on using a standard 9-inch pre-made pie crust.
Please keep in mind that these numbers are just a general guide for one slice. If you use a homemade, all-butter crust, that fat and calorie count is going to shift a bit, and if you use a lot of homemade whipped cream, well, that adds a little something extra, too! For the absolute specifics on recipe disclaimers, you can check out the details on our full disclaimer page.
Here’s the breakdown:
- Serving Size: 1 slice
- Calories: 300
- Sugar: 25g
- Sodium: 250mg
- Fat: 15g (Saturated Fat: 7g)
- Carbohydrates: 35g
- Protein: 7g
Share Your Perfect Spiced Pumpkin Pie Experience
I truly hope this classic pumpkin pie recipe becomes a cherished part of your holidays too! When you give this a try, please come back and let me know how it went in the comments below. Did your family rave about the spice mix? I want to see photos of your beautiful pies! If you have any questions at all, don’t hesitate to reach out via the Contact page. Happy baking, everyone!
PrintClassic Homemade Pumpkin Pie

A recipe for a traditional, creamy pumpkin pie with classic fall spices, baked in a flaky crust.
- Prep Time: 15 min
- Cook Time: 50 min
- Total Time: 65 min
- Yield: 8 servings
- Category: Dessert
- Method: Baking
- Cuisine: American
- Diet: Vegetarian
Ingredients
- 1 (9 inch) unbaked pie crust
- 1 (15 ounce) can pumpkin puree (not pumpkin pie filling)
- 1 (12 ounce) can evaporated milk
- 2 large eggs, lightly beaten
- 3/4 cup granulated sugar
- 1 teaspoon ground cinnamon
- 1/2 teaspoon ground ginger
- 1/4 teaspoon ground nutmeg
- 1/4 teaspoon salt
- 1/4 teaspoon ground cloves
Instructions
- Preheat your oven to 425 degrees F (220 degrees C).
- In a large bowl, whisk together the pumpkin puree, evaporated milk, and eggs until smooth.
- In a separate small bowl, mix the sugar, cinnamon, ginger, nutmeg, salt, and cloves.
- Add the dry spice mixture to the wet ingredients and mix well until fully combined.
- Pour the filling into the unbaked pie crust.
- Bake at 425 degrees F (220 degrees C) for 15 minutes.
- Reduce the oven temperature to 350 degrees F (175 degrees C) and continue baking for 35 to 40 minutes, or until a knife inserted near the center comes out clean.
- Cool completely on a wire rack before slicing and serving.
Notes
- For a flakier crust, use a chilled, all-butter pie crust recipe.
- Serve chilled or at room temperature with fresh whipped cream.
- If the crust edges brown too quickly, cover them loosely with aluminum foil during the last 20 minutes of baking.
Nutrition
- Serving Size: 1 slice
- Calories: 300
- Sugar: 25
- Sodium: 250
- Fat: 15
- Saturated Fat: 7
- Unsaturated Fat: 8
- Trans Fat: 0
- Carbohydrates: 35
- Fiber: 2
- Protein: 7
- Cholesterol: 75