

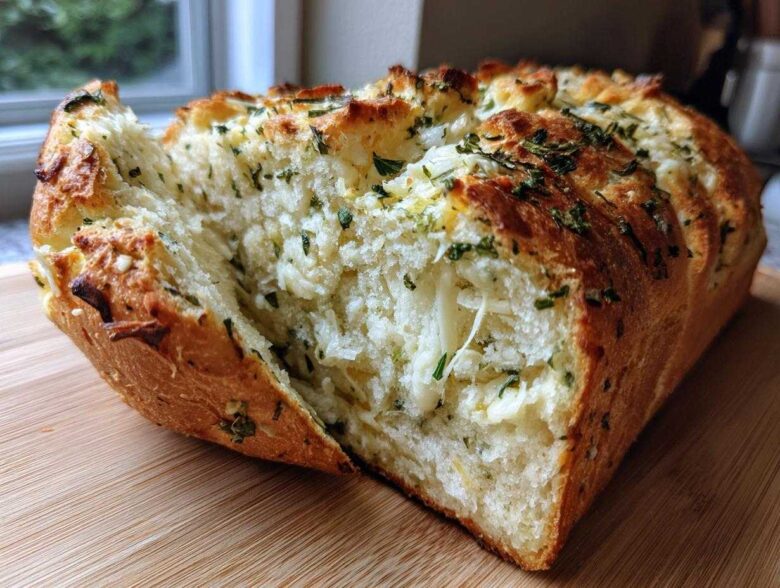
Oh, you guys! If you think your bread machine is just for making plain, white sandwich loaves, you are missing out on so much flavor and joy! I’m Amina, and let me tell you, when life gets hectic, there’s nothing more comforting than walking into the house and smelling something wonderfully savory baking away without me having to stand over a counter kneading dough. That’s why I’m so excited to share this amazing Italian herb and cheese bread recipe with you. It’s unbelievably easy, yet it fills your kitchen with the aroma of a real Italian bakery. This loaf feels like a hug in bread form, taking all the familiar comfort of home baking and making it machine-simple. Trust me, this is one of those easy bread machine recipes that will stick around forever, just like the simple, flavorful dishes my grandmother taught me. To learn more about how food connects us, you can always check out our story over on the About Us page!
Why This Italian Herb and Cheese Bread is Your New Favorite Easy Bread Machine Recipe
When I first moved here and started trying to manage a kitchen that wasn’t constantly buzzing with market energy, I needed reliable tools. This bread machine herb bread is my total go-to because it gives you 95% of the effort for 100% of the flavor payoff. If you’re looking for truly easy bread machine recipes, this is it. You dump things in, press a button, and walk away!
The best part? It comes out perfectly structured every time, which is why it makes the absolute best sandwich loaf. No floppy bottoms or weird shapes here. I love sending David off with slices for lunch, and it’s amazing as a quick cheesy dinner bread side when you just can’t face making biscuits.
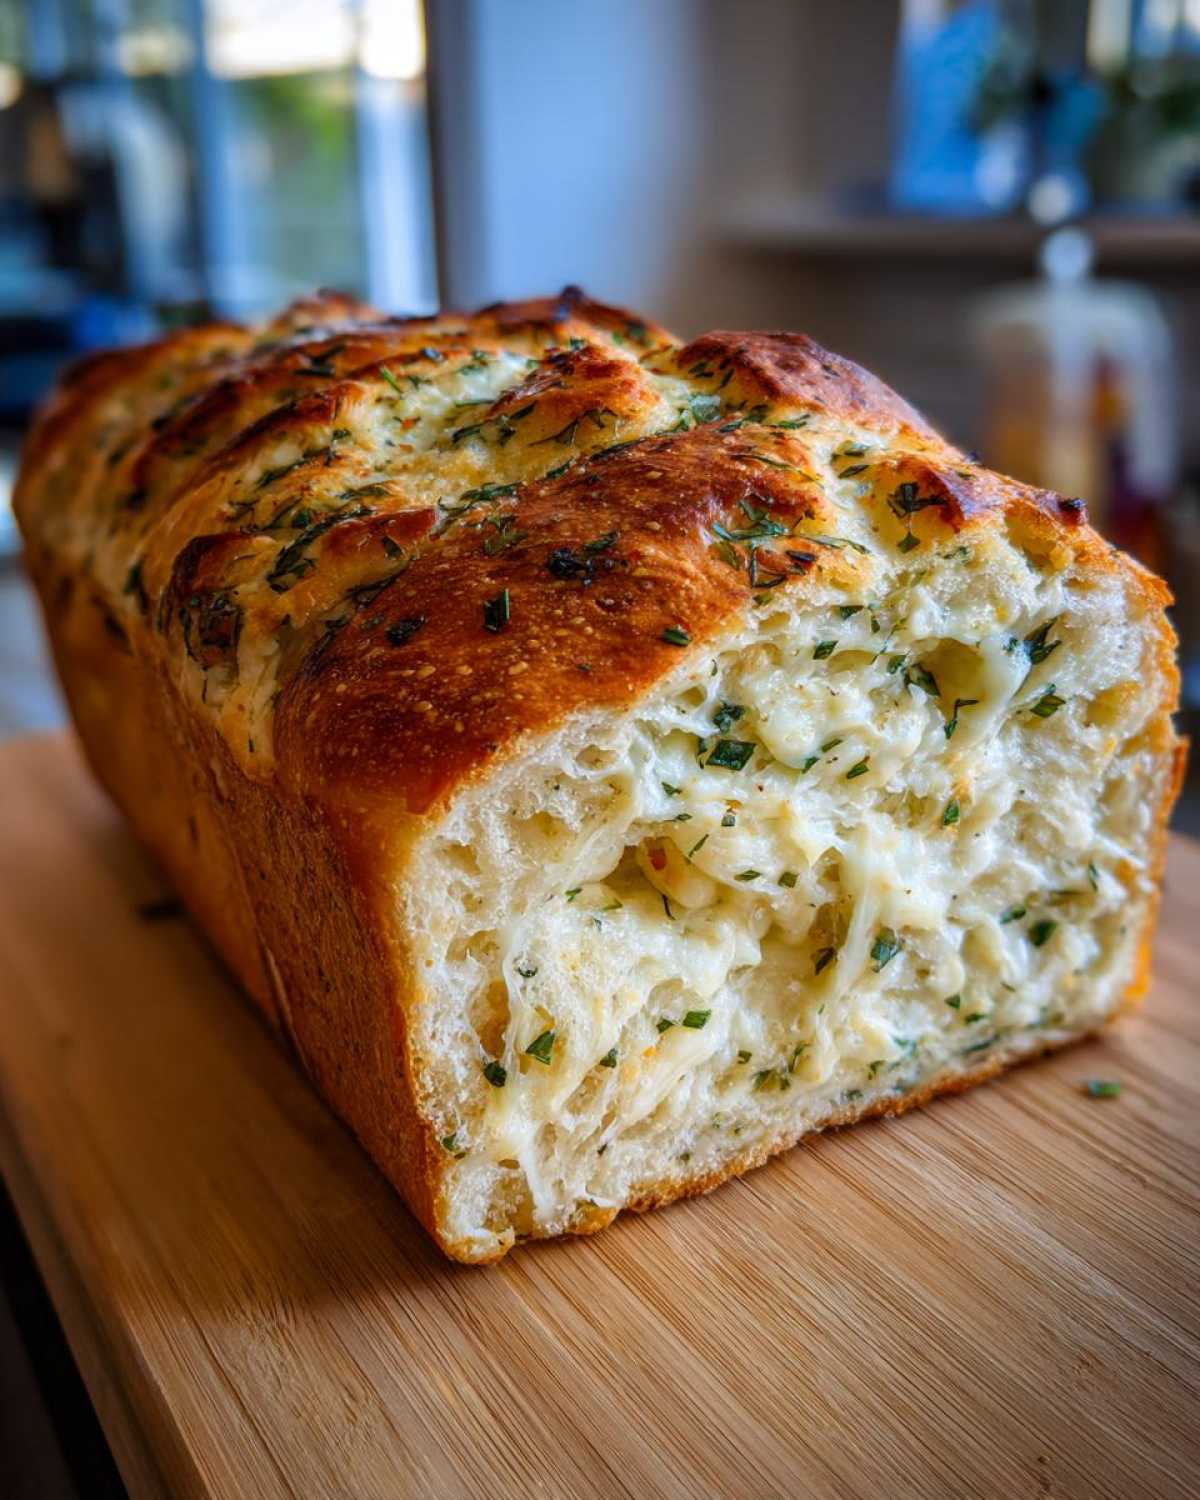
Key Features of Our Parmesan Herb Bread
What sets this loaf apart is that fantastic ratio of cheesy richness to savory herbs. It’s truly reminiscent of that classic garlic herb bread you crave, but bumped up with the nuttiness of Parmesan! Here’s what you can expect:
- Perfectly soft crumb inside that slices beautifully without crumbling.
- That lovely, golden crust that the machine gives you, especially with the extra cheese melted on top.
- The flavor profile nails that aromatic Italian seasoning blend we all love.
This is honestly the most encouraging bake for any beginner bread machine owner, trust me on that one! You can sneak a peek at some of my general baking thoughts over on the blog if you like!
Gathering Ingredients for Your Italian Herb and Cheese Bread
Okay, getting ready to load up the pan is the most important part for any successful bread machine herb bread. Since the machine does all the hard work, we just need to get the right stuff in there at the right time. I need you guys to be specific here—there’s no room for guesswork when we’re dealing with yeast!
You need that water to be just right—warm, not hot; aim for about 105 to 115°F. If the water is colder, the yeast won’t wake up, and you’ll get a sad, dense brick instead of a beautiful loaf. We are using bread flour because that extra protein creates the structure we need for a great sandwich loaf that holds up to butter and jam.
Ingredient Notes and Substitutions
Listen, the cheese choice here is intentional! We use mozzarella because melts like a dream and gives you that gooey pull, but the Parmesan adds the savory, salt-forward punch that makes this an Italian cheese bread. Don’t skip the Parmesan step at the end; that’s how we get that slightly crusted top!
About the herbs: if you don’t have a generic Italian blend, feel free to mix your own! I’ve done this many times when the jar was empty. For a lovely rosemary oregano bread flavor profile, just toss in about a tablespoon of dried rosemary and oregano mixed together. Fresh herbs work beautifully too—just use about one tablespoon total of chopped fresh herbs and add them right in with the yeast. The garlic herb bread notes from the garlic powder balance that savory depth nicely.
Step-by-Step Instructions for Bread Machine Herb Bread
Now for the fun part! I know using a beginner bread machine can feel a little intimidating because the instructions are often so technical, but I promise you, this process is straightforward once you know the secret order. If you mess up the layering, the yeast won’t cooperate, and you’ll end up with a lopsided loaf. We want that perfect structure for slicing later!
Remember, this isn’t like mixing dough by hand where you can just stir things around. In the machine, layers matter! We’re building a perfect environment for that yeast to wake up and do its job, creating the best easy bread machine recipe you’ve ever tried.
Loading the Pan and Selecting the Cycle
First things first: liquids go in first! Pour in your warm water—and seriously, check that temperature, 105°F to 115°F is the sweet spot, otherwise you risk killing your yeast. Then add your olive oil. Next, layer in all your dry ingredients: the bread flour, the salt, and the sugar. Now, this layering is super important for your italian herb and cheese bread. You need to make a tiny little divot or well right in the center of that layer of flour.
Drop your active dry yeast right into that little well. Do not let it touch the water or salt yet! That’s the rule! Once everything is layered just so, close up the machine, select the Basic/White Bread cycle, and make sure you choose the Light crust setting. We want the flavor to shine over overly dark baking.
Adding Mix-Ins for Perfect Italian Cheese Bread
This is where most people get nervous, but trust me, I’ve tested this timing out so you don’t have to guess. The machine will do the slow kneading first. You wait until the machine signals that it’s starting the final rise, or sometimes just before the bake cycle kicks in—check your specific manual, but that’s usually the timeframe! At that moment, you lift that lid quickly!
You’re going to sprinkle in half of your Parmesan and *all* of the mozzarella cheese right then. If your machine has one of those cool dispenser chutes, you can try tossing the herbs in during the first few minutes of mixing, but for the cheese, the very end of the rise is best. Close that lid right away! If your machine doesn’t have a dispenser for the dried seasonings, add the Italian blend and garlic powder about 5 minutes before the mix-ins step, right near the end of the kneading.
Tips for Success with Your Italian Herb and Cheese Bread
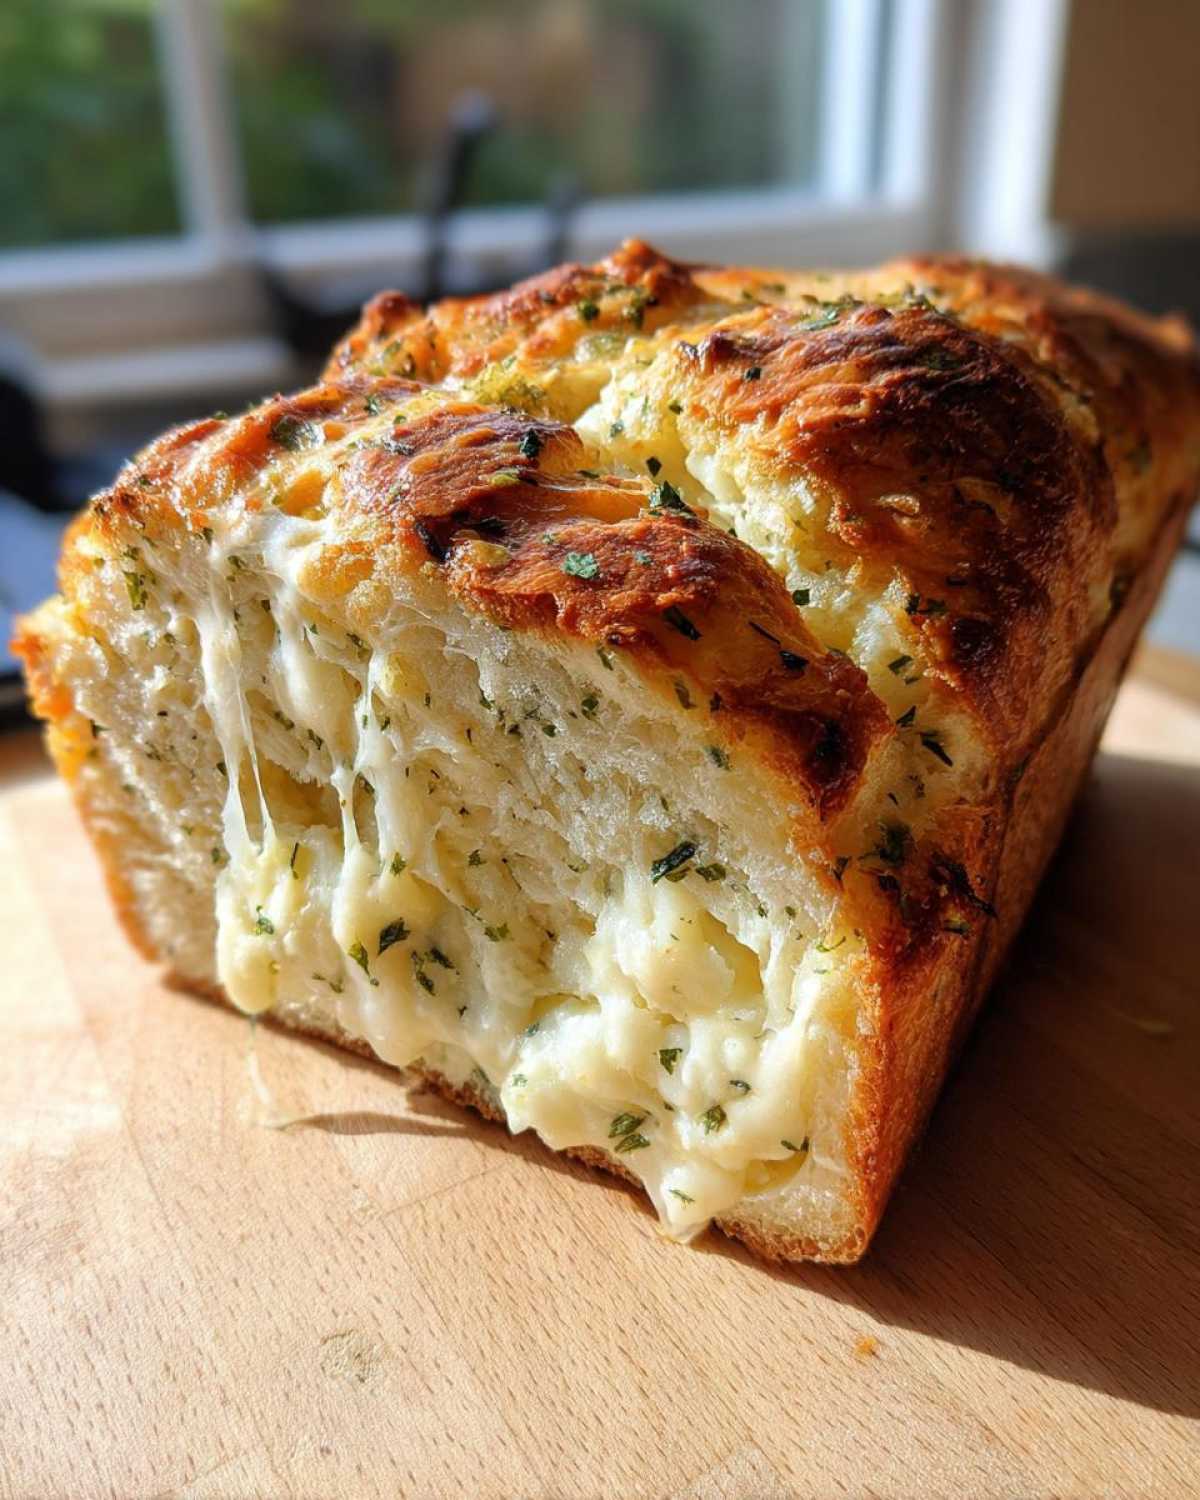
Even though this is an incredibly easy bread machine recipe, a couple of little tricks I picked up from years of troubleshooting will ensure you get that gorgeous, bakery-quality finish on your italian herb and cheese bread. Seriously, baking is just chemistry that you can play with, right?
Once the bake cycle finishes, don’t let the loaf just sit in that hot pan! Carefully turn it out onto a wire rack right away. This is crucial for preventing steam from getting trapped, which would make the crust soft and soggy. We want a nice, crisp edge on this cheesy dinner bread!
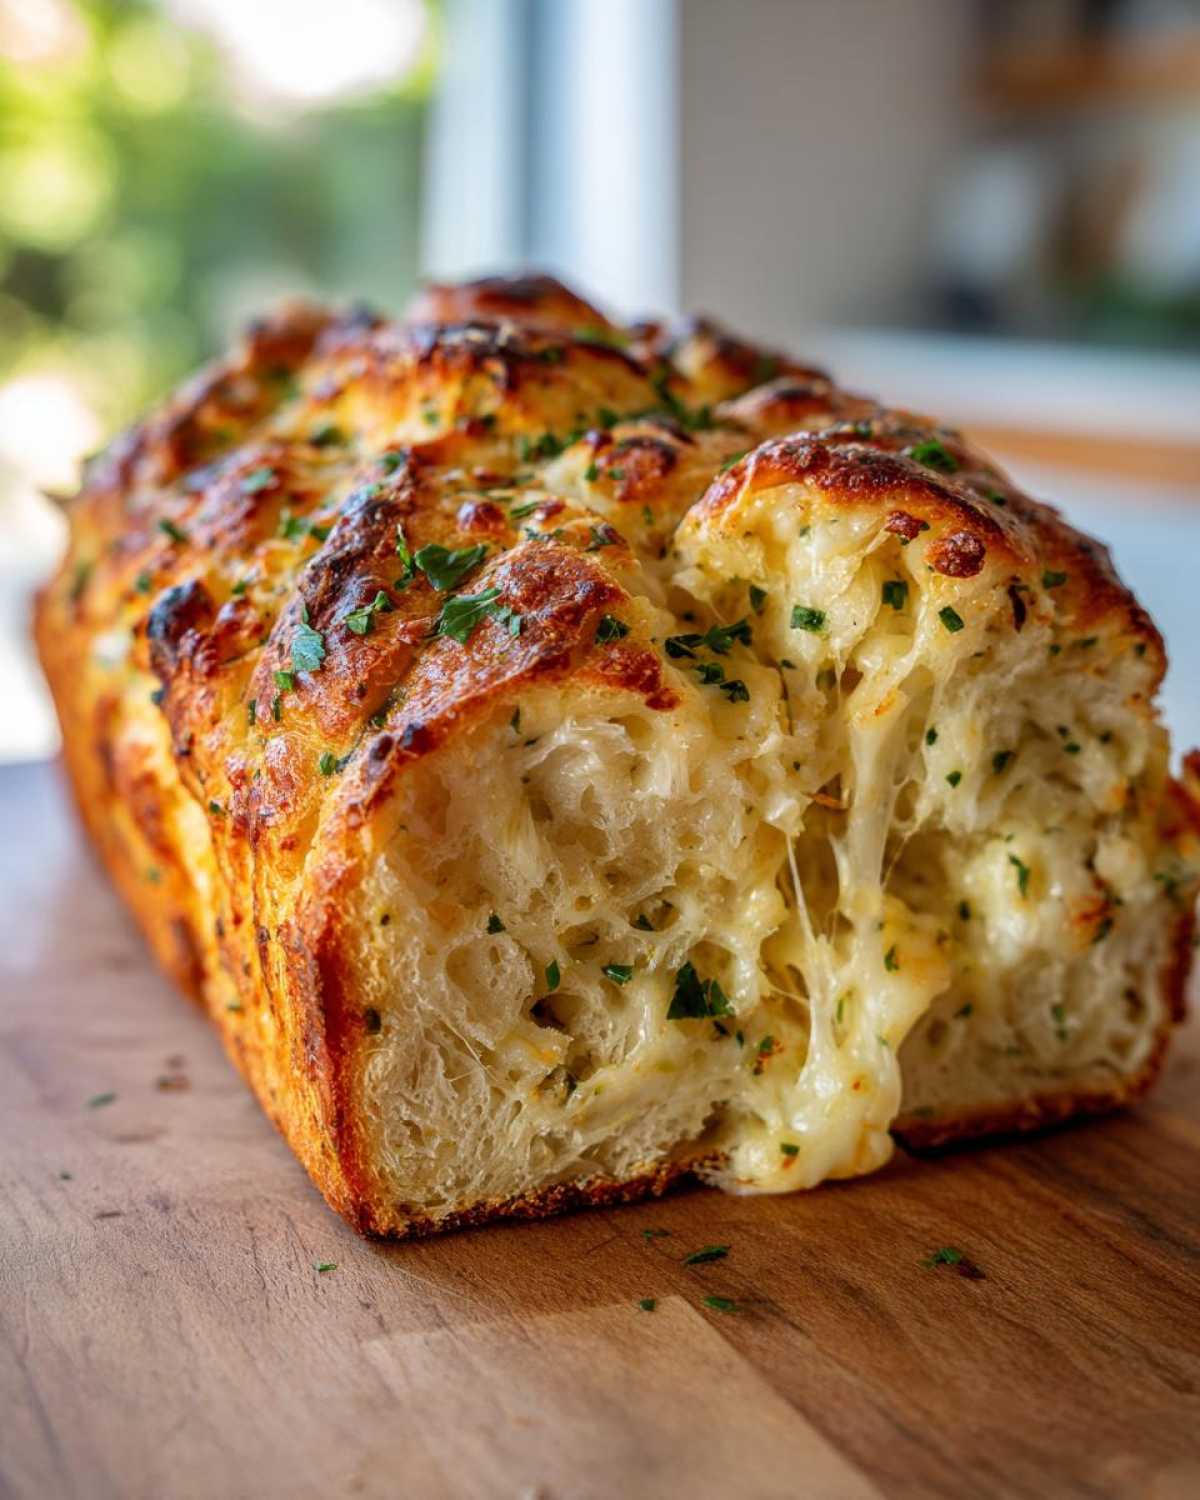
Here’s my absolute favorite part: While the bread is still piping hot, melt just a tiny bit of butter. Brush the top of the loaf lightly—just enough to make it tacky—and immediately sprinkle that remaining 1/4 cup of Parmesan cheese over it. That heat melts the butter just enough for the cheese to stick perfectly, giving you that salty-crispy top layer we all crave!
And please—patience is a true virtue here, much like my apple cobbler recipe! You must let this sandwich loaf cool completely on that rack before you try to slice it. If you cut it while it’s warm, the structure hasn’t really set, and it will smoosh down instead of giving you those beautiful, clean slices you want for sandwiches.
Storage and Reheating Cheesy Dinner Bread
Since this italian herb and cheese bread is so versatile—whether you’re using it for leftovers the next day or saving it for a busy weeknight—we need to talk about keeping it fresh. Honestly, baked goods disappear so fast in our house that I rarely have to worry about long-term storage, but when I do, I have a couple of tricks up my sleeve!
For keeping it fresh for just a few days, room temperature is fine. Make sure it’s cooled *completely* first, just like we stressed before! Then, wrap it tightly. I usually use plastic wrap first, followed by aluminum foil. Wrapping it tightly keeps the air out, which stops the crust from getting tough and keeps that internal crumb soft.
If you want to keep that cheesy, herby goodness around longer, freezing is the answer for this cheesy dinner bread. The instructions mentioned wrapping it tightly in plastic wrap and then foil, and I absolutely agree with that combination! That double layer protects it from freezer burn.
When you are ready to eat that frozen loaf, just take it out the night before and let it thaw on the counter, still wrapped. If you wake up and realize you forgot, you can pop the foil-wrapped loaf into a warm, 300°F oven for about 15 minutes to bring it right back to life. It’s almost as good as fresh baked, I promise!
Serving Suggestions for This Garlic Herb Bread
Now that you have this gorgeous, golden italian herb and cheese bread fresh out of the machine—or perhaps a day old and perfectly toasted—you might be wondering what to do with a whole loaf besides just eating it plain (which, trust me, is tempting!). While it’s undeniably the best sandwich loaf, this bread truly shines as a partner for richer, heartier meals. It just elevates everything, you know?
David and I use this loaf constantly when we’re making Italian-inspired dishes. If you have a big pot of rich tomato sauce simmering, or maybe a creamy mushroom pasta, you absolutely need this bread on the table for dipping. It’s perfect for soaking up every last drop of sauce—that’s my favorite moment! It beats plain rolls every single time.
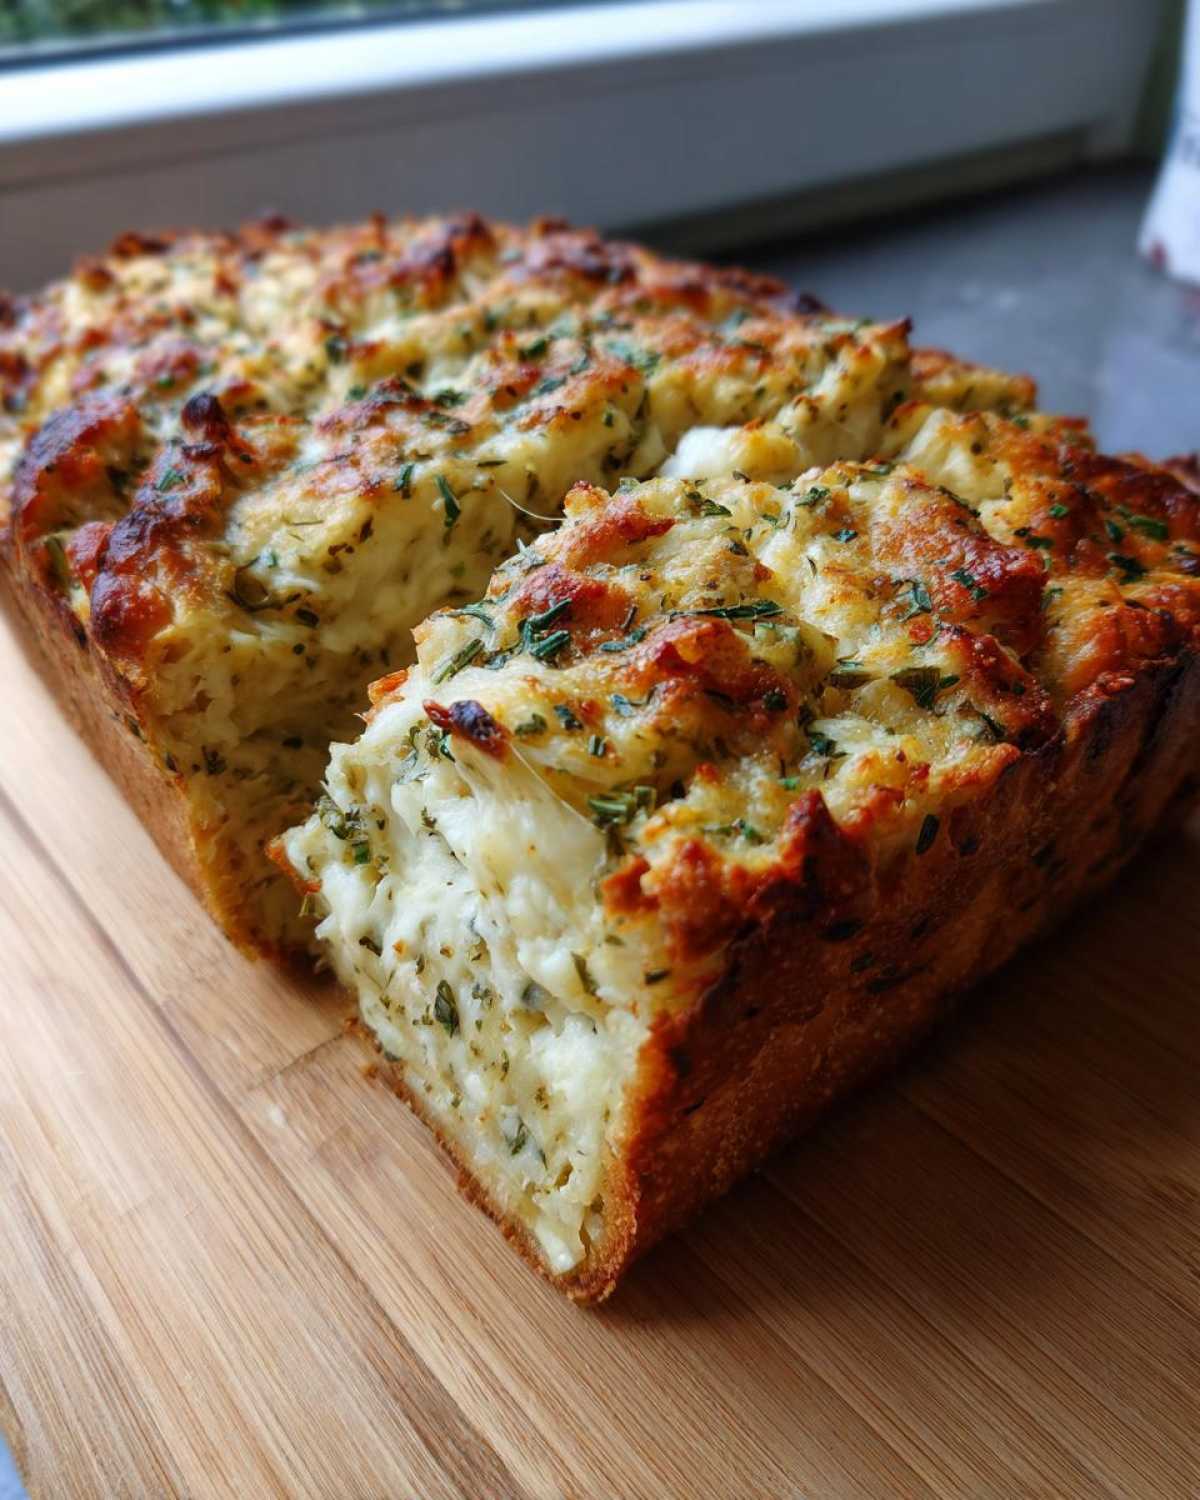
If you happen to be making one of our favorite cozy meals, which is our Tuscan white bean soup, this parmesan herb bread is the only accompaniment you need. The hearty herbs and the melting cheese stand up beautifully to the savory broth. You can slice it chunky and use it as a base for a quick bread bowl, or just use thick slices ready for dipping. It transforms a simple soup night into something genuinely special. It’s a fantastic cheesy dinner bread that works hard on your table!
Frequently Asked Questions About Bread Machine Herb Bread
I always get questions after I post this recipe because everyone wants their machine to behave perfectly! Don’t worry if things seem tricky at first; troubleshooting is just part of the fun of working with these amazing appliances. Getting your bread machine herb bread just right is all about knowing why things work the way they do.
Can I use whole wheat flour in this Italian herb and cheese bread recipe?
Yes, you absolutely can dip your toes into whole wheat territory, but I have to warn you: whole wheat flour is heavier than bread flour, and it doesn’t lift quite as high in the bread machine. If you swap everything directly, you’ll probably end up with a very dense loaf, which isn’t what we want for a fluffy sandwich loaf. I recommend starting slow! Try substituting about one-quarter of the bread flour with whole wheat flour. You might need to add just a tiny bit more liquid—maybe an extra tablespoon of water—to keep the dough from looking crumbly during the initial mix. Stick to the Basic cycle, don’t rush it!
What is the best cycle setting for a dense sandwich loaf?
For this specific Italian herb and cheese bread, you must stick to the Basic or White Bread cycle, as detailed in the instructions. I know some machines have a ‘Rapid’ or ‘Express’ setting, and while that’s tempting when you’re in a hurry, please avoid it for this recipe! The Rapid cycle cuts the rising time way short, and we need that gentle, longer rise to develop the texture and flavor, especially with all the fat from the cheese and oil. You need the long, slow rise to get that perfect structure that slices cleanly. That’s the secret to a non-crumbly Italian cheese bread!
How do I make this a rosemary oregano bread variation?
Oh, I love that variation! Sometimes I want the bright, piney flavor of rosemary instead of the full Italian blend. It’s so simple to switch up the seasoning notes in your garlic herb bread! If you want to go straight for a rosemary oregano bread using dried herbs, you can swap out the 1 tablespoon of Italian seasoning for about 1 teaspoon of dried rosemary and 2 teaspoons of dried oregano. I usually add those right in with the yeast when I first load the machine. If you use fresh herbs, you’ll want a little more volume—use about 1 tablespoon total of finely chopped fresh rosemary and oregano, added right at the same time as the yeast. The flavor will be so much brighter!
Estimated Nutritional Information for Italian Herb and Cheese Bread
As much as I wish every slice of this incredible italian herb and cheese bread came with zero guilt, we know that whenever you mix flour, oil, and a whole cup of cheese into a loaf, the numbers add up! I always want to be upfront with you all about what we’re eating, just like David always shares the story behind the meal.
Keep in mind that these numbers are just estimates, based on standard USDA values for the ingredients listed, and they are calculated for one single slice of the finished loaf. If you cut your loaf into thicker slices—and who am I to judge? I know I do sometimes!—the numbers per slice will be higher, of course. This is just a guide for our wonderful parmesan herb bread!
Here is the breakdown per slice, based on the recipe making one standard loaf:
- Calories: 160
- Fat: 5g (with 2g being Saturated Fat)
- Carbohydrates: 25g
- Sugar: 2g
- Protein: 5g
- Fiber: 1g
- Sodium: 350mg
See? It’s not too bad for a homemade cheesy dinner bread that tastes this amazing! It’s far better than anything store-bought, and honestly, knowing exactly what went into this bread machine herb bread makes it taste even better!
Share Your Homemade Italian Herb and Cheese Bread Experience
Now that your kitchen is filled with that gorgeous aroma of baked cheese and herbs, and you’ve got a perfect loaf of italian herb and cheese bread cooling on the rack, I really, really want to hear how it went for you! That’s the whole point of sharing these recipes—seeing your beautiful results and knowing we made something delicious together.
David and I live for your feedback. Seriously, we read every comment that comes through! If you made this easy bread machine recipe, please let us know! Were you surprised at how easy it was for a beginner bread machine? Did the mozzarella melt just right?
Don’t be shy! Pop down into the comments section below and give the recipe a rating out of five stars. We love seeing what you think! If you managed to snap a picture of your beautiful, crusty parmesan herb bread pulled from the machine, share it with us on social media and tag us! It makes our day when we see your creations.
If you have questions that weren’t covered, or perhaps you successfully tried adding fresh garlic instead of powder, tell us your secrets! We are always learning and finding new ways to spice things up in the kitchen. If you need to reach out to us personally, feel free to use the contact page right here on the site: Connect with Amina and David. Happy baking, sweet friends!
PrintEasy Italian Herb and Cheese Bread Machine Loaf
Make a flavorful, cheesy Italian herb bread right in your bread machine. This recipe yields a perfect sandwich loaf or dinner side bread.
- Prep Time: 10 min
- Cook Time: 3 hr 30 min
- Total Time: 3 hr 40 min
- Yield: 1 loaf
- Category: Baking
- Method: Bread Machine
- Cuisine: Italian
- Diet: Vegetarian
Ingredients
- 1 cup warm water (105-115°F)
- 2 tablespoons olive oil
- 2 1/2 cups bread flour
- 1 1/2 teaspoons salt
- 2 tablespoons granulated sugar
- 1 1/2 teaspoons active dry yeast
- 1 tablespoon dried Italian seasoning blend
- 1 teaspoon garlic powder
- 1/2 cup shredded Parmesan cheese, divided
- 1/2 cup shredded mozzarella cheese
Instructions
- Pour the warm water and olive oil into the bread machine pan in the order specified by your machine’s manual.
- Add the bread flour, salt, and sugar on top of the liquids. Create a small well in the center of the flour.
- Add the active dry yeast into the well. Do not let the yeast touch the liquid or salt yet.
- Select the Basic/White Bread cycle and the Light crust setting on your machine.
- Start the machine. When the machine begins mixing (usually after the first few minutes), add the dried Italian seasoning and garlic powder through the dispenser chute if your machine has one, or wait until the kneading cycle is nearly complete.
- When the machine signals the beginning of the final rise or just before the bake cycle starts (check your manual for the exact timing for adding mix-ins), quickly open the lid and evenly sprinkle in 1/4 cup of the Parmesan cheese and all of the mozzarella cheese. Close the lid immediately.
- Allow the bread machine to complete the baking cycle.
- Once the cycle finishes, carefully remove the bread pan and turn the loaf out onto a wire rack.
- Brush the top of the hot loaf lightly with melted butter, if desired, and immediately sprinkle the remaining 1/4 cup of Parmesan cheese over the top so it adheres.
- Let the Italian cheese bread cool completely on the rack before slicing for the best sandwich loaf texture.
Notes
- For best results with your bread machine herb bread, ensure your water temperature is correct; too hot will kill the yeast.
- If your machine does not have a mix-in dispenser, add the herbs and cheese during the last 5 minutes of the kneading cycle.
- This cheesy dinner bread freezes well once cooled. Wrap tightly in plastic wrap and then foil.
- You can substitute fresh herbs like rosemary and oregano for the dried blend, using about 1 tablespoon total, added with the yeast.
Nutrition
- Serving Size: 1 slice
- Calories: 160
- Sugar: 2
- Sodium: 350
- Fat: 5
- Saturated Fat: 2
- Unsaturated Fat: 3
- Trans Fat: 0
- Carbohydrates: 25
- Fiber: 1
- Protein: 5
- Cholesterol: 8