

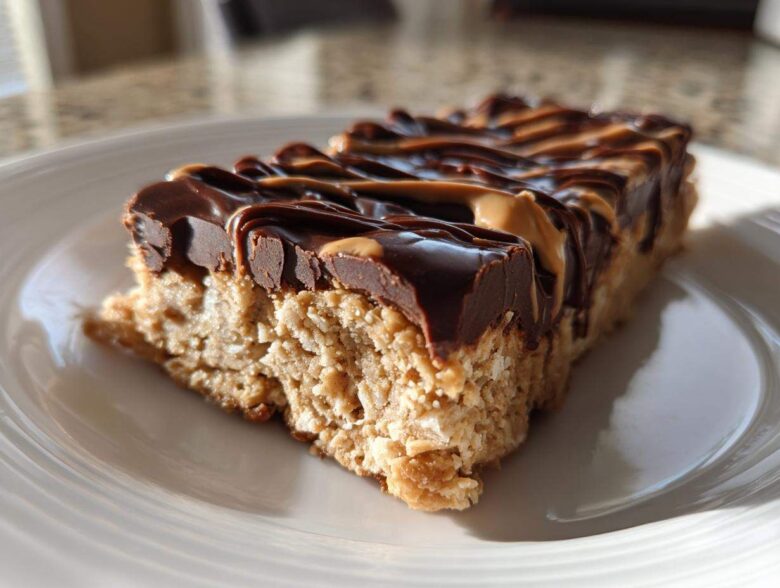
Oh, I know that feeling! When you’re deep into work or rushing around trying to manage life, those snack attacks hit hard. You need something that tastes like a treat but actually fuels you, not crashes you an hour later. That’s exactly why David and I rely so heavily on having batches of these protein bars ready in the fridge. Forget those chalky, expensive bars from the store; we cracked the code for something truly satisfying and incredibly simple. We’re talking about the Easy No-Bake 5-Ingredient Peanut Butter Protein Bars, and trust me, they are lifesavers when things get hectic. This recipe channels that clean-eating vibe we perfected when we first moved back home, proving that delicious doesn't have to mean complicated. You can read more about our story and how food brings us back home right here.
Why These Easy No-Bake Protein Bars Are Your New Go-To Snack
Honestly, the biggest reason I whip up a batch of these homemade protein bars is because they silence my sweet tooth instantly! You know how store-bought snacks leave you feeling guilty? Not these! They are the perfect solution when you need quick protein treats that you can grab without thinking twice. We designed this recipe to be the definitive answer for those who think healthy snack bars are impossible to make taste indulgent.
The Magic of 5-Ingredient Protein Bars
We are keeping things super minimal here, which is why I recommend this recipe for protein bars for beginners! Five ingredients, people! That’s it. And the best part? No oven time needed. Seriously, you mix it, press it, and chill it. That no-bake feature saves my sanity on busy afternoons. It’s proof that powerful nutrition doesn’t require a complicated science experiment in your kitchen.
Achieving the Best Tasting Protein Bars
When I was first testing this out, I learned that texture is everything in a homemade bar. If it crumbles, you’ll never bother making them again! The specific amount of peanut butter and honey creates these perfectly chewy protein bars that rival anything you’d buy. My secret, and this is something I learned from my grandmother about balancing ingredients, is making sure everything is fully combined before pressing. That firm press guarantees a solid bar that doesn’t fall apart when you take that first big, happy bite. If you want to see another great no-bake option, check out our chocolate version here!
Gathering Ingredients for Your Peanut Butter Protein Bars
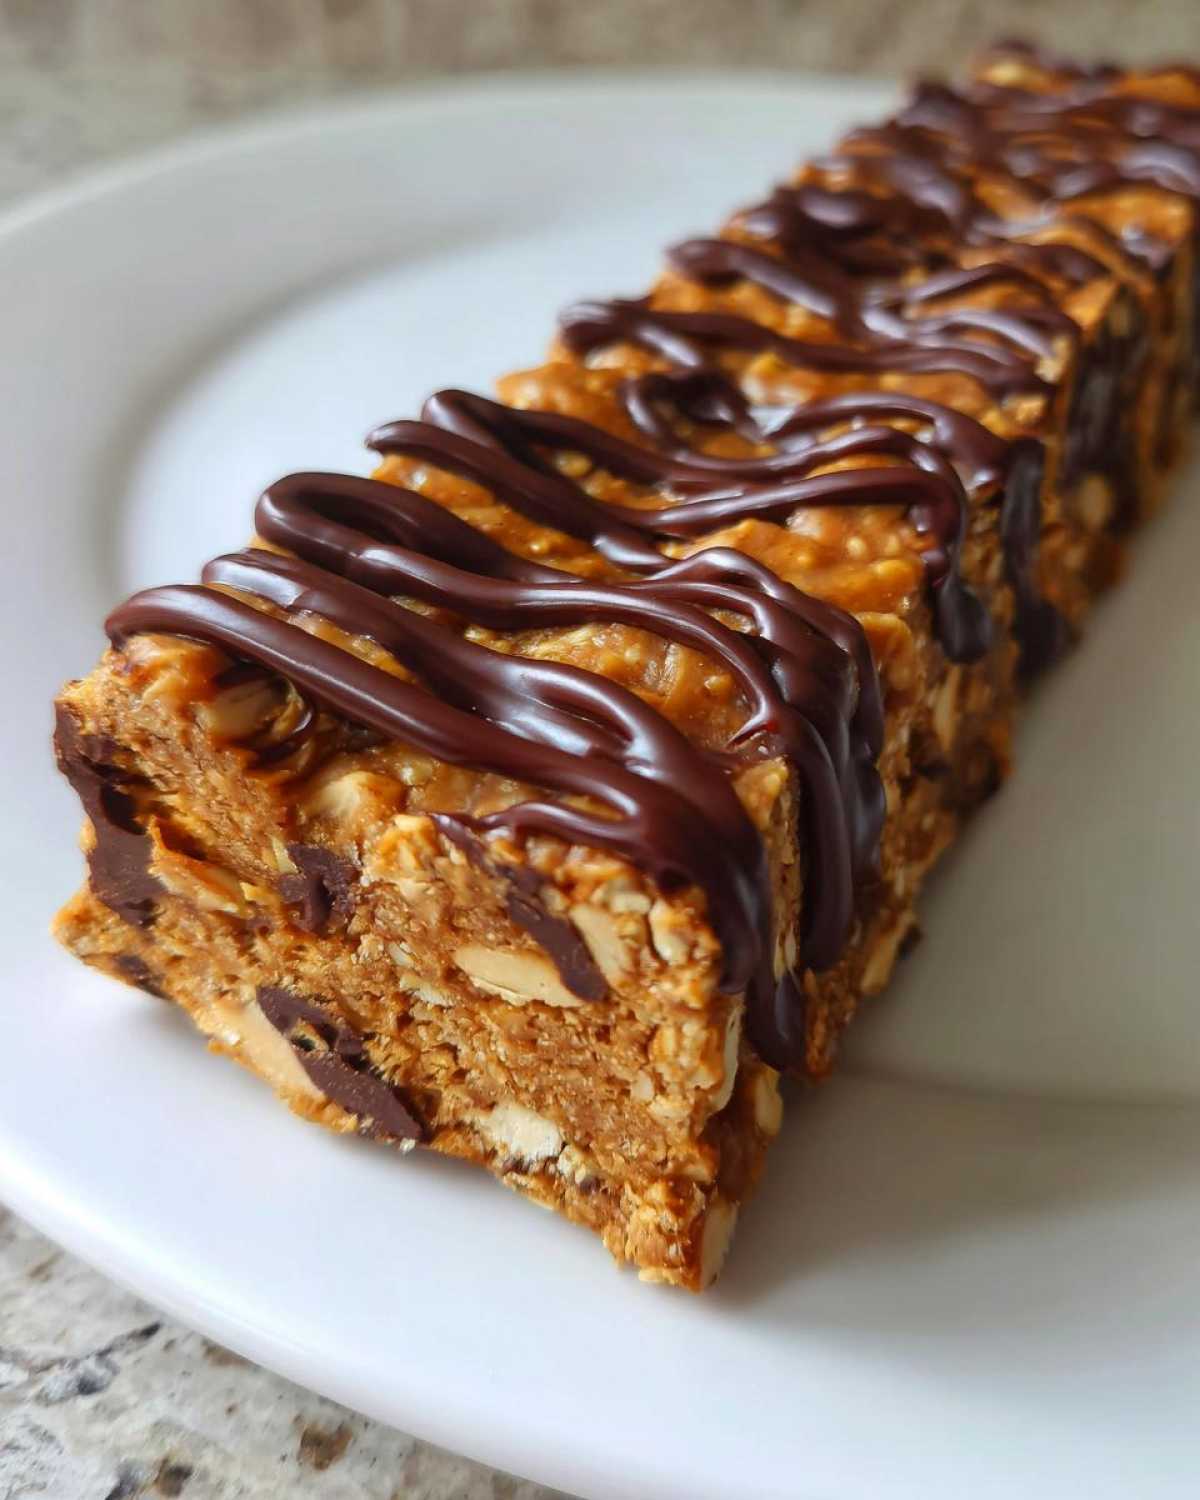
Okay, getting ready to mix these up is probably the easiest part of the whole process, which is why I love this easy protein bar recipe so much! We are only working with five core flavor-builders here, so quality matters. You will need one cup of hearty rolled oats—the regular kind works best for structure, not the instant stuff. Then, grab your peanut butter, making sure it’s the natural, stir-required kind if you can manage it; that helps with the binding. Next comes your protein powder (I use vanilla!), the sweetener, and a tiny bit of melted chocolate for that glamorous finish. You can find tons of ideas on ingredient combinations for all kinds of protein bars on our specialty post.
Ingredient Notes and Substitutions for Homemade Protein Bars
Listen to Amina on this one: the choice of binder really impacts how well your homemade protein bars hold up! If you are making vegan protein bars recipe, just swap the honey out for maple syrup. It works just as well! If you are mixing everything up and it seems a bit crumbly, don’t panic! That just means your protein powder might be thirstier than mine was. Add water or milk just a teaspoon at a time until it holds together nicely when you press it between your fingers. This little fix keeps your final bars from having that dry texture we absolutely hate.
Step-by-Step Instructions for No Bake Protein Bars
Getting these no bake protein bars mixed together is such a joy because there’s zero stress involved—no preheating, no watching for rises, just pure mixing! First thing’s first, you have to get your pan ready. I always use an 8×8 inch pan, and trust me, generously line it with parchment paper. Leave those long flaps draping over the sides so you have handles later. That little bit of overhang is a lifesaver when you try to lift the whole slab out.
Next, toss all those gorgeous base ingredients—the oats, peanut butter, protein powder, and sweetener—into a good-sized bowl. At first, it looks like it’s never going to come together, but stick with it! You’ll want to mix this really well until it starts looking like a thick cookie dough. For the best results, you really do need to switch over to using your hands about halfway through. Get in there and really massage those dry bits into the wet ones until it’s totally uniform. This forceful mixing helps give our high protein recipes that perfect chewiness!
Mixing and Pressing the Protein Bars Dough
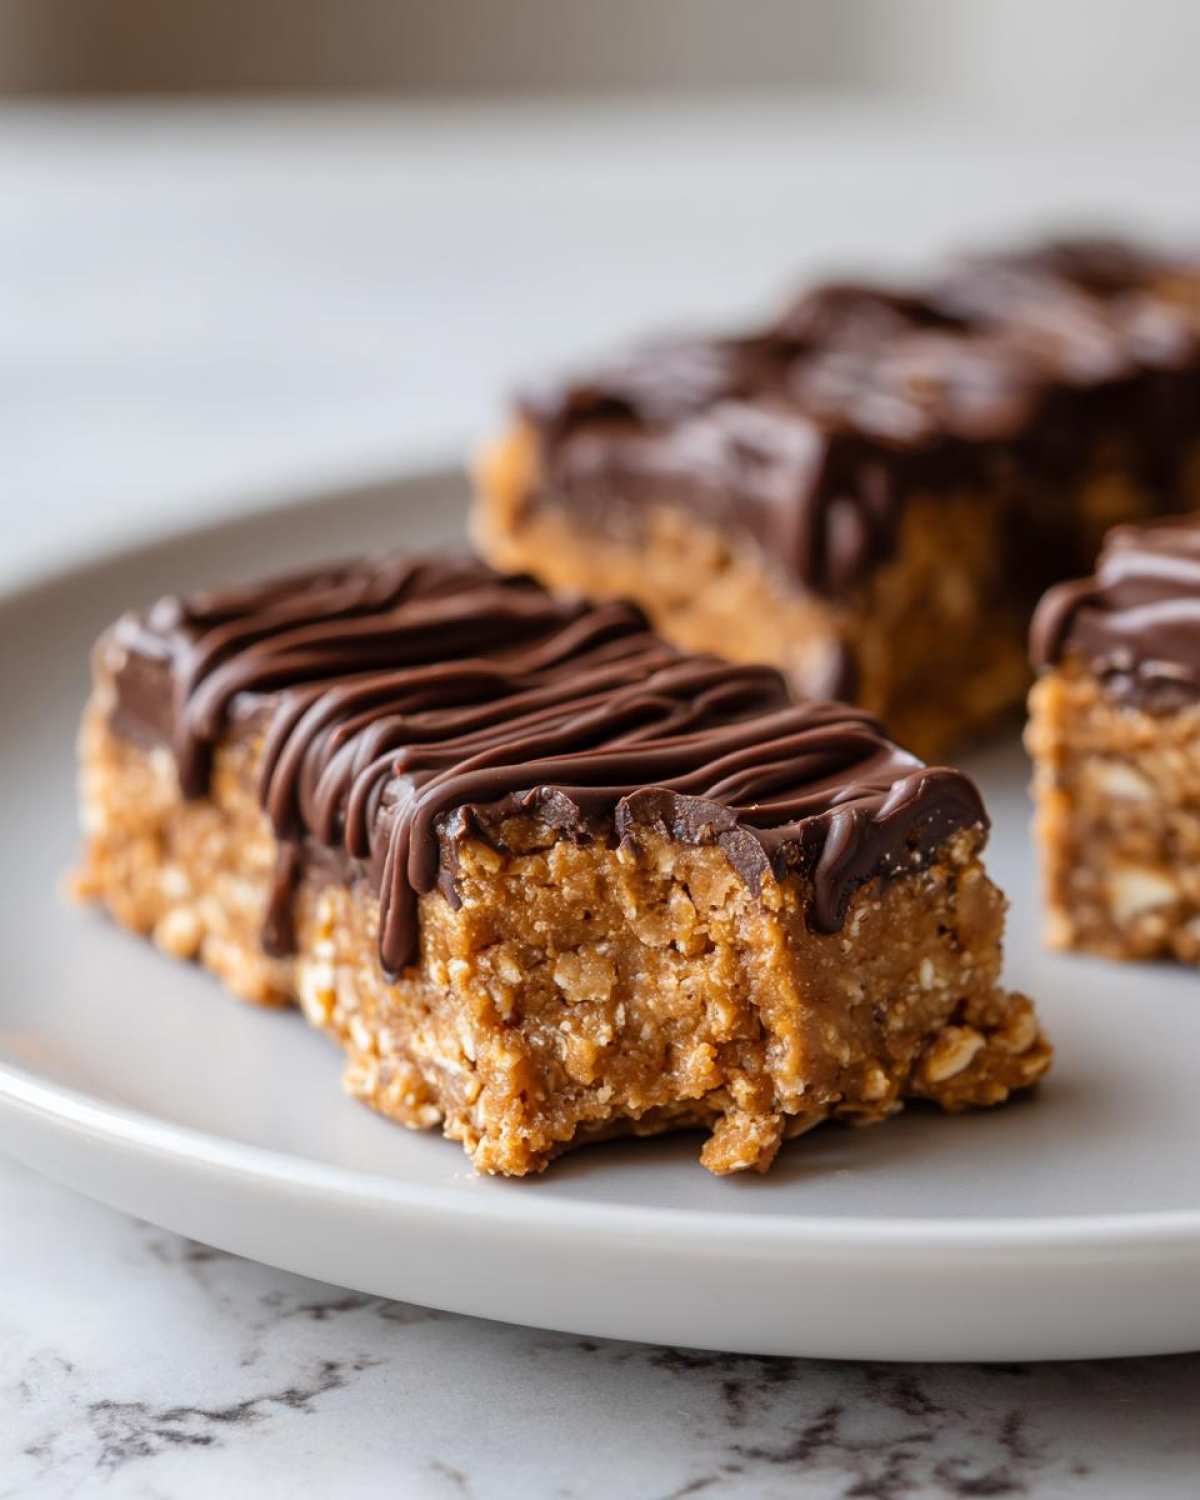
When that dough feels right—like it will hold its shape if you squeezed it—it’s time to transfer it to your prepared pan. Don’t just dump it in! Use a spatula or the back of a spoon to spread it out evenly. Then, stand over that pan and press. I mean *really* press! You have to compact this mixture down firmly so that when you go to slice your bars, they don’t just crumble into dust. A solid press means structurally sound protein bars, which is everything when you’re making these for your weekly snack rotation.
Now for the drizzle if you’re feeling fancy! Melt your chocolate gently—I do mine in 30-second zaps in the microwave, stirring between each one so it doesn’t burn—and drizzle it artfully over the top. It looks fancy, but it takes ten seconds!
Chilling and Cutting Your High Protein Recipes
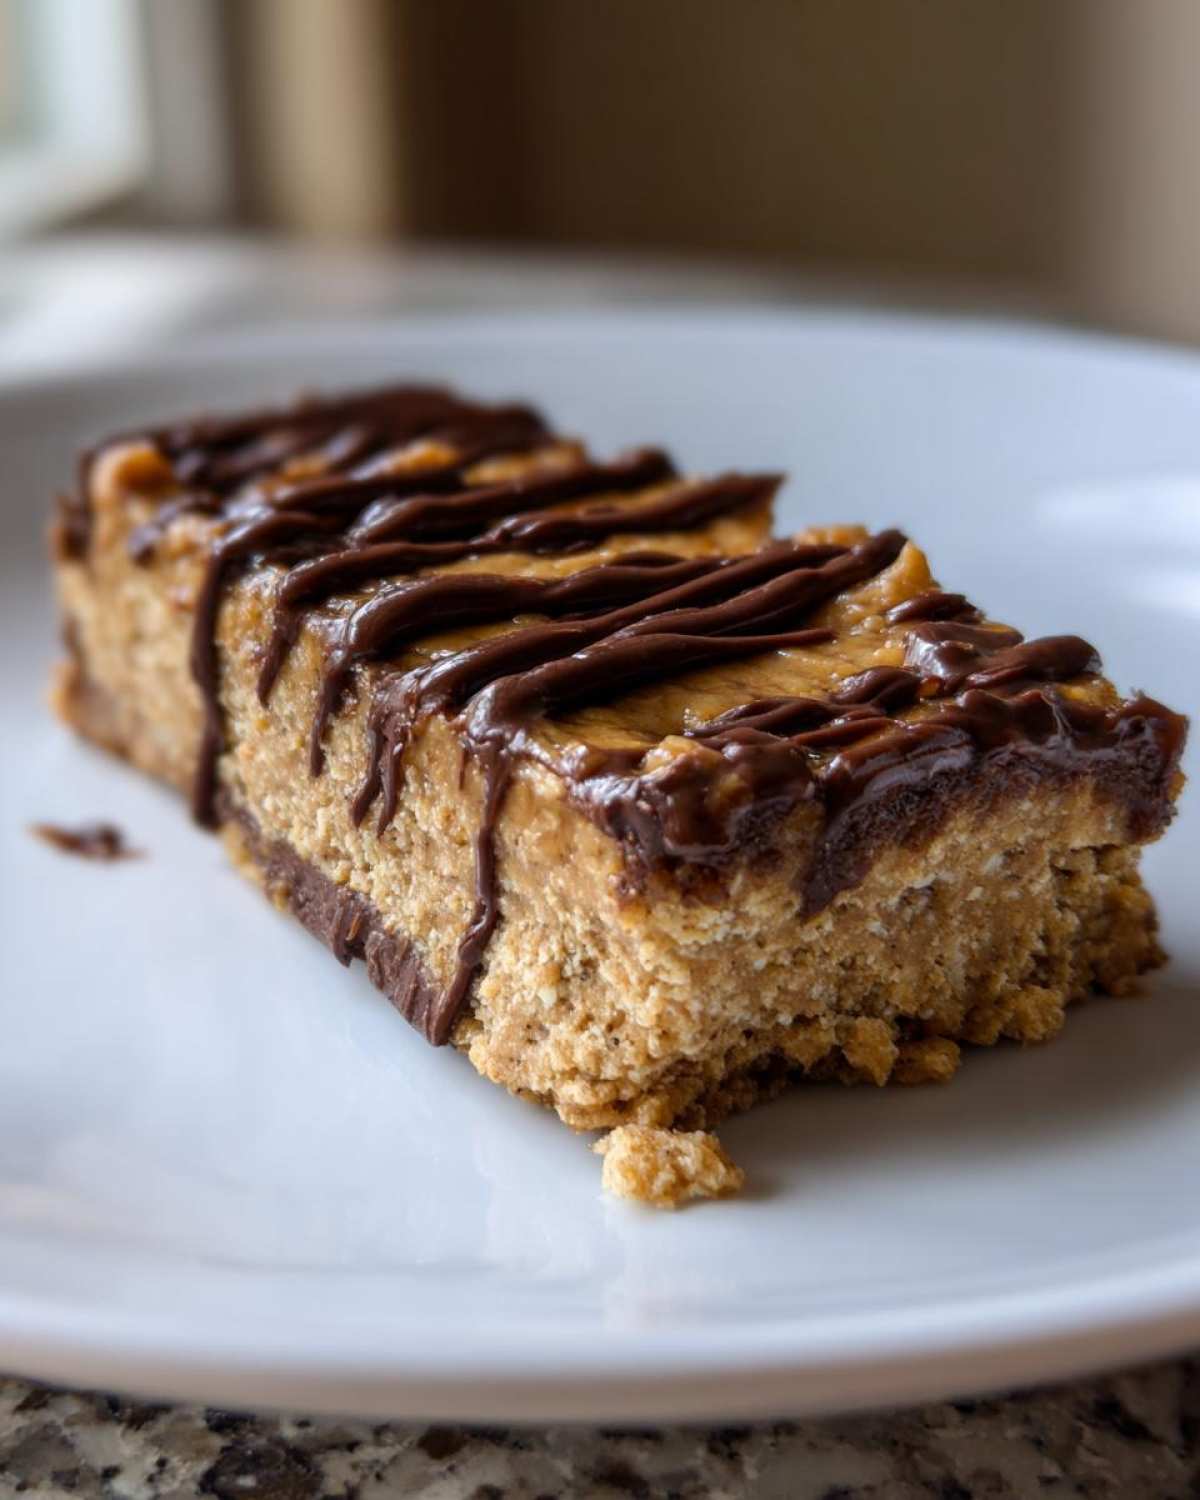
This is where patience comes in, and it’s the hardest part! Put the whole pan straight into the refrigerator. You need a good hour, minimum, for these bars to set up properly. If you try cutting them after only 30 minutes, they’ll sag and smear everywhere. We are aiming for clean squares when we make these meal prep bars! Once they are rock solid, use those parchment paper handles to gently lift the entire block out onto a cutting board. Then, slice them into 10 or 12 nice pieces. You can see my full tips for this specific easy protein bar recipe over here if you need more convincing on the technique!
Making Protein Bars Suitable for Meal Prep
One of the best things about these wonderful protein bars is that they are built for busy lives, which is why they shine as make ahead protein snacks. Honestly, I prefer them after they’ve chilled overnight; they firm up even more, making them sturdier for throwing into lunch bags or gym totes!
Storage is super straightforward, which is key when you’re relying on them for weekly fuel. Once you’ve cut your bars, you need to tuck them into a good airtight container—make sure the lid seals tight! I keep mine right in the refrigerator. They stay perfectly fresh and chewy for about a week like that. No fuss, no tricky freezing needed!
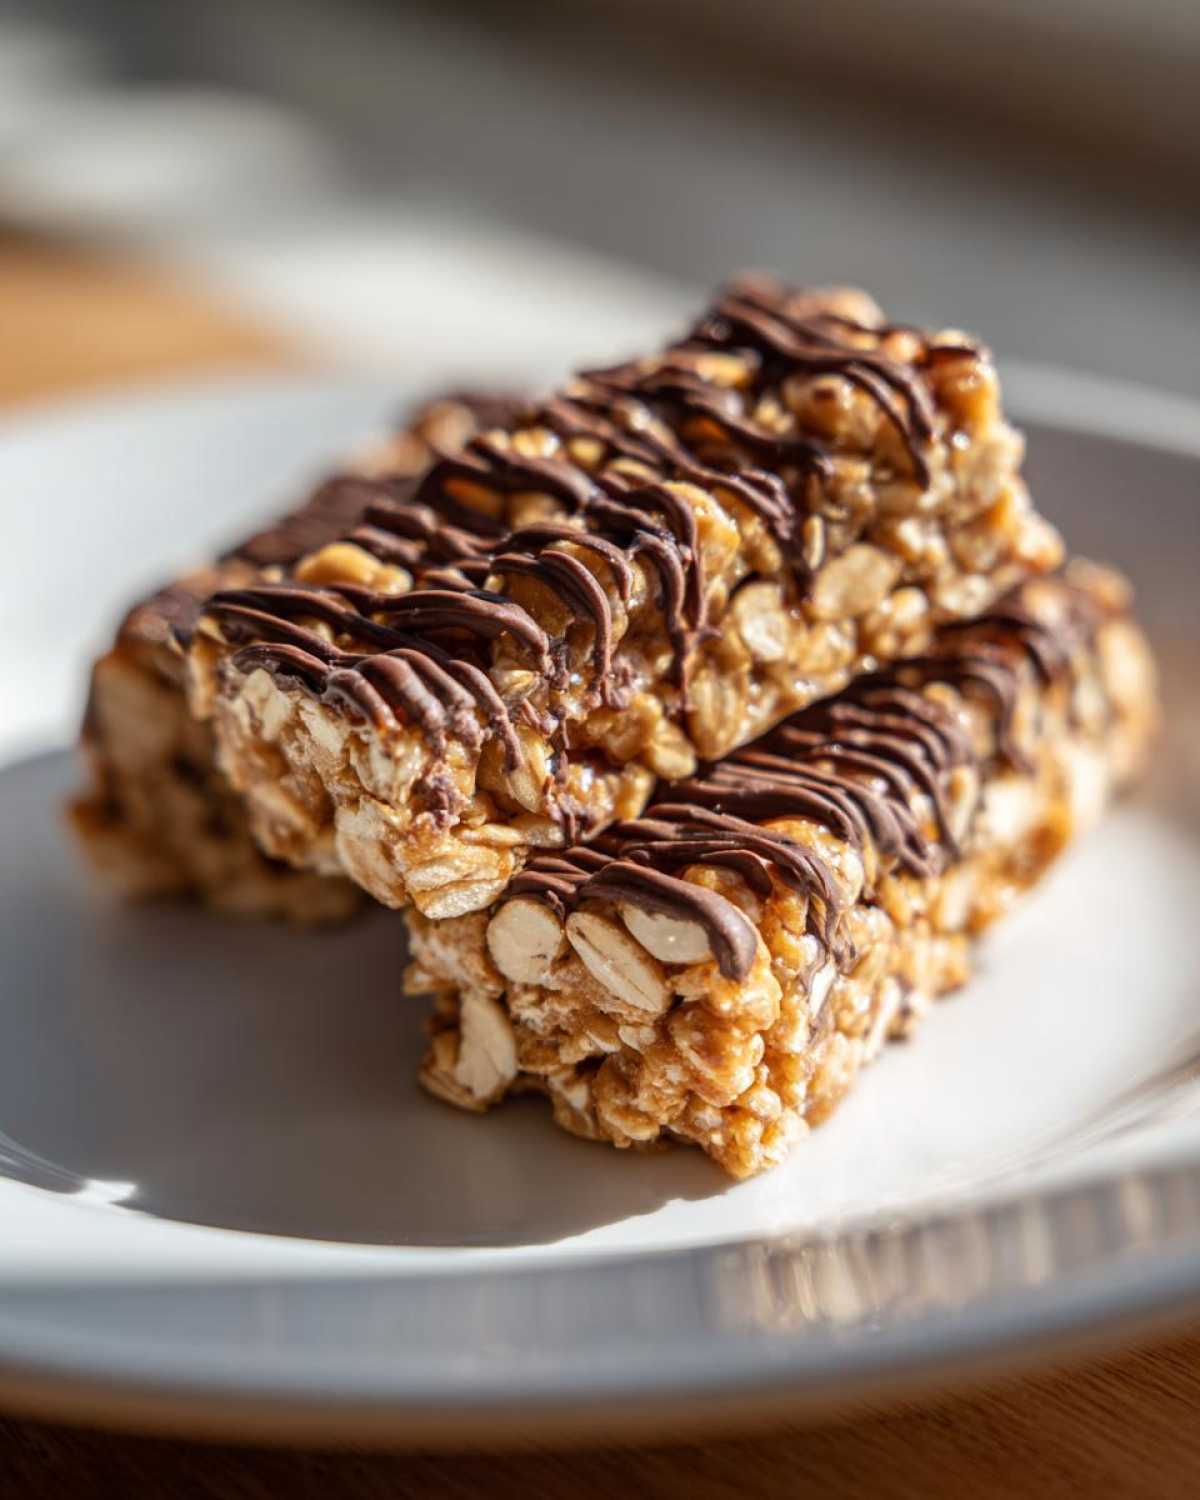
Having these ready means that when David or I are dashing out the door, we can just grab one of these wonderful meal prep bars and know we have a fantastic, satisfying snack that keeps our energy steady. You can find more low-fuss planning ideas for snacks just like this one in my meal prep guide. It’s all about setting yourself up for success!
Variations on Classic Peanut Butter Protein Bars
While I absolutely adore these peanut butter ones—they are my staple comfort snack!—it’s so much fun to switch things up once you master the basic formula for these protein bars. The beauty of a no-bake recipe is that you can play with the binder and the flavor bases easily. Instead of peanut butter, try almond or sunflower seed butter! Just watch your consistency, as some nut butters are firmer than others.
If you’re craving something richer, David always suggests adding a tablespoon of unsweetened cocoa powder when you put in the protein powder. That instantly takes you toward that delicious chocolate protein bars no bake vibe without having to change any other steps! Seriously, a little cocoa powder makes everything feel like a true treat.
We even like adding warm spices sometimes, like a tiny pinch of cinnamon or nutmeg, especially as the weather cools down. It just deepens the flavor profile wonderfully. You can explore more unique swaps like this when you check out my post on easy 5-ingredient breakfast cookies—the binding concepts are super similar! You can find the recipe inspiration here: easy 5-ingredient breakfast cookies.
Making Vegan Protein Bars Recipe
If you need to whip up a batch of vegan protein bars recipe, this one is foolproof, too! As I mentioned before, the only hard swaps are the binder and the powder. Make sure you use maple syrup instead of honey—it works like a charm as a liquid sweetener. Secondly, and this is key, you must use a plant-based protein powder that you know dissolves well. Some vegan powders can be a little dry, so if you feel your mixture is too stiff once you start mixing, just follow my earlier tip and add that milk or water teaspoon by teaspoon until everything comes together beautifully into that perfect, pressable dough.
Tips for Perfect Homemade Protein Bars
Even with an easy protein bar recipe like this one, a few little tricks can take your results from good to absolutely incredible! I’ve learned over time that when you’re dealing with dry powders and sticky binders, the small details really lock in that perfect texture we are aiming for. This isn’t rocket science, but it does reward you for paying attention!
First off, let’s talk about the mixing, because I think this is where most people go wrong. When you combine the oats, powder, and peanut butter, you have to resist the urge to overmix once the liquid binder (the honey) goes in. You want to mix until *just* combined, meaning you don’t see dry powder pockets anymore. Overmixing those oats can lead to some seriously dense, almost hard bars later on.
And speaking of texture, remember the pressing step? Don’t be shy! You need serious pressure when you are compacting that base into the pan. Think of it like packing snow for a snowball—if it’s loose, it crumbles the second you try to move it. Use the flat bottom of a sturdy measuring cup or even wax paper to really press down hard over every square inch of that pan. This firm packing is what keeps your beautiful bars intact when you try to grab one for the road. If you’re looking for other great tips on mixing wet and dry goods in general, I share similar advice in my guide to overnight oats.
Finally, don’t rush the chill time! I know we are all about speed, but if you don’t let those bars chill in the fridge for at least an hour, they will be tacky and impossible to cut cleanly. If you want the secret to keeping your homemade protein bars firm and unbelievably chewy, it’s that cold temperature locking everything into place. If you want to see how others handle their homemade versions, check out these tips for homemade protein bars!
Frequently Asked Questions About Protein Bars
I love hearing from you all! It means you’re actually making these wonderful protein bars at home, which is making me so happy. Since we’re dealing with simple ingredients, sometimes people have questions about substitutions. Don’t worry at all—we can troubleshoot together!
Can I make these low sugar protein bars without honey?
Yes, you absolutely can ditch the honey if you want to aim for low sugar protein bars! The honey is acting as a binder here, so whatever you replace it with needs to provide that stickiness. You could try a sugar-free syrup, but just be aware that switching out a real sugar binder often means the bars might be a little crumbly and less chewy. You might need to press them even harder in the pan to compensate for that texture change.
Are these oatmeal protein bars good for diabetics?
That’s a really important question when we talk about oatmeal protein bars, since we are using oats and honey as the carb/sugar base. While this specific recipe uses a natural sweetener, people managing blood sugar often look for sugar-free alternatives. If you swap the honey for a measured amount of a zero-calorie liquid sweetener like monk fruit syrup, you can definitely make these more suitable for a diabetic-friendly approach. Remember, though, always check with your healthcare provider concerning daily carbohydrate counting!
How long do these simple homemade snacks last?
One of the huge advantages of making your own simple homemade snacks is knowing exactly what’s in them and how long they’ll last! Because these are no-bake and store so well in the fridge, they stay fresh and delicious for about one full week when kept in an airtight container. We keep ours chilled because they hold their shape better that way, especially if you added a chocolate drizzle. They are fantastic straight from the fridge!
For all the legal fine print about nutritional estimates, you can read our full disclaimer here.
Estimated Nutritional Information for These Protein Bars
Now, I always want to be totally clear with you all about what you’re eating! Since we’re using natural ingredients and you might swap out your protein powder or sweetener, remember that these numbers are just a starting point. We estimate that one of these incredible protein bars has about 200 calories, packing a solid 15 grams of protein. You’ll get around 20 grams of carbohydrates and 6 grams of sugar per bar, give or take a little depending on your honey!
Share Your Homemade Protein Bars Creations
My heart just swells when I see you all trying our recipes! These protein bars are meant to bring a little snap of joy and energy into your busy days, and I would absolutely love to see how yours turn out. When you make a batch of these quick protein treats, please snap a picture!
Don’t forget to rate the recipe right here on the page—your feedback helps other cooks know these are truly the best tasting protein bars we’ve ever made. It’s all part of that sharing spirit David and I cultivate on Spoonful Snap. We want to see your perfectly chilled squares, your chocolate drizzles, and how these fuel your day!
If you post pictures online, tag us! Seeing them pop up on my feed always makes me smile. Keep exploring the world of simple, high-protein home cooking. You can find even more delicious inspiration and stories from our kitchen on the main blog page!
PrintEasy No-Bake 5-Ingredient Peanut Butter Protein Bars
You can make these simple, chewy peanut butter protein bars at home with just five ingredients. They require no baking and are perfect for quick meal prep or a satisfying, high-protein snack.
- Prep Time: 10 min
- Cook Time: 0 min
- Total Time: 70 min
- Yield: 10 servings
- Category: Snack
- Method: No-Bake
- Cuisine: American
- Diet: Vegetarian
Ingredients
- 1 cup rolled oats
- 1/2 cup natural peanut butter
- 1/2 cup vanilla protein powder (whey or plant-based)
- 1/4 cup honey or maple syrup
- 2 tablespoons melted dark chocolate (for drizzle, optional)
Instructions
- Line an 8×8 inch baking pan with parchment paper, leaving an overhang on the sides for easy removal.
- In a medium bowl, combine the rolled oats, peanut butter, protein powder, and honey or maple syrup.
- Mix the ingredients thoroughly until a thick, uniform dough forms. You may need to use your hands to fully incorporate everything.
- Press the mixture evenly into the prepared pan. Press down firmly to compact the bars.
- If using the chocolate drizzle, melt the dark chocolate in a microwave-safe bowl in 30-second intervals, stirring until smooth. Drizzle the melted chocolate over the top of the bars.
- Place the pan in the refrigerator and chill for at least 1 hour, or until the bars are firm.
- Use the parchment paper overhang to lift the block out of the pan. Cut into 10 to 12 equal bars.
- Store your homemade protein bars in an airtight container in the refrigerator for up to one week.
Notes
- For a vegan option, use maple syrup instead of honey and ensure your protein powder is plant-based.
- If the mixture seems too dry, add one teaspoon of water or milk at a time until it holds together.
- These are excellent for on-the-go fuel or as a quick post-workout snack.
Nutrition
- Serving Size: 1 bar
- Calories: 200
- Sugar: 6
- Sodium: 150
- Fat: 10
- Saturated Fat: 2
- Unsaturated Fat: 8
- Trans Fat: 0
- Carbohydrates: 20
- Fiber: 3
- Protein: 15
- Cholesterol: 5