

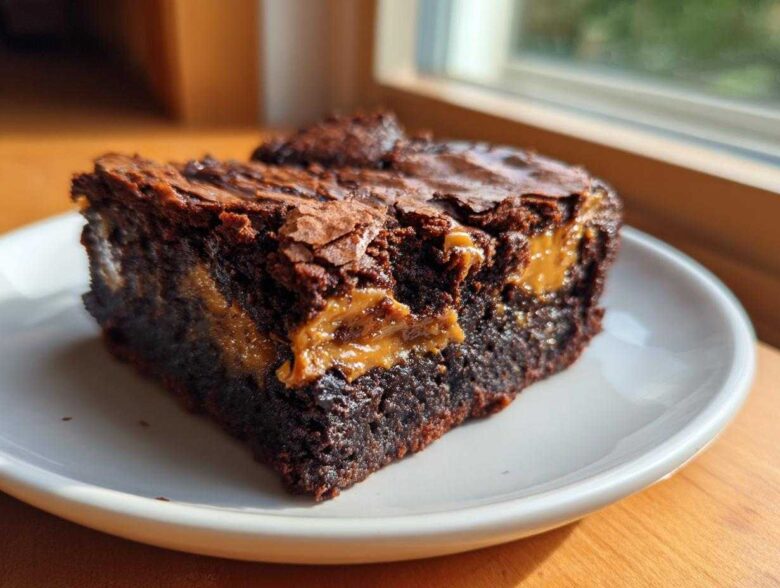
Oh my gosh, are you ready for something truly decadent? Forget everything you thought you knew about your average chocolate fix because we are taking it up about ten notches today. I’ve finally perfected the recipe that haunts my dreams—the absolute best Dulce de Leche Brownie Bars you will ever encounter.
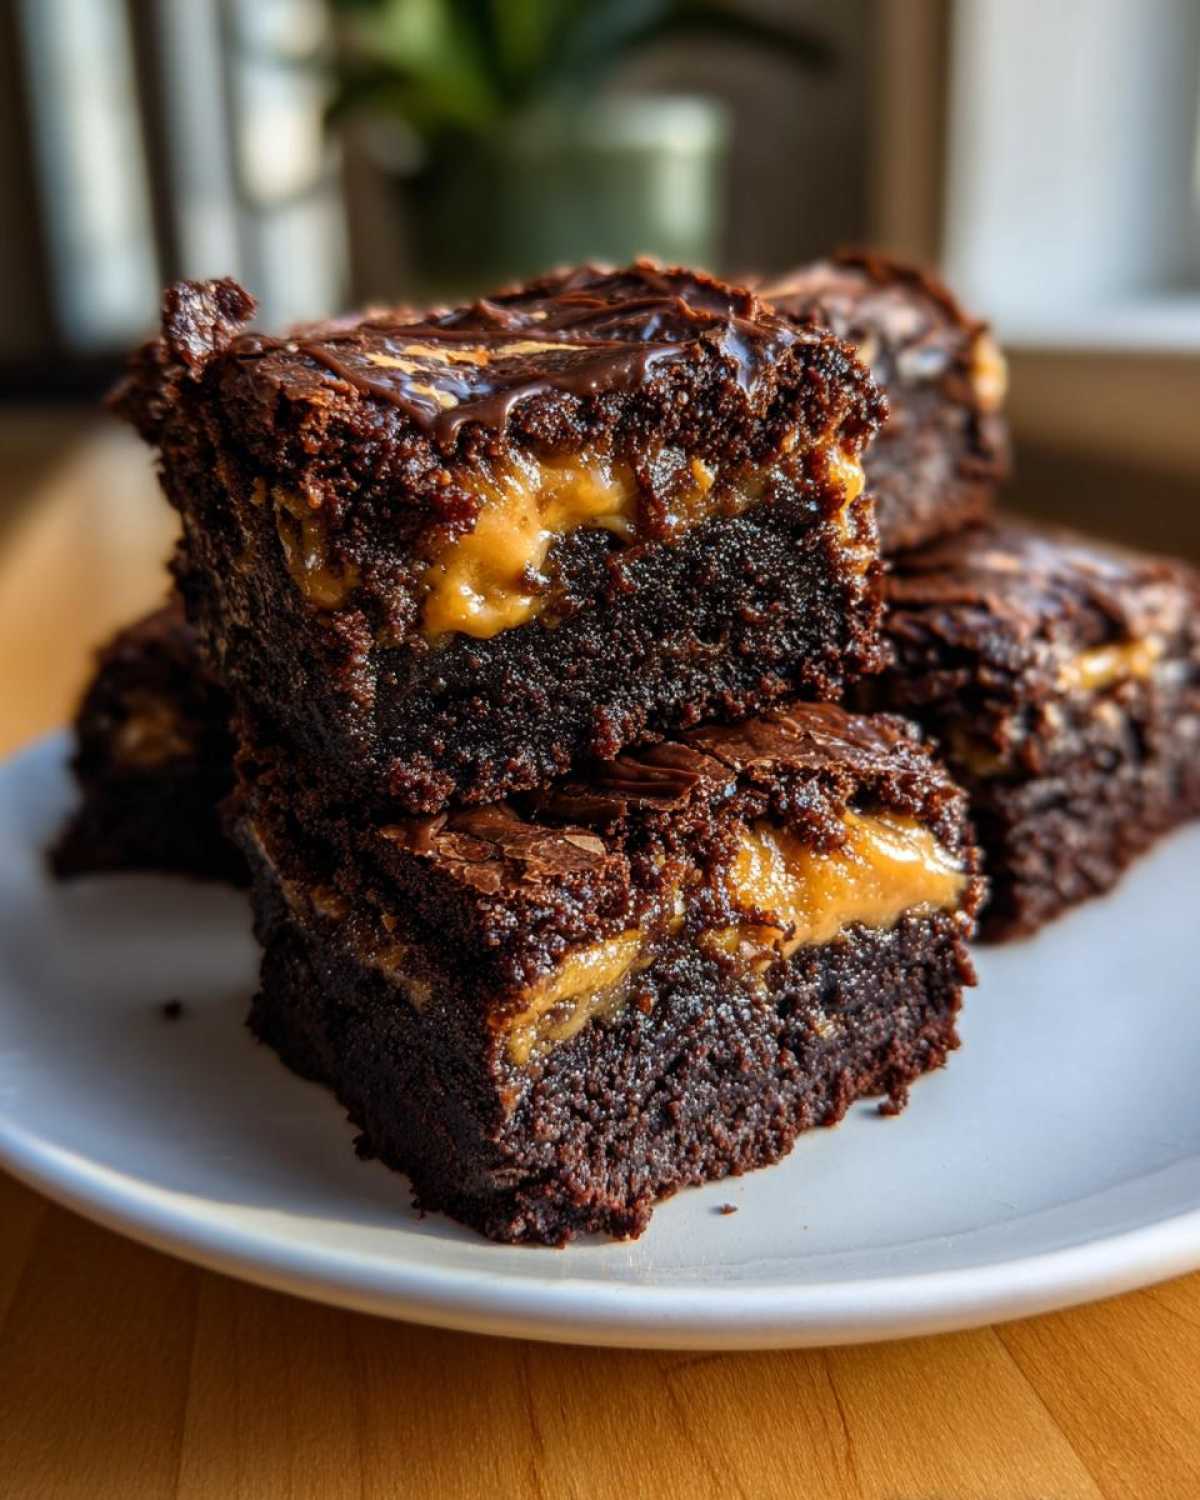
Seriously, these aren’t your messy, just-out-of-the-oven fudgy messes. I worked for weeks to ensure my recipe gives you thick, chewy edges and that perfect, dense middle. The key is that glorious, thick ribbon of caramel sweetness swirled right into the chocolate base. Trust me, once you nail this texture, you’ll never go back!
Why You Will Make the Best Dulce de Leche Brownie Bars
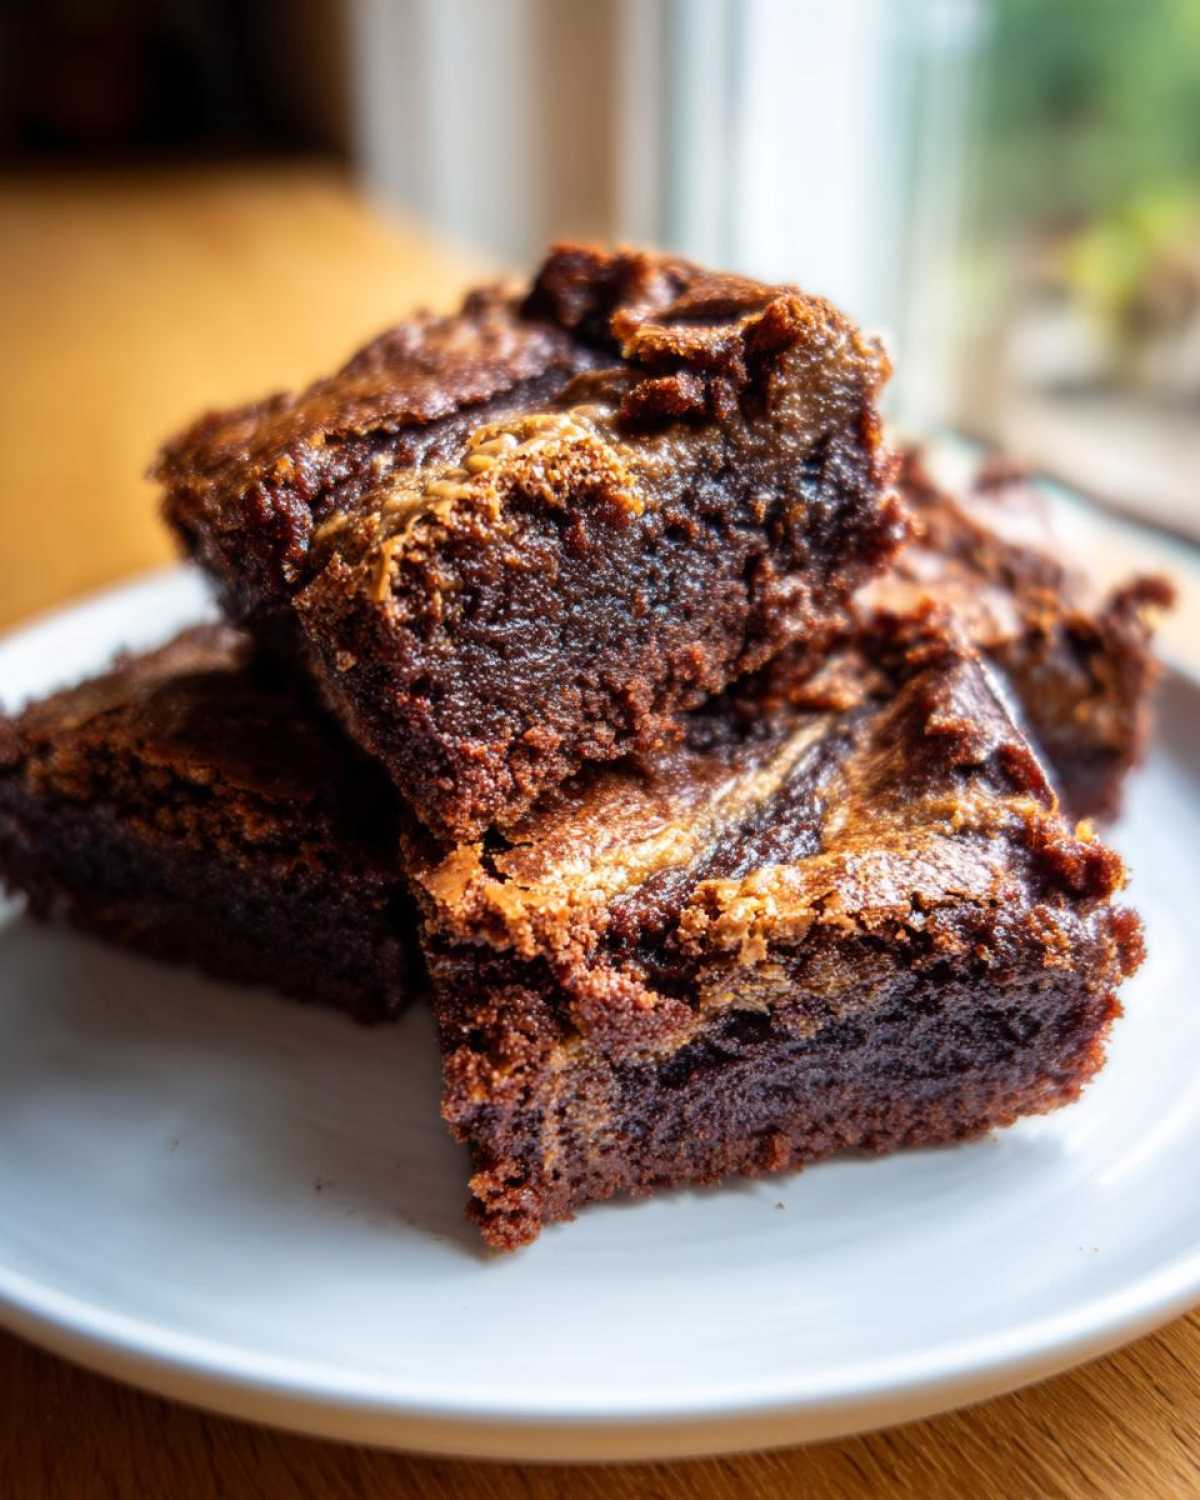
I know you see a lot of brownie recipes out there, but I promise you, this one stands head and shoulders above the rest for a few huge reasons. I made sure these bars tick every single box for dessert perfection.
- The Ultimate Texture: We are talking about edges with the perfect chew and a center that stays incredibly dense and fudgy, never cakey.
- Flavor Bomb: That rich, salty-sweet caramel flavor from the dulce de leche cuts through the dark chocolate perfectly. It’s just heavenly.
- Surprisingly Simple: Even though they look like they came from a high-end bakery, the mixing process is honestly super straightforward. You won’t need weird kitchen gadgets!
Essential Ingredients for Rich Dulce de Leche Brownie Bars
When you’re aiming for that bakery-style bar, you can’t just toss things in haphazardly! I’ve listed exactly what you need below for the base and that amazing swirl. Getting the right ratios here is how we guarantee that thick, chewy square we’re after.
For the dry base, you absolutely must whisk your flour, your cocoa powder, and that salt together first. Don’t skip this! It stops pockets of baking soda or overwhelming saltiness popping up in your perfect bite. We want everything evenly distributed before it meets the wet stuff.
And for the star of the show? You’ll need about a cup of the best dulce de leche you can find. My biggest, non-negotiable tip is to warm it just slightly before you use it. It makes drizzling and swirling so much easier, trust me on this one!
- 1 cup (2 sticks) unsalted butter, melted
- 2 cups granulated sugar
- 4 large eggs
- 1 teaspoon vanilla extract
- 1 cup all-purpose flour
- 3/4 cup unsweetened cocoa powder
- 1/2 teaspoon salt
- 1 cup dulce de leche, slightly warmed
Step-by-Step Guide to Perfect Dulce de Leche Brownie Bars
Okay, this is where the magic really happens! The difference between a good brownie and these spectacular caramel swirl brownie bars is all in how you handle the batter. We are treating these gently so they stay chewy, not tough. Follow these steps exactly, and you’ll get those clean squares you’re dreaming of!
Preparing the Pan and Dry Ingredients for Your Dulce de Leche Brownie Bars
First things first: get that oven humming! We need it running at 350°F (175°C) while you prep. Grab your 9×13 baking pan and line it with parchment paper. Make sure you leave an overhang on the sides—this is crucial! It acts like little handles so you can lift the entire slab out cleanly later on. While that’s settling, take a separate bowl and give your flour, cocoa powder, and salt a really good whisk until they look uniform.
Mixing the Batter and Incorporating the Caramel Swirl
In your main mixing bowl, whisk that melted butter and sugar together until they look just combined. Then, add the eggs—one at a time—making sure you beat it in properly after each addition. Don’t rush this part! Then, you slowly fold in the dry mixture we made earlier. And I mean slowly. Stop mixing the second there are no more streaks of flour; overmixing is the enemy of chewy!
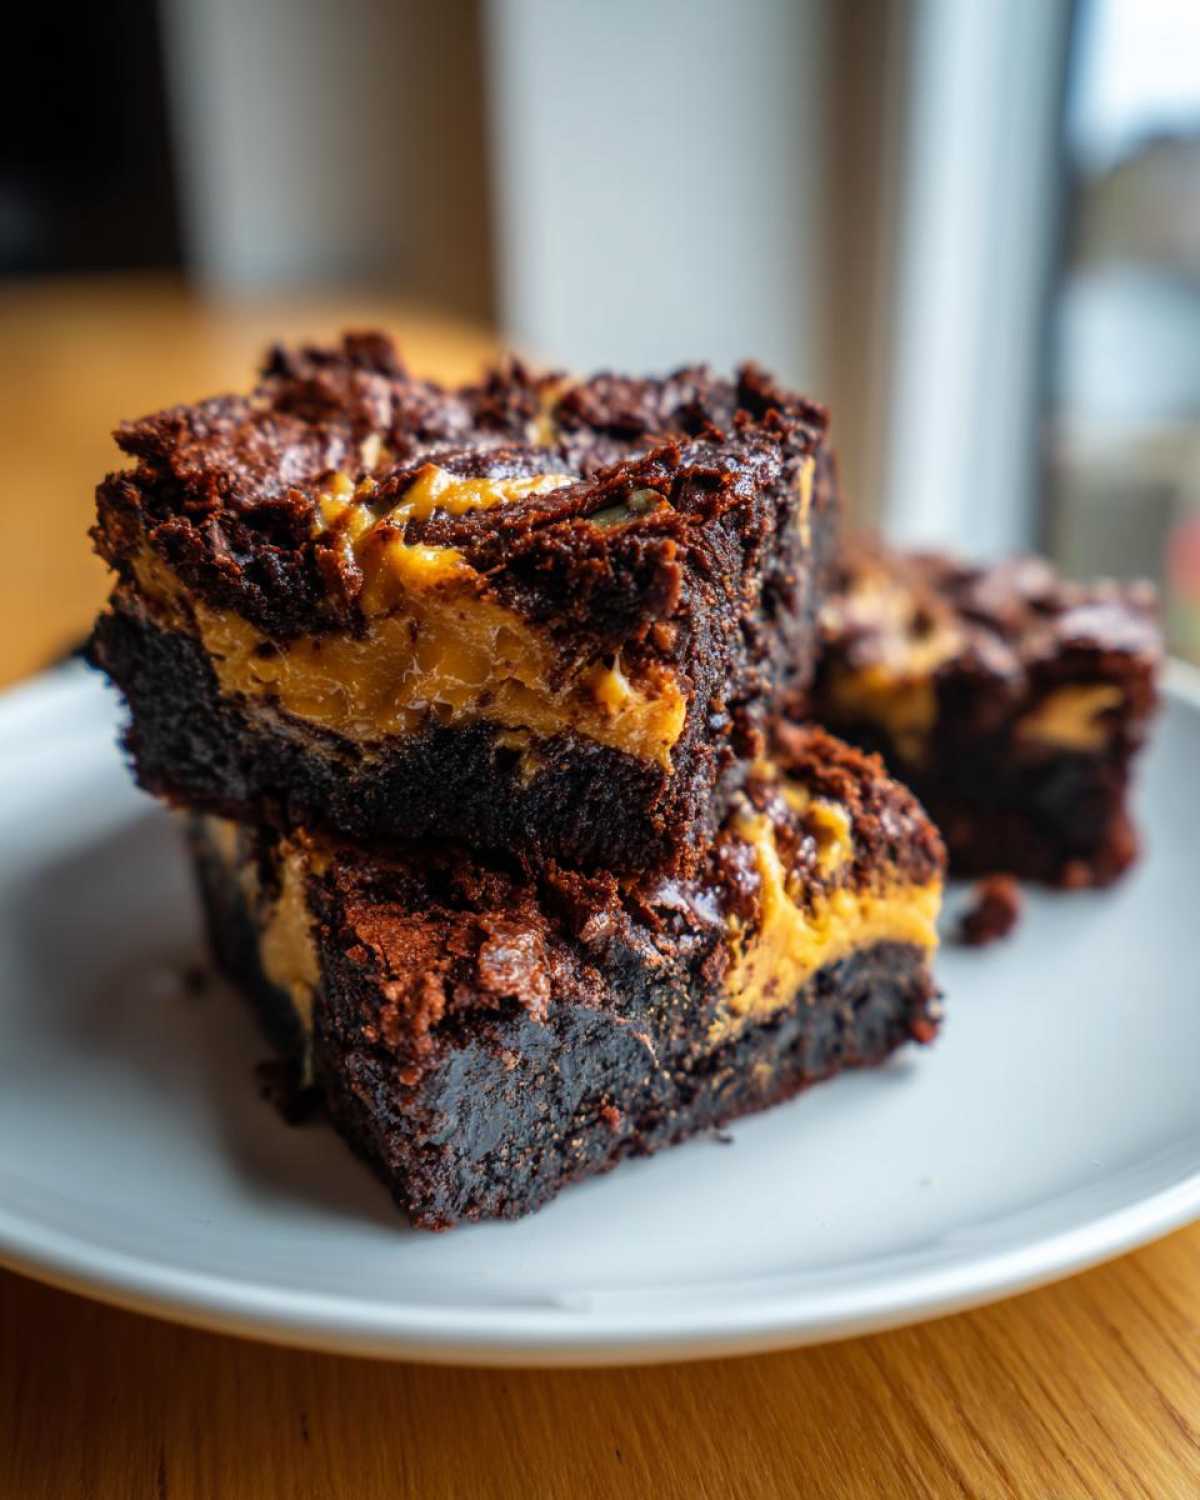
Now for the layering! Spread exactly half of that gorgeous batter into your prepared pan. Next, take your slightly warmed dulce de leche and dollop it randomly all over the top—don’t try to spread it yet! Cover that with the rest of your chocolate batter. Then, take a butter knife or a skewer and gently drag it through the layers to create those beautiful ribbons. Don’t swirl it into oblivion; we want distinct ribbons of caramel!
Baking Time and Cooling for Thick Brownie Bar Squares
We are almost there! Time for the oven, where these bake into thick brownie bar squares. Pop that pan in for about 30 to 35 minutes. You’re looking for the edges to be set but when you test the center, you want a moist crumb clinging to your toothpick—not wet batter, ever! The most important rule though? You have to let them cool completely. I know it’s torture, but cutting them warm means losing that perfect square shape!
Tips for the Ultimate Caramel Swirl Brownie Bars
You’ve baked them, which is half the battle, but now we need to ensure they deliver on that promise of chewy greatness! Remember how I said these should be thick brownie bar squares? If you want those perfect chewy edges balancing that gooey center, cooling is everything. Seriously, try to resist cutting the pan for at least two hours—or even better, chill them!
And let’s talk about the star—the dulce de leche. Warming it up makes it pourable, right? But if you want easier swirls that don’t sink too much, make sure it’s just warm, not hot. My little trick, borrowed from my neighbor’s best chewy chocolate chip cookies recipe, is sprinkling just a tiny pinch of flaky sea salt over the top right before they go into the oven. It brings out the caramel flavor so wonderfully.
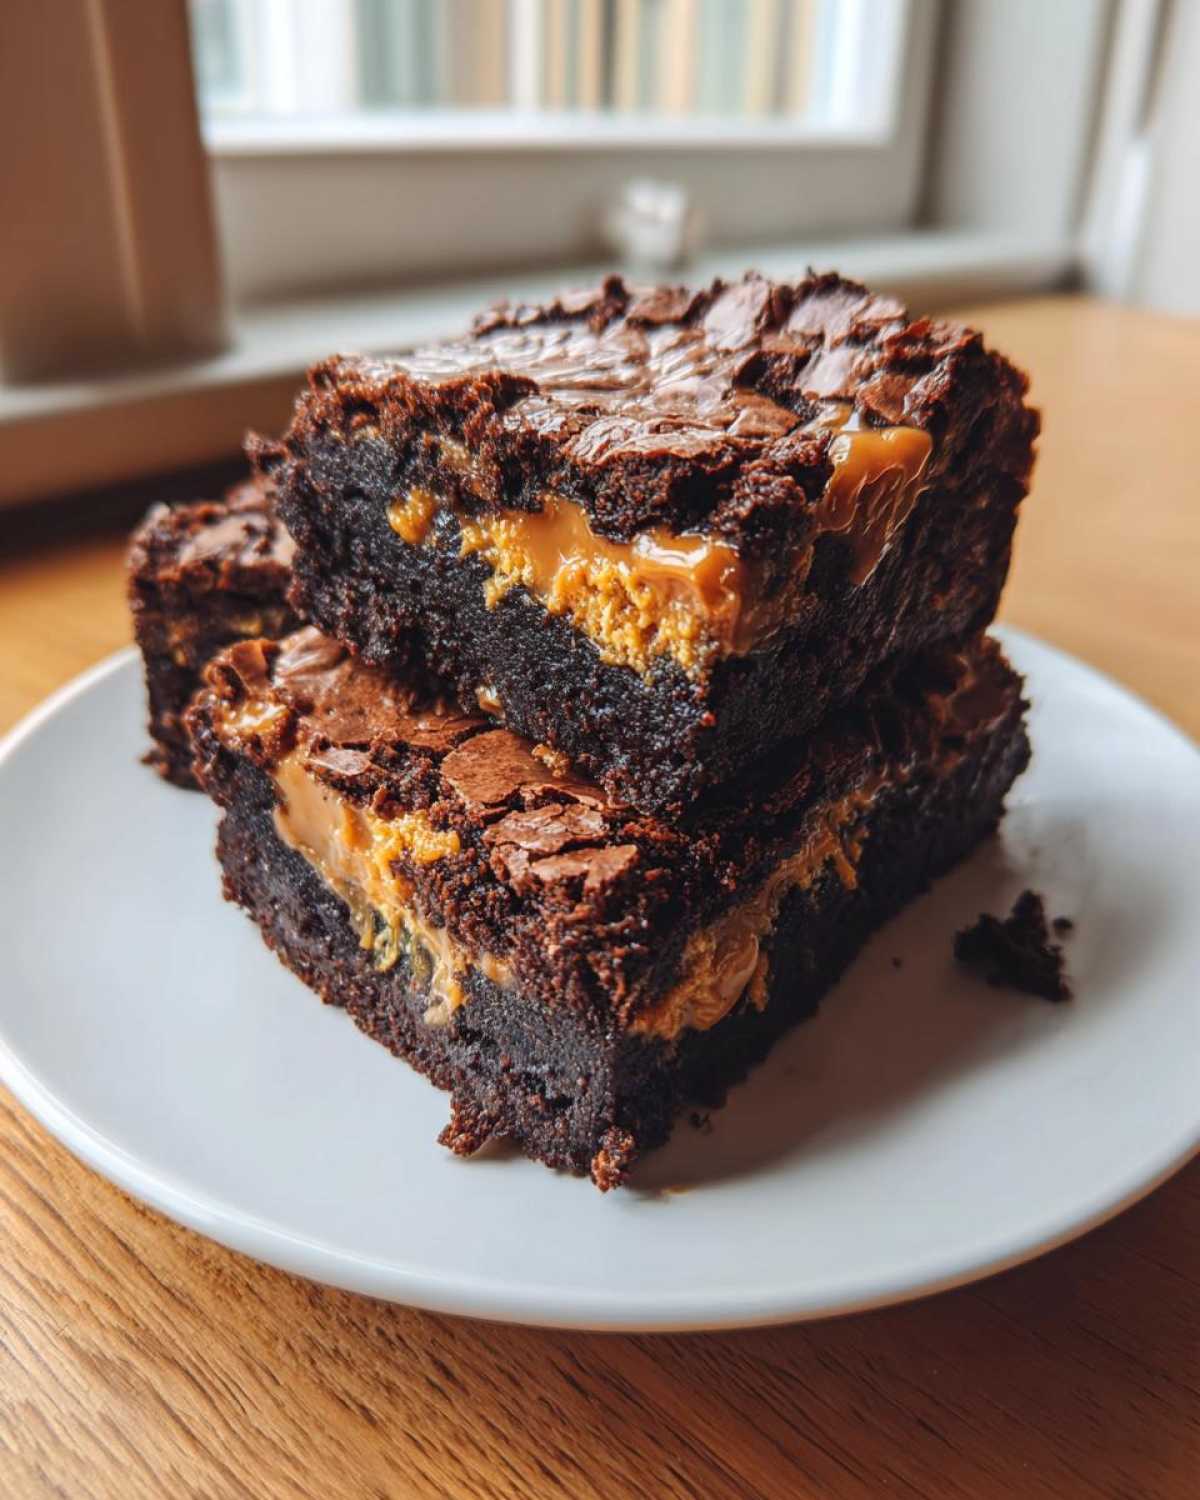
If you slightly underbake them by about 60 seconds, you’re guaranteeing that fudgy texture, but only if you are going to let them cool completely afterward. It’s a balancing act, but one that pays off beautifully in these rich chocolate caramel bars!
Ingredient Notes and Substitutions for Your Dulce de Leche Brownie Recipe
I get asked all the time about tweaks, especially around the dulce de leche part of these Dulce de Leche Brownie Bars. Look, the quality of your caramel really dictates the success here. Can you use store-bought? Absolutely! That’s what I often do when I’m making a huge batch.
However, if you have time, making your own from sweetened condensed milk is just magic. It just tastes richer, you know? You just simmer that can (don’t open it!) in water for a few hours, and bam—homemade goodness.
As for the butter? Please, please, please stick to real, unsalted butter. Margarine just doesn’t give you the same richness or help structure these thick bars properly. You need that real fat content for the chew factor. Everything else—the cocoa, the flour—is pretty standard, but those two key ingredients really make or break this dessert!
Storage and Reheating Instructions for Gooey Dulce de Leche Dessert
It’s rare that I have leftovers of these rich chocolate caramel bars, because we devour them instantly! But if you manage to save any of these gooey treats, you need to store them correctly. Keep them in a really airtight container. If your kitchen is cool, room temperature works fine for a couple of days because they are so dense.
If you want them to last longer, pop the container right into the fridge. That makes them super firm, which is nice if you like a denser bite! When you want to bring back that fresh-out-of-the-oven gooeyness? Just microwave a single square for about 10 to 15 seconds. That little burst of heat melts the caramel swirl just enough again. Seriously, don’t skip this step if you’re reheating!
Frequently Asked Questions About Dulce de Leche Brownie Bars
You’ve got the recipe, but sometimes those little questions pop up right when you’re about to bake! I’ve collected the most common things folks ask me about turning out these perfect Dulce de Leche Brownie Bars. Trust me, getting the technique right makes all the difference, just like nailing the perfect brown butter chocolate chip cookies.
Can I make these brownies gluten-free?
Oh, that’s a great question! Since these are already such a dense, fudgy dessert, you have a good chance of success, but you have to swap that flour out carefully. I’d recommend using a high-quality 1-to-1 cup-for-cup gluten-free baking blend. Make sure the blend you choose has xanthan gum in it already! If it doesn’t, add about half a teaspoon. Also, make sure you don’t overmix the batter when adding the dry ingredients, even if it’s GF flour, because we really want to protect that chewy edge!
How do I stop the dulce de leche from sinking to the bottom?
This is the biggest worry for everyone making a Fudgy Brownie with Caramel Layer! My secret weapon here is warming the dulce de leche just long enough so it’s easily dolloped, but not hot. If it’s too runny, it sinks. If it’s too cold, you get big clumps. Warming it only slightly makes it thicker, closer to a heavy paste, so it stays suspended in the batter while you swirl. Also, the parchment paper overhang helps the center of the pan bake slightly slower, which keeps everything looser and gooey!
Can I use store-bought dulce de leche for this recipe?
Yes, absolutely! Do not feel pressured to make your own Homemade Dulce de Leche Swirl unless you truly enjoy that extra step. The store-bought kind works perfectly fine here. Just check the label to make sure you’re getting the proper thick caramel spread, not a thin sauce. If the store version seems super thick, definitely warm it up just a little bit so you can manage that swirl.
Is chilling necessary before cutting these bars?
Listen, if you try to cut these right when they come out of the oven, you’ll end up wearing half your dessert! For those clean, thick squares we’re aiming for—the kind you see at the bakery—you have to let them cool. If you are in a rush, let them sit on the counter until they are just barely warm, then cover the pan and pop them in the fridge for an hour. Cold brownies cut like a dream, and it really locks in that chewy texture we worked so hard for. You can even reheat them slightly later if you prefer them gooey!
Serving Suggestions for Rich Chocolate Caramel Bars
Now that you’ve got these amazing, decadent bars, how should you serve them up? Honestly, they are perfect standing alone, but if you want to take your Rich Chocolate Caramel Bars to the next level, try this:
Pop a square on a plate and microwave it for just 10 seconds until it’s warm and the caramel inside gets gloriously melty again. A scoop of good vanilla bean ice cream on top is non-negotiable for me on a special occasion. And for a fancy finish? A tiny sprinkle of flaky sea salt just before serving really makes that caramel sing!
PrintChewy Dulce de Leche Swirl Brownie Bars
Bake thick, chewy brownie bars with a rich, sweet swirl of dulce de leche throughout the center.
- Prep Time: 15 min
- Cook Time: 35 min
- Total Time: 50 min
- Yield: 18 bars
- Category: Dessert
- Method: Baking
- Cuisine: American
- Diet: Vegetarian
Ingredients
- 1 cup (2 sticks) unsalted butter, melted
- 2 cups granulated sugar
- 4 large eggs
- 1 teaspoon vanilla extract
- 1 cup all-purpose flour
- 3/4 cup unsweetened cocoa powder
- 1/2 teaspoon salt
- 1 cup dulce de leche, slightly warmed
Instructions
- Preheat your oven to 350°F (175°C). Line a 9×13 inch baking pan with parchment paper, leaving an overhang for easy removal.
- In a large bowl, whisk the melted butter and sugar together until combined.
- Beat in the eggs one at a time, mixing well after each addition. Stir in the vanilla extract.
- In a separate bowl, whisk together the flour, cocoa powder, and salt.
- Gradually add the dry ingredients to the wet ingredients, mixing only until just combined. Do not overmix.
- Spread half of the brownie batter evenly into the prepared pan.
- Dollop the warmed dulce de leche randomly over the batter layer.
- Spread the remaining brownie batter gently over the dulce de leche layer.
- Use a knife or skewer to gently swirl the dulce de leche into the top layer of batter to create ribbons.
- Bake for 30 to 35 minutes. The edges should look set, and a toothpick inserted near the center should come out with moist crumbs attached, not wet batter.
- Let the bars cool completely in the pan on a wire rack before lifting out using the parchment overhang and cutting into squares.
Notes
- Warming the dulce de leche slightly makes it easier to drizzle and swirl into the batter.
- For chewier edges, slightly underbake the bars by a minute or two.
- Cut the bars only after they are completely cool to maintain clean edges.
Nutrition
- Serving Size: 1 bar
- Calories: 310
- Sugar: 35
- Sodium: 110
- Fat: 17
- Saturated Fat: 10
- Unsaturated Fat: 7
- Trans Fat: 0
- Carbohydrates: 38
- Fiber: 2
- Protein: 4
- Cholesterol: 85