

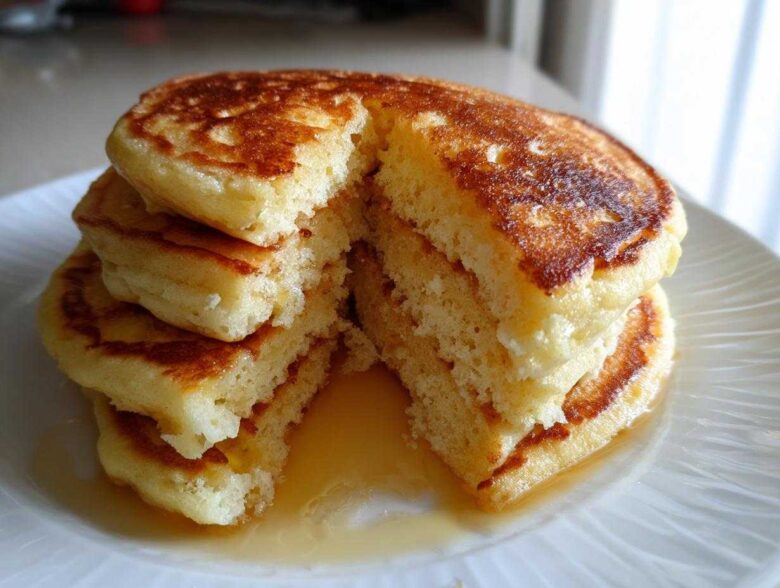
Oh, I totally get it. Sometimes you just crave that perfect Saturday morning breakfast—the one with those tall, fluffy pancakes swimming in butter and syrup, balanced by that wonderful, slightly sour tang you only get from real buttermilk. When you switch to gluten-free, those perfectly light stacks seem impossible, right? Everything comes out dense or crumbly. Well, stop searching! I spent way too many weekends mixing and testing every gluten-free flour blend under the sun until I nailed it. This recipe for Gluten-Free Buttermilk Pancakes isn’t just good; it’s the recipe that finally made my husband ask if I accidentally used wheat flour! Get ready for proper fluff.
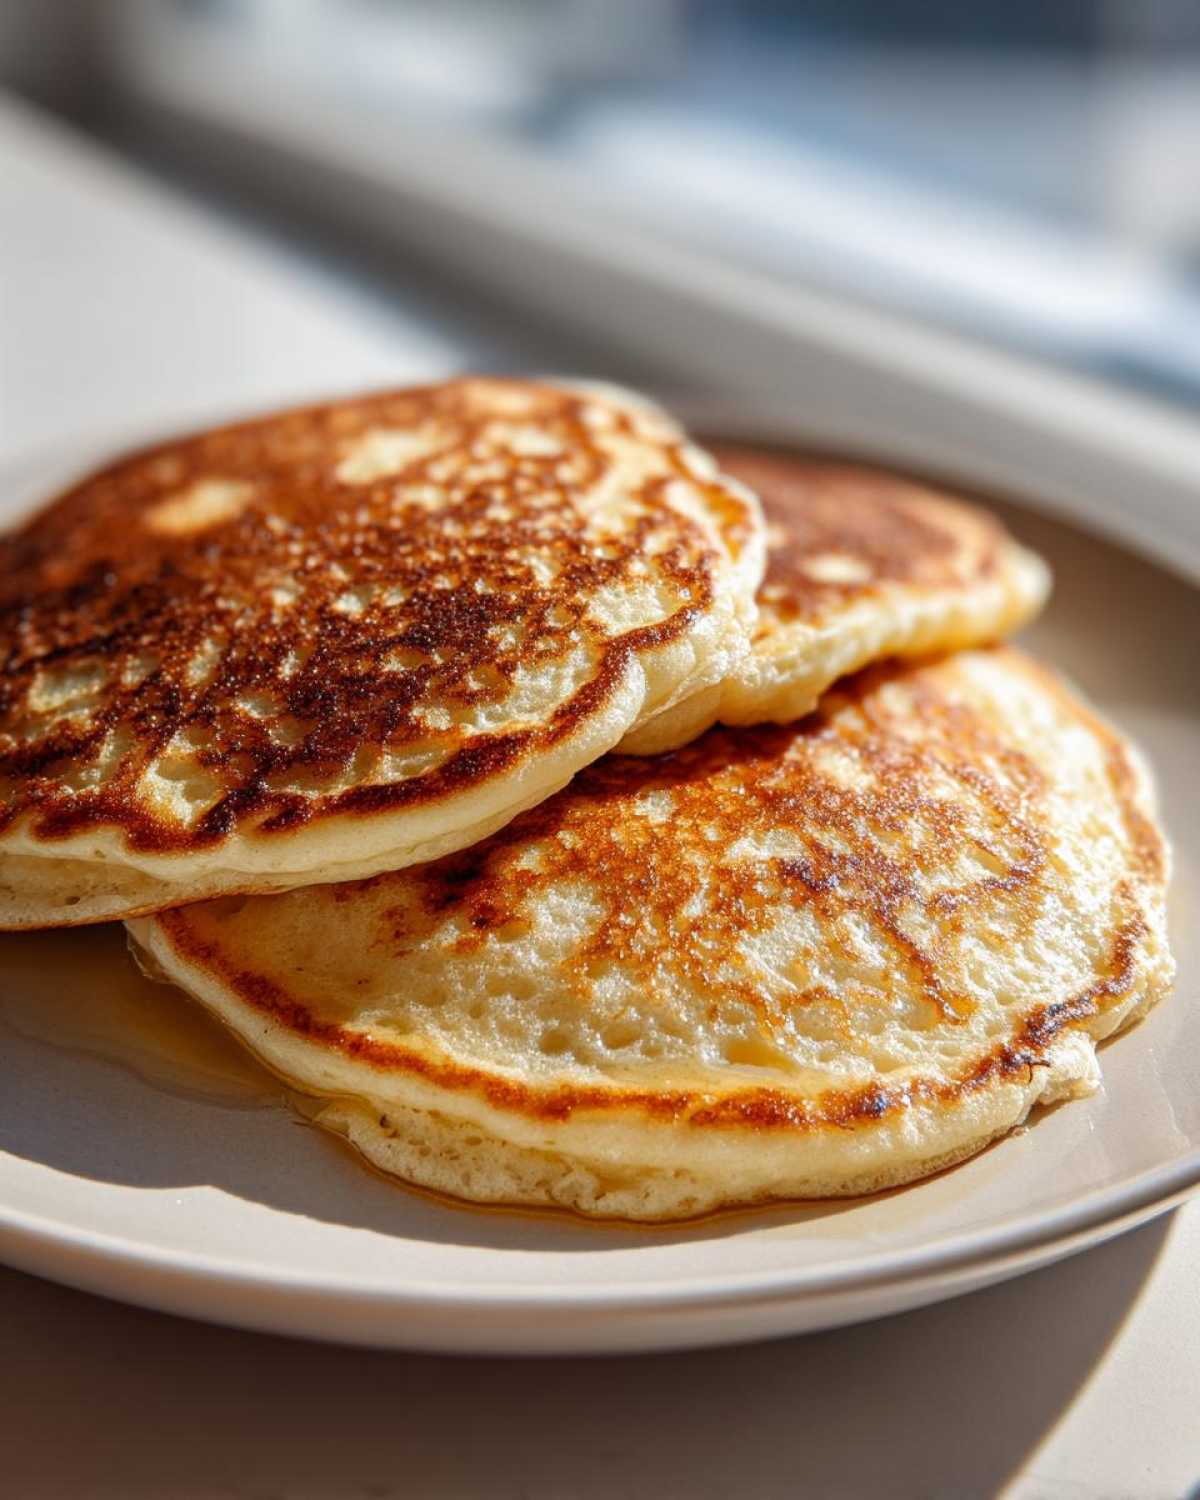
Why This is the Top Rated Gluten Free Pancake Recipe
If you’ve tried making gluten-free pancakes before and ended up eating sad, flat discs, I promise this recipe fixes that! Seriously, we spent ages tweaking the ratios so you don’t have to compromise on texture or taste. This is now our go-to for weekend brunch!
- That perfect buttermilk tang we all miss is built right in with a quick substitute.
- It uses staples you likely already have, so it’s super easy for a busy morning.
- Best of all? It mimics the height and airiness of traditional pancakes!
Achieving Light and Fluffy GF Pancakes Texture
The magic bullet for height in gluten-free baking is usually the duo of baking powder and baking soda working together with our buttermilk substitute. We get lift fast! Plus, giving the batter just five minutes to rest allows the GF flour blend to actually hydrate properly. That bit of resting time is a huge piece of the secret to fluffy gluten free pancakes—it stops that gritty, dense texture instantly. Trust me, don’t skip that five minutes!
Making the Homemade Gluten Free Buttermilk Substitute Action
Okay, listen up, because this is the key to getting that true, bright, tangy flavor that makes buttermilk pancakes famous! When you’re going gluten-free, you need that acid to activate the baking soda perfectly later on, giving us the best rise. We don’t need to run to the store for specialty liquid buttermilk either—we make our own in about five minutes. It’s brilliant!
Here’s the simple science part that makes me feel like a real chemist: take your milk—any kind works, dairy or non-dairy—and stir in about a tablespoon of white vinegar or fresh lemon juice. Just a splash! Now, let that sit on the counter for five minutes. You’ll see it start to look a little bit chunky or curdled? That’s exactly what you want. That slightly thickened, acidic liquid is our perfect **homemade gluten free buttermilk substitute action**. It’s what separates these from just regular, flat gluten-free pancakes. It’s so easy you’ll never buy the carton again!
Ingredients for Perfect Texture Gluten Free Batter
I always lay everything out first. It’s the only way to guarantee success, especially when dealing with gluten-free flour, which needs specific chemistry to work right. For our easy gluten free pancake recipe, you need to make sure your GF blend already has that crucial xanthan gum in it, otherwise, things get wobbly! Don’t worry if your blend doesn’t have it; I mention how to fix that in the tips below.
- 1 1/2 cups gluten-free all-purpose flour blend (it must have xanthan gum!)
- 2 tablespoons granulated sugar
- 2 teaspoons baking powder
- 1 teaspoon baking soda
- 1/2 teaspoon salt
- 1 1/2 cups milk (whatever you use for your buttermilk substitute)
- A good glug of vinegar or lemon juice (for the substitute, remember?)
- 2 large eggs
- 4 tablespoons unsalted butter, melted, plus whatever you smear on the griddle
Step-by-Step Instructions for Gluten-Free Buttermilk Pancakes
Now for the fun part—making the actual pancakes! Because we are working with gluten-free flour, the batter texture is a little different than traditional recipes. It’s crucial that we treat it gently. If you’ve already made your buttermilk substitute, you are halfway to the finish line. Seriously, don’t rush the order of operations here; it makes all the difference for that fluffy rise. We’re aiming for perfection, not speed!
Mixing the Gluten-Free Buttermilk Pancakes Batter
Remember that buttermilk substitute you made? Make sure it has sat for those five minutes. First, in the biggest bowl you have, whisk together all your dry stuff: the GF flour, sugar, baking powder, baking soda, and salt. Give it a good whirl! In a separate, medium bowl, whisk your eggs, the prepared buttermilk mixture, and that melted butter. You want those wet ingredients nicely combined before they meet the dry mountain.
Now, pour the wet into the dry. Here’s the most important part for light and fluffy GF pancakes: mix gently with a whisk until they just barely come together. I mean it! If you see a few sneaky lumps? Leave them, they are friends! Overmixing GF batter equals bricks. Once combined, set that bowl aside. We need the batter to rest for five whole minutes. That hydration time is non-negotiable for structure!
Griddle Temperature and Cooking Gluten-Free Buttermilk Pancakes
While the batter is chilling out, get your griddle or skillet ready. Set your heat right to medium. Not medium-high, medium! If it’s too hot, the outside will burn before the center cooks, and that’s a guaranteed fail for GF baking. To test it, flick a tiny drop of water on there—if it sizzles aggressively and evaporates right away, you’re good. If it just sits there, wait a minute. A quick smear of butter tastes way better than cooking spray, so go ahead and grease it lightly.
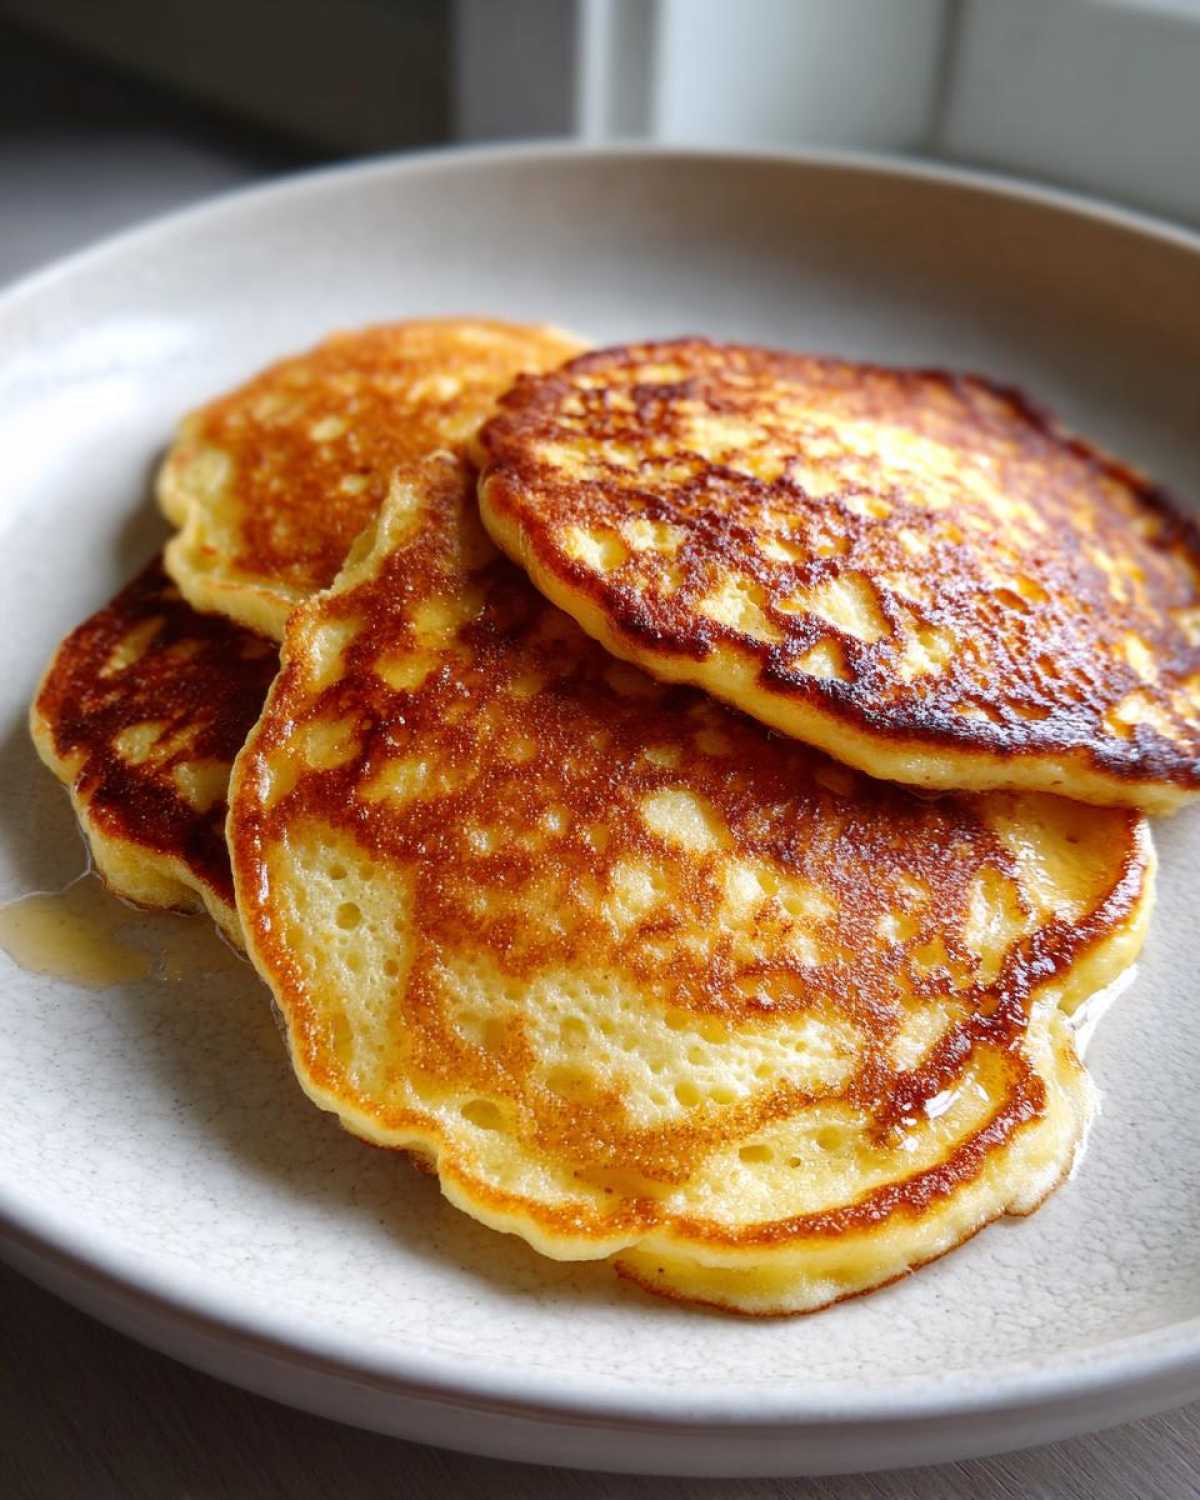
Scoop about 1/4 cup of batter per pancake onto the hot surface. Now, patience is a virtue! Cook for about 2 to 3 minutes until you see bubbles popping all over the surface and the edges don’t look wet anymore. That’s your cue! Flip them one by one. Cook the other side until it’s that beautiful golden brown we love, usually just another minute or two. Stack ’em high!
Tips for Success with Your Gluten-Free Buttermilk Pancakes
Even with a great recipe, sometimes you have to baby your gluten-free batter just a little bit more than traditional wheat batter. These little tricks I’ve picked up over the years have turned my routine morning flaps into something worthy of a fancy best gluten free breakfast recipes shout-out. Honestly, the resting time is number one, but if you want true height—like, stacking-your-way-to-the-ceiling height—you have to try separating your eggs.
I remember the first time I tried making these for an early Mother’s Day brunch. I was running late, so I skipped the five-minute rest period entirely. Big mistake! I ended up with pancakes that looked perfect coming off the griddle, but within about thirty seconds, they deflated into sad, slightly gummy circles. Never again! That resting time is when the flour hydrates, absorbing all that liquid for a better structure.
The Fluffiest Trick: Separating the Eggs
If you are feeling fancy or just really want those extra-thick, cloud-like layers, you need to whip those whites! Take your two eggs and separate the yolks from the whites. Whisk the yolks right into your wet ingredients like normal. Then, take those whites and use a hand mixer—or just a whisk and some elbow grease—to beat them until they form stiff peaks. You know they’re done when you can hold the bowl upside down (carefully!) without them sliding out.
This is where we introduce maximum air! Once your main batter (wet mixed into dry) is combined and rested, gently, gently fold those whipped egg whites into the final batter mixture. Use a spatula and cut down the middle, then sweep around the edge, flipping the batter over itself. Stop folding the second you don’t see any more white streaks. This traps tons of stable air, which results in the single fluffiest pancake you’ve ever had, gluten-free or otherwise!
Checking Your Flour Blend
Are you using a 1-to-1 blend, or are you mixing specialized flours? Most popular store-bought blends already include xanthan gum, which is our gluten stand-in that keeps everything together. If your bag says “Gluten-Free All-Purpose Blend” but doesn’t mention xanthan gum, you need to toss in about a teaspoon of it when you mix your dry ingredients. Without that binder, your pancake will just crumble apart when you try to flip it. It’s sad but true!
Ingredient Notes and Dairy Free Gluten Free Pancakes Options
One thing folks always ask me about is substitution, because we all have dietary needs or pantry gaps, right? For these Gluten-Free Buttermilk Pancakes, the xanthan gum is non-negotiable if your blend doesn’t already have it. If your GF flour is missing that binder, just mix in one teaspoon with your dry ingredients—that’s what stops your pancakes from falling apart in the pan and helps them keep that beautiful height we worked for.
If you’re managing dairy sensitivities, don’t stress! This recipe is incredibly forgiving. You can easily make these into **dairy free gluten free pancakes options**. Just swap out regular milk for any unsweetened non-dairy milk you love—almond, oat, or soy all work great for making our buttermilk substitute. And use vegan butter or coconut oil instead of cow’s butter when melting. The flavor stays bright and tangy!
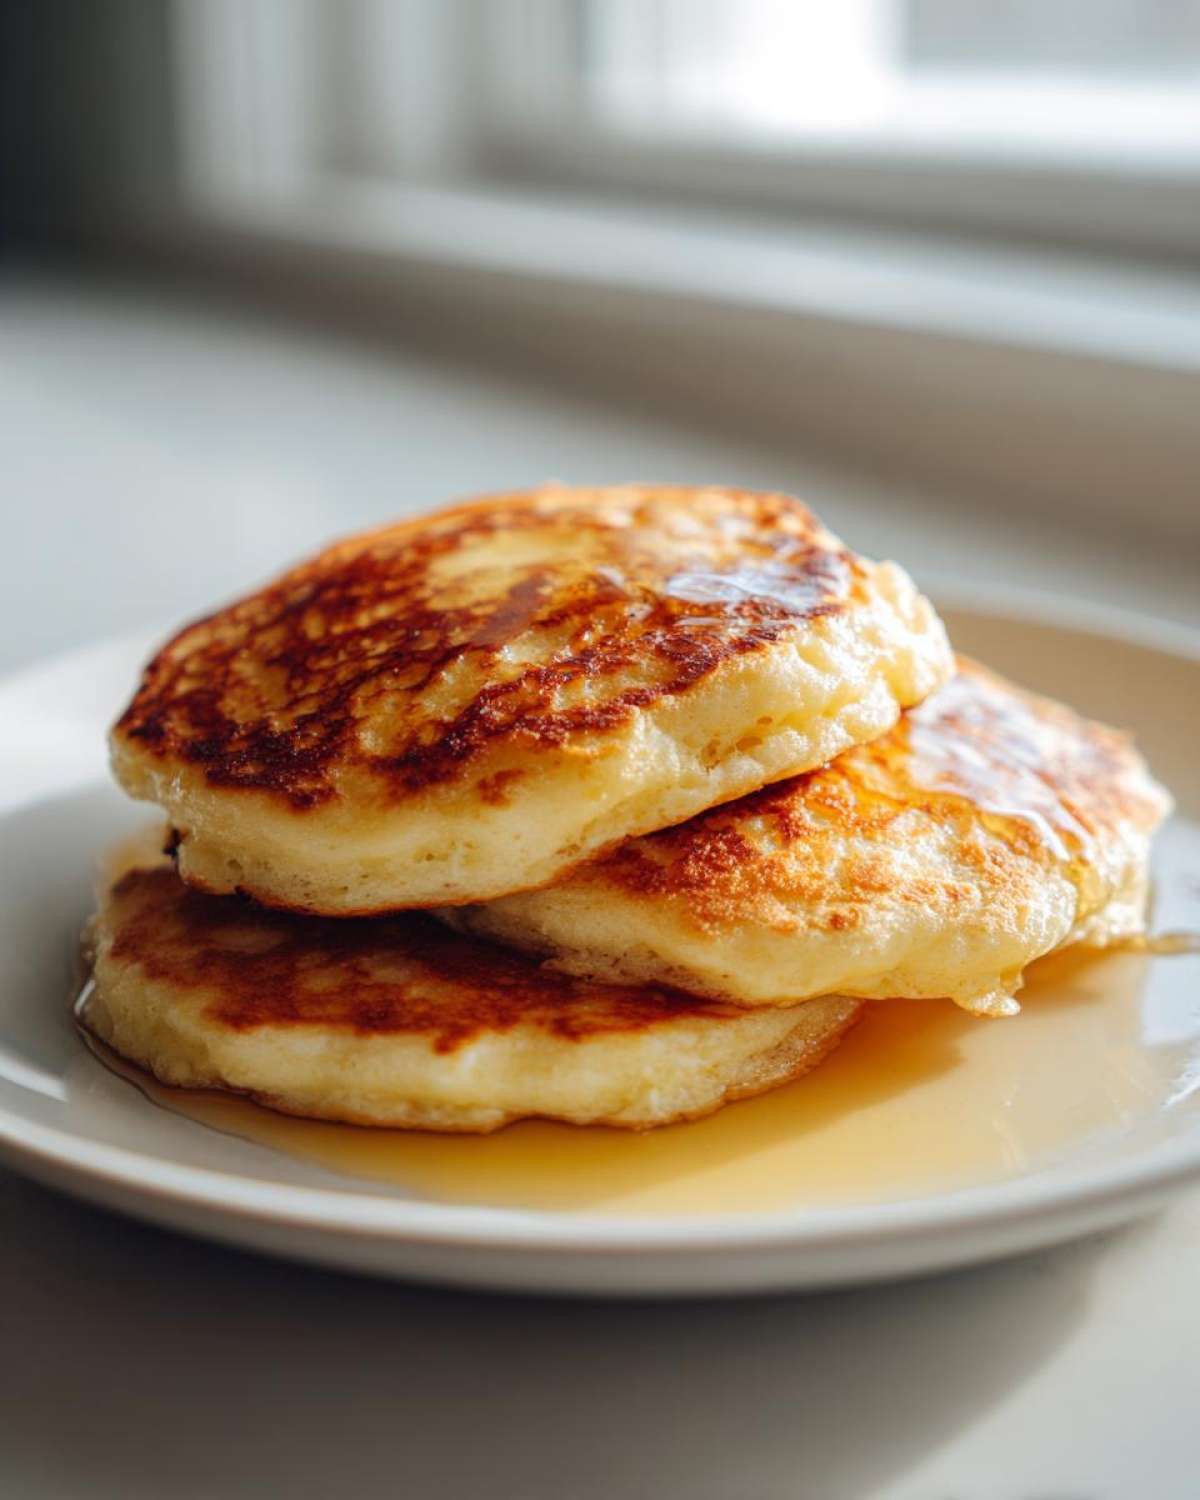
I’ve made batches using oat milk mixed with lemon juice before, and honestly, you cannot taste the difference once they hit the griddle. It just proves that being gluten-free or dairy-free doesn’t mean missing out on the best breakfast flavors.
Serving Suggestions for Your Gluten-Free Buttermilk Pancakes
The pancakes themselves are fantastic—tangy, fluffy, and just begging for some toppings! Honestly, I’m a purist and go straight for good quality, warm maple syrup and maybe an extra pat of melting butter. But if you want to elevate these into a show-stopping Sunday brunch masterpiece, you have options!
Because that buttermilk gives us a lovely, subtle sourness, you want toppings that play off that brightness. Fresh raspberries or sliced tart apples work amazingly well. If you’re feeling extra sweet, a little drizzle of fresh lemon juice right over the top layer before you add the syrup cuts through the richness perfectly. It’s like a little wake-up call for your tastebuds!
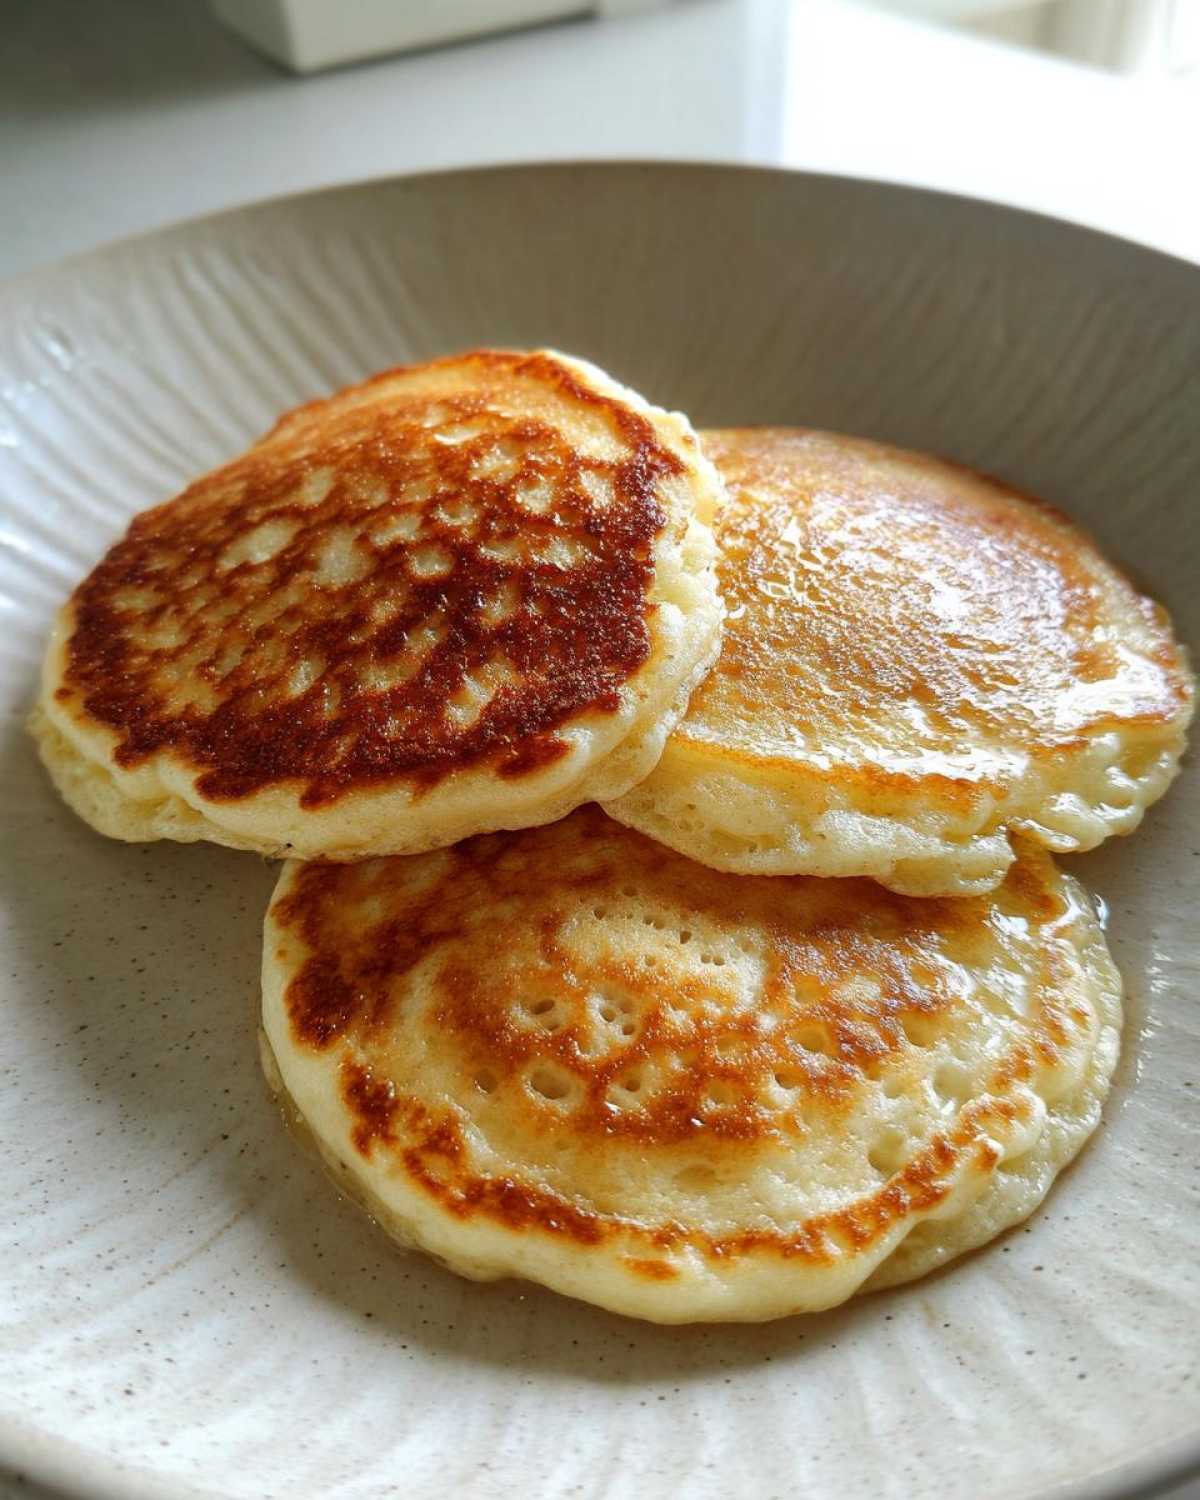
If you somehow manage to have any left over (which I doubt you will!), they are wonderful crumbled up over yogurt or mixed into butterscotch sauce. But for serving fresh off the griddle, keep it simple to let that gluten-free texture shine through!
Storage and Reheating Instructions for Gluten-Free Buttermilk Pancakes
Now, if by some miracle you actually have leftovers—I never do, but I’m trying to be hopeful for you!—storage is simple. Stack them up, let them cool completely first, and then wrap the whole stack tightly in plastic wrap before popping them in the fridge for up to three days. For longer storage, freezing is the way to go.
To freeze, place parchment paper between each pancake before bagging them up—this stops them from sticking into one giant gluten-free brick! When you want to eat them, skip the microwave! Microwaving GF pancakes makes them instantly rubbery. Instead, toss the frozen stack right onto a wire rack over a baking sheet and heat them in a 350°F oven for about ten minutes. They come out delightfully warm and just as fluffy as when they were first made!
Frequently Asked Questions About Gluten-Free Buttermilk Pancakes
I know you might have a couple of snags when trying to perfect any gluten-free breakfast recipe, so let’s cover the most common hiccups I’ve encountered over testing these for you!
Can I use a different GF flour blend for these pancakes?
You absolutely can experiment, but be careful! This is the **secret to fluffy gluten free pancakes**, and it relies heavily on using a good, all-purpose 1-to-1 blend that contains xanthan gum. If you switch to something like straight almond flour or coconut flour, you’ll need to drastically change the liquid ratios, and they won’t behave the same way. If you use a blend without xanthan gum, make sure you add that teaspoon mentioned in the notes, or you’ll end up with very tasty, but very crumbly, flat discs!
How do I get the absolute tallest, Fluffy Gluten Free Pancakes?
If you want them taller than your syrup bottle, you have to use the egg-whipping trick I detailed above—separating the yolks and whites makes a huge difference because you are physically trapping more air in the batter before it hits the heat! Also, don’t forget that five-minute rest period. A happy, hydrated batter is a tall batter. I promise, those two steps combined will give you the best gluten free breakfast recipes texture!
What if I don’t have vinegar or lemon juice for the buttermilk?
If you’re in a real rush and don’t have either of those acids for the **homemade gluten free buttermilk substitute action**, you can try using a small amount of cream of tartar mixed into your milk instead. It works similarly to acid by reacting with the baking soda. Use about 1/2 teaspoon of cream of tartar per cup of milk. Let it sit for maybe ten minutes—it sometimes takes a bit longer to curdle than the vinegar. It won’t have quite the same tangy punch, but it will give you the necessary lift!
Are these pancakes better than standard wheat pancakes?
That’s a big question! For me, these **light and fluffy GF pancakes** are equal to the classic recipe—the tang from the buttermilk substitute really pulls the flavor together so you don’t miss the wheat flavor at all. The texture is slightly different—a bit softer, maybe—but just as enjoyable, especially slathered with berry compote!
PrintFluffy Gluten-Free Buttermilk Pancakes
Make light and fluffy pancakes using a gluten-free flour blend and a simple homemade buttermilk substitute.
- Prep Time: 10 min
- Cook Time: 15 min
- Total Time: 25 min
- Yield: About 8 pancakes
- Category: Breakfast
- Method: Griddling
- Cuisine: American
- Diet: Gluten Free
Ingredients
- 1 1/2 cups gluten-free all-purpose flour blend (with xanthan gum)
- 2 tablespoons granulated sugar
- 2 teaspoons baking powder
- 1 teaspoon baking soda
- 1/2 teaspoon salt
- 1 1/2 cups milk (dairy or non-dairy)
- 1 tablespoon white vinegar or lemon juice
- 2 large eggs
- 4 tablespoons unsalted butter, melted, plus more for the griddle
Instructions
- Make the gluten-free buttermilk substitute: Pour the vinegar or lemon juice into the milk. Stir gently and let it sit at room temperature for 5 minutes until it curdles slightly.
- In a large bowl, whisk together the gluten-free flour blend, sugar, baking powder, baking soda, and salt.
- In a separate medium bowl, whisk the eggs, the prepared buttermilk mixture, and the melted butter until combined.
- Pour the wet ingredients into the dry ingredients. Mix gently with a whisk until just combined. Do not overmix; a few lumps are fine. Let the batter rest for 5 minutes.
- Heat a lightly buttered griddle or large non-stick skillet over medium heat. The griddle is ready when a drop of water sizzles immediately.
- Pour 1/4 cup of batter onto the hot griddle for each pancake. Cook for 2 to 3 minutes per side, until bubbles appear on the surface and the edges look set.
- Flip the pancakes and cook for another 1 to 2 minutes until golden brown.
- Serve immediately with your preferred toppings.
Notes
- If your gluten-free flour blend does not contain xanthan gum, add 1 teaspoon to the dry ingredients for better structure.
- For extra fluffy pancakes, separate the eggs. Whisk the yolks into the wet mixture, and then gently fold the stiffly beaten egg whites into the finished batter at the very end.
- Use dairy-free milk and butter substitutes to make these pancakes dairy-free.
Nutrition
- Serving Size: 2 pancakes
- Calories: 280
- Sugar: 6
- Sodium: 350
- Fat: 12
- Saturated Fat: 7
- Unsaturated Fat: 5
- Trans Fat: 0
- Carbohydrates: 35
- Fiber: 2
- Protein: 9
- Cholesterol: 85