

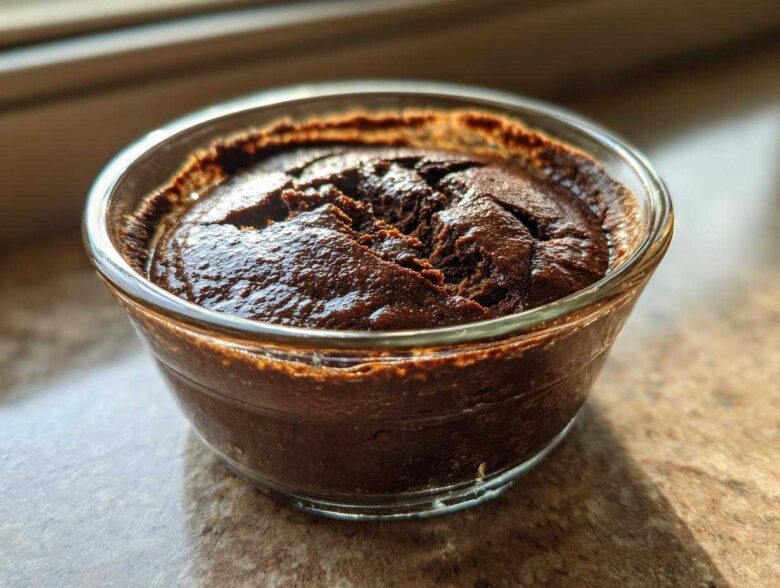
Oh my gosh, you guys, if you’re anything like me, mornings sometimes feel like a total sprint out the door! I used to grab stale toast or—yikes—nothing at all. But I finally cracked the code for the ultimate healthy grab-and-go situation: this absolutely dreamy **Vegan Chocolate Chia Pudding**. Seriously, if you think chia pudding turns into slimy goop, you haven’t tried my ratio yet! This recipe uses such simple pantry staples—almond milk, cocoa powder, and those tiny little seeds—and in about five minutes of active mixing, you have a creamy, decadent chocolate treat waiting for you.
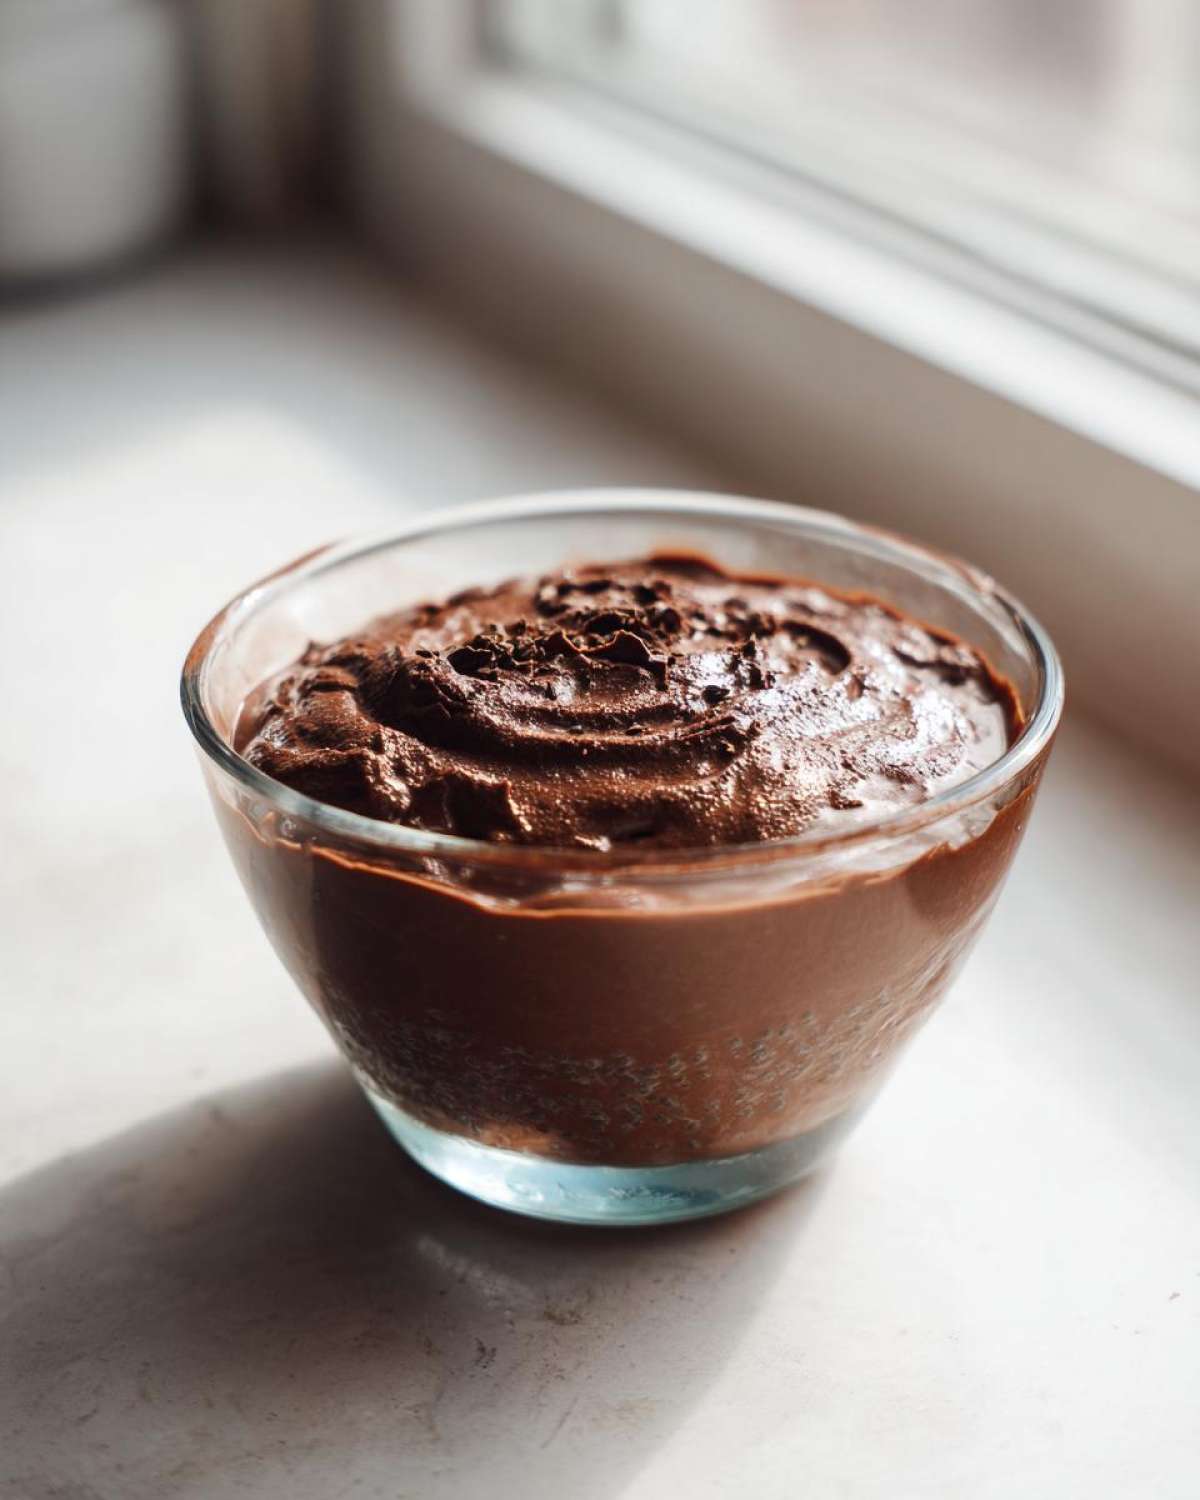
This isn’t just any recipe; it’s the one that saved my weekday routine. I started making a batch every Sunday night, and suddenly, my breakfast stress just vanished! You’ll want to check out my thoughts on overnight oats too, but sometimes you just need that rich, chocolate hug first thing in the morning, right?
Why This Is the Best Vegan Chia Pudding Recipe
Okay, listen up! What makes this particular recipe the absolute winner? It’s all about that texture. Forget watery sludge; this becomes genuinely creamy and satisfying. It’s 100% vegan and dairy free, so everyone can enjoy it. Plus, the active time is ridiculously short. Trust me, you’re going to love how simple it is.
Quick Prep for Easy Overnight Chocolate Pudding
Seriously, you need maybe five minutes, tops, of your time to whip this up before bed. It’s the ideal solution on a hectic morning because it does all the work while you sleep! That’s the magic behind making this **easy overnight chocolate pudding**—minimal effort, maximum reward when the alarm goes off.
Ingredients Needed for Perfect Vegan Chocolate Chia Pudding
Gathering your things is the easy part here, but pay attention to the specifics, because that’s where the pudding magic happens for this amazing **Vegan Chocolate Chia Pudding**! You don’t need anything fancy, just a quick trip to the pantry. I’ve listed out exactly what I use below to get that perfect texture.
- 1/4 cup chia seeds (Don’t skimp here, these are the stars!)
- 1 cup unsweetened almond milk (But see below on how you might want to switch this up!)
- 2 tablespoons unsweetened cocoa powder (Make sure yours is unsweetened, or it gets too sweet!)
- 2 tablespoons maple syrup (We can tweak this later, but this is the starting point!)
- 1/2 teaspoon vanilla extract (For that little warm embrace of flavor)
- A tiny pinch of salt (Yes, salt! It wakes up the chocolate flavor, trust me.)
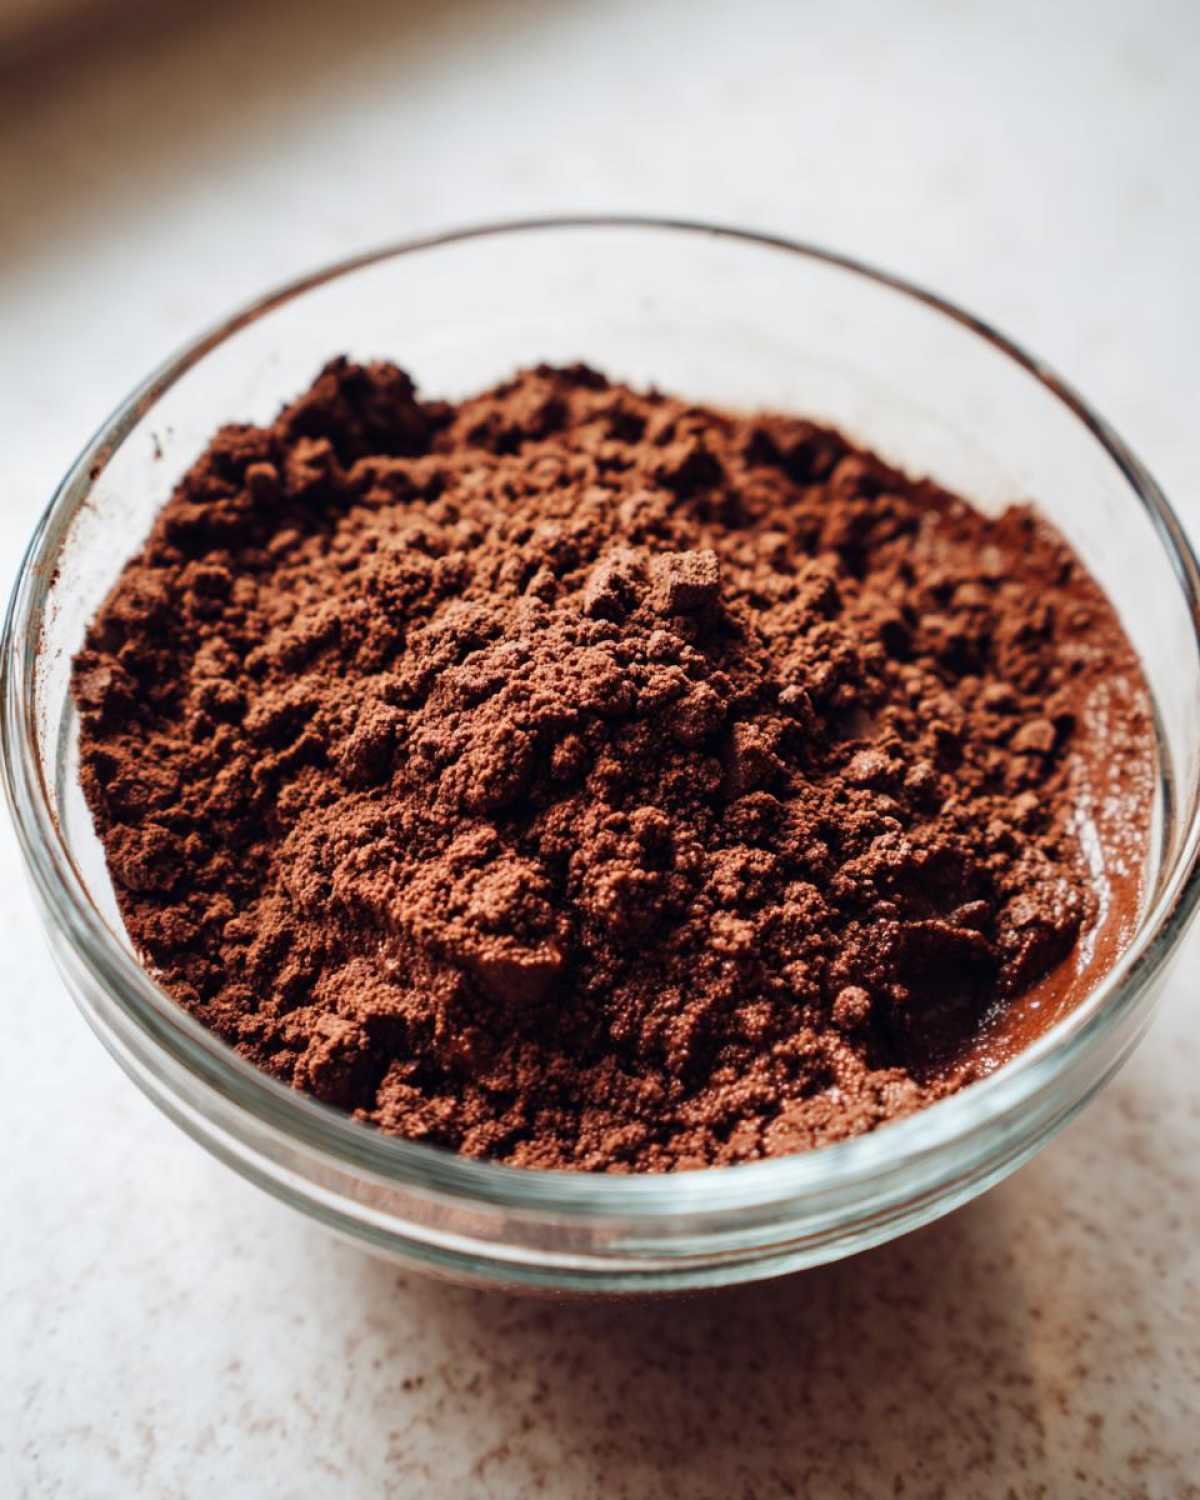
If you want to see how I use chocolate combinations in other recipes, you should definitely peek at my chocolate overnight oats recipe for ideas!
Choosing Your Plant Milk for Creamy Vegan Pudding
The milk you choose really dictates how rich this turns out. If you are using standard, thin almond milk like I listed, you get a lovely, lighter pudding perfect for a standard breakfast. It works beautifully!
BUT, if you really, truly want that deeply decadent, almost mousse-like consistency—the kind that screams dessert even though it’s totally healthy—you have to try the coconut milk trick I put in the recipe notes. Getting that full-fat canned coconut milk is necessary; don’t use the kind in the carton! That heavy creaminess transforms this into a truly **creamy vegan pudding**. It’s my favorite upgrade for weekends!
How to Make Chocolate Chia Pudding: Step-by-Step Instructions
This is seriously the easiest recipe you’ll ever make. I always tell people that if you can stir two things together, you can master this **Vegan Chocolate Chia Pudding**. The whole active process takes less than five minutes, but the magic is in *how* you stir and when you let it rest. Don’t rush these steps; they are crucial for ditching that watery texture!
- Grab your jar or mixing bowl—I usually just use a mason jar—and combine all the damp ingredients first: your plant milk, cocoa powder, maple syrup, vanilla, and that tiny pinch of salt you added. Whisk it like you mean it! You must make sure that cocoa powder is totally dissolved. If you see dry clumps floating around, they will stay dry clumps later, so whisk until it looks like smooth, lovely dark chocolate milk.
- Now, dump in your chia seeds! Here’s the first big secret: Stir immediately and stir hard for a solid minute. Chia seeds are sneaky; they try to clump up against each other at the bottom, and we absolutely cannot have that. Keep stirring until you can see the seeds dispersing evenly in the liquid.
- Set the bowl down on the counter and walk away for about five minutes. You can make your coffee or throw in a load of laundry! This rest period is essential because it lets the seeds start soaking up the liquid just enough so they don’t clump during the next step.
- Time for the second stir! This is just as critical as the first one. Give it another really vigorous stir, scraping down the sides. You’ll already notice it thickening up a bit. That second mix ensures every single seed gets hydrated evenly.
- Toss a lid or plastic wrap over whatever you’re using, and pop it straight into the fridge. It needs at least four hours, but overnight is best. When you pull it out in the morning, it should be thick and ready to go!
I always give it one final stir right before I scoop it out, just to check in on the texture. If you took my advice and used coconut milk, it might be super thick already! If you’re craving something soupier, just stir in a splash more milk. You can check out my full guide on making chocolate chia pudding if you feel like you need a visual aid!
Achieving the Right Consistency in Your Dairy Free Chia Pudding
Texture is everything when it comes to **dairy free chia pudding**. If you follow the ratio above, you should hit that sweet spot—thick enough to eat with a spoon, but still soft. If, after chilling, it’s just too firm for your liking? Don’t panic! Just stir in a small splash of your favorite plant milk until it loosens up to your ideal state.
On the flip side, if you let it chill and it’s still a little runny (maybe your chia seeds weren’t the freshest, it happens!), cover it back up and pop it back in the fridge for another hour or two. It will thicken up!
Now, if you want that next-level, restaurant-quality smooth texture, here is my little secret: Take the chilled pudding, dump it into a high-speed blender, and buzz it for about 15 seconds. It totally pulverizes any remaining seed hulls, resulting in the silkiest **no dairy chia pudding recipe** you’ve ever imagined. It’s totally optional, but definitely impressive!
Expert Tips for the Best Vegan Chia Pudding Texture and Flavor
When you’re making something this simple, the little details really elevate it from a basic snack to the *best* **Vegan Chocolate Chia Pudding** experience. I went through so many batches trying to get this perfect balance—not too sweet, not too bland, and definitely not too grainy. These extra bits of info come straight from my experimentation!
First off, let’s talk about richness. If you want this to taste less like a wholesome health bite and more like a rich, dark chocolate mousse, swap out the almond milk! The recipe notes mention using full-fat canned coconut milk, and oh boy, you have to try that at least once. The fat content from the coconut milk makes the final texture unbelievably luxurious. It’s almost too good for a Tuesday morning, honestly!
Sweetness is totally personal, which is why I only put two tablespoons of maple syrup in the base recipe. If you have a major sweet tooth, feel free to bump that up to three tablespoons. But here’s my personal preference: I keep the base at two tablespoons and then add a touch more maple syrup right before serving if I’m feeling decadent, or I rely on the toppings to bring the sweetness. That way I don’t accidentally make the whole batch too sweet!
Remember that optional step I mentioned in the notes about blending? If you have a high-powered blender, do that final 15-second blend after it has chilled and thickened. It seems counterintuitive, but it blasts those seeds into a perfect, smooth paste. It sounds like cheating, but it makes for the most unbelievably **delicious vegan breakfast**!
If you need more ideas on adjusting things like thickness, seed freshness, and layering, my general guide to chia seed pudding tips has even more tricks up its sleeve for when you start branching out from chocolate!
Serving Suggestions for Your Healthy Chocolate Breakfast
Okay, so you’ve made this incredible, rich **healthy chocolate breakfast**, and it looks a little plain floating there in the jar. We can’t have that! The beauty of this pudding is that it’s the perfect canvas for literally anything you love. Toppings are where you can really make this pudding your own every single day.
When I’m making this for my meal prep, I usually pack the toppings separately, but when I’m making it just for myself right now, I go all out. I think the best way to brighten up that intense chocolate cocoa flavor is with some fresh fruit. Fresh berries are my absolute go-to—strawberries, raspberries, they add a beautiful tartness that cuts through the richness. It just brightens everything up!
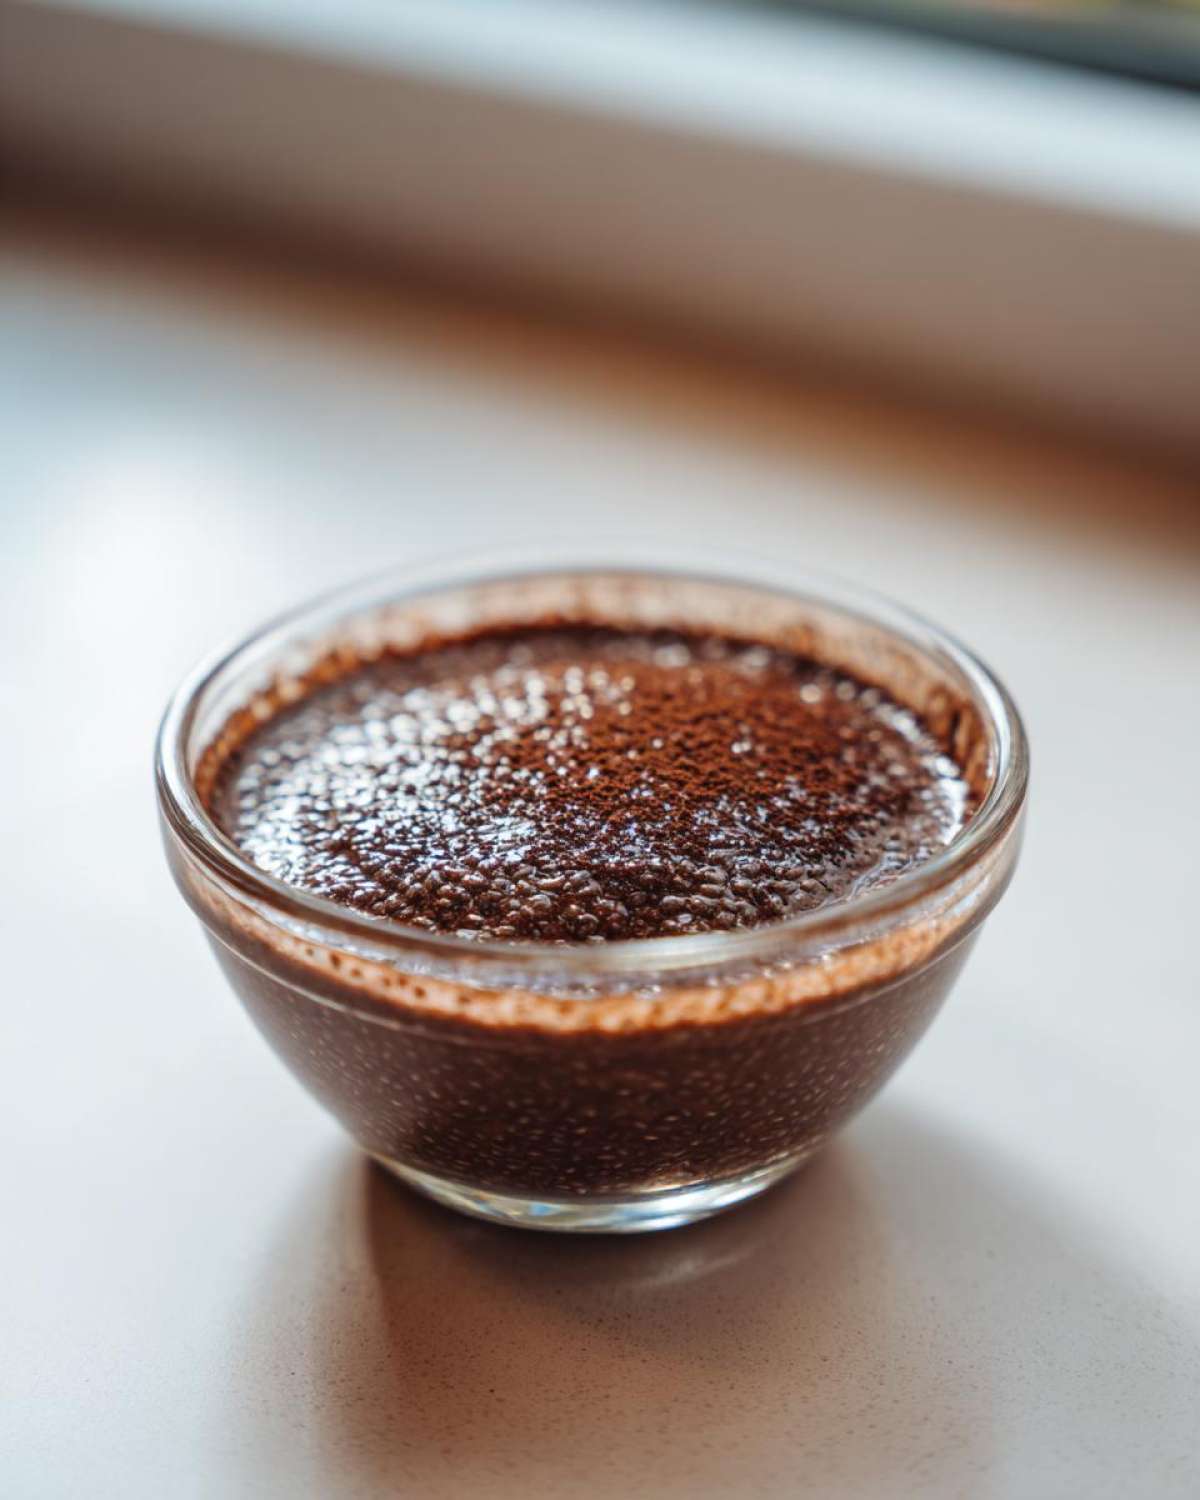
If you need a serious crunch, nuts are your best friend. Chopped walnuts or pecans are fantastic. They bring a little buttery flavor that pairs surprisingly well with the maple syrup and cocoa. Honestly, if you happen to have some toasted hazelnuts lying around, use those—they take this straight into dessert territory!
And don’t forget coconut! Since we are keeping this plant-based and dairy free, shredded coconut is a must-have sometimes. Toasted or raw, it adds lovely texture and a tropical hint that contrasts sharply with the dark chocolate base. Think of these additions as layering the flavor and texture so you get something new with every single spoonful. It’s all about maximizing that delicious factor!
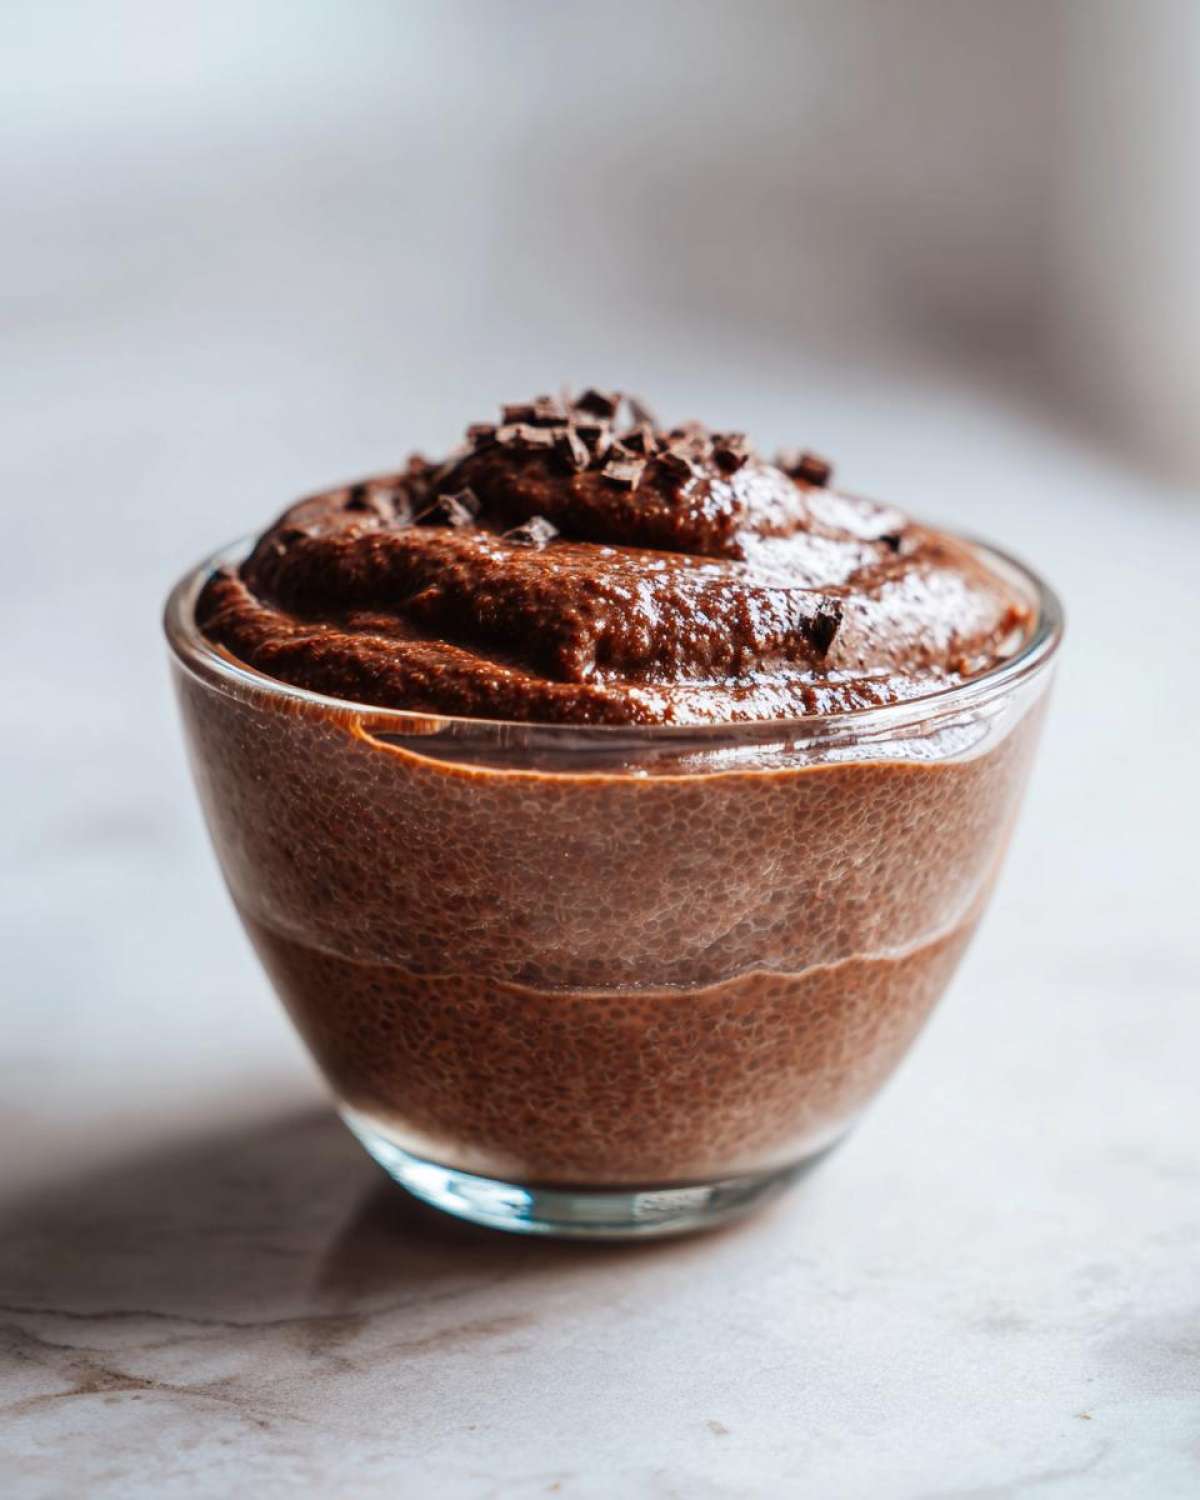
If you’re looking for more ways to make your mornings exciting, take a look over at my general link for all my breakfast ideas—there’s always something new cooking in my kitchen!
Storage and Make-Ahead Tips for Vegan Chocolate Chia Pudding
This is, without a doubt, one of my favorite things about this recipe—it’s basically begging you to do your **chocolate meal prep ideas** early! Since we let it happily hang out in the fridge overnight, making a few jars at once on a Sunday is so easy. You prepare it, cover it, and forget about it until you need that boost later in the week.
For storage, you just need an airtight container. I honestly prefer glass mason jars because I love seeing the layers, but any sealed container you have works perfectly for storing your **Vegan Chocolate Chia Pudding**.
How Long Does It Keep in the Fridge?
Chia seeds stay perfectly plump and delicious for several days in the refrigerator. I find that day one and day two are always peak deliciousness, when the pudding is thickest and the seeds have just fully hydrated. But honestly? They’re still fantastic on day three and even day four!
I’ve kept my jars pushing five days before, and while they get incredibly thick—almost like a firm block of chocolate—they are still totally edible and tasty. If it gets too firm, that’s when you absolutely need to remember that splash of extra plant milk I talked about earlier, just to loosen it back up before you eat it.
Serving Cold vs. Room Temperature
Since this recipe has zero cooking involved, it will always be served cold, which I love, especially when it’s warm outside! It’s designed to be your refreshing, **dairy free chia pudding** treat straight from the fridge.
If you’re taking it to work or school, just keep it in an insulated lunch bag or cooler. Nobody wants warm pudding, trust me on this one! It holds its thickness really well when kept chilled, so there’s no concern about it turning soupy midday.
If you are interested in other easy make-ahead foods that save time during busy weeks—like my famous burritos you can take camping or just keep in the freezer—you should definitely check out my post on make-ahead campfire breakfast burritos! Planning ahead makes life so much smoother!
Frequently Asked Questions About No Dairy Chia Pudding Recipe
I know when you’re trying something new, even a simple **no dairy chia pudding recipe**, you’re going to have questions pop up! I’ve collected the ones I hear most often. These little answers should clear up anything keeping you from making the perfect batch tonight!
Can I use a different sweetener instead of maple syrup?
Absolutely! Maple syrup is my favorite because it dissolves nicely and has that hint of caramel, but you can swap it out. Agave nectar works great because it’s also a liquid sweetener that integrates well. If you prefer a granulated sugar, you need to be a little careful! Use a small amount of fine granulated sugar or monk fruit sweetener, but make sure you dissolve it completely when you whisk your initial wet ingredients together, or you’ll end up with gritty spots in your **Vegan Chocolate Chia Pudding**.
How long does this keep fresh in the fridge?
Like I mentioned before, these are fantastic for meal prep! I find they are best eaten within three to four days. After that, the seeds can start to get a little spongy, though they are still perfectly safe to eat. Always keep them sealed tight! If you check out my disclaimer page, you’ll see my notes on how fresh ingredients always yield the best results, but four days is a safe bet for enjoying this **dairy free chia pudding** at its best.
Can I use water instead of plant milk?
You technically *can*, but I really, really wouldn’t recommend it if you’re looking for a **creamy vegan pudding**! Water basically has zero fat content, and the fat in the milk (like almond, soy, or coconut) is what gives the pudding its body and richness when the chia seeds swell up. If you absolutely must use water, try thickening it up by adding an extra half tablespoon of chia seeds, or use that canned coconut milk trick for the texture boost!
The seeds settled at the very bottom before I chilled it—did I mess up?
Nope! This is why we do that crucial second stir! Seeds are heavy, and they sink fast. If you look down and see a thick layer of seeds glued to the bottom before you refrigerate, just grab a spoon and stir it aggressively one more time. Seriously, just stir hard for 30 seconds, and you’re good to go. That initial 5-minute rest period is what prevents the worst of the clumping, but a stir right before chilling seals the deal for a smooth **healthy chocolate breakfast**.
Nutritional Snapshot of This Plant Based Chocolate Pudding
Okay, now for the official numbers! I always like to share the breakdown so you know exactly what deliciousness you’re putting in your body. This **plant based chocolate pudding** is packed with fiber from those amazing chia seeds, which keeps you feeling full and happy well past breakfast time. I made this serving size for one super satisfying portion, but of course, if you double the recipe, double the numbers!
Keep in mind that these are estimates, right? I used a standard unsweetened almond milk, but if you switch to that rich coconut milk, your fat and calorie counts are definitely going to jump up a bit—and that’s okay, because sometimes you deserve that extra richness!
- Serving Size: 1 serving
- Calories: About 320 (a great number for a satisfying breakfast!)
- Sugar: 18g (Mostly natural sugars from the maple syrup, which we can control!)
- Fat: 15g (Most of that is the good, healthy unsaturated fat from chia seeds!)
- Carbohydrates: 45g
- Fiber: 18g (Yes, EIGHTEEN grams of fiber! That’s incredible!)
- Protein: 10g
Since we aren’t using any dairy here, it’s naturally cholesterol-free, which is a huge bonus. Think of this **Vegan Chocolate Chia Pudding** as fuel that tastes like dessert. It’s such a smart swap for those mornings when you want something decadent but still want to keep things clean!
Just a quick transparency note—because this is crucial for E-E-A-T—these numbers assume standard brand ingredients. If you use a sweetened plant milk or a different sweetener, your actual totals will shift. Always measure what you use for the most accurate count!
Share Your Delicious Vegan Breakfast Ideas
Now that you know how ridiculously easy it is to whip up this incredible **healthy chocolate breakfast**, I would absolutely love to hear from you!
Have you tried this recipe yet? Did you go for the rich coconut milk, or stick with almond? Let me know in the comments what your ultimate topping combination was! Rate this recipe below, and if you snap a picture, tag me so I can see your beautiful **delicious vegan breakfast** creations. Reach out if you have any quick questions on our contact page too!
PrintVegan Chocolate Chia Pudding
A simple recipe for creamy, dairy-free chocolate chia seed pudding made with cocoa powder.
- Prep Time: 5 min
- Cook Time: 0 min
- Total Time: 4 hr 5 min
- Yield: 1 serving
- Category: Breakfast
- Method: No Cook
- Cuisine: American
- Diet: Vegan
Ingredients
- 1/4 cup chia seeds
- 1 cup unsweetened almond milk (or other plant milk)
- 2 tablespoons unsweetened cocoa powder
- 2 tablespoons maple syrup (adjust to taste)
- 1/2 teaspoon vanilla extract
- Pinch of salt
Instructions
- In a medium bowl or jar, combine the almond milk, cocoa powder, maple syrup, vanilla extract, and salt. Whisk well until the cocoa powder is fully dissolved and no lumps remain.
- Add the chia seeds to the liquid mixture. Stir immediately and thoroughly for about one minute to prevent the seeds from clumping at the bottom.
- Let the mixture sit on the counter for 5 minutes, then stir again vigorously. This second stir is important for a smooth texture.
- Cover the bowl or jar and refrigerate for at least 4 hours, or preferably overnight, until the pudding thickens to your desired consistency.
- Stir the pudding one last time before serving. Add more milk if you prefer a thinner texture, or let it sit longer if you prefer it thicker.
- Serve cold with your preferred toppings.
Notes
- For a richer chocolate flavor, use full-fat canned coconut milk instead of almond milk.
- If you want a sweeter pudding, increase the maple syrup to 3 tablespoons.
- For a smoother texture, blend the prepared pudding briefly in a high-speed blender before chilling.
- Toppings can include fresh berries, sliced banana, chopped nuts, or shredded coconut.
Nutrition
- Serving Size: 1 serving
- Calories: 320
- Sugar: 18
- Sodium: 150
- Fat: 15
- Saturated Fat: 2
- Unsaturated Fat: 13
- Trans Fat: 0
- Carbohydrates: 45
- Fiber: 18
- Protein: 10
- Cholesterol: 0