

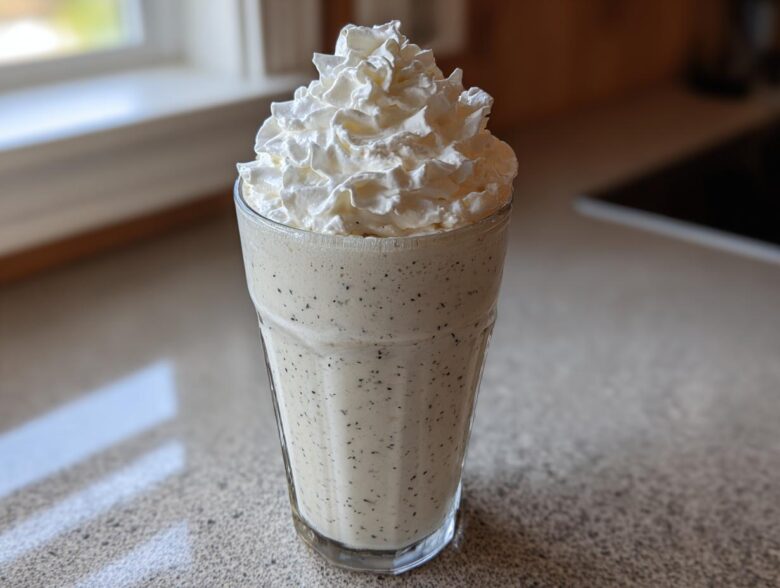
Oh, you know those days. You really, really crave one of those dreamy, thick, frozen vanilla bean drinks from the coffee shop, but heading out just isn’t happening. Well, stop dreaming! I’ve finally cracked the code on the ultimate **Homemade Vanilla Bean Frappuccino** that tastes even better, I promise. The secret isn’t tricky—it’s all about nailing that perfect, smooth, icy texture we all love. This little recipe is your ticket to cafe-quality frozen bliss right at home, without having to fuss with complicated espresso shots. Trust me, you’re going to be making this all summer long!
Why This Homemade Vanilla Bean Frappuccino Recipe Works
So many copycat recipes fail because they just toss milk, sugar, and ice into the blender and call it a day. Oops! You end up with watery slush, not a true *Frappe*. Our method works because we build flavor and texture intentionally. We heat the milk, cream, and sugar first to make sure that sugar dissolves perfectly. That tiny step eliminates the grainy texture you get when blending cold ingredients!
This focus on a smooth, sweet, pre-mixed base is crucial for creating an amazing **Thick Frappuccino Recipe**. Since we aren’t relying on coffee for body, we use cream and then an optional helper ingredient. This ensures you get that wonderfully dense, luxurious mouthfeel that makes this **Creamy Frappuccino Without Coffee** so satisfying. You get the authentic flavor and the cafe structure without ever leaving the kitchen. If you want to read more about my general passion for making cafe drinks at home, you can check out my main blog page for inspiration!
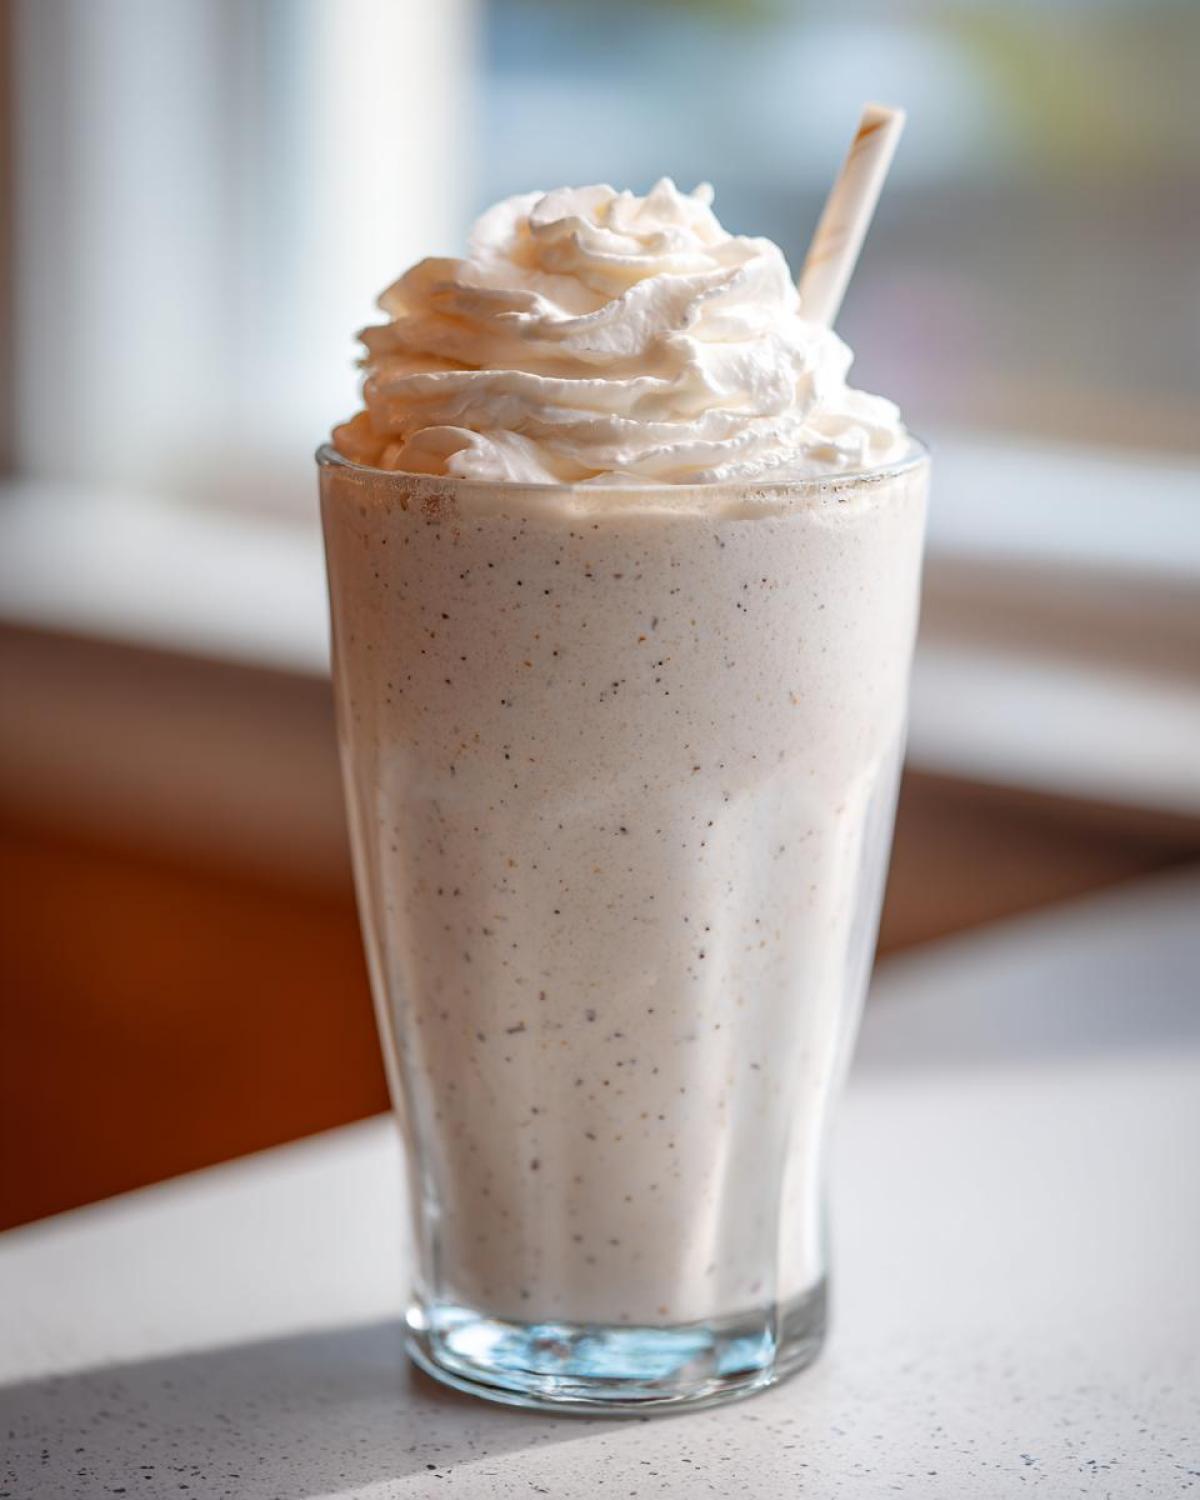
Ingredients for Your Perfect Homemade Vanilla Bean Frappuccino
Okay, listen up, because using the *right* ingredients is what teleports this drink straight from your kitchen to a high-end cafe counter. We need things that scream real vanilla flavor and creamy density. Don’t stress about finding every single optional item; the base recipe works beautifully on its own, but those little extras really elevate it to true **Starbucks Copycat Frappuccino** status!
For the Vanilla Bean Frappuccino Base
This is our sweet, chilled liquid foundation. Make sure you make this ahead of time, as chilling is non-negotiable!
- 1 cup whole milk (I prefer whole milk, but any dairy alternative works great!)
- 1/2 cup heavy cream, cold, for richness
- 1/4 cup granulated sugar
- 1/2 teaspoon vanilla bean paste (or the tiny seeds scraped from 1/2 vanilla bean—that’s where the flecks come from!)
- 1/4 teaspoon pure vanilla extract
For Texture and Topping
This is where we ensure it’s thick, not sad and watery. The xanthan gum is kind of magic for getting that perfect blended dollop texture.
- 1 1/2 cups ice cubes (use slightly less if your base is still cold from the fridge)
- 1/4 teaspoon xanthan gum (Optional, but highly recommended for that classic thick texture!)
- Whipped cream, for topping (pile it high—you deserve it!)
Step-by-Step Instructions for the Homemade Vanilla Bean Frappuccino
Now that you have your star ingredients lined up, it’s time to put the whole masterpiece together. Remember, the order matters here! We are slow-cooking the flavor base first, and then we blast it with ice to chill immediately. This two-step process is what prevents that watery disappointment and keeps you on track for the best **Homemade Vanilla Bean Frappuccino** ever. If you want to check out my deep dive on getting that ultra-smooth freeze, I wrote about how to make frappuccinos smooth right over here!
Preparing the Sweetened Vanilla Base
First things first, we need to infuse that milk and cream with all that gorgeous vanilla sweetness. Grab a small saucepan. Pour in your milk, heavy cream, sugar, vanilla bean paste, and extract. Set your heat to medium. Now, stir constantly until that sugar disappears completely—like magic! The most important thing here is to watch it carefully: you just want to heat it enough to dissolve the sugar; do not let it boil, or you’ll change the texture later on. Once it’s steaming and clear, take it right off the burner. Pop that saucepan (or pour the liquid into a container) into the fridge. It needs to be thoroughly chilled before we even think about blending—at least 30 minutes, but cold is best!
Blending for the Best Blended Iced Coffee Drink Texture
Time for the fun part! Pour that cold, sweetened vanilla base into your blender jar first. Adding the liquid first helps your blades move freely. Next, toss in your 1 1/2 cups of ice cubes. If you are using the xanthan gum for extra body, sprinkle that in now too! Start blending on a low speed to crush the ice, then immediately ramp it up to high speed. You are looking for that super smooth, thick texture—it might take a minute or two. If your blender is struggling, stop it, scrape down the sides with a sturdy spatula, and blend again. That intense blending is what makes this **Thick Frappuccino Recipe** successful, especially since this is a **No Espresso Frappuccino** method!
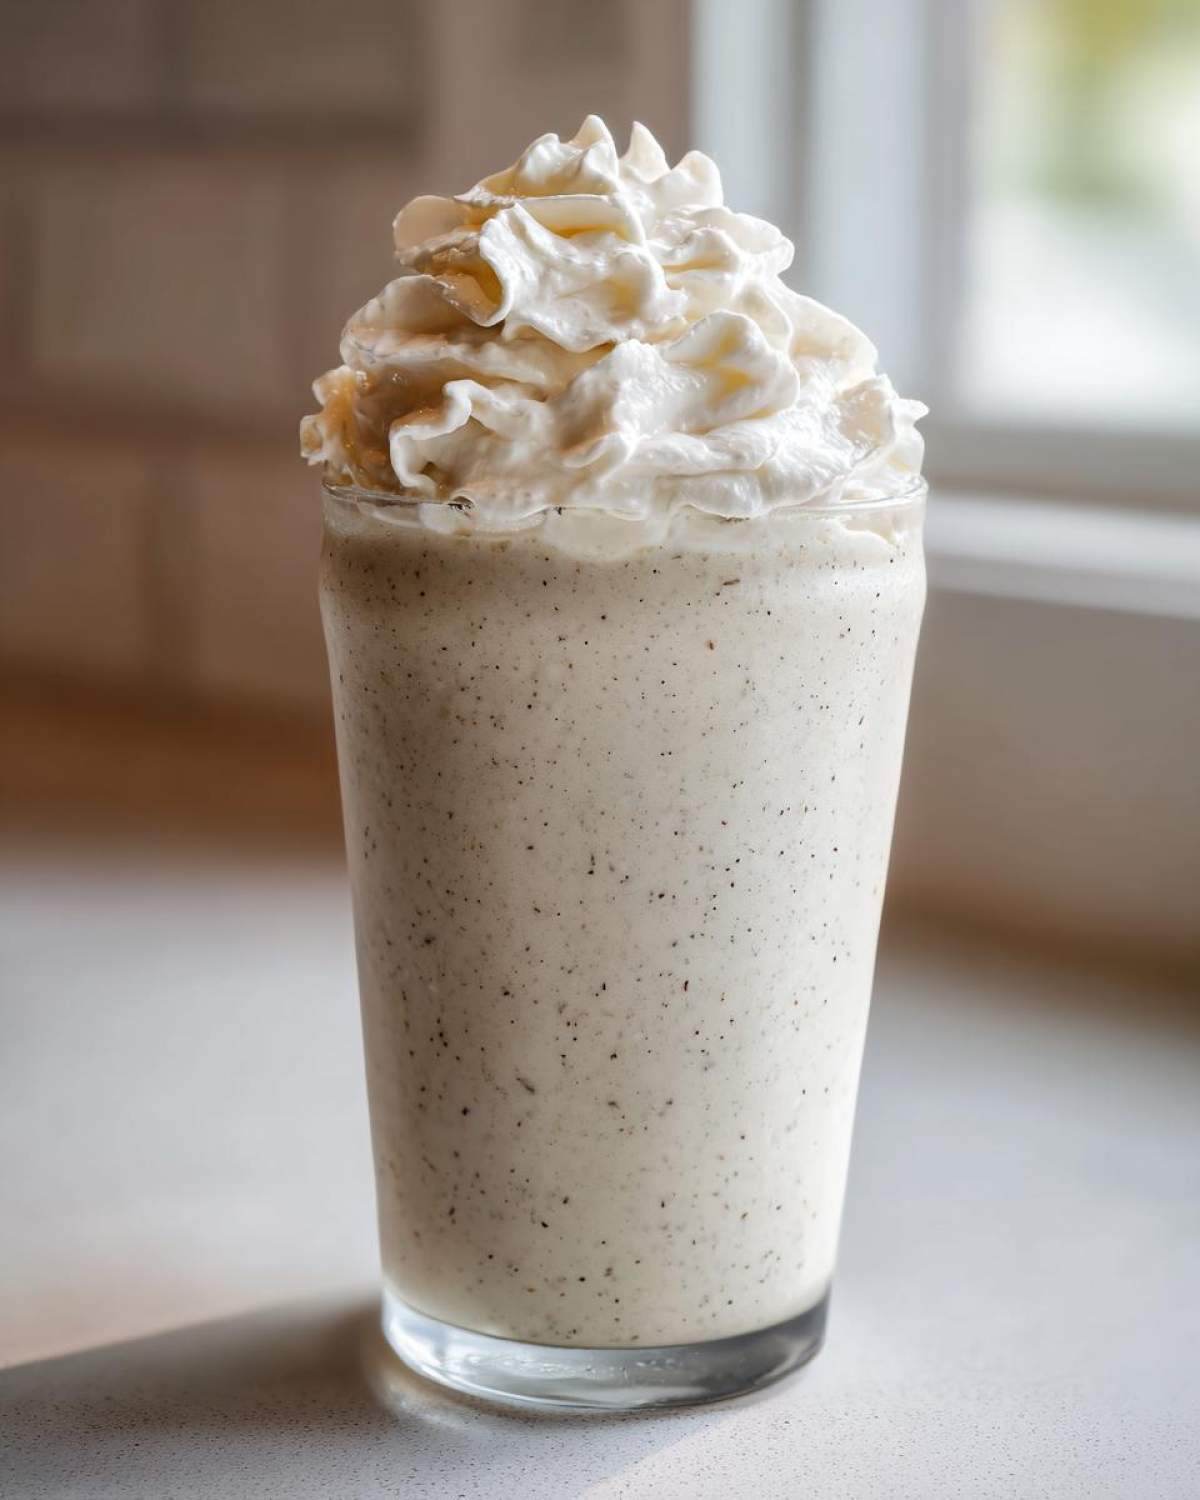
Expert Tips for a Thick Frappuccino Recipe Consistency
Okay, we’ve covered the base recipe, but let’s talk texture because that’s what separates a good homemade drink from a truly spectacular one. If you’re aiming for that unbelievable thickness, sometimes the measurements need tweaking based on your ice quality or humidity in the air. Don’t be afraid to experiment with these **Thickening Agents for Frappuccinos**!
My absolute favorite trick for getting the thickest base without relying only on the gum? Frozen milk cubes! Instead of using water ice cubes, try replacing half of your ice with milk that you froze overnight in an ice cube tray. It chills the drink perfectly but adds back that creamy richness instead of just diluting the flavor. This is key for **How to Make Frappuccinos Smooth** even if your blender isn’t commercial grade.
Also, remember the cream ratio! If you want a slightly richer mouthfeel, bump that heavy cream up by another tablespoon. My personal loading order is always liquid first, then any powders like xanthan gum, and finally the ice on top. This prevents the dry thickeners from sticking to the bottom of the jar. A little finesse goes a long way in achieving that perfect, scoopable **Thick Frappuccino Recipe** consistency!
Variations on Your Homemade Vanilla Bean Frappuccino
One of the best parts about mastering the **Vanilla Bean Frappe at Home** is being able to spin it into whatever flavor mood strikes you! Since the base is so simple and pure, it’s the perfect blank canvas for all sorts of delicious adjustments. You don’t have to stick to just vanilla if you don’t want to—we can customize this drink entirely.
Let’s chat about milk swaps first. If you’re avoiding dairy, don’t worry; this recipe handles it beautifully. I have had great luck substituting the whole milk with oat milk, which keeps things incredibly creamy. Almond milk works too, but it tends to be a little thinner, so you might want to add an extra splash of heavy cream or a little more of that optional xanthan gum if you go that route.
Sweetener Swaps for Every Taste
Sugar dissolved in the heating step is classic, but I know some of you prefer different sweeteners! If you use maple syrup instead of granulated sugar, you’ll infuse a lovely, warm note into the base. Just remember that maple syrup is a liquid, so you might need to reduce the milk slightly to compensate, or just trust your instincts! Agave nectar is another great option if you’re looking for a neutral sweetener that dissolves just as easily. Taste the base *before* you chill it, just to make sure the sweetness level is perfect for you.
Adding the Coffee Kick: The Mocha Twist
While this is designed as a creamy **no espresso frappuccino**, sometimes you just need that caffeine boost, right? It’s super easy to turn this into a delightful coffee-infused treat! For one serving, simply blend in about 1/4 cup of very strongly brewed, cold coffee or one shot of chilled espresso when you add the ice. If you go the espresso route and want to explore other popular coffee shop drinks, you might enjoy checking out my recipe for the Iced Apple Crisp Oatmilk Latte—it shows you how flexible these base recipes can be!
Flavor Injections
Want to make it interesting? Try adding a tiny splash of almond extract along with the vanilla for an almost macaron-like flavor. Or, if you’re aiming for a chocolate chip cookie vibe, toss in two tablespoons of mini chocolate chips when you blend. They won’t totally disappear, but you’ll get those lovely little chunks of goodness throughout your **Blended Vanilla Dessert Drink**!
Serving Suggestions for Your Cafe Style Frozen Drinks
You’ve worked hard for this! You’ve made the perfect, impossibly thick **Homemade Vanilla Bean Frappuccino** base, and you certainly don’t want to ruin the presentation by letting it sit around. Blended drinks like this hate waiting; they start melting and losing that beautiful, icy body almost immediately. So, grab your tallest, fanciest glass—the ones you usually save for special occasions!
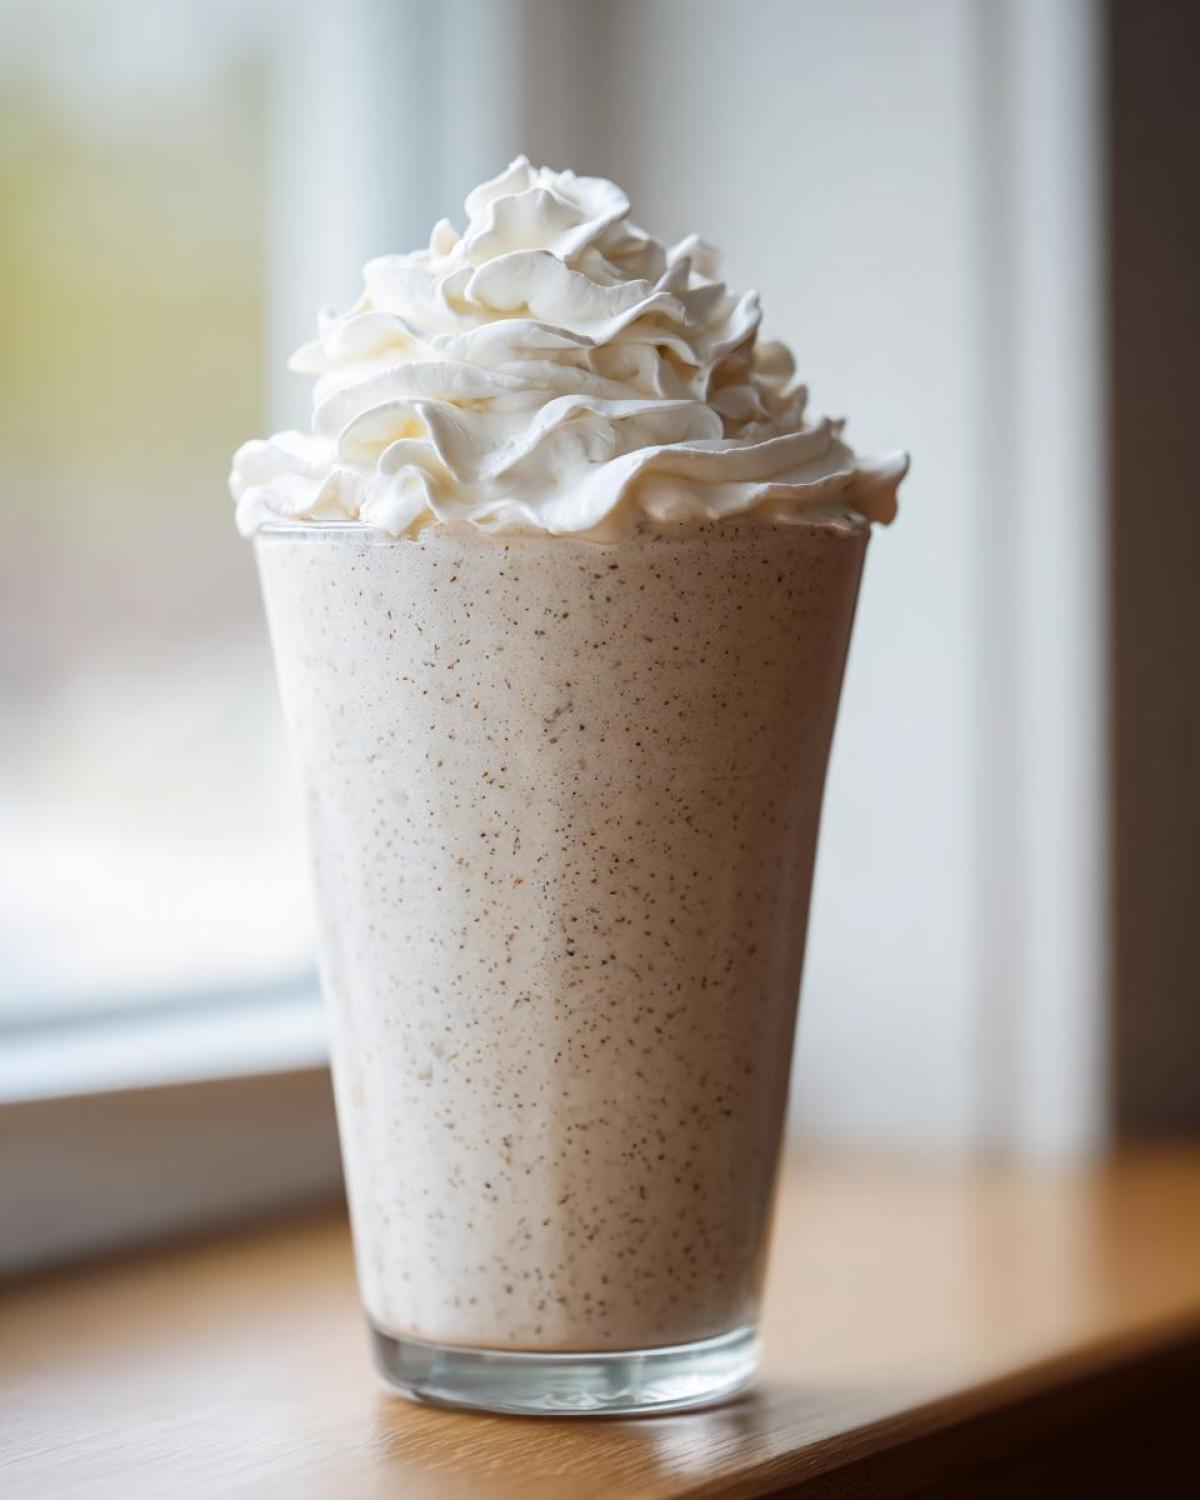
Speed is key here, seriously. As soon as you pull that mixture out of the blender, pour it straight into your serving glass. If you used the xanthan gum or frozen milk cubes, it should hold a gorgeous mound for a second before settling slightly. This presentation is what truly turns it into a genuine **Cafe Style Frozen Drink** experience.
Now for the crown jewel: the topping! You absolutely must use whipped cream. Don’t just plop a spoonful on top; load that can and create a tall swirl. Aim for volume! This mimics that luxurious experience you get when you order a **Blended Vanilla Dessert Drink** out on the town. It should practically tower over the glass.
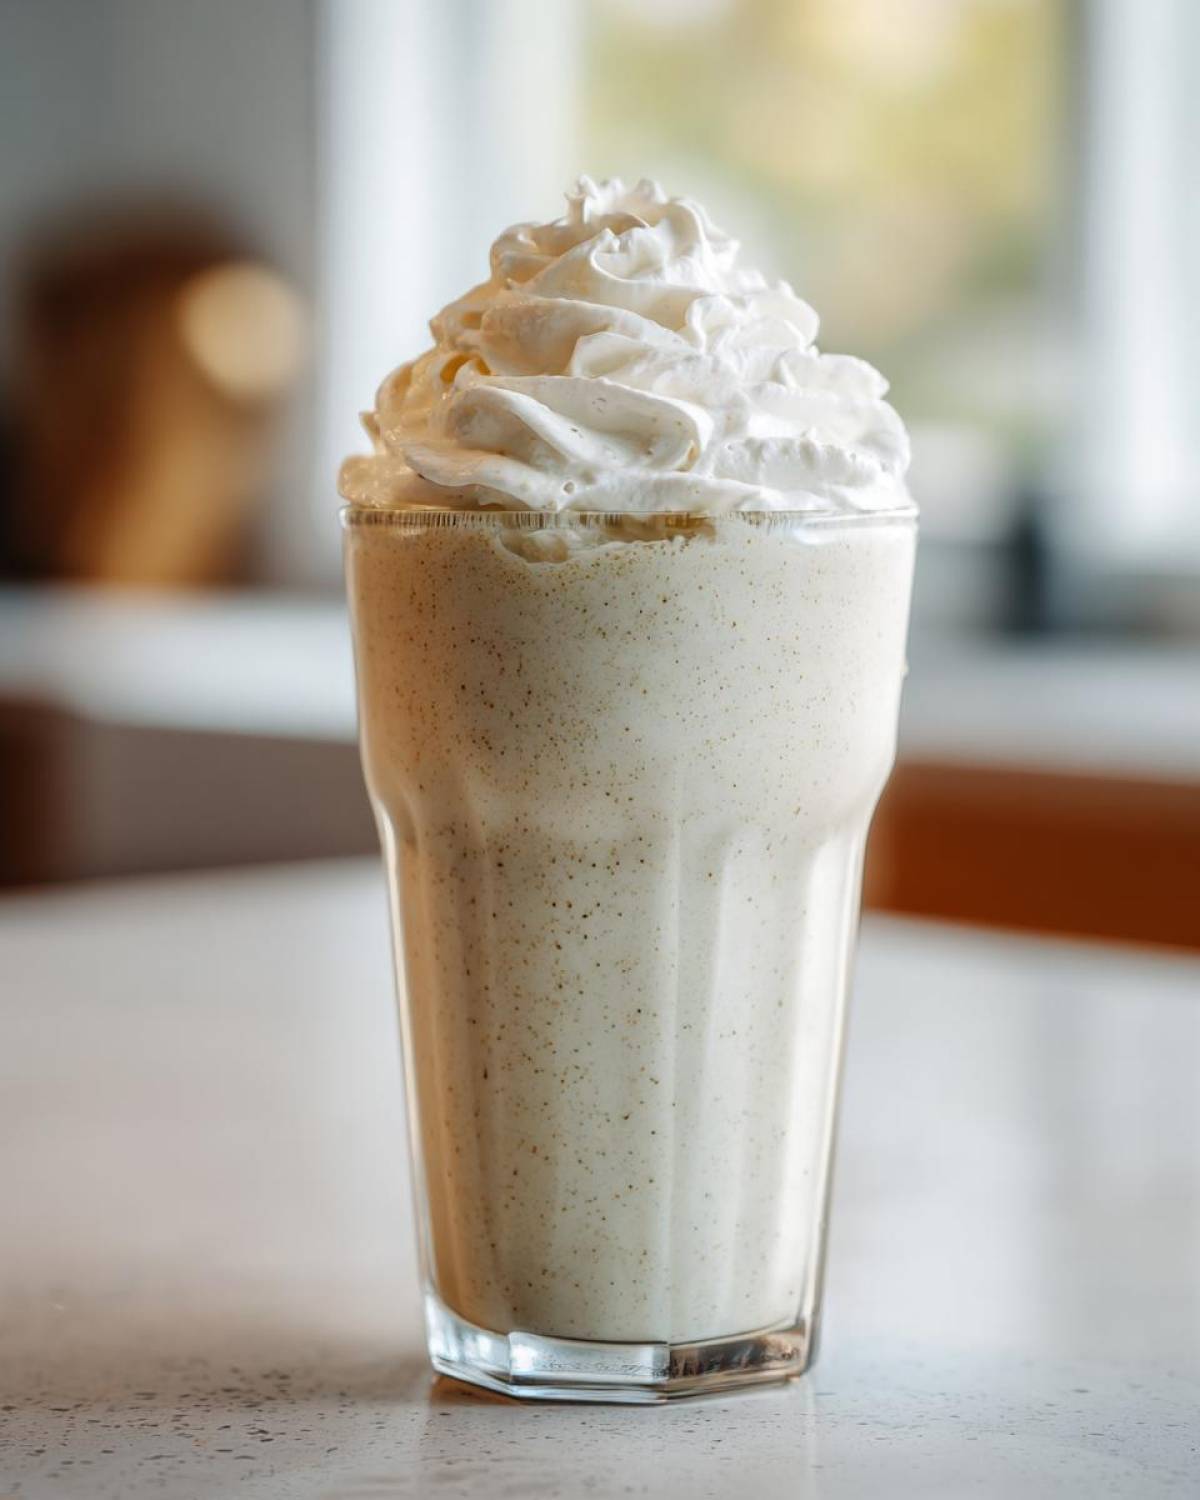
If you want to take the visual appeal up another notch, grab a squeeze bottle of caramel syrup or melted chocolate sauce. Drizzle it over the very top of the whipped cream in a tight zigzag pattern. It adds a quick burst of color and a little extra flavor contrast. Honestly, the combination of the cold vanilla, the airy cream, and that warm drizzle makes every sip feel worth the effort. Serve immediately with a wide straw, and enjoy your perfect homemade creation!
Storage and Making Ahead Tips for Homemade Vanilla Bean Frappuccino
Here’s the tough love part of homemade frozen drinks: you really shouldn’t try to store the final, blended **Homemade Vanilla Bean Frappuccino**. I’ve tried, trust me! As soon as that ice starts melting, all the careful blending work goes out the window, and you end up with sweet, thin milk instead of that thick, icy dream. The texture just collapses, and you can’t really get that satisfying blend consistency back once it’s defrosted even a little bit.
But don’t let that stop you from prepping ahead! The true secret weapon for speed and quality is getting the base ready in advance. Remember that sweetened vanilla milk and cream mixture we heated up in the saucepan? That part is *perfect* for making ahead! Once it’s completely cooled, stick it right into an airtight container in the fridge. It stays wonderfully fresh for about three days, ready to go whenever a craving hits.
When you’re ready to drink, just grab your chilled base, toss in your ice and optional xanthan gum, and blend! It takes less than two minutes if the base is already cold. This make-ahead trick makes serving these **Cafe Style Frozen Drinks**, especially when friends drop by unexpectedly, so much less stressful. If you want more ideas on how to prep food stuff ahead of time for busy weeks, I have a whole section dedicated to maximizing your prep time over on my post about make-ahead breakfast burritos—same philosophy applies here!
If you want to prep even further, try freezing some of your leftover base in ice cube molds. Then, next time you blend, use those frozen cubes instead of some of the regular ice. That’s the ultimate hack for ensuring your **Homemade Vanilla Bean Frappuccino** is extra thick and flavorful!
Frequently Asked Questions About the Homemade Vanilla Bean Frappuccino Recipe
When you try to recreate something perfect, questions always pop up! I’ve gathered the ones I get asked the most about texture, flavor, and what equipment you really need. Don’t worry if you have to make a tweak or two; that’s part of the fun of mastering your own **Copycat Barista Drinks** at home!
Can I make this Homemade Vanilla Bean Frappuccino without xanthan gum?
Absolutely, you can! Xanthan gum is just my little shortcut to guarantee that amazing thick texture right away. If you skip it, you’ll still get a fantastic drink, but it might be slightly thinner—more like a really high-end smoothie texture than a classic icy **Starbucks Copycat Frappuccino**. The best substitute is definitely using frozen milk cubes instead of some of your regular ice, just like I mentioned earlier! Or, simply increase your heavy cream by an extra tablespoon or two. That extra fat helps keep everything creamy instead of watery when it blends.
What is the best way to get the vanilla bean look if I don’t have paste?
Ah, the signature black specks! That’s what makes it look so authentic, right? If you don’t have the vanilla bean paste, the absolute best thing you can do is buy a whole vanilla bean and slice it open lengthwise with a sharp paring knife. Then, you just scrape out the tiny seeds—it looks like black caviar! That’s your high-quality substitute for the paste. If you only have vanilla extract, your **Homemade Vanilla Bean Frappuccino** will still taste wonderful, but you’ll miss those beautiful little vanilla specks floating throughout the drink.
Do I need a high-speed blender for this Copycat Coffee Shop Recipe?
Honestly, you don’t *need* a fancy, high-speed blender, but it certainly helps! If you are using a standard blender, you just need more patience. The key is using slightly less ice initially—maybe start with 1 cup and add more as you go. You’ll need to stop the process more often, maybe every 30 seconds, scrape down the sides really well, and let the machine catch its breath. It might take you three or four minutes of blending, starting low and moving to high, to get a truly smooth result, but it’s totally doable!
Just remember, the colder your liquid base is when you start, the faster your blender will be able to handle the ice.
Nutritional Estimates for Your Homemade Vanilla Bean Frappuccino
Since we are using cream and sugar for that decadent experience, this isn’t exactly a light health drink, but it’s certainly a wonderful homemade treat! These numbers are just estimates based on the recipe provided, so they can definitely shift a bit based on the exact brands you use or whether you swap out the dairy.
- Calories: Around 350
- Fat: About 18 grams
- Sugar: Roughly 40 grams (This changes a lot depending on your sweetness preference!)
- Carbohydrates: About 45 grams
- Protein: Around 5 grams
Share Your Perfect Vanilla Bean Frappe at Home
You’ve done it! You’ve made a perfect, thick, creamy **Homemade Vanilla Bean Frappuccino** that tastes exactly like your favorite cafe order! I really want to know what you thought! Did the xanthan gum work its magic? Did you try any fun swirls on your whipped cream topping? Please drop your rating below—give this recipe 1 to 5 stars so other home cooks know how much you loved making this **Copycat Coffee Shop Recipe**!
If you snapped a picture of your towering, icy creation, I’d love to see it! Tag me on social media, or if you have any burning questions that I missed in the FAQs, you can always get in touch with me through my contact page. Happy blending!
Nutritional Estimates for Your Homemade Vanilla Bean Frappuccino
Since we are using cream and sugar for that decadent experience, this isn’t exactly a light health drink, but it’s certainly a wonderful homemade treat! These numbers are just estimates based on the recipe provided, so they can definitely shift a bit based on the exact brands you use or whether you swap out the dairy.
- Calories: Around 350
- Fat: About 18 grams
- Sugar: Roughly 40 grams (This changes a lot depending on your sweetness preference!)
- Carbohydrates: About 45 grams
- Protein: Around 5 grams
Share Your Perfect Vanilla Bean Frappe at Home
You’ve done it! You’ve made a perfect, thick, creamy **Homemade Vanilla Bean Frappuccino** that tastes exactly like your favorite cafe order! I really want to know what you thought! Did the xanthan gum work its magic? Did you try any fun swirls on your whipped cream topping? Please drop your rating below—give this recipe 1 to 5 stars so other home cooks know how much you loved making this **Copycat Coffee Shop Recipe**!
It makes my day when I hear that someone enjoyed making one of my recipes. Seriously, the best part of my job is seeing you all succeed in the kitchen and get that professional result at home. A rating or a quick comment really helps others feel confident about trying this out next!
If you snapped a picture of your towering, icy creation, I’d love to see it! Tag me on social media; I’m always looking for inspiration for new drinks. Or, if you have any burning questions that I missed in the FAQs, you can always get in touch with me through my contact page. Happy blending!
PrintHomemade Vanilla Bean Frappuccino
A recipe for a thick, creamy, blended vanilla bean drink that copies the popular cafe style.
- Prep Time: 5 min
- Cook Time: 3 min
- Total Time: 8 min
- Yield: 1 serving
- Category: Beverage
- Method: Blending
- Cuisine: American
- Diet: Vegetarian
Ingredients
- 1 cup whole milk (or preferred dairy alternative)
- 1/2 cup heavy cream
- 1/4 cup granulated sugar
- 1/2 teaspoon vanilla bean paste (or seeds scraped from 1/2 vanilla bean)
- 1/4 teaspoon pure vanilla extract
- 1 1/2 cups ice cubes
- 1/4 teaspoon xanthan gum (for thickness, optional)
- Whipped cream, for topping
Instructions
- Combine the milk, heavy cream, sugar, vanilla bean paste, and vanilla extract in a small saucepan. Heat over medium heat, stirring until the sugar dissolves completely. Do not boil. Remove from heat and let the mixture cool completely in the refrigerator.
- Once chilled, pour the cooled liquid mixture into a high-speed blender.
- Add the ice cubes and the xanthan gum, if you are using it for extra thickness.
- Blend on high speed until the mixture is completely smooth and has a thick, icy consistency. You may need to stop and scrape down the sides.
- Pour the blended mixture into a tall glass.
- Top generously with whipped cream before serving immediately.
Notes
- For a thicker result without xanthan gum, increase the heavy cream slightly or use frozen milk cubes instead of some of the ice.
- If you do not have vanilla bean paste, use 1/2 teaspoon of high-quality vanilla extract, but the visual specks will be missing.
- Adjust the sugar amount based on your preference for sweetness.
Nutrition
- Serving Size: 1 drink
- Calories: 350
- Sugar: 40
- Sodium: 50
- Fat: 18
- Saturated Fat: 11
- Unsaturated Fat: 7
- Trans Fat: 0.5
- Carbohydrates: 45
- Fiber: 0
- Protein: 5
- Cholesterol: 60