

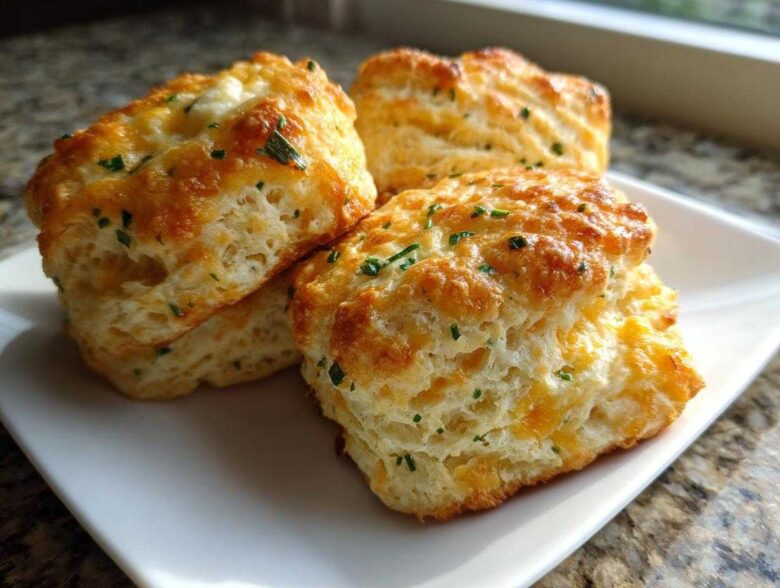
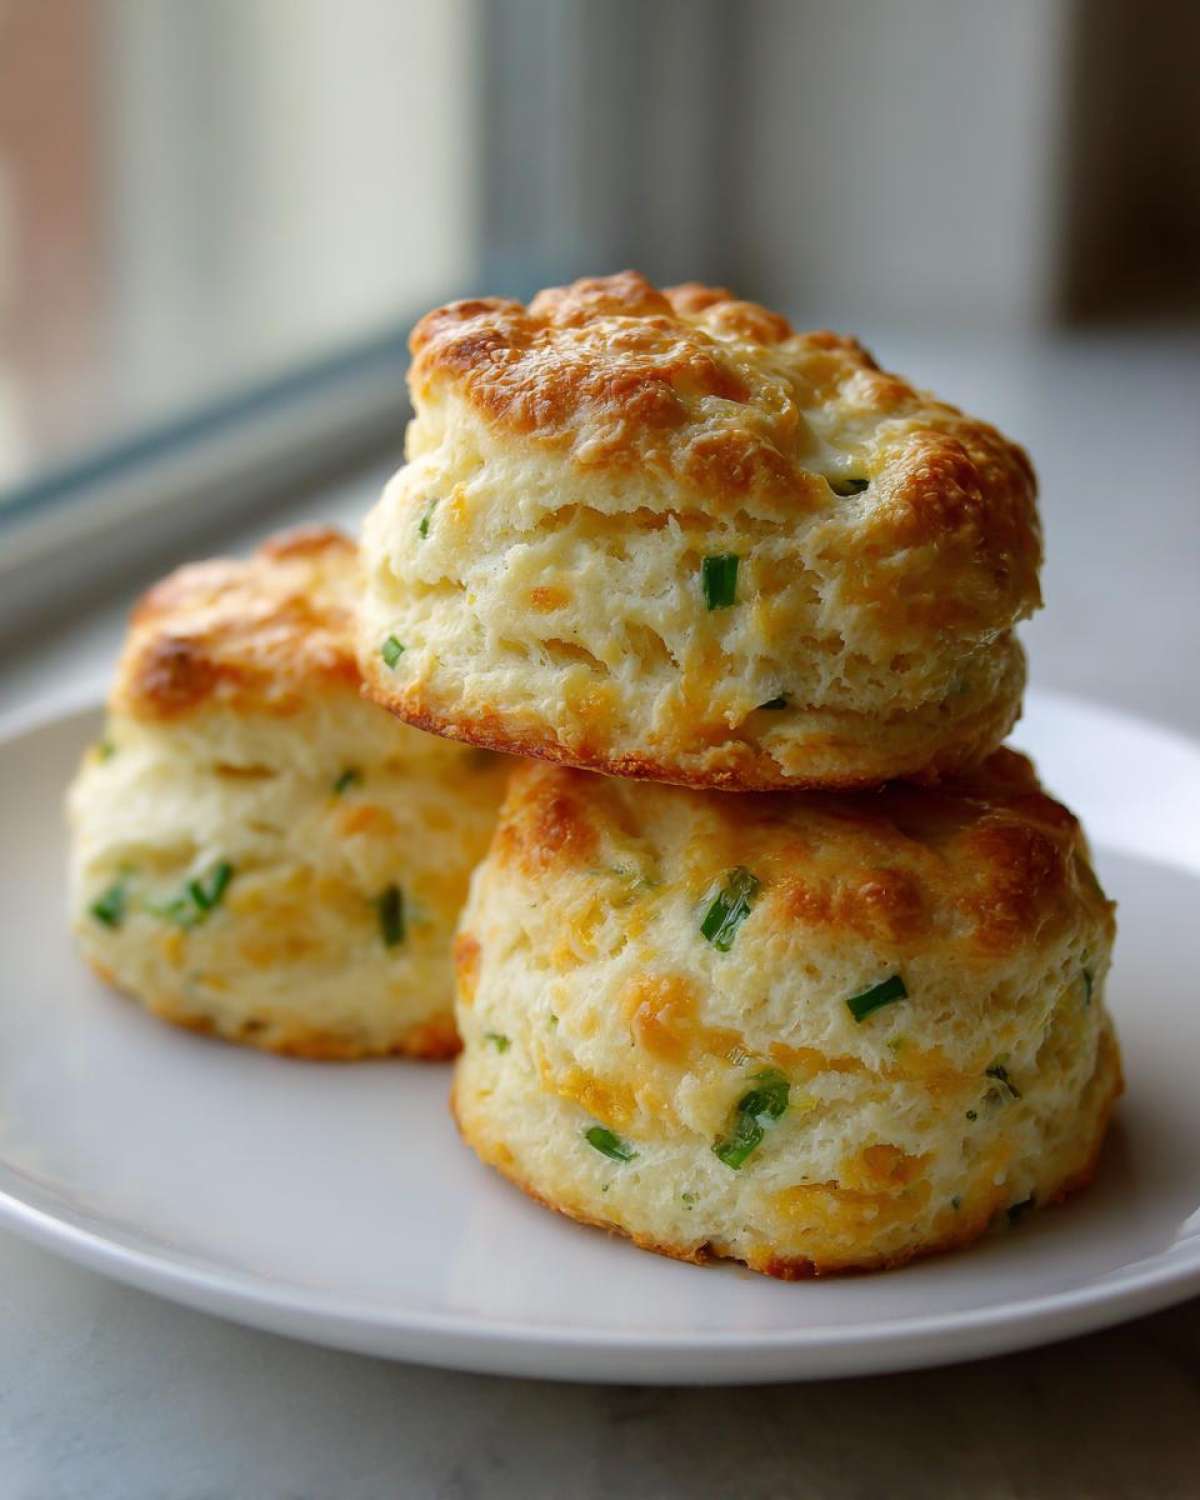
Oh my goodness, I need to talk to you about something seriously important: savory baking! Forget plain bread rolls; we are diving headfirst into the best flavor combination known to humankind. If you’ve ever struggled to get that perfect tender crumb in your biscuits, relax! I spent years messing up scones and biscuits until I finally cracked the code. Trust me, these **Chive Cheddar Biscuits** are going to change your weeknight dinners forever. They are fluffy, intensely cheesy, and bursting with fresh oniony goodness. Mastering the texture was a journey, but once you know the secret to keeping everything ice cold, you’ll be churning these out like a pro! For more quick insights into tasty creations, check out my main recipe index.
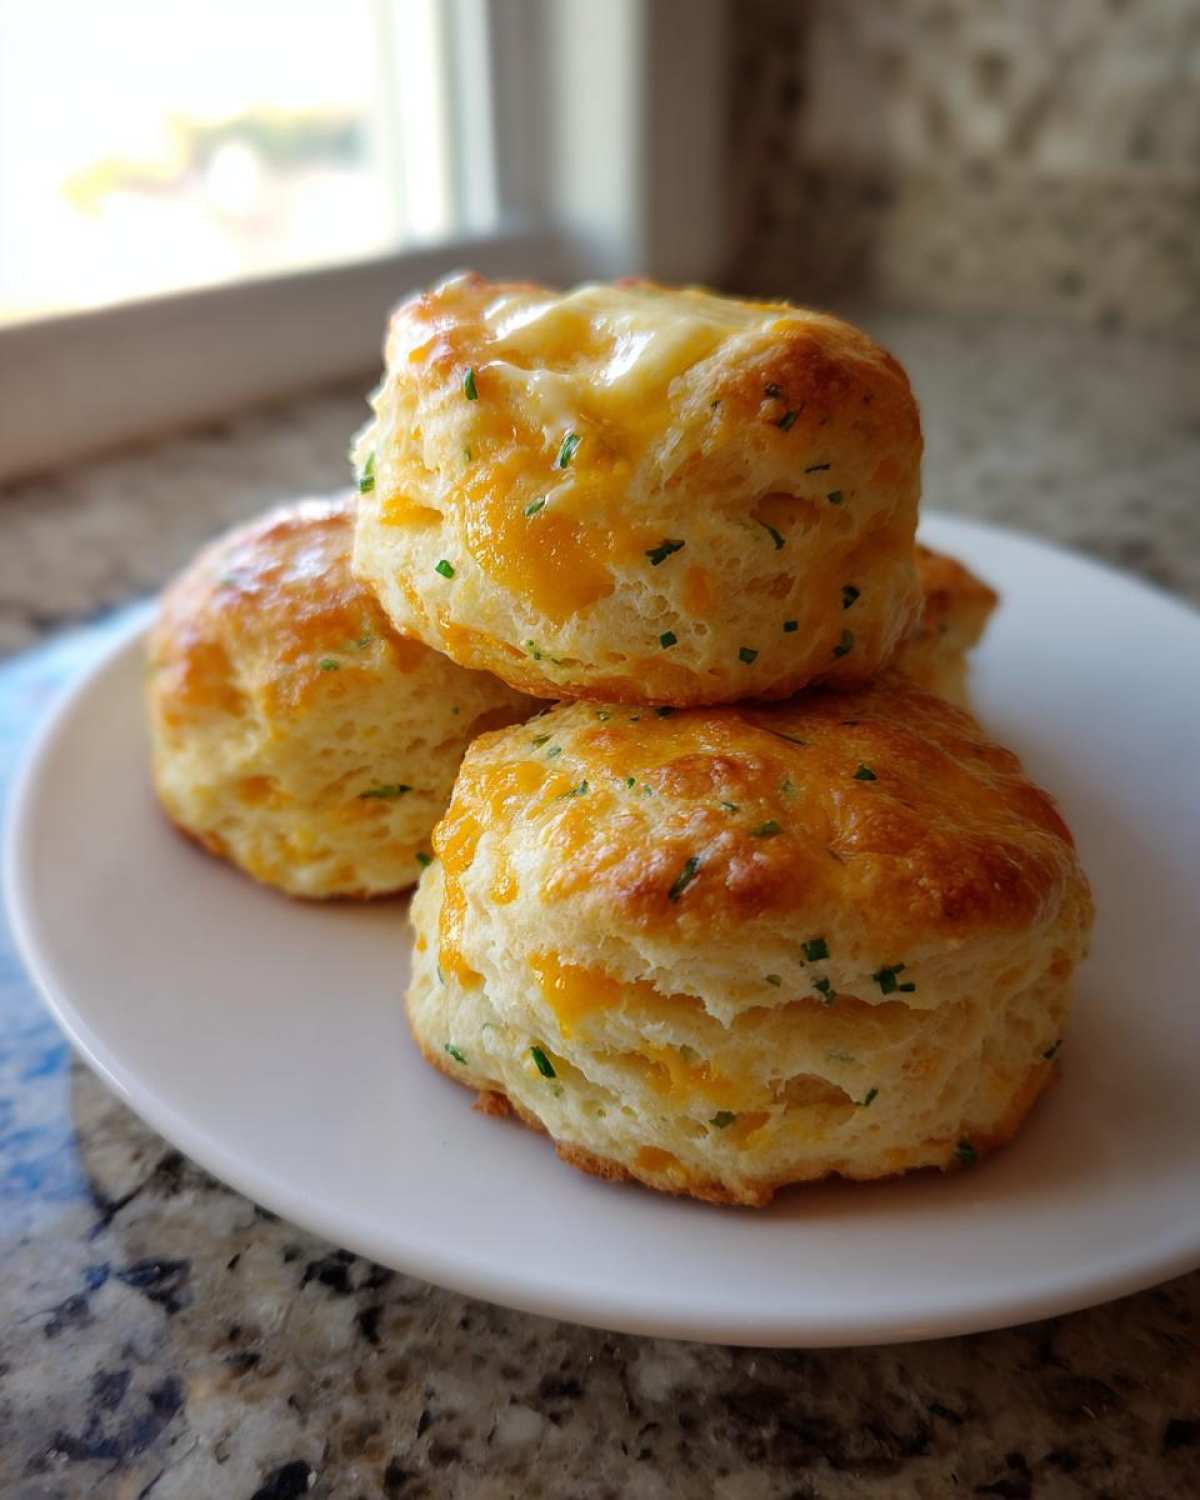
Why These Chive Cheddar Biscuits Are the Best
I know a lot of biscuit recipes claim they’re the best, but you need to trust me here. These **Chive Cheddar Biscuits** deliver pure magic every time. They aren’t just good; they are outrageously flavorful and ridiculously easy, even for a Tuesday night!
- They bake up unbelievably flaky, thanks to keeping that butter super cold.
- The sharp cheddar melts perfectly into gooey pockets of savory goodness. I linked my favorite chocolate cake recipe over in my index, but really, these savory ones are stealing the show lately!
- They only take about 30 minutes total, start to finish—wow!
- We skip complicated steps; they are truly simple homemade savory baked goods.
You absolutely need to try these next time you’re making soup or chili. You won’t look back!
Ingredients for Perfect Chive Cheddar Biscuits
Okay, let’s talk about what goes into these incredible biscuits. Seeing the ingredient list laid out makes it look straightforward, but the temperature of these items is everything! I always lay everything out first, because we need speed and coldness working together.
For the dry stuff, grab two cups of regular all-purpose flour, a tablespoon of baking powder, salt, and just a half teaspoon of baking soda. That little bit of soda helps the buttermilk react nicely, giving us that extra lift.
Now, the stars: one full stick of unsalted butter, cut into tiny cubes, and it must be ice cold. Seriously, put it back in the freezer if it looks soft! You’ll also need a cup of sharp cheddar cheese that you’ve freshly shredded—never the pre-bagged stuff, please! And finally, a full cup of cold buttermilk is non-negotiable for this recipe. That thickness is what makes them so tender.
Expert Tips for Flaky Chive Cheddar Biscuits
Listen, making a truly flaky biscuit isn’t about magic; it’s about respecting the temperature of your ingredients and being a little gentle with your dough. If you want that airy texture that pulls apart in beautiful sheets, you have to pay attention to a few key things. For more details on achieving that airy texture, I wrote a whole thing over here about how to make flaky cheese biscuits!
The Secret to Flaky Layers in Your Chive Cheddar Biscuits
First up: cutting in the butter. You need those cold pieces of butter to stay separate. When they melt in the hot oven, that trapped water turns to steam, *poof*, creating those lovely flaky layers you crave. Don’t overwork it! We want chunks the size of small peas. Next, after you add the liquid, avoid kneading. Just gently pat the dough out and fold it over on itself three or four times. These gentle folds are what build actual layers, just like making puff pastry, only way faster!
Choosing the Right Cheddar Cheese for Biscuit Flavor
You simply cannot use low-quality cheese here; it ruins the whole point! You absolutely need a sharp cheddar. The bright, tangy flavor cuts through the richness of the butter and buttermilk perfectly. Forget the stuff that comes pre-shredded in a bag. I know it sounds contrary to quick baking, but those bags have anti-caking agents that stop them from melting properly, leaving you with waxy spots instead of gooey ones. Grate that block of sharp cheddar yourself and thank me later!
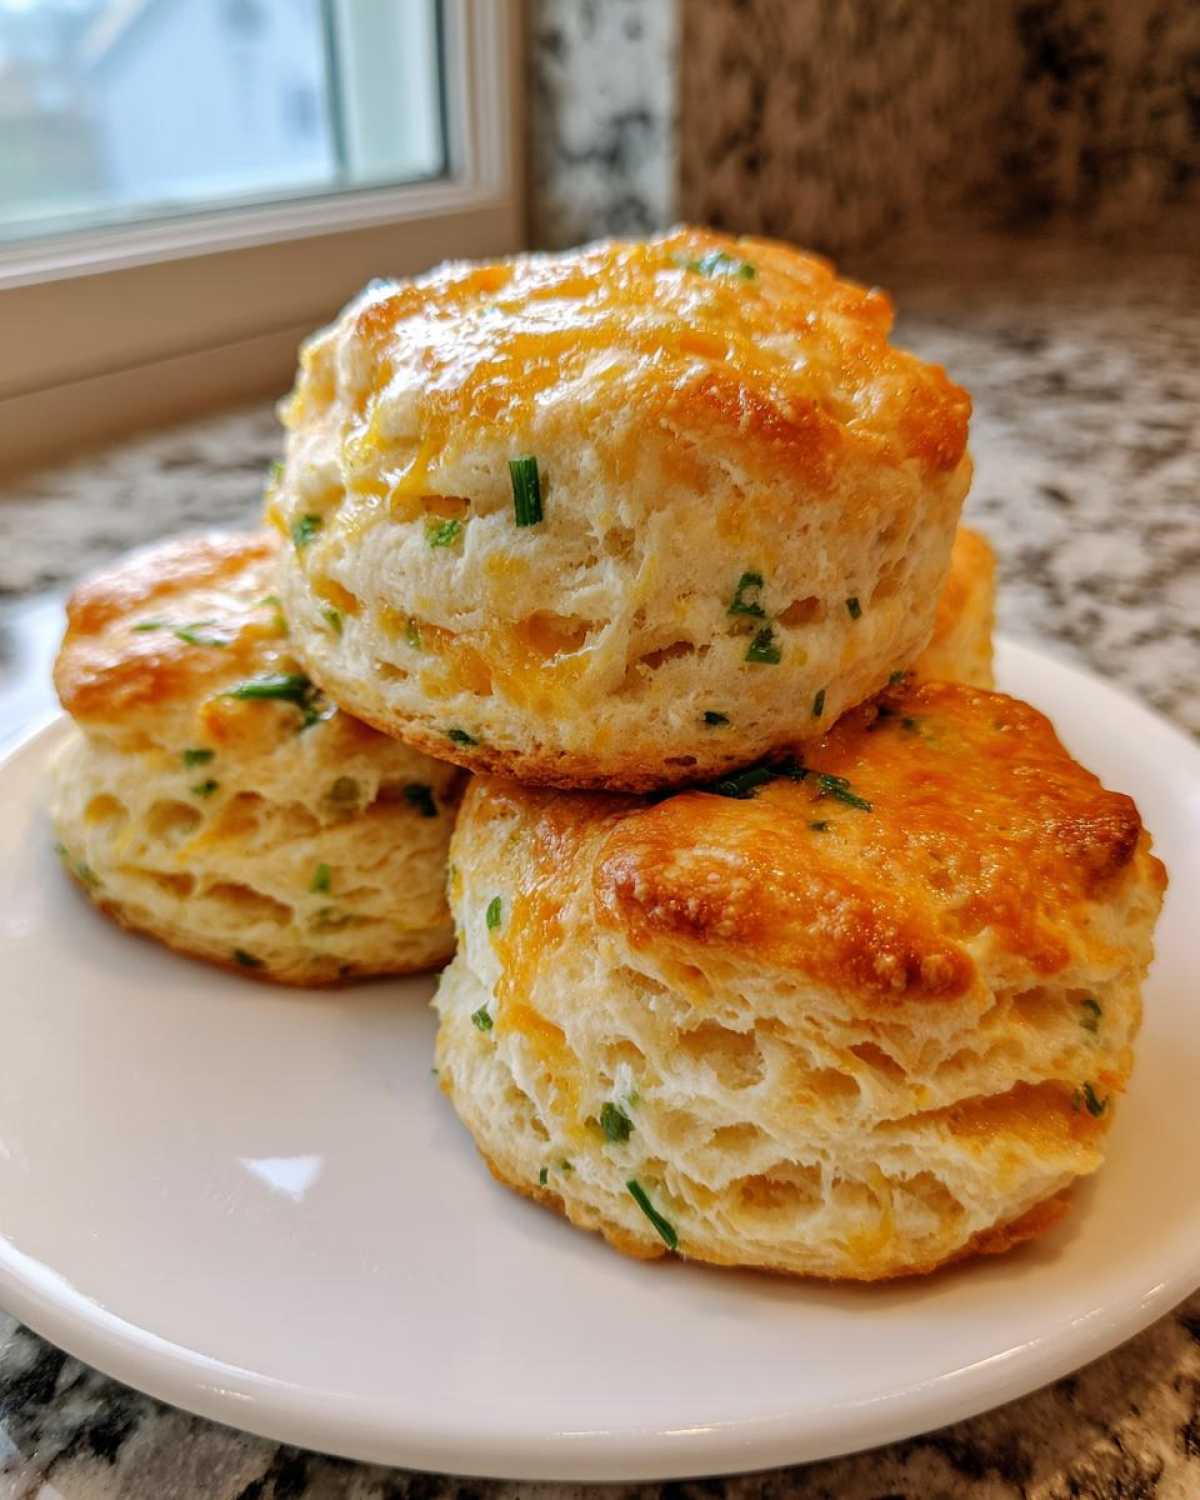
Step-by-Step Instructions to Make Chive Cheddar Biscuits
It’s time to put the theory into practice! Remember, speed is our friend once the cold ingredients come together. We want that butter to stay cold, so move with purpose. I always have my baking sheet ready to go, lined with parchment paper, and the oven cranked up to 425 degrees Fahrenheit. These **Chive Cheddar Biscuits** bake up fast, so you want everything prepared before you mix the wet and dry parts!
Preparing the Dry Ingredients and Butter
First, whisk your flour, baking powder, salt, and baking soda in a big bowl. Next, toss in those cubed, cold butter pieces. You absolutely have to cut that butter in until the mixture looks like coarse crumbs. If you see any chunks bigger than a pea, just keep squishing them down with your pastry blender or your fingertips. You want that texture! After that, quickly stir in your shredded sharp cheddar and the chopped fresh chives until they get friends with the flour mixture.
Mixing the Dough and Shaping the Chive Cheddar Biscuits
Here’s the danger zone: pouring in the cold buttermilk. Dump it all in at once and mix just until it barely comes together. I mean it—*just* combined. The dough should look messy and shaggy. Don’t worry if you see streaks of flour; overmixing creates tough biscuits, and we are aiming for tender! Turn that shaggy mess onto a lightly floured counter. Gently pat it out—don’t smash it—to about 3/4 inch thick. Pat it, fold it over itself maybe three times, and then use your 2-inch cutter. For softer sides, make sure the cut rounds are just touching each other on your baking sheet.
Baking and Finishing Touches
Into the 425-degree oven they go for about 12 to 15 minutes. You’re looking for tops that are beautifully golden brown. While they are hot—and I mean right when they pop out—brush the tops liberally with that reserved melted butter. That final coat gives them the professional sheen and adds a huge boost of flavor to your **Chive Cheddar Biscuits**. They are ready to serve immediately!
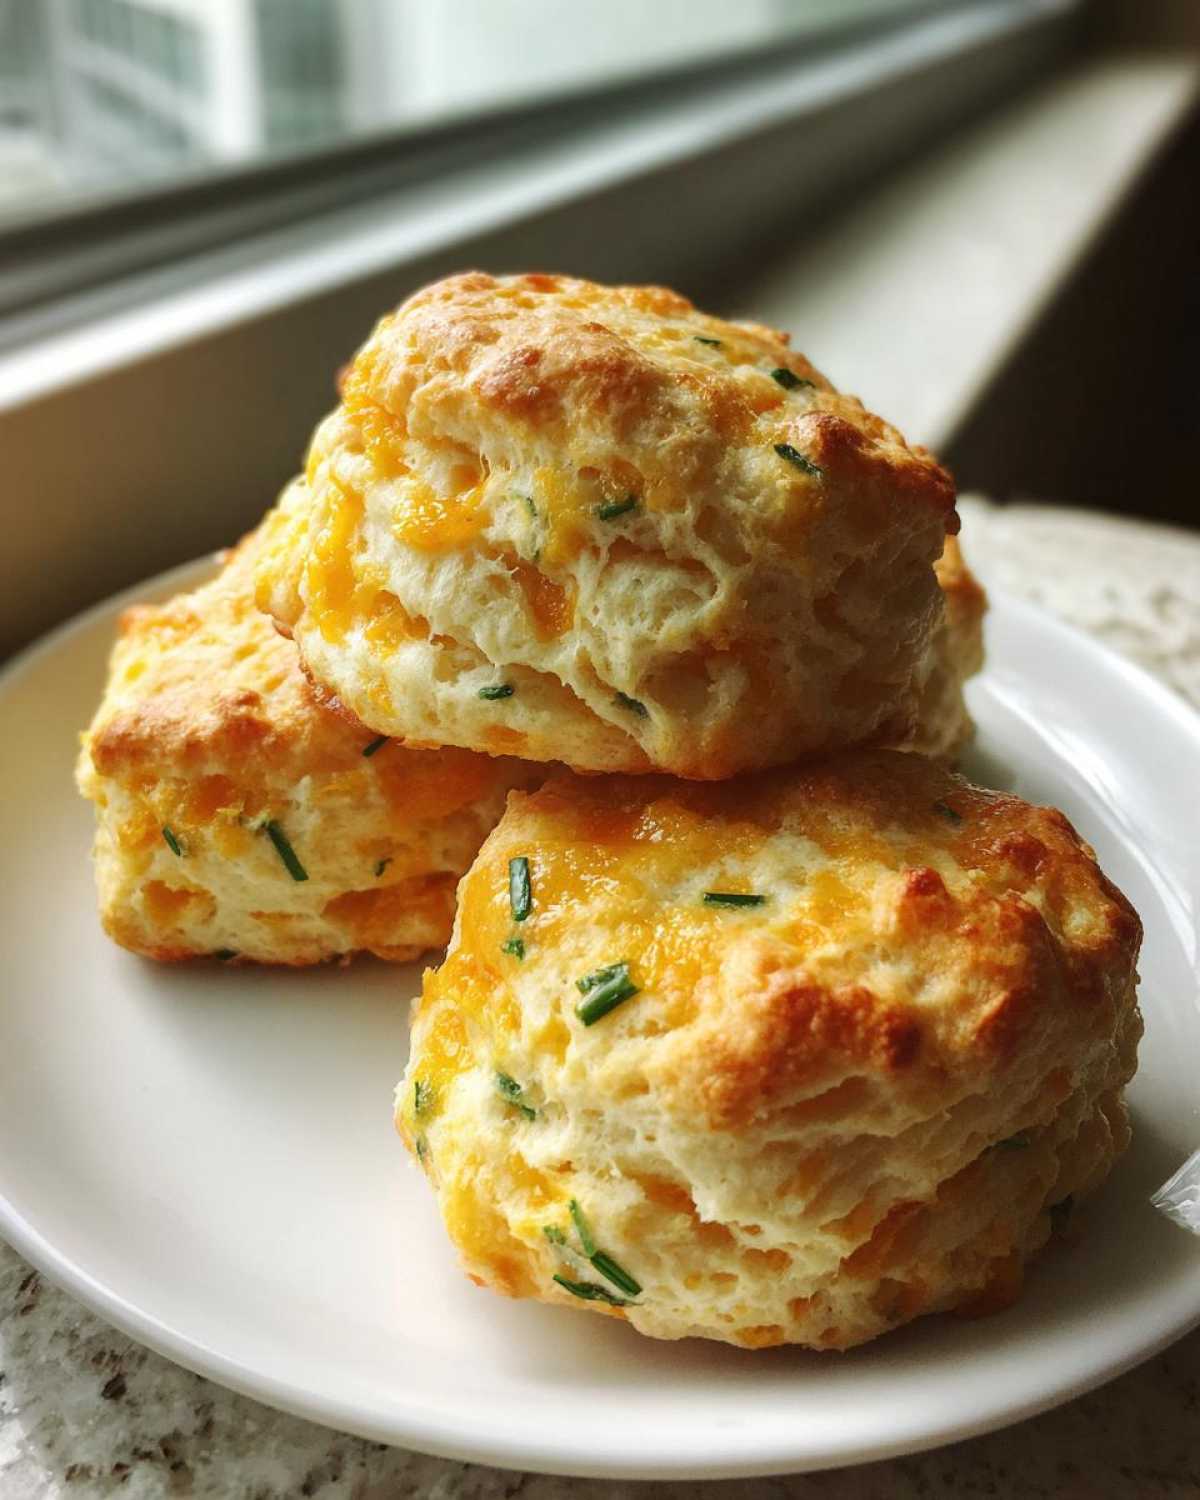
Variations for Your Savory Drop Biscuits with Cheese
While I stand firm that this buttermilk recipe is unbeatable, I love that you’re thinking creatively! It’s easy to twist these **Chive Cheddar Biscuits** into something new depending on what you have kicking around. If you’re out of buttermilk, don’t fret! You can absolutely swap it out for heavy cream. It makes the biscuits richer, almost like a Southern Style Cheddar Chive Scone, but they might spread just a touch more. Remember to chill the cream extra well!
If chives aren’t your thing one day, try chopped fresh rosemary—it pairs beautifully with cheddar. And if you want to get really wild with the cheese, swap half of the sharp cheddar for Gruyère. That nutty flavor is amazing. For more ideas on how to jazz up your cheese biscuits, I walk through lots of options on my variations page. Let me know what you try!
Serving Suggestions for Warm Cheese Biscuits from Scratch
These **Warm cheese biscuits from scratch** are just too good to be a simple side dish, honestly. They make cozy meals feel fancy! My absolute favorite way to eat them is dunked deep into a big bowl of chili or stew—I’m making my slow cooker cowboy soup this weekend, and these will be the perfect mop-up vehicle. I shared the recipe for that cowboy soup right here.
If you’re having them for breakfast, top them with a fried egg and maybe a little hot sauce. They also make fantastic appetizer savory biscuits if you split them open and add a smear of compound butter or even a slice of smoked salmon. They disappear off the platter way too fast!
Storage and Reheating Chive Cheddar Biscuits
Because these **Chive Cheddar Biscuits** are so moist, they stay great for a day or two, but you have to store them correctly! Keep them in an airtight container at room temperature. Don’t put them in the fridge unless you absolutely have to, or they get weirdly dense. That’s just sad.
When you are ready for round two—and trust me, you will be—the microwave is NOT your friend here. It makes them rubbery! The best way to reheat them and bring back that fresh-from-the-oven fluffiness is to wrap them loosely in foil and pop them in a 350-degree oven for about 5 to 7 minutes. They come out steamy and perfect again!
Frequently Asked Questions About Making Chive Cheddar Biscuits
You know baking—there are always a few tiny details that trip people up! I’ve compiled the few questions I constantly get asked about these **Chive Cheddar Biscuits**. Hopefully, this clears up any doubts so you can rock these **Homemade Savory Baked Goods**!
Can I use dried chives instead of fresh in this Best Cheddar Chive Biscuits Recipe?
Yes, you totally can, but you can’t just swap one-for-one! Dried herbs are way more concentrated, so you generally need less. For this recipe, I would say use about 1 teaspoon of dried chives for the 2 tablespoons of fresh the recipe calls for. If you’re planning ahead to save time, you might even look into making Overnight Chive Cheddar Biscuit Dough, but you’ll need to hydrate the dried herbs a bit first!
How do I ensure I am making How to Make Flaky Cheese Biscuits?
This is the most important question, and it all boils down to two things: COLD and GENTLE! If your butter melts before it hits the oven, you get dense pucks, not flaky layers. Keep your butter cubed and freezing cold, and don’t pet the dough too much when you fold it. Minimal handling prevents gluten development, which is the enemy of fluffiness!
What is the best way to store leftover Southern Style Cheddar Chive Scones?
Honestly, these are best eaten the day they are made, but they usually last two days for me. Make sure you put any leftovers in an airtight container on the counter. Please, please skip the fridge! The cold air dries them out way too fast and ruins that tender texture we worked so hard to achieve. Reheat them in the oven to crisp them back up!
Nutritional Estimates for Homemade Savory Baked Goods
Alright, let’s talk quick numbers! Since these are **Homemade Savory Baked Goods**, they are definitely buttery and cheesy—that’s where the flavor comes from, right? I always run my recipes through a general calculator just to get a rough idea, but remember, this is just an estimate based on the ingredients listed. If you use a super-sharp cheddar versus a mild one, or if you load up on that buttery topping, your numbers will shift a bit!
This information is based on making 8 biscuits, so everything listed below is for one serving. Eating just one of these fluffy beauties alongside a big bowl of soup is just heavenly, but try not to eat the whole batch in one sitting—oops! For some fantastic, lighter-side savory options, check out my page for quick savory baking ideas.
Here is the general breakdown for our **Chive Cheddar Biscuits**:
- Serving Size: 1 biscuit
- Calories: Roughly 250
- Fat: About 15g (A good portion of that is the butter and cheese, naturally!)
- Saturated Fat: Around 9g
- Carbohydrates: About 24g
- Protein: Around 7g
See? Not too bad for something that tastes like it came straight from a buttery Southern kitchen!
PrintFluffy Buttermilk Chive Cheddar Biscuits

A recipe for tender, flaky biscuits featuring sharp cheddar cheese and fresh chives, perfect as a savory side dish.
- Prep Time: 15 min
- Cook Time: 15 min
- Total Time: 30 min
- Yield: 8 biscuits
- Category: Side Dish
- Method: Baking
- Cuisine: American
- Diet: Vegetarian
Ingredients
- 2 cups all-purpose flour
- 1 tablespoon baking powder
- 1 teaspoon salt
- 1/2 teaspoon baking soda
- 1/2 cup (1 stick) cold unsalted butter, cut into small cubes
- 1 cup sharp cheddar cheese, shredded
- 2 tablespoons fresh chives, chopped
- 3/4 cup cold buttermilk
- 1 tablespoon melted butter, for brushing
Instructions
- Preheat your oven to 425 degrees Fahrenheit. Line a baking sheet with parchment paper.
- In a large bowl, whisk together the flour, baking powder, salt, and baking soda.
- Cut the cold butter into the dry ingredients using a pastry blender or your fingers until the mixture resembles coarse crumbs with some pea-sized pieces of butter remaining. This creates flakiness.
- Stir in the shredded cheddar cheese and chopped fresh chives until evenly distributed.
- Pour in the cold buttermilk all at once. Mix gently with a fork until just combined. Do not overmix; the dough will be shaggy.
- Turn the dough out onto a lightly floured surface. Gently pat or fold the dough 3 or 4 times to create layers.
- Pat the dough to about 3/4 inch thickness. Use a 2-inch biscuit cutter to cut out rounds. Place the rounds on the prepared baking sheet, touching slightly for softer sides, or spaced apart for crispier edges.
- Bake for 12 to 15 minutes, or until the tops are golden brown.
- Immediately brush the tops of the hot biscuits with melted butter. Serve warm.
Notes
- Use cold, sharp cheddar cheese for the best flavor and melting quality. Avoid pre-shredded cheese as it contains anti-caking agents that affect texture.
- For extra tender biscuits, place the cut dough rounds in the freezer for 10 minutes before baking.
- If you do not have buttermilk, mix 3/4 cup of regular milk with 3/4 teaspoon of white vinegar or lemon juice and let it sit for 5 minutes before using.
Nutrition
- Serving Size: 1 biscuit
- Calories: 250
- Sugar: 1
- Sodium: 450
- Fat: 15
- Saturated Fat: 9
- Unsaturated Fat: 6
- Trans Fat: 0
- Carbohydrates: 24
- Fiber: 1
- Protein: 7
- Cholesterol: 35