

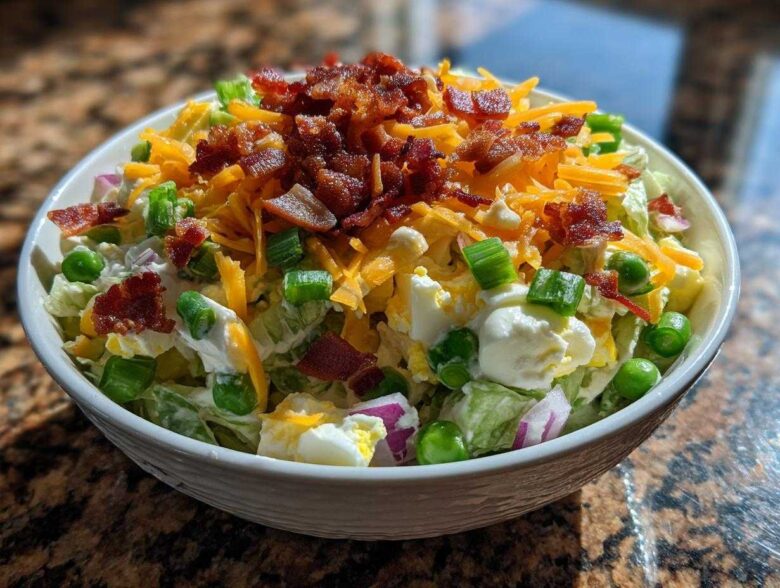
If you’re heading to a barbecue, holiday dinner, or just need a side dish that brings everyone to attention, you need this salad. Seriously, this is the ultimate **7 layer salad**, and I swear it always vanishes first from the buffet table. It’s not just a ‘salad’; it’s a structured masterpiece ready for the road! I’ve carted this beauty to every major family gathering for twenty years now, and the only thing that changes is the size of the bowl I need. It just screams dependable, delicious comfort food. For more great kitchen tips and ideas, you should check out my main blog page!
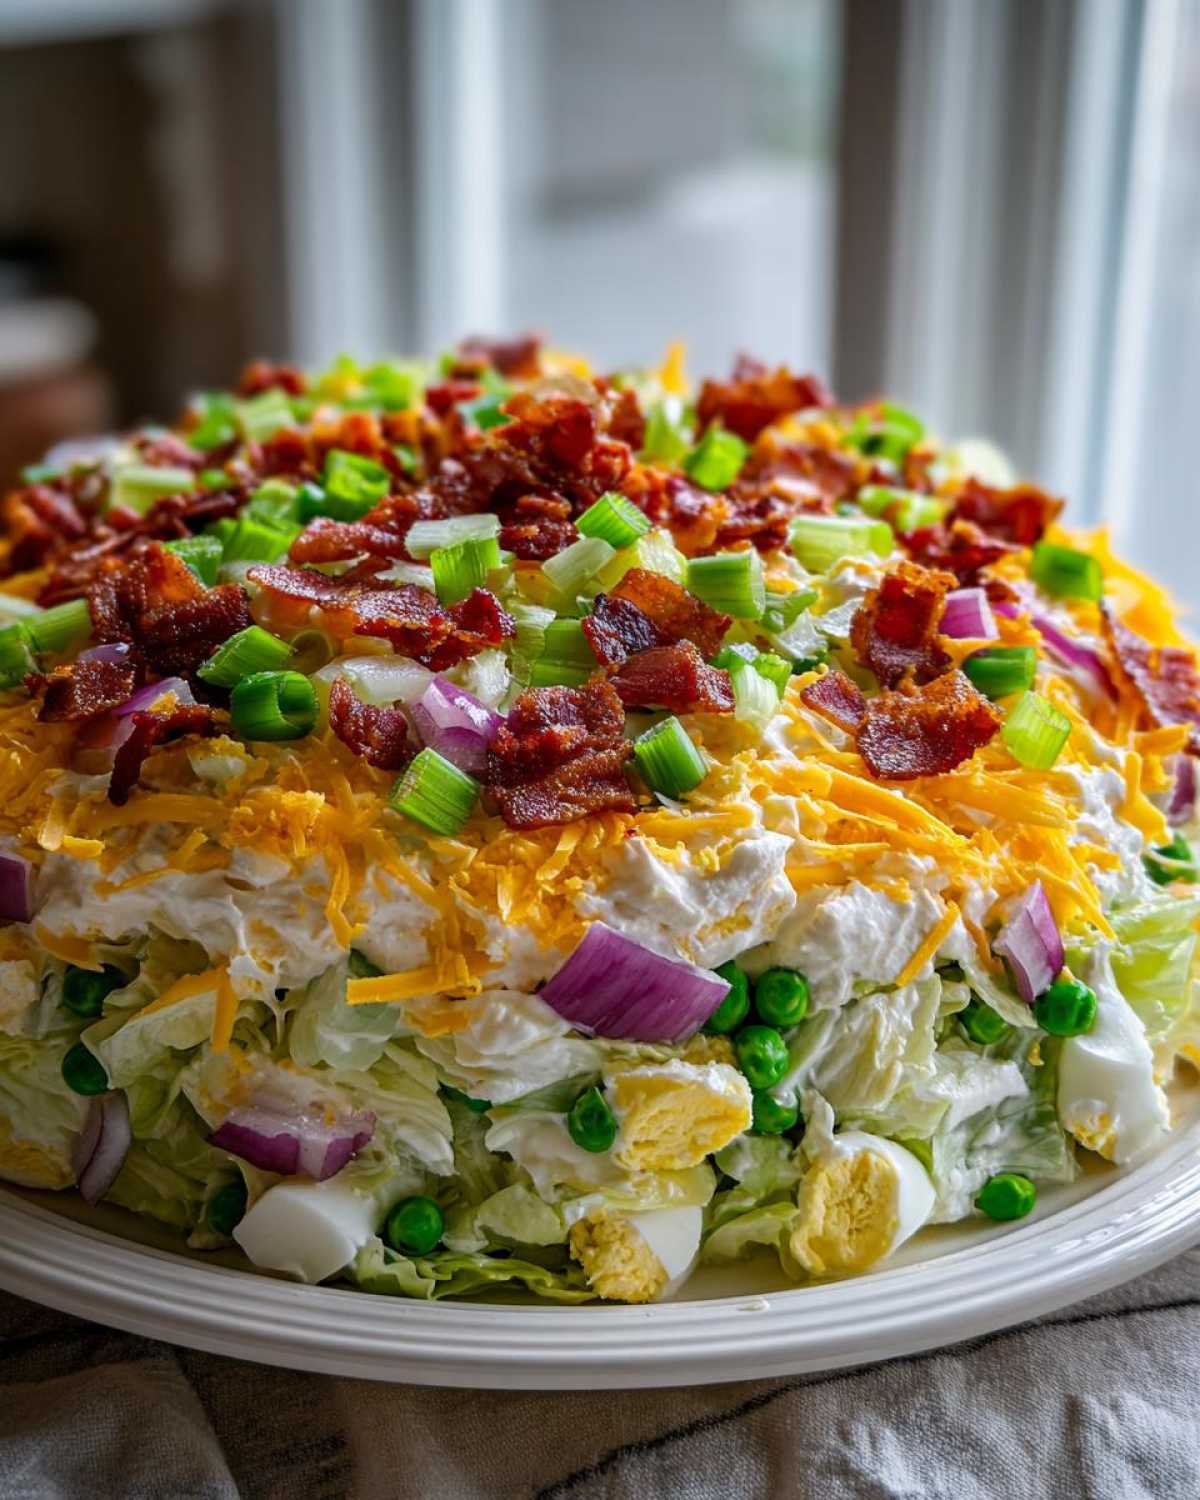
Why This Classic 7 Layer Salad Recipe Wins Every Time
Why does everyone ask me for this **Classic 7 Layer Salad** recipe year after year? Honestly, it’s because it does all the heavy lifting for me! Forget last-minute chopping when guests are arriving. This is an incredible Easy Side Dish that gets better as it sits.
It really is the best **Crowd Pleasing Salad** because it hits every texture note you want. You get that salty crunch from the bacon, creamy coolness from the dressing, and crispness from the veggies, all layered up nice and neat. Here’s the summary of why it always makes the cut:
- Truly Make-Ahead: You can assemble the whole thing the day before! It lets me actually enjoy the party instead of frantically tossing greens.
- Visual Wow Factor: In a glass bowl, those distinct layers just look impressive. It’s practically a centerpiece!
- Ultimate Comfort Flavors: Bacon, cheddar, and a creamy dressing—who’s going to say no to that combination? It’s guaranteed happiness on a plate for any holiday.
Ingredients Needed for the Ultimate 7 Layer Salad
Getting all your components ready before you start stacking is the real secret to speedy assembly. Trust me, trying to chop onions while you’re supposed to be scattering peas just leads to tears and a sloppy salad! We need precision here, especially since we want those gorgeous, clean lines. I’ve broken down exactly what you need for both the dressing and the layers themselves. Grab your glass bowl, and let’s get this gorgeous **Layered Salad Recipe** ready to go!
Oh, and if you need a good pairing, maybe check out my recipe for salad with bacon and cheese inspiration later on!
For the Creamy Dressing
This dressing is key—it’s rich, slightly tangy, and seals the veggies away from the air so everything stays crisp! You want to whisk this until it’s perfectly smooth, not gritty at all.
- 1 cup mayonnaise (the good stuff!)
- 2 tablespoons white vinegar
- 1 tablespoon granulated sugar
- 1 teaspoon salt
- 1/2 teaspoon black pepper
For the Seven Layers
These are the superstars that make up our **Retro Salad Recipe**! Make sure your bacon is crisp and fully drained—soggy bacon ruins everything when you’re layering.
- 1 head iceberg lettuce, finely chopped (this is your base foundation layer!)
- 2 cups fresh or frozen peas, fully thawed and patted dry
- 1 cup chopped celery
- 1 small red onion, very thinly sliced
- 4 hard-boiled eggs, roughly chopped
- 1 cup shredded cheddar cheese (sharp is my favorite here!)
- 8 slices bacon, cooked until crisp and crumbled
Step-by-Step Assembly of Your 7 Layer Salad
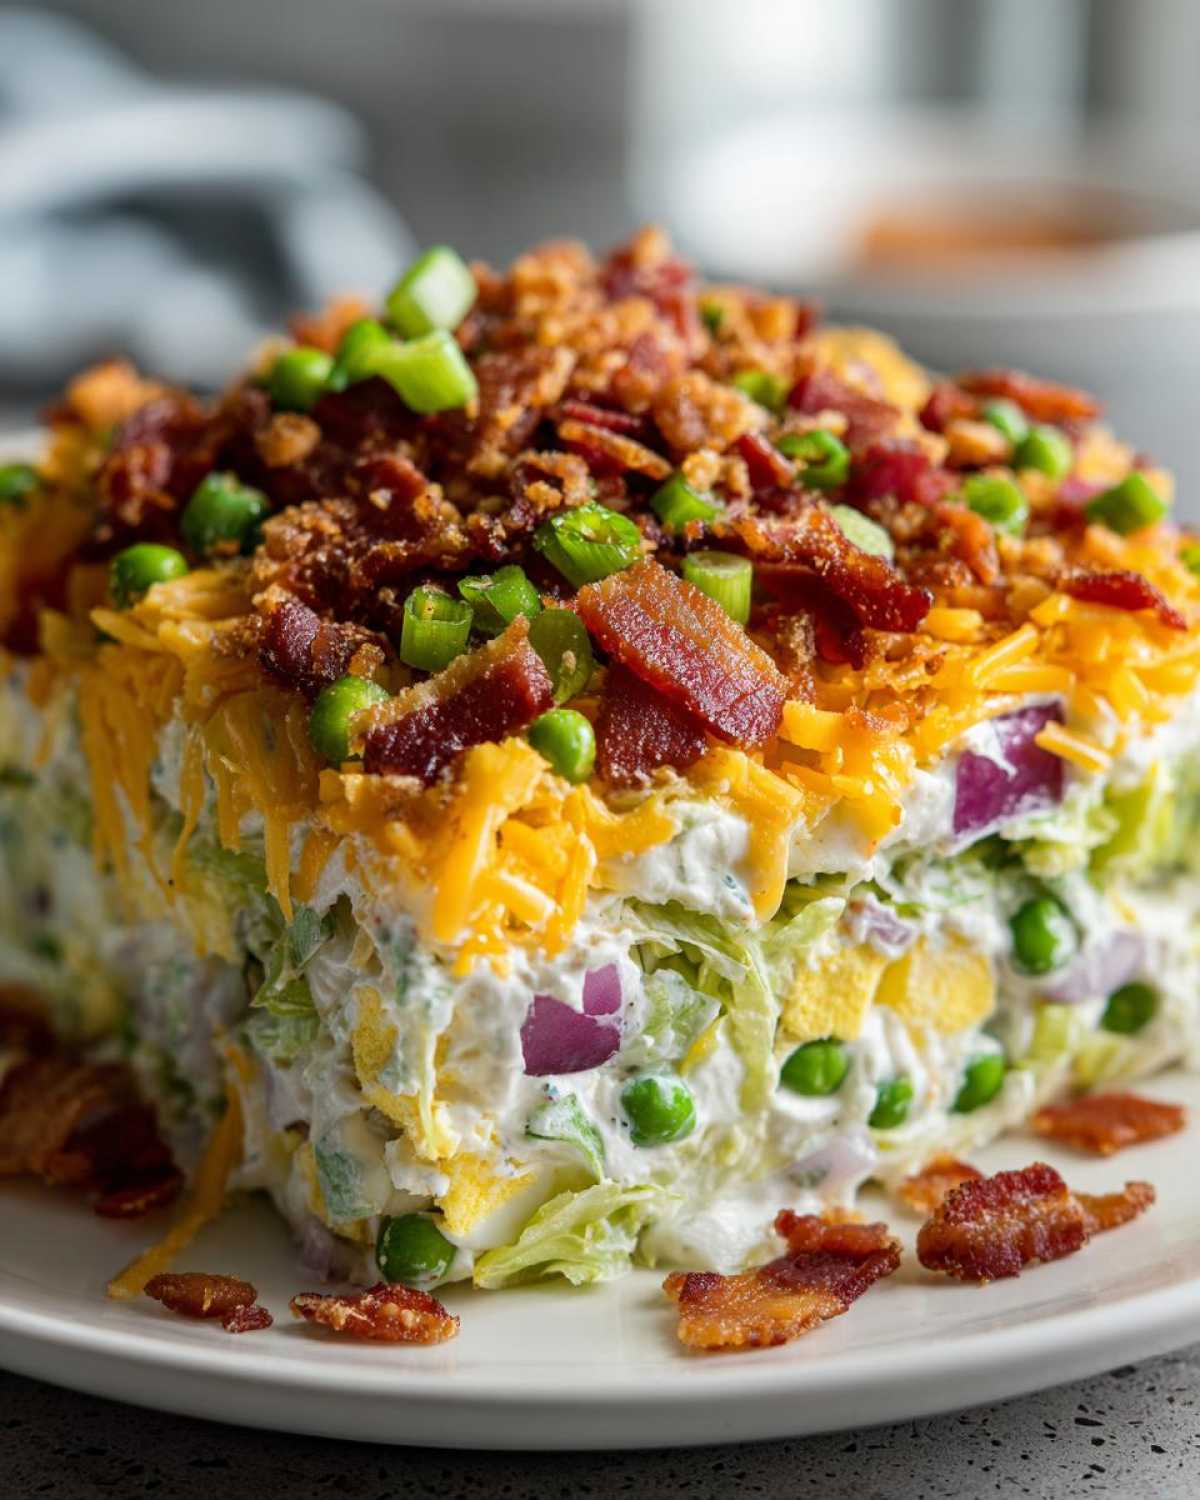
Okay, this is my favorite part! Putting this **7 layer salad** together is so satisfying, especially when you use a gorgeous glass bowl or a deep trifle dish. If you can see through the sides, you get that amazing visual stratification—it just looks professional! You want to make sure you’ve got all your ingredients prepped before you start stacking, just like we went over above, because once you start layering, you’ll want to keep that momentum going.
For extra visual pop, I always use a clear bowl. It really shows off the work you put into those distinct layers! If you’re looking for more assembly ideas, take a peek at my thoughts on seven layer salad assembly.
Preparing the Creamy Layered Salad Dressing
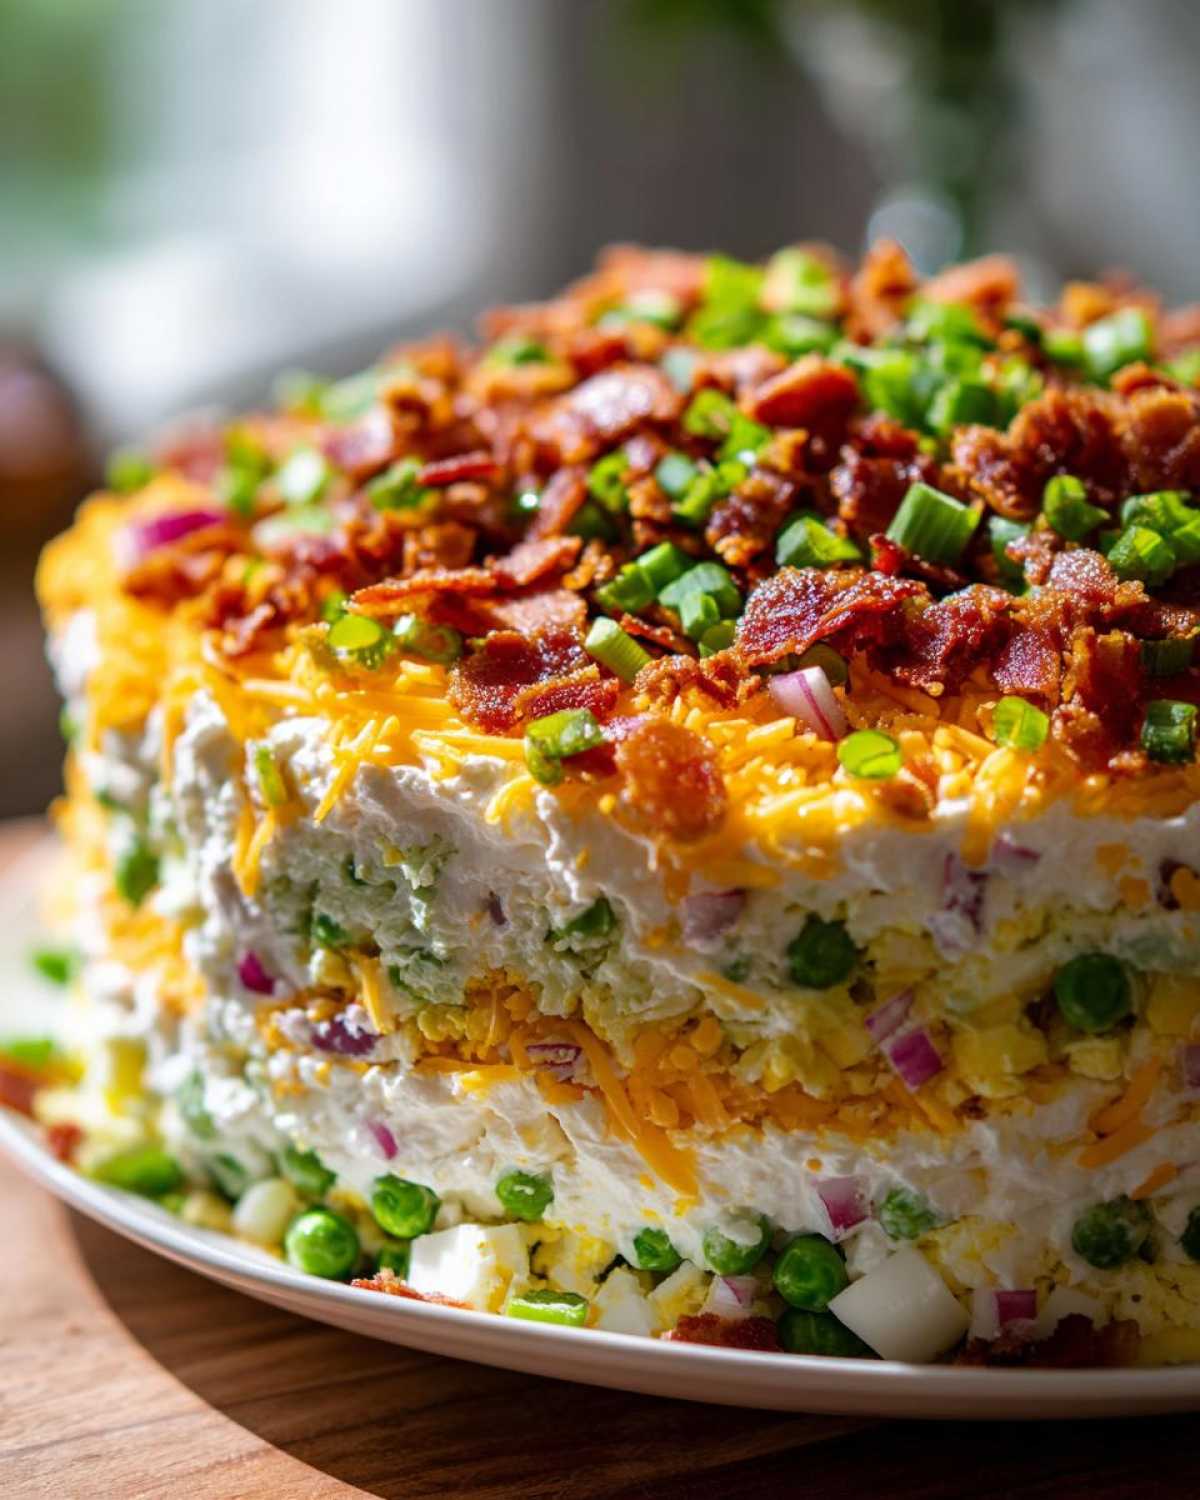
First things first: let’s get that liquid magic ready. Grab a small bowl—I use my favorite little ceramic one—and toss in the mayo, vinegar, sugar, salt, and pepper. Now, whisk it like you mean it! You gotta whisk until that sugar dissolves and everything looks totally unified and smooth. Don’t leave any clumps of sugar behind, or you’ll find a few surprises later! Set that creamy mixture aside while you move on to the hard work of stacking.
Building the Perfect 7 Layer Salad Layers
Time to build! We stack from the bottom up, making sure each layer is nice and even before moving on. Here is the exact order I use for this phenomenal **Layered Salad Recipe**:
- Layer 1: Scatter all your chopped iceberg lettuce across the bottom. Pat it down just a little bit.
- Layer 2: Sprinkle the thawed peas evenly over the lettuce.
- Layer 3: Add your chopped celery.
- Layer 4: Distribute the thinly sliced red onion. Try not to let the pieces clump together!
- Layer 5: Gently spread out your four chopped hard-boiled eggs.
- Layer 6: Top the eggs with the shredded cheddar cheese.
- Layer 7: This is important: take that creamy dressing you made and spread it carefully over the cheese layer. This seals everything in!
The bacon is our final delicious flourish, but we don’t add it yet! We want the dressing to work its magic chilling time first.
Make Ahead Salad Tips for the Best 7 Layer Salad
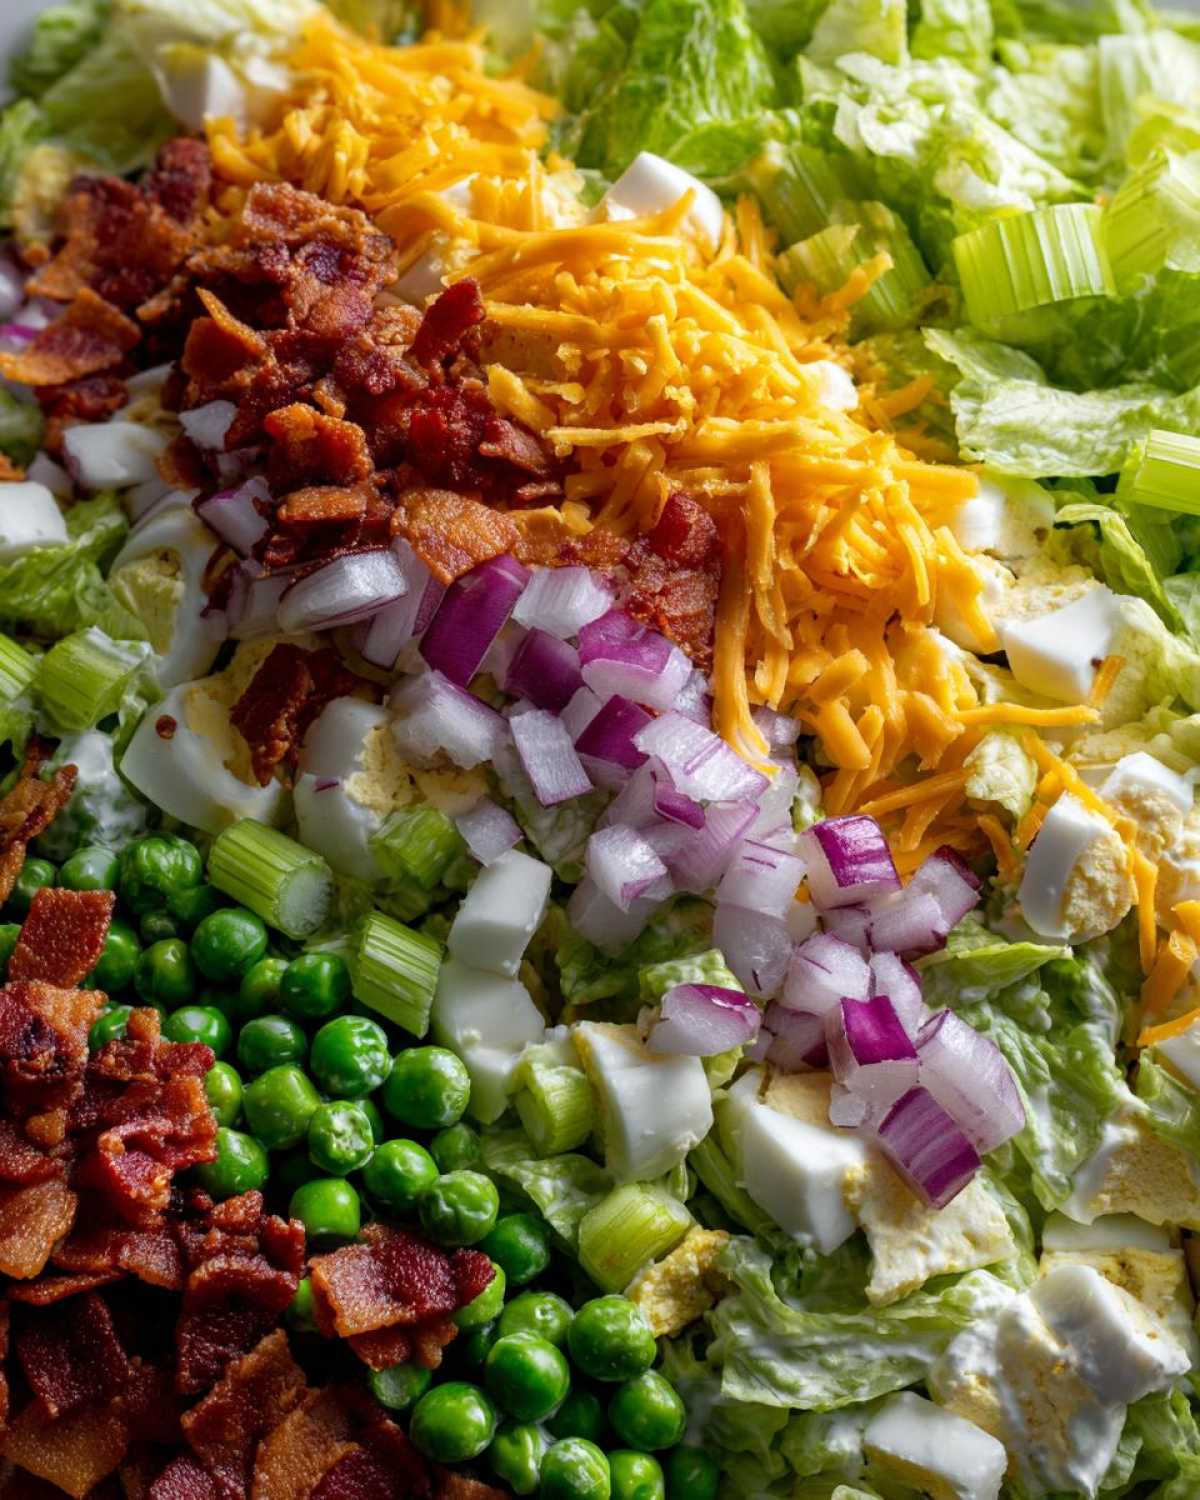
The magic of this **Make Ahead Salad** is that the longest part of the entire process is the chilling time! You absolutely can assemble everything—the layers, the dressing—the day before your event. I almost always do it in the morning, giving it a solid 6 to 8 hours in the fridge minimum. This lets those flavors marry up perfectly. Trust me on this one: keep the crumbled bacon off until the very last minute!
If you want that bacon nice and crunchy when you serve it, don’t put it on until you are literally walking out the door to the party, or right before everyone digs in. Keeping the bacon separate saves the day! You can find more tips for prepping big batches ahead of time over at my make ahead salad guide.
Ingredient Notes and Substitutions for Your Layered Salad Recipe
People always ask me if they can change things up in this **Layered Salad Recipe**, and the answer is usually yes, but let’s handle the important stuff first! The core layers really make this what it is, but flexibility is great when you’re cooking for a crowd.
If you need a vegetarian version, swapping the bacon is easy peasy. I’ve had great success using smoked almonds or even some toasted sunflower seeds for that salty crunch finish instead of the pork. For the cheese, cheddar is the classic go-to, but Monterey Jack melts in your mouth nicely too, though you don’t want anything too soft since this is a chilly salad.
As for the peas, frozen is totally fine—just make sure they are thoroughly thawed and patted dry. Seriously, wet peas mean water pooling in your base layer, and nobody wants that! Don’t forget to peek at my thoughts on cream cheese brownies if you are looking for a rich follow-up dessert!
Serving Suggestions for This Potluck Salad
This **7 layer salad** isn’t just some throw-together dish; it’s designed to be the star side at any big event. It’s the ultimate answer when people are scrambling for **Potluck Salad Ideas**! Because it’s so rich with bacon, egg, and cheese, it pairs beautifully with lighter main courses.
Try serving this alongside classic smoky barbecue ribs or pulled pork sandwiches—the coolness cuts right through the richness. It’s fantastic for Easter, Thanksgiving, or any summer gathering. Honestly, if you bring this, you’ll be famous for your **Easy Side Dish** contribution! Learn more about making your next gathering a hit by reading my potluck salad ideas guide.
Storage and Reheating Instructions for Leftover 7 Layer Salad
Okay, so you managed to have leftovers—a minor miracle! Since this is a dressing-heavy **7 layer salad**, it definitely changes texture once it sits overnight, but it’s totally safe to eat. You need an airtight container, and I mean airtight! Plastic wrap pressed right down onto the surface of the dressing helps tremendously to prevent it from drying out a little.
Don’t even think about reheating this, please! It’s meant to be enjoyed cold. Just pop the container in the fridge. You might find the lettuce is a bit softer the next day, but honestly, it’s still delicious the following afternoon scooped up with a fork!
Frequently Asked Questions About the Classic 7 Layer Salad
I know sometimes when you’re dealing with a recipe that has so many steps, you end up with little questions floating around! I’ve gathered the most popular ones right here so we can put your mind at ease before you head out to your next gathering. This section is all about making your **Classic 7 Layer Salad** absolutely foolproof.
For more reliable recipe guidance—maybe something warm and baked? Check out my thoughts on making an easy classic apple cobbler recipe.
How long must the 7 layer salad chill before serving?
You need at least four hours for this **Holiday Salad Recipe** to properly chill. That minimum time lets the dressing settle nicely over the layers beneath it. But honestly? If you can manage it, letting it chill overnight is even better! The flavors just get so much deeper and more married together by morning.
Can I use frozen peas in this Layered Salad Recipe?
Yes, absolutely you can! Frozen peas are super convenient when you need an **Easy Side Dish** in a hurry. The huge caveat here, though, is that you *must* thaw them completely before they go into the bowl. After they thaw, take a clean kitchen towel and gently pat every single pea dry. Any extra water will just turn into a watery puddle at the bottom of the salad, and we definitely don’t want that mess.
What is the best dish to assemble a Retro Salad Recipe in?
For a true **Retro Salad Recipe** experience and maximum impact, you have to use a vessel you can see through! I almost always reach for the largest glass trifle bowl that I own. If you don’t have a huge deep glass bowl, a deep glass pie plate works in a pinch, but a tall bowl really shows off the beauty of those seven distinct layers. It’s all about presentation, right?
Estimated Nutritional Data for This Easy Side Dish
Now, let’s talk numbers, because sometimes we are making this for a crowd or keeping track of things! Please remember these figures are just my best estimates based on using regular mayonnaise and full-fat cheddar cheese in this **Easy Side Dish**. The amounts can shift plenty depending on how thick you spread that dressing or how much bacon you really end up crumbling on top!
Here’s the breakdown per serving, based on yielding 8 servings:
- Calories: 350
- Fat: 30g (10g Saturated)
- Protein: 14g
- Carbohydrates: 12g (3g Fiber)
- Sugar: 6g
- Sodium: 450mg
It’s a rich side, absolutely, but that’s the joy of a classic **Potluck Salad**! Enjoy every bite!
PrintClassic 7 Layer Salad Recipe
This is the ultimate classic 7 Layer Salad, perfect for potlucks and holidays. It features distinct layers of crisp vegetables, bacon, eggs, cheese, and a creamy dressing, designed to be made ahead.
- Prep Time: 25 min
- Cook Time: 10 min
- Total Time: 35 min
- Yield: 8 servings
- Category: Side Dish
- Method: Layering
- Cuisine: American
- Diet: Vegetarian
Ingredients
- 1 head iceberg lettuce, chopped
- 2 cups fresh or frozen peas, thawed
- 1 cup chopped celery
- 1 small red onion, thinly sliced
- 4 hard-boiled eggs, chopped
- 1 cup shredded cheddar cheese
- 8 slices bacon, cooked and crumbled
- 1 cup mayonnaise
- 2 tablespoons white vinegar
- 1 tablespoon granulated sugar
- 1 teaspoon salt
- 1/2 teaspoon black pepper
Instructions
- Prepare the dressing: In a small bowl, whisk together the mayonnaise, vinegar, sugar, salt, and pepper until smooth. Set aside.
- Prepare the layers: Cook the bacon until crisp, drain, and crumble. Thaw the peas if using frozen. Chop the lettuce, celery, and hard-boiled eggs.
- Assemble the salad in a large glass bowl or trifle dish for visibility. Start with the lettuce as the first layer.
- Add the peas as the second layer over the lettuce.
- Place the celery on top of the peas.
- Distribute the sliced red onion evenly over the celery.
- Add the chopped hard-boiled eggs as the fifth layer.
- Sprinkle the shredded cheddar cheese over the eggs.
- Spread the prepared creamy dressing evenly over the cheese layer, sealing the vegetables below.
- Just before serving, sprinkle the crumbled bacon over the top layer of dressing.
- Chill the salad for at least 4 hours, or overnight, before serving.
Notes
- For best results and crispness, assemble the salad up to 24 hours ahead of time, but keep the bacon topping separate until serving.
- If you assemble the salad the day before, do not add the bacon until right before you take it to your event.
- You can substitute frozen peas for fresh; just make sure they are completely thawed and patted dry before layering.
Nutrition
- Serving Size: 1 serving
- Calories: 350
- Sugar: 6
- Sodium: 450
- Fat: 30
- Saturated Fat: 10
- Unsaturated Fat: 20
- Trans Fat: 0
- Carbohydrates: 12
- Fiber: 3
- Protein: 14
- Cholesterol: 120