

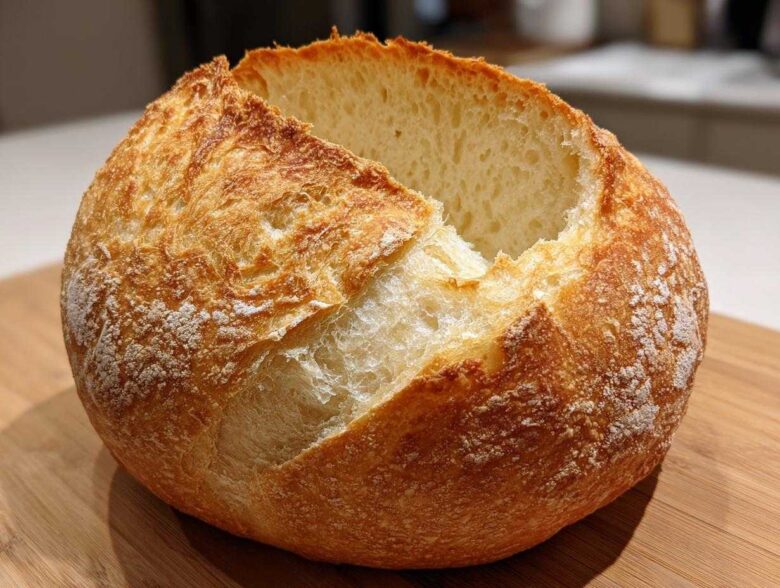
Oh my goodness, there is truly nothing on earth that screams ‘comfort’ louder than a piping hot bowl of something delicious nestled inside its own edible vessel, right? Forget those flimsy store-bought things; we are diving deep into making the absolute best bread bowls from scratch. I’m talking about that magical combination: a crust that stands up perfectly to thick chili or creamy soup without getting soggy immediately, while the inside remains cloud-soft. I absolutely insist on making these at home because honestly, once you’ve had a proper bowl, filled with my famous hearty chili, you won’t go back! This is my foolproof guide to getting that perfect bakery style texture every single time.
Why You Will Love These Homemade Bread Bowls
Seriously, these are winners:
- Perfectly sturdy crust—they stand up to soup!
- A soft, fluffy interior that’s amazing for dipping.
- They are incredibly versatile for dips, chili, or stew.
- Making your own bread bowls is easier than you think!
Essential Ingredients for Perfect Bread Bowls
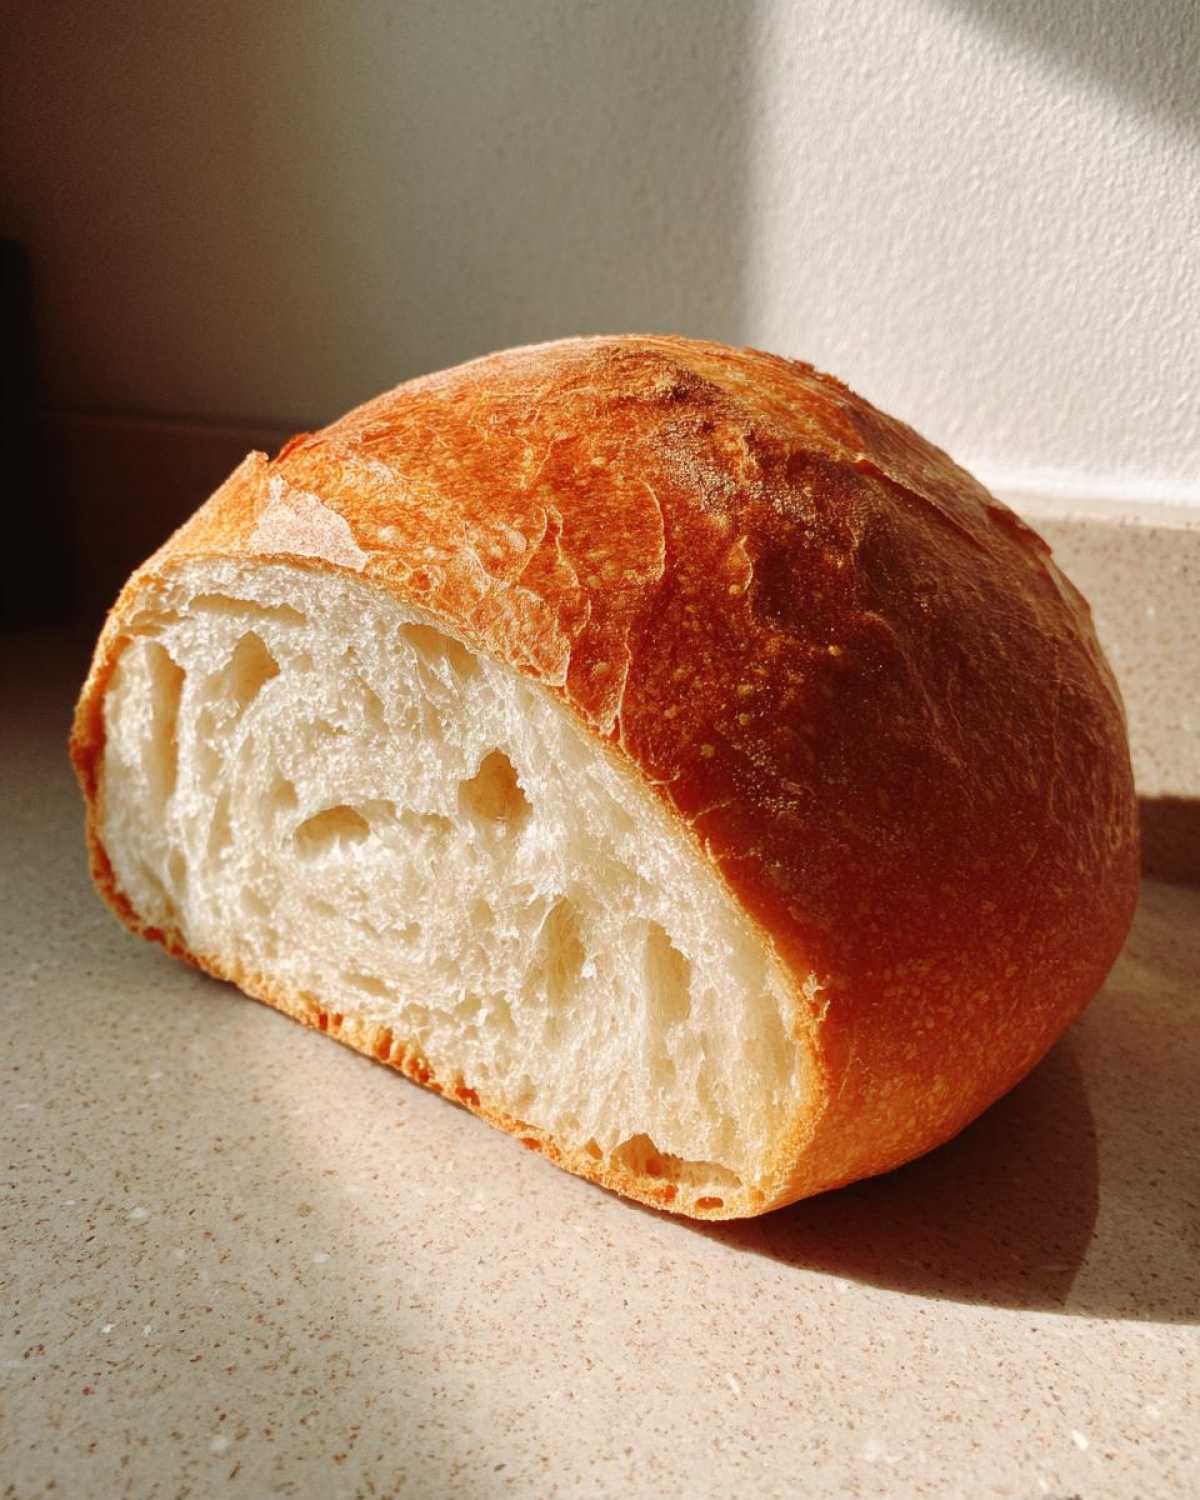
Okay, trust me when I say the simpler the ingredient list, the better the result. You don’t need a million things to make these incredible homemade bread bowls. I always keep these core items on hand; they are the foundation for that amazing chew. For the full list, you know I swear by using fresh yeast, and I always point out that the water temperature is non-negotiable—it needs to be nice and warm, sitting right around 110°F. If you want tips on mixing up a great crusty Italian loaf, check out my favorite Italian recipe!
- 3 cups all-purpose flour
- 1 packet active dry yeast (that’s about 2 1/4 teaspoons!)
- 1 1/2 teaspoons salt
- 1 teaspoon sugar
- 1 1/4 cups warm water (make sure it’s 105-115°F)
- 1 egg white, lightly beaten (this is for our shiny wash!)
Step-by-Step How to Make Bread Bowls
Alright, this is where the real fun starts! Making these bread bowls is all about timing and developing that structure so they don’t collapse under a ladle full of hot stew. We’re following the recipe to the letter here, especially when it comes to the rises. Follow these steps closely, and you’ll have the most beautiful, sturdy, edible serving bowls recipe results!
Activating Yeast and Mixing the Dough
Step one is critical for a good rise! You have to wake up that yeast. Mix your warm water, sugar, and the yeast together. Expert Tip: If your water is too hot—I mean really hot—you’ll kill the yeast and your dough won’t lift a centimeter. You want it between 105°F and 115°F. Let it sit until it gets bubbly and foamy—that takes about 5 to 10 minutes, proving your yeast is ready to work! Once it’s foamy, stir in the salt and start adding that flour gradually. Mix it until it just turns into a shaggy mess; don’t go crazy mixing it yet!
Kneading and First Rise for Soft Bread Bowl Recipe
Now we knead! Turn that messy dough out onto a dusted surface. You need to work it for a good 6 to 8 minutes by hand. Don’t stop early! You’re looking for dough that feels smooth, elastic, and springs back nicely when you poke it gently. That elasticity is key for the final structure. Once it feels right, pop it in an oiled bowl, cover it up, and find the warmest spot in your kitchen. It needs a good 1 to 1.5 hours to double in size. It’s so satisfying watching it puff up!
Shaping and Final Proofing of Your Bread Bowls
Gently punch that dough down—it’s satisfying! Now, divide it into four equal parts. This recipe makes four perfect-sized bread bowls, by the way! Roll each piece into a tight, smooth ball. You want those balls to be round and taut. Place them on your prepared baking sheet, making sure they have plenty of elbow room between them on that parchment paper. Cover them loosely and let them rest for just 30 minutes for the second rise. This short proof helps them keep their round shape beautifully during baking.
Baking and Cooling the Edible Serving Bowls Recipe
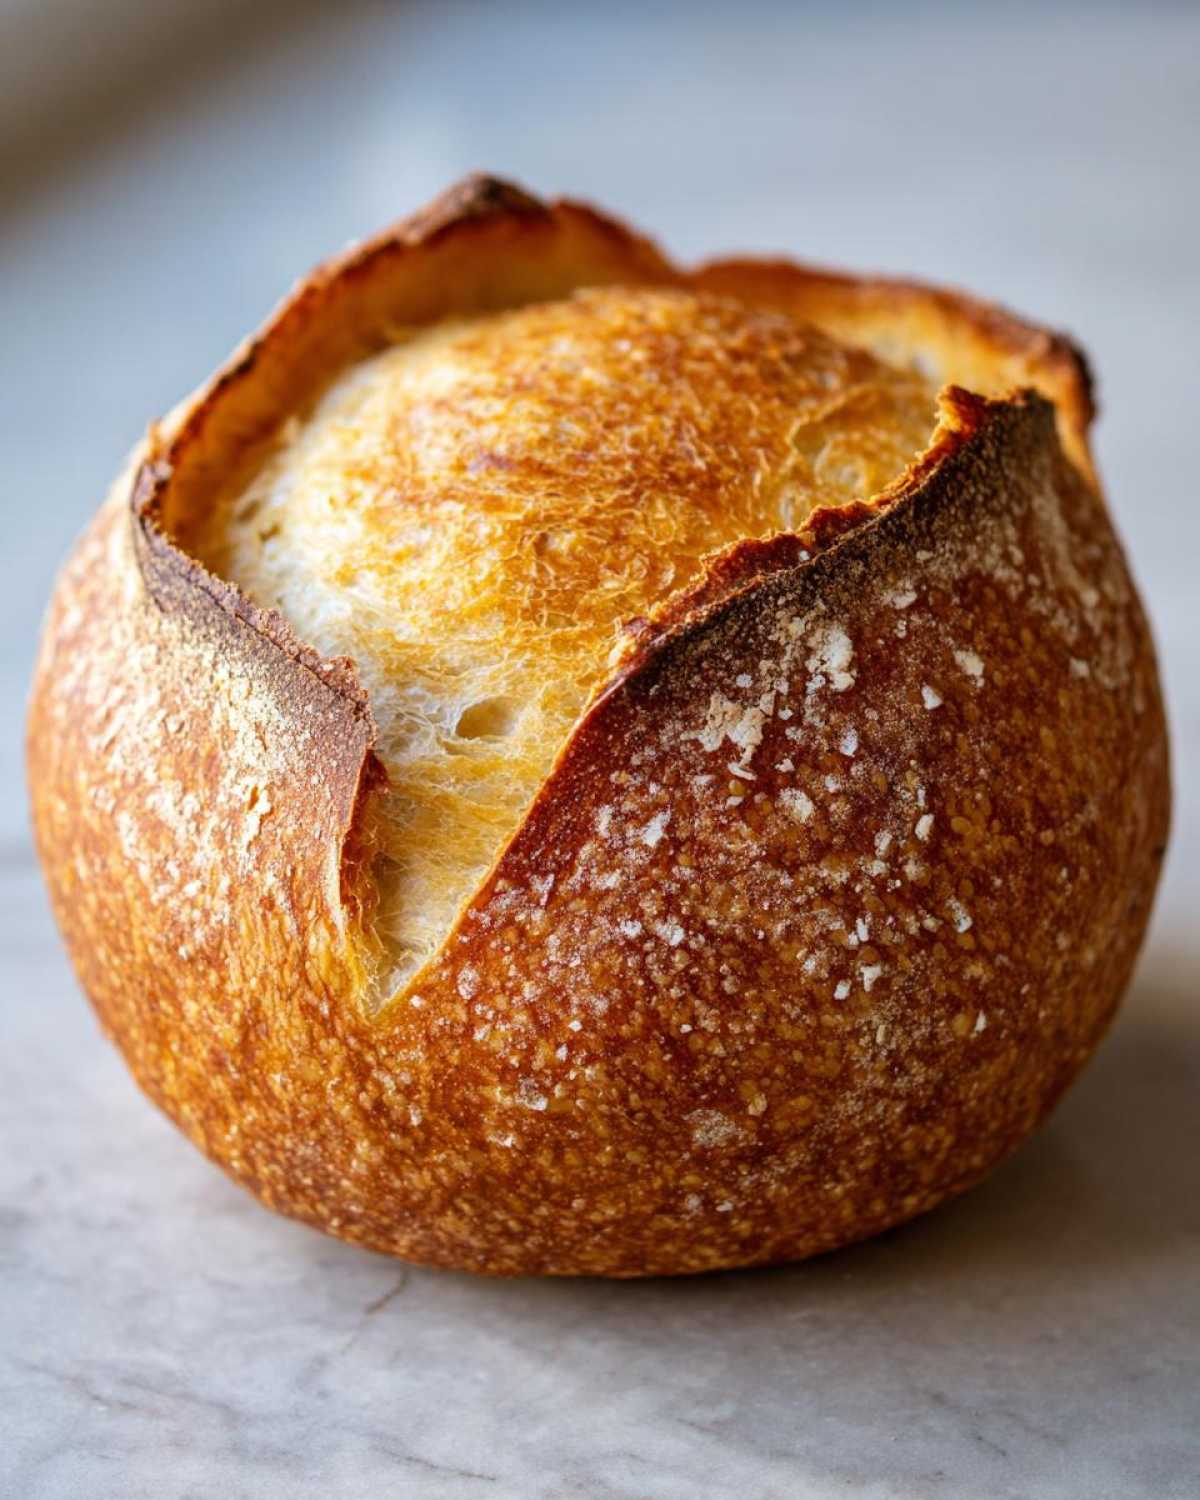
Time to preheat that oven to 400°F! Before they go in, brush the tops lightly with that beaten egg white glaze. This gives the crust a gorgeous, shiny, golden-brown finish, essential for that desirable bakery style bread bowls look. Bake for about 20 to 25 minutes until they sound hollow when you tap the bottom. Once baked, and this is super important for the E-E-A-T of a good bowl: let them cool on a rack for at least 15 minutes! Trying to scoop them out when they are hot means you’ll tear the walls. Always wait until they’ve cooled enough so you can handle them safely before cutting the tops off and scooping out that lovely soft interior.
Tips for Achieving Bakery Style Bread Bowls
You want that professional look, right? The trick to fantastic bakery style bread bowls isn’t just the shape, it’s the contrasting textures. For a crust worthy of slicing thickly and setting aside for dipping, you need steam for the first bit of baking time. I usually put an empty cast iron skillet on the very bottom rack while the oven preheats. Right before the bread goes in, I carefully pour a cup of boiling water into that hot skillet—watch out for the steam cloud!
This burst of humidity keeps the crust soft just long enough for the dough to expand fully. After about 12 minutes, pull that tray out and carefully remove the skillet. This lets the top crust dry out and harden into that beautiful, sturdy shell we need. If you want tips on making a gorgeous rustic loaf, check out my favorite French bread guide—the crust techniques are similar!
What to Fill Your Warm Bread Bowls With
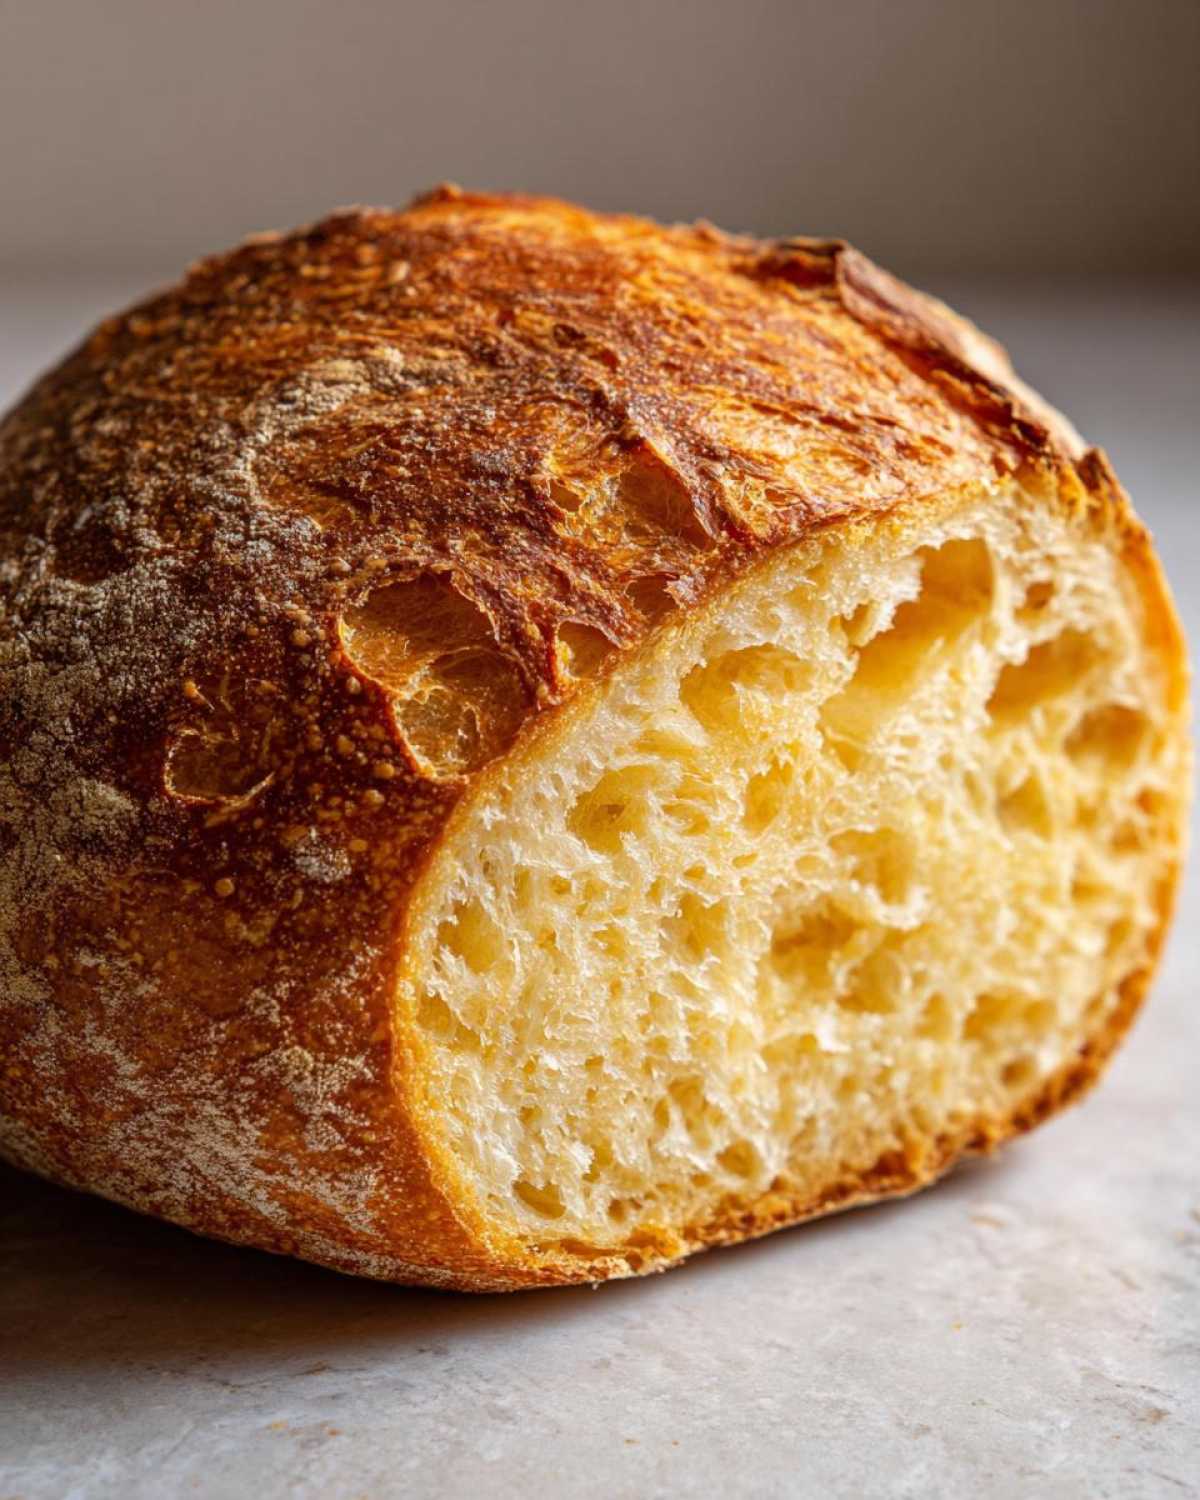
Once you’ve mastered making those incredible warm bread bowls, the next major decision is what delicious thing gets to live inside them! Honestly, this is where the comfort food factor skyrockets. Obviously, soup is the ultimate choice, and you need something thick so it doesn’t eat through your walls too fast. My favorite thing to serve in these edible bowls is my creamy Broccoli Cheddar Soup; it’s pure decadence.
But don’t stop at soup! These little edible containers are fantastic for all kinds of comfort food bread bowls. Think about a hearty beef stew, a thick, chunky chili (I have a great one if you need it!), or even a gooey cheese dip instead of a simple cracker platter. If you’re feeling adventurous, you can absolutely serve something like baked macaroni and cheese or even spaghetti right in the loaf. Make sure whatever you choose is slightly cooled down before pouring it in, just to give those sturdy walls a fighting chance!
Variations: Beyond Classic Bread Bowls
Now that you’ve mastered the basic technique for these perfect homemade bread bowls, you absolutely have to experiment a little! Sometimes I get tired of the standard white bread flavor, and thankfully, this dough base is super flexible. If you love that salty, chewy bite, definitely try the pretzel variation. That usually involves a quick dip in a baking soda solution before baking—it gives you those amazing pretzel bread bowls!
For a tangier profile, you could definitely adapt this whole thing to use a sourdough starter if you keep one active. Those sourdough bread bowls pair wonderfully with tomato-based sauces. And don’t forget cheese! You can stir sharp cheddar right into the dough mix to create instantly delicious cheesy bread bowls for your next party dip.
Storage and Reheating Instructions for Bread Bowls
Proper storage is key, especially since these are such fantastic comfort food bread bowls! If you have leftovers, a few tips will keep them tasting fresh. Once they’ve cooled completely, wrap them tightly in plastic wrap or foil. They are best eaten the next day. If you made too much of the soft inside bread—don’t throw it away! It makes the BEST croutons or breadcrumbs. You can even use it for a quick cheesy dip base!
To revive a day-old bowl, spritz the crust lightly with water and pop it in a 350°F oven for about five to eight minutes. That quick blast of heat brings that crust right back to life. If you plan on using them for soup tomorrow, I always bake the shells for those extra five minutes suggested in the notes—it really helps them keep their shape overnight!
Troubleshooting Common Bread Bowl Baking Issues
Baking bread is sometimes unpredictable, isn’t it? Don’t panic if things don’t look exactly like the picture right away; we can fix almost anything! If your dough seems sluggish and isn’t rising during that first rest, it almost always means your water was too cold for the yeast. Give it a little more time in a slightly warmer spot, like on top of the warm oven, and see if it wakes up. That’s the trick to saving a lazy batch!
If your sturdy bread bowls for soup end up with a rock-hard crust, it’s usually because of too much direct dry heat. Next time, remember that trick I mentioned about adding steam during the initial bake? That’s essential for keeping that crust tender initially. Also, if your loaves keep collapsing after they come out, it means they might have been underbaked internally. That hollow-bottom tap test is your new best friend—always trust your ears!
Frequently Asked Questions About Homemade Bread Bowls
I get so many questions once people try baking these, so let’s tackle some common ones quickly! People always ask me how to make bread bowls that look just like they came from the bakery, and honestly, most of it comes down to getting those perfect, even rises we talked about. If you’ve got great fillings in mind, like a big batch of chili, those questions are even more important!
Can I make the dough for these bread bowls ahead of time?
You absolutely can! This is great for weekend batch baking. After you knead the dough (Step 3), instead of letting it sit on the counter for the first rise, cover the oiled bowl tightly and place it right in the fridge. This cold fermentation slows everything down. You can let it sit for up to 24 hours! Just make sure you let it warm up on the counter for about an hour before you punch it down and shape your bread bowls for that final 30-minute proofing.
How do I ensure my bread bowls are sturdy enough for chili bread bowl recipe?
If you are planning on serving something really wet, like a thick chili or a super hot cheese dip, you need to make sure those walls are strong! The absolute best trick for durable, sturdy bread bowls for soup is to bake them *again* after you hollow them out. After they come out of the oven and cool slightly, slice off the top, scoop out the middle, and put the hollowed-out shells back into the oven at 350°F for about five more minutes. This dries the interior walls just enough so they firm up without burning the outside crust!
What is the best way to hollow out the bread bowls?
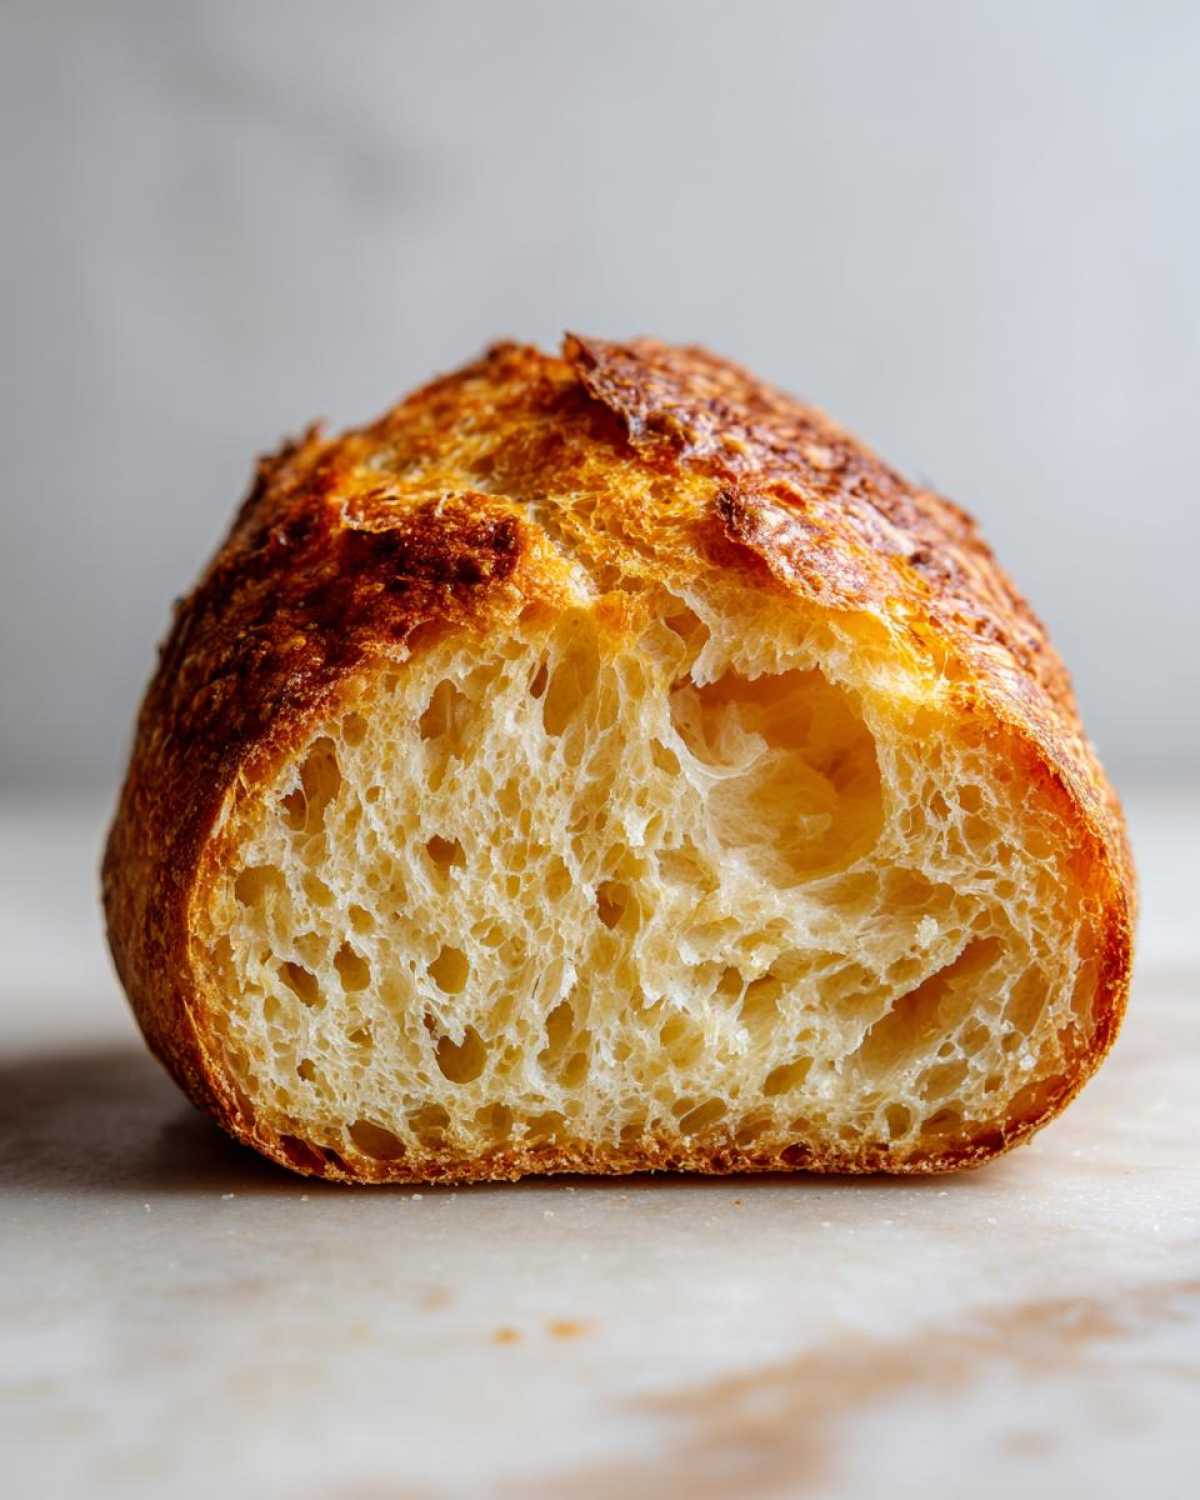
This sounds simple, but it makes a huge difference in how much you can fit inside and how well the bowl holds up! First, wait for the bread to cool down enough to handle—at least 15 minutes. Use your sharpest serrated knife—not a regular butter knife! Cut the top off at a slight angle, rather than straight down, so you create a little ‘lid’ that won’t fall in. Then, scrape out the soft interior gently with your fingers or a spoon, making sure you leave a wall that’s about an inch thick all the way around and at the bottom. Don’t waste that beautiful soft bread, though! It’s perfect for dipping into a side of beans or making croutons!
Nutritional Estimates for Your Comfort Food Bread Bowls
Now, I always tell people that these nutrition facts are just a guideline—seriously, when you’re eating a whole bread bowl filled with cheesy soup, nobody is tracking macros perfectly, are they? These numbers are based on dividing the entire recipe yield into four servings, just like we did in the steps.
Keep in mind that what you fill these amazing comfort food bread bowls with changes things drastically! Filling it with just the bread itself gives you a baseline. Here’s the breakdown for just one plain bread bowl shell, based on the recipe provided:
- Calories: Around 320 per bowl.
- Fat: Just about 1.5 grams, which is fantastic because we rely on butter for flavor, not volume!
- Carbohydrates: You’re looking at about 68 grams of carbs, which is what you expect from a good, hearty bread.
- Protein: A solid 10 grams to fill you up nicely before you even get to the soup.
It’s pretty incredible how satisfying just the bread is on its own, especially when it’s slightly warm. Don’t sweat the numbers too much; just focus on how good it tastes!
Share Your Homemade Bread Bowls Creations
Look, I’ve shared all my secrets for making these fantastic, sturdy, and unbelievably soft bread bowls. Now it’s your turn to try them out! Honestly, seeing what you fill them with is the best part of blogging. Are you going classic with a thick broccoli cheese soup? Are you trying out that amazing chili idea? Maybe you went wild with a cheesy dip!
Please, please, please leave a rating for this recipe down below. If you give it five stars, that tells search engines (and me!) that this is the gold standard for homemade bread bowls. And while you’re down there, drop a comment telling me what you chose to serve in your edible masterpiece. I always scroll through reading everyone’s filling suggestions—it gives me ideas for next time!
If you snapped any gorgeous photos of your beautiful warm bread bowls, I would absolutely love to see them! Head over to my main blog page or tag me on social media. Happy baking, friends, and enjoy scooping every last bit!
PrintClassic Homemade Bread Bowls
Make sturdy, soft bread bowls perfect for holding soup, chili, or dip.
- Prep Time: 20 min
- Cook Time: 25 min
- Total Time: 155 min
- Yield: 4 servings
- Category: Baking
- Method: Baking
- Cuisine: American
- Diet: Vegetarian
Ingredients
- 3 cups all-purpose flour
- 1 packet active dry yeast (2 1/4 teaspoons)
- 1 1/2 teaspoons salt
- 1 teaspoon sugar
- 1 1/4 cups warm water (about 105-115°F)
- 1 egg white, lightly beaten (for wash)
Instructions
- Activate the yeast: In a large bowl, combine the warm water, sugar, and yeast. Let stand for 5 to 10 minutes until foamy.
- Mix the dough: Add the salt and half of the flour to the yeast mixture. Mix until just combined. Gradually add the remaining flour until a shaggy dough forms.
- Knead the dough: Turn the dough onto a lightly floured surface and knead for 6 to 8 minutes until the dough is smooth and elastic.
- First rise: Place the dough in a lightly oiled bowl, turning to coat. Cover the bowl and let it rise in a warm place for 1 to 1.5 hours, or until doubled in size.
- Shape the bowls: Gently punch down the dough. Divide it into 4 equal pieces. Shape each piece into a tight round ball.
- Second rise: Place the dough balls on a baking sheet lined with parchment paper, leaving space between them. Cover loosely and let rise for 30 minutes.
- Preheat and prepare: Preheat your oven to 400°F (200°C). Brush the tops of the dough balls lightly with the beaten egg white.
- Bake: Bake for 20 to 25 minutes, or until the crust is deep golden brown and the bottoms sound hollow when tapped.
- Cool and hollow: Let the bread bowls cool on a wire rack for at least 15 minutes before hollowing them out. Use a sharp knife to cut a circle in the top and scoop out the soft interior bread, leaving a sturdy wall about 1 inch thick.
Notes
- For a sturdier bowl that holds liquid better, bake the hollowed-out shells for an additional 5 minutes before filling.
- Save the scooped-out bread for dipping or making croutons.
- Use warm water between 105 and 115 degrees Fahrenheit to properly activate the yeast.
Nutrition
- Serving Size: 1 bread bowl
- Calories: 320
- Sugar: 3
- Sodium: 450
- Fat: 1.5
- Saturated Fat: 0.3
- Unsaturated Fat: 1.2
- Trans Fat: 0
- Carbohydrates: 68
- Fiber: 2.5
- Protein: 10
- Cholesterol: 0