

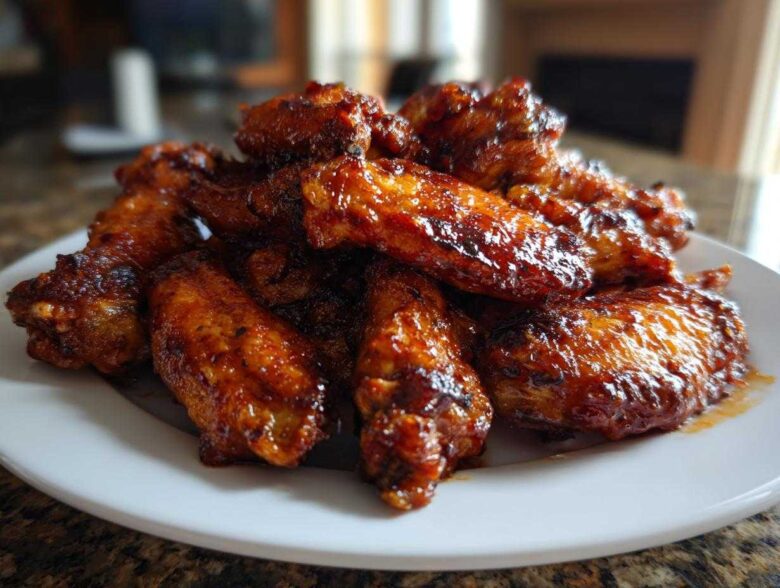
Oh, the quest for the perfect weeknight wing! I swear, the search for truly crispy chicken wings usually ends with a sticky, oil-soaked mess, or a recipe that requires standing over a pot of spitting hot fat forever. That is just not meeting the vibe, right? Amina and I finally cracked the code, and I’m telling you, you don’t need a deep fryer for this! We are bringing that incredible crunch right into your oven using a simple trick with baking powder. Trust me when I say this technique—which involves getting the skin totally dry and raising its pH just right—delivers that shatteringly crisp exterior every single time. This recipe for ultra-crispy baked wings is the game-changer you’ve been waiting for, and it’s how we make our favorite party appetizer. You can learn more about our journey to finding simple, vibrant recipes like this over on our About Us page!
Why This Baking Powder Method Makes the Best Crispy Chicken Wings
Okay, let’s talk science for a second, because how do we get those amazingly crunchy oven baked wings without drowning them in oil? It’s the baking powder! I spent weeks testing different things before Amina finally told me to stop goofing around and just trust the chemistry. Baking powder is alkaline, and by tossing the wings in it, you effectively raise the skin’s pH level. That slight shift helps the skin dry out faster in the oven and encourages deep, golden-brown browning. It’s an absolute game-changer for anyone looking for the Best Crispy Baked Chicken Wings.
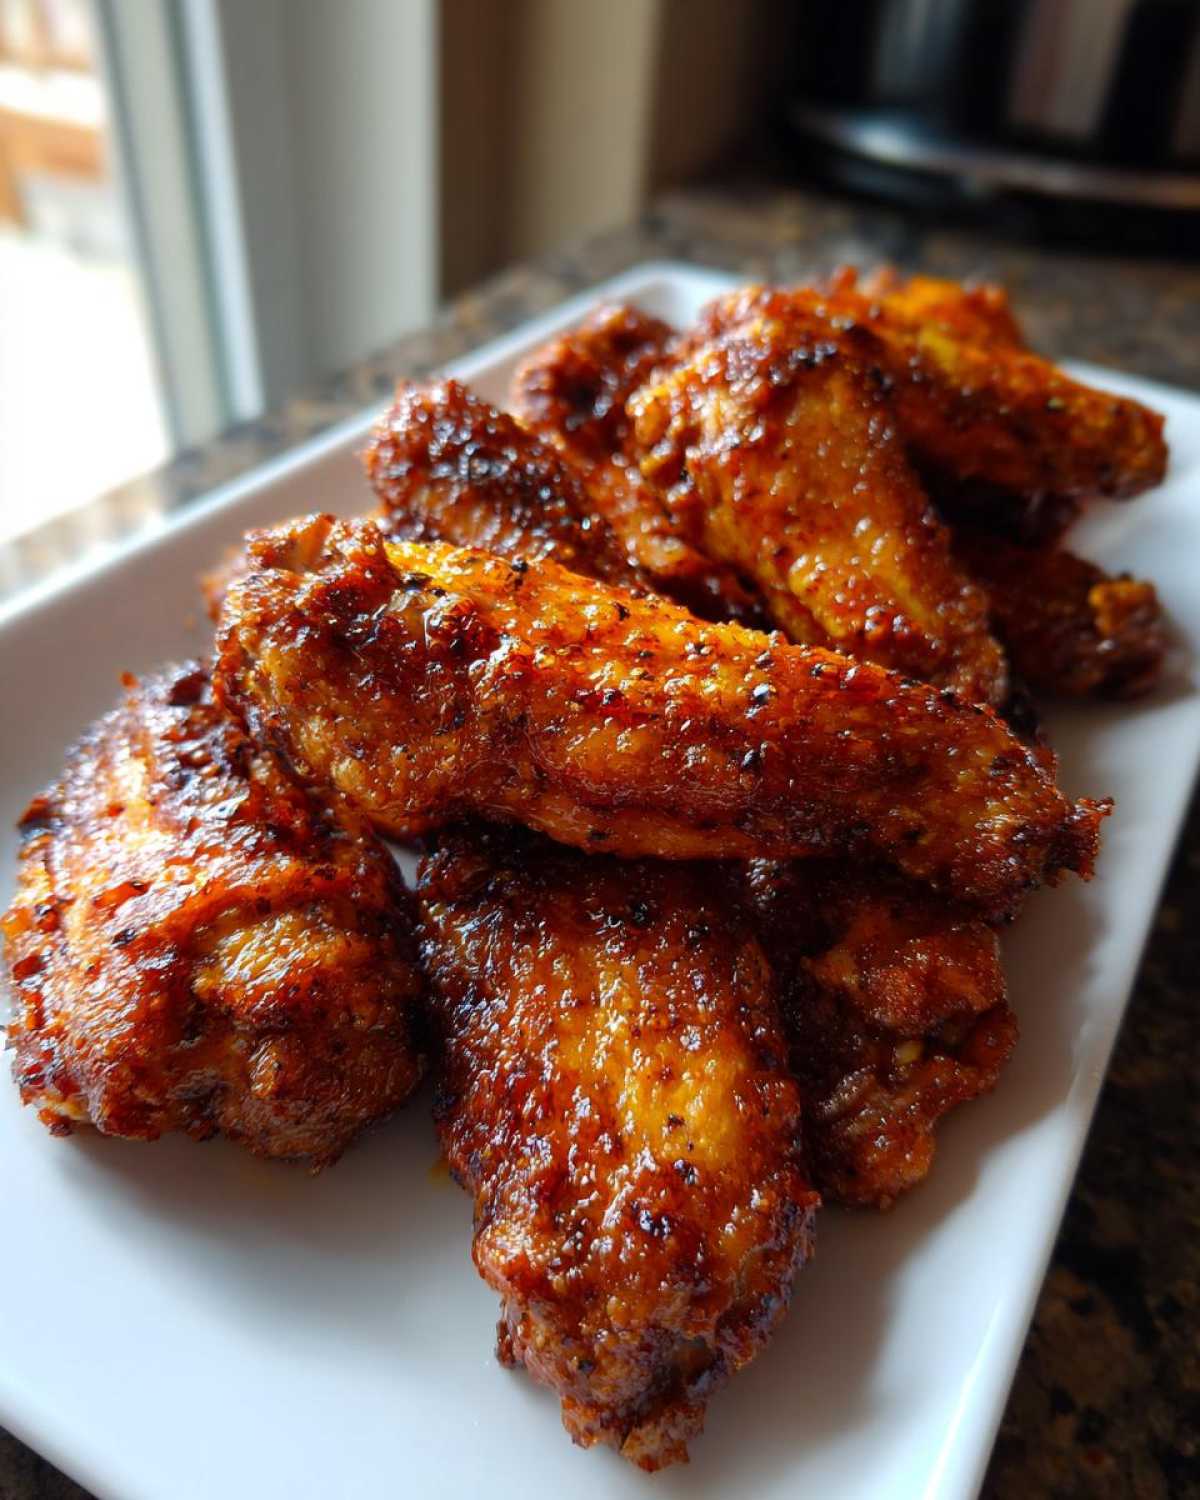
It sounds like magic, but honestly, it just works! If you want to dive deeper into the other game-changing flavor boosters we use in our rubs, you should check out my notes on our favorite chicken marinade secrets.
Achieving Juicy Inside Crispy Outside Chicken Wings
Achieving that perfect textural contrast is the holy grail, isn’t it? We want the meat tender and flavorful, not dried out! We accomplish this using a two-stage temperature process. We blast those wings hot first—that’s when the baking powder gets really busy crisping the skin. Then, we pull the temperature down slightly for the finish. This sequence creates those coveted Juicy Inside Crispy Outside Chicken Wings—tender meat protected by a perfectly crackly shell.
Ingredients for Ultra Crispy Oven Baked Wings
Getting the right base is everything for these Oven Baked Wings. You don’t need fancy restaurant equipment; you just need the right building blocks for your chicken wings. Take a look at what you’ll need for the dry rub below. Please, please, please try to find aluminum-free baking powder if you can! It really makes a difference in how clean the final crust tastes, which is something I learned the hard way after many taste tests.
Ingredient Notes and Substitutions for Chicken Wings
First things first: Separate your wings! You need those flats and drumettes apart so they cook evenly and you get maximum crisp surface area. I use kosher salt because it adheres better than table salt, but use what you have! The real fun comes *after* the baking, though. Feel free to toss these beauties in any flavor you like—whether you’re craving a classic spicy Buffalo Wing Sauce, something sweet like Honey Garlic Wings, or you want to make incredible Lemon Pepper Wings at the end, the base works for everything.
The Best Chicken Wing Technique: Step-by-Step Instructions
Alright, this is where the magic happens, folks! If you follow these steps exactly, you’ll have some of the easiest and best Easy Wing Recipes in your back pocket. Remember, treating the basic chicken wings right before they even see the oven is half the battle won. Preheating your oven is critical—don’t even think about putting them in until it hits 425°F (220°C) because we need that initial blast of heat. This whole process is incredibly reliable, which is why I wrote up a deep dive on this exact method over here if you want more convincing: The Best Crispy Baked Chicken Wings Recipe.
Preparation: Drying and Coating Your Chicken Wings
You have to be ruthless here: pat those wings completely dry! I mean paper towel until your hands feel rough—any surface moisture is the enemy of crispiness. Seriously, this step is non-negotiable. Once they are bone dry, we toss them with our seasoning blend. Make sure you get that baking powder mixture everywhere. I shake them vigorously in a big zip-top bag; it’s the easiest way to ensure every single fold and crease of the skin gets evenly coated. If it’s streaky, it won’t crisp evenly!
Baking Sequence for Perfect No Fry Chicken Wings
The wings need space to breathe, so lay them out on that wire rack on top of the foil—no crowding! They go into the 425°F oven for 25 minutes to start rendering that fat. Then comes the flip! Flip every piece over carefully, and here’s the next crucial timing piece: drop that oven temp down to 400°F (200°C) and bake for another 20 to 25 minutes. That sequence locks in the juiciness while making them beautifully golden. This two-stage bake is what makes these No Fry Chicken Wings unbeatable.
Making Game Day Chicken Wings Flavorful with Sauces
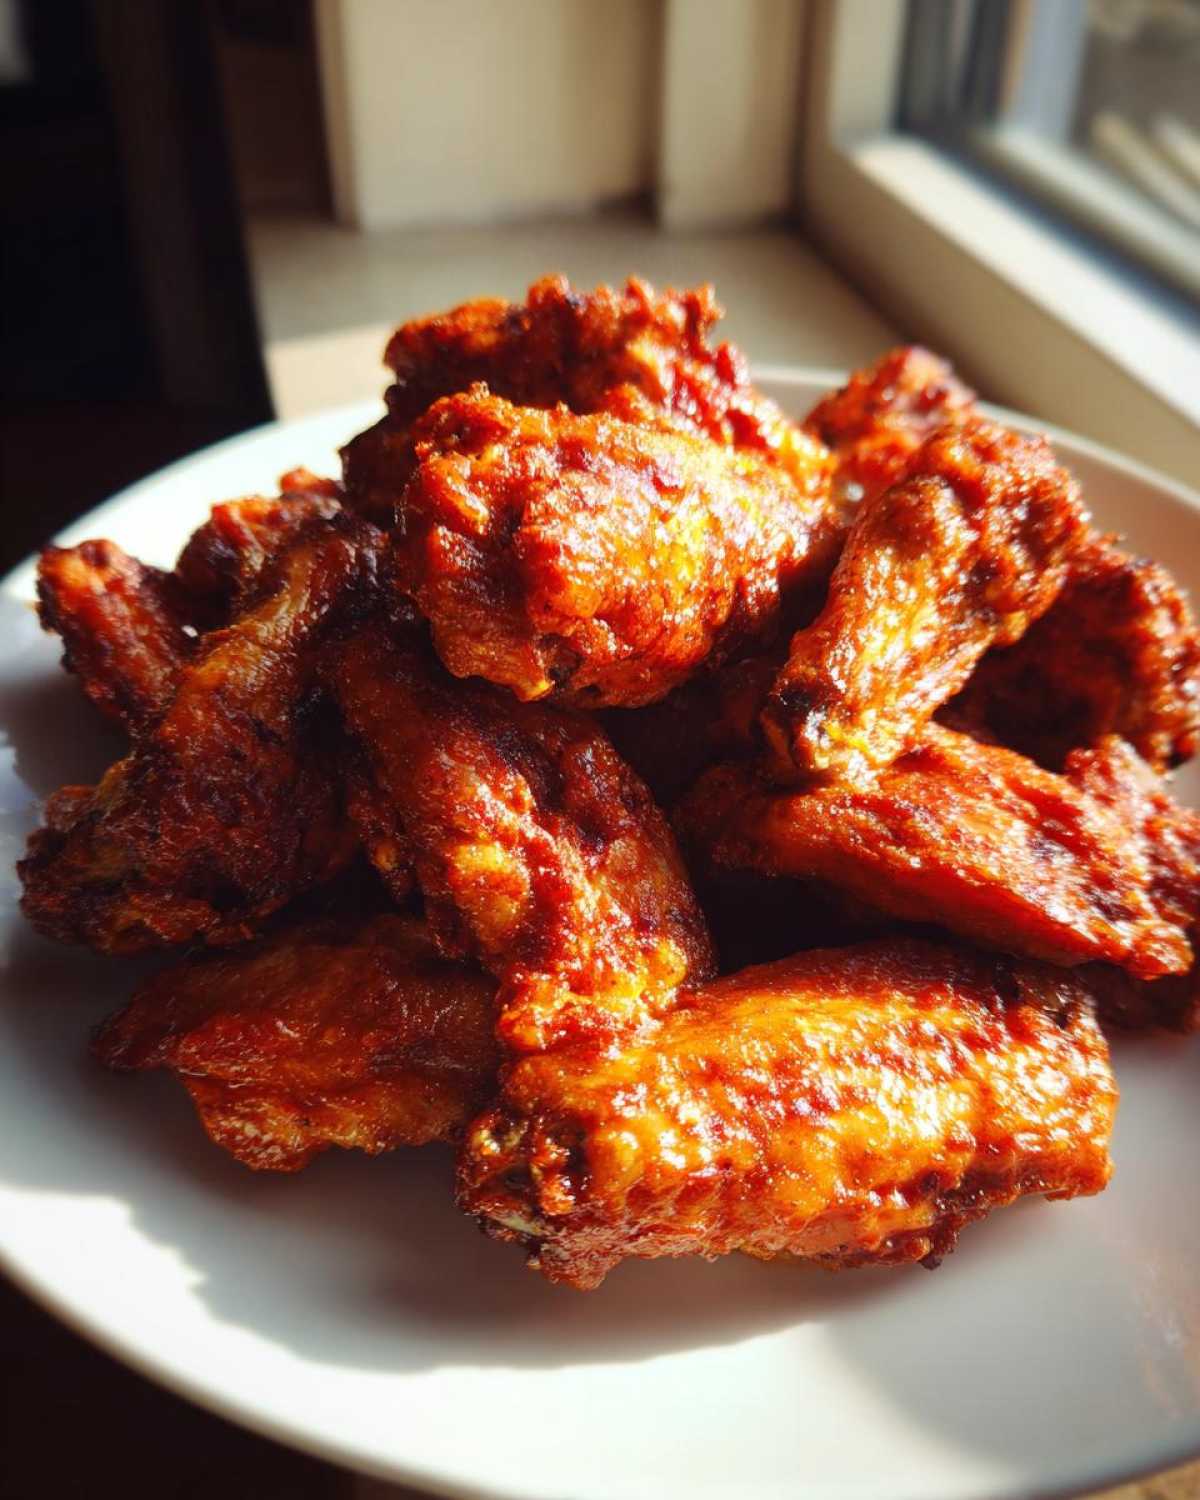
The best part about this reliable base recipe is that once they come out of the oven looking golden and crispy, they are completely ready for flavor customization! These are truly top-tier Game Day Chicken Wings because they hold up perfectly to being sauced without getting immediately soggy. Once they are off that rack, immediately toss them in a big bowl. This is where you decide if you are making classic fiery Buffalo style, or maybe you’re going for the sweet goodness of Honey Garlic Wings. If you want to try that trendy spicy-sweet thing going around, that hot honey chicken wings recipe is phenomenal when tossed onto this crispy base!
We’ve had huge success tossing them in a spicy-sweet glaze after baking as well. If you’re making something sticky like that, you absolutely have to check out this amazing Honey Garlic Chicken Recipe for inspiration. These are the ultimate Party Appetizer Wings!
Tips for Tossing and Serving Your Chicken Wings
Since the wings are piping hot when they come out—which is exactly what we want—the sauce adheres beautifully. If you are using a thicker sauce, or if you want that slightly charred, almost caramelized exterior, remember that optional broil trick! Pop the sauced wings back under the broiler for just a minute or two, watching like a hawk so they don’t burn. That little bit of extra heat sets the coating perfectly. Always serve these right away to capture that crunch Amina and I worked so hard to achieve. And for the love of all things delicious, have a side of cool ranch or blue cheese dressing ready for dipping!
Making Air Fryer Chicken Wings with This Technique
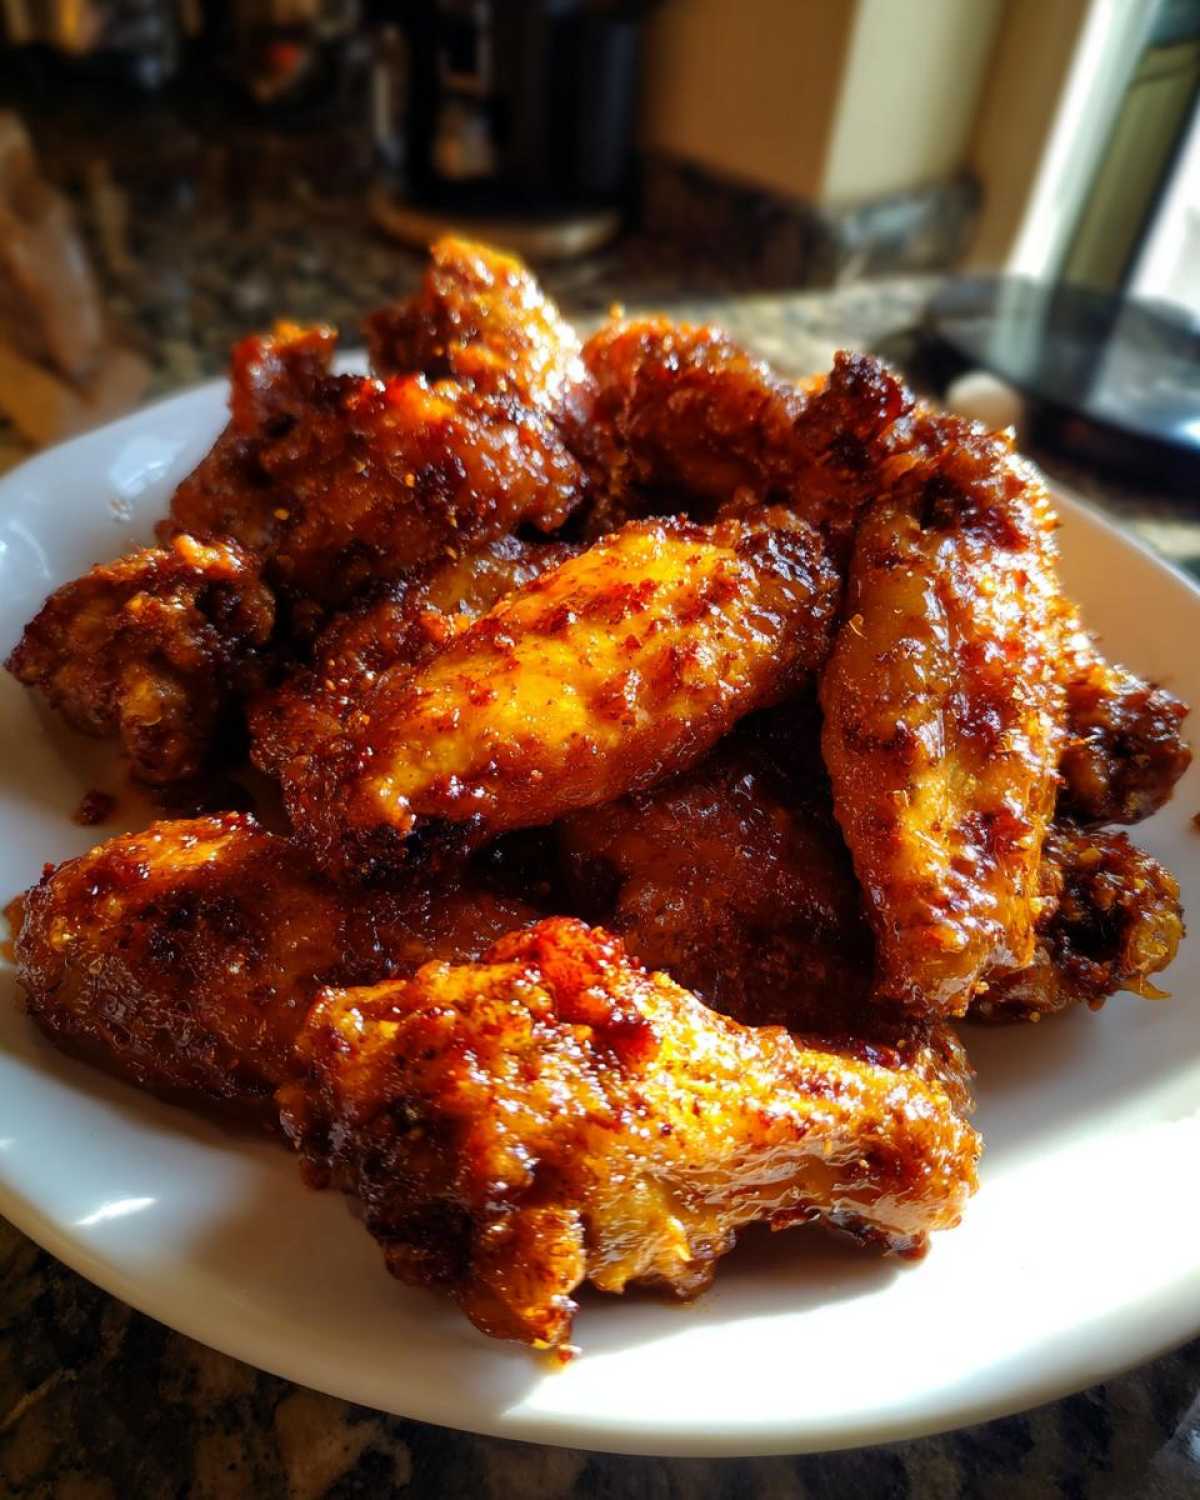
Now, I know what you’re thinking: “David, this is great for the oven, but what about my air fryer?” You guys know I love fire, but I also love convenience, and the air fryer is fantastic for making our favorite chicken wings even faster! The great news is that the core technique—the drying and that beautiful baking powder toss—stays exactly the same. It’s the best way to ensure a great crust, air-fried or not!
To adapt this for the air fryer basket, you’ll want to start the temperature slightly lower than the oven, maybe around 380°F (195°C) for the first 15 minutes. This helps everything dry out nicely without burning the coating. Then, just like in the oven, you’ll flip them and increase the temp to about 400°F (200°C) for another 10 to 15 minutes until they are perfectly golden brown. I actually wrote a bit about how I use my air fryer for sweet treats, just to show how versatile it is! You can see my easy recipe for air fryer glazed donut holes if you need a dessert counterpart!
For more inspiration on using that amazing machine, check out this recipe for air fryer salt and pepper wings—it uses a similar dry seasoning foundation we love!
Storage and Reheating Instructions for Leftover Chicken Wings
Now, let’s be real: are there ever leftovers? Usually not in my house! But when we manage to save some of these crispy chicken wings, we have to treat them right so they don’t turn into sad, rubbery bites the next day. The major thing here is the sauce. Never store your wings already tossed in sauce if you want to keep that crunch! That’s just asking for trouble, trust me.
You want to let any leftover wings cool completely, and then store them totally plain in an airtight container in the fridge. When you’re ready to eat them again, skip the microwave entirely—it steams the skin right off. Instead, pop them back into a 375°F oven or your air fryer for about 5 to 8 minutes. That little bit of dry heat will bring back that beautiful crispness you worked so hard for. That’s the secret to making sure your second-day wings are just as good as the first batch!
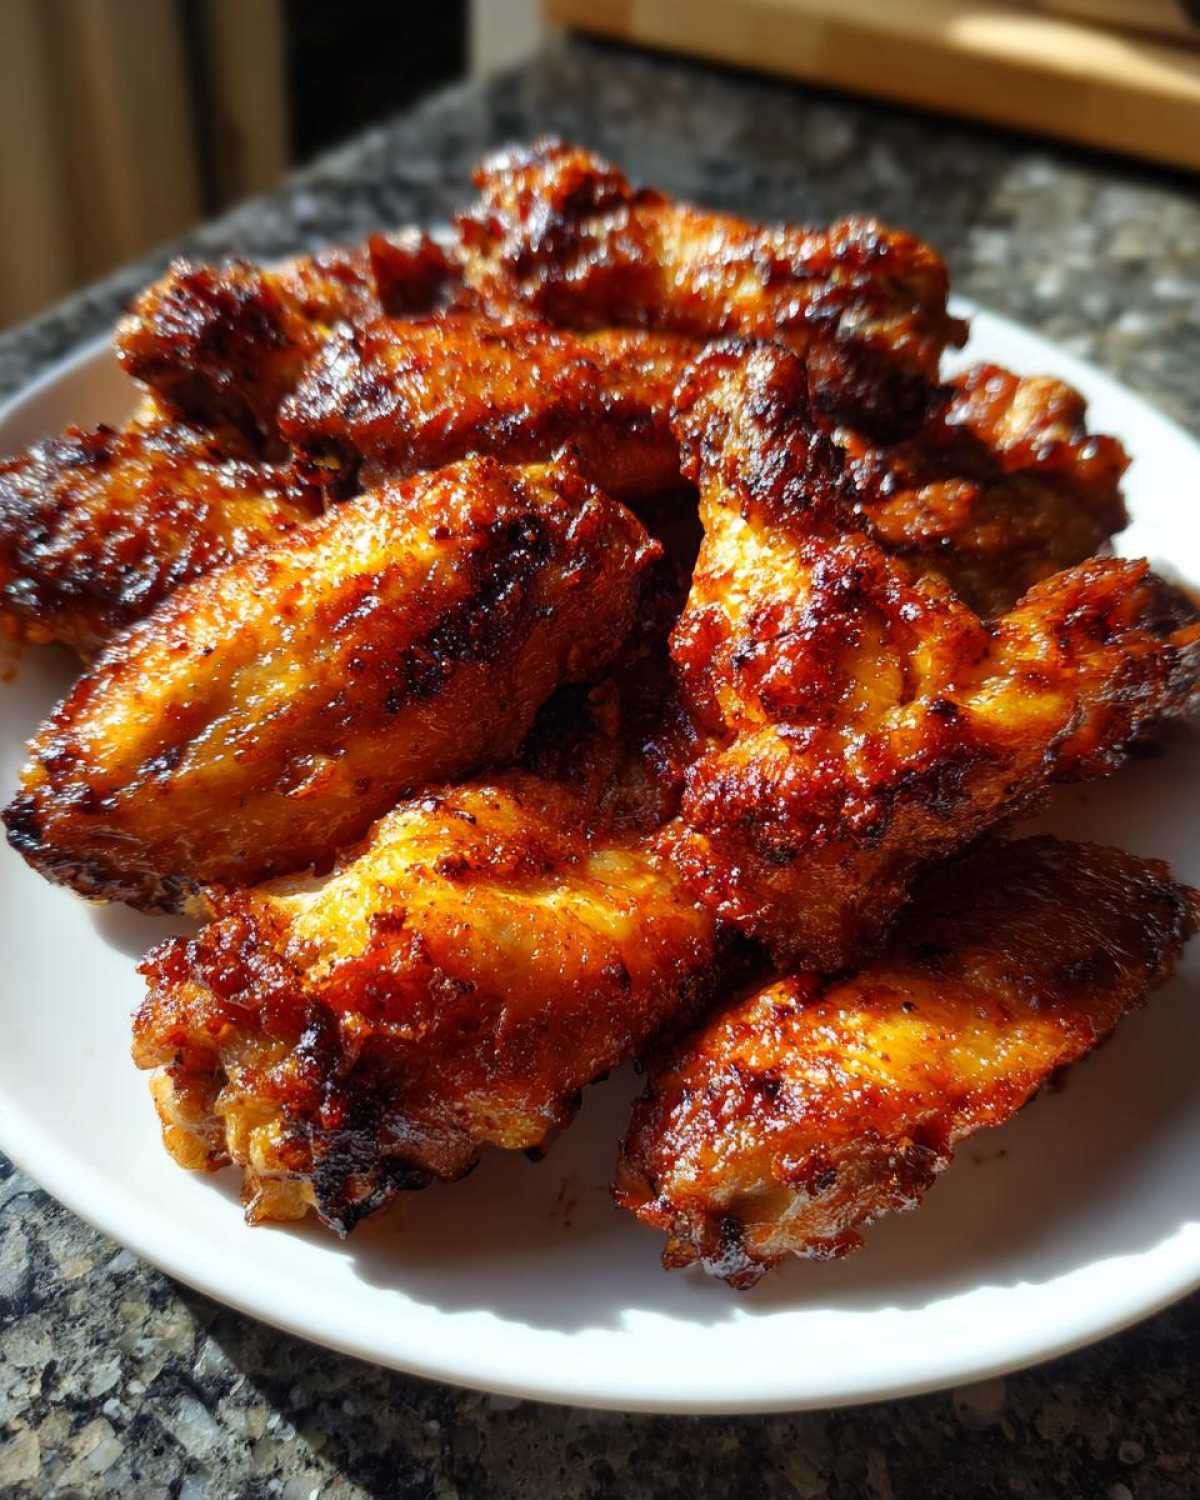
Frequently Asked Questions About Crispy Chicken Wings
I get asked so many questions whenever I post pictures of these wings on our stories! It makes me so happy that you’re all trying this incredible technique. Down below, I’ve put together the answers to the most common things people wonder about when they are trying to achieve maximum crunch on their chicken wings using the oven method. If you have more questions after trying the recipe, feel free to check out the main recipe index for more ideas!
Can I use fresh or frozen chicken wings for this recipe?
You absolutely must use fresh or fully thawed wings, my friend. If you try to toss frozen wings straight into the baking powder, all that surface moisture just turns into steam and actively works against what we are trying to do here! That moisture prevents the baking powder from doing its job of drying out the skin so it can crisp up beautifully.
What is the best way to make Ranch Wings Recipe without frying?
That’s an easy one because you’re already using the best technique! To get those Ranch Wings Recipe flavors without frying, you use this exact baking powder base. Once the wings come out of the oven super crispy, skip the liquid sauces and toss them immediately in a good dry ranch seasoning mix. Sometimes Amina will gently toss them in just a tiny bit of melted butter first, then hit them with the dry seasoning—it makes it stick perfectly!
Can I skip the wire rack when making my baked chicken wings?
Oh, please don’t skip the rack! This is one of those moments where you really need to trust the process. The rack is essential because it suspends the baked chicken wings over the pan so that hot air can circulate all the way around them. If you just set them on the foil, the bottom side will steam in its own fat and become soft. We are aiming for crispy all over!
Nutritional Information Estimate for Baked Chicken Wings
I always like to include a rough idea of what you’re putting into your body when you enjoy these, especially since we’re aiming for healthier, no-fry options. But listen closely here: these numbers are just estimates based on the ingredients listed for the base recipe only—before we toss them in any heavy BBQ sauce or extra honey!
The specific seasoning blend and, most importantly, the final sauce you choose will change these numbers dramatically. For instance, coating them in a creamy Ranch dressing later will definitely swing the fat and calorie counts up compared to a simple dusting of Lemon Pepper seasoning. Always check your chosen toppings!
Here is the quick rundown based on four wings per serving, using the dry seasoning only:
- Serving Size: 4 wings
- Calories: 280
- Fat: 18g
- Saturated Fat: 5g
- Protein: 28g
- Carbohydrates: 1g
- Sugar: 1g
Because we’re baking and not deep frying, we naturally cut down on a ton of saturated fat, which is a huge win for Game Day snacking! Just remember, these counts are purely advisory, so treat them as a starting point for your own culinary adventure!
Share Your Savory Chicken Bites Experience
Well, friends, that’s the whole secret to getting shatteringly crispy chicken wings without breaking out the deep fryer! This baking powder technique is truly a treasure we wanted to share because it makes Game Day snacking—or just a regular Tuesday dinner—so much more enjoyable. I genuinely hope these Savory Chicken Bites become a tradition in your house for parties!
Please, when you make these for your next gathering, come back and tell me all about it. I absolutely love hearing which sauce you tossed them in—did you stick to classic Buffalo, or did you try making those amazing Honey Garlic Wings? And if you were brave enough to try my overnight rest tip for even better crispiness, let me know how that worked out for you!
Leaving a star rating right below the recipe is the best way to tell me you loved them, and dropping a comment lets me know what flavor combination Amina and I should try testing next month. If you have questions or just want to chat about flavor profiles, don’t hesitate to reach out through our contact page. We are always here to talk food!
Thank you so much for letting us share our kitchen magic with you. Happy wing-making, and I’ll see you in the comments!
With all our love and flavor,
David
PrintExtra Crispy Baked Chicken Wings Using Baking Powder
Make ultra crispy chicken wings in your oven without deep frying. This simple baking powder technique gives you juicy meat and shatteringly crisp skin, perfect for game day or any party.
- Prep Time: 15 min
- Cook Time: 50 min
- Total Time: 65 min
- Yield: 4 servings
- Category: Appetizer
- Method: Baking
- Cuisine: American
- Diet: Low Fat
Ingredients
- 3 lbs chicken wings (flats and drumettes separated)
- 1 tablespoon baking powder (aluminum-free preferred)
- 1 teaspoon salt
- 1/2 teaspoon black pepper
- 1/2 teaspoon garlic powder
- 1/4 teaspoon cayenne pepper (optional)
- Your favorite sauce for tossing (e.g., Buffalo, Honey Garlic, or Ranch)
Instructions
- Preheat your oven to 425°F (220°C). Line a large, rimmed baking sheet with foil for easy cleanup, and place a wire cooling rack on top of the foil.
- Pat the chicken wings completely dry using paper towels. This step is crucial for crispiness.
- In a large bowl, combine the baking powder, salt, pepper, garlic powder, and cayenne pepper.
- Add the dried chicken wings to the bowl. Toss thoroughly until every piece is evenly coated with the dry mixture. The baking powder helps dry out the skin.
- Arrange the coated wings in a single layer on the wire rack, ensuring there is space between each wing for air circulation. Do not overcrowd the pan.
- Bake for 25 minutes.
- Flip each wing over. Reduce the oven temperature to 400°F (200°C).
- Bake for another 20 to 25 minutes, or until the skin is deeply golden brown and very crisp.
- Remove the wings from the oven. Immediately place them in a clean, large bowl.
- Toss the hot, crispy wings with your desired sauce until they are fully coated.
- Serve immediately as a crowd pleaser appetizer or quick weeknight dinner.
Notes
- For the absolute best results, let the seasoned wings rest uncovered in the refrigerator for at least 4 hours, or overnight, before baking. This further dries the skin.
- If you want extra sauce adherence, you can broil the sauced wings for 1-2 minutes at the very end, watching closely to prevent burning.
- This technique works well for making Lemon Pepper Wings or Honey Garlic Wings after the initial bake.
Nutrition
- Serving Size: 4 wings
- Calories: 280
- Sugar: 1
- Sodium: 350
- Fat: 18
- Saturated Fat: 5
- Unsaturated Fat: 13
- Trans Fat: 0
- Carbohydrates: 1
- Fiber: 0
- Protein: 28
- Cholesterol: 95