

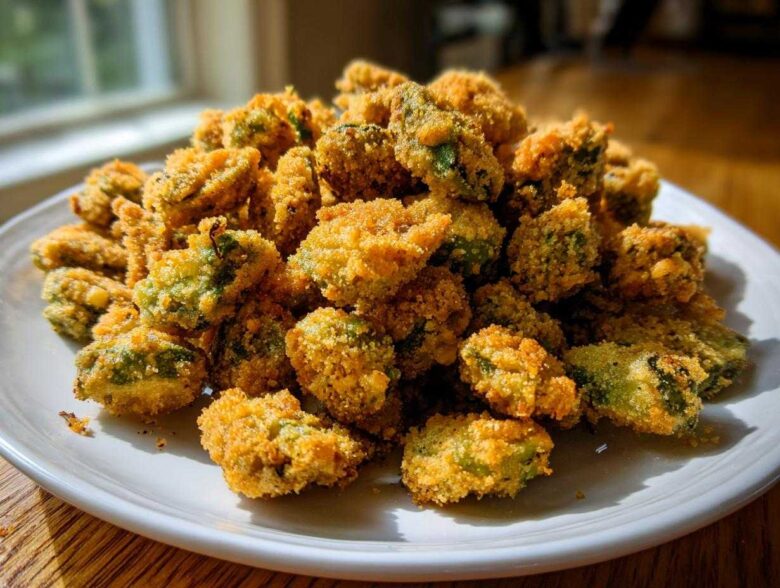
Oh, honey, let’s talk about okra. Specifically, let’s talk about achieving that legendary, light-as-air, shatteringly crisp coating that makes people ask for your recipe! If you’ve ever been disappointed by gummy, slimy fried okra, stop right there! I have spent way too many summers tweaking this method until I finally cracked the code on making the best fried okra you’ve ever tasted. This isn’t just a recipe; this is the ultimate guide to delivering true Southern comfort food perfection, and yes, we conquer the slime monster right at the beginning. Trust me, your crunchy side dish dreams are about to come true!
Why This Homemade Okra Recipe Delivers Superior Fried Okra
I’ve tried every trick in the book over the years, and this method is the only one that guarantees that addictive crunch every single time. You need texture, not a clump of wet batter, when you bite into your vegetable side dish. My system focuses intensely on banishing the dreaded okra slime so you get pure crispy side dish joy.
- We tackle the no slime okra technique head-on with a proper, long buttermilk soak. It’s non-negotiable!
- The double-action dredge—buttermilk first, then that yellow cornmeal mixture—builds sturdy walls to protect the okra while frying.
- This recipe works whether you’re going full Southern tradition with a deep skillet or trying out cleaner methods like the crispy fried pickles method in an air fryer.
- It’s the most reliable homemade okra recipe because the preparation time sets you up for success.
Gathering Ingredients for Perfect Southern Fried Okra
You can’t get fantastic results without starting with the right stuff, right? For this classic Southern comfort food, we keep things simple, but the quality matters. You’ll need about one pound of beautiful, fresh okra, sliced neatly into half-inch rounds. I always say, if your okra looks sad and tired, the final product will be sad and tired, so get the freshest summer veggies you can find before you start your classic American cooking!
You need two bowls for dredging—one wet, one dry. For the wet side, creamy buttermilk is the star; you’ll mix that with salt and pepper. That buttermilk is just as important as the kind I use in my buttermilk cornbread recipe! Don’t forget that wonderful flour mixture next. We absolutely have to use yellow cornmeal here; it’s what gives that authentic, gritty, wonderful texture that white cornmeal just can’t replicate. If you love a little background heat, that little bit of cayenne is optional but totally worth it!
The Buttermilk Coating Essentials
This is where the magic against sliminess begins! You’ll combine your cup of buttermilk—nothing fancy, just plain buttermilk—with one teaspoon of simple salt and half a teaspoon of black pepper. This mixture is thick enough to grab onto the little okra slices and start tenderizing them right away before they meet that dry coating. It’s the foundation for that yummy buttermilk coating.
Creating the Crispy Cornmeal Dredge
For the dry mix, you’ll whisk together one cup of yellow cornmeal and half a cup of all-purpose flour. If you want that tiny zing, mix in just a quarter teaspoon of cayenne pepper. When you dredge the okra later, you must press it firmly into this mixture. We want a thick, chunky cornmeal dredge clinging on tight so nothing falls off when it hits the hot oil!
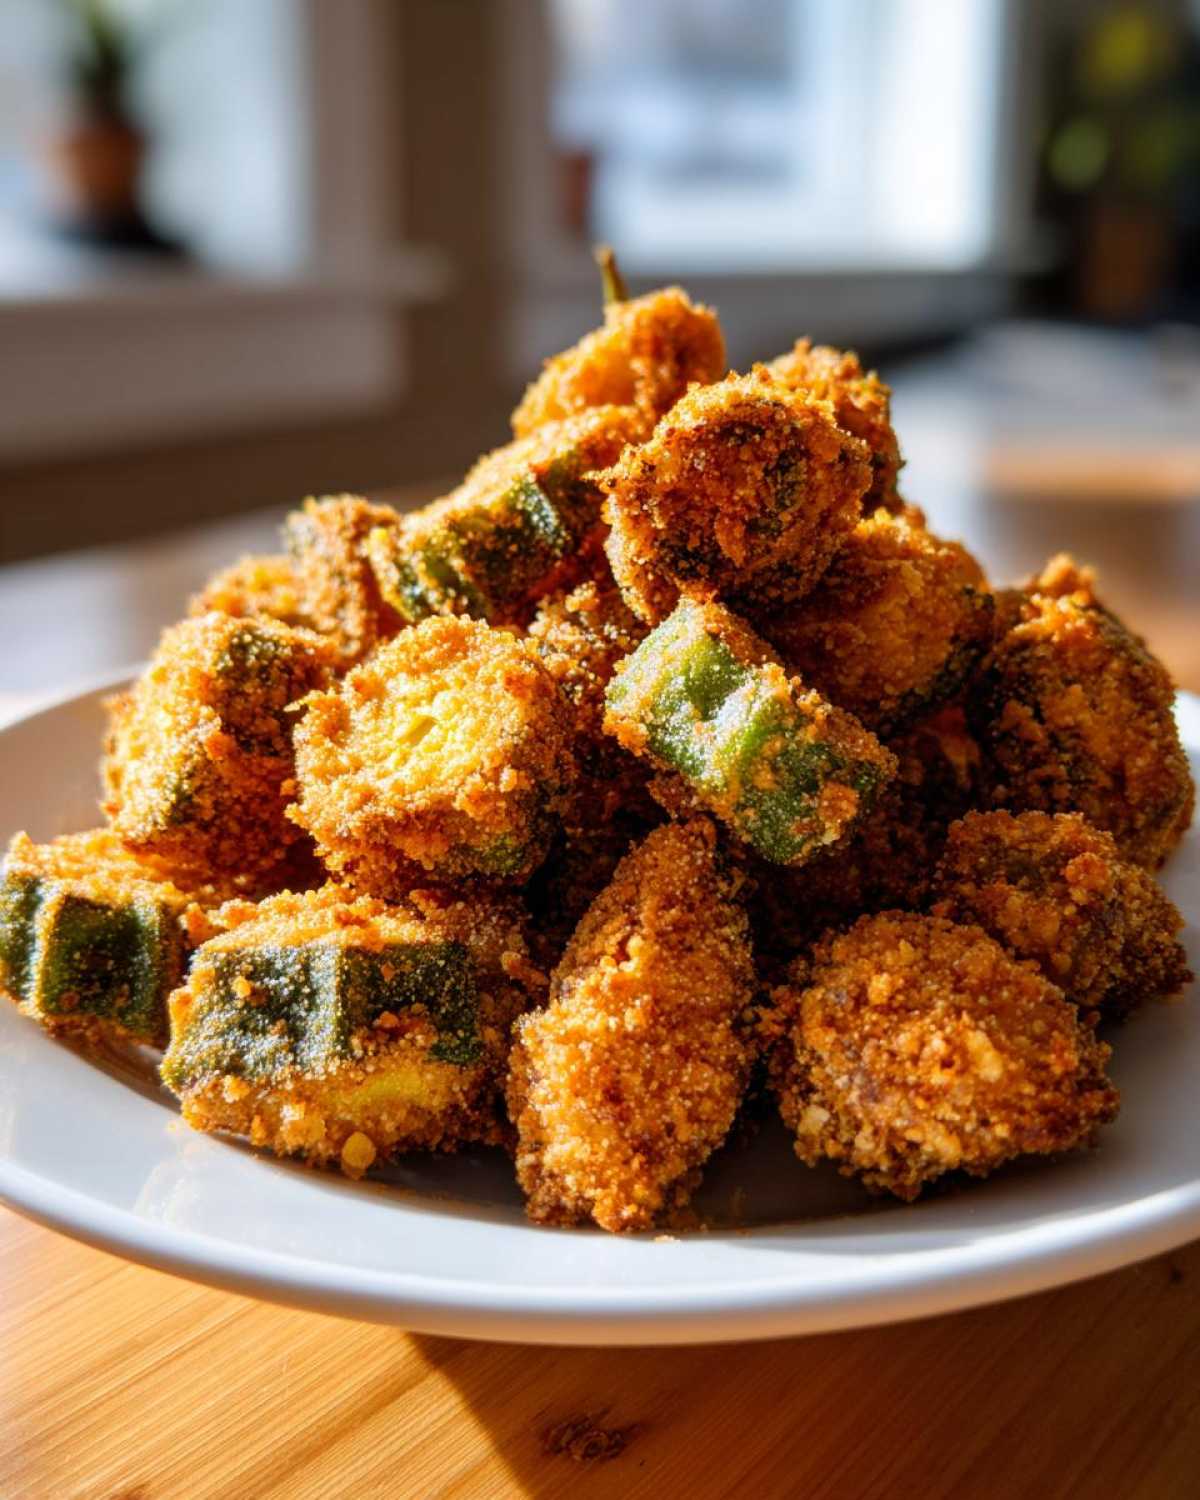
The Step-by-Step Method for Crispy Fried Okra
Alright, now that we have our ingredients ready, let’s get to the fun part: cooking! Making perfect fried okra is a process of timed steps. If you rush the soaking or overcrowd your pan, you’ll lose that beautiful crispness we worked so hard to achieve. Remember when I mentioned pairing this with my skillet cornbread? This recipe feels like the heart of that classic meal!
Preparing the Okra and Buttermilk Soak
First thing’s first: we have to dry those okra slices really well after washing them. Any extra surface water is an enemy to crispness! Once sliced into those half-inch rounds, pour that spiced buttermilk mixture over them. This soak is crucial because the mild acid in the buttermilk tenderizes the okra and seriously reduces that inherent sliminess. You want that mixture covering everything, and you have to let it sit for at least 30 minutes. Seriously, don’t peek for half an hour!
Achieving the Best Cornmeal Dredge for Fried Okra
After the soak, take the okra out of the buttermilk, but don’t rinse it—just let the excess drip off. Now, grab that dry cornmeal dredge mixture. You need to toss the okra in it and really press it on! We want a thick, craggy coating on every single piece. Shake off any really big clumps, but you want the coating to look substantial. That heavy cornmeal dredge is what locks in the texture.
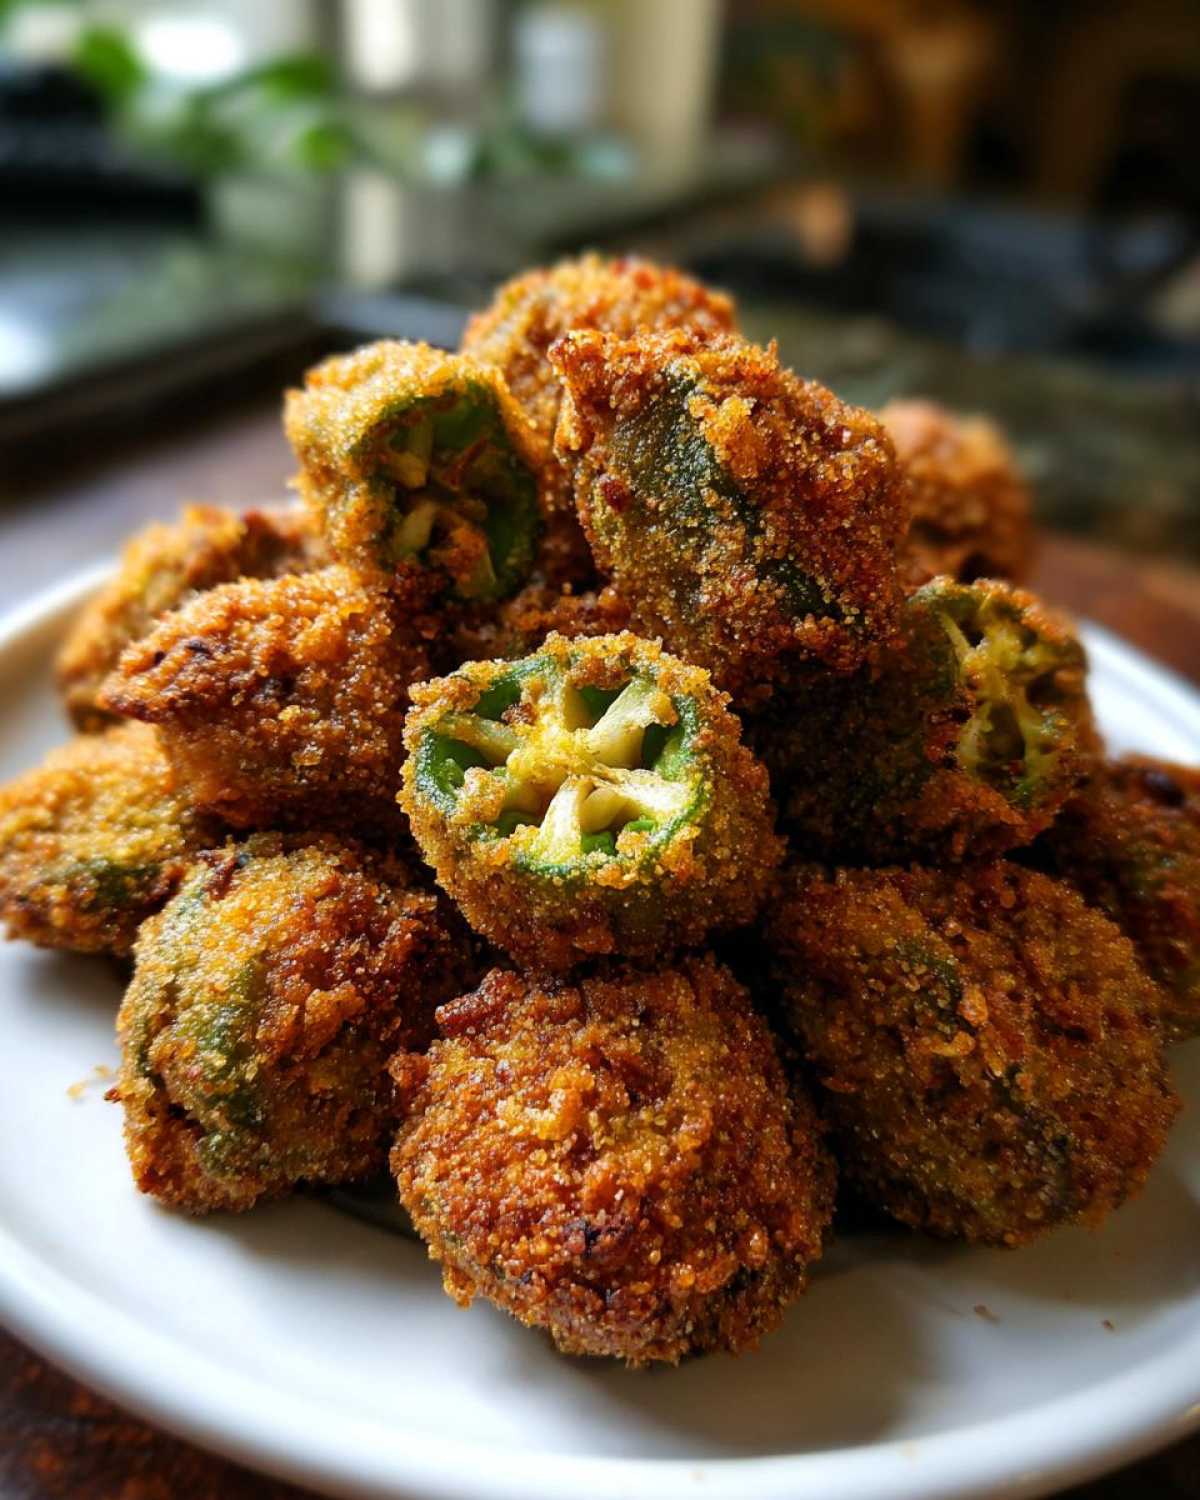
Traditional Deep Frying for Classic Fried Okra Goodness
If you’re going the traditional route for that true deep fried goodness, heat up your oil to exactly 375°F. If it’s not hot enough, the okra soaks up oil and gets greasy. If it’s too hot, the coating burns before the inside cooks. Work in small batches so you aren’t dumping too much cold okra in at once, which drops the temperature. Fry for about 3 to 4 quick minutes, turning them gently until they are golden brown all over. Drain them fast on paper towels and hit them with a tiny sprinkle of salt!
Quick Side Recipe: Air Fryer Fried Okra Alternative
If you want a slightly healthier take that still delivers the crunch, pull out the air fryer! Preheat your machine to 390°F. After dredging, you need to spray the coated okra well with cooking spray—don’t skip this, or it will dry out! Cook in a single layer for about 10 to 12 minutes total, shaking the basket halfway through. These work great as one of your favorite air fryer side dishes!
Expert Tips for Perfect Fried Okra Every Time
Even with the best recipe, sometimes things go a little sideways, especially when dealing with hot oil! I’ve learned a few little secrets over the years that keep my results consistent and ultra-crispy. The first big thing I want you to remember, especially if you’re going with the deep frying method, is temperature management. That 375°F isn’t just a suggestion; it’s the magic number for crispy coatings.
If you dump too much okra in the oil at once, the temperature drops sharply. Suddenly, you’re not frying; you’re stewing! That’s how you end up with soggy, greasy okra instead of the delightful crunch we’re aiming for. Always cook in small batches, giving each piece plenty of space to crisp up in that beautiful hot oil. If you’re looking for other snacks that require this kind of careful temperature control, check out how I manage my crispy baked chicken wings—it’s the same concept!
Another thing travelers ask me about constantly is how to handle dietary needs. If you need a gluten free fried okra alternative, it’s super simple! You can absolutely keep the buttermilk coating, but you’ll swap out that cup of regular flour in the dredge. Use an equal amount of a good quality gluten-free all-purpose blend, or if you want a slightly coarser texture, try fine almond flour instead. The key is making sure whatever flour you use is well-combined with that cornmeal so you get a solid, even crust.
Finally, use a good heavy-bottomed pot or Dutch oven for deep frying. They hold heat much better than flimsy pans, which helps stabilize your oil temperature when you add the okra. Consistency is everything when you want that incredible, crisp texture one more time!
Serving Suggestions for Your Crispy Side Dish
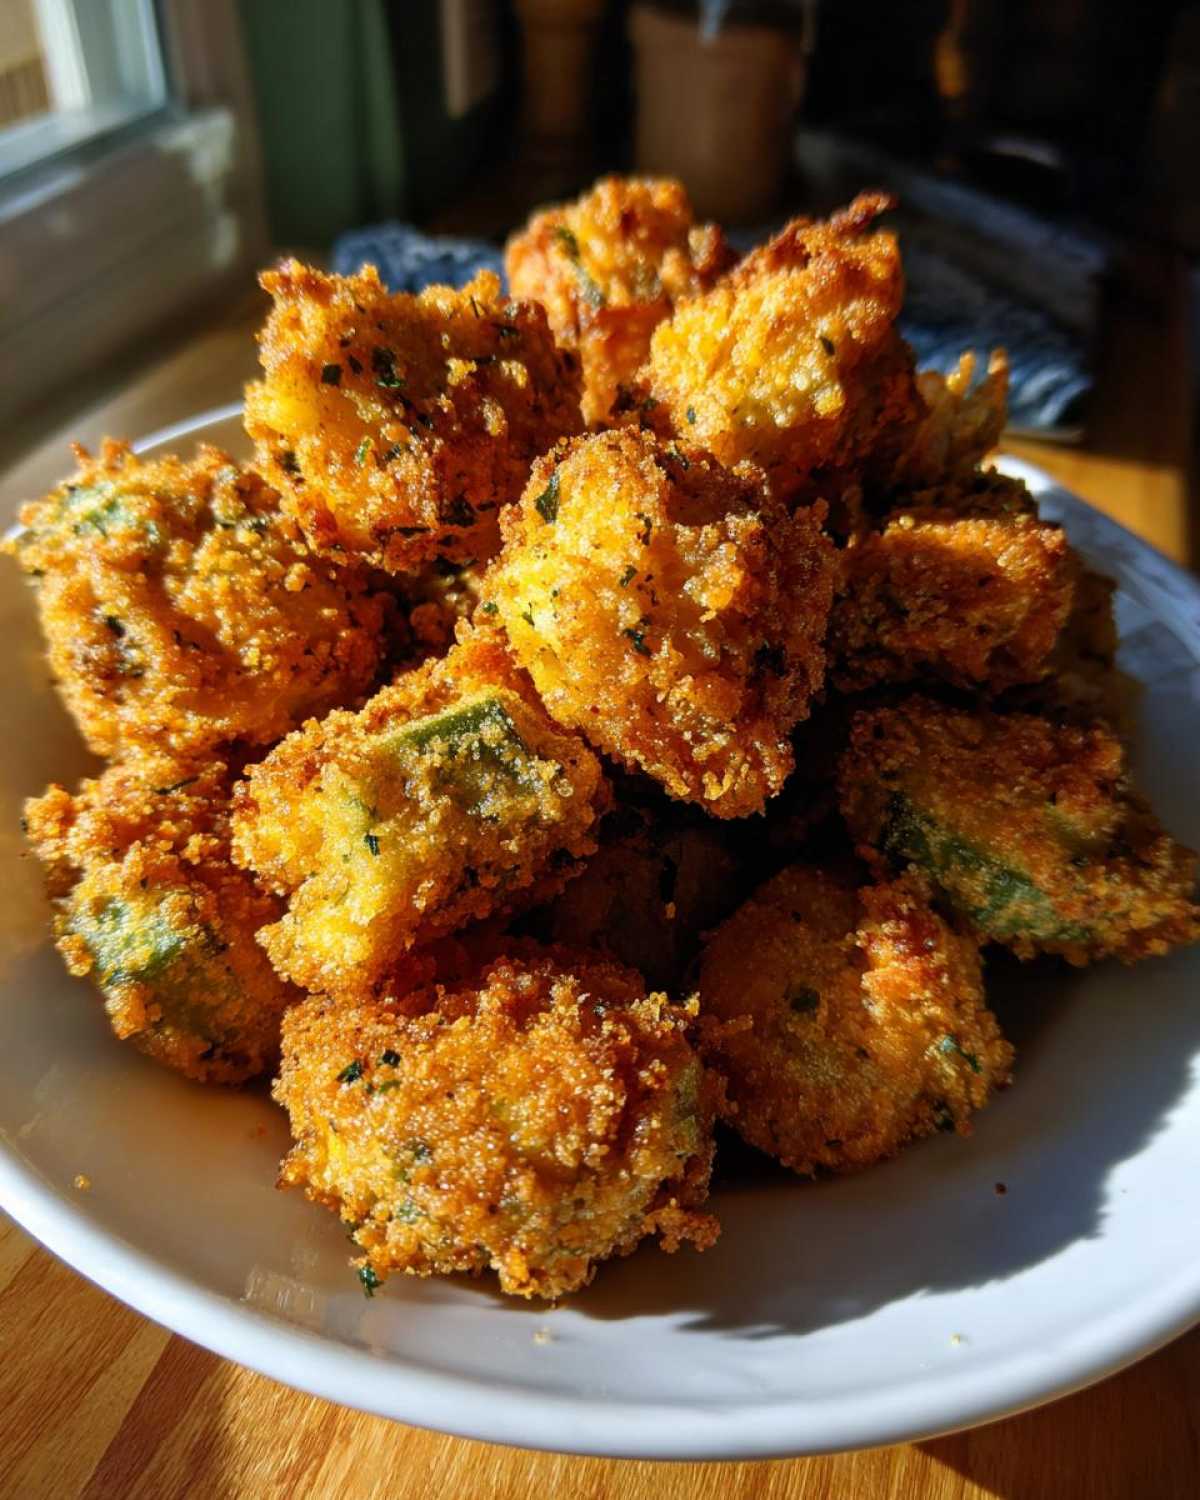
Now that you have a giant bowl of perfectly crisp, golden-brown amazingness sitting on your counter, the next logical question is: what should I eat this with? Honestly, this fried okra is so good it begs to be eaten straight out of the serving bowl with nothing but a cold glass of sweet tea! It handles itself nicely as a standalone okra appetizer.
But if you’re building a proper plate, this dish screams classic Southern meals. It’s the perfect little crunchy companion for pulled pork BBQ—the little bits of crunch are just amazing against tender meat. Seriously, if you’re making my famous crispy buttermilk fried chicken, you absolutely must serve this alongside it. They were born to be eaten together!
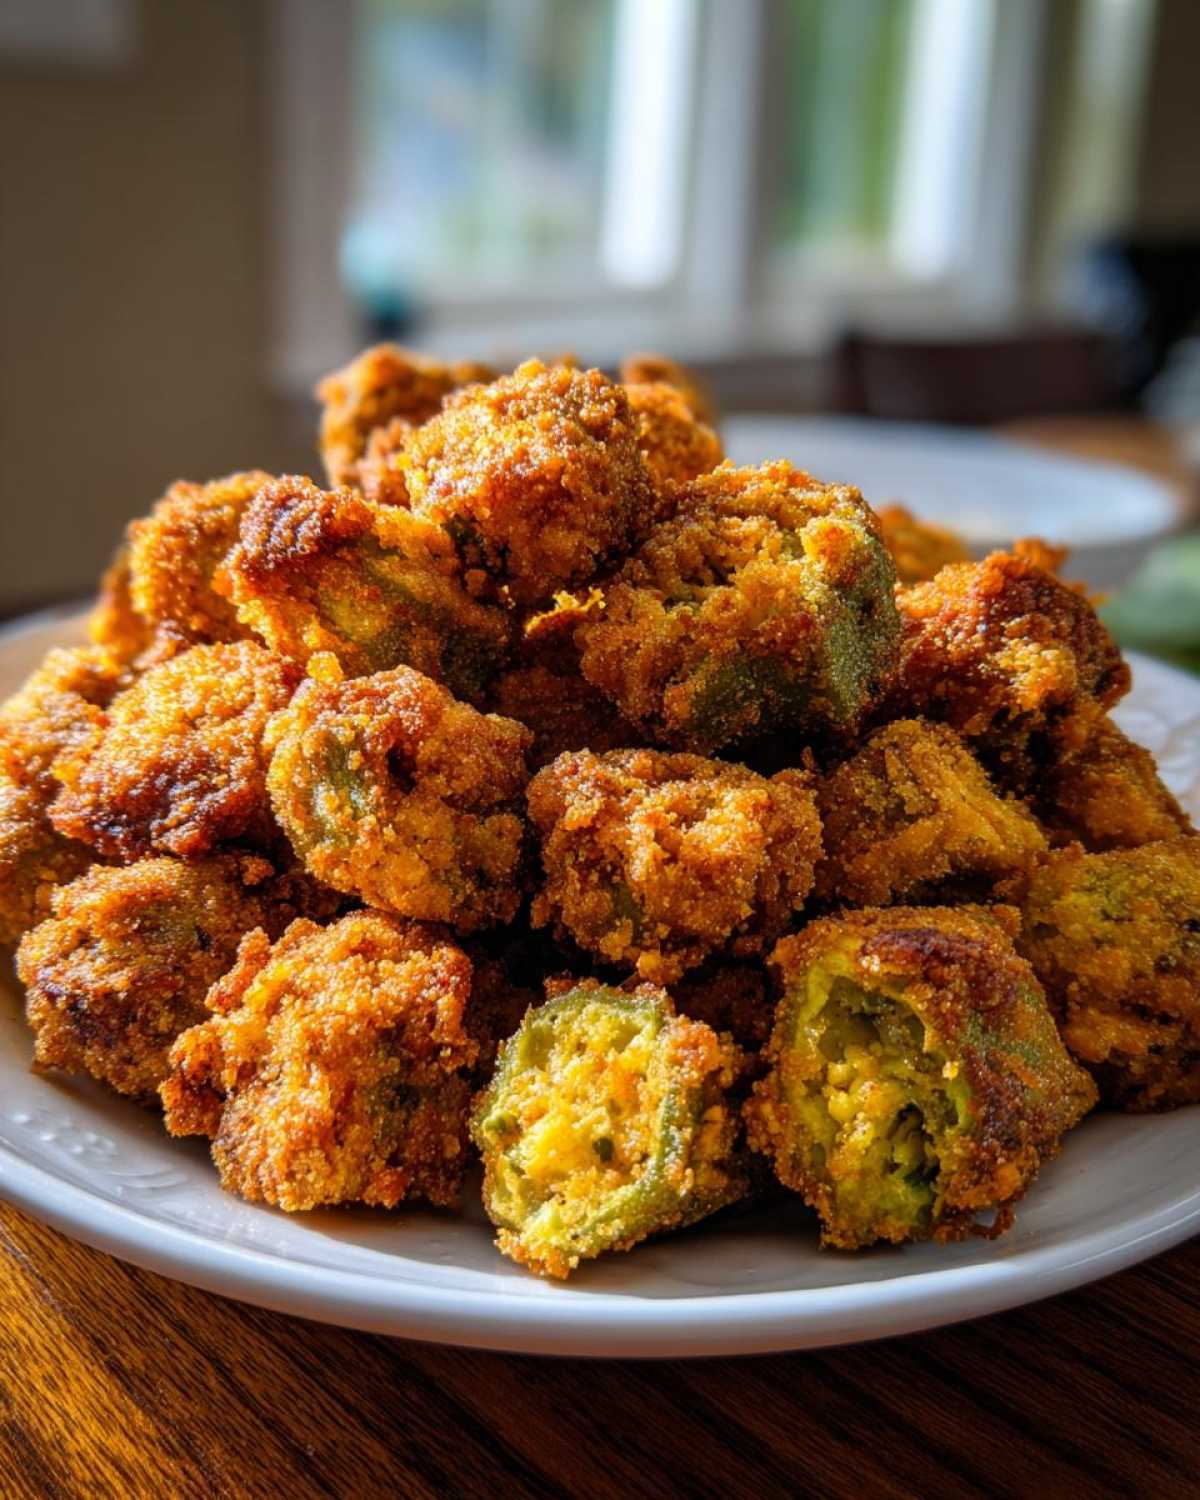
I also love piling it high next to baked beans or creamy mashed potatoes when I’m making a big comfort food spread. It’s so versatile as a quick side recipe. Just make sure you have plenty of napkins ready because once people start reaching for that crisp coating, these half-inch rounds disappear fast!
Storage and Reheating Instructions for Leftover Fried Okra
I know, I know. Leftover fried okra? That thought is almost funny because this stuff is so addictive, it rarely makes it past dinner time! But for those glorious, rare occasions when you actually have some left over, we need to handle it carefully so we don’t ruin that perfect crisp we worked so hard to achieve. Please, I beg you, do not put your leftover fried okra in the microwave!
The microwave is the sworn enemy of crispiness; it just steams everything until that beautiful coating turns soft and sad. When you are done eating, let any excess pieces cool completely before you even think about storing them. Once cool, gather them up and place them in a good, airtight container. You don’t want any fridge air creeping in to steal that crunch!
When you are ready for a reheated, crispy side dish serving the next day, you have two main options, and both involve dry heat. The best, hands-down, is your air fryer. Pop those cold pieces in the basket, spray them lightly with cooking spray just to wake up the coating, and heat them at 375°F for about 4 to 6 minutes. They come out tasting almost freshly made!
If you don’t have the air fryer fired up, your actual oven works great too. Lay the okra pieces in a single layer on a baking sheet—make sure they aren’t touching! Bake them in a preheated 375°F oven for about 8 to 10 minutes. Keep an eye on them, but that dry heat will revitalize the crust perfectly. This keeps your Southern comfort food tasting fantastic the next day!
Frequently Asked Questions About Making Fried Okra
I know everyone has a few little questions lingering after diving into the deep end of fried okra making. It’s such a classic dish that we want it perfect, and that’s totally fair! Here are some of the things I get asked most often when people try this recipe for the first time. Don’t worry, we’ve got the answers to make sure you land that perfect crunch!
How do I prevent the okra from getting slimy when preparing fried okra?
This is the number one question, and honestly, it’s the most important step! Preventing slime comes down to two things we stressed earlier: the soak and the dry time. First, you absolutely must let the okra sit in the buttermilk mixture for a minimum of 30 minutes. That soak breaks down the internal mucilage. Second, after it comes out of the buttermilk, let the excess drip off completely before you dredge it. Don’t rinse it! The buttermilk coating needs to be wet but not dripping soup when it hits the dry cornmeal mixture. That heavy coating seals everything up properly!
Can I make this gluten free fried okra alternative?
Yes, you totally can make this into a gluten free fried okra alternative, and it comes out great! If you check back in my ‘Expert Tips’ section, I explain that you just need to manage the dredge mixture. Keep the cornmeal, keep the cayenne, but swap out that half-cup of all-purpose flour. I really like using a good 1:1 gluten-free baking blend, or if you want something with good structure, use almond flour instead. As long as the coating sticks well, you’ll have a wonderful, crispy result that satisfies everyone!
What is the best oil temperature for deep frying okra?
For that ultimate deep fried goodness and that satisfying crunch, the temperature control is everything! You want your vegetable oil heated right up to 375°F (190°C). If you get the temperature wrong, the food either burns on the outside or gets greasy on the inside—neither of which is what we want for this easy vegetable recipe. Staying locked on that 375 temperature, especially by cooking in small batches, ensures that the coating crisps up instantly, keeping all that internal moisture trapped without any sliminess allowed to escape!
I really hope these clear answers help you feel confident as you start cooking! If you want more ideas on quick delicious sides, check out some of my other favorite easy vegetable recipes right here on the blog!
Nutritional Estimates for This Easy Vegetable Recipe
Okay, so while this flavorful fried okra is most certainly something we eat for comfort rather than counting macros, I know some of you are curious about what exactly is in that crispy coating! Since we’re using a good amount of oil for that classic deep-fried texture, the numbers can sometimes look a little higher than if you just steamed the pods, but hey, it’s worth it!
I ran the numbers based on the ingredients list for four servings, but remember, these are just estimates for this easy vegetable recipe. How you prep (deep fry versus air fry) and exactly how much salt you use at the end will change the final tally!
For a single serving of this crispy side dish, you’re looking roughly at:
- Calories: Around 250
- Total Fat: Roughly 15 grams (the majority coming from the frying oil, naturally!)
- Carbohydrates: About 28 grams, mostly from that sturdy cornmeal dredge.
- Protein: Around 5 grams.
- Sugar: Low, just about 4 grams.
- Sodium: This one can jump quite a bit depending on your seasoning during the dredge and the final sprinkle, but the estimate sits around 450mg.
It’s a classic, satisfying side dish! Don’t worry too much about the precise numbers when you’re enjoying this perfect piece of Southern comfort food. Just enjoy that crunch, and maybe balance it out with a big salad the next day!
Share Your Crispy Fried Okra Creations
Whew! We made it! You absolutely have the keys now to making the most glorious, non-slimy, unbelievably crunchy fried okra that folks will be talking about for weeks. Now that you’ve mastered this incredibly important piece of classic American cooking, I need to know how it went!
Please, please, please take a second after you’ve tried this recipe to drop a rating right here on the page. Five stars if it blew your expectations out of the water, but even if you ran into a tiny snag, let me know! Your real-world feedback helps everyone who tries this later on.
I’m especially curious if you stuck with the traditional path or if you opted for the modern route. Did the air fryer give you the same crackle as the deep skillet? Hearing about your successes—or even troubleshooting tips you picked up along the way—is my favorite part of running this little corner of the internet. When you do post pictures, tag me on social media so I can cheer you on! If you’re already thinking about what to make next, you can always browse my full collection of recipes over at my main recipe index. Happy cooking, y’all!
PrintThe Best Crispy Southern Fried Okra

Make perfectly crispy Southern fried okra using a buttermilk soak and cornmeal dredge. This recipe includes instructions for both traditional deep frying and a healthier air fryer method.
- Prep Time: 30 min
- Cook Time: 15 min
- Total Time: 45 min
- Yield: 4 servings
- Category: Side Dish
- Method: Frying
- Cuisine: American Southern
- Diet: Vegetarian
Ingredients
- 1 lb fresh okra, sliced into 1/2-inch rounds
- 1 cup buttermilk
- 1 teaspoon salt
- 1/2 teaspoon black pepper
- 1 cup yellow cornmeal
- 1/2 cup all-purpose flour
- 1/4 teaspoon cayenne pepper (optional)
- Vegetable oil, for frying (or cooking spray for air fryer)
Instructions
- Wash and dry the okra thoroughly. Slice the okra into 1/2-inch rounds.
- In a medium bowl, combine the sliced okra with the buttermilk, salt, and pepper. Let it soak for at least 30 minutes. This step helps reduce sliminess.
- In a separate shallow dish, whisk together the cornmeal, flour, and cayenne pepper, if using.
- Remove the okra from the buttermilk, allowing excess to drip off, but do not rinse.
- Dredge the okra pieces thoroughly in the cornmeal mixture, pressing gently to ensure a thick coating. Shake off any excess coating.
- For Deep Frying: Heat 2 inches of vegetable oil in a heavy-bottomed skillet to 375°F (190°C). Carefully add the coated okra in a single layer, working in batches. Fry for 3 to 4 minutes, turning occasionally, until golden brown and crisp. Remove with a slotted spoon and drain on paper towels. Sprinkle with a pinch of salt immediately.
- For Air Frying: Preheat your air fryer to 390°F (200°C). Lightly spray the coated okra with cooking spray or a thin layer of oil. Place in the air fryer basket in a single layer (work in batches). Cook for 10 to 12 minutes, shaking the basket halfway through, until golden and crisp.
Notes
- To ensure maximum crispness, do not overcrowd the skillet or air fryer basket during cooking.
- For a gluten-free coating, substitute the all-purpose flour with an equal amount of gluten-free all-purpose blend or fine almond flour.
- If you prefer a thinner coating, reduce the flour in the dredge mixture slightly.
Nutrition
- Serving Size: 1 serving
- Calories: 250
- Sugar: 4
- Sodium: 450
- Fat: 15
- Saturated Fat: 3
- Unsaturated Fat: 12
- Trans Fat: 0
- Carbohydrates: 28
- Fiber: 5
- Protein: 5
- Cholesterol: 15