

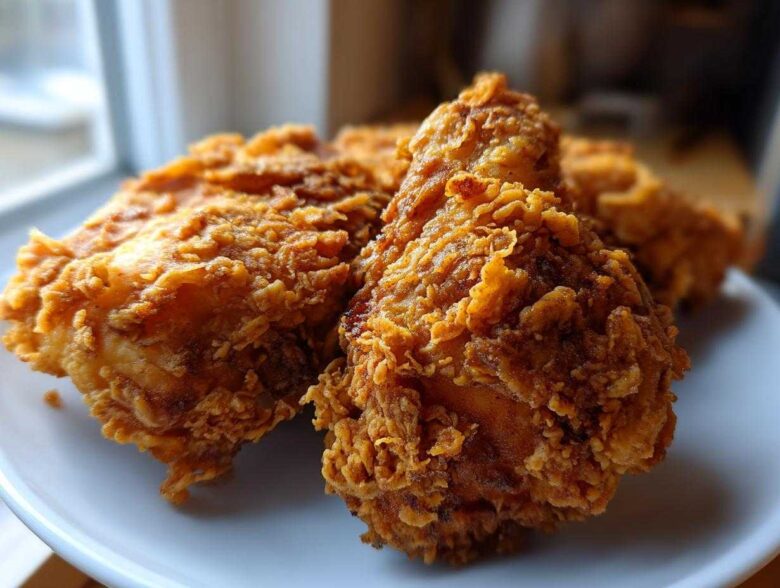
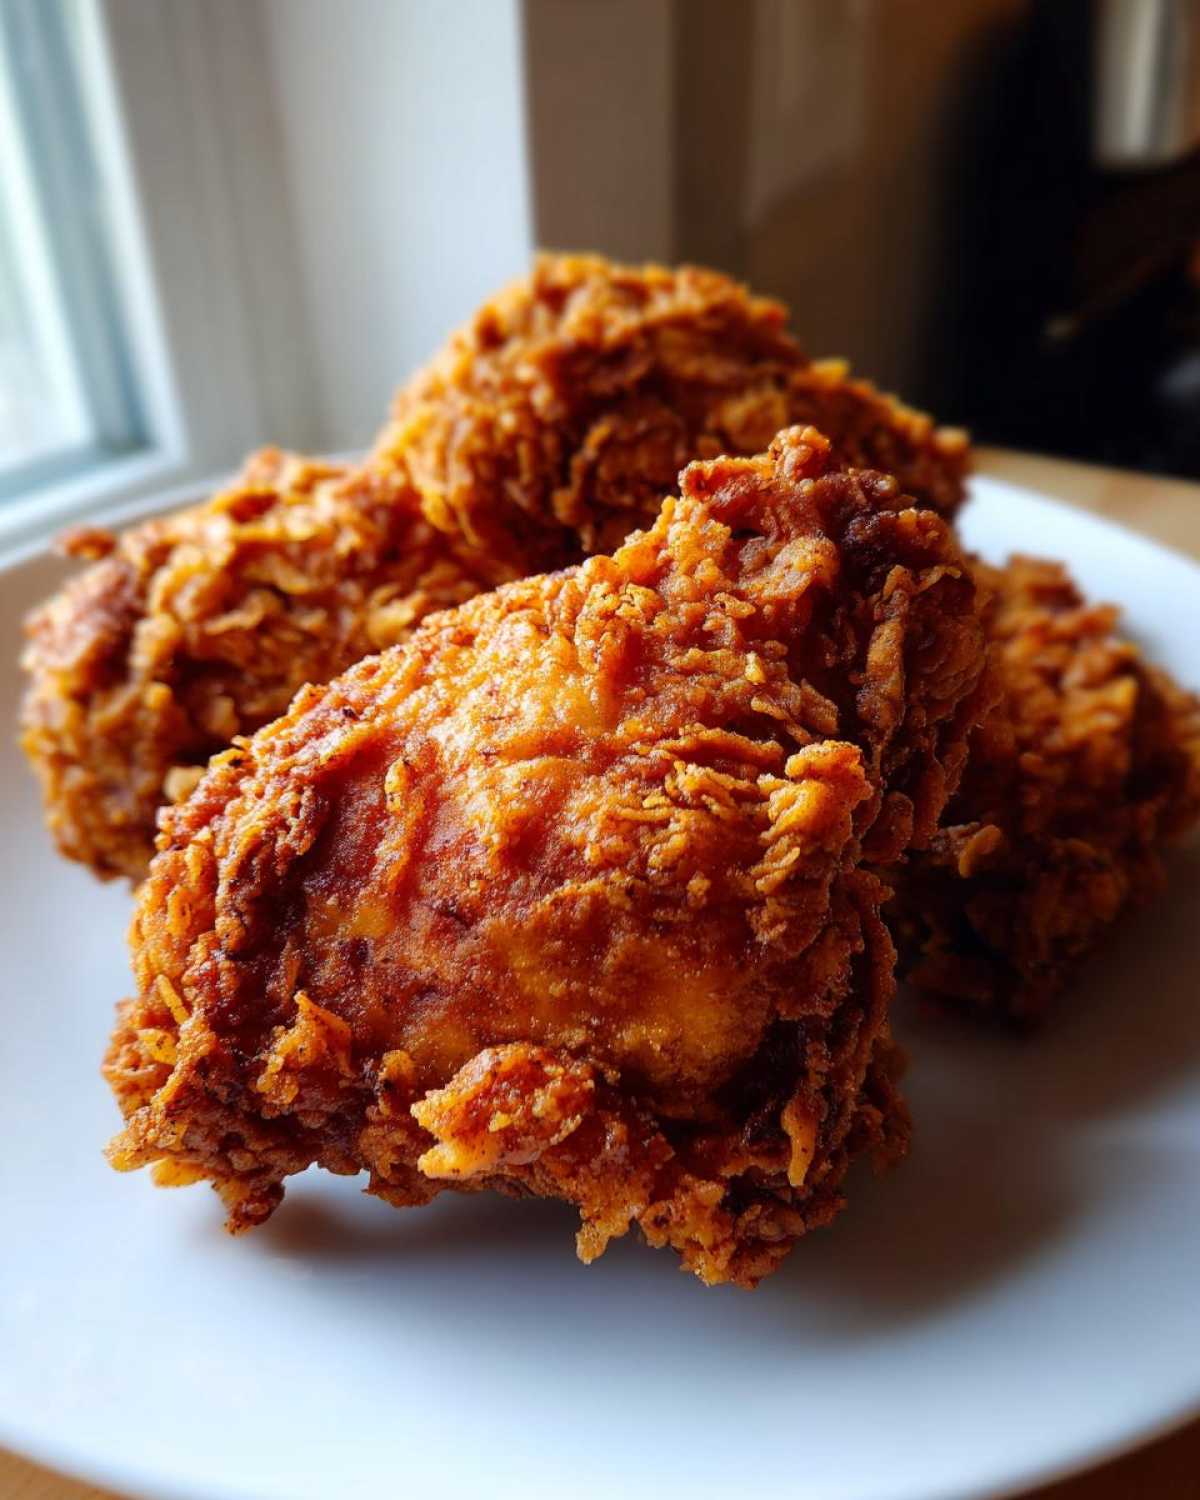
Oh, my dears, there is nothing quite like that first sound when you bite into truly perfect comfort food. For me, that sound is the glorious crackle shatter of the best fried chicken you will ever taste. Forget soggy skins or dry meat! Here at Spoonful Snap, we don’t mess around when it comes to texture. My grandmother always said if your crust doesn’t crunch when you look at it, you’ve already failed! That’s why I spent years chasing the exact combination of brine and dredge to bring you my Ultra-Crispy Buttermilk Southern Fried Chicken. It’s worth every second in the kitchen, trust me.
Why This Buttermilk Southern Fried Chicken Recipe Delivers Maximum Crunch
Listen, making good fried chicken is easy. Making *great* fried chicken—the kind that shatters when you look at it and stays incredibly juicy inside—that takes technique. We aren’t doing sad, flat coatings here! This entire method is built around maximizing texture and moisture retention. The buttermilk soak isn’t just for flavor, oh no; it’s the secret weapon for achieving that professional quality you crave from a classic Southern fried chicken plate. Keep following these steps, and you’ll see why this recipe keeps coming back to the top of my favorites list.
The Magic of Buttermilk Brined Chicken
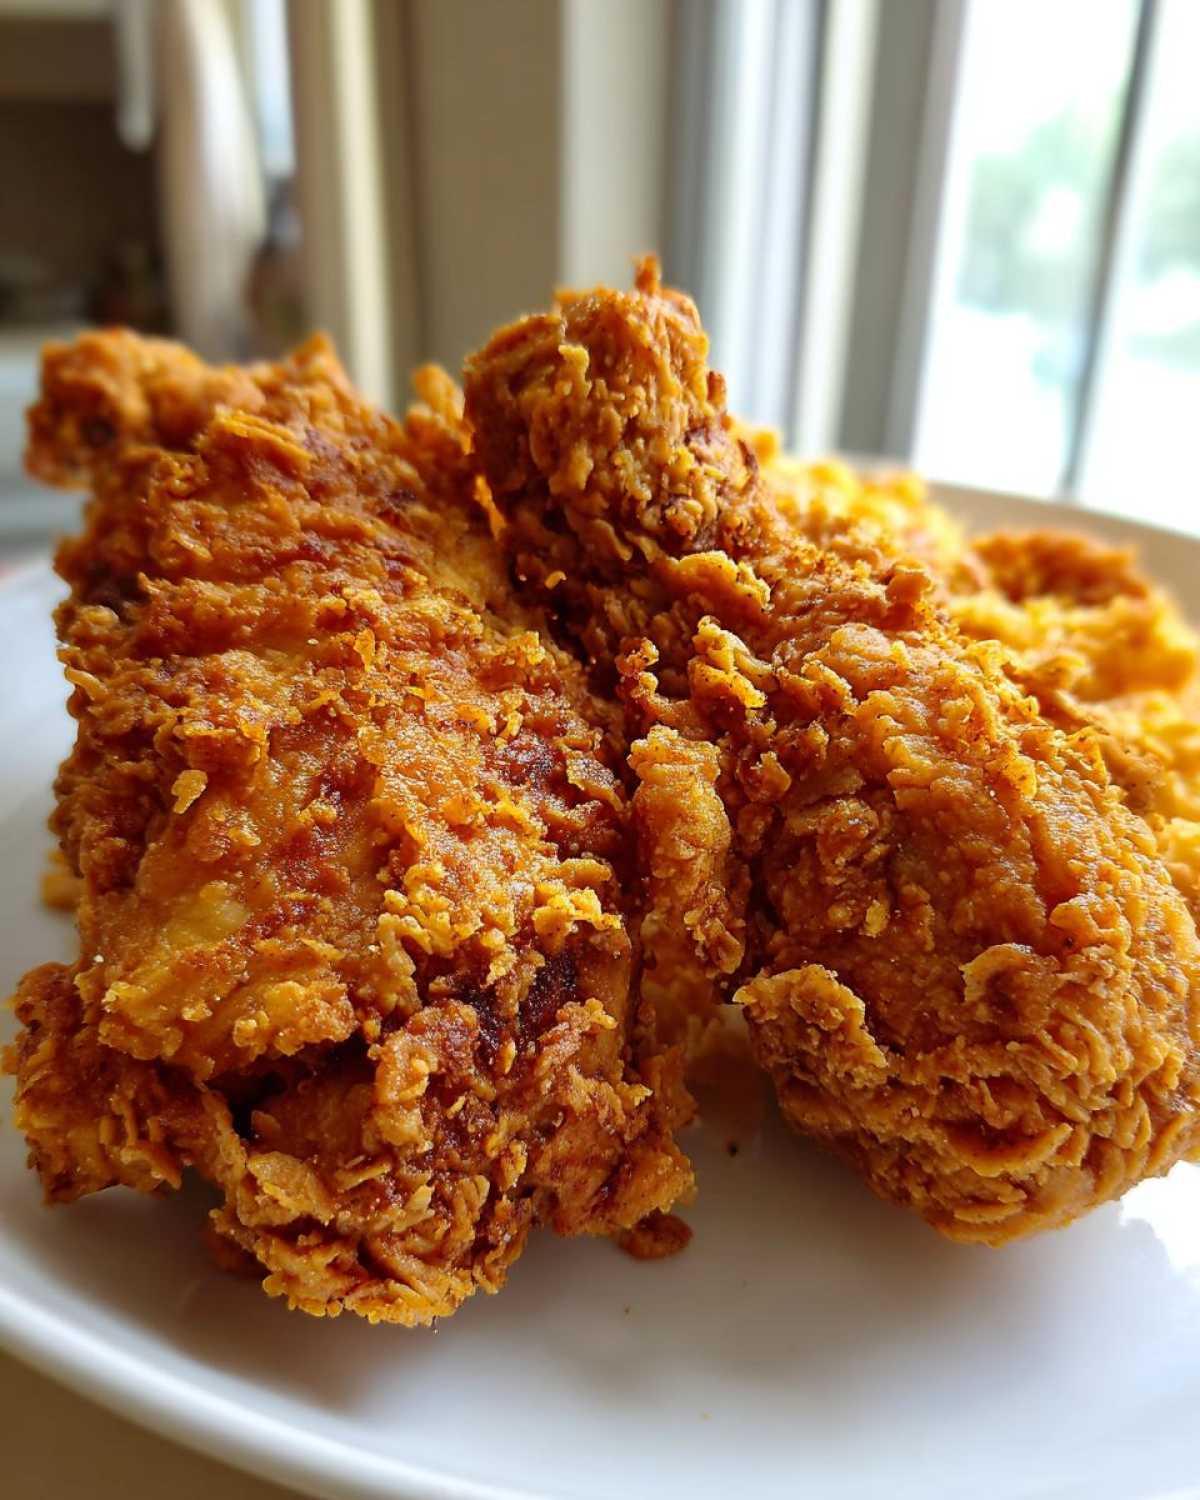
That tangy buttermilk does serious heavy lifting! The organic acids in the buttermilk start to break down the proteins in the meat gently. What that means for you, my friend, is ultra-tender results. This brining is the reason you get that perfect marriage of Juicy and Crispy Chicken every single time. It’s the foundational step for any truly magnificent piece of fried chicken; don’t skip that refrigeration time!
Achieving the Ultimate Crunchy Chicken Coating
If you want those beautiful, craggy bits that catch all the flavor, you have to use cornstarch in your flour mix—it’s non-negotiable! Cornstarch gives you that extra layer of crispness when it fries. Then, we use the trusty double-dip method. That small second bath in the buttermilk and subsequent press back into the flour mixture builds up the rugged peaks and valleys that create that signature Crispy Fried Chicken Recipe crust.
Gathering Ingredients for Perfect Fried Chicken
Alright, gathering our supplies! When we make this iconic Southern dish, precision matters—especially when dealing with our buttermilk magic and dry mix. I want you to feel totally confident, knowing that every ingredient listed here serves a specific, delicious purpose in creating that perfect, golden shell. Get your measuring spoons ready; we need exactness for the best results in both the brine and the dredge.
Ingredient Notes and Substitutions for Your Fried Chicken
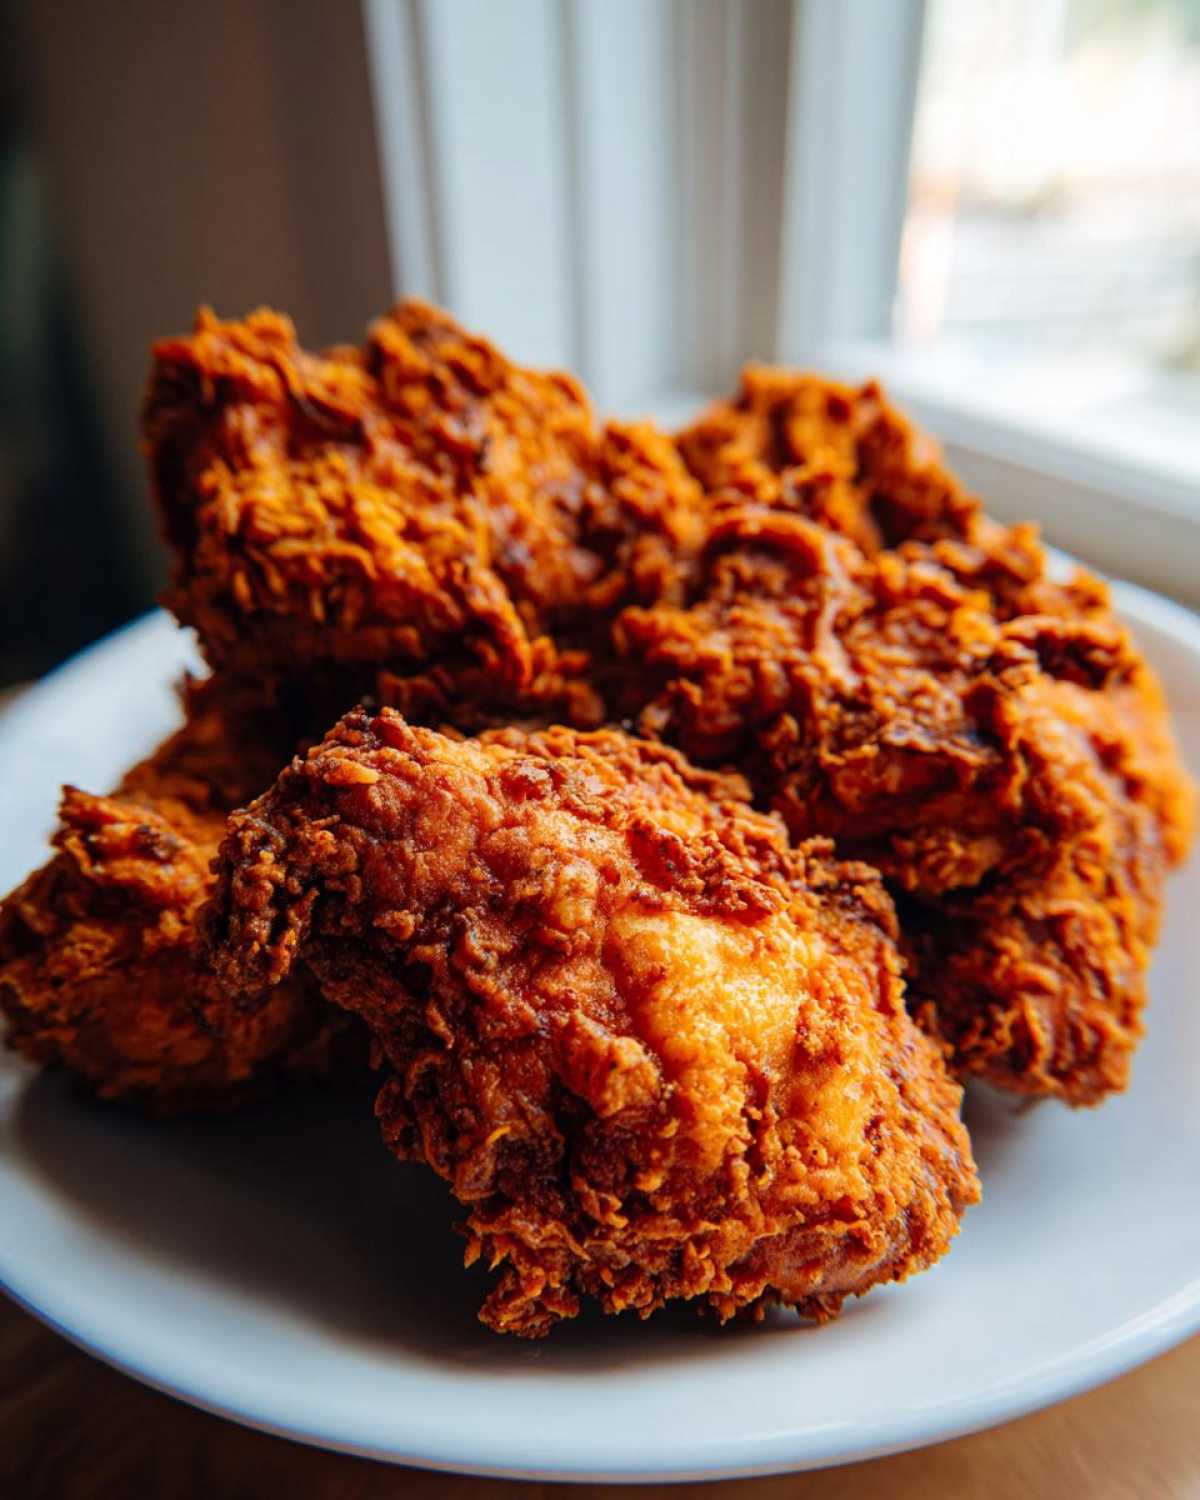
Since we want this fried chicken to sing, please look for bone-in, skin-on pieces. The skin is essential for that crackle, and bone-in keeps everything juicy! For frying, you absolutely must use an oil with a high smoke point. Vegetable oil or shortening work like a charm to give us that beautiful Golden Brown Chicken finish without burning. Don’t worry about the cayenne in the spice blend; it’s totally optional if you don’t like heat. Also, if you’re nervous about frying breasts, using just chicken thighs fried recipe cuts is an amazing, foolproof starting point!
Step-by-Step Instructions for the Best Homemade Fried Chicken
Now we get to the fun part—turning those beautiful pieces into the crunchiest fried chicken you can imagine! Remember what I said earlier? Timing is everything here. We need that brine time to work its magic, and then we need a short rest *after* coating. Use a heavy cast iron skillet if you have one; it holds heat so much better! I’ll walk you through where my grandmother taught me to pay extra close attention to keep the magic happening from start to finish. You’ll be so proud when these come out of the oil! We’re building flavor layered upon flavor, much like how I approach my best chicken marinade—it’s all about patience.
The Essential Buttermilk Soak (Marination)
First things first, get those chicken pieces swimming in the buttermilk mixture—salt, pepper, and cayenne go right in too! Make sure every single bit of chicken is snuggled under that milky brine. This isn’t a quick dip; this needs time to tenderize. I tell everyone, minimum four hours, but if you can let it sit overnight, you’ll have the most phenomenal Buttermilk Brined Chicken. It’s just heavenly, I promise.
Preparing the Dredge and Coating Technique
While the chicken chills, get your dredging station ready. Whisk that flour, cornstarch, and all those lovely spices together really well in a wide pan. Once the chicken comes out of the buttermilk, just let the excess drip off—don’t wipe it! Dredge that piece thoroughly, pressing hard to build up a thick layer. If you want that ultra-famous craggy crust, do the double dip: back into the buttermilk for just a quick second, then slap it back into the flour and press again! That’s how you get that unbelievable Crunchy Chicken Coating.
Frying for Golden Brown Chicken Perfection
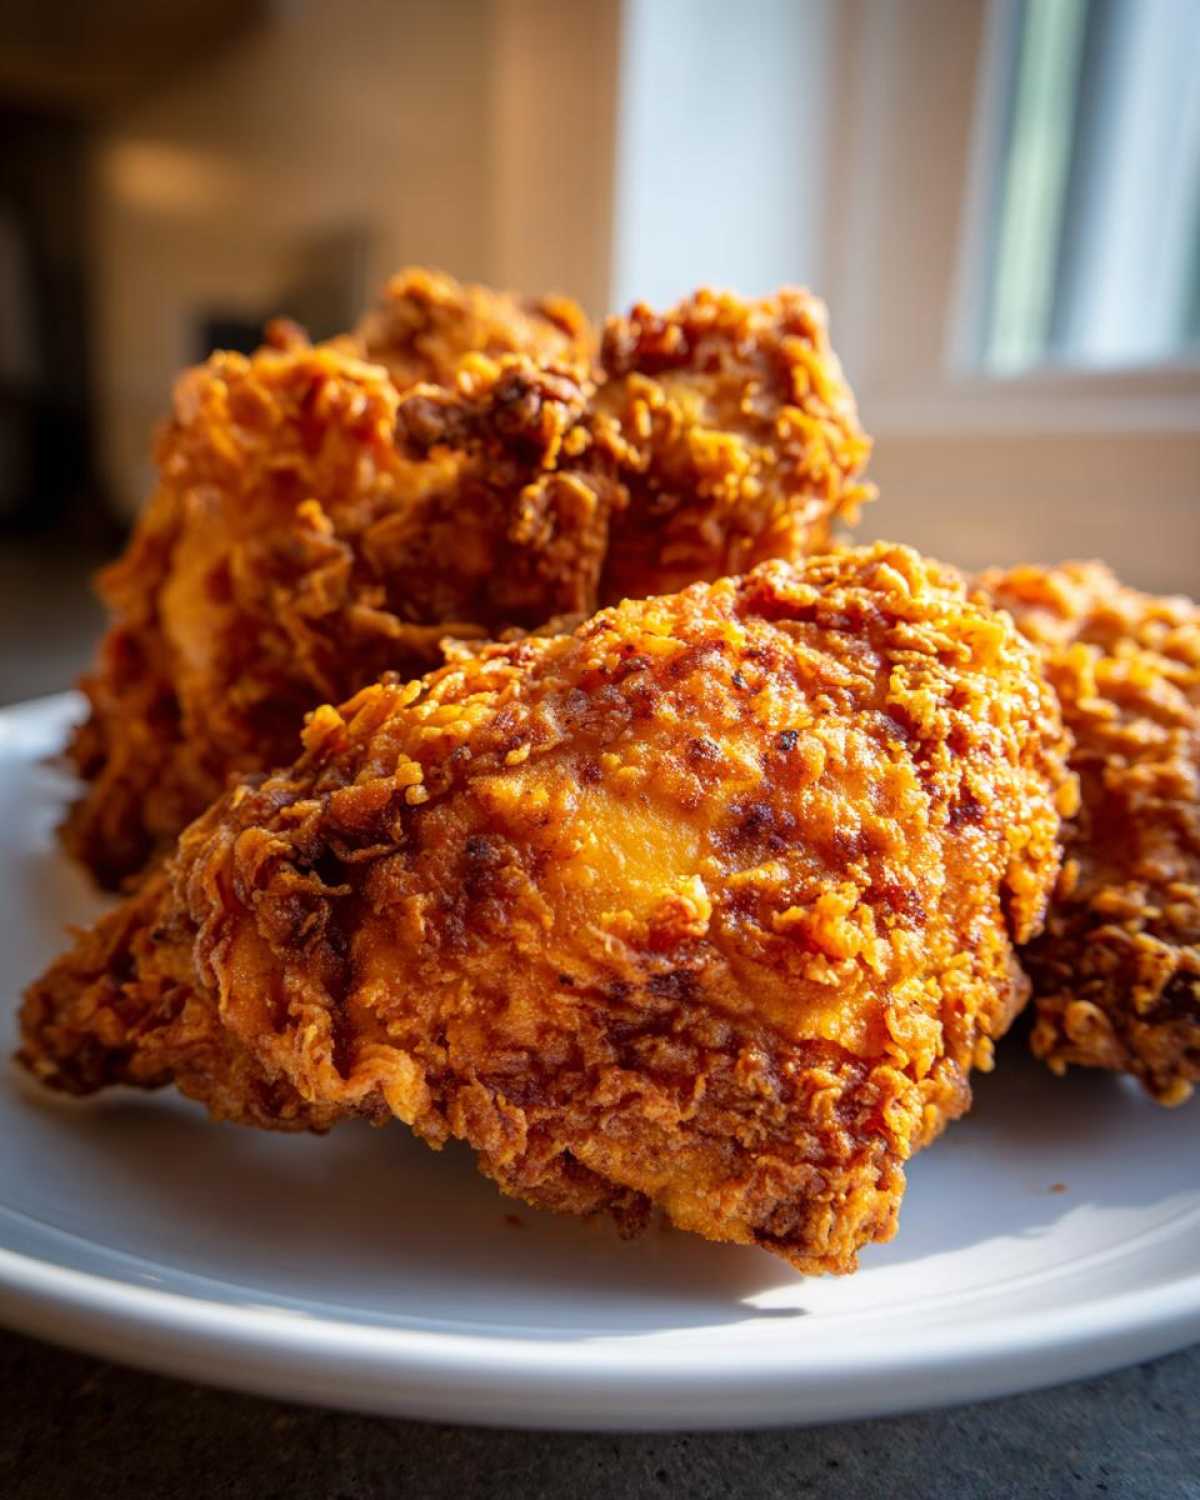
This is where we watch the clock and the thermometer! Once coated, let the chicken rest on a rack for about 20 minutes; this locks the flour on. Heat your oil to exactly 325 degrees Fahrenheit (160 Celsius). If it’s too low, the chicken soaks up grease! Fry in batches—don’t crowd that pan! Bigger pieces need about 6 to 8 minutes per side. Always check the temp—we need 165 degrees Fahrenheit (74 Celsius) inside to be safe and perfectly cooked. After frying, always pull them out onto a clean wire rack to drain, never directly onto paper towels, or the bottom gets soggy!
Tips for Foolproof Fried Chicken Success
If you take only one thing away from this entire recipe, let it be this: respect the temperature! Seriously, my husband David is constantly looking at the thermometer when he makes our fried chicken, and he’s right to do so. If your oil drops too low while frying—say, below 300°F—that gorgeous, crunchy coating just turns into heavy, greasy armor, and the inside steams instead of frying up beautifully. Keep the oil stable!
Also, please don’t skip that 20-to-30-minute rest after you coat the chicken. I know, I know, when you’re planning an entire Comfort Food Chicken Dinner, waiting feels impossible! But that resting time allows the wet buttermilk coating to hydrate the flour evenly. This is the final step that guarantees you get that incredible, shatteringly crisp crust that keeps the meat incredibly tender inside. It’s how we guarantee that Juicy and Crispy Chicken.
And here’s a little secret from my kitchen: if you are frying big chicken breasts, pull them out when they look done on the outside and throw them into a 300°F oven for about 10 minutes. That oven finish guarantees they are safe and cooked through without burning that beautiful golden exterior we worked so hard for. You can check out some other great crispy chicken ideas over here if you’re curious about other methods!
Serving Suggestions for Your Savory Chicken Dinner Ideas
My dears, a plate of incredible fried chicken deserves equally wonderful company! This Southern Fried Chicken is the star, but what about the supporting cast? You absolutely must have creamy mashed potatoes—we have a fantastic casserole that melts in your mouth and works splendidly alongside the crispiness. Don’t forget the sharpness of creamy coleslaw to cut through the richness. And please, never serve this without a basket piled high with warm, fluffy biscuits for soaking up any leftover juices!
Storage and Reheating Instructions for Leftover Fried Chicken
Oh, no one wants sad, soggy leftovers, do they? When you have perfectly crispies, save them the right way! If you have any amazing fried chicken left—and I hope you do because that usually means you made enough!—let it cool on a wire rack for about 30 minutes first. Don’t seal it up airtight right away; traps the steam! Then, store it in a layer in a container lined with paper towels. When you’re ready to eat it again, the absolute best way is back in a 375°F oven for about 10 minutes. It brings that crunch right back!
Frequently Asked Questions About Making Fried Chicken
I know sometimes when you look at a recipe this good, you start having little worries about technique! That’s totally normal, and I’m here to help clear up any confusion so you can get that perfect, crunchy result. We want this to be your new favorite fried chicken method, so please check these out before you dive in. If you’re still curious, you can always pop over to my general recipe hub to see what else we’re cooking up!
Can I bake or air fry this fried chicken recipe?
Oh, you certainly *can* attempt it, but I have to be honest with you—it won’t be the same! Deep frying is what gives us that signature, deeply craggy texture. Air frying or baking will give you something closer to a roasted chicken with a coating. If you do use your oven, I highly recommend just using it to finish cooking thicker pieces after you pan-fry them for a few minutes to set the crust. That keeps the meat safe and juicy while protecting that beautiful exterior!
What is the best oil to use for deep-fried chicken?
The secret to keeping that crust beautifully Golden Brown Chicken and not burnt is temperature stability, and that relies on a high smoke point oil. I always lean towards plain old vegetable oil or even shortening, just like my grandmother used. Peanut oil is fantastic too if you like that flavor! Just make sure you have enough oil in the pan so the chicken isn’t touching the bottom while it fries. It needs space to bubble around it.
How long can the buttermilk brine sit on the chicken?
For the *best* possible outcome, I tell everyone to let it sit overnight! Gosh, that overnight brine just penetrates everything and makes the meat so soft. But look, if you’re short on time, four hours submerged in that buttermilk is the bare minimum you need to achieve truly Juicy and Crispy Chicken. Any less than that, and you’re just giving the meat acid a quick bath instead of letting it work its magic!
Nutritional Estimate for This Classic Fried Chicken
Now, I know this Ultra-Crispy Buttermilk Fried Chicken isn’t exactly feather-light, darling, but knowing what you’re eating is part of being a good cook! These numbers are just an estimate for one standard piece, so please understand they can jump around depending on how much oil the coating soaks up that day. We are looking at roughly 450 calories and about 35 grams of protein here. It’s honest, hearty food meant to fill your soul and belly!
Share Your Ultra-Crispy Fried Chicken Experience
I truly hope you enjoyed making this, my sweet friends! When you create your first batch of this fried chicken, please come back and leave me a comment below. Tell me if you tried that double-dip trick! And oh, if you can, give it a five-star rating so others can find this amazing recipe. Tag me on social media so David and I can see your beautiful, golden, crunchy creations!
PrintUltra-Crispy Buttermilk Southern Fried Chicken
Achieve the perfect golden, crunchy, and juicy fried chicken using a classic buttermilk brine. This Southern Fried Chicken recipe delivers comfort food perfection.
- Prep Time: 30 min
- Cook Time: 25 min
- Total Time: 4 hours 55 min
- Yield: 6 servings
- Category: Dinner
- Method: Deep Frying
- Cuisine: American Southern
- Diet: None
Ingredients
- 4 lbs bone-in, skin-on chicken pieces (thighs, drumsticks, breasts)
- 4 cups buttermilk
- 2 tablespoons kosher salt
- 1 tablespoon black pepper
- 1 teaspoon cayenne pepper (optional)
- 3 cups all-purpose flour
- 1/2 cup cornstarch
- 1 tablespoon paprika
- 1 tablespoon garlic powder
- 1 tablespoon onion powder
- Vegetable oil or shortening for frying
Instructions
- Place the chicken pieces in a large bowl or sealable bag. Pour the buttermilk over the chicken, ensuring all pieces are submerged. Add the kosher salt, black pepper, and cayenne pepper (if using). Cover and refrigerate for at least 4 hours, or preferably overnight, for the juiciest results.
- In a wide, shallow dish, whisk together the flour, cornstarch, paprika, garlic powder, and onion powder to create the dredge. This combination helps create that extra crispy coating.
- Remove the chicken from the buttermilk, letting the excess drip off slightly. Do not pat the chicken dry.
- Dredge each piece of chicken thoroughly in the flour mixture, pressing the flour onto the chicken to create a thick, craggy coating. For extra crispiness, you can perform a double dip: dip the floured chicken back into the remaining buttermilk for a second, quick dip, and then back into the flour mixture, pressing firmly again.
- Place the coated chicken on a wire rack set over a baking sheet. Let it rest at room temperature for 20 to 30 minutes. This resting period helps the coating adhere better during frying.
- Pour enough vegetable oil or shortening into a large, heavy-bottomed skillet (cast iron works best) to reach a depth of about 1.5 to 2 inches. Heat the oil to 325 degrees Fahrenheit (160 degrees Celsius). Use a thermometer to monitor the temperature; maintaining this heat is key for crispy and cooked-through chicken.
- Carefully place the chicken pieces into the hot oil, ensuring you do not overcrowd the pan. Fry in batches. Start with the thicker pieces (breasts and thighs).
- Fry the chicken for about 6 to 8 minutes per side, turning gently, until it is deep golden brown and reaches an internal temperature of 165 degrees Fahrenheit (74 degrees Celsius). Adjust the heat as necessary to keep the oil temperature stable.
- Remove the cooked chicken from the oil and place it on a clean wire rack set over paper towels to drain excess oil. Allow the chicken to rest for a few minutes before serving.
Notes
- For the crispiest coating, make sure your oil temperature stays consistent. If the oil is too cool, the crust will absorb too much grease. If it is too hot, the outside will burn before the inside cooks.
- If you are frying larger pieces like breasts, you may need to finish them in a 300 degree Fahrenheit oven for 10 minutes after frying to guarantee they are cooked through without burning the crust.
- This recipe focuses on classic Southern Fried Chicken flavor; for a spicier version, increase the cayenne pepper in the dredge.
Nutrition
- Serving Size: 1 piece
- Calories: 450
- Sugar: 1
- Sodium: 650
- Fat: 28
- Saturated Fat: 8
- Unsaturated Fat: 20
- Trans Fat: 0
- Carbohydrates: 15
- Fiber: 1
- Protein: 35
- Cholesterol: 110