

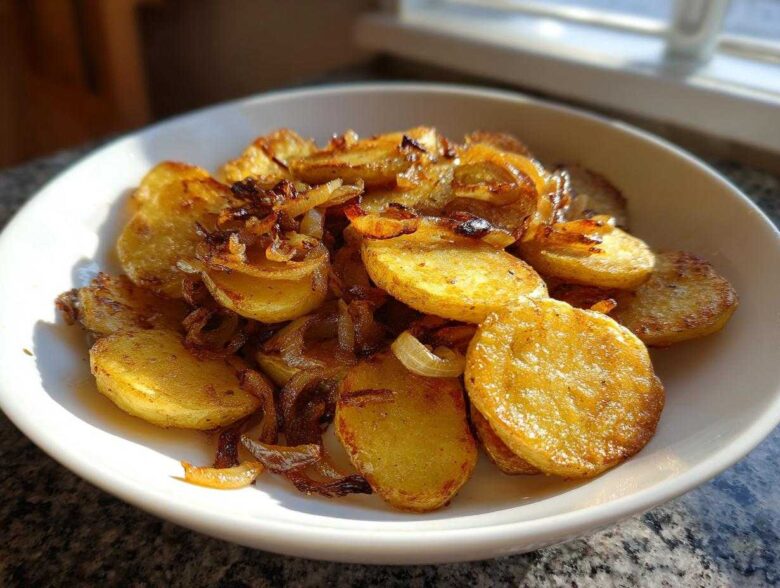
Forget those soggy, gray excuses for potatoes some places try to pass off as breakfast! If you’ve ever sat in an old diner, enjoying that perfect plate of **fried potatoes**, you know what I mean. That’s the texture we are after today: shatteringly crispy on the outside, fluffy enough to melt in your mouth on the inside, all studded with sweet, caramelized onions. Trust me, getting that diner-style perfection doesn’t need complicated equipment—it just needs the right technique in a good old skillet. After years of trial and error right here in my kitchen, I finally nailed the secret to consistently getting those golden islands of potato heaven every single time we have them on a Saturday morning.
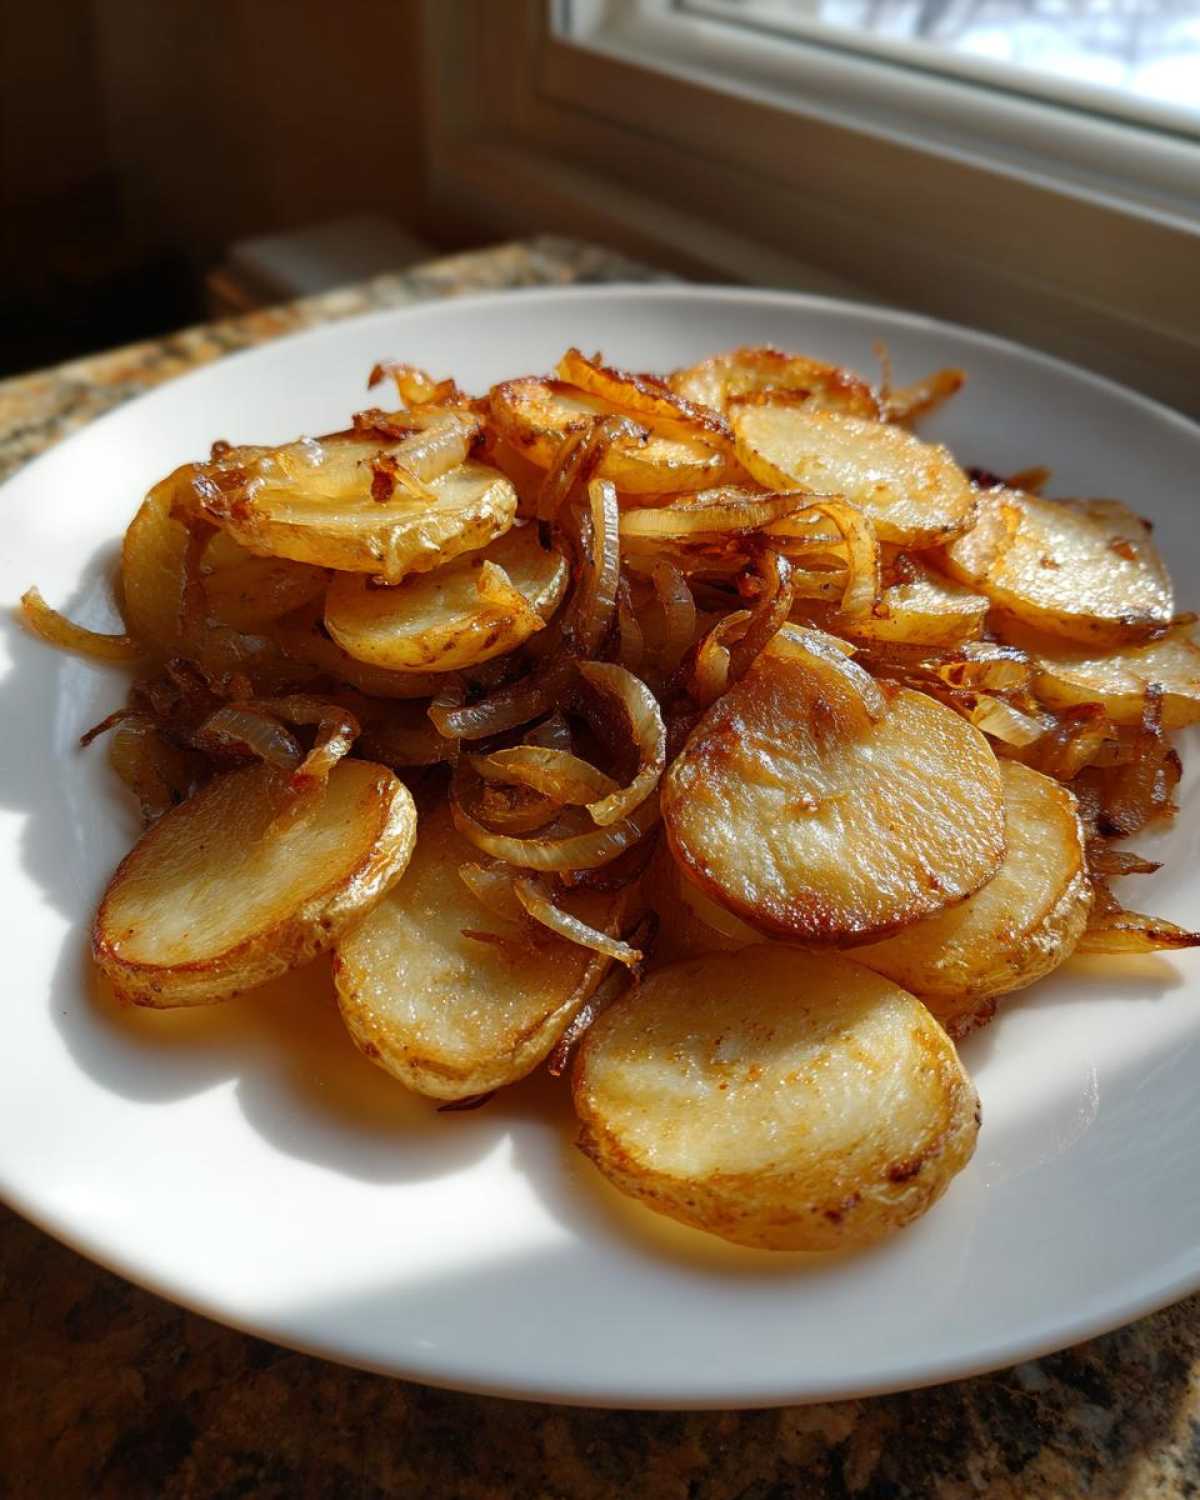
Why You Will Love These Southern Fried Potatoes
Honestly, these aren’t just side dish potatoes; they are the star of the plate! You end up with so much more than just a pile of fried carbs. The flavor is rich, especially if you use real bacon grease like my family always does. Plus, they come together so quickly, making them perfect for a busy weekday breakfast or a lazy Sunday brunch.
- The ultimate texture contrast: truly **crispy potatoes recipe** results, never soggy or mushy underneath!
- They cook up fast! This is a fantastic **quick potato recipe** that satisfies everyone at the table in under an hour total.
- That essential Southern flavor comes right from the skillet fat—it’s savory, buttery, and utterly comforting.
- We sneak in onions here, which sweeten up beautifully during the cooking time, adding depth.
- They are incredibly versatile! Serve them alongside eggs or use them as the base for proper Southern home fries.
You absolutely have to give these a try next time you need an amazing comfort food potato side. If you’re whipping up breakfast, these are a must-have. Speaking of breakfast, have you seen my recipe for easy healthy breakfast cookies?
Essential Ingredients for Perfect Fried Potatoes
When we talk about classic **fried potatoes**, the ingredient list stays beautifully simple. That’s because the magic here isn’t about throwing in a hundred things; it’s about treating the core few ingredients right. We need four large Russet potatoes, and they absolutely have to be peeled and sliced about a quarter-inch thick—no frisbee-sized hunks allowed!
Next up is our onion—one large yellow one, thinly sliced. Then comes the fat! You need four tablespoons—and don’t skimp here. Traditionally, we use real bacon grease, but feel free to swap in good unsalted butter for that rich, **buttery fried potatoes** taste. Finish it off with salt and pepper, and that’s your entire cast, ready for the skillet!
Expert Tips for Crispy Pan Fried Potatoes and Onions
Listen, I can give you the ingredients, but if you skip the proper technique, these won’t be the **best fried potatoes method** you’ve ever tried. We’re aiming for that famous fluffiness on the inside and serious crunch on the outside, right? That only happens when you respect the starches and the heat. If you’re serious about that **fluffy inside crispy outside potatoes** texture, you have to follow these two rules. Also, if you’ve struggled with onions before, you’ll want to read my full guide on how to master caramelized onions!
The Critical Role of Starch Removal in Fried Potatoes
This is non-negotiable, people! Potatoes are just packed with starch, and if you put them straight into the hot fat, all that starch turns to glue. Instead of getting that beautiful golden sear, you end up steaming your potatoes, and they come out limp. Soaking those slices in cold water—for at least fifteen minutes—washes that surface starch right off! Then, you must, must, *must* pat them totally dry with paper towels. I use three different towels sometimes. If there’s any moisture left, watch out for splattering oil, and kiss your crispiness goodbye!
Choosing the Right Fat for Authentic Fried Potatoes
For true **Southern Fried Potatoes**, nothing beats bacon grease. It adds this deep, smoky, savory foundation that butter alone just can’t touch. If you’re keeping things vegetarian, then good quality unsalted butter is your next best bet for flavor. But here’s a little secret for stability: if you’re using only butter, I often mix in a tablespoon of neutral oil like canola or vegetable oil. Butter burns too easily! The oil bumps up the smoke point, keeps the butter flavor, and helps you achieve that perfect, even golden color without scorching.
Step-by-Step Instructions for Skillet Fried Potatoes
Now that your potatoes are perfectly prepped and you’ve got your fat shimmering in the pan—maybe you even pulled out that awesome cast iron skillet like the one I use for my skillet cornbread—it’s time for the main event! Follow these stages carefully, and you’ll have the best **skillet potatoes** ever. It’s all about managing the heat and not rushing that initial crisping phase. We are building layers of texture here to get those beautifully **buttery fried potatoes**.
Prepping the Potatoes for Frying
Even though we covered the soaking and drying above, let’s just review Step 1 because it sets the whole dish up for success! Remember, we’re aiming for slices that are about 1/4 inch thick. Thicker, and they steam; thinner, and they burn before they get fluffy. Once they’re drained and patted bone-dry, they are ready to meet the hot fat. Make sure your skillet is hot enough that that bacon grease or butter starts to look shimmery right before you drop them in!
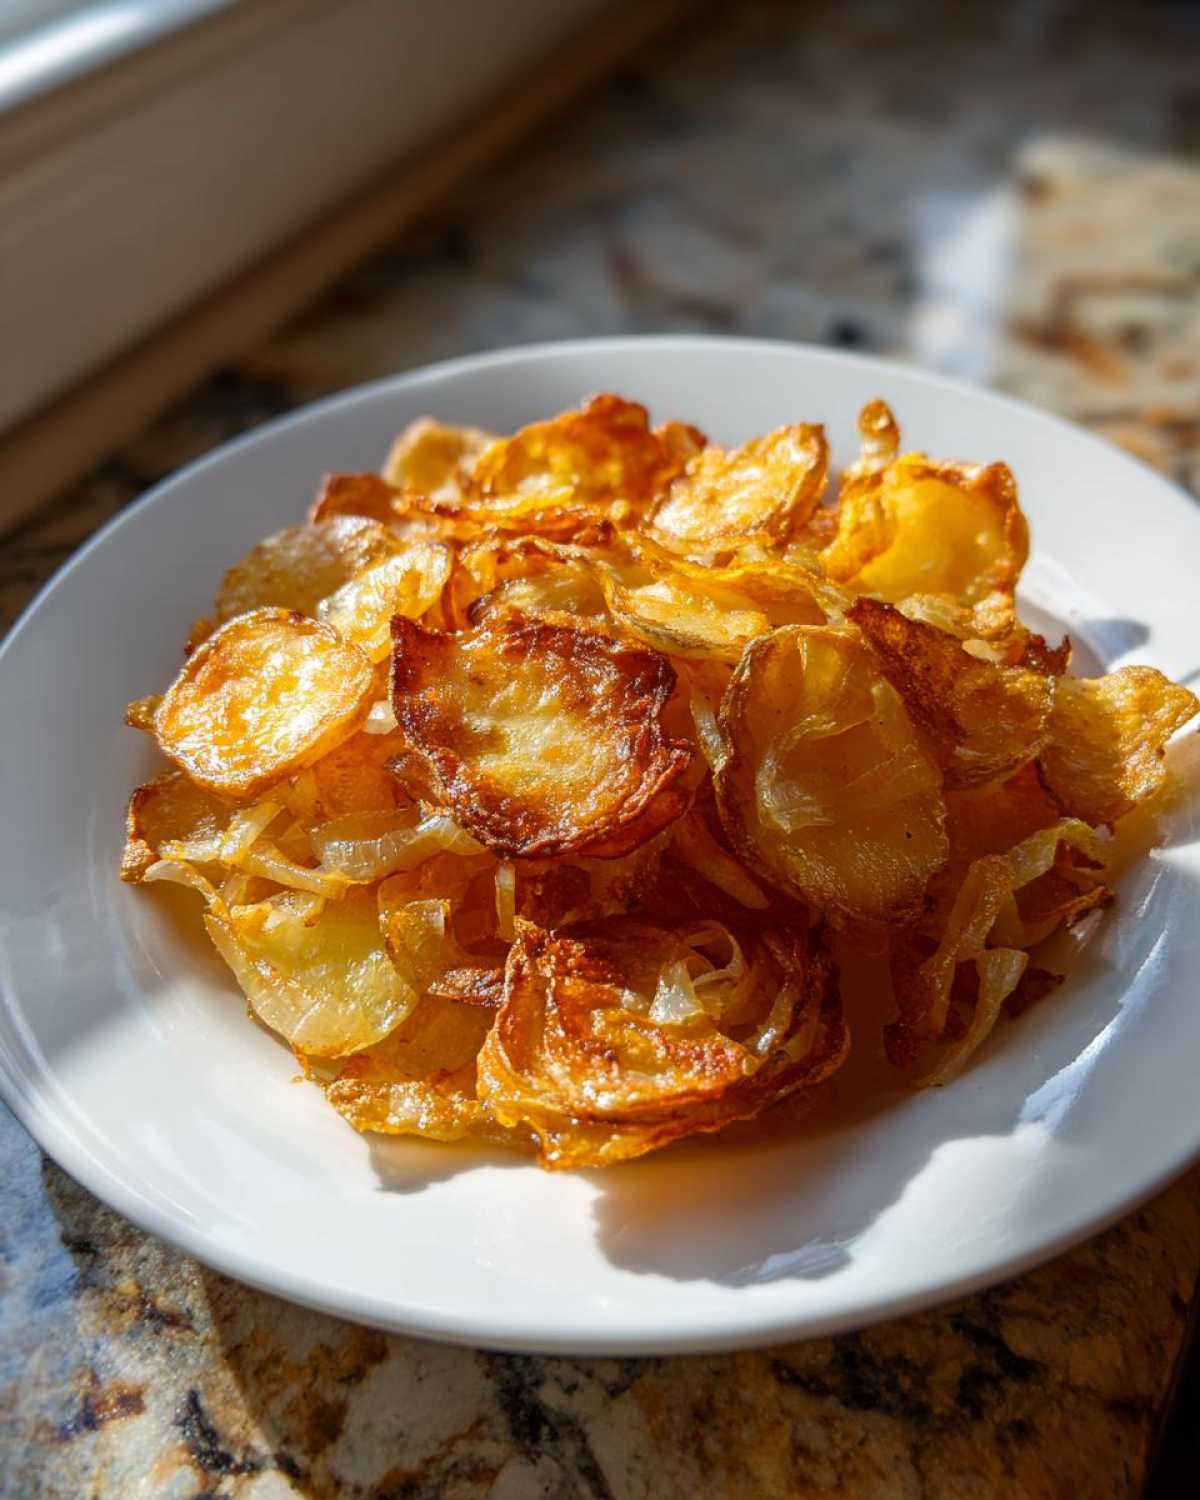
Achieving Golden Brown Perfection with Fried Potatoes
Here’s where patience really pays off. Add those potatoes to the hot fat, but don’t you dare stir them right away! If you start moving them around, you ruin the immediate sear. Let them sit completely undisturbed over medium heat for a solid 8 to 10 minutes. I watch the edges nervously until I see them turning deep golden brown. Once the bottoms are set and crisp, *then* you can flip them over and cook for another five minutes until the second side starts catching color. If you crowd the pan, they will steam, so if you have a small skillet, please cook these in two separate batches. We want crisp, not sad!
Making Classic Fried Potatoes and Onions
Okay, the potatoes have that gorgeous crust on both sides. Now we bring in the aromatic stars of the show: the onions! This is where we switch gears from pure crisping to developing that tender, melt-in-your-mouth center. Gently add your thinly sliced onions right into the skillet with the potatoes. Give everything a very light toss so the onions start mingling with that glorious, flavorful fat.
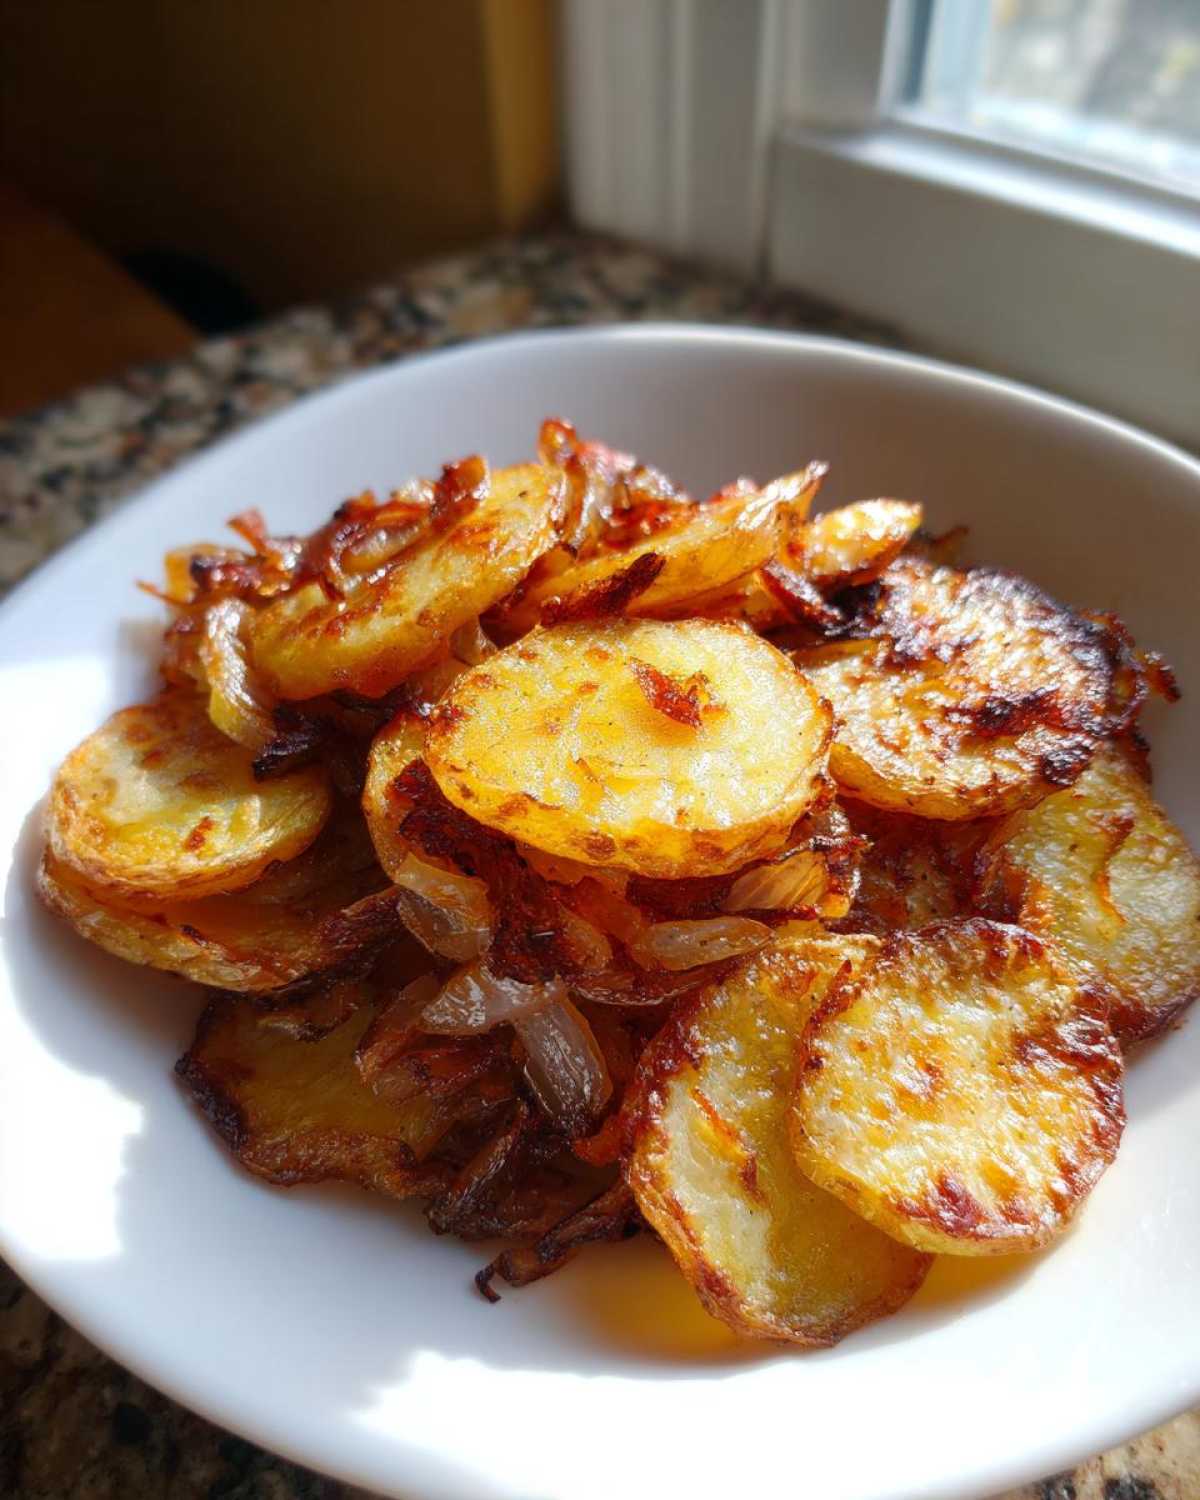
Once the onions are distributed, you need to drop your heat way down—medium-low is perfect. We’re going to cover the pan now for about 10 to 15 minutes. This traps the steam and cooks the thicker parts of the potato slice all the way through until they are tender when you poke them with a fork. This is sneaky cooking, hiding the middle while the outside stays put! You have to stir occasionally so nothing sticks, but be gentle; we don’t want to break up all that beautiful crust we worked so hard to build.
I learned this lesson the hard way once; I got distracted talking on the phone while the onions were supposed to be simmering, and goodness, did they ever burn! They turned black and bitter instantly when I finally uncovered the pan. So, keep an eye on them during this stage! Once they are tender inside, lift that lid off, crank the heat back up to medium, and stir constantly for just three to five more minutes. This is the final blast where the onions get nicely caramelized and the potatoes get one last chance to crisp up any spots that might have softened. Taste and season with salt and pepper right before you serve them piping hot!
Serving Suggestions for Your Fried Potatoes Side Dish
These crispy delights are truly the most versatile side dish you can have in your repertoire! For a classic Southern breakfast, you simply cannot go wrong serving these **fried potatoes** right alongside some fluffy scrambled eggs and maybe a thick slab of homemade biscuit. They make the perfect anchor for any plate. On a busy dinner night, they stand in beautifully for mashed potatoes or fries—just pile them next to some grilled chicken or savory meatloaf.
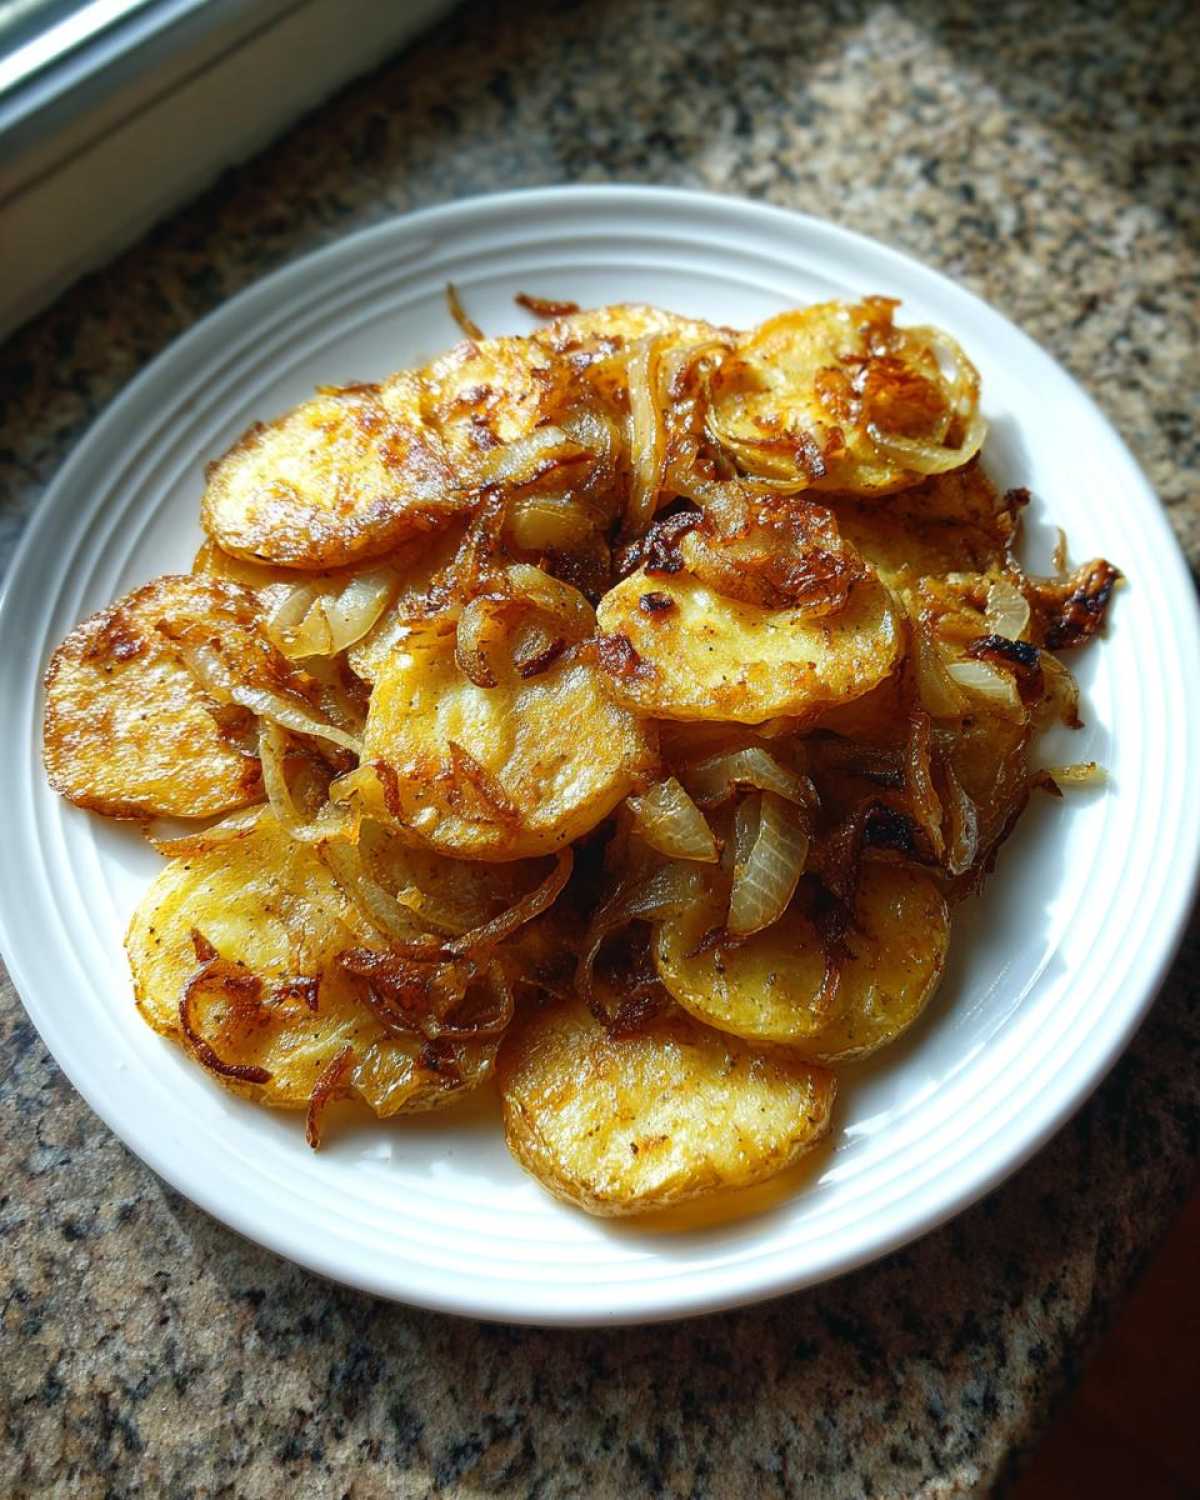
Since we made them into fantastic **breakfast potatoes**, they are wonderful mixed into a hash with leftover corned beef or kielbasa. Seriously, these turn any simple meal into a feast. If you are looking for more fantastic breakfast inspiration, you must check out everything I have going on in the breakfast category on the blog!
Storage and Reheating Fried Potatoes
If you manage to have any leftover **fried potatoes**—which, let’s be honest, is rare in my house because they are so addictive—you need to store them correctly so they don’t turn into sad, soggy blobs overnight. The absolute best scenario is keeping them out of the fridge entirely, but people. If you must store them, air is the enemy! Don’t seal them up tight in plastic in the fridge; that trapped moisture is what steams them soft.
Instead, cool them completely first, then store them in an airtight container, but make sure to place a folded paper towel right on top of the potatoes before you seal the lid. That towel will absorb any residual steam. They should be fine sitting in the fridge for maybe two days if you seal them well.
Now, when you reheat them? Throw out that microwave idea immediately! Microwaving steamed potatoes is a guaranteed way to destroy any crispiness you worked so hard to achieve. You absolutely must use a hot skillet. Reheat them just like you cooked them—in a bit of fresh bacon grease or butter over medium-high heat. Let them sit undisturbed for a few minutes until you hear that satisfying sizzle again, then toss lightly until they are hot all the way through and that crust re-forms. It brings them right back to life!
Frequently Asked Questions About Fried Potatoes
You know how it is—even with a perfect recipe card in hand, sometimes you just have a quick question pop up while you’re standing over the stove! I’ve gathered up the things people ask me most often about getting these skillet potatoes just right. If you’re looking to try another amazing potato dish, my recipe for twice-baked potatoes is a guaranteed family favorite!
Can I make these fried potatoes without onions?
Oh, absolutely! If onions aren’t your favorite flavor, just skip them! It’s totally fine. The main thing you need to adjust is the timing. Since the onions are usually added to steam with the potatoes near the end, if you leave them out, the potatoes might finish cooking through slightly faster. Just keep checking them with a fork after the initial searing step. Once they are tender, take the lid off and proceed with crisping them up.
What is the best type of potato for crispy fried potatoes?
Hands down, you need Russet potatoes for this job. They are high in starch and lower in moisture compared to waxy options like red potatoes. That high starch content is exactly what we want! When we soak them, the starch washes off, leaving a surface that gets incredibly crisp in the hot fat. Waxy potatoes, they tend to just soak up the grease and turn creamy instead of crunchy, which isn’t what we’re aiming for with diner style potatoes!
How do I achieve diner style potatoes using this method?
The secret handshake for that true **diner style potatoes** texture lies in two main spots, which we covered, but I’ll repeat them because they are that important for texture! First, you must soak and dry those slices until they are totally powder-dry. Second, you must let the first layer cook completely undisturbed in the hot fat—no peeking, no stirring—for those full 8 to 10 minutes until that bottom is deeply golden brown. That initial, solid sear creates the crust that holds up when you flip and finish the cooking process.
Nutritional Estimates for Classic Fried Potatoes
Now, I want to be super clear here: because this recipe is so deliciously flexible—meaning you might opt for all butter, or perhaps you load up on that smoky bacon grease, or maybe you even use a bit less salt—these numbers are just an educated guess based on a standard preparation. I always tell folks to treat this like a map, not a destination! But for those of you who like to keep track, here’s what we’re looking at per serving, based on using four tablespoons of a standard fat mix for the whole recipe.
This calculation reflects four roughly equal servings of the potatoes and onions cooked as described. If you use healthier oils or significantly less fat, your Fat and Calorie count will naturally drop, so keep that in mind!
- Serving Size: 1 serving
- Calories: 280
- Fat: 14g (Compare that to restaurant fries!)
- Saturated Fat: 6g
- Carbohydrates: 35g
- Protein: 4g
- Sodium: 550mg (This is why tasting before salting is key!)
- Fiber: 4g
- Sugar: 3g
For more information on how we calculate these figures, please check out the official site disclaimer over at our disclaimer page. Enjoy these **fried potatoes** without guilt—they are comfort food made right!
PrintClassic Southern Fried Potatoes and Onions
Make crispy, golden brown potatoes with a fluffy inside using this simple skillet method, often cooked in bacon grease or butter.
- Prep Time: 15 min
- Cook Time: 35 min
- Total Time: 50 min
- Yield: 4 servings
- Category: Side Dish
- Method: Pan Frying
- Cuisine: American
- Diet: Vegetarian
Ingredients
- 4 large Russet potatoes, peeled and sliced 1/4 inch thick
- 1 large yellow onion, thinly sliced
- 4 tablespoons bacon grease or unsalted butter
- 1 teaspoon salt
- 1/2 teaspoon black pepper
Instructions
- Place the sliced potatoes in a bowl and cover them completely with cold water. Let them soak for at least 15 minutes to remove excess starch. Drain the potatoes well and pat them completely dry with paper towels. This step helps achieve crispiness.
- Heat the bacon grease or butter in a large, heavy-bottomed skillet over medium heat until it shimmers.
- Add the drained potatoes to the hot fat in a single layer if possible. Do not overcrowd the pan; cook in batches if necessary.
- Cook the potatoes undisturbed for 8 to 10 minutes until the bottoms are golden brown and crisp.
- Flip the potatoes and cook for another 5 minutes.
- Add the sliced onions to the skillet. Stir everything together gently.
- Reduce the heat to medium-low, cover the skillet, and cook for 10 to 15 minutes, stirring occasionally, until the potatoes are tender when pierced with a fork.
- Remove the lid and increase the heat back to medium. Cook uncovered for 3 to 5 minutes more, stirring frequently, until the onions are caramelized and the potatoes reach your desired level of crispness.
- Season with salt and pepper. Serve immediately.
Notes
- For extra crispy potatoes, use a cast iron skillet.
- If you do not have bacon grease, use a mix of half butter and half vegetable oil for flavor and a higher smoke point.
- Ensure the potatoes are completely dry before adding them to the hot fat to prevent splattering and steaming.
Nutrition
- Serving Size: 1 serving
- Calories: 280
- Sugar: 3
- Sodium: 550
- Fat: 14
- Saturated Fat: 6
- Unsaturated Fat: 8
- Trans Fat: 0
- Carbohydrates: 35
- Fiber: 4
- Protein: 4
- Cholesterol: 15