

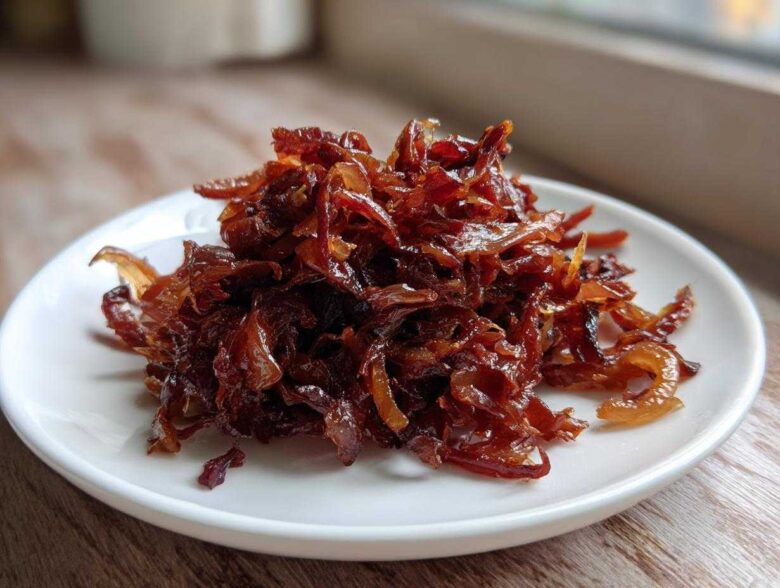
If you are looking to truly elevate your cooking—we mean *elevate* it—then forget quick hacks for a second. We’re going deep today, my friends. I’m David, and I’ve learned from Amina’s family that the soul of any great dish starts with a perfect foundation, and nothing sets a better foundation than deeply, beautifully made caramelized onions. Trust me, transforming those sharp, tear-inducing slices into something soft, jammy, and incredibly sweet is the ultimate foundational skill. This guide isn’t about rushing; it’s about respecting the process—the low and slow technique that unlocks that unbelievable depth of flavor. Once you nail this, everything tastes richer, from your weeknight steaks to your special occasion dips. You can read more about how Amina and I started Spoonful Snap, where we celebrate these flavor connections, right here on our story page.
Why Mastering Caramelized Onions is Your New Kitchen Staple Onions Skill
If you’re like me sometimes, you might grab a jar of those pre-made things for speed. Stop right there! Learning caramelized onions is non-negotiable for real flavor. It’s the difference between a dish tasting “fine” and tasting like it came from a truly gourmet kitchen. We are taking the sharp, pungent bite completely out of the onion and replacing it with pure, savory sweet onion goodness. This transformation is huge for your confidence in the kitchen. You can visit our guide on essential kitchen staple onions to see where this fits in your arsenal.
The Science Behind Deep Flavor Onions
Okay, so why do we cook them so long? It’s chemistry, baby! This isn’t just about softening; we are gently pushing the natural sugars inside the onion to break down and brown. That browning is the Maillard reaction doing its magic—it creates those deep, complex, addictive notes. It’s way more sophisticated than just boiling them soft, which is really just caramelization lighting quick without the development of those incredible flavors.
Ingredients Needed for Perfect Caramelized Onions
You don’t need a pantry full of fancy gear for this, which is the best part! The beauty of this method lies in its simplicity, but we have to respect the ratios. We need the right balance of fat and the right amount of onion to get the job done right. Remember, Amina always says that measuring ingredients for foundational flavors is a non-negotiable step—no guessing here!
- 4 large yellow onions, thinly sliced
- 2 tablespoons unsalted butter
- 1 tablespoon olive oil
- 1 teaspoon salt
- 1 teaspoon sugar (optional, but I’ll confess I use it!)
- 1/4 cup water or low-sodium vegetable broth (for the essential deglazing!)
Ingredient Clarity and Preparation
The absolute key to avoiding a mess or uneven batches is how you prepare those onions. Seriously, pick up a sharp knife and take your time slicing them thinly and *uniformly*. If you have some thick chunks and some razor-thin slivers, the thin ones will vanish into smoke while the thick ones are still raw. We want them all to cook down beautifully and consistently.
Now, about that sugar: If you are worried about the time commitment, don’t sweat it. Adding just one teaspoon of sugar at the start helps kickstart the browning process. It’s my little cheat code when I’m busy, though Amina insists on leaving it out to trust the natural sugars. It’s a great little trick if you need a slightly faster path to sweet onions.
How to Caramelize Onions: The Low and Slow Method
This is where the magic happens, and where most folks give up, so please hang in there with me! Making truly incredible caramelized onions cannot be rushed. It takes time, intention, and a willingness to just let the onions do their thing over gentle heat. If you keep checking them every two minutes, you’ll end up just sautéing them, not caramelizing them. I promise you, the results are worth the wait. For more guidance on managing heat and avoiding common pitfalls, check out my tips on cooking tips for onions.
Step 1: Initial Softening and Translucence
Get your heavy skillet or Dutch oven on the stove. We’re looking for medium-low heat—not a sizzle, but a gentle, happy warmth. Melt your butter with the olive oil. Toss in all those beautifully sliced onions and sprinkle in that teaspoon of salt. Stir it all up so the fat coats everything. Now, just let them cook for about 15 minutes, stirring every five to seven minutes. They’ll start looking soft and glassy, almost see-through. Keep your eyes peeled, but don’t pull them off the heat yet!
Step 2: Achieving Sweet Caramelized Onions Through Deglazing
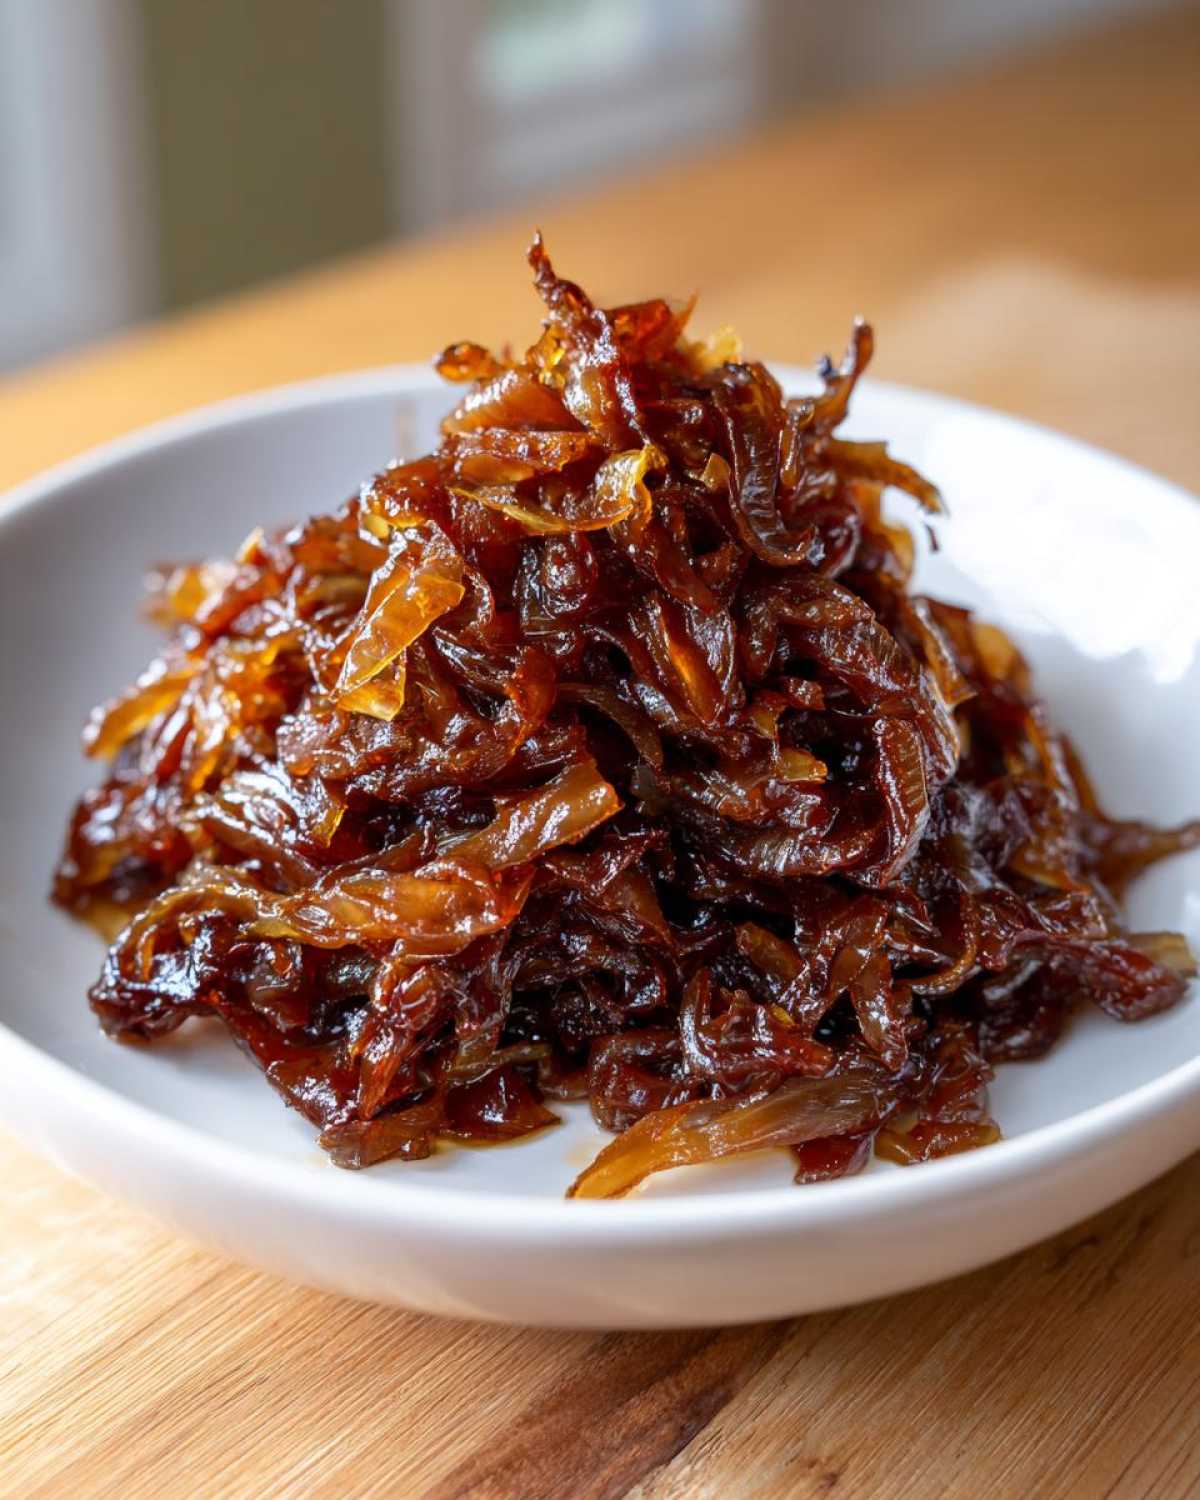
Now we drop the heat way down to low. If you used the optional sugar, dust it over now. This is the long haul, usually 30 to 40 more minutes. As those onions slowly cook, you’ll notice little brown spots developing on the bottom of your pan. That stuff is pure gold, we call it fond. If it starts looking dry or the onions look like they might burn, splash in a tiny bit of water or broth—just a tablespoon at a time—and scrape up all that goodness. That’s deglazing! It keeps the moisture up and transfers all that deep flavor right back into the onions. Keep this gentle scrape-and-stir routine going until your caramelized onions are a deep, sticky, mahogany brown. You can read about the definitive guide on how to caramelize onions to see what others do, but this method works every time for me.
Tips for Success When Making Caramelized Onions
Whew! If you’ve made it through the full 45 minutes and are staring down at your onions, maybe thinking, “Can this caramelized onions process be sped up?” I get it! Sometimes life demands that deep flavor right now, not tomorrow. Good news! There are a couple of things you can do if you’re in a pinch, though none beat the pure, slow-cooked flavor.
For a quick version, I actually turned to a little shortcut Amina found when she had to make a massive side dish for a family event. It truly is a game-changer when you need to fast-track the browning process. For more on timing and speed in the kitchen, you can check out the post on my specific quick onion hack!
The Baking Soda Quick Onion Hack
This is wild, but it works for speed! If you really need to cut down that cooking time, try adding just half a teaspoon of baking soda right at the beginning, along with your salt and fat. Seriously, just half a teaspoon for four big onions! What this does, chemically, is raise the pH level in the pan. That slight change speeds up the browning reaction dramatically. You won’t get that absolute deepest, richest mahogany color in 30 minutes, but you will get sweet, beautifully browned onions in far less time. Sometimes I use this when I’m making a batch just to top burgers, but honestly, there is nothing like the pure, unadulterated flavor when you follow the full, long method!
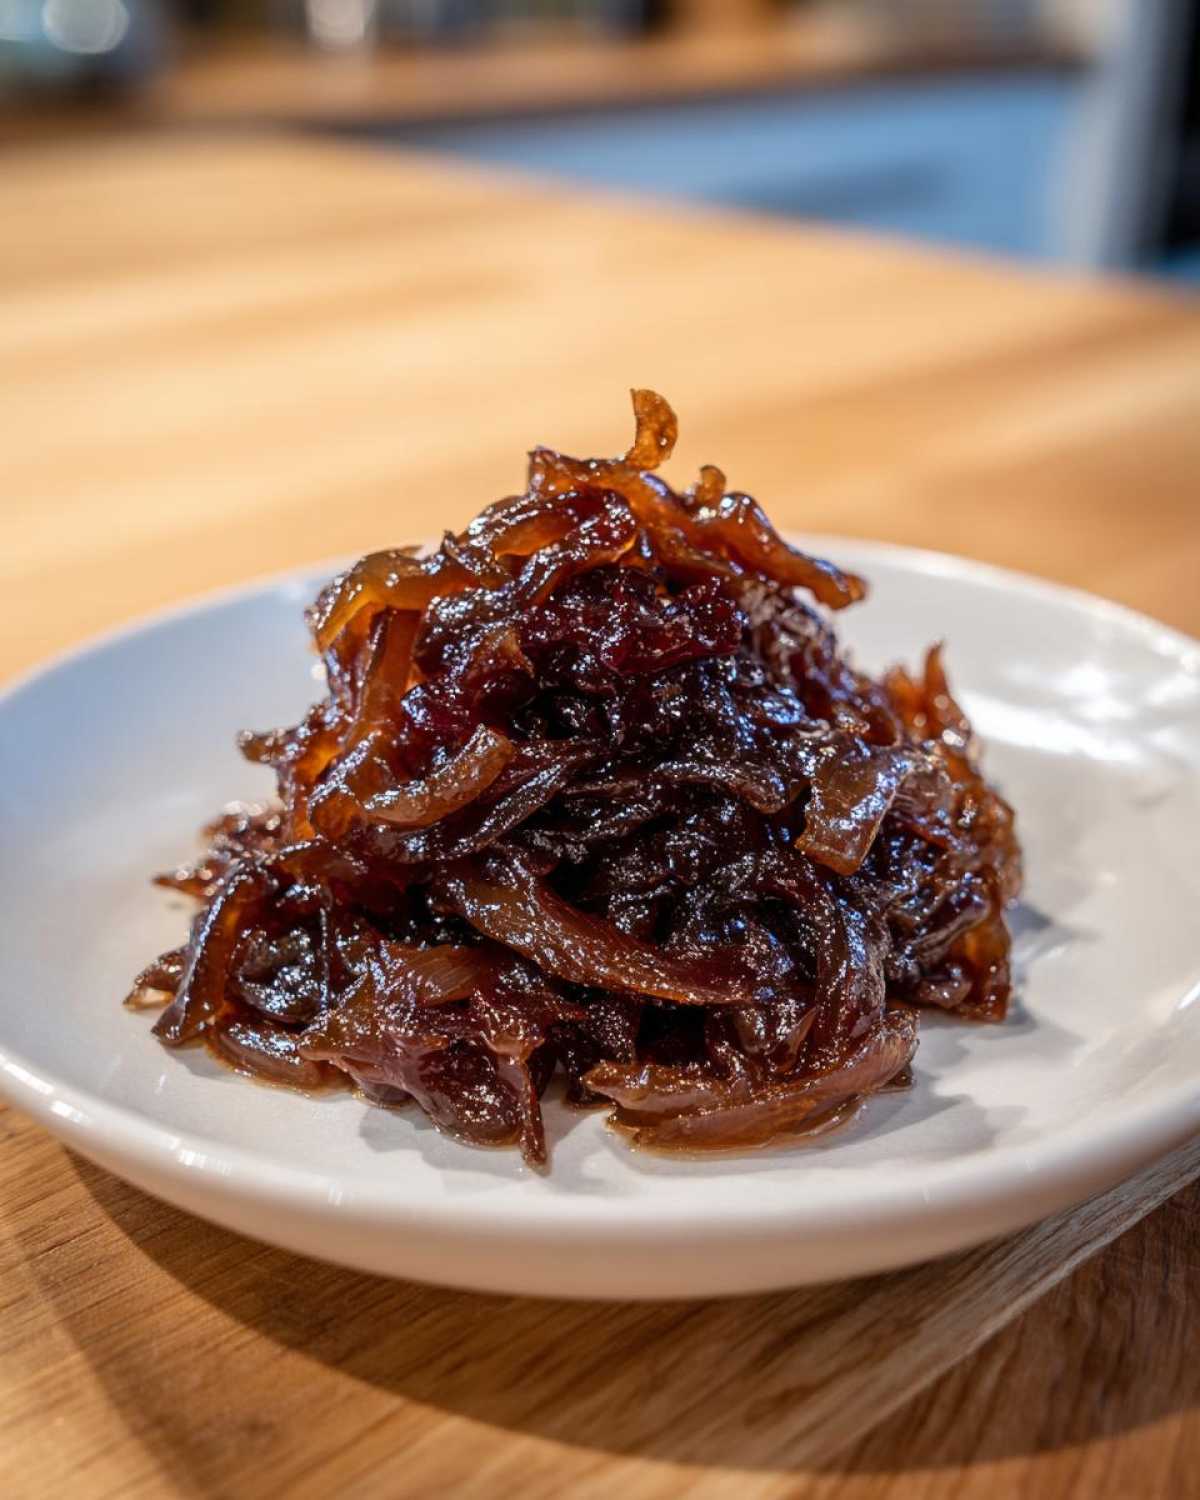
Also, if you ever make a huge batch, definitely check out this fast caramelized onions recipe tip for storage!
Using Your Savory Sweet Onion Topping in Viral Recipes
Now that you’ve put in the time and have these jars packed with glorious, mahogany-brown goodness, what on earth do you do with them all? This is where things get really fun! These caramelized onions are far more than just a sad little topping for a sandwich—they are the secret ingredient behind some of the biggest comfort food hits online right now. We’re talking creamy pasta sauces and dips that disappear instantly at parties.
Building a Creamy Onion Pasta Ingredient Base
If you’ve seen those incredibly rich French Onion Pasta recipes floating around? These onions are the entire reason they taste so ridiculously good. You don’t just toss them in; you often use them to start the sauce base! They melt right into cream cheese, broth, or heavy cream, giving you that deep, savory sweet flavor without requiring tons of extra cheese. If you want to see how I use a batch of these as the backbone for a one-pot winner, check out my recipe for French Onion Pasta. It’s pure magic!
Creating a Caramelized Onion Dip Recipe
Oh my goodness, the dips! This is probably the most popular use for a big batch of these beauties. Forget the onion soup mix packet that our parents used to buy. When you fold these slow-cooked onions into softened cream cheese, maybe add some garlic powder, and serve it warm, it’s a totally different experience. You can even go gourmet and mix them with a sharp cheese like Gruyere when you bake it—you can see a brilliant idea for a brie version linked over here if you want to impress! Trust me, once you make a homemade caramelized onion dip recipe, you’ll never go back to the store-bought stuff.
Variations: Making Homemade Onion Jam and Vegan Caramelized Onion Recipes
So, you’ve got your gorgeous batch of deep brown jewels, and you’re wondering what else they can do besides being a top-tier dip ingredient. That’s the spirit! The beauty of mastering caramelized onions is that they become a versatile building block for so many other recipes. If you’re looking to play around with the flavor profile but keep that savory sweet base, I have two amazing suggestions that keep Amina quite happy.
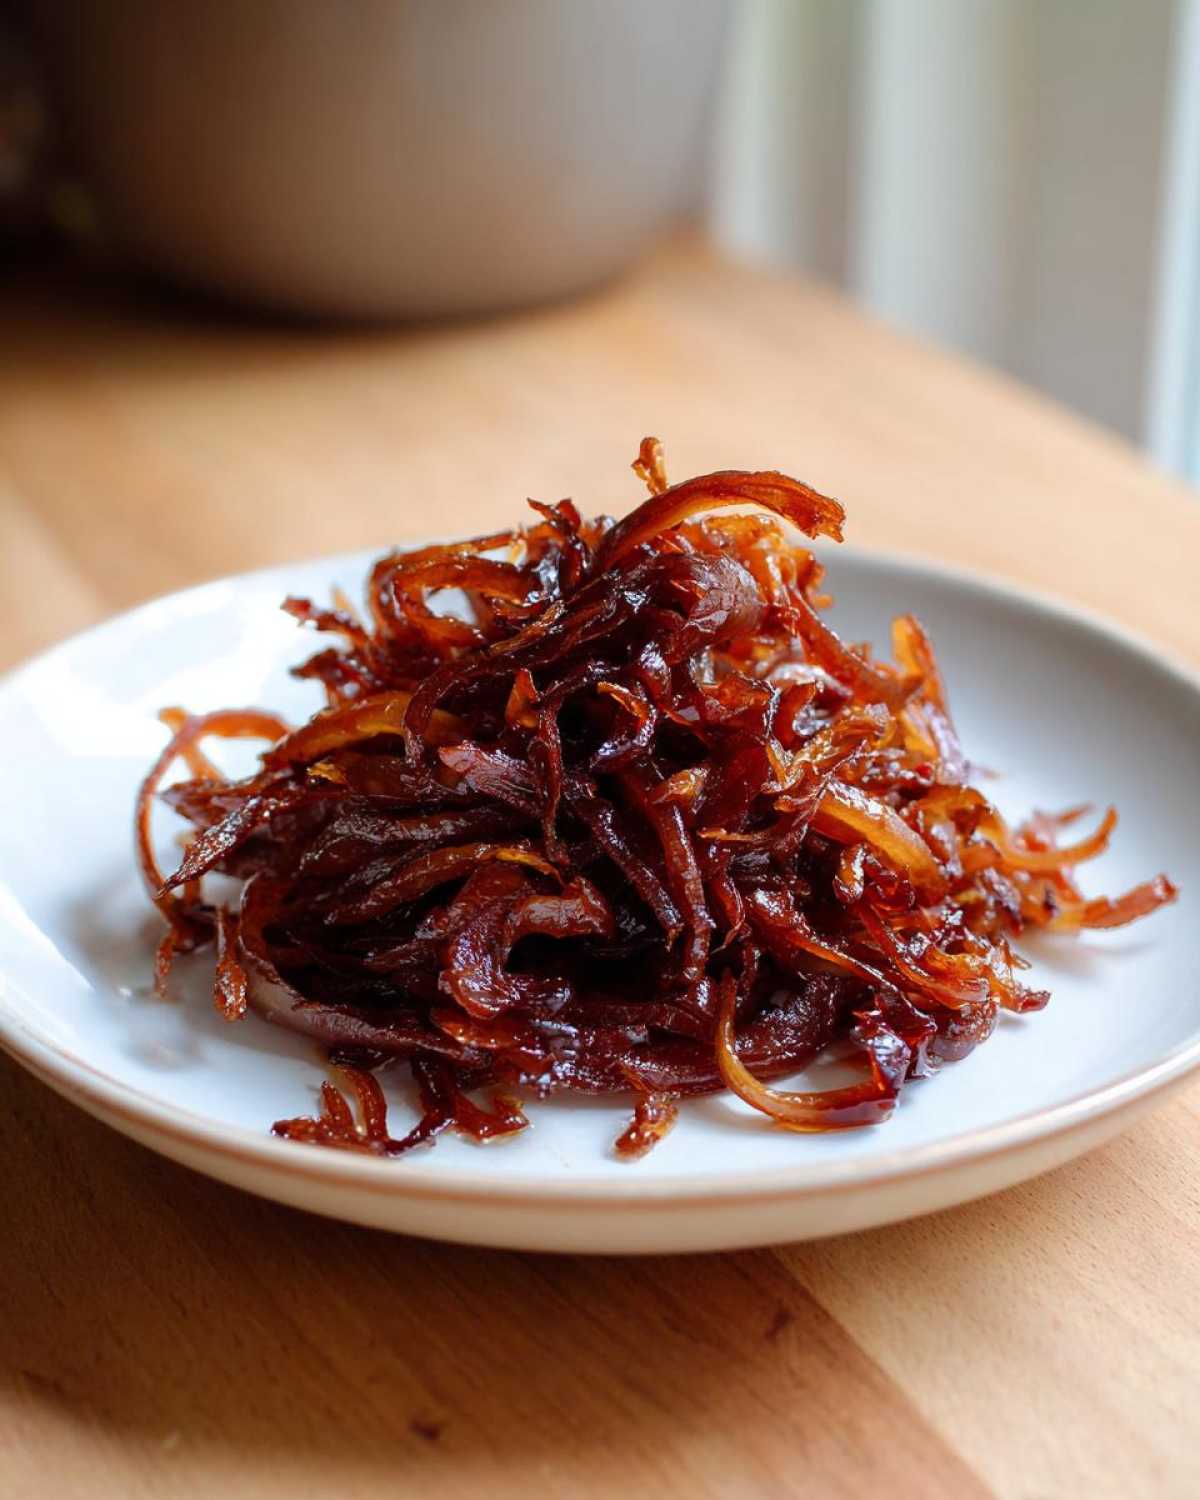
First, let’s talk about turning this into a proper condiment—a homemade onion jam. This is amazing for charcuterie boards or spreading on toast! To make this, once your onions reach that perfect mahogany color, you’ll typically want to simmer them down with a little splash of balsamic vinegar and maybe some brown sugar or maple syrup right at the end. Let it cook until it’s thick, sticky, and spreadable. It takes about ten more minutes, and suddenly, you have a gourmet product!
Second, I think a lot about how we can make our staples accessible to everyone, especially our friends who follow plant-based diets. Yes, you absolutely can make incredible vegan caramelized onions! Since the technique relies on the natural sugars and the slow cook, you don’t need butter at all. Just use olive oil, or maybe a vegan butter substitute if you prefer that richness. The process is identical! They turn out just as sweet and flavorful. If you’re interested in more plant-based cooking inspiration, I’ve got a great guide on our creamy vegan recipes that might hit the spot after your onions are done. Also, if you want to see an unbelievable main dish using this concept, check out this creamy vegan caramelized onion pasta idea online—it proves flavor doesn’t need dairy!
Storage and Reheating Instructions for Slow Cooked Onions
You’ve put in the time, and now you have this incredible, jammy pot of deeply cooked onions. Congratulations! Never, ever think you have to eat them all in one sitting, because these are fantastic for meal prepping. Seriously, batch cooking these makes the next week so much easier!
If you have leftovers—and I hope you do!—the best way to keep them fresh is in an airtight container in the fridge. They hold up wonderfully for about a week like this. They just seem to get richer overnight, honestly. If you made a massive batch like I usually do (once you start, it’s hard to stop!), you can absolutely freeze them. Cool them completely, put them into small, freezer-safe Ziploc bags or containers, and lay them flat if you can. They freeze like a dream for up to three months. I always freeze them in one-cup portions so I can pull out exactly what I need for a recipe.
When you reheat them, either for a quick topping or mixing into something else, keep the heat very gentle. You don’t want to fry them again! A slow warm-up in a small pan over low heat is perfect. If they feel a little stiff after thawing, just splash in a tiny drop of water or broth—just a teaspoon!—to loosen them back up and bring back that beautiful, glossy texture. See? Easy as pie!
FAQ: Troubleshooting Common Issues with Caramelized Onions
Okay, let’s talk troubleshooting, because even when you follow the rules, sometimes things don’t go exactly as planned when you’re trying to achieve that perfect flavor. Don’t panic! When I first started learning these techniques, I definitely messed up a few batches—usually by getting impatient! If you run into a snag, chances are, we’ve got a quick fix for it right here. I promise that even a slightly imperfect batch is still way better than a raw onion. If you ever need more general cooking advice, you know you can always check out the Spoonful Snap blog!
Why are my onions burning instead of caramelizing?
This is almost always heat related, my friend. If your onions are turning black or taking on a bitter, charred flavor instead of that lovely, deep brown color, your heat is way too high! You need to treat those onions gently. If you see them aggressively sizzling or smoking—turn the heat down immediately. Remember, we are looking for a gentle simmer and slow moisture evaporation over 45 minutes, not a fast fry. If you accidentally burn a small spot, you can use a wooden spoon to scrape only the good, soft parts to a clean side of the pan, but usually, it means starting over is best to ensure the overall flavor isn’t ruined.
Can I use sweet onion topping on burgers?
Can you?! Yes! This is one of my absolute favorite ways to use these up quickly, especially if I don’t want to make a full dip or pasta sauce right away. These are the definition of a sweet onion topping that belongs on everything. Slather a generous amount of these glorious, slow-cooked onions right under the top bun of your burger—it adds moisture, sweetness, and a savory punch that takes a simple backyard burger to a gourmet level of flavor. They pair excellently with cheddar or Gruyere cheese, too. Trust me, try topping a grilled chicken breast with them—you won’t be disappointed!
Do I really need to deglaze the pan several times?
If you want true caramelized onions with zero bitterness, yes, you do! Deglazing is your insurance policy. Those little brown bits sticking to the bottom of your pan (the fond) are concentrated flavor, but if they dry out and burn, they taste acrid. Adding that tiny splash of water or broth and scraping them up melts that flavor back into the onions. It keeps the mixture wet enough to continue softening and browning gently. I usually deglaze about three or four times during that long, slow cooking phase. It’s the secret to that deep flavor without the char!
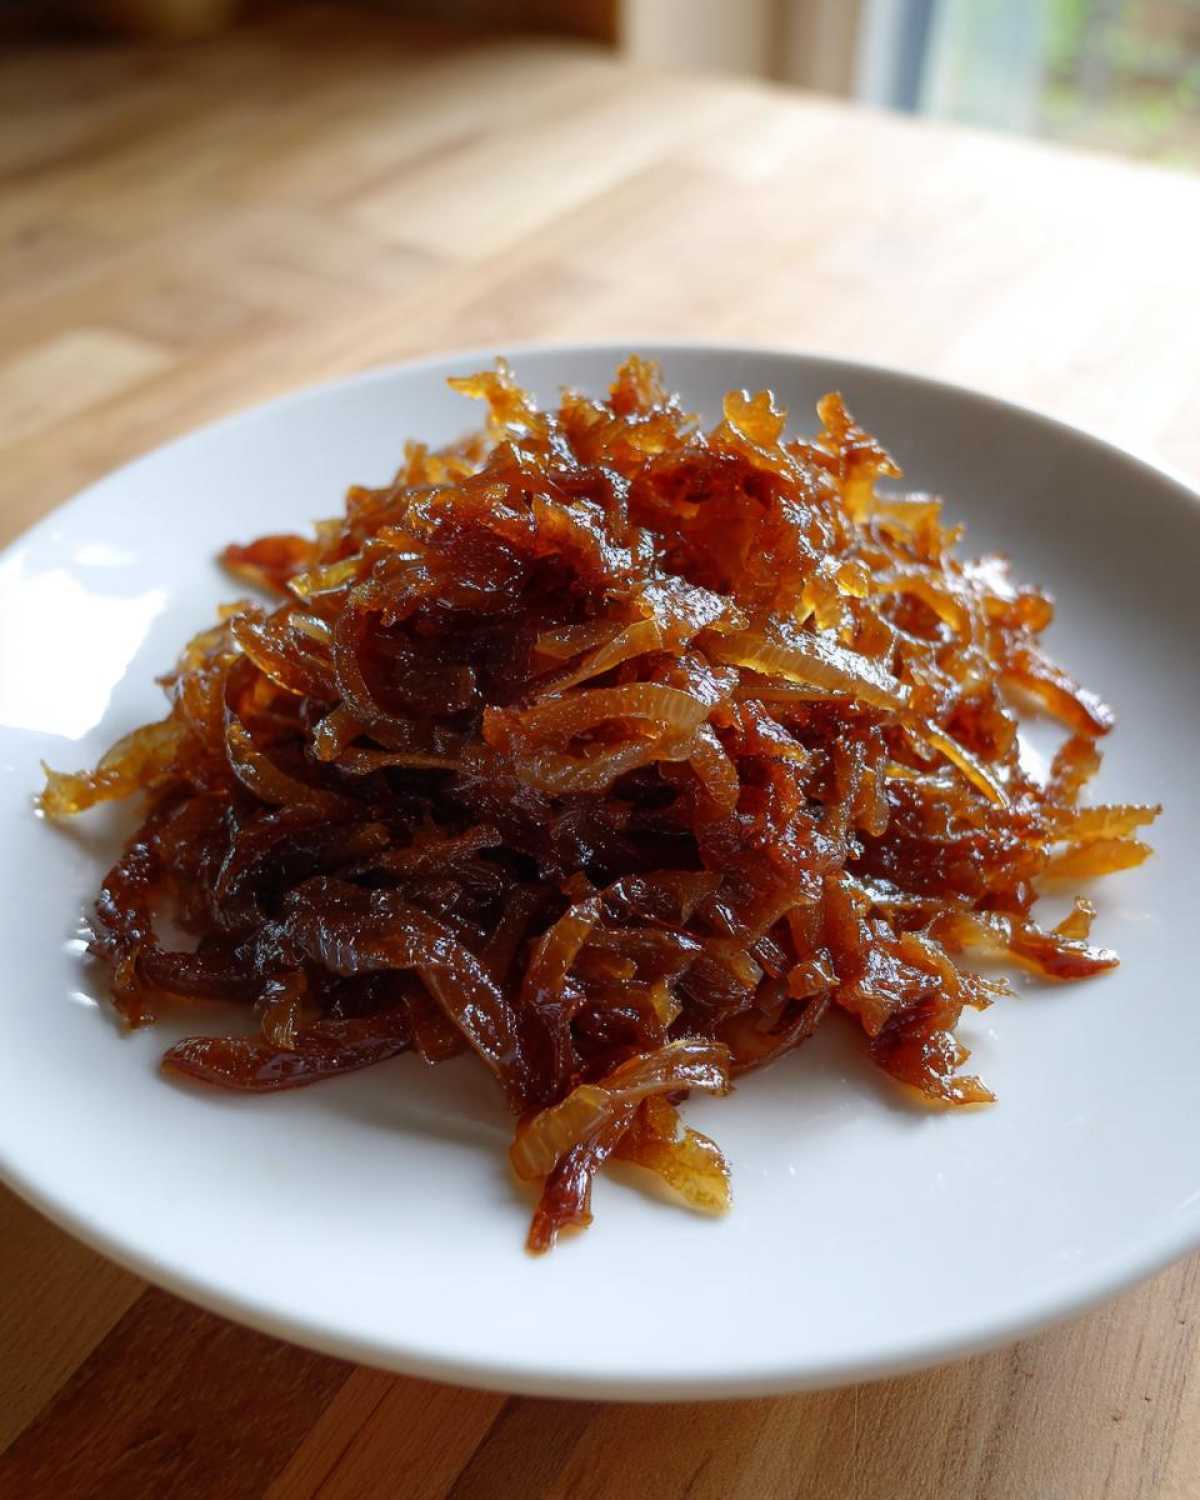
What to Serve with Your Gourmet Onion Side Dish
Alright, you’ve got the elixir! You’ve got the jars packed full of that incredible, sticky, sweet, caramelized onions goodness. What now? This is where I get ridiculously excited because you’ve unlocked a flavor amplifier that works on almost anything savory. Don’t just let them sit there! Get them into a dish tonight. I always think of them first as an incredible topping for a juicy burger—that sweet intensity melts right into the beef—but they are so much more versatile than that.
If you’re serving steak, skip the boring mushrooms and spoon these right over the top alongside a dollop of sour cream or crème fraîche. It feels so fancy but takes zero extra work since the onions are already done! They are also amazing baked right into casseroles. Imagine mixing them into a simple macaroni and cheese or folding them into your rice before baking for an ultimate savory surprise. If you’re craving something hearty and savory, try mixing these sweet onions into my recipe for Smothered Chicken and Rice—it adds an incredible depth you wouldn’t expect!
Honestly, once you taste the difference these make, you’ll start thinking of ways to incorporate them into everything. They turn simple weeknight meals into something truly special, I promise you that!
PrintThe Ultimate Guide to Perfect Caramelized Onions: From Sharp to Sweet
Learn the best way to cook onions sweet by mastering the technique for deep flavor caramelized onions. This guide shows you how to create this kitchen staple, perfect for savory sweet onion toppings, dips, or creamy onion pasta ingredients.
- Prep Time: 10 min
- Cook Time: 45 min
- Total Time: 55 min
- Yield: About 1.5 cups
- Category: Side Dish/Condiment
- Method: Slow Cooking
- Cuisine: General
- Diet: Vegetarian
Ingredients
- 4 large yellow onions, thinly sliced
- 2 tablespoons unsalted butter
- 1 tablespoon olive oil
- 1 teaspoon salt
- 1 teaspoon sugar (optional, for faster caramelization)
- 1/4 cup water or low-sodium vegetable broth (for deglazing)
Instructions
- Prepare the onions: Peel and slice the onions thinly and uniformly. Uniform slices help them cook evenly.
- Start the cooking process: Place a large, heavy-bottomed skillet or Dutch oven over medium-low heat. Add the butter and olive oil.
- Add onions and salt: Once the butter melts, add the sliced onions and the salt. Stir to coat them completely in the fat.
- Initial softening: Cook the onions, stirring every 5 to 7 minutes, for about 15 minutes until they soften and become translucent. Do not let them brown yet.
- Begin caramelization: Reduce the heat to low. If you are using sugar, sprinkle it over the onions now. Continue cooking, stirring every 5 to 10 minutes. This slow cooking process draws out the natural sugars.
- Scrape the fond: As the onions cook, brown bits (fond) will stick to the bottom of the pan. This is flavor. Every 10 minutes, add 1 tablespoon of water or broth to the pan and scrape up these browned bits with a wooden spoon. This process is called deglazing and keeps the onions moist.
- Continue cooking: Maintain low heat and continue stirring every 5 to 10 minutes. The total cooking time for deep caramelization is usually 35 to 45 minutes, depending on your heat control. You are looking for a deep, rich, mahogany brown color.
- Finish: Once the onions reach your desired sweetness and color, remove them from the heat. Taste and adjust salt if needed. You now have a gourmet onion side dish or topping.
Notes
- For a quick onion hack, add 1/2 teaspoon of baking soda with the initial salt. This raises the pH and speeds up the browning reaction, cutting down the time significantly.
- These slow cooked onions freeze very well. Cool completely, then store in an airtight container for up to three months.
- Use this base for French onion pasta sauce or mix with cream cheese for a caramelized onion dip recipe.
Nutrition
- Serving Size: 1/4 cup
- Calories: 85
- Sugar: 9
- Sodium: 250
- Fat: 5
- Saturated Fat: 2
- Unsaturated Fat: 3
- Trans Fat: 0
- Carbohydrates: 10
- Fiber: 1
- Protein: 1
- Cholesterol: 5