

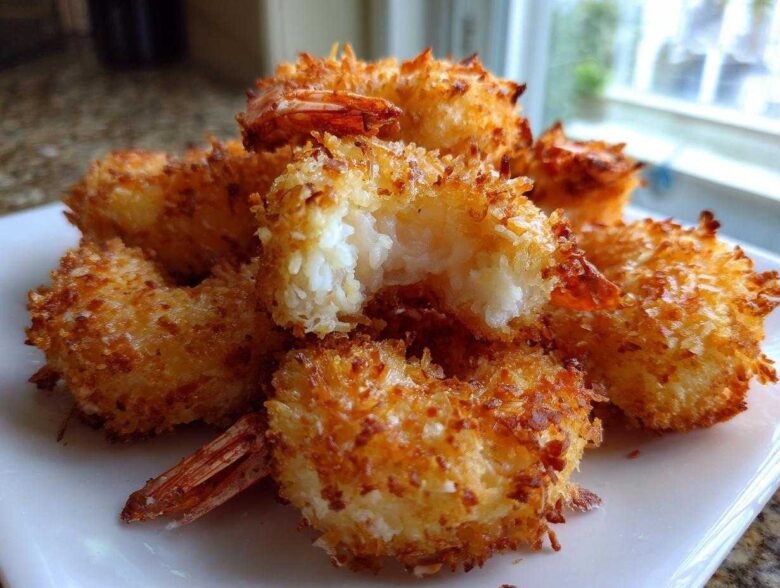
Oh, you know that moment when you’re sitting at home dreaming about that amazing, crunch-covered seafood you usually only get at the fancy takeout place? I’ve spent years chasing that perfect snap, and trust me, I think I finally cracked the code. Forget bland, soggy shrimp! This guide is going to walk you through making what I call the ultimate **Crispy Coconut Shrimp** recipe, and the best part is, you get to choose your weapon: deep-fried glory, light and speedy air fryer magic, or a surprisingly satisfying baked version. We’re talking about layers of perfectly spiced crunch that hug juicy shrimp every single time. I’ve tested every flour, every coconut type, and every temperature setting you can imagine, all to bring you the best coating ever.
If you’re looking for deep-fried perfection inspired by those Southern joints, you can check out my general deep-fried seasoning tips over here: Best Fried Shrimp Recipe. But today, we focus on the tropical crunch!
Why This Crispy Coconut Shrimp Recipe Works Every Time
It drives me crazy when you follow a recipe and end up with coating that just slides right off! That won’t happen here, I promise. The secret to truly fantastic **coconut shrimp** is stopping moisture before it starts and knowing exactly what kind of crunch you want. I’ve messed this up more times than I care to admit, but those failures led me to this winning combination. It’s all about the preparation!
Here are the two absolute non-negotiables that lead to that glorious, shatteringly crisp exterior:
- Pat Them Dry, Then Dry Them Again: Seriously, take your time. Moisture equals steam, and steam melts coatings. Paper towels are your best friend here.
- The Panko Power-Up: We aren’t just using coconut flakes; we mix in Italian-style Panko breadcrumbs for structure. They absorb less oil and create those spiky, crispy edges we are craving! Learn more about why Panko is such a magic ingredient here: Coconut Shrimp with Panko.
Achieving the Best Coconut Shrimp Coating
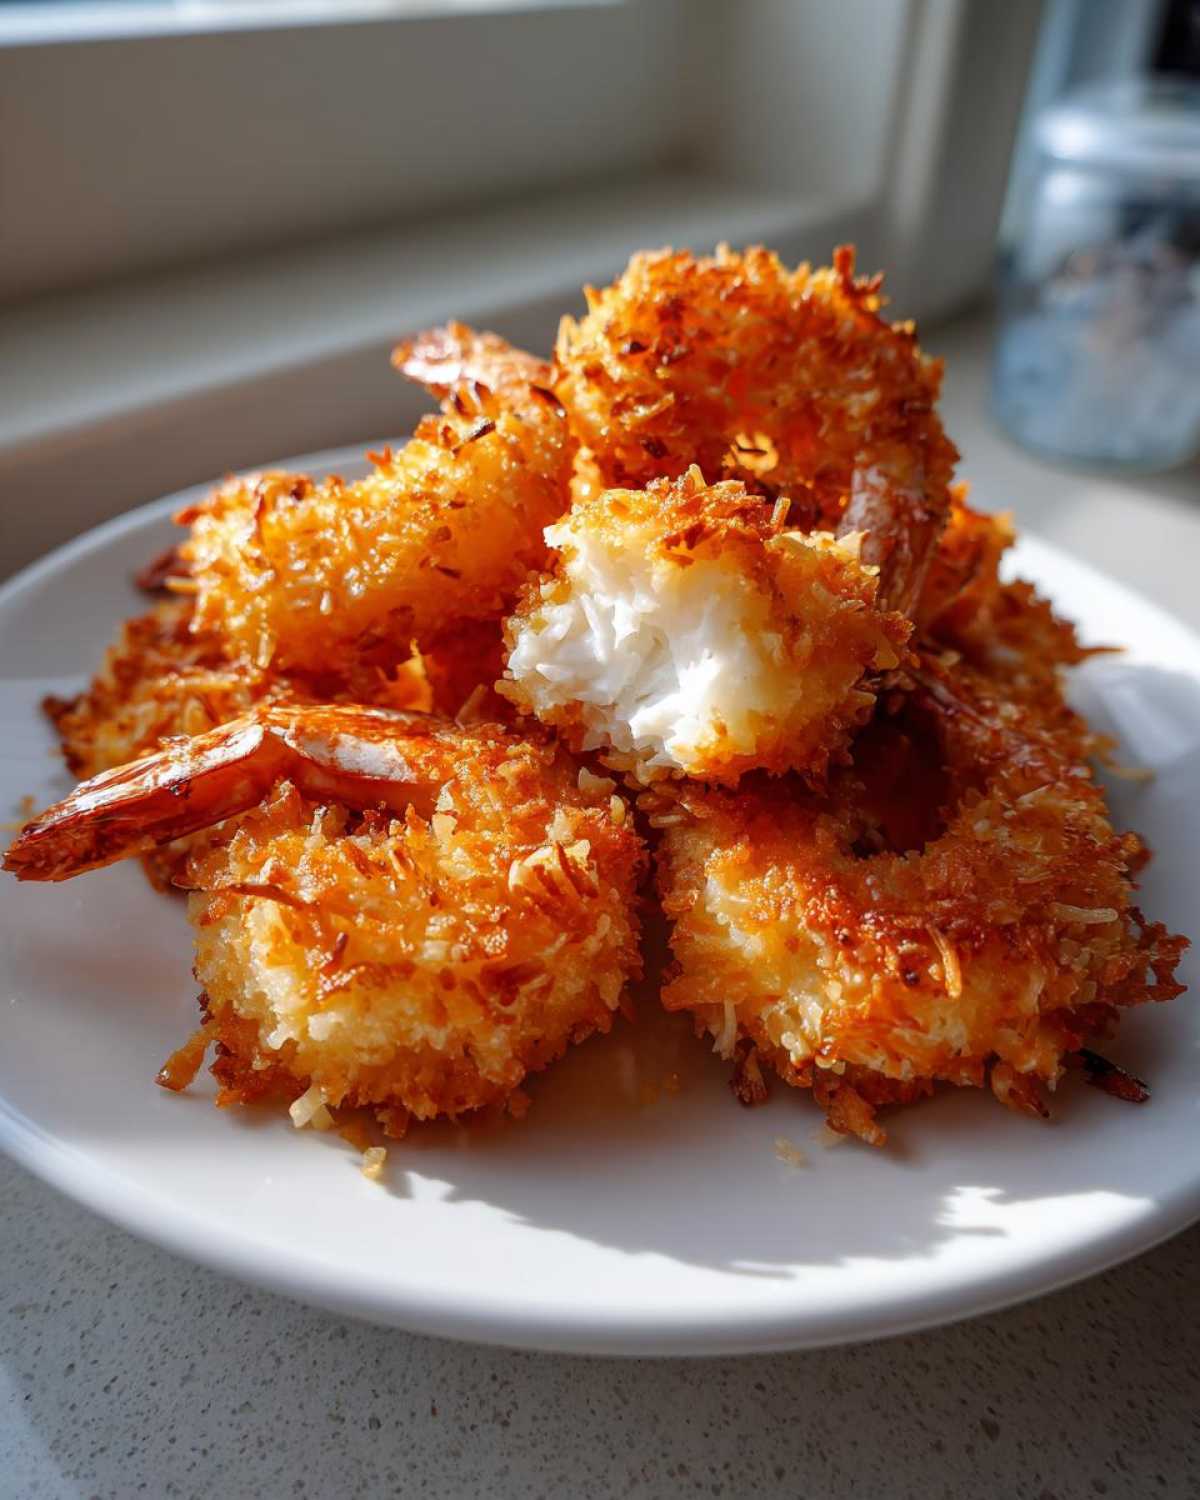
The standard three-step dredge is crucial, but we tweak it! First, a light dusting of plain flour to give the egg something to grab onto. Next, the egg mixture acts as the glue. Finally, press that shrimp firmly into our crunchy coconut-Panko mix. Don’t be gentle! The firmer you pack that coating on, the better it stays put, whether you’re air frying or deep frying. It really is the best coating I’ve ever developed for this tropical treat.
Ingredients for the Ultimate Crispy Coconut Shrimp
Gathering your supplies is half the battle, right? You can’t rush this part, especially if you want that super juicy shrimp texture inside that perfect crust. I laid everything out clearly below so you don’t start mixing up your dry coating tray with your dredging tray. We need three separate stations for this to work flawlessly. Remember, quality ingredients make all the difference, even in a quick appetizer like this!
For the actual shrimp coating, here is what you’ll need:
- 1 pound large shrimp, peeled and deveined, tails on or off (I usually leave them on for looks!)
- 1 cup all-purpose flour
- 2 large eggs, beaten really well
- 1 teaspoon salt
- 1/2 teaspoon black pepper
- 1 cup sweetened shredded coconut (This gives the classic tropical flavor.)
- 1/2 cup Panko breadcrumbs (This is our secret weapon for crunch!)
- 1/4 teaspoon cayenne pepper (Optional, but just a little warmth is nice!)
- Vegetable oil for frying (If you are going the deep-fry route only)
- Cooking spray (If you are sticking to the baked or air fryer methods)
Don’t forget, we’re making dipping sauces later, which adds so much fun to the whole plate! I’ll link you to the full sauce step-by-step instructions in a bit when we cover that section, but you’ll want to grab these basics soon:
Sauce Ingredients Overview
To get ready for the dipping sauces section, just make sure you have some sturdy sweet chili sauce on hand—that’s the base for one of my favorites. Besides that, you’ll want some fresh or frozen mango chunks and maybe a little crushed pineapple ready to go. We’re going to blend those up into super vibrant, tangy companions that cut right through the richness of the fried shrimp. If you want to get a head start on a creamy dip, check out my recipe for Sweet Chili Mayo—it pairs unbelievably well with this!
Step-by-Step Instructions for Perfect Coconut Shrimp
Okay, here’s where the action happens. Look, the setup seems like a lot of dishes, but trust me, once you get into the rhythm of the dredge, you’ll be cranking out perfectly crusted shrimp faster than you can blink! We need to be methodical here so that coating sticks like glue, whether you’re using the deep-fryer or sticking to a lighter method. If you’ve got your ingredients ready, let’s dive into the actual cooking. If you want to see how I handle coatings for other seafood, my general guide on Homemade Fried Shrimp has some great universal tips!
Preparing the Shrimp and Dredging Station
Before anything touches that flour, you MUST pat your shrimp completely dry. I mean bone-dry. Any lingering water will mess up our crisp factor immediately. Once they are dry, set up your three stations in order:
- Station 1 (Flour): Put your plain flour on the first plate.
- Station 2 (Egg): Whisk those two eggs thoroughly in a shallow bowl.
- Station 3 (Crunch): On the last plate, mix your shredded coconut, the Panko breadcrumbs, salt, pepper, and that optional dash of cayenne. Mix it all up until it looks perfectly mottled and ready to stick!
Now, we dredge! Take one shrimp at a time. Coat it lightly in the flour, shaking off any big clumps—we just need a thin layer here. Then, dip it fully into the egg binder. Last step: press it firmly into the coconut-Panko mix. Really make sure every inch is covered. Place those beauties on a clean wire rack while you finish the rest. Don’t let them touch!
Cooking Methods for Crispy Coconut Shrimp
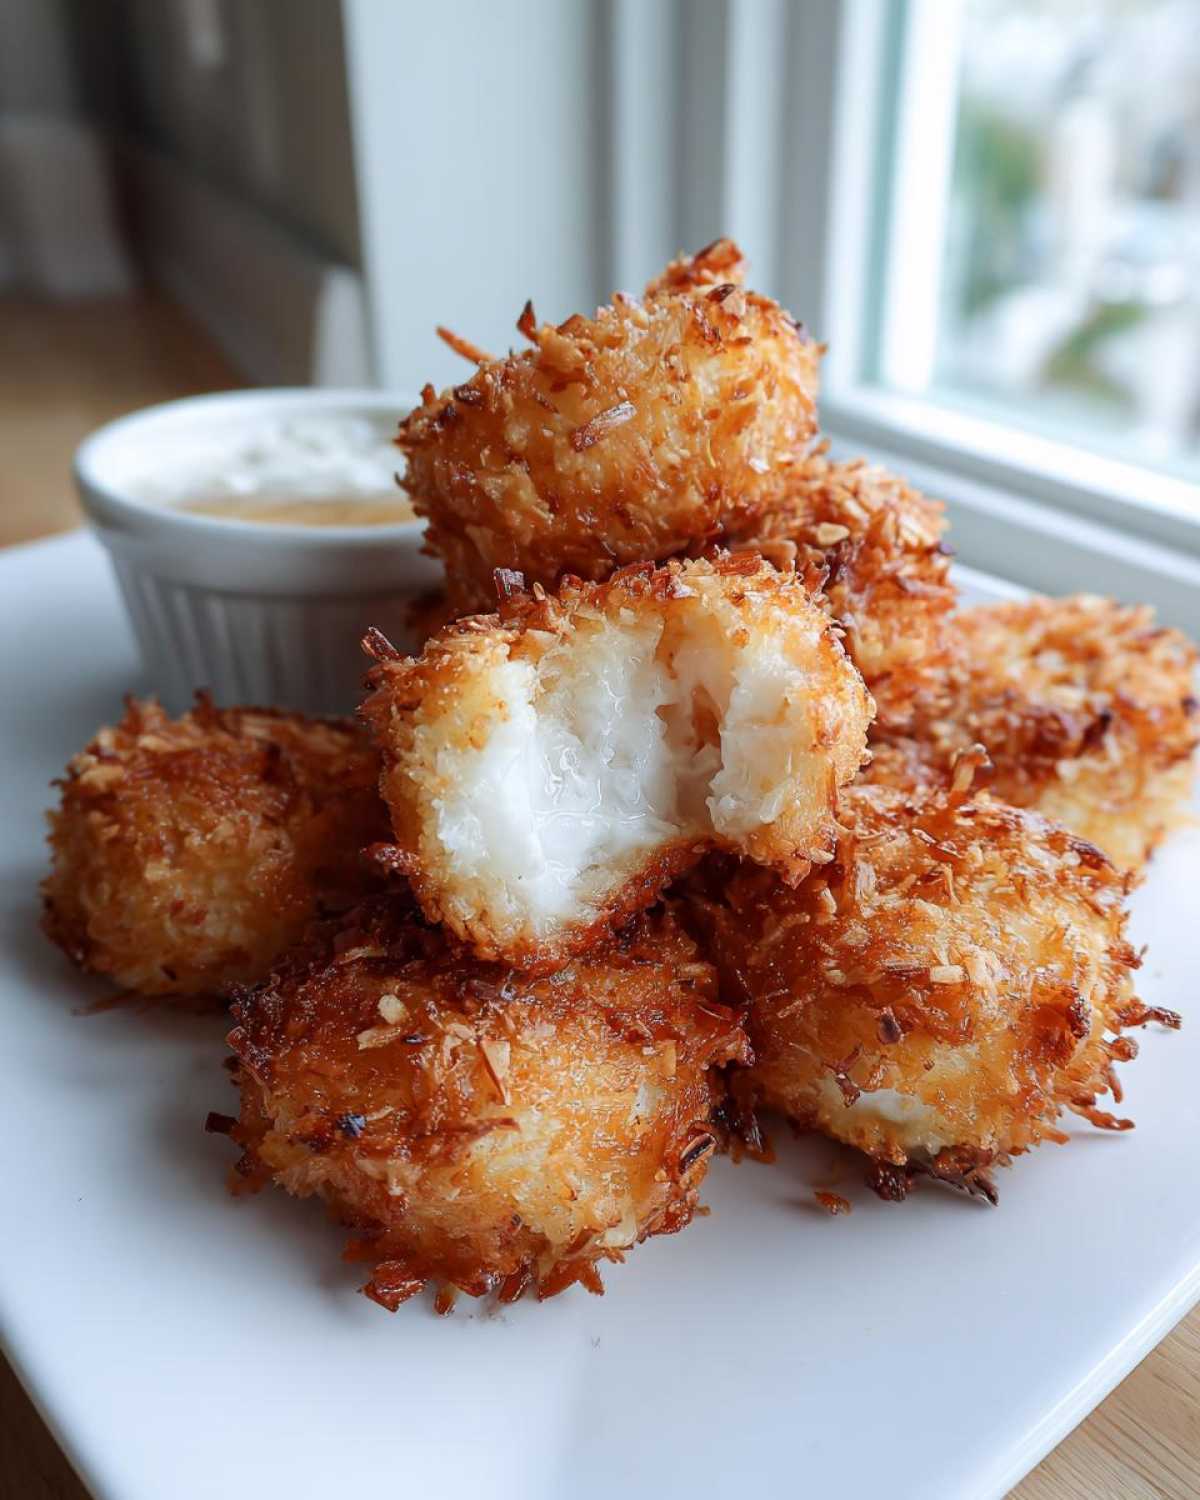
This is my favorite part because you get to decide how crunchy you want to go! I’ve listed all three ways below. Remember, the goal is golden brown on the outside and opaque and juicy on the inside.
For Frying (Maximum Crunch): You want the oil ready and hot. Heat about 2 inches of vegetable oil in a deep skillet until it hits **350°F (175°C)** on a thermometer. Work in small batches so you don’t drop the oil temperature too much. Fry these beauties for about **2 to 3 minutes per side**. They cook fast! Once they float to the top and are deep golden, fish them out and put them on paper towels to drain off any extra oil.
For Baking (Lighter Option): Preheat your oven to a nice hot **400°F (200°C)**. Line a sturdy baking sheet with parchment paper—it helps a ton. Lay your breaded shrimp out so they aren’t touching. Now, the most important part for baking: spray the tops generously with cooking spray until they sparkle! Bake for **12 to 15 minutes**, flipping them carefully halfway through to make sure both sides get golden brown.
For Air Frying (Quickest Method): The air fryer is fantastic for getting that crunch without deep-frying. Set your temperature to **380°F (195°C)**. Make sure you pre-spray the basket lightly so nothing sticks. Arrange the shrimp in a single layer—you might have to do two batches, but don’t pile them up! Spray the tops of the shrimp with cooking spray, too. Cook for **8 to 10 minutes total**, flipping halfway through. Check at 8 minutes; they crisp up fast in there!
Dipping Sauces to Pair with Your Coconut Shrimp
Honestly, crispy coconut shrimp floating in a pool of the right sauce is basically happiness on a plate. You can’t serve these jewels naked! We need something sweet, something tangy, and maybe something creamy to balance out that tropical sweetness. I’ve got three super simple sauces here that take about five minutes, maximum, to put together. You’ll never buy the bottled stuff again, I promise! If you ever need a creamy contrast, my classic tartar sauce recipe is also great, though these tropical ones truly shine here.
Making the Sweet Chili Dipping Sauce for Shrimp
For the **Sweet Chili Dipping Sauce for Shrimp**, if you are in a major hurry, quality jarred sweet chili sauce is fine because it’s mostly sugar and vinegar anyway! But if you want to elevate it (and you should!), just mix one cup of your favorite store-bought sweet chili sauce with one tablespoon of white vinegar and a tiny pinch of red pepper flakes if you need more heat than the jar provided. Stir it up until it’s perfectly combined. It’s bright, sticky, and the perfect foil for the crispy coating.
Tropical Coconut Shrimp Dipping Sauces
Now for the other two heavy hitters for our **Tropical Shrimp Recipe** platter. For the Mango Sauce, take about half a cup of frozen or fresh mango chunks, a tablespoon of lime juice, and a tiny splash of water if your blender needs help. Pulse that until it’s smooth—it should be vibrant yellow-orange! For the Pineapple Sauce, it’s even easier: just whisk together half a cup of crushed pineapple (drained slightly), two tablespoons of cream cheese (softened), and a sprinkle of powdered sugar until it’s creamy. That little bit of cream adds such a wonderful richness that people always ask for the recipe!
Tips for Restaurant Style Coconut Shrimp Success
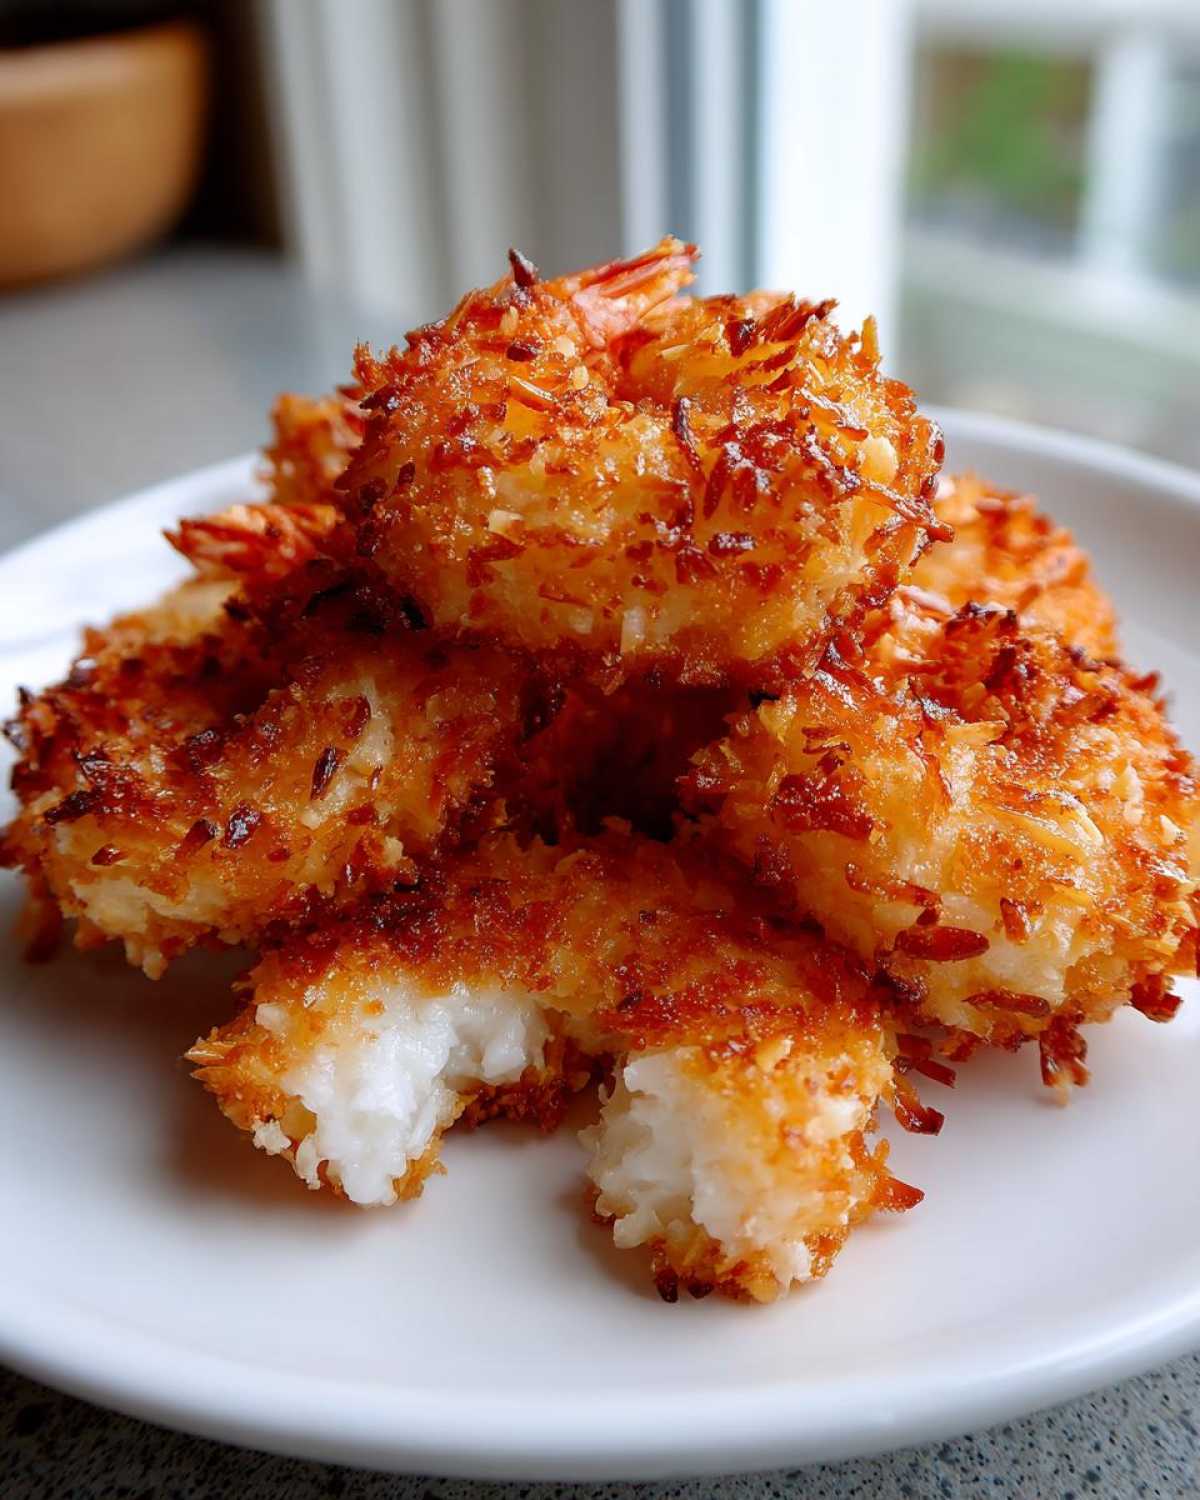
If you’re aiming for that perfect, crunchy texture you only find at the best buffets—that famous **Chinese Buffet Style Coconut Shrimp**—you need a few extra tricks up your sleeve beyond just the dredging station. I’ve leaned on my experience and what the best seafood spots do to get that satisfying crunch that doesn’t immediately go soggy when dipped.
First, let’s talk about the coconut itself. If you want that classic, slightly chewier restaurant texture, try swapping out the sweetened shredded coconut for unsweetened flakes mixed in with your Panko. It keeps the coating less sweet and lets the shrimp flavor shine, which balances beautifully with our dipping sauces. You can find a great creamy option that could work alongside this in my peanut sauce guide here: Quick Peanut Sauce, though I prefer the fruitier dips for shrimp.
Here are the must-do tips to guarantee success with your **coconut shrimp**:
- The Chill Factor: This is a major game-changer! Once you have breaded all your shrimp, spread them out on that wire rack and pop them into the refrigerator for about **15 minutes**. Seriously, don’t skip this. Chilling the coated shrimp solidifies the egg/flour matrix, helping the coating adhere rock-solid during cooking. This is the secret to zero fallout!
- Oil Temperature Control: If you are frying, keep that thermometer handy! If your oil isn’t 350°F, the coating will soak up the oil before it crisps, leading to an oily, soft crust. If the oil is smoking, it’s too hot and will burn the coconut before the shrimp is safe to eat.
- Don’t Crowd the Pan: Whether you are air frying, baking, or deep-frying, resist the urge to squeeze too many shrimp in at once. They need space for the hot air or oil to circulate evenly. Crowding drops the temperature instantly and leads to steamed, soft coatings.
Follow these steps, and you’ll have shrimp so crisp, you’ll think you’re back at your favorite takeout spot!
Serving Ideas: Coconut Shrimp Appetizer or Main Dish
So you’ve got this amazing, crispy batch of coconut shrimp cooling on the rack—now what? These little flavor bombs are flexible! They are absolutely the star of any party as an **Easy Coconut Shrimp Appetizer**, but honestly, they pull double duty beautifully as a light, tropical main course. It just depends on what you serve them with!
If you’re looking for quick appetizer inspiration that moves beyond shrimp, I have a whole list of fantastic, no-fuss seafood ideas that you can check out right here: Quick Seafood Appetizers. But let’s focus on making these shrimp shine!
Presenting the Ultimate Appetizer Platter
When serving these as starters, presentation is everything. You want that platter to scream “Eat me!” First, arrange the shrimp in a circular pattern, maybe with the tails pointing toward the center if you left them on—it just looks elegant. Don’t just drizzle the sauces over the top; that defeats the purpose of dipping! Instead, use three small, colorful ramekins or little decorative bowls and place them right in the middle of the shrimp circle. I use different colors—the bright orange of the chili, the yellow of the mango, and the pale white of the pineapple dip—to make it pop!
Pro Tip: Scatter some fresh, chopped cilantro or maybe even a few pineapple wedges around the platter just for color and freshness. It really enhances that tropical vibe we’ve been building!
Making Coconut Shrimp a Main Dish Idea
To turn this magnificent appetizer into a satisfying **Coconut Shrimp Main Dish Idea** for dinner, you need a solid base. Think about balancing the fat from the frying (if you fried them) or the sweetness with something fresh and simple. My absolute favorite way to serve them as a dinner plate is over a bed of fluffy white rice seasoned with a little lime zest and salt. The rice soaks up any extra sauce drips, which is heavenly!
Another fantastic option is serving them alongside a crunchy slaw. You could make a simple cabbage and carrot slaw and dress it lightly with rice vinegar, a touch of sesame oil, and maybe fresh mint. It gives you that amazing combination of hot, crispy, creamy, and cool all in one bite. You could also serve them alongside grilled pineapple spears for an extra warm, caramelized fruit note. Either way, piling 6 to 8 shrimp per person makes for a perfect, light seafood dinner!
Making Baked Coconut Shrimp Healthy Alternatives
I know what you’re thinking: delicious food usually means deep-frying, and deep-frying means I can’t eat it every night! Trust me, I’m all about indulgence, but sometimes you just want that crispy goodness without completely blowing your weekly fat budget. That’s why I dedicated so much time to perfecting the **Baked Coconut Shrimp** version. It lets us keep that incredible texture while slashing down on the oil consumption dramatically.
The difference in nutrition is huge, especially if you’re counting calories or trying to keep things lighter for a weekday dinner. When you use 2 inches of oil for deep frying (which the shrimp soak up), you are adding a significant amount of fat and calories per serving. When we switch to the baking or air frying method, we rely mostly on a good cooking spray. That simple swap moves us from a richer appetizer to a perfectly enjoyable and much **Healthier Coconut Shrimp** option.
If you love the idea of crispy baked things that aren’t seafood, you absolutely have to check out my recipe for Crispy Baked Honey Garlic Chicken Thighs. It uses the same principle of spraying the coating well to achieve crispiness without the oil bath.
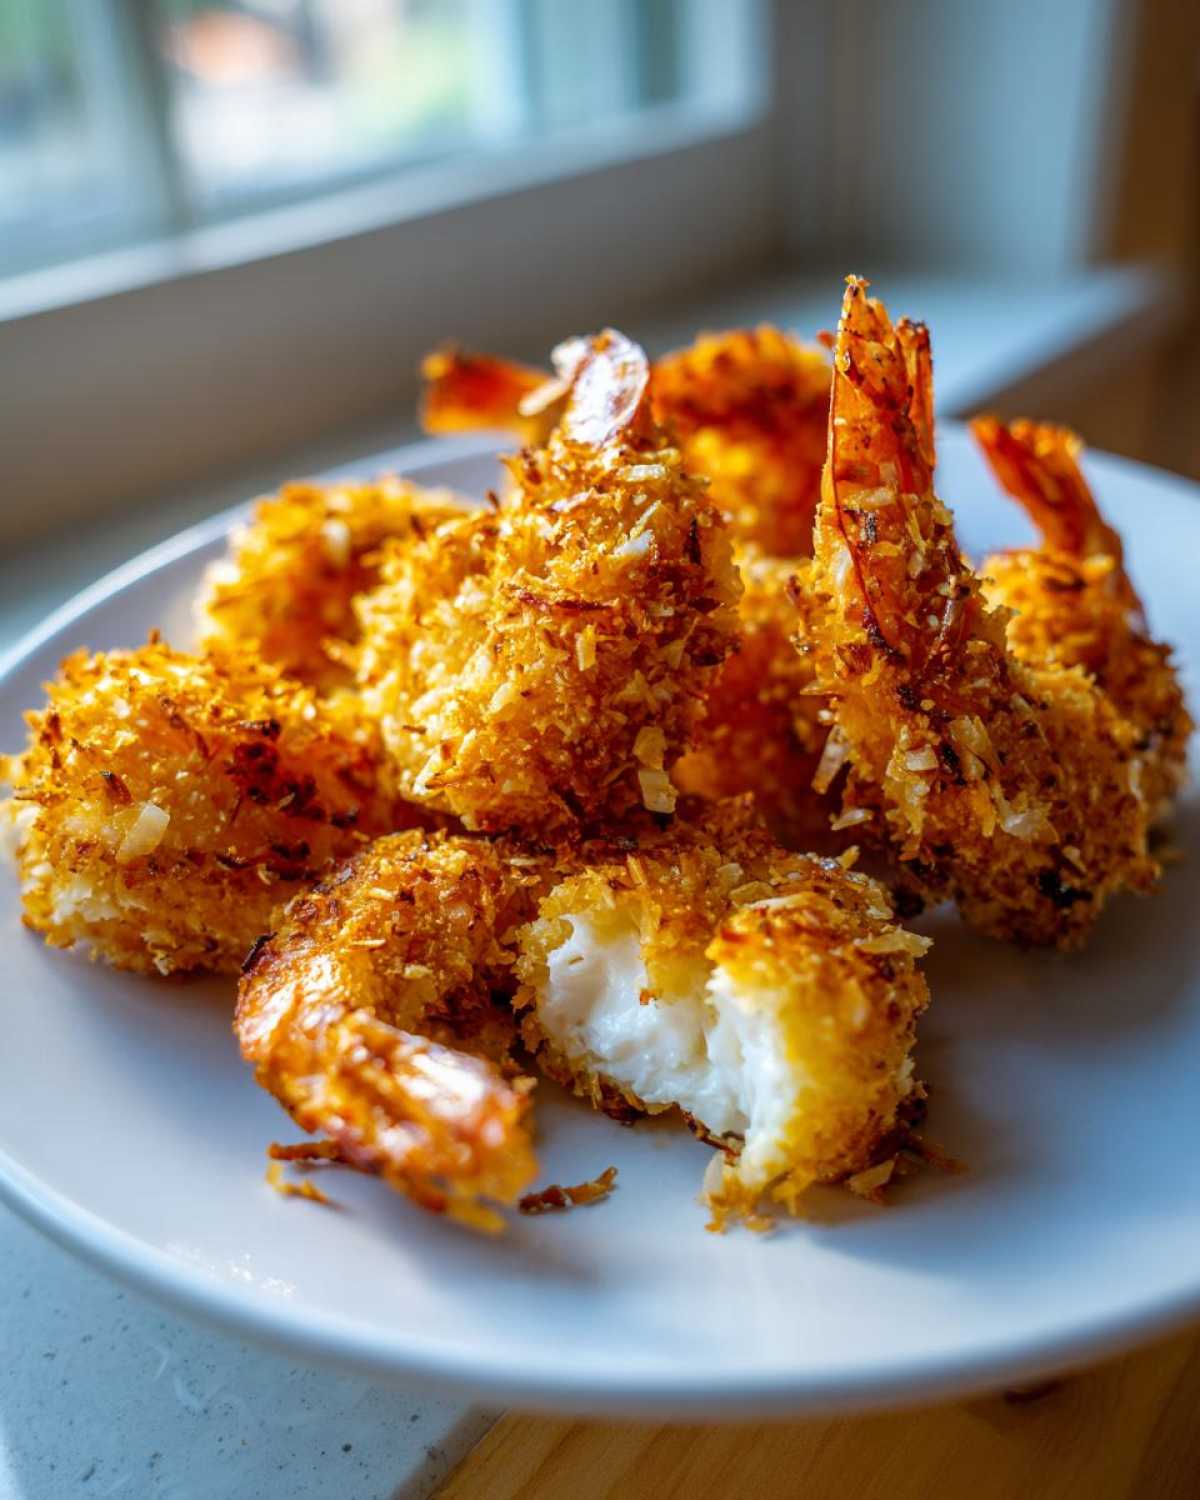
Baking or air frying doesn’t mean sacrificing the crunch we’ve worked so hard for! The Panko breadcrumbs we added to the coating do a fantastic job of achieving crispiness with less interference from oil. The key difference is you *must* spray them liberally. Don’t be shy with the cooking spray on the tops of the crusted shrimp before they go into the oven or air fryer basket. That fat absorbs the heat evenly and toasts that coconut beautifully, mimicking that deep-fried color and texture without submerging the **coconut shrimp** entirely!
Storage and Reheating Instructions for Coconut Shrimp
Look, if you have leftovers of this amazing **coconut shrimp**, hold onto them! They are still going to taste fabulous the next day, but we all know the number one enemy of any crispy fried coating is refrigeration. It traps humidity, and humidity is the enemy of crunch. So, you can’t just toss them in a sealed container and hope for the best—that’s a recipe for soft, sad shrimp triangles!
The key to keeping these delicious, whether you fried, baked, or air-fried them, is getting the moisture out quickly and keeping them separate.
First things first: Cool them completely! Do not store warm shrimp. Let them sit out on that wire rack for maybe 30 minutes until they are room temperature. Then, transfer them to an airtight container. But here’s the trick for Trustworthiness, building reader confidence: Don’t stack them directly on top of each other. Place a sheet of paper towel in the bottom of the container, lay a single layer of shrimp down, place another paper towel on top, and then add the next layer. This paper towel soaks up any residual moisture released overnight.
Now, for reheating—you *must* avoid the microwave at all costs. The microwave is specifically designed to make crispy things soggy. It totally ruins the texture we spent all that time developing!
Your best friend for reviving these leftovers is, without a doubt, the air fryer. It works like a mini convection oven, blasting that heat around and drying out the coating again. Pop your cooled, stored shrimp into the air fryer basket, spaced out nicely, and set it to about **350°F (175°C)**. Give them about 3 to 5 minutes. Honestly, they often come out even crispier than when they were first made!
If you don’t have an air fryer, the conventional oven works well too. Preheat your oven to **375°F (190°C)**. Place the shrimp on a baking sheet (line it with foil for easier cleanup!) and bake them for about 7 to 10 minutes. Check them at the 7-minute mark, because the time will vary depending on how thick your original crust was.
These reheating methods bring back that snap, so don’t feel guilty about making a double batch!
Frequently Asked Questions About Coconut Shrimp
It feels like once you start making **coconut shrimp** at home, you suddenly realize you have a million little questions about how to make them absolutely perfect every time! I get it; I was there once. Baking times, sauce swaps, starting from frozen—it all matters when you’re trying to achieve that signature tropical crunch. Here are the top things I get asked about, so you don’t have to stress!
Can I use frozen shrimp for this coconut shrimp recipe?
Yes, you totally can use frozen shrimp, but you have to treat them right! You still need to thaw them first, usually overnight in the fridge. But here’s the biggest thing: once they are thawed, you have to pat them until they are incredibly dry, maybe even drier than fresh ones. Frozen shrimp hold onto way more surface moisture, and we talked about how moisture ruins the crisp! If you skip the drying step, your beautiful Panko coating is just going to steam itself right off during cooking. So, thaw, pat dry, and then pat dry again!
What is the best oil temperature for frying coconut shrimp?
When you’re deep-frying, temperature control is your golden rule for that crunchy exterior and juicy inside. You absolutely need your oil to be at **350°F (175°C)**. If it’s much lower, the coating soaks up oil and gets greasy before it browns. If it’s too high, the coconut burns instantly while the shrimp inside is still cold. Keep an eye on that thermometer—it makes all the difference between a five-star fryer result and a sadly soggy batch!
If you’ve got other crispy desserts you’re thinking about making after this seafood feast, like a crunchy topping for an apple dish, you can check out how I get coatings to set on my Apple Cobbler recipe. Same principles apply—hot surface tension!
Do you need a decorative finish? Sometimes I pipe a little something on top of my appetizers, and for that, I always use my guide for getting icing to harden smoothly. It’s surprisingly useful!
What is the best sauce combination for coconut shrimp?
Hands down, the best combination is contrast! You need something sweet and something tangy. The classic pairing that you see everywhere is the sweet chili sauce—it’s spicy enough to cut the sweetness of the coconut but still has that sugar kick. I always serve it with a homemade pineapple or mango dipping sauce, too, because that fruit acidity just brightens up the whole dish beautifully. Don’t forget serving them with a side of lime wedges too; a simple squeeze works wonders!
PrintThe Ultimate Crispy Coconut Shrimp with Three Dipping Sauces (Fried, Baked, and Air Fryer Options)
Make perfectly crispy coconut shrimp using your preferred method: deep-fried for maximum crunch, baked for a lighter option, or air-fried for speed. Serve with sweet chili, mango, and pineapple dipping sauces.
- Prep Time: 20 min
- Cook Time: 15 min
- Total Time: 35 min
- Yield: 4 servings
- Category: Appetizer
- Method: Frying, Baking, Air Frying
- Cuisine: American/Tropical
- Diet: Low Lactose
Ingredients
- 1 pound large shrimp, peeled and deveined, tails on or off
- 1 cup all-purpose flour
- 2 large eggs, beaten
- 1 teaspoon salt
- 1/2 teaspoon black pepper
- 1 cup sweetened shredded coconut
- 1/2 cup Panko breadcrumbs
- 1/4 teaspoon cayenne pepper (optional)
- Vegetable oil for frying (if frying)
- Cooking spray (if baking or air frying)
Instructions
- Prepare the shrimp: Pat the shrimp completely dry with paper towels. This step is crucial for crispiness.
- Set up the dredging station: Place flour on one plate. Whisk eggs in a shallow bowl. Mix coconut, Panko, salt, pepper, and cayenne (if using) on a third plate.
- Dredge the shrimp: Coat each shrimp first in flour, shaking off excess. Dip into the egg mixture. Finally, press firmly into the coconut-Panko mixture to coat completely. Place coated shrimp on a wire rack.
- Choose your cooking method:
- For Frying: Heat 2 inches of oil in a deep skillet to 350°F (175°C). Fry shrimp in batches for 2-3 minutes per side until golden brown and cooked through. Drain on paper towels.
- For Baking: Preheat oven to 400°F (200°C). Arrange shrimp on a baking sheet lined with parchment paper. Spray generously with cooking spray. Bake for 12-15 minutes, flipping halfway, until golden.
- For Air Frying: Preheat air fryer to 380°F (195°C). Lightly spray the basket. Arrange shrimp in a single layer (work in batches). Spray the tops with cooking spray. Air fry for 8-10 minutes, flipping halfway, until crispy.
- Serve immediately with your choice of dipping sauce.
Notes
- For the crispiest coating, chill the breaded shrimp for 15 minutes before cooking.
- To make a main dish, serve over rice or alongside a tropical slaw.
- For a restaurant-style version, use unsweetened coconut flakes mixed with Panko.
Nutrition
- Serving Size: 5 pieces
- Calories: 350
- Sugar: 12
- Sodium: 450
- Fat: 18
- Saturated Fat: 10
- Unsaturated Fat: 8
- Trans Fat: 0
- Carbohydrates: 30
- Fiber: 2
- Protein: 18
- Cholesterol: 150