

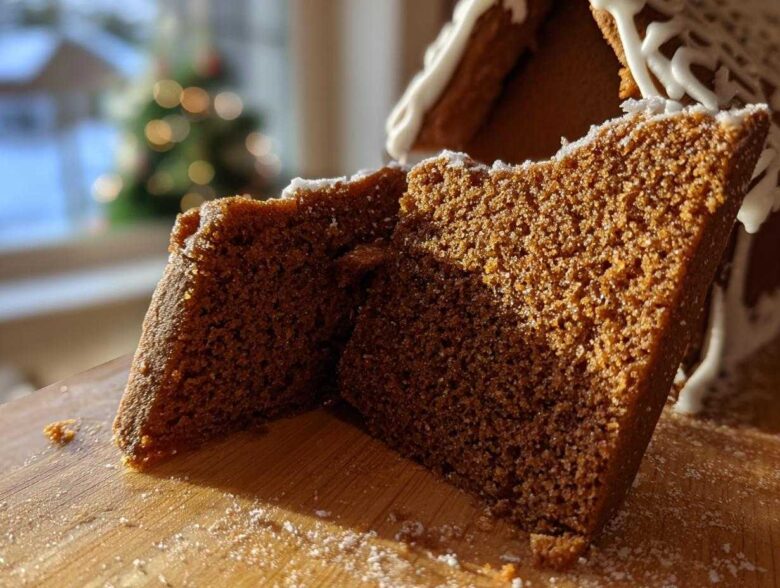
Oh, the smell of the holidays just puts me right in the mood, doesn’t it? Every year I pull out the huge box of candy canes and gumdrops, thinking about making that amazing, towering gingerbread house centerpiece. But I bet you know what I’m talking about—that heartbreaking moment when your perfectly shaped wall slumps into a sad, spicy pancake halfway through baking? Ugh! I had one collapse so badly once, my kids actually thought the dog ate it before I could save any pieces.
Well, you won’t have that disaster here! Forget those flimsy recipes. I’m handing over my absolute secret for an ultimate sturdy gingerbread house recipe. This dough is designed specifically *not* to spread, so your walls stand tall and proud all season long. You can check out some other great ideas over at my main baking inspiration hub, but trust me, this architectural dough is the key!
Why This Gingerbread House Recipe Guarantees Structural Success
If you are looking for a cookie you can actually build with, you have come to the right place! The biggest flop in holiday baking projects is usually that flimsy dough that spreads out like a lava flow in the oven. Not ours! This sturdy gingerbread dough is formulated for architecture, not just snacking. It’s meant to bake hard and flat so you don’t end up fighting melted candy later.
Here is why we call this the best plan for a sturdy cookie construction:
- It has a slightly lower liquid ratio than your typical chewable gingerbread.
- It bakes up firm—we want crisp structure!
- The chilling process is non-negotiable for this no spread cookie recipe.
Key Characteristics of Our Sturdy Gingerbread Dough
Listen, this dough has to be dense enough to support a roof, right? That’s why we punch up the flour slightly and chill it until it’s seriously firm. You absolutely must chill this dough for the full minimum time if you want success with this gingerbread house recipe. If you try to rush it, the edges will slump the second they hit the heat!
Here’s my expert tip: roll your pieces to a solid 1/4 inch thick. Thicker means stronger walls. Don’t be shy about it!
Essential Ingredients for Your Gingerbread House Recipe
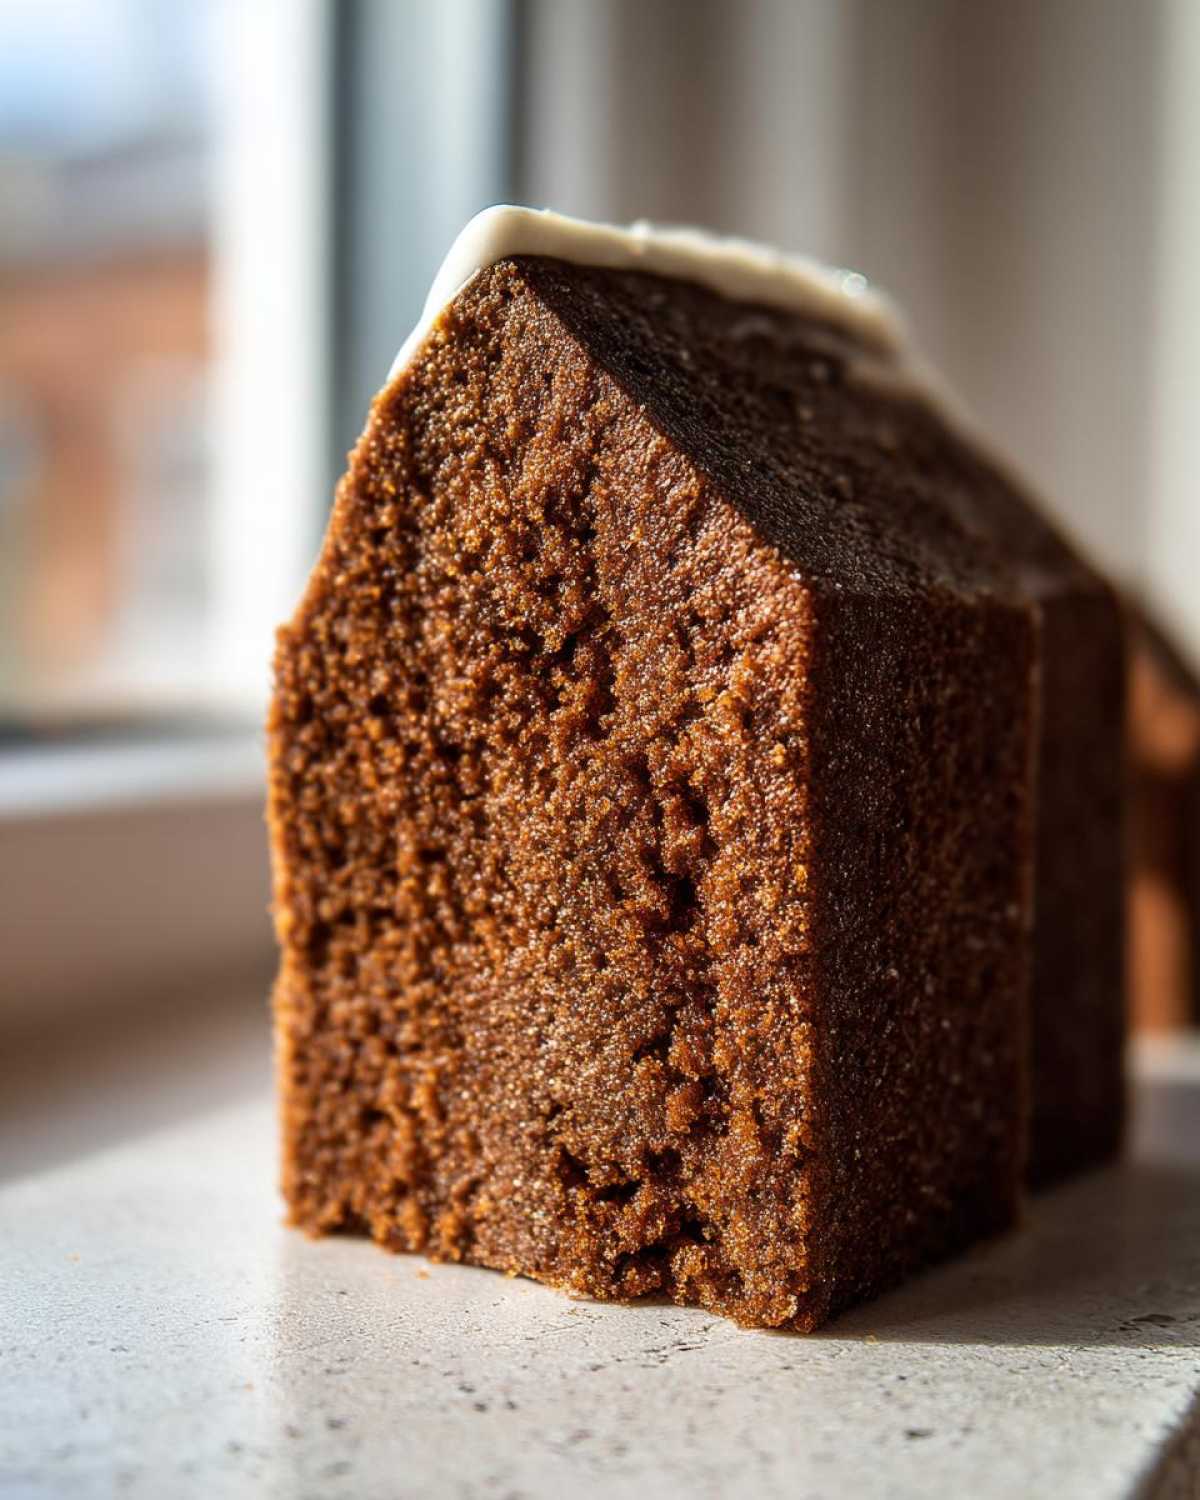
I always lay out every single ingredient before I even turn the mixer on—it keeps me focused! Making a sturdy house requires specific items that ensure the dough doesn’t spread and the icing doesn’t crumble. We are building a lasting structure here, so precision matters. You’ll find the full list of what you need right here to start your best gingerbread house recipe yet.
By the way, if you want the absolute best reference for making icing that actually dries rock-hard, you should check out my guide on getting that perfect cookie icing recipe that hardens smooth—it’s what we use for assembly!
Dough Ingredients for the Gingerbread House Recipe
For the construction material itself, make sure your butter is softened—not melted—and your egg is right at room temperature so it incorporates smoothly. If your dairy is cold, it just won’t mix right with the molasses!
- 3 cups all-purpose flour
- 1 teaspoon baking soda
- 1/2 teaspoon salt
- 1 tablespoon ground ginger
- 1 tablespoon ground cinnamon
- 1/2 teaspoon ground cloves
- 1/2 cup (1 stick) unsalted butter, softened
- 1/2 cup packed light brown sugar
- 1/2 cup molasses
- 1 large egg
- 1 teaspoon vanilla extract
Royal Icing Recipe for Assembly (Construction Cement)
This is vital! We need icing that sets like concrete. Skip the powdered sugar substitutes; the powdered sugar is what guarantees a strong, reliable bond for your entire gingerbread house recipe structure.
- 3 large egg whites, room temperature
- 1/4 teaspoon cream of tartar
- 4 cups powdered sugar, sifted
Step-by-Step Instructions for the Sturdy Gingerbread House Recipe Dough
Now we get down to business! This is where we ensure your walls don’t buckle under pressure later. Don’t worry, the mixing is actually super fast. We just need to honor the process. Make sure you have your spices measured out and ready to go before you start creaming anything!
Remember, the key to this strong dough is keeping things mixed just enough to come together. Too much mixing means too much gluten development, and that’s what gives you those sad, spreading cookies. We want structure, honey, not chewiness!
Mixing and Chilling the No Spread Cookie Recipe
First things first: whisk all your dry ingredients—the flour, salt, baking soda, and all those wonderful spices like ginger and cloves—in a separate bowl. This just makes sure everything gets distributed perfectly before it hits the wet stuff.
Next, cream that butter and brown sugar until it looks light and fluffy. Then beat in your molasses, egg, and vanilla. Once that’s blended nicely, slowly add in those dry ingredients. Mix it on low speed until it just forms a stiff dough. Seriously, stop mixing the second the flour disappears!
Once it’s mixed, divide that sticky mass into two equal portions, flatten each into a nice, neat disk, wrap them up tight in plastic wrap—and this is the most important part—put them in the fridge. They need at least two full hours down there to firm up. I usually forget mine are in there and let them go overnight. That long chill makes this no spread cookie recipe a dream to cut!
Baking the Components for Your Gingerbread House Recipe
Okay, the dough is chilled—phew! Now for the fun part: cutting out the pieces so we can build this bad boy. This is where we nail the easy cookie construction part of the project. Don’t skip rolling the dough out right on the parchment paper cut to fit your baking sheets. I know it sounds like extra work, but trust me, trying to move a freshly cut wall piece across the counter is a recipe for disaster when you’re dealing with this sturdy dough.
Templates are your best friend here. Trace your patterns onto the rolled-out dough and cut carefully with a sharp paring knife. Now for the “sturdy” trick: we are going to bake these longer than you might for a standard cookie. We want these pieces deeply colored and completely firm. Don’t sweat if they get a little dark around the edges; that ensures they won’t snap when you decorate or assemble them later!
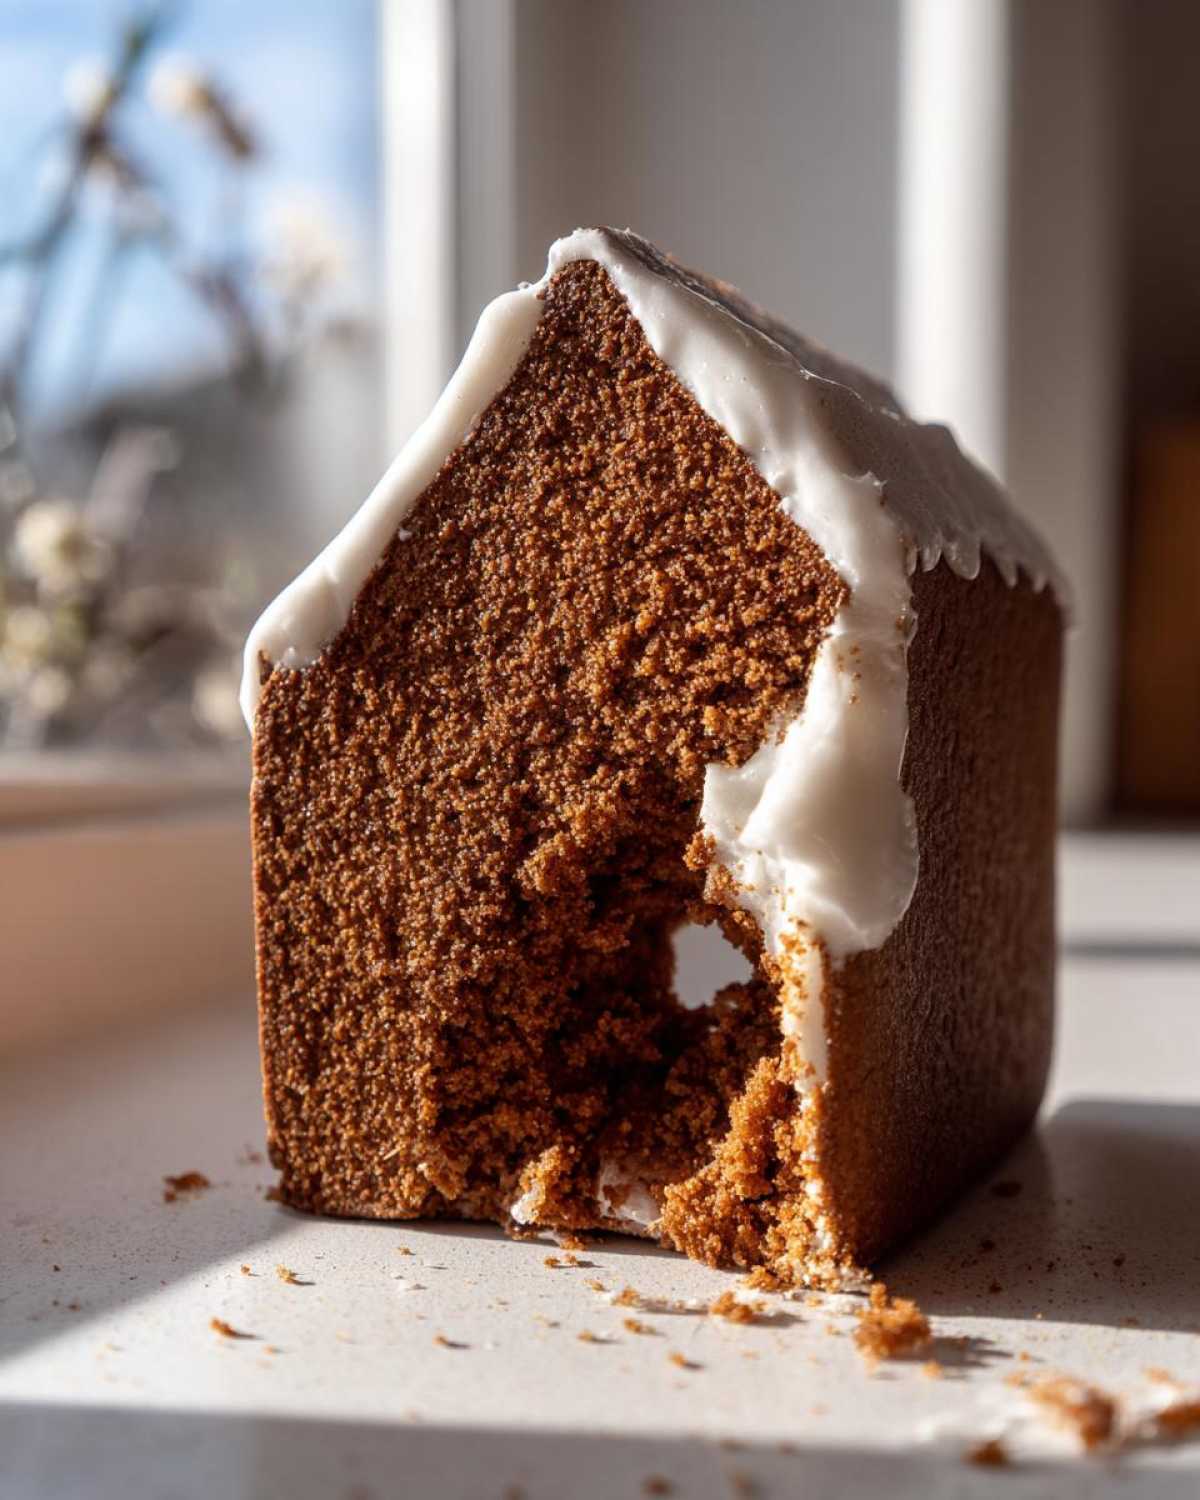
Once they come out of the oven, you absolutely must let them cool completely—and I mean fully cool—on a wire rack before you even think about touching them for assembly. If you try to handle them while they are even slightly warm, they will warp or break. If you want to see some gorgeous icing inspiration for when these are done baking, check out this sugar cookie icing recipe guide that also works wonders with royal icing!
Template Cutting and Baking Tips
Like I mentioned, roll right on the parchment paper you plan to bake on. This eliminates the transfer step, which is surprisingly stressful! If you cut your pieces and they look a little wobbly, just gently place the template back over the warm piece and use the knife to trim any edges that spread while baking. It’s an easy little fix.
For the baking itself, aim for that 12 to 15 minute range, or until they feel rock solid to the touch when you gently tap them. Once they are cool, stack them up and store them in an airtight container until assembly day. Having all your perfectly baked walls and roof panels ready? That’s half the battle won for a successful gingerbread house recipe!
Making the Royal Icing Recipe for Assembly
Okay, this icing is the real superhero of the whole gingerbread house recipe. We aren’t making fluffy stuff for drizzling; we are making hard-setting construction glue! The key here is getting that stiff, glossy texture that dries like, well, concrete. You need this strong bond so your roof doesn’t cave in when you least expect it.
First, make sure those three egg whites are at true room temperature—that really helps them whip up right. Then, right before you start, toss in just a tiny pinch of cream of tartar. This acts as a stabilizer, which is my little expert secret to keep the icing from weeping or dissolving later. It really guarantees a lasting structure!
Whip those whites until they make soft peaks, then gradually, slowly, pour in that sifted powdered sugar. Keep the mixer going until you see stiff, glossy peaks. If you can hold a spatula upside down and the icing doesn’t move, you’ve done it! If you want more amazing tips on getting this icing perfect, you absolutely must read my deep dive on cookie icing that hardens smooth—it covers everything!
How to Build a Gingerbread House: Assembly Instructions
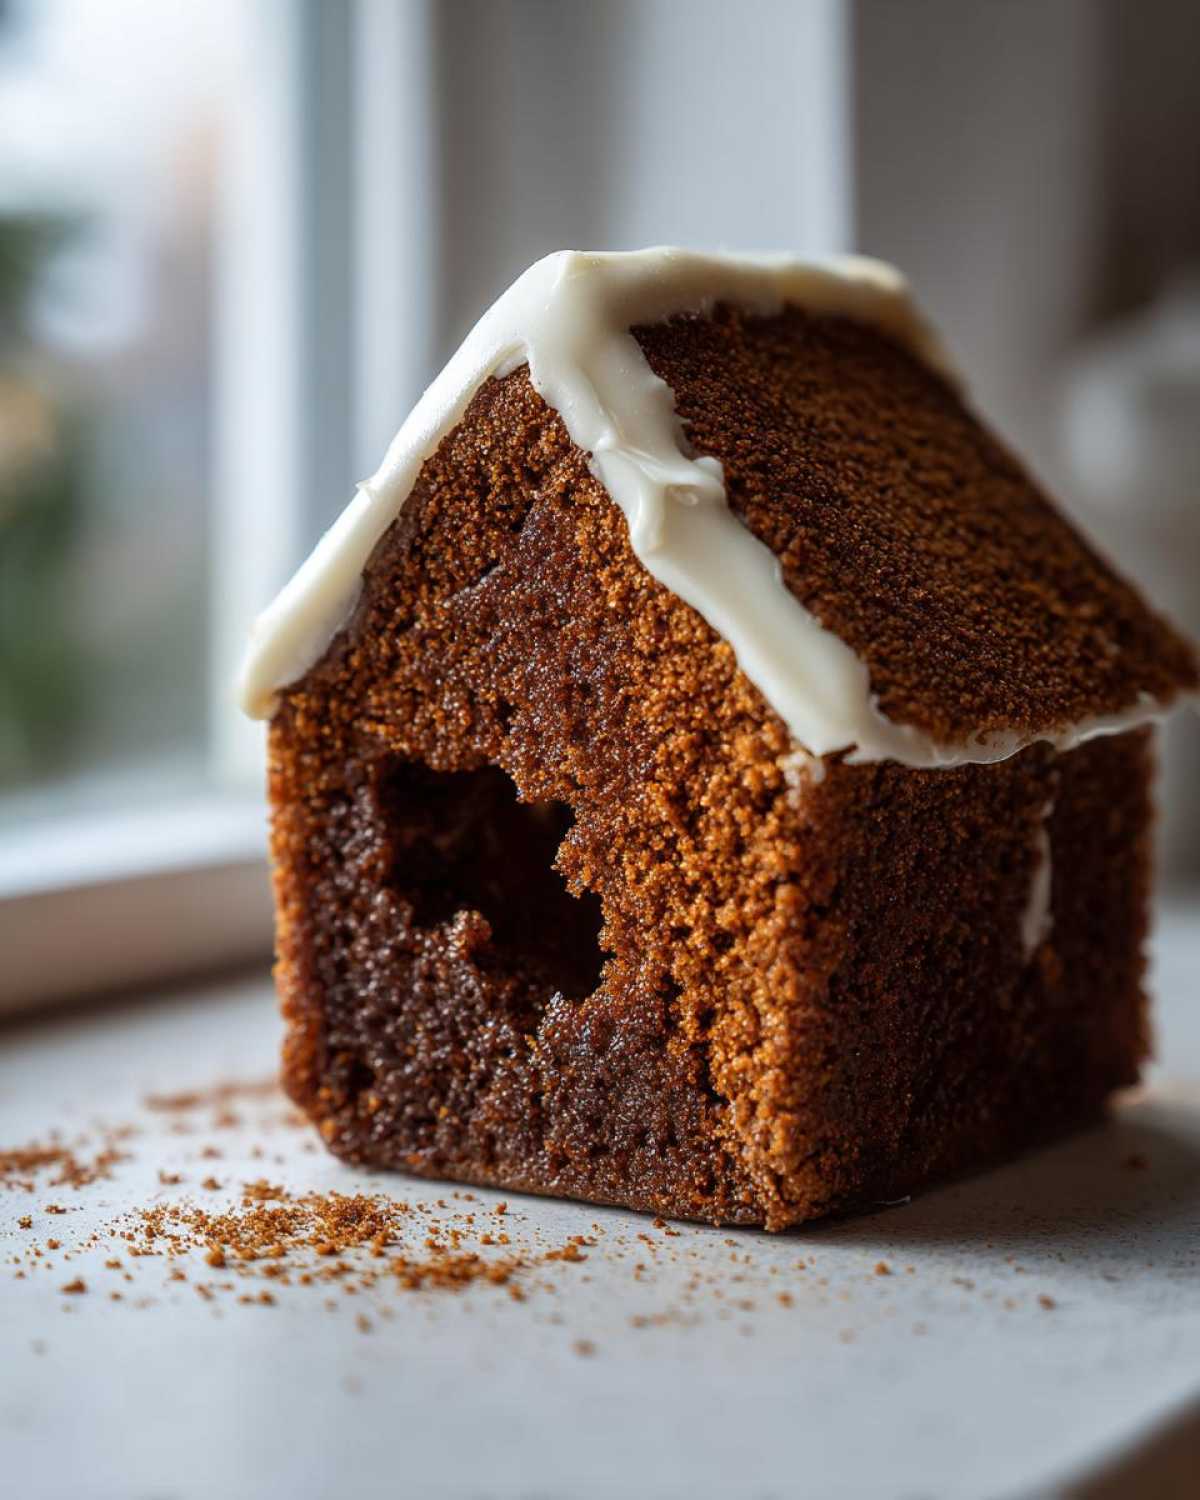
This is the moment of truth! After conquering the dough and the cement, now we tackle how to build a gingerbread house. Don’t rush this part, or all your hard work baking those sturdy pieces will go right down the drain. Assembly requires patience because you are relying on your royal icing to act instantly as the structural support for this whole project. Make sure you have a wide, heavy base ready to go—like a piece of foil-covered cardboard—to anchor your structure!
I always find it helps to have a few heavy cans or small boxes nearby to prop up the walls while the icing sets. It keeps your hands free for piping the next bead of glue. Once the walls are up, we let them rest before adding the heavy roof panels. Think of it like building a real house; you need the foundation set before you put on the roof!
If you need some reliable outlines to get started with cutting those perfect shapes, check out my favorite gingerbread house template guide!
Securing Walls and Drying Time
Pipe a thick, generous bead of your construction icing along the bottom edge of your first side wall. Press that wall down firmly onto your base. Then, take your next piece—the front or back—and pipe icing along the joining edge, pressing it tightly against the first wall you just placed. You need to hold these corners together snugly.
This is the crucial bit: hold each new connection exactly where you want it for about 15 minutes. Don’t let go! If you have a helper, that’s fantastic, but otherwise, use those cans or glasses to prop everything up exactly right. Once all four walls are connected and standing upright, step away! Let the walls cure completely before you even attempt the roof. I usually leave them alone overnight to get super hard.
Attaching the Roof Panels
Once the basic walls feel rock solid, it’s time for the roof. This part uses the most icing because the roof panels are wide and heavy! Pipe icing heavily along the top edges of the walls where the roof will sit. Lay the first roof piece on gently, applying slight, even pressure.
Now, glue the peak where the two roof pieces meet. Use a generous amount of icing here too; this seam bears a lot of the structural load and ensures nothing leaks in on a rainy day (ha!). If the roof seems to be sagging or sliding even a little, prop it up with a small glass or block on the inside while it dries. Let that whole setup cure for several more dedicated hours before moving on to the fun decorating step!
Decorating Your Masterpiece: Edible Holiday Crafts
Whew! You’ve built the house, now you get to play interior designer and exterior decorator! This is honestly my favorite part of the whole gingerbread house recipe adventure. Once that icing cement is totally dry, it opens up a world of edible holiday crafts. Don’t feel stressed about making it look perfect, though; the kids will happily dump candy onto the roof until it looks like a sparkly, sugary heap—and that’s exactly what we want for a great family holiday activity!
My biggest tip here is to use your leftover royal icing not just as glue, but as detail work! If you have any icing left in your piping bags, thin it down just slightly with a drop or two of water. That thinner consistency is perfect for piping delicate window frames or swirls around the door that wouldn’t look right with the thick construction mix.
Also, think about using strong candies to reinforce weight-bearing spots, especially if your roof has overhangs. Instead of just gluing the shingles on, use gummy squares or small, flat hard candies right at the eaves; they act like little architectural support beams covered in sugar!
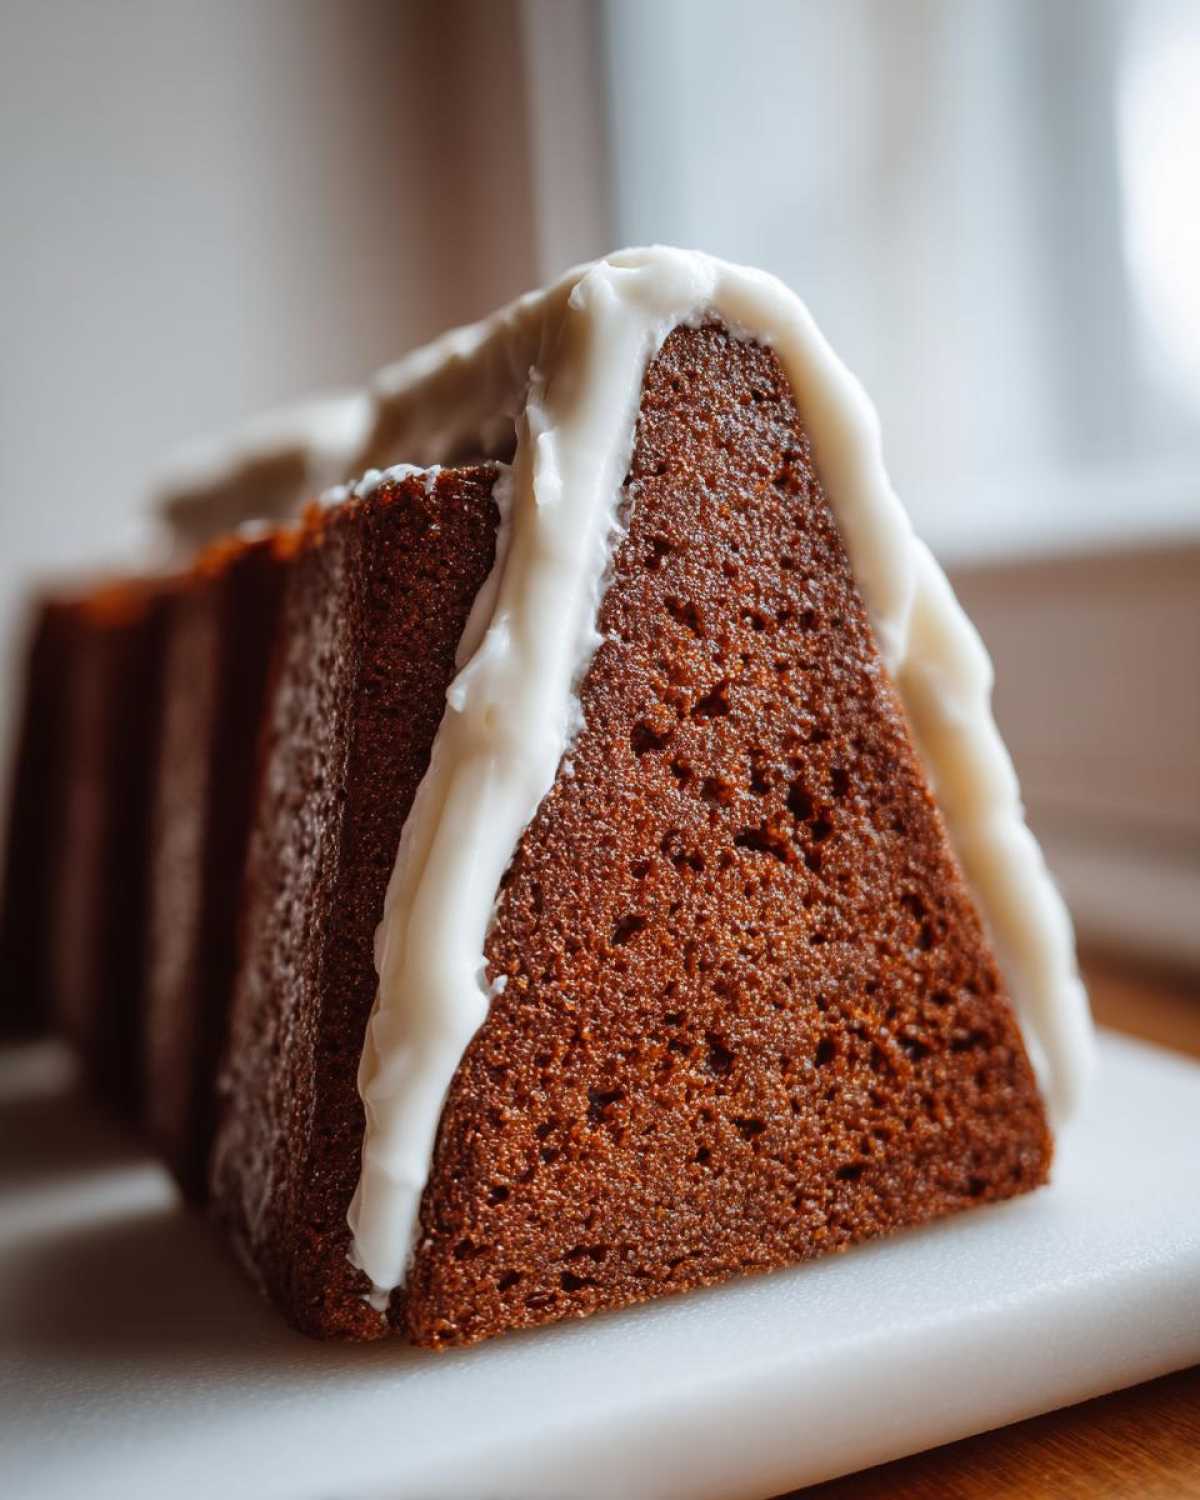
We sometimes like to take leftover icing and drizzle it all over something else festive, like these amazing candy cane brownies we make in December. It’s just fun to have extra icing lying around for all the winter sweet treats!
Tips for Success and Troubleshooting the Gingerbread House Recipe
Even with the best sturdy gingerbread dough recipe in the world, sometimes construction throws a curveball! That’s okay! My kitchen is rarely pristine, to be honest, and baking for the holidays always involves a few minor emergency fixes. Knowing what to do when things go wrong is just as important as knowing the right measurements for your gingerbread house recipe.
We want this to be a joy, not a stress bomb! If you’ve followed the instructions and things are still acting wonky, chances are it’s temperature or humidity playing tricks on us.
If you need some inspiration for what to do with leftover dough or pieces that didn’t make the final cut, check out my recipe for best chewy old-fashioned fruitcake cookies—they use similar spices!
Troubleshooting Common Construction Issues
The biggest headache is usually parts that warp or an icing that won’t grip. If you notice your walls aren’t perfectly flat after baking, you might have a humidity issue in your kitchen or maybe you didn’t roll them quite thin enough in one spot. Always aim for consistency!
Here are my go-to fixes for when things go sideways:
- Warpage on Baked Pieces: If a piece cooled slightly crooked, don’t panic. You can usually gently press it flat while it’s *still warm*—like, just out of the oven warm—between two flat cutting boards. If it’s totally cold and warped, you might have to trim it down slightly to make it fit better during assembly.
- Runny Icing Trouble: If your royal icing feels too thin to stand a wall up—meaning it’s soupy instead of stiff—you just need more sugar! Add a half-cup of reserved sifted powdered sugar and beat it for another three minutes. It almost always firms right back up to manageable construction quality.
- Dough Softness: If the dough gets too soft while you are cutting pieces, stop! Don’t force it. Just slide the entire sheet of dough (with the pieces still on it) back into the fridge for 15 minutes. That brief chill firms it up just enough so you can lift those walls cleanly.
- Humidity Woes: If it’s a rainy or super humid day, your icing will take ages to dry. Try to assemble rooms in small batches and use a small fan pointed *near* the structure (not directly at the icing, which can cause pitting) to encourage evaporation while the icing sets.
Storage and Reheating Instructions for Leftover Components
So, you’ve survived the building phase! Victory! Now you need to know how to keep your masterpiece looking great until Christmas day. You can’t really “reheat” a gingerbread house, seeing as it’s mostly made of sugar and spices held together by icing cement, but keeping the pieces fresh if you baked ahead is important.
If you happen to have undecorated, baked panels left over—maybe you cut extras or a piece cracked and you need a spare—store them in a good, airtight container at room temperature. Keep humidity away from them like it’s the plague! Any moisture overnight and they might soften up on you, and we certainly don’t want that for our sturdy creation.
For the finished gingerbread house, you want to keep it cool and, most importantly, dry. Don’t put it near a heat vent, near the sunny window, or anywhere humid like the kitchen counter right next to the stove. A cool, dry shelf, maybe in a less-used dining room or pantry, is perfect. It can generally stay looking gorgeous for a few weeks this way!
As for leftover icing? If you have any stiff royal icing left over, just wrap it up super tight in plastic wrap, pressing the wrap right against the surface of the icing to keep the air out. Store it covered in the fridge. If it gets too stiff the next day, just whip it for 30 seconds with a tiny, tiny bit of water to bring it back to shape for touch-ups!
Frequently Asked Questions About This Gingerbread House Recipe
I get so many questions about making the perfect structure, and honestly, I love helping everyone avoid the dreaded collapse! Having the right Q&A is half the secret to nailing this gingerbread house recipe, especially when it comes to construction.
We’ve put so much work into this sturdy dough and strong edible craft, so it’s smart to double-check the tricky parts before you start! For general inspiration on all things seasonal, you can always browse my wonderful collection dedicated to baking for Christmas traditions.
Can I use a different type of icing for my gingerbread house recipe?
Oh, you certainly *can* use something like buttercream, but I strongly advise against it if you want this whole project to last past Christmas Eve! Buttercream is soft, it never truly hardens, and it melts super fast if your house sits under warm house lights. For any serious construction—like holding up walls and the roof—you absolutely need royal icing. It dries rock hard, which is why we call it our construction cement in this guide. Buttercream is great for decorating the final surface, but leave the heavy lifting to the royal icing!
How long does the gingerbread dough need to chill for the best results?
This is where people try to take shortcuts, and it never ends well for those edible holiday crafts! The absolute bare minimum time I recommend for chilling this sturdy gingerbread dough is two hours. Seriously, that’s the minimum. If you chill it for less than that, the dough will still be too soft when you try to roll and cut it, and you’ll get those warped edges or the dreaded spreading in the oven.
If you chill it overnight, that’s even better! A longer chill ensures all those fats firm up completely, making the dough stable, easy to handle, and guaranteeing that firm, non-spreading behavior we designed this no spread cookie recipe for. Trust me, waiting overnight is worth the structural integrity!
PrintUltimate Sturdy Gingerbread House Recipe and Construction Guide

Follow this guide to make a sturdy gingerbread dough that holds its shape and a strong royal icing to build your holiday centerpiece.
- Prep Time: 45 min
- Cook Time: 30 min
- Total Time: 3 hours 15 min (includes chilling time)
- Yield: One standard house structure
- Category: Dessert
- Method: Baking and Assembly
- Cuisine: American
- Diet: Vegetarian
Ingredients
- 3 cups all-purpose flour
- 1 teaspoon baking soda
- 1/2 teaspoon salt
- 1 tablespoon ground ginger
- 1 tablespoon ground cinnamon
- 1/2 teaspoon ground cloves
- 1/2 cup (1 stick) unsalted butter, softened
- 1/2 cup packed light brown sugar
- 1/2 cup molasses
- 1 large egg
- 1 teaspoon vanilla extract
- For Royal Icing: 3 large egg whites, room temperature
- 1/4 teaspoon cream of tartar
- 4 cups powdered sugar, sifted
Instructions
- Whisk together flour, baking soda, salt, ginger, cinnamon, and cloves in a medium bowl. Set aside.
- In a large bowl, beat the softened butter and brown sugar until creamy.
- Beat in the molasses, egg, and vanilla extract until combined.
- Gradually add the dry ingredients to the wet ingredients, mixing on low speed until a stiff dough forms. Do not overmix.
- Divide the dough in half, flatten into disks, wrap in plastic wrap, and chill for at least 2 hours.
- Preheat your oven to 350°F (175°C). Line baking sheets with parchment paper.
- Roll out one dough disk to 1/4 inch thickness. Cut out your desired house pieces (walls, roof, etc.) using templates. Place pieces on the prepared sheets.
- Bake for 12 to 15 minutes, or until the edges are firm and the pieces are deeply colored. Baking longer helps ensure sturdiness.
- Cool the pieces completely on a wire rack before handling.
- To make the icing: Beat egg whites and cream of tartar with an electric mixer until soft peaks form. Gradually add the sifted powdered sugar, beating until stiff, glossy peaks form. This is your construction cement.
- Transfer icing to piping bags fitted with a medium round tip (or use a zip-top bag with a corner snipped off).
- Assemble the house: Pipe a thick line of icing along the edges of one wall and press it against the base or another wall. Hold in place or support with cans until the icing sets (about 15 minutes).
- Continue attaching walls until the main structure is complete. Let it dry completely, preferably overnight, before adding the roof.
- Attach roof panels using generous amounts of icing. Allow the entire structure to dry fully before decorating.
Notes
- For best results, roll the dough directly onto parchment paper cut to the size of your baking sheet; this prevents warping when transferring baked pieces.
- If the dough becomes too soft while cutting, return it to the refrigerator for 15 minutes.
- Use a sturdy base, like a thick piece of cardboard covered in foil, to support your finished house.
- For decorating, thin some of the leftover royal icing slightly with a few drops of water to use as ‘glue’ for candies.
Nutrition
- Serving Size: 1 section
- Calories: 250
- Sugar: 45
- Sodium: 150
- Fat: 8
- Saturated Fat: 4
- Unsaturated Fat: 4
- Trans Fat: 0
- Carbohydrates: 42
- Fiber: 1
- Protein: 4
- Cholesterol: 35