

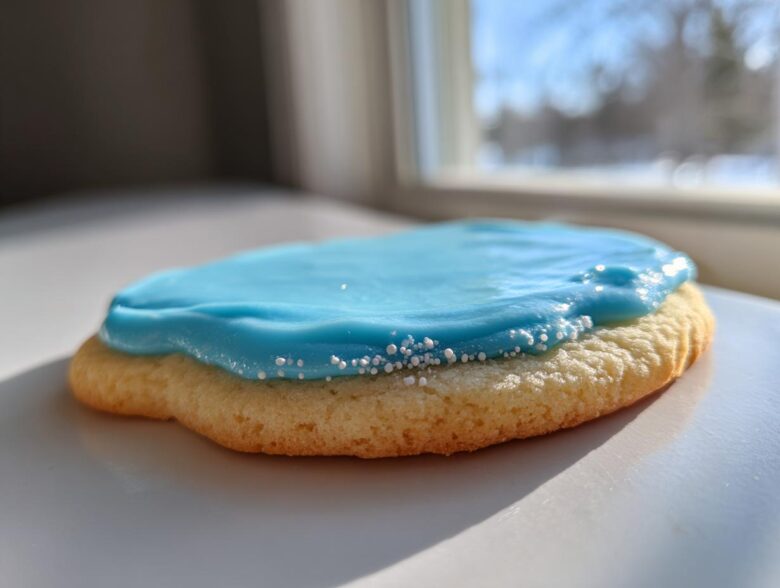
Oh, you’re finally ready to tackle those gorgeous, perfectly decorated sugar cookies? I get it—it’s the decorating part that trips everyone up! You spend all that time rolling, cutting those perfect shapes, and then the icing flops, stays sticky, or cracks horribly when you try to stack them. Been there, cried over ruined batches. That’s why I’m absolutely thrilled to share this failsafe, beginner-friendly approach to the sugar cookie icing recipe you need.
Forget those soupy glazes or temperamental egg-white recipes. This one, which uses meringue powder, is my absolute secret weapon. It mixes up fast, it dries rock hard and smooth—yes, *hard*—giving you that beautiful, professional bakery finish so you can gift or stack your masterpieces without worry. Trust me, once you nail this consistency, your holiday cookie game changes forever!
If you’ve ever struggled to get that perfect edge or flood, you HAVE to check out my guide on making phenomenal chewy cookies first, because a great cookie deserves the best crown!
Why This Simple Sugar Cookie Icing Recipe Works for Decorating
What makes this the ultimate sugar cookie icing recipe? It’s all about the reliable drying power! Unlike standard powdered sugar glazes that stay a little tacky, this mixture sets up firm so you can actually mail your cookies or put them in cute gift boxes. It gives you that beautiful, smooth glossy icing for sugar cookies look—the kind you see in professional bakeries.
We want icing that hardens for cookies, right? This recipe is perfect for outlining and flooding because it locks down tightly. Get ready for your best decorating experience!
Achieving a Bakery Style Sugar Cookie Icing Recipe Finish
The secret ingredient here is meringue powder, not raw egg whites. Honestly, it’s just safer, and it gives you way more consistent results. Meringue powder is what lets this sugar cookie icing recipe create that flawless, slightly shiny surface. It whips up beautifully stiff and smooth, giving you the sharp edges and clean lines we look for in top-tier cookie decorating.
Essential Ingredients for Your Sugar Cookie Icing Recipe
You don’t need a massive grocery list for this! The magic truly lies in making sure we prep what we have correctly. Remember, every single ingredient needs to be measured carefully, especially the powdered sugar, otherwise, your whole consistency goes sideways quickly. We’re keeping this sugar cookie icing recipe super simple so you can focus on the decorating!
You’ll need four cups of powdered sugar, make sure you sift that first—lumps are the enemy here! Then we use three tablespoons of meringue powder, six tablespoons of warm water, and just a splash of vanilla extract for flavor. That’s it! If you want to check out some other fun holiday baking favorites, I’ve got a killer recipe for apple butter snickerdoodles too.
Ingredient Notes and No Corn Syrup Cookie Icing Option
Meringue powder is the MVP here, honestly. It stabilizes everything and helps the icing dry hard without needing raw egg whites, which is a huge win for safety and consistency. It’s what makes this icing rock-solid for stacking.
Now, if you absolutely cannot find meringue powder or want to avoid it, you’ll need a substitute for that stabilizing power. Some folks bypass the meringue powder and replace it with a touch of lemon juice or corn syrup. If you choose to skip the meringue powder entirely to make a no corn syrup cookie icing option, know that the texture might be slightly softer when dry. I stick to the powder because it gives me that perfect, hard, glossy finish every time for my **sugar cookie icing recipe**.
Step-by-Step Instructions for the Best Sugar Cookie Icing Recipe
Okay, now for the fun part—turning that powder into liquid gold! This part requires your electric mixer more than your arm strength, but listen close: timing matters. Don’t rush this part, because those few extra minutes of beating are what give you that amazing, sturdy base for your cookies. This is how we guarantee you get the right texture for your **best sugar cookie icing recipe**.
First, dump your sifted sugar and meringue powder into a large bowl. Then, drizzle in the warm water and vanilla. Start the mixer on low speed—because trust me, powdered sugar flies *everywhere* if you don’t! Once it comes together, bump that speed up to medium-high. You need to beat this mixture for a solid five to seven minutes. Don’t stop early! You’re whipping in air, making it ultra-glossy, and developing its strength. It has to get thick enough to hold stiff peaks!
If you’re dreaming of making delicious cookie mashups next, you’ll definitely want to check out my guide on red velvet brookies!
Creating the Perfect Workable Sugar Cookie Consistency
Once that icing is thick and glossy, we have to thin it down just right for decorating. This is where most beginners get confused, but I promise this trick works every time. You actually need two totally different thicknesses from that one base bowl!
For outlining those sharp edges, the icing should be pretty stiff, just drop the mixer speed and use it as is, or maybe add a tiny, tiny drop of water if it’s being stubborn. For filling in the middle (called flooding), you need it thinner. This is the magic test: slowly add water, one teaspoon at a time, stirring well after each addition. You know it’s perfect when you lift the whisk, and the line of icing that falls floats on top of the surface for about 10 seconds before dissolving back in. That’s your 10-second ribbon rule, and it’s the key to a **workable sugar cookie consistency** that floods perfectly smooth!
Coloring and Customizing Your Easy Cookie Decorating Icing
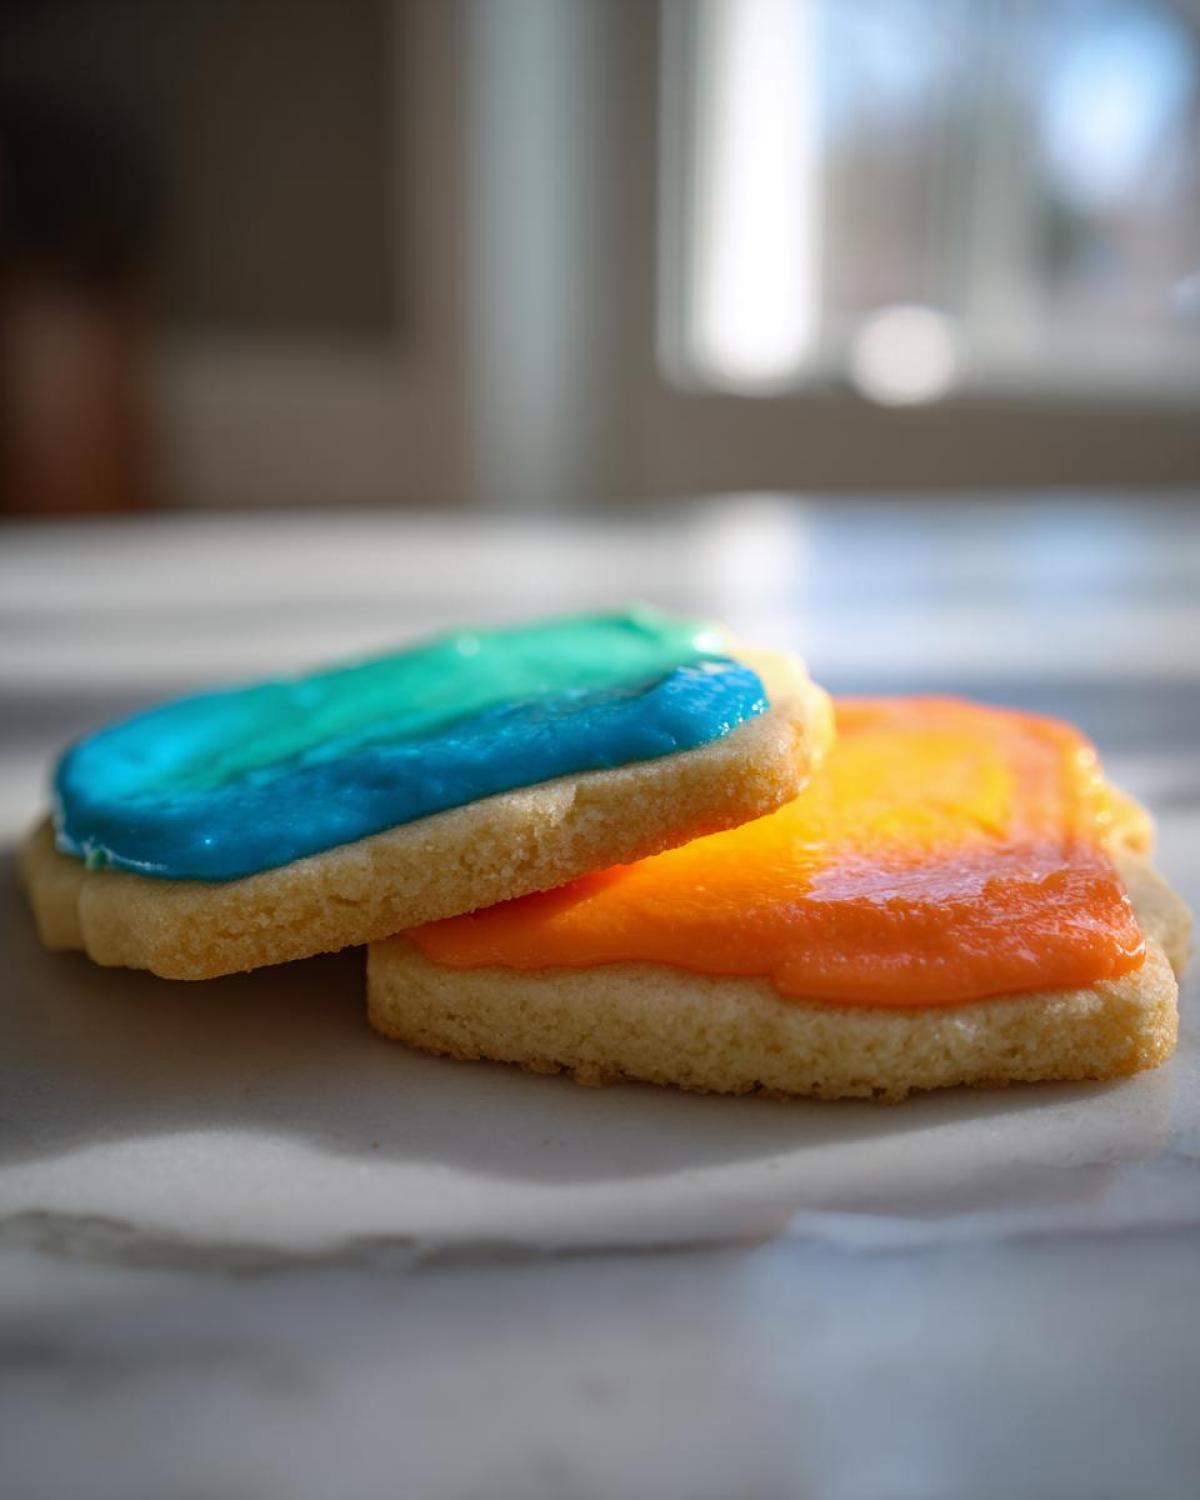
Okay, now that you have your wonderful base of icing—thick and gorgeous—it’s time to bring the fun. If you’re planning on making pretty holiday cookies, you’re going to need color, right? My biggest non-negotiable tip here is to use gel food coloring, not the liquid drops you keep in your pantry.
Liquid colors are mostly water, and if you add too many drops trying to reach a deep red or vibrant blue, you’ll accidentally thin out your beautiful, stiff icing. This means your **easy cookie decorating icing** won’t dry properly later, and you’ll end up with runny mess! Stick to the gels; they are super concentrated, so a tiny toothpick dip gives you huge impact without adding any extra liquid.
Remember to divide up your batch into separate small bowls *before* you add any color. Once you add the color, you need to work fast, so have all your bowls ready to go! I usually start with white, then pull off small amounts for each color I plan to use.
Tips for Success with This Sugar Cookie Icing Recipe
I want your first experience with this icing to be a total win! Decorating can feel intimidating, but honestly, it’s 90% about having your bowl consistency right and working quickly. For all you folks out there needing a true beginner cookie icing tutorial, here are my golden rules to keep things running smoothly.
First, never just leave your icing bowls open on the counter! The top layer skin over shockingly fast, even if the icing underneath is still perfect. Keep a damp paper towel laid right over the top of each bowl when you aren’t actively dipping into them. This keeps the moisture level stable.
If you notice your piping consistency—the stiff stuff—is getting too thick to push through the tip, don’t panic and dump it! Just grab a spray bottle of water (yes, a tiny spritz!) and give the surface a light mist, cover it for 30 seconds, then stir gently. A few drops of water mixed in will bring it right back to a workable state. If you are looking for another one-bowl favorite to try later, you simply must make my one-bowl fudgy brownie cookies!
Drying Times: How to Make Icing That Hardens for Cookies
This is the moment of truth! All that work spreading and piping, and now we just have to wait. If you want cookies you can stack high for gifting or tuck into tins, you have to treat the drying process seriously. Resist the urge to put them anywhere warm or humid, like near the stove or in the fridge—that slows down the hardening process big time!
For a nice, smooth glossy cookie icing recipe to fully set, you usually need several hours at cool room temperature. But if you need to pack them tightly or move them around a lot, I always recommend leaving them out overnight. That way, when you wake up, the icing that hardens for cookies is totally solid, not just tacked on top. Let them air dry completely!
Storage and Keeping Your Sugar Cookie Icing Recipe Fresh
Don’t toss out any leftover icing! Even though this is the **sugar cookie icing recipe** that dries hard, the unused portion still hates air. The second you stop working with a certain consistency—say, your piping color—cover that bowl tightly. I use plastic wrap pressed right down onto the surface of the icing to block out all the air.
If you’ve put it away for the night and it seems stiff or dry the next day, don’t panic! It’s not ruined. Just bring it back to life by stirring in just a few single drops of water at a time until it softens up again. You can even check out my maple pecan granola clusters for ideas on what to do with leftover sugar and spice mix!
Frequently Asked Questions About Your Sugar Cookie Icing Recipe
I know you might still have a few questions bouncing around, especially when you’re trying to get that perfect dome on your cookies! Don’t worry, that’s totally normal when diving into a new technique. I’ve gathered the most common things folks ask me when they are trying out this sugar cookie icing recipe for the first time.
Is this the same as traditional Royal Icing?
It’s super close! We call this a royal icing alternative for sugar cookies because it uses meringue powder instead of raw egg whites. The result is virtually the same: a wonderfully firm, glossy icing that dries hard, which is exactly what you want for stacking or gifting your decorated treats. It’s basically my foolproof, fast version of it!
How long does it actually take to dry completely?
This is key for making sure you have icing that hardens for cookies! If you’re just outlining and the icing layer is thin, it might feel dry to the touch in about an hour, especially in a low-humidity room. But to get that bakery style finish, where you can pile them on top of each other? You absolutely need to let them sit for 8 to 12 hours, or even overnight. Patience pays off here!
Can I use milk instead of water in this sugar cookie icing recipe?
You could, but I strongly advise sticking to the warm water! Milk contains fat and proteins that can actually prevent the icing from achieving that super hard, glass-like finish we are aiming for. If you want the best result from this smooth glossy cookie icing recipe, water is the way to go. If you’re looking for other wonderful baking projects in the meantime, feel free to browse my whole baking blog archives!
My icing is too stiff for piping outlines, what do I do?
If you followed the 5-7 minute whisking time, it should be pretty stiff, but sometimes the humidity plays tricks on us! If you can’t push it through your tip, just add a few drops of water—literally a few!—and mix it gently with a spoon. Remember, this is about getting the right workable sugar cookie consistency, so a tiny bit of liquid goes a very long way!
Nutritional Estimates for This Icing
Now, I have to give you the usual disclaimer because I am a home baker, not some fancy lab technician! These numbers are just estimates based on the ingredients I use in my kitchen. If you swap out water for milk, or use a different brand of powdered sugar, the final counts will shift a bit. But seriously, these cookies are for fun, not for counting calories!
For roughly a quarter cup of this amazing, glossy icing, here’s what we’re looking at:
- Serving Size: 1/4 cup prepared icing
- Calories: 180
- Sugar: 45g (Yep, it’s mostly sugar, that’s how icing works!)
- Sodium: 5mg
- Fat: 0g
- Saturated Fat: 0g
- Trans Fat: 0g
- Carbohydrates: 45g
- Fiber: 0g
- Protein: 2g
- Cholesterol: 0mg
Enjoy these sweet beauties! You earned them after mastering that piping consistency!
PrintSimple Hardening Icing for Sugar Cookies

A straightforward recipe for icing that dries firm, perfect for detailed decorating and stacking sugar cookies.
- Prep Time: 10 min
- Cook Time: 0 min
- Total Time: 10 min
- Yield: Coats approximately 2 dozen 3-inch cookies
- Category: Dessert Topping
- Method: Mixing
- Cuisine: American
- Diet: Vegetarian
Ingredients
- 4 cups powdered sugar, sifted
- 3 tablespoons meringue powder
- 6 tablespoons warm water
- 1 teaspoon vanilla extract
Instructions
- In a large bowl, whisk together the sifted powdered sugar and meringue powder.
- Add the warm water and vanilla extract to the dry ingredients.
- Beat the mixture with an electric mixer on low speed until combined, then increase to medium-high speed.
- Beat for 5 to 7 minutes until the icing is very thick, glossy, and holds stiff peaks. This is your base icing consistency.
- To achieve a flooding consistency for filling in areas, add water one teaspoon at a time, mixing well after each addition, until the icing slowly falls from the whisk in a ribbon that disappears into the surface after about 10 seconds.
- To achieve a piping consistency for outlining, use the icing as is, or add just a few drops of water if it seems too stiff.
- Use the icing immediately for outlining and flooding your cooled sugar cookies.
- Allow the cookies to sit at room temperature until the icing is completely dry and hard, which usually takes several hours or overnight.
Notes
- For coloring, divide the base icing into separate bowls and mix in gel food coloring until the desired shade is reached. Gel colors work best to avoid thinning the icing.
- If the icing becomes too thick while you are working, stir in a few drops of water to restore the correct consistency.
- This icing dries hard, making it suitable for stacking cookies or packaging them for gifts.
Nutrition
- Serving Size: 1/4 cup prepared icing
- Calories: 180
- Sugar: 45g
- Sodium: 5mg
- Fat: 0g
- Saturated Fat: 0g
- Unsaturated Fat: 0g
- Trans Fat: 0g
- Carbohydrates: 45g
- Fiber: 0g
- Protein: 2g
- Cholesterol: 0mg