

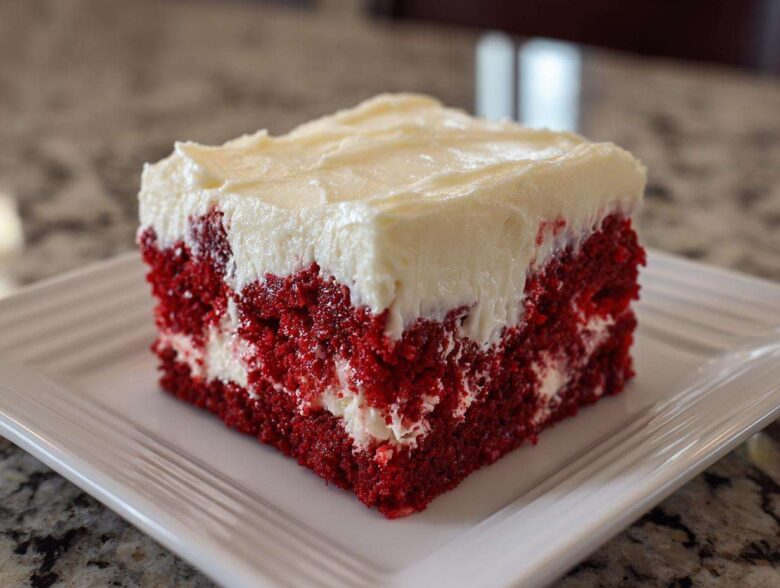
Oh my gosh, are you tired of desserts that look fancy but taste like cardboard? Me too! We all need those show-stopping recipes that turn out perfect every single time, even after a chaotic day of prepping for a big celebration. That’s why I am so obsessed with sharing my secret for the absolute best **Ultra-Moist Red Velvet Poke Cake**. Seriously, this thing is liquid velvet under a blanket of the richest cream cheese frosting you’ve ever had. I spent ages messing with the soak—trying to figure out the right balance between the sweetened condensed milk and the cake—but trust me, once you nail that step, you’ve won the dessert game!
This isn’t just a cake; it’s a total showstopper for holidays or just a really good Tuesday. I’m linking my favorite guide on how to get deep red velvet flavor if you ever want to upgrade the box mix, but for this poke version, we’re keeping things ridiculously easy. Get ready; this is going to be your new go-to party favorite!
Why This red velvet poke cake Recipe is a Party Ready Dessert Staple
This recipe is my absolute ace up the sleeve when I need something that looks like I spent all day fussing over it, but honestly, it comes together so fast. It hits every note you want when you’re bringing a dessert to a gathering. I’ve tried way too many boring sheet cakes over the years, but this **red velvet poke cake** format is just brilliant because it guarantees flavor in every single bite.
- It is unbelievably moist—the kind of cake that practically melts in your mouth.
- It uses a simple box mix foundation, which cuts down on cleanup and stress.
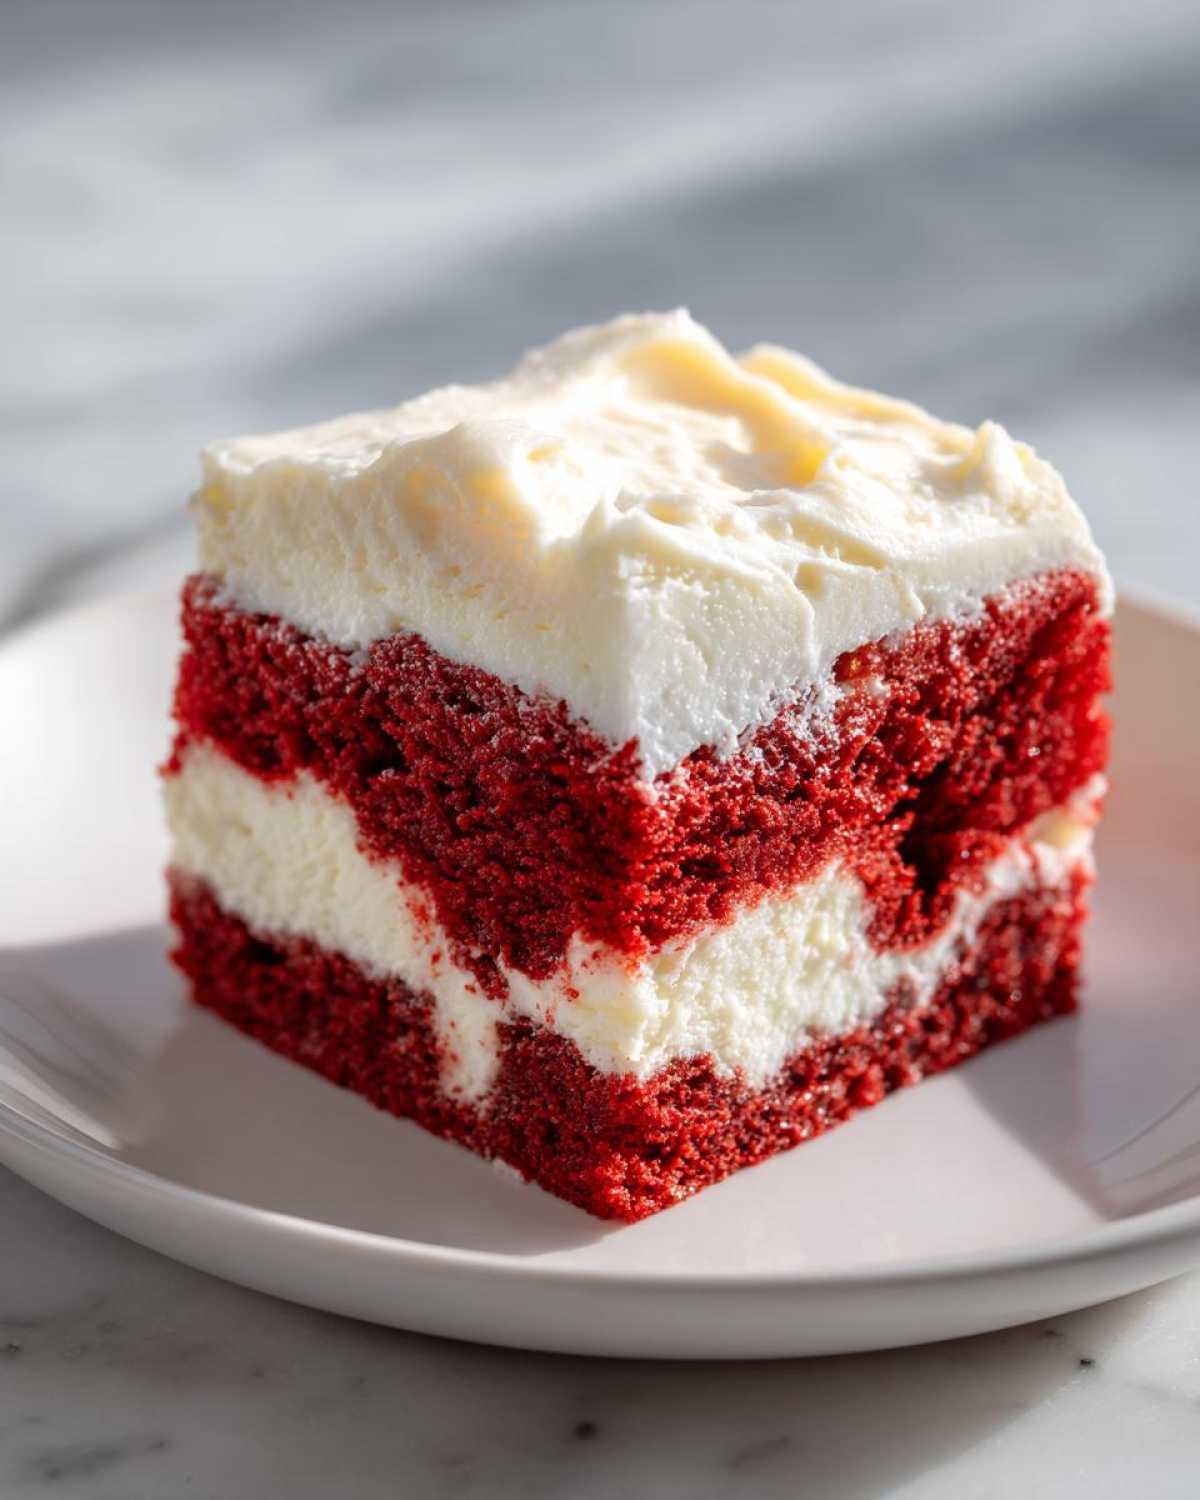
- The three distinct layers (cake, pudding whip, and frosting) make it feel special!
Achieving Ultra-Moist Red Velvet Dessert
You simply cannot ruin the moisture payoff here, and that’s thanks to the magic soak. That sweetened condensed milk poured right into the warm cake is the secret weapon! It sinks deep down, keeping the crumb velvety and tender for days. Seriously, forget dry dessert woes; this soak handles everything.
Simple Sheet Cake Recipe Preparation
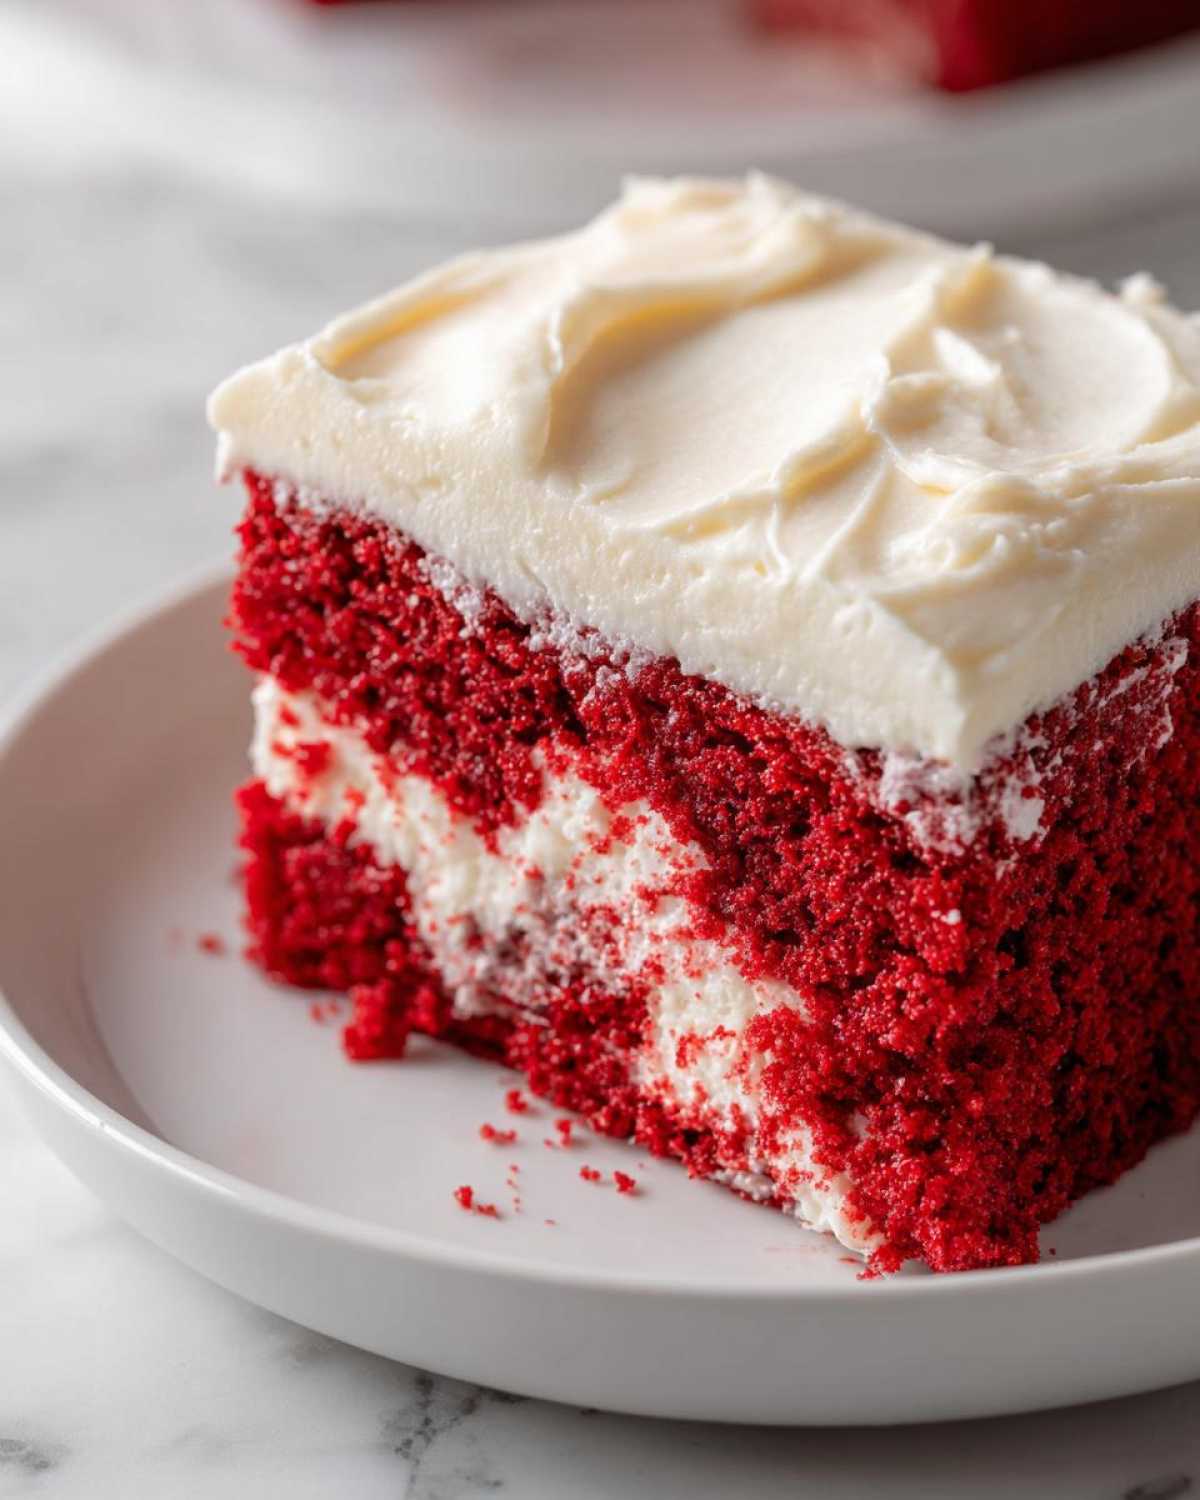
If you’re intimidated by layered cakes, don’t worry! Since we’re using a standard 9×13 pan, clean-up is minimal. It’s a dump-and-bake foundation, followed by easy layering. This **Simple Sheet Cake Recipe** means you can whip this up after the kids are in bed and still have time to relax.
Ingredients for Your Ultra-Moist red velvet poke cake
Okay, gathering ingredients for this is half the fun, because honestly, it’s mostly stuff you probably already have in the pantry! Because we are building layers of indulgence here, I want you to pay attention to the quality of your dairy for the top layer. Using full-fat cream cheese here makes a huge difference in how rich and decadent that final bite feels. Don’t cheat yourself on the cream cheese!
Here is what you need to grab for this amazing dessert. We’ve got the base, the soak, the cool layer, and the grand finale frosting:
- 1 box (15.25 oz) red velvet cake mix
- 1/2 cup water
- 1/4 cup vegetable oil
- 3 large eggs
- 1 can (14 oz) sweetened condensed milk
- 1 package (3.4 oz) instant vanilla pudding mix
- 1 cup cold milk (for pudding)
- 1 container (8 oz) frozen whipped topping, thawed
For the Cream Cheese Frosting Cake Topping
This is where the real magic happens after the cake chills out a bit. The most important thing for this frosting is that your cream cheese is totally, completely softened. If it’s cold, you’ll end up with little hard lumps in your beautiful cream cheese frosting cake, and nobody wants that texture contrast!
- 8 oz cream cheese, softened
- 1/2 cup powdered sugar
- 1 teaspoon vanilla extract
How to Make red velvet poke cake with Sweetened Condensed Milk Soak
Alright, time to get messy! This is the best part of making any recipe involving that sweet magic, and I’m linking my favorite way to use sweetened condensed milk for truly memorable desserts. Watch closely, because we’re building layers of flavor here, and you definitely don’t want to rush the cooling time, or you’ll end up with a sad, soupy mess instead of our beautiful layered cake.
Baking and Poking the Cake Base
First thing’s first: crank that oven up to 350 degrees Fahrenheit and make sure that 9×13 pan is greased and floured well. Mix up your cake batter according to the box, but remember we are using those specific amounts—three eggs, that 1/2 cup of water, and only 1/4 cup of oil—to get that perfect rich texture. Bake it for about 28 to 32 minutes. Once it’s done, let it cool in the pan for just 15 minutes. Not cooler, not hotter! As soon as that 15 minutes is up, grab a wooden spoon handle or a big fork and poke holes all over the surface. Don’t be shy! You want those holes about an inch deep and an inch apart so that glorious soak can really get down into the cake.
Preparing the Velvety Cake Filling Layer
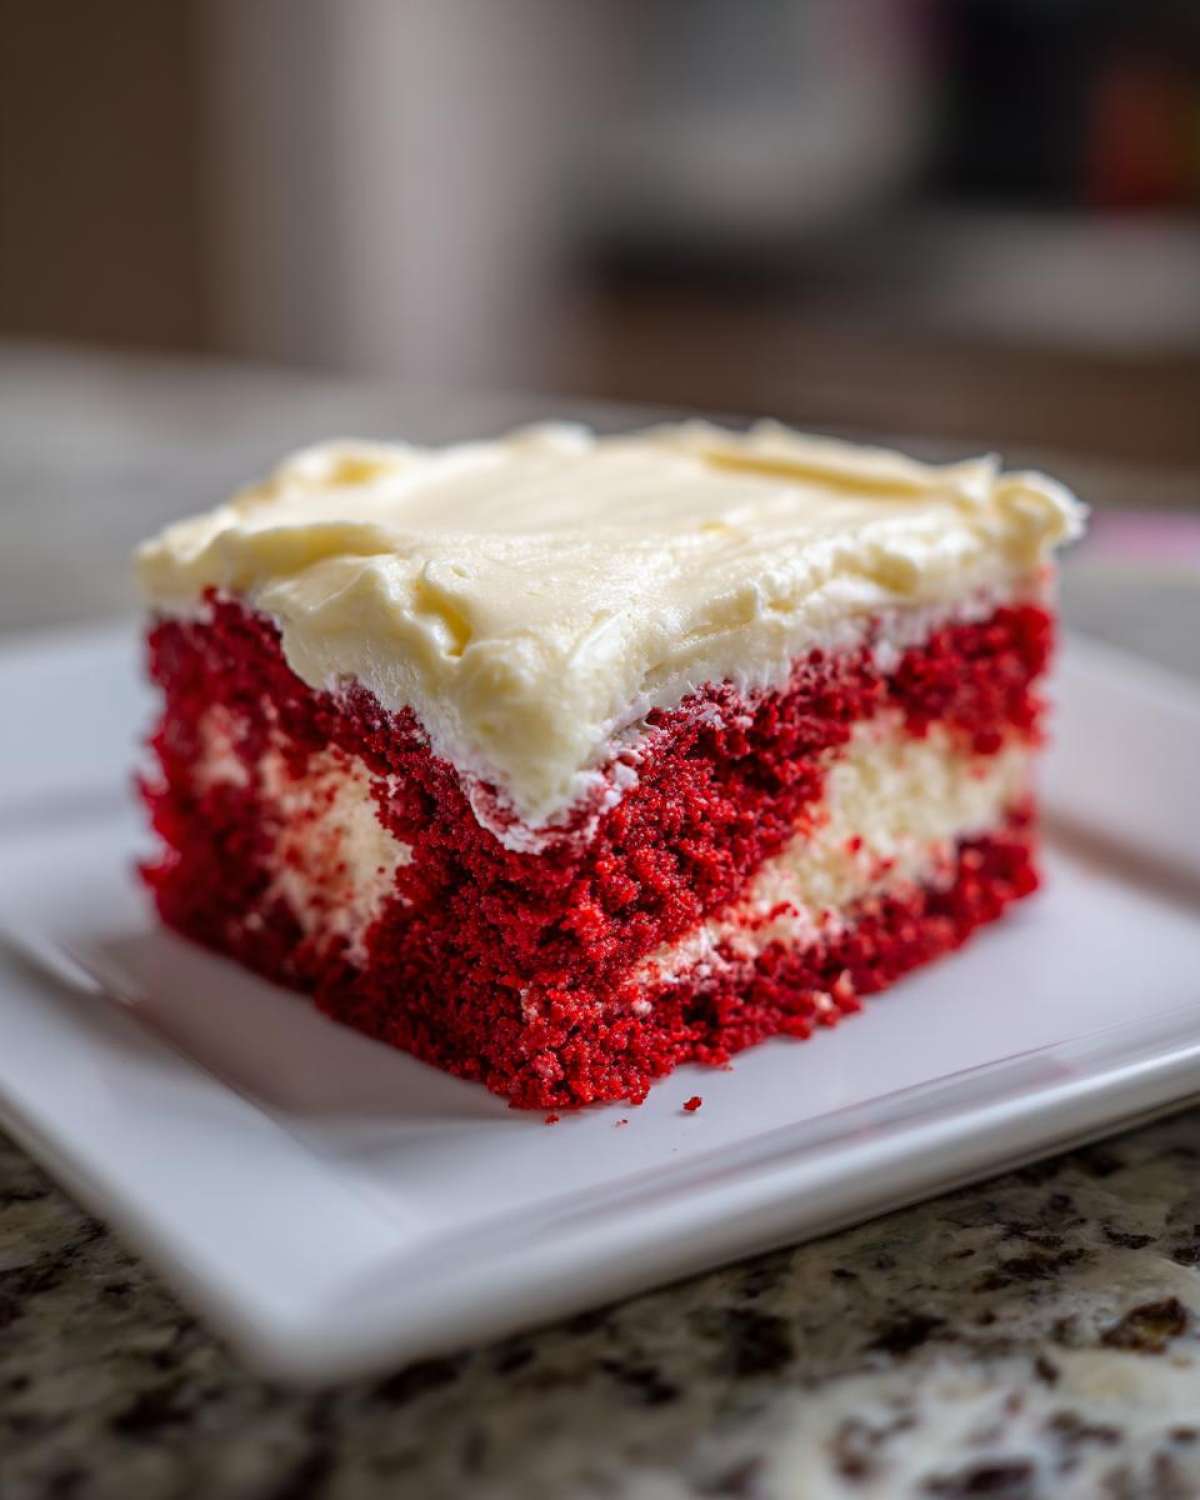
While the cake is cooling post-poking, let’s handle the wonderfully light middle layer. You need to mix up your instant vanilla pudding with the cold milk, making sure it gets nice and thick—it only takes a minute! Once it sets up a little, gently—and I mean gently—fold in your thawed whipped topping. The key here is folding, not stirring, because we want to keep all those lovely air bubbles in there. Make sure the cake is completely cool before you spread this creamy layer evenly over the top. If it’s even a little warm, you’ll melt the pudding straight through the holes!
Finishing with Cream Cheese Frosting Cake
Now for the grand finale! Beat that softened cream cheese until it’s smooth as silk—no lumps allowed! Then, beat in the powdered sugar and that vanilla extract until you have a thick, easily spreadable **Cream Cheese Frosting Cake** topping. Simply slather that luxurious layer right over the pudding layer. This entire creation needs a nice rest in the fridge—I always aim for at least two hours, but honestly, if you can leave this **red velvet poke cake** overnight, the flavors just get richer!
Tips for Success Making Your red velvet poke cake
This **red velvet poke cake** is incredibly forgiving, but there are a few little tricks I learned the hard way that keep it looking professional and tasting heavenly. If you’re worried about a soggy bottom or frosting sliding everywhere, these tips are for you. Remember, this cake is designed to be moist, but we don’t want it dripping down the sides of the platter!
When you’re pouring that sweetened condensed milk mixture over the top, go slow. If you just dump it on, it pools in a few spots. You want that slow, steady drizzle so it seeps evenly into every single hole you poked. Also, don’t be tempted to use a huge, deep pan for this recipe unless you plan on baking it for close to an hour; a wider 9×13 ensures the heat cooks evenly, which really helps with setting up those top layers properly. If you want to see how I keep my tropical desserts from getting mushy, check out my tips for a great moist coconut cake recipe—the rules about chilling apply here too!
Making Ahead Cake for Parties
If you ask me, this is the ultimate **Make Ahead Cake** because it actually tastes *better* the next day! The extra chilling time allows that sweet condensed milk soak to really marry up with the red velvet crumbs. Seriously, if you’re serving this for a holiday brunch or a big party, bake it completely, frost it, layer it, and stick it in the fridge the night before. When you pull it out, it’s perfectly set, firm enough to slice beautifully, and the flavor payoff is just unbelievable.
Just make sure your final layer of cream cheese frosting is set before you cover it tightly with plastic wrap. If you cover it too early, the condensation can make the frosting look weepy, and nobody wants weepy frosting!
Variations for Your Simple Sheet Cake Recipe
I love that this **Simple Sheet Cake Recipe** is a fantastic base for experimenting. Since it’s so easy to assemble, you can totally switch things up for different moods or occasions without stressing out! Honestly, the layers are so simple that they can handle some pretty fun substitutions if you get bored with the classic mix.
If you want to make it *even* closer to a **4 Ingredient Poke Cake** setup, you can simplify the soak and skip the pudding layer entirely. Just mix that can of sweetened condensed milk with about half a cup of hot water—the water helps thin it just enough to soak better—and pour that over the warm cake. Then, go straight to your cream cheese frosting! It’s less dessert, maybe, but super fast!
For a totally different flavor punch in the middle, try swapping out the instant vanilla pudding for instant cheesecake pudding mix. Wow! It blends beautifully with the red velvet and makes that middle layer taste almost like a no-bake cheesecake filling. Or, if you’re looking for a different topping texture, try using a simple Cool Whip frosting instead of the full cream cheese batch. You still get that light, fluffy texture, but it’s a little less rich if you’re serving it after a huge holiday meal!
Serving Suggestions for This Holiday Poke Cake
Because this cake is already so rich—we’ve got the dense red velvet, the sweet milky soak, and that heavy cream cheese topping—we don’t need much fuss on the side! Honestly, a glass of cold milk is always perfect. If you’re serving this after a big meal, I highly recommend sticking to something bright to cut through the richness.
Fresh raspberries or sliced strawberries on the side give you a beautiful color contrast and a lovely tartness. And, of course, nothing goes better with cake than a piping hot cup of coffee. If you need a coffee recipe, I always turn to my favorite coffee cake recipe tips for brewing the perfect cup to enjoy alongside this slice!
Storage and Reheating Instructions for red velvet poke cake
Okay, listen up, because this is important. Since we have that glorious layer of pudding and whipped topping, plus the cream cheese up top, this cake absolutely needs to stay chilly. You can’t just leave this **red velvet poke cake** sitting on the counter like a regular layer cake—the dairy layers will turn sad pretty fast, especially if your house is warm!
You have to keep it covered tightly in the refrigerator. Cover it well, or the plastic wrap will stick right to that beautiful frosting, and you’ll pull off half your topping when you try to serve it later! It keeps beautifully for about three or four days, which makes it perfect for leftovers after a big party. Trust me, the flavor actually gets deeper as it sits, so don’t feel bad about making it ahead of time.
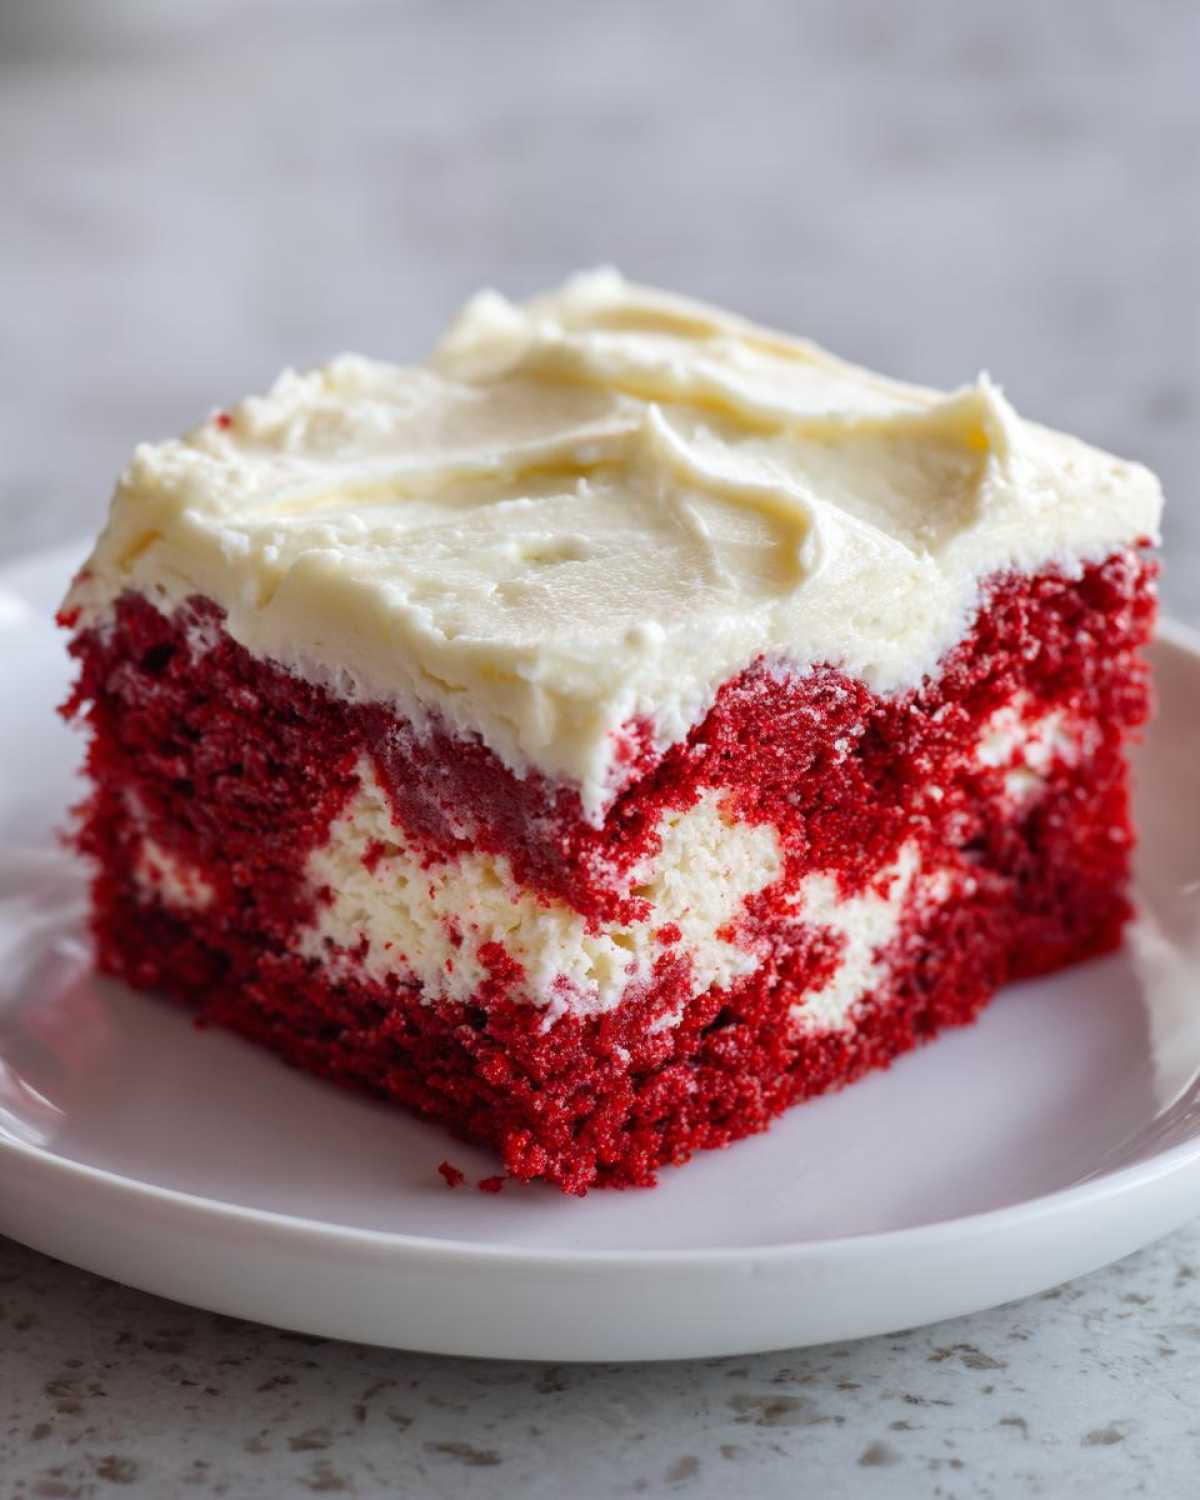
Now, about reheating? Nope. Don’t even try it. This cake is designed to be served cold or slightly chilled. Heating it up will melt the pudding, make the whipped topping go watery, and you’ll end up with a sloppy puddle instead of the perfectly layered wonder we worked so hard to create. It’s just not meant for a microwave!
If you have tons left over and need to store it longer, you can actually freeze this! Wrap the entire cake or individual slices *very* well—I mean double-wrap in plastic and then aluminum foil. It freezes great for up to a month. Just thaw it slowly overnight in the fridge. When you go to serve it, let it sit on the counter for about 10 or 15 minutes; that slight warm-up takes the chill off the frosting just enough without ruining the structure.
Frequently Asked Questions About red velvet poke cake
I totally get it; when you’re baking for a crowd, you need to know the answers before you even start mixing! People always have questions about making sure this **red velvet poke cake** works out perfectly, especially when they try to change one or two little things. Here are the common things that pop up in my email, so you can feel confident heading into the kitchen!
Can I substitute the instant vanilla pudding in this Moist Red Velvet Dessert?
You sure can! While the pudding is what gives that middle layer that slightly firmer, cheesecake-like texture that I adore in this **Moist Red Velvet Dessert**, if you’re really opposed to it, you can totally make a straight stabilization layer. Just whip up an 8 oz container of frozen whipped topping with about 4 ounces of softened cream cheese and a tiny bit of powdered sugar until it’s stiff. It won’t have the exact vanilla flavor profile, but it will still be light and delicious, and it holds up great!
Is this a good Christmas Red Velvet Dessert option?
Oh my goodness, yes! This is probably one of my favorite **Christmas Red Velvet Desserts** because the color is already perfect for the season, and it’s so easy to transport to a party. To make it look extra festive, I skip the chocolate shavings and instead use some of those tiny red and white sprinkles, or just dust the whole thing with a fine layer of powdered sugar right before serving to look like a snowy blanket over the cream cheese layer. It always disappears first on the dessert table!
I also have a fantastic guide for making moist red velvet cupcakes if you ever need individual servings instead of a sheet cake!
Do you have questions about making a homemade version? I talk about using a homemade cake base in my main instructions, but sometimes people ask if they can skip the essential condensed milk soak. Honestly, I wouldn’t recommend it for this recipe; that soak is what turns a good cake into a great poke cake! You can find more ideas on how to make various poke cakes on my other post.
Recipe Information and Metrics
It’s always good to know the logistics before you start mixing! I’ve baked this **red velvet poke cake** so many times that I can eyeball the prep time, but here are the official numbers so you know roughly how much time you’re dedicating to this slice of heaven. Remember, this is based on using the box mix and not fussing too much with the layers, though I always take my time on the poking step!
We’re making a generous amount here, so plan on having leftovers—which is great news, honestly, because this is one of those desserts that tastes amazing the next day. If you struggle with timing your baking (I used to ruin so many recipes by having the oven too cool!), checking out my guide on how to make an easy poke cake has some universal tips that really help speed up the process!
Nutritional Disclaimer
I always want to be upfront with you guys: while I’ve pulled the numbers below based on the standard ingredients we used in the steps above, please take them with a grain of salt! Baking homemade desserts—even ones starting with a box mix—means the final counts for things like calories, sugar, and fat are always going to be estimates. Why? Because the size of your eggs, the brand of cream cheese, or how thick you spread that frosting layer makes a difference!
Generally speaking, this is a decadent treat, so expect higher sugar and fat content. For reference, the recipe yields about 12 servings, and here’s a rough idea of what one slice looks like:
- Calories: 420
- Sugar: 55g
- Fat: 20g
- Protein: 5g
Consider this your guide, not your strict diet mandate. This **red velvet poke cake** is meant for celebrating, after all!
PrintUltra-Moist Red Velvet Poke Cake

This recipe makes an ultra-moist red velvet sheet cake soaked with sweetened condensed milk and topped with cream cheese frosting. It is easy to prepare for parties or holidays.
- Prep Time: 20 min
- Cook Time: 30 min
- Total Time: 50 min
- Yield: 12 servings
- Category: Dessert
- Method: Baking
- Cuisine: American
- Diet: Vegetarian
Ingredients
- 1 box (15.25 oz) red velvet cake mix
- 1 can (14 oz) sweetened condensed milk
- 1/2 cup water
- 1/4 cup vegetable oil
- 3 large eggs
- 1 package (3.4 oz) instant vanilla pudding mix
- 1 cup cold milk (for pudding)
- 1 container (8 oz) frozen whipped topping, thawed
- 8 oz cream cheese, softened
- 1/2 cup powdered sugar
- 1 teaspoon vanilla extract
Instructions
- Preheat your oven to 350 degrees Fahrenheit. Grease and flour a 9×13 inch baking pan.
- Prepare the red velvet cake mix according to the package directions, substituting the required water and oil amounts with the 1/2 cup water and 1/4 cup oil listed in the ingredients, and using 3 eggs.
- Bake the cake for 28 to 32 minutes, or until a toothpick inserted into the center comes out clean. Let the cake cool in the pan for 15 minutes.
- While the cake is slightly warm, use the handle of a wooden spoon or a large fork to poke holes all over the top of the cake, about 1 inch apart.
- In a small bowl, whisk together the sweetened condensed milk and 1/2 cup of the prepared cake batter (or use 1/2 cup water if you prefer a simpler soak). Pour this mixture evenly over the top of the warm cake, allowing it to soak into the holes. Let the cake cool completely.
- Prepare the instant vanilla pudding according to package directions, using 1 cup of cold milk. Let it set for 5 minutes. Gently fold the thawed whipped topping into the prepared pudding. Spread this mixture evenly over the cooled cake.
- Prepare the cream cheese frosting by beating the softened cream cheese, powdered sugar, and vanilla extract together until smooth. Spread this frosting over the pudding layer.
- Chill the cake for at least 2 hours before slicing and serving.
Notes
- For an extra rich soak, you can mix the sweetened condensed milk with 1/4 cup of hot water before pouring it over the cake.
- You can use a store-bought cream cheese frosting if you want to save time.
- This cake tastes best when made a day ahead of serving.
Nutrition
- Serving Size: 1 slice
- Calories: 420
- Sugar: 55g
- Sodium: 350mg
- Fat: 20g
- Saturated Fat: 10g
- Unsaturated Fat: 10g
- Trans Fat: 0g
- Carbohydrates: 60g
- Fiber: 1g
- Protein: 5g
- Cholesterol: 45mg