

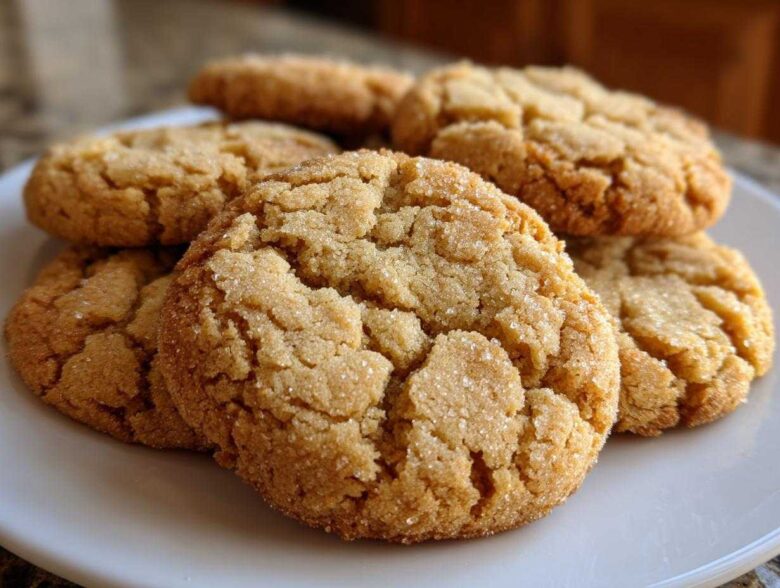
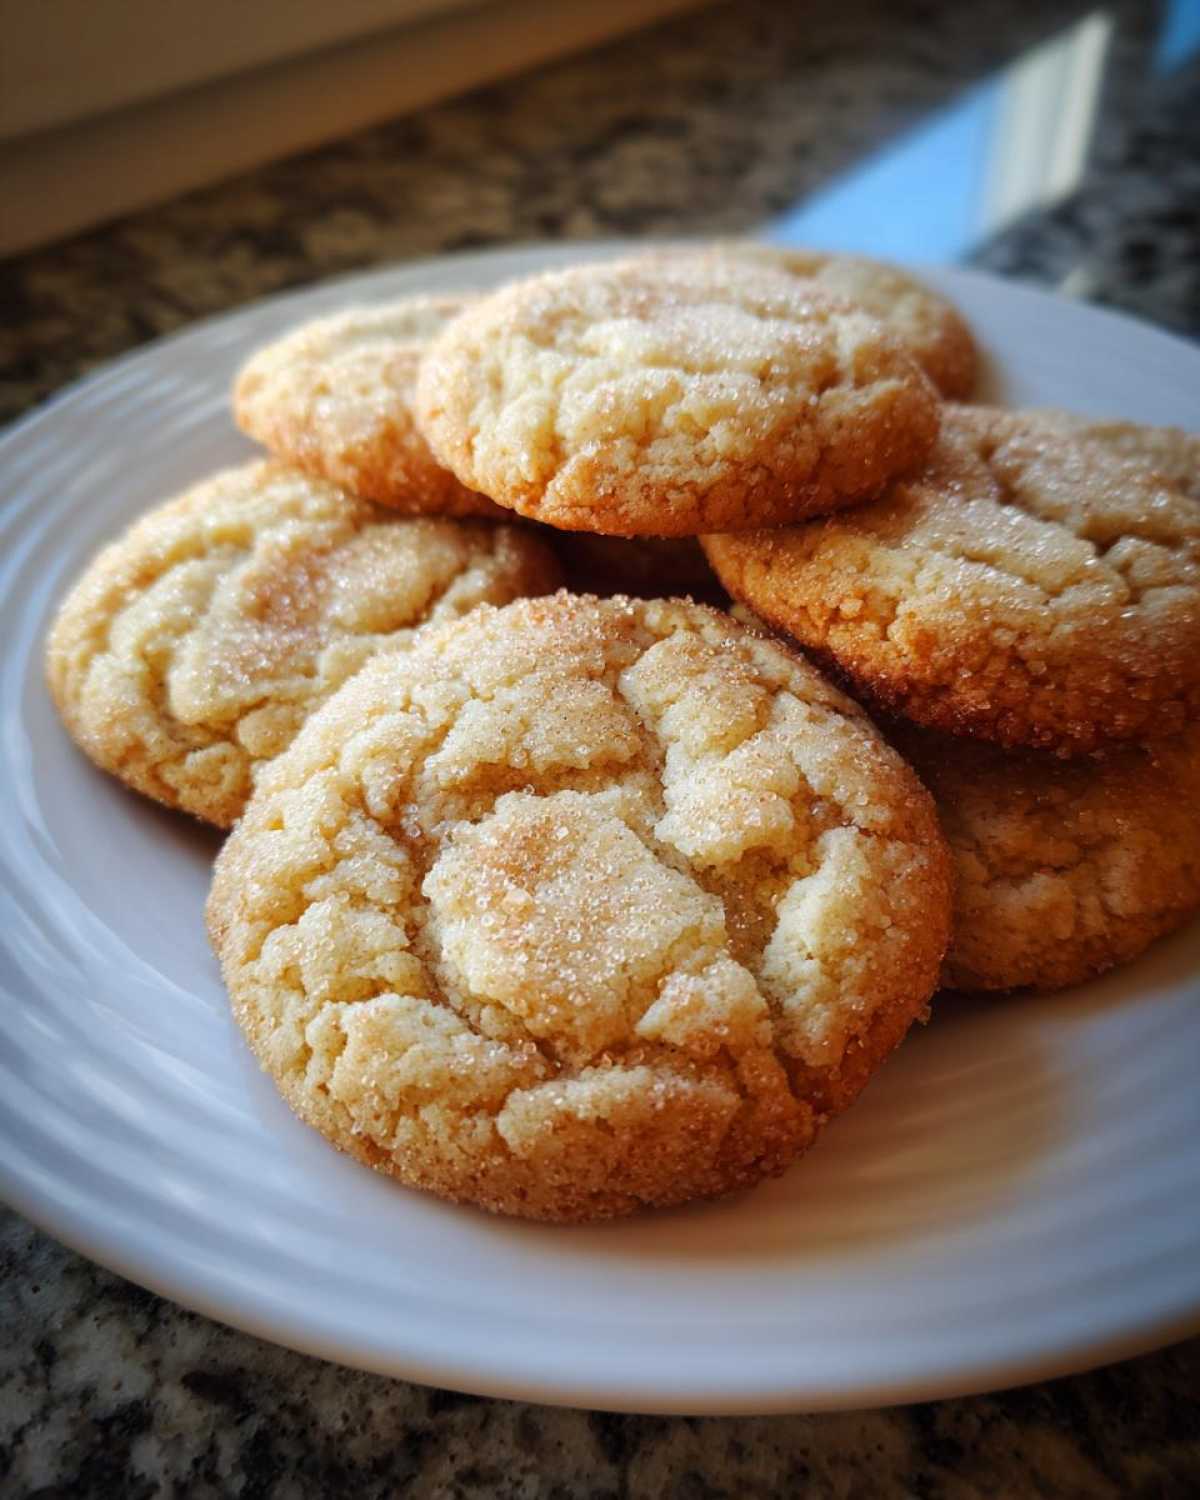
If you think sugar cookies are just for cutting out and decorating, you’re missing out on a huge secret! I used to think all sugar cookies tasted pretty much the same—nice, but a little one-note. Then I started browning the butter, and honestly, my whole perspective on simple cookies flipped upside down. These brown butter sugar cookies are the real deal. They give you that incredibly deep, nutty flavor that tastes like you spent hours making them gourmet, but they come together so easily. Seriously, the payoff versus the effort here is unreal. We’re talking about nailing that perfect texture: those satisfyingly crispy edges combined with a wonderfully soft and chewy center. I even find the smell enchanting—it reminds me of my favorite brown butter chocolate chip cookies. Trust me, once you go brown butter, you never go back!
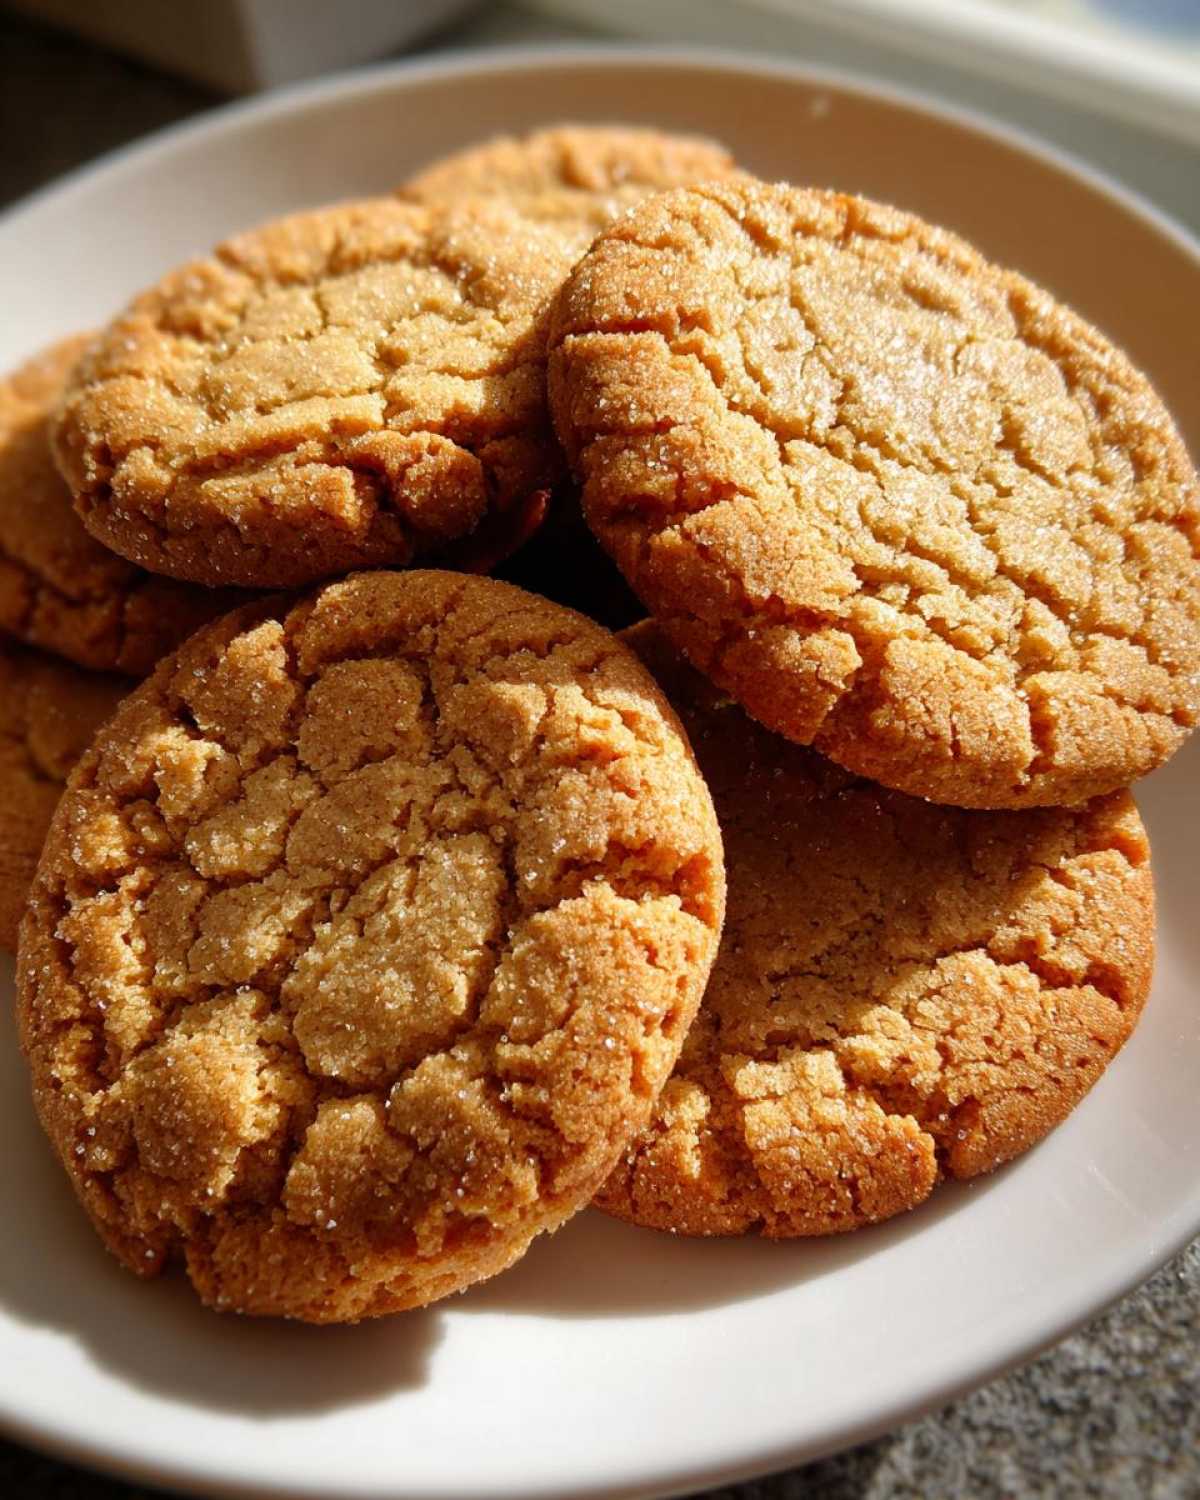
Why These Brown Butter Sugar Cookies Are an Easy Sugar Cookie Upgrade
You might think upgrading a classic means adding a ton of steps, but these cookies prove that wrong! Browning the butter is the ultimate simple cookie recipes upgrade. It’s a game-changer because:
- You get an instant depth of flavor that feels totally gourmet.
- The nutty notes elevate the simple vanilla base perfectly.
- We nail the highly sought-after texture: chewy sugar cookies centers with delicate, crispy edge cookies happening naturally.
It’s the easiest way to create those amazing from scratch buttery cookies everyone raves about!
Ingredients for Perfect Brown Butter Sugar Cookies
Okay, getting these ingredients lined up is half the battle, and you’ll notice we’re keeping things straightforward here. Clarity is key when we want those perfect bakery style sugar cookies! You will need one cup of unsalted butter—un-salted is non-negotiable here because we are adding the salt ourselves. We also grab one cup of plain granulated sugar and just one large egg. Don’t forget two and a quarter cups of all-purpose flour, plus the salt and baking soda needed for lift. Everything else you’ll need for a beautiful, subtly flavored sugar cookies base is right there!
Mastering the Brown Butter for Your Brown Butter Sugar Cookies
Listen, this is where the magic happens—the browning of the butter transforms these from basic cookies into an absolute star in the dessert world. You have to watch it closely, though! Start with that full cup of butter over medium heat in a light-colored saucepan. I insist on light-colored so you can actually see that color transition! First, it melts, then it foams up like crazy. Ignore the foam; keep stirring gently. What you’re waiting for are those tiny golden-brown specks to form at the bottom and for that incredible, deep, nutty smell to hit you. Once it smells toasted, pull it off the heat immediately!
The most critical part, which I learned the hard way, is letting it cool just a bit before you add anything else. Pour your browned butter into a heatproof bowl and let it sit about fifteen minutes. If it’s too hot when you add the sugar and egg, you’ll end up scrambling your egg, and nobody wants a savory cookie! This careful cooling step ensures we keep that gorgeous, complex flavor profile. If you want to see how I use this technique everywhere, check out my recipe for the best brown butter recipe!
Tips for Achieving Nutty Butter Cookies Flavor
That richness you taste comes directly from the milk solids in the butter caramelizing as they cook down. We’re basically creating our own flavoring extract right in the pan! These browned solids are what give the cookies that special, slightly toasted, incredibly satisfying depth of flavor. Don’t rush this step; savor the smell letting you know you have achieved those perfect nutty butter cookies.
Step-by-Step Instructions for Brown Butter Sugar Cookies
Now that you have your gorgeous, cooled brown butter, we get to the fun part—bringing this dough together! First things first: get that oven fired up to 350 degrees F, and line those baking sheets with parchment paper. Having parchment ready means no sticking and much faster cleanup, which is always a win in my book. Remember that brown butter needs to be slightly cooled, which gives us about 15 minutes to whisk the sugar into it until it’s smooth.
Next, we beat in that single egg and the vanilla. Once that looks perfectly combined, we move to the dry things. Whisk your flour, baking soda, and salt together in a separate bowl—just a quick whisk is enough to combine them evenly. Then, you’re going to add those dry ingredients to the wet mixture slowly. Keep your mixer on low speed here! We only mix until the last streaks of flour disappear. Overmixing is my mortal enemy when I’m trying to achieve those amazing soft center cookies.
Time to scoop! Use a medium cookie scoop, about 1.5 tablespoons worth of dough, and place them on the sheet. This recipe is fantastic because you don’t have to chill it, but I encourage you to take a glass bottom and give each mound a gentle press down. This ensures they bake evenly and helps guarantee those slightly crispy edges we’re after. Pop them into the oven for 9 to 11 minutes. You are looking for the edges to be just slightly golden brown, but the very center should still look a tiny bit soft when they come out—that’s your cue!
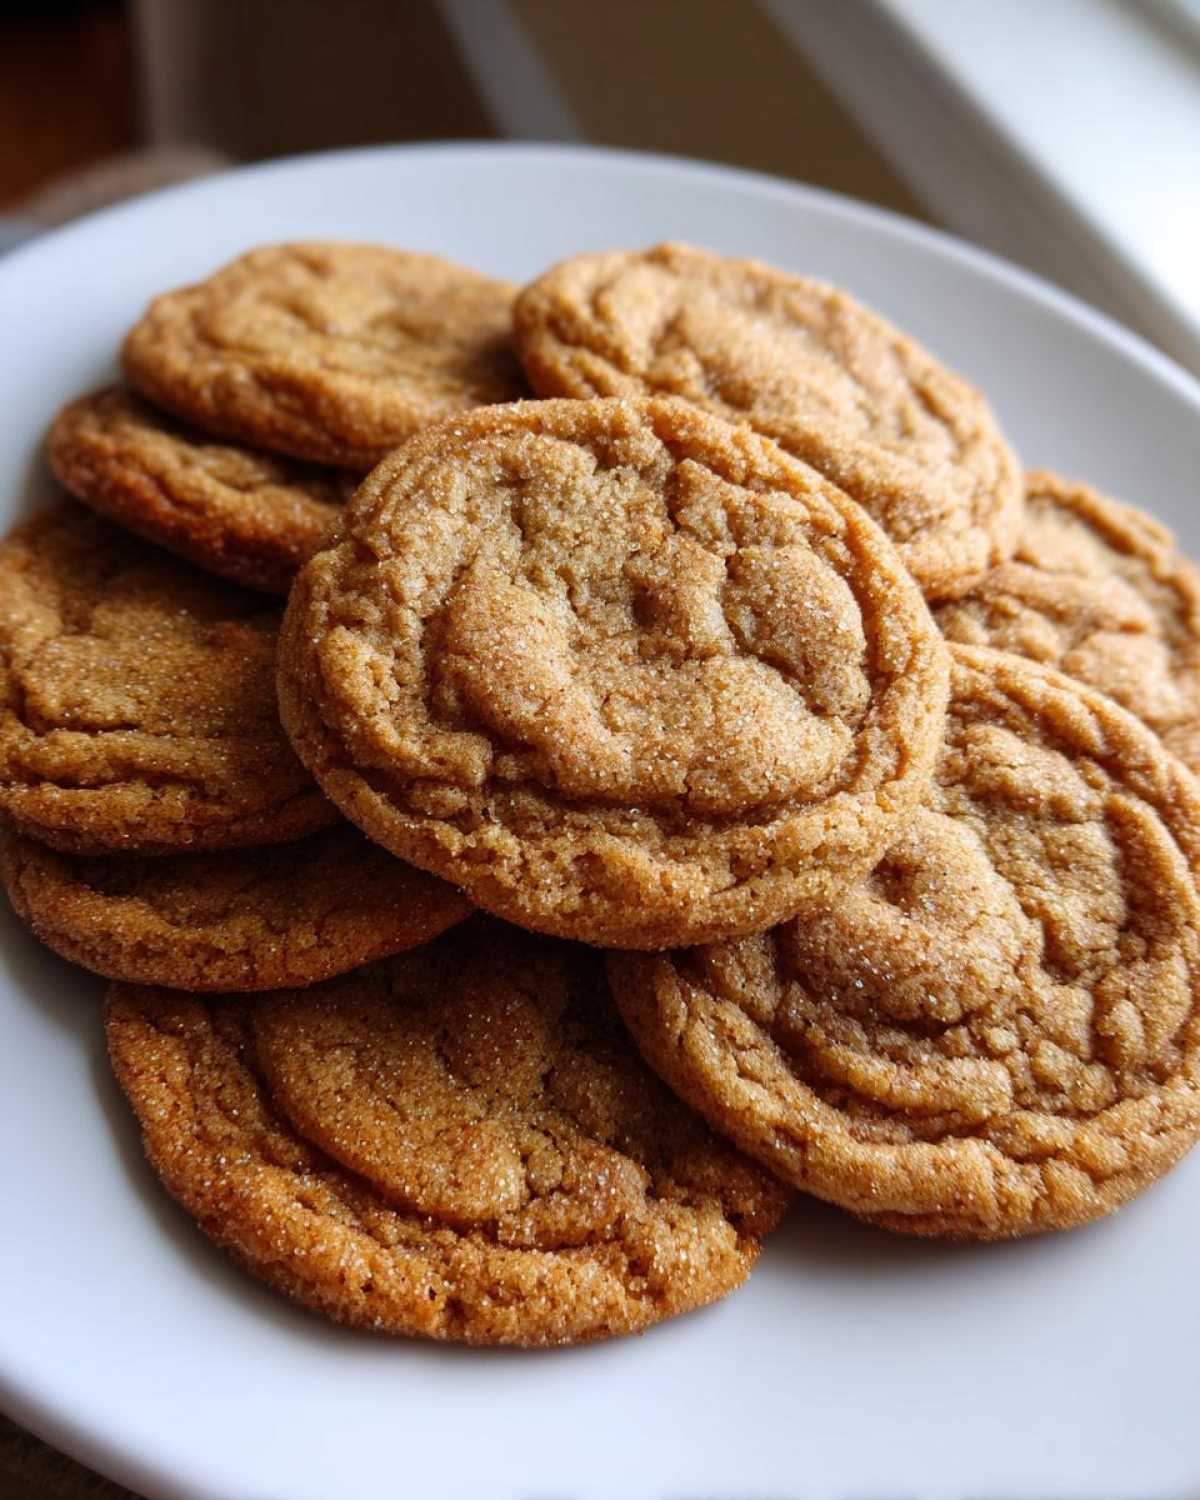
Baking for Crispy Edge Cookies
If you dream solely of that satisfying snap, stick to the 11 or even 12-minute mark. The magic ratio for these brown butter sugar cookies is letting the edges fully set while the center remains gooey. As they bake, the edges firm up quickly, giving you that delightful contrast. Once they are done, don’t touch them right away! Let them rest right there on the hot baking sheet for a full 5 minutes. This resting period lets them firm up enough so you can transfer them without them collapsing. Then, move them gently to a wire rack to cool completely. This process is what locks in that perfect texture!
Ingredient Notes and Substitutions for Brown Butter Sugar Cookies
When dealing with something as special as browned butter, we have to be respectful of the other ingredients, too! I always reach for unsalted butter because we are controlling the salt amount ourselves to get those perfectly balanced from scratch buttery cookies. If you’re a big vanilla fan, the teaspoon in the recipe is perfect, but if you want to get creative, try swapping half of it out for almond extract. It really complements the nutty flavor profile beautifully, just like in my flavored sugar cookies.
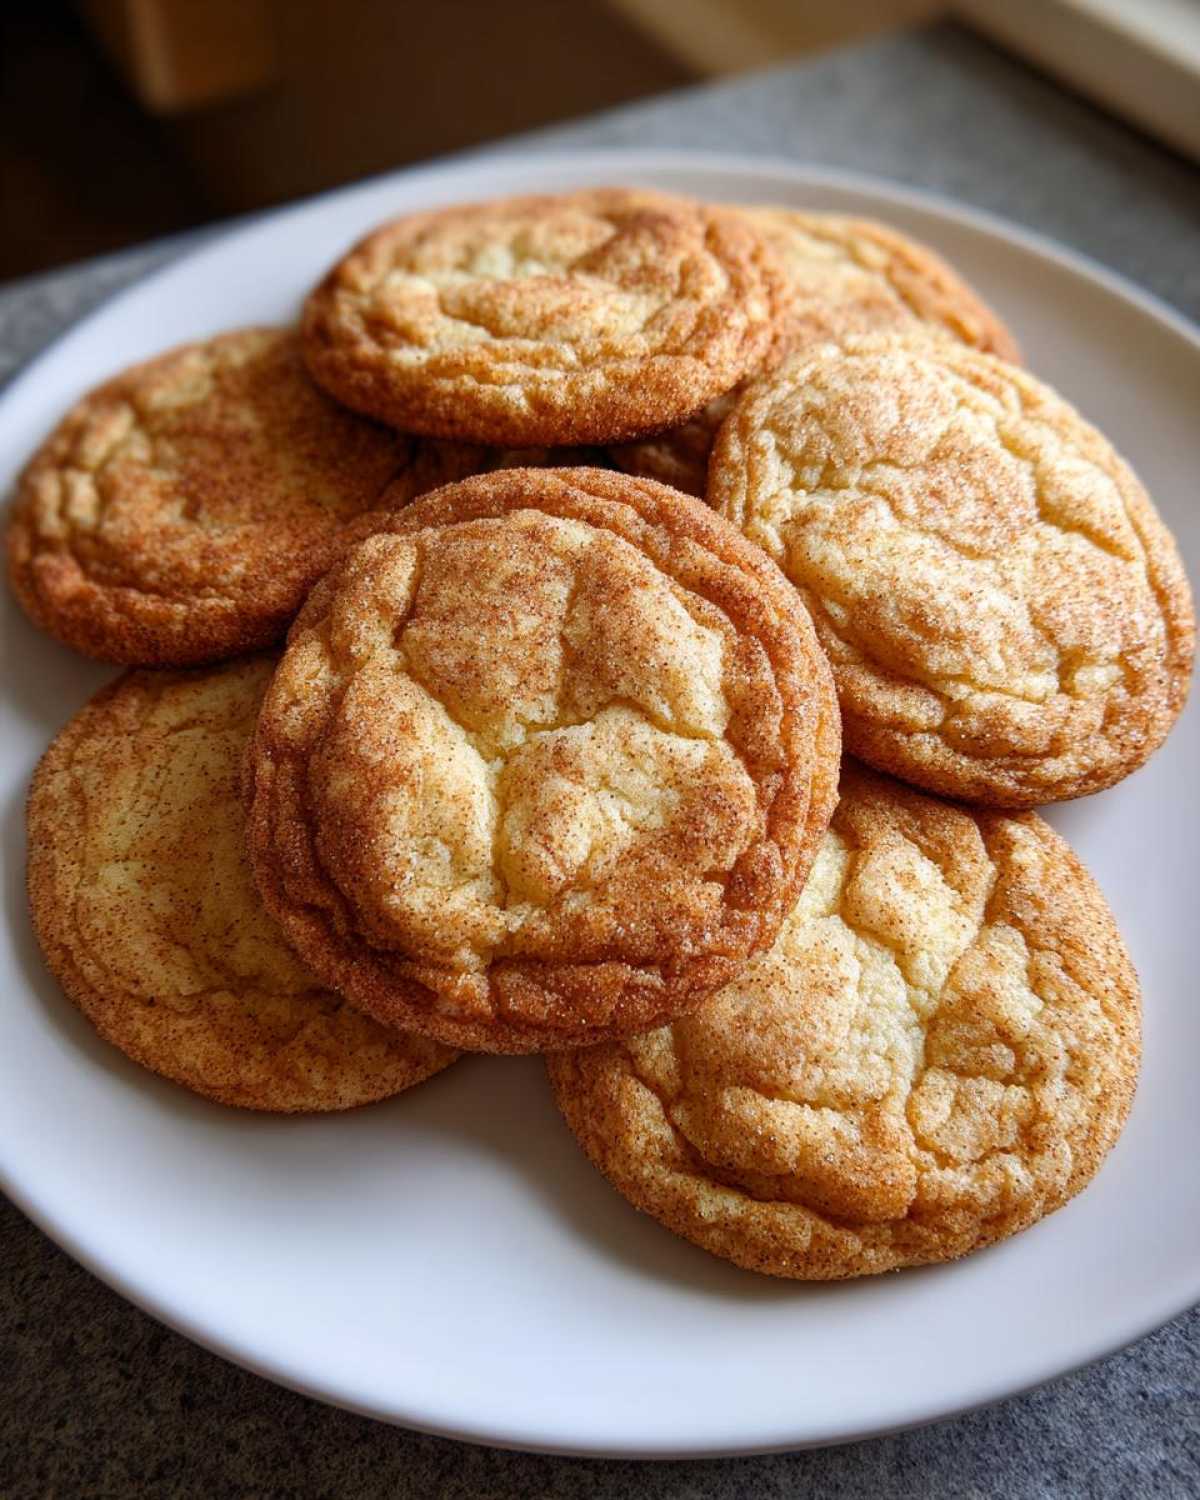
Also, notice we are using baking soda here, not baking powder. The soda reacts nicely with the slight acidity that develops during the browning process, helping spread these cookies just the right amount for those lovely crispy edges without making them thin and cracker-like. Keep it simple, keep it clean!
Making Your Brown Butter Sugar Cookies Bakery Style
You’ve got the flavor and the texture dialed in, so now we need to make them *look* like they came from some fancy little cookie shop! Achieving that professional appearance is easier than you think, especially with these gourmet homemade cookies. The main trick here is consistency. When you scoop the dough, use a medium cookie scoop, which should be about 1.5 tablespoons of dough per cookie. Uniform size means uniform baking, which ensures every single cookie has those chewy centers and crispy edges we worked so hard for.
Don’t forget to gently press them down slightly with the bottom of a glass before they hit the oven. This little action ensures they bake flat enough to show off those perfect edges. If you want an extra sparkle—and who doesn’t?—try lightly sprinkling a few grains of coarse turbinado sugar on top before baking. It melts slightly but leaves behind a wonderful, crunchy texture contrast against the soft interior. It’s a tiny step that screams expertise and makes these feel extra special, kind of like my bakery style sugar cookies.
Storage and Reheating Instructions for Brown Butter Sugar Cookies
Because these gourmet homemade cookies are so delightfully soft in the middle, we need to store them right! Keep them in a good airtight container at room temperature. They honestly stay fantastic for about four days this way. That brown butter flavor really holds up well, unlike some lighter cookies.
If they do get a little firm after day three—which can happen—don’t toss them! You can easily wake them back up. Just pop one or two cookies on a microwave-safe plate and heat them for about 8 to 10 seconds. They soften right back up, and you get that fresh-baked warmth again. It’s like magic! If you’re curious about keeping things moist in general, you might enjoy my tips on my best moist coconut cake recipe—the principles of trapping moisture apply!
Frequently Asked Questions About Brown Butter Sugar Cookies
Every baker has questions, and that’s okay! These brown butter sugar cookies are a little different from the standard batch, so I gathered the most popular queries to help you succeed perfectly. If you jump straight to these, you’ll avoid common pitfalls!
Can I skip browning the butter?
Look, you *can*, but then they aren’t brown butter sugar cookies anymore, are they? If you use regular melted butter, you’ll get a softer, flatter cookie, but you lose that game-changing nutty flavor that makes this such an easy sugar cookie upgrade. Browning the butter is the whole point here—it’s the secret to that intense, gourmet homemade cookies taste!
How do I prevent them from spreading too much?
This is a common struggle when using melted butter, browned or not! If you find your cookies spreading thin before they cook, you have two easy fixes. First, make sure that brown butter has cooled for a good 15 minutes before you add the egg. If it’s hot, it melts the sugar too fast. Second, if they still spread, try chilling the dough for 30 minutes before scooping. This will give you those lovely, thick, soft center cookies instead of flat ones.
Can these cookies be made ahead of time?
Yes, absolutely! These are one of my go-to holiday cookie baking options precisely because they are great prepared in advance. You can bake them, let them cool completely, and store them in an airtight container at room temperature for up to four days. They stay deliciously chewy! Or, you can freeze the scooped dough balls on a tray and bake them straight from frozen—just add an extra minute or two to the baking time for perfect results later. It’s why I love these simple cookie recipes!
Do I need to use a cookie scoop?
I really recommend it if you want those beautiful, uniform bakery style sugar cookies. Using a scoop ensures every cookie bakes at the same rate, guaranteeing that you get the exact contrast we want: crispy on the edges and soft everywhere else. It’s how you ensure that every single one tastes great, similar to how I follow strict portioning when making my easy classic apple cobbler recipe.
Estimated Nutrition for Brown Butter Sugar Cookies
Now, I’m not a nutritionist, so take these figures with a grain of salt—sometimes I even add a bit more sugar! But based on the ingredients in this recipe, here is an estimate per cookie. We’re looking at around 160 Calories, with about 9 grams of Fat, 18 grams of Carbohydrates (14 of which are sugar!), and 2 grams of Protein. For those counting sodium, it’s about 95mg. Remember, this is just an estimate based on standard ingredient values, and you can always check out my general disclaimer here: Disclaimer.
Estimated Nutrition for Brown Butter Sugar Cookies
Now, I’m not a nutritionist, so take these figures with a grain of salt—sometimes I even add a bit more sugar! But based on the ingredients in this recipe, here is an estimate per cookie. We’re looking at around 160 Calories, with about 9 grams of Fat, 18 grams of Carbohydrates (14 of which are sugar!), and 2 grams of Protein. For those counting sodium, it’s about 95mg. Remember, this is just an estimate based on standard ingredient values, and you can always check out my general disclaimer here: Disclaimer.
PrintBrown Butter Sugar Cookies: Chewy Centers and Crispy Edges

Make classic sugar cookies better by browning the butter for a deep, nutty flavor. This recipe yields cookies with soft centers and slightly crisp edges.
- Prep Time: 15 min
- Cook Time: 11 min
- Total Time: 26 min
- Yield: 24 cookies
- Category: Dessert
- Method: Baking
- Cuisine: American
- Diet: Vegetarian
Ingredients
- 1 cup (2 sticks) unsalted butter
- 1 cup granulated sugar
- 1 large egg
- 1 teaspoon vanilla extract
- 2 1/4 cups all-purpose flour
- 1 teaspoon baking soda
- 1/2 teaspoon salt
Instructions
- Place the butter in a light-colored saucepan over medium heat. Cook, stirring often, until the butter melts, foams, and then brown bits form at the bottom and the butter smells nutty. Immediately pour the brown butter into a heatproof bowl and let it cool for 15 minutes.
- Preheat your oven to 350 degrees F. Line baking sheets with parchment paper.
- Add the granulated sugar to the slightly cooled brown butter. Whisk until combined.
- Beat in the egg and vanilla extract until the mixture is smooth.
- In a separate bowl, whisk together the flour, baking soda, and salt.
- Gradually add the dry ingredients to the wet ingredients, mixing on low speed until just combined. Do not overmix.
- Scoop dough onto the prepared baking sheets using a medium cookie scoop (about 1.5 tablespoons). Press down slightly with the bottom of a glass to flatten the tops.
- Bake for 9 to 11 minutes, or until the edges are lightly golden brown but the centers still look slightly soft.
- Let the cookies cool on the baking sheet for 5 minutes before transferring them to a wire rack to cool completely.
Notes
- Browning the butter is key; watch carefully to avoid burning the milk solids.
- For a crispier edge, bake for an extra minute or two.
- You can chill the dough for 30 minutes before scooping if you prefer thicker cookies.
Nutrition
- Serving Size: 1 cookie
- Calories: 160
- Sugar: 14
- Sodium: 95
- Fat: 9
- Saturated Fat: 5
- Unsaturated Fat: 4
- Trans Fat: 0
- Carbohydrates: 18
- Fiber: 0
- Protein: 2
- Cholesterol: 35