

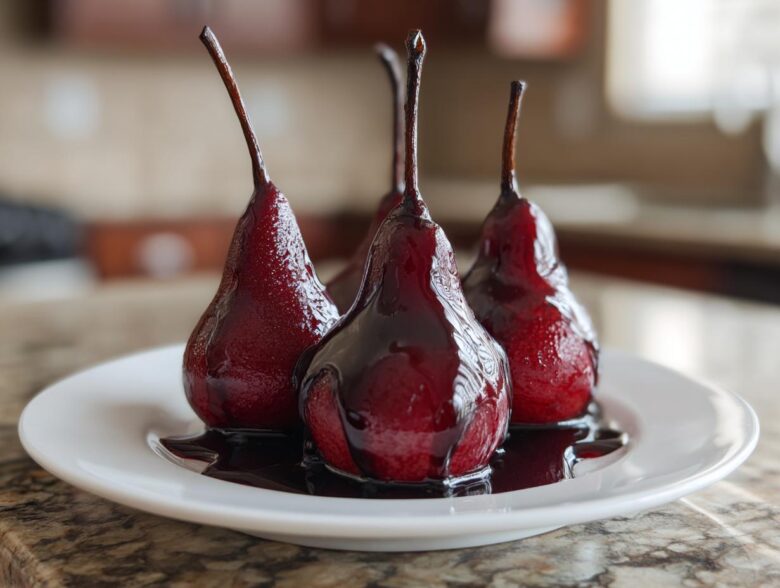
Sometimes you just need a dessert that looks like it took hours of delicate work but, honestly, took minimal fuss. That’s why I’m obsessed with poached pears! They strike that perfect balance between being truly elegant and surprisingly simple to pull off. I first made these Red Wine Poached Pears for a holiday gathering a few years back, and people kept asking if they came from some fancy French bakery. Trust me, they didn’t!
This recipe for **poached pears** basically involves simmering fruit in a spiced wine bath until it’s impossibly tender and stained a gorgeous jewel tone. The secret is using firm, high-quality fruit—we’re using Bosc pears today—so they hold their gorgeous shape while soaking up all that warm vanilla and spice flavor. This is the recipe you pull out when you want to impress without stressing!
If you need more sweet inspiration for your next big meal, jump over and check out some of my other favorite posts on the blog. There’s lots more cozy baking inspiration waiting here!
Why You Will Love These Elegant Red Wine Poached Pears
I really think this might be the simplest, most impressive dessert you’ll ever make. Forget fiddly pastry work or complicated sauces! These **poached pears** deliver huge flavor with almost zero sweat equity from you. If you’re looking for an easy elegant dessert that screams special occasion, this is it.
- They are shockingly easy to pull together; the simmering does all the hard work for you!
- The texture is divine—perfectly **tender poached fruit** that melts in your mouth but doesn’t fall apart.
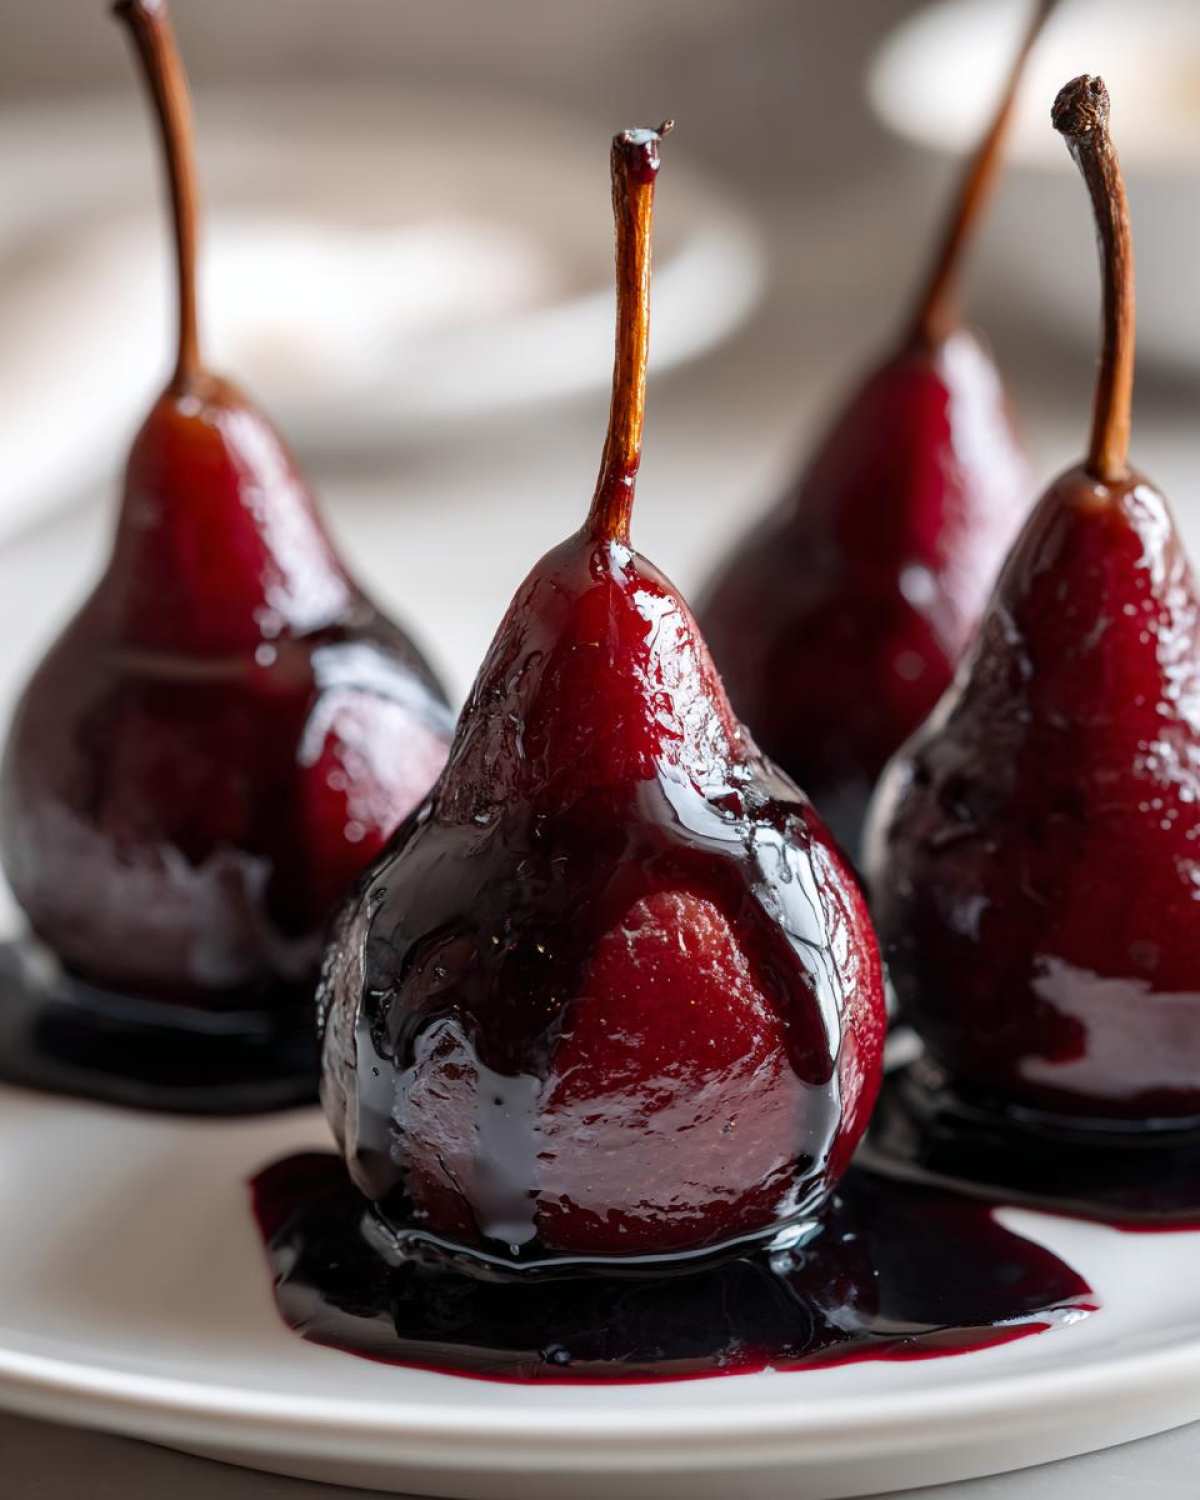
- The deep, ruby-red color from the wine makes for stunning presentation when you serve it.
- This is truly a wonderful **make ahead dessert**—it actually tastes better the next day!
- The poaching liquid becomes a luxurious, deeply flavored syrup all on its own.
- It’s warm, spicy, and feels incredibly comforting, making it the ultimate **holiday fruit dessert** choice.
Ingredients for the Best Poached Pears Recipe
Alright, let’s get down to the good stuff. We are making my absolute favorite **poached pears recipe**, which uses a luscious combination of red wine, spices, and real vanilla. This becomes your go-to **elegant pear dessert**, trust me! When you look at these ingredients, you might think it seems too complicated, but really, it’s just about assembling deep, warming flavors into one glorious poaching liquid recipe.
For four lovely servings, you’ll need:
- 4 firm, ripe pears (Bosc or Anjou recommended—I’ll explain why in a minute!)
- 1 bottle (750 ml) dry red wine (Something you’d actually drink, like Merlot or Cabernet Sauvignon, works wonderfully.)
- 1 cup granulated sugar
- 1/2 cup water
- 1 vanilla bean, split right down the middle and scraped out
- 2 cinnamon sticks
- 1 whole star anise (Just one! It’s potent stuff.)
- Zest of 1 orange (No white pith, please!)
See? Simple components, huge payoff at the end. Don’t skip scraping that vanilla bean; those tiny seeds are where the magic lives!
Tips for Selecting Pears for Poached Pears
Picking the right pear is half the battle if you want beautiful, intact **poached pears**. You absolutely must avoid anything mushy or overly ripe. My top suggestions are Bosc or Anjou because they are wonderfully firm, which keeps them from dissolving into mush while they simmer. If your pear yields too easily when you gently press its side, leave it on the shelf. We need pears sturdy enough to handle the heat and emerge perfectly tender, not broken!
Gathering Your Equipment for Poached Pears
You don’t need a ton of fancy gadgets for these, which is another reason I love that they count as a simple fruit dessert. But you do need a few specific things to make sure the process goes off without a hitch and you get those gorgeous, uniformly cooked **poached pears**.
Here’s what I always grab before I start peeling:
- A good, sturdy vegetable peeler. You’re taking off thin skin, so make sure it’s sharp!
- A deep, wide saucepan. This is important! The pan needs to be wide enough that the pears sit comfortably upright without being jammed in, but deep enough that the wine mixture can cover at least three-quarters of them.
- A small sharp paring knife for trimming the bottoms if needed.
- Parchment paper. Seriously, do not skip this! We’re cutting a circle to make a little lid, which pros call a cartouche. This stops the tops of the pears from drying out while the bottoms are bathing in the syrup.
- Tongs or a slotted spoon for lifting the delicate fruit out later. Handle ’em with care!
That’s it! We’re keeping this stovetop simple. No special molds or oven time required for this version of **how to poach pears**.
How to Prepare Tender Poached Pears Step-by-Step
Okay, deep breath! This is where we turn those pale pears into something show-stopping. For the absolute best results—that melt-in-your-mouth, **tender poached fruit** texture—timing and temperature are your best friends. You need patience here, but don’t let the steps scare you; it’s mostly hands-off simmering time once you get going. This is how you master how to poach pears perfectly every single time.
First things first, get those prettier pears ready. Peel them gently, leaving those cute little stems attached because they look so much more elegant that way! If you need them to stand up straight on your serving plate later, just carefully slice a tiny bit off the very bottom.
Next, we build the flavor castle! Grab that deep pot you got out and toss in your red wine, sugar, water, that gorgeous scraped vanilla bean (pod and all!), cinnamon sticks, star anise, and orange zest. Get this over medium heat and stir it around until that sugar has completely vanished. I always give the mixture a little taste right here—it should taste sweetly spiced, making sure it’s ready for the **poached pears** to soak up the goodness.
Crucial Timing Alert: Once that liquid is steaming—not quite rolling boil yet, but definitely hot—*then* you gently nestle the pears down into the liquid. They should be submerged as much as possible! This heat is what starts the gentle cooking process.
Now we drop the temperature way down. We are looking for a very gentle, lazy simmer. Bring the heat down low so you see just a few tiny bubbles breaking the surface every few seconds. This is where we use that parchment paper trick. Cut a circle slightly smaller than the pot opening and lay it right on top of the liquid and the pears—that’s your cartouche. This keeps steam trapped above the pears, ensuring they don’t dry out on top while they poach underneath. This cooking time can range from 25 minutes up to 40 minutes. Test them frequently; you want them tender when you poke them with a knife, but they absolutely must keep their shape!
Once they are perfectly tender, use tongs to carefully lift those beauties out and set them aside on a plate. They’ll look amazing already, but the grand finale is coming up next!
Achieving the Perfect Poaching Liquid Recipe
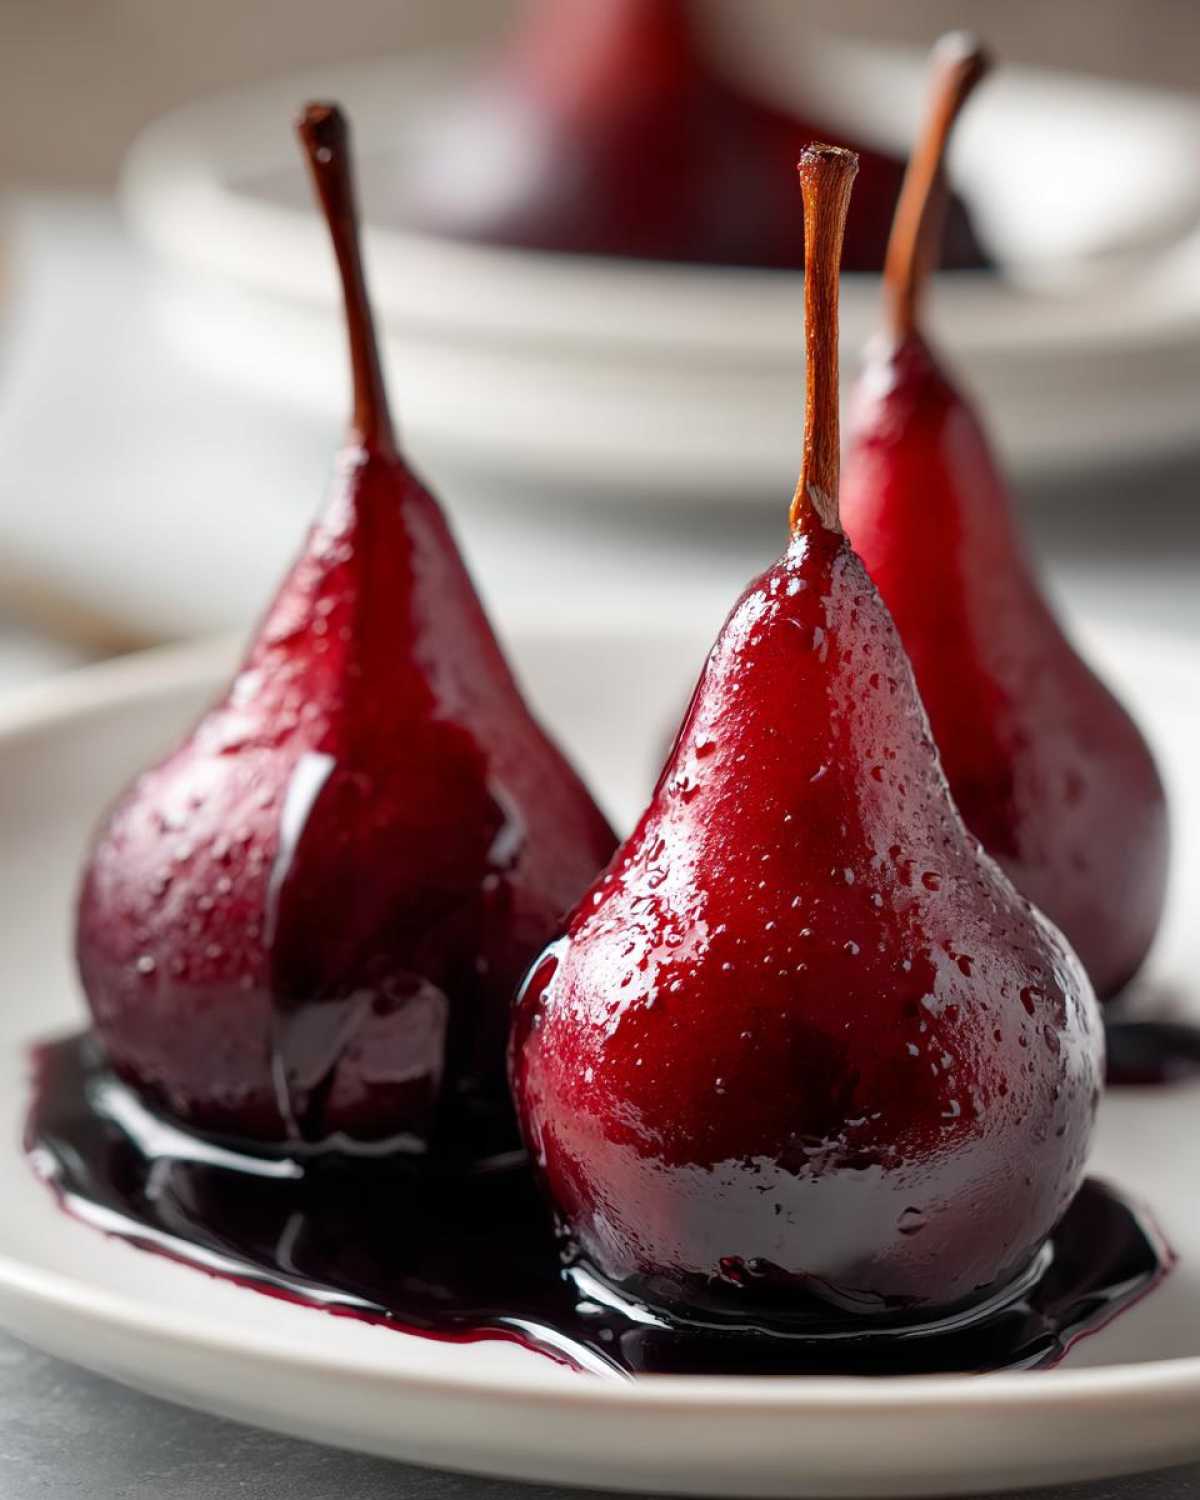
Don’t you dare pour that remaining wine mixture down the drain! That’s pure liquid gold—it essentially turns into a beautiful syrup all by itself. Take the pot—spices still fishing around in there—and crank the heat up to medium-high. Let that liquid boil happily. We are reducing this to concentrate all that flavor. This is the key to a fantastic poaching liquid recipe!
You need to let it boil hard for about 15 to 20 minutes until it thickens up enough to coat the back of a spoon nicely. When it looks glossy and syrupy, kill the heat, fish out every last spice—the cinnamon sticks, the star anise, the vanilla pod—and throw them away. When you serve your **gourmet pear recipe**, you drizzle this amazing syrup over the top. That final reduction is what takes these **spiced poached pears** from good to absolutely extraordinary!
Variations on Spiced Poached Pears
While I absolutely adore the deep, robust flavor of these **red wine poached pears**, sometimes you want something a little different, right? It’s fun to play around with the poaching base! I want you to feel confident making this recipe your own. If you’re serving these to guests who might not love a heavy red wine flavor, you have several other fantastic, elegant options ready to go.
For a brighter, lighter flavor that’s perfect for spring or summer parties, switch out the red wine for a dry white wine, like a Sauvignon Blanc, maybe adding extra lemon zest instead of orange. Or, if you are aiming for something truly ethereal and bright, let’s talk about saffron! A pinch of saffron threads added to a plain sugar and water base makes a stunning saffron pear recipe. The pears turn a gorgeous pale gold color, which is just breathtaking.
And if you’re looking for a less intensely alcoholic option or just want to lean into richer sweetness, try out my honey version! You can peek at how I do those honey poached pears if you’re curious, but basically, you swap out some of the sugar for good quality liquid honey.
Making Vanilla Bourbon Poached Pears
Now, if you know me, you know I can never leave well enough alone, especially when alcohol is involved! If you want to take this recipe and turn it into a serious showstopper, you absolutely must try adding bourbon. It gives the **spiced poached pears** this warm, caramelized depth that is just addictive.
Remember that substitution tip in the notes? Go for it! When you are mixing up your poaching liquids, take about a quarter cup of that red wine out and swap it for good quality bourbon. Just a splash is all you need. That little addition bumps this right into the category of a fantastic bourbon infused dessert. The alcohol cooks off, but you are left with this incredible woody vanilla note that plays so nicely with the cinnamon and the inherent sweetness of the pear. It makes them taste richer, darker, and definitely more grown-up!
Serving Suggestions for Your Elegant Pear Dessert
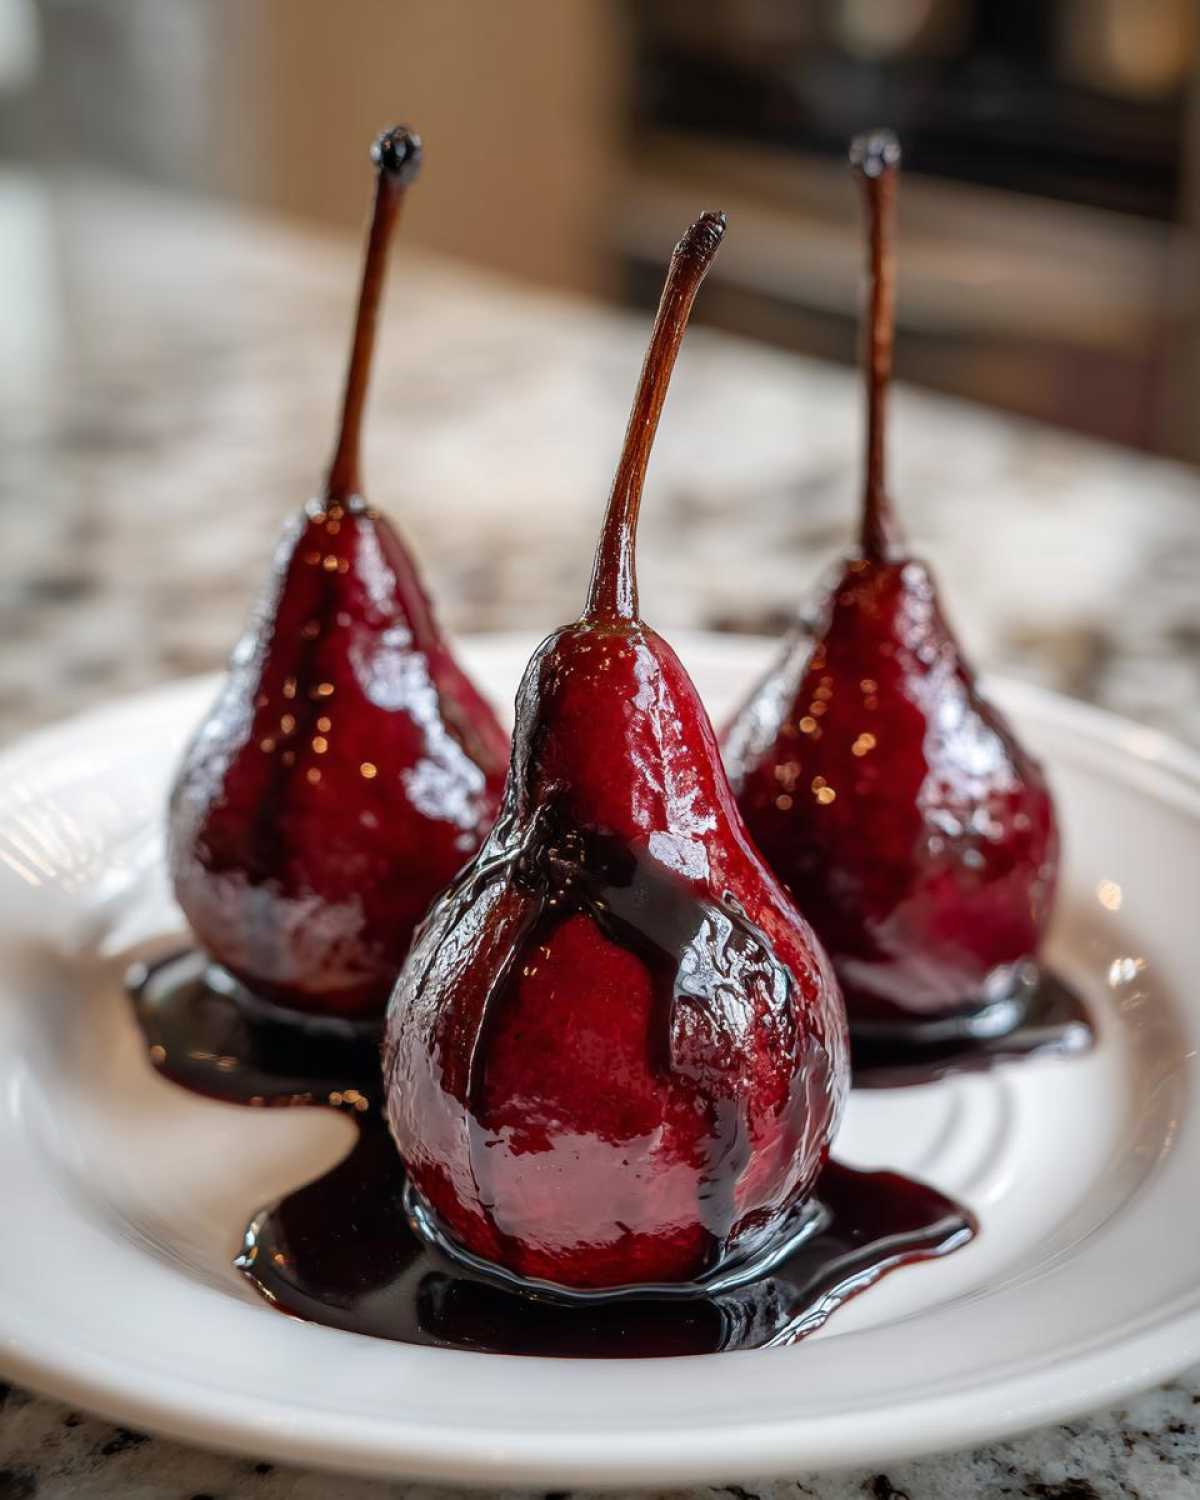
You’ve gone to the trouble of poaching these gorgeous **red wine poached pears**, so we have to plate them beautifully, right? This is where your **gourmet pear recipe** really shines! When I serve these, I always make sure the pear stands tall and proud in the center of the bowl—it looks so dramatic against that dark syrup drizzle.
The syrup you reduced—the one you worked so hard on—needs to be drizzled generously over the top. Don’t be shy! But the real trick is adding something creamy and cool right next to it. This contrast in temperature and texture is what makes dessert sing.
My absolute go-to is a big, luscious dollop of mascarpone cheese. It’s rich, slightly tangy, and it just melts beautifully into that warm syrup. Seriously, if you haven’t tried that combo, you are missing out! If mascarpone isn’t your thing, a high-quality vanilla bean ice cream works just as well. I even have some tips on how to make that topping even better if you want an extra wow factor.
For texture, you need some crunch! Because the pear itself is so soft, adding something crisp on the side is a winner. Think about serving it alongside a simple butter cookie, or if you happen to have made one of my shortbread recipes layered with a little dark chocolate, that works flawlessly too! It makes the whole plate feel complete. These **desserts with pears** are truly versatile for festive serving.
Storage and Make Ahead Dessert Tips for Poached Pears
Okay, here is the part I love most about these incredibly elegant **poached pears**: they are the ultimate low-stress host! If you’re planning a big dinner for the holidays or a huge party, you do not want to be fussing about balancing a delicate dessert while everyone is eating appetizers. The great news is that these **delicious desserts with pears** become even better when made ahead of time!
The key to successful make-ahead storage revolves entirely around that beautiful red wine liquid. You don’t just drain them off and let them sit on a plate, oh no. Once the pears have cooled down to room temperature after poaching, leave them right in the pot or transfer them carefully into an airtight container.
The rule is this: they must stay completely submerged in their poaching syrup. If they sit exposed to the air, they won’t keep that gorgeous color, and they might start to brown a little bit. Keep the container sealed tightly in the refrigerator. I’ve tested this extensively—they keep perfectly for up to three days this way! Seriously, three days! That means you can tackle them a few days before Thanksgiving or Christmas and just focus on the turkey or ham when the day finally arrives. It’s like having a secret weapon tucked away in the fridge!
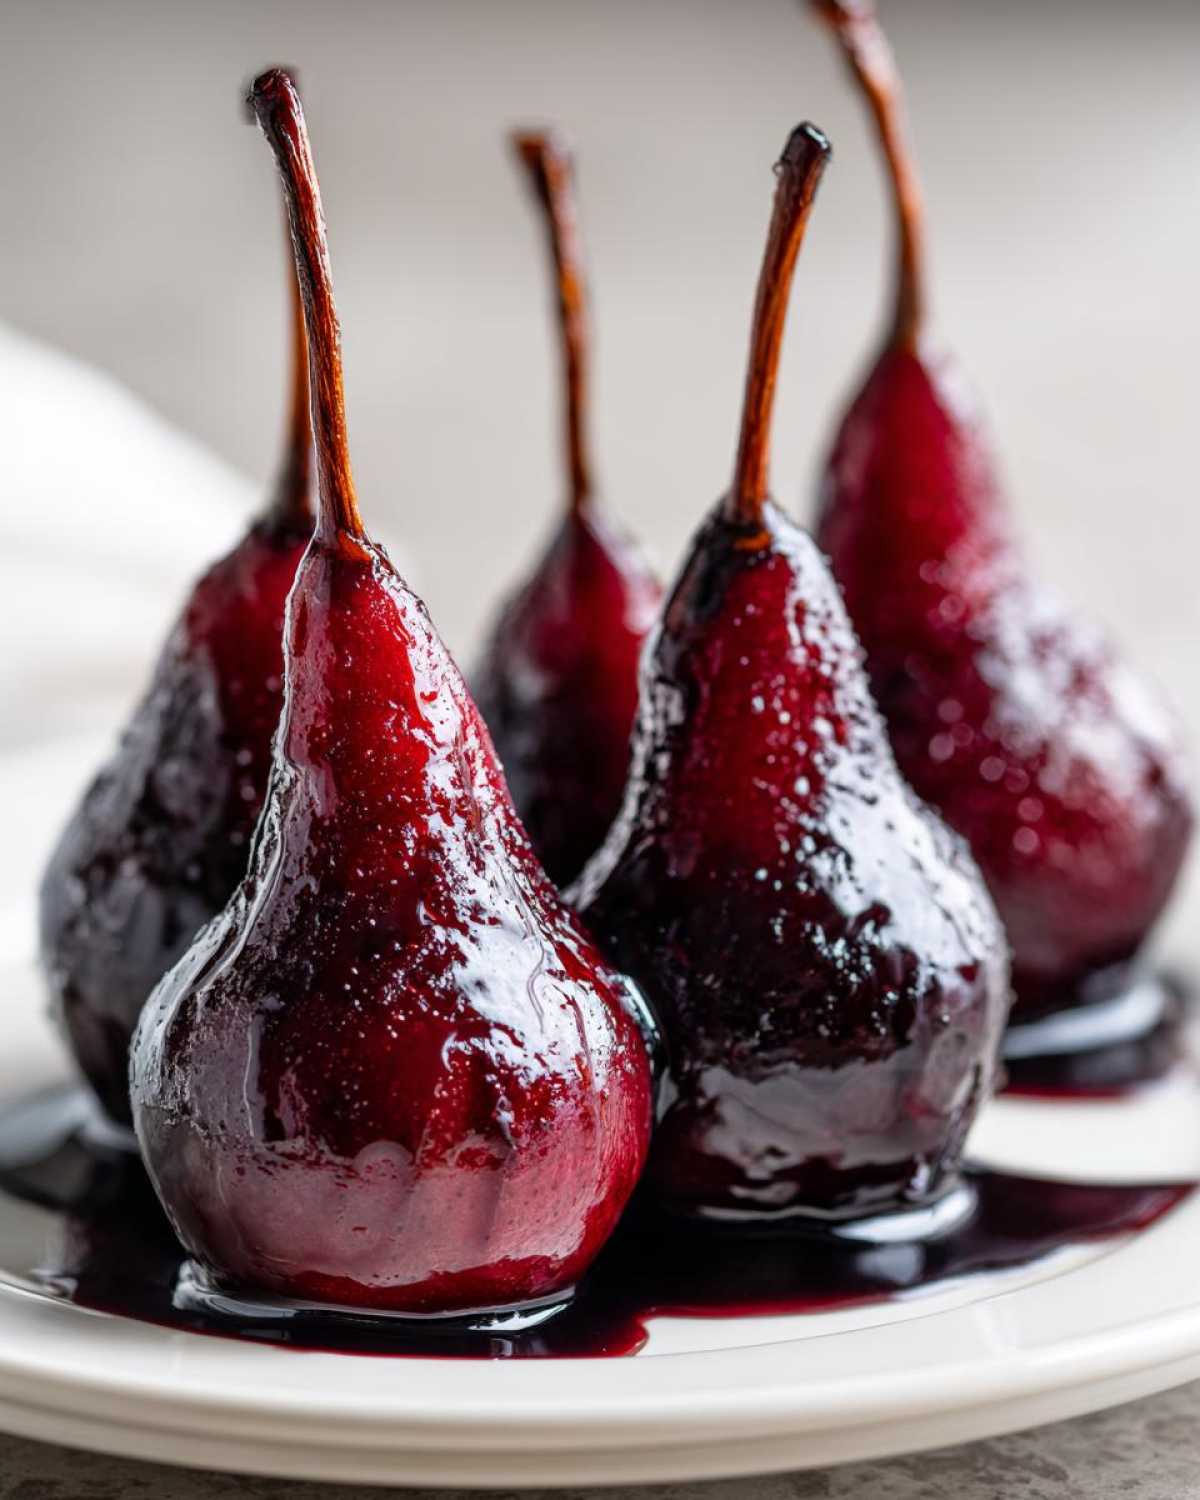
When it’s time to serve, you have a couple of options. If you want them slightly chilled, you can pull the container out about 30 minutes before plating. But if you want that warm, comforting feel, gently reheat them. You can do this by carefully transferring the pears and their liquid back into a saucepan, putting it on very low heat just until they are warm through. Remember, you don’t want to boil them again, just gently warm that liquid around them.
And don’t forget that reduced syrup! Pour that thick, ruby syrup over the top while they are still warm; it soaks in beautifully. These are such a fantastic make ahead dessert option, guaranteeing you a stress-free, gourmet finish to whatever meal you’re planning.
Frequently Asked Questions About Poached Pears
I know sometimes you just need a quick answer before you dive in, especially when using a gorgeous **poached pears recipe** for the first time! I’ve bundled up the most common questions I get about getting these to turn out perfect. If you’re wondering about wine substitutions or checking for doneness, you’ll find the answers right here. I promise, once you know these little tips, making the **best poached pear recipe** is second nature!
What wine should I use if I don’t want to use alcohol in my red wine poached pears?
That is a totally fair question, and yes, you can absolutely make a non-alcoholic version! If you want to avoid alcohol in your **dessert with pears**, the easiest substitution is using a high-quality, dark-colored grape juice—Concord or a really good quality unsweetened grape juice works wonders because it still has that deep color. You’ll need to treat it like wine: add your sugar and spices as written. You might need to slightly reduce the liquid at the end just because the juice is inherently thicker than wine, but the overall flavor is still fantastic!
How do I know exactly when my pears are perfectly tender?
This is the most important step for getting that perfect soft texture! Don’t just rely on the timer. The best way to test your **poached pears** is with a small paring knife or a skewer. You want to pierce the pear gently, right near the core. If the knife slides in with almost no resistance—like poking warm butter—then they are done! If you feel any real drag or resistance at all, they need five more minutes of simmering. Remember, we are aiming for **tender poached fruit**, not mushy fruit!
Can I use different spices in my poaching liquid recipe?
Oh, please do! That’s the fun of making **spiced poached pears** at home! The recipe I gave you uses cinnamon and star anise as a classic base, but you can totally customize it. If you love warm flavors, try adding a few thin slices of fresh ginger or even a cardamom pod or two. If you happen to have saffron on hand, a tiny pinch will create that beautiful golden hue for a lovely saffron pear recipe variation. Just make sure you don’t overload it; these delicate pears absorb flavor so easily!
I have extra syrup. Can I use this for my next dessert?
Absolutely! That extra syrup is liquid gold, as I said before. Since we reduced it down until it’s a thick glaze, it keeps really well. Store it in a clean, sealed jar in the fridge, and it should last for two weeks, maybe even longer because of all that sugar. It’s perfect for drizzling over plain yogurt, brushing onto pound cake slices (like my apple cobbler base!), or even using as a glaze for your next batch of honey poached pears if you decide to try that version next time!
Estimated Nutritional Data for Poached Pears
I always like to give a rough idea of what you’re digging into when you enjoy this **elegant pear dessert**! Keep in mind that because this recipe uses wine and your sugar amount might change based on the sweetness of your fruit, this is just an estimate based on the exact measurements I used for four servings.
Here is the estimated nutrition breakdown per serving (one pear with the drizzled syrup):
- Serving Size: 1 pear with syrup
- Calories: 350
- Sugar: 65g
- Sodium: 10mg
- Fat: 0g
- Saturated Fat: 0g
- Carbohydrates: 90g
- Fiber: 8g
- Protein: 1g
- Cholesterol: 0mg
See? Mostly just fruit and a little bit of sugar because we reduced the liquid beautifully! It’s a wonderful, decadent-tasting **simple fruit dessert** that keeps the fat and cholesterol at zero. Enjoy every bite!
Estimated Nutritional Data for Poached Pears
I always like to give a rough idea of what you’re digging into when you enjoy this **elegant pear dessert**! Keep in mind that because this recipe uses wine and your sugar amount might change based on the sweetness of your fruit, this is just an estimate based on the exact measurements I used for four servings.
Here is the estimated nutrition breakdown per serving (one pear with the drizzled syrup):
- Serving Size: 1 pear with syrup
- Calories: 350
- Sugar: 65g
- Sodium: 10mg
- Fat: 0g
- Saturated Fat: 0g
- Carbohydrates: 90g
- Fiber: 8g
- Protein: 1g
- Cholesterol: 0mg
See? Mostly just fruit and a little bit of sugar because we reduced the liquid beautifully! It’s a wonderful, decadent-tasting **simple fruit dessert** that keeps the fat and cholesterol at zero. Enjoy every bite!
PrintRed Wine Poached Pears with Vanilla

A simple recipe for elegant pears poached in red wine, vanilla, and spices, resulting in a tender and flavorful dessert perfect for special occasions.
- Prep Time: 15 min
- Cook Time: 50 min
- Total Time: 65 min
- Yield: 4 servings
- Category: Dessert
- Method: Stovetop Simmering
- Cuisine: French
- Diet: Vegetarian
Ingredients
- 4 firm, ripe pears (Bosc or Anjou recommended)
- 1 bottle (750 ml) dry red wine (like Merlot or Cabernet Sauvignon)
- 1 cup granulated sugar
- 1/2 cup water
- 1 vanilla bean, split and scraped
- 2 cinnamon sticks
- 1 star anise
- Zest of 1 orange
Instructions
- Peel the pears, leaving the stems intact. You can trim a thin slice from the bottom so they stand upright later.
- In a saucepan large enough to hold the pears standing up, combine the red wine, sugar, water, vanilla bean seeds and pod, cinnamon sticks, star anise, and orange zest.
- Bring the liquid to a simmer over medium heat, stirring until the sugar dissolves completely.
- Gently place the peeled pears into the simmering liquid. The liquid should mostly cover the pears. If it does not, add a little more water.
- Reduce the heat to low. Maintain a gentle simmer. Cover the pot partially with a piece of parchment paper cut to fit inside the pot (a cartouche) to keep the tops moist.
- Poach the pears for 25 to 40 minutes, turning them occasionally, until they are tender when pierced with a knife. Cooking time depends on the ripeness and size of your pears.
- Carefully remove the pears from the liquid and set them aside.
- Increase the heat to medium-high and boil the remaining poaching liquid rapidly. Reduce the liquid until it thickens into a light syrup, about 15 to 20 minutes. Remove the spices and vanilla pod before serving.
- Serve the warm or chilled pears drizzled generously with the reduced syrup.
Notes
- For an even richer flavor, substitute 1/4 cup of the red wine with bourbon during the poaching process.
- Serve these pears with a dollop of mascarpone cheese or vanilla bean ice cream for a complete dessert.
- You can make these pears up to three days ahead and store them in the refrigerator in their poaching liquid.
Nutrition
- Serving Size: 1 pear with syrup
- Calories: 350
- Sugar: 65
- Sodium: 10
- Fat: 0
- Saturated Fat: 0
- Unsaturated Fat: 0
- Trans Fat: 0
- Carbohydrates: 90
- Fiber: 8
- Protein: 1
- Cholesterol: 0