

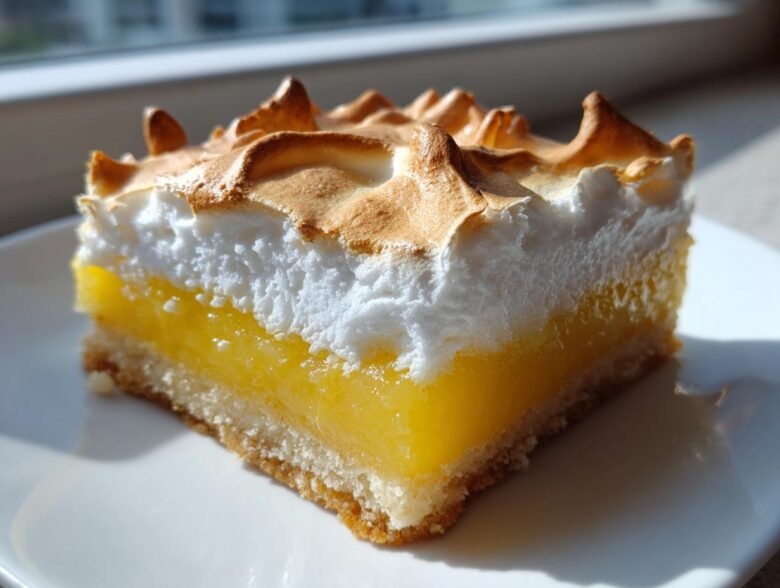
Oh my gosh, you totally have to try making these! I love meringue pie, I really do, but cutting that wobbly, gorgeous thing at a party is always a disaster. That’s why I perfected these Lemon Meringue Pie Bars. They take everything wonderful about that classic dessert—that sharp, zesty filling, that sweet cloud of meringue—and put it on a sturdy, crumbly shortbread base. Trust me, these bars are the perfect solution for serving a crowd, and the balance between the tart lemon and the sugary topping is seriously spot-on. They bake up beautifully!
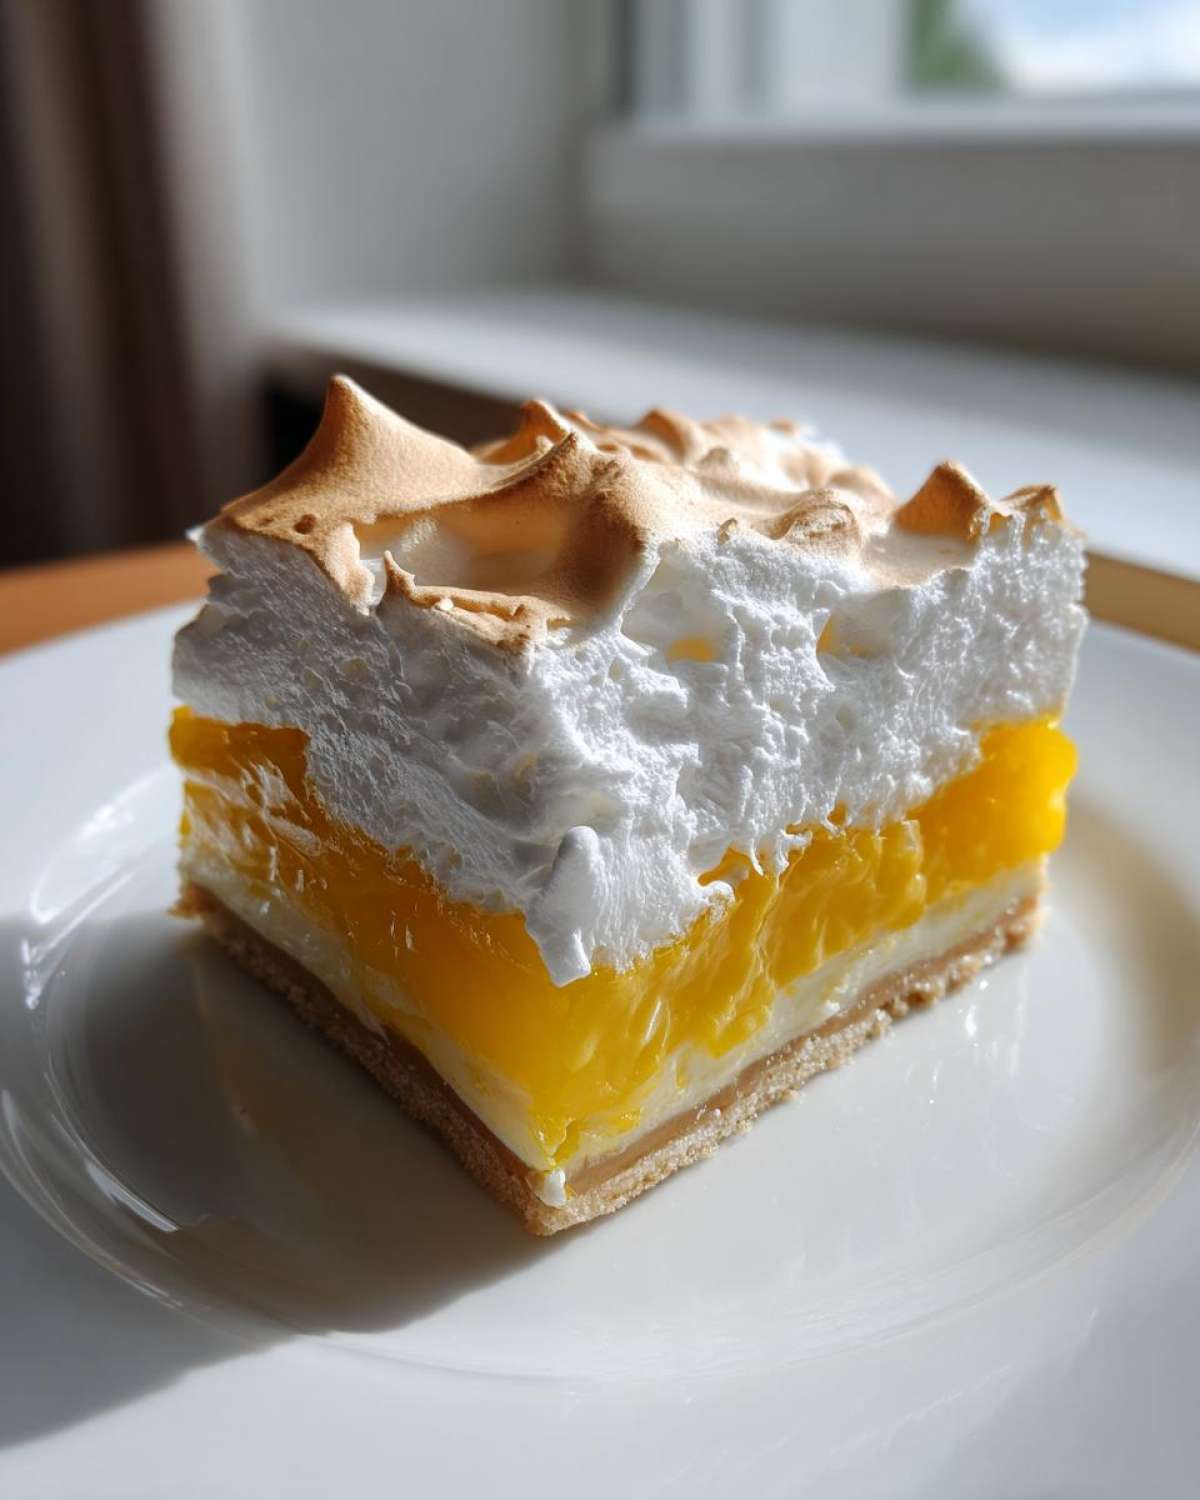
Why These Lemon Meringue Pie Bars Are Your New Favorite Dessert
Seriously, these Lemon Meringue Pie Bars are my go-to happy dessert because they solve all the problems of a traditional pie. Who needs messy slices when you can have perfect, self-contained squares?
- They travel like a champ! No more sliding filling when you bring them to a potluck.
- That unbelievable sweet and tangy lemon flavor is locked into every bite.
- The shortbread base offers a satisfying, buttery crunch that holds everything together beautifully. It’s just so much easier than fussing with a pie crust underneath!
Gathering Ingredients for Perfect Lemon Meringue Pie Bars
Okay, before we even think about mixing, we need to make sure our ingredients are ready to go! Getting the prep right here is what separates a good bar from a truly amazing one. Because we are making Lemon Meringue Pie Bars, we need to think in three distinct parts—crust, filling, and that cloud of topping. Don’t try to measure things out of order, or you’ll end up making a mess!
For the Simple Shortbread Crust
For the base, we keep it ridiculously simple but super buttery. The trick here is that the butter has to be cold, cut into little cubes. If it’s too soft, the crust ends up greasy instead of crumbly. You’ll need 1 1/2 cups of all-purpose flour, just 1/2 cup of powdered sugar, and a tiny pinch of salt (that’s 1/4 teaspoon). And remember that cold, cubed unsalted butter—you need exactly 1/2 cup of it.
For the Tart Lemon Filling Recipe for Bars
This is where the magic happens! For the filling to really pop, we need serious lemon flavor, so fresh-squeezed juice is non-negotiable. We start with 1 cup of regular granulated sugar, plus 1/4 cup of flour and 1/4 cup of cornstarch to thicken everything up nicely. We include 1/2 teaspoon of salt here, too. For the liquid, use 1 1/2 cups of cold water, and four large egg yolks (save those whites!). Finally, for that bright citrus flavor in your Tart Lemon Filling Recipe for Bars, grab 2/3 cup of fresh lemon juice and 1 tablespoon of lemon zest.
For the Perfectly Fluffy Meringue Topping Recipe
The meringue is fragile, so only use what you absolutely need here. We start with 4 large egg whites—make sure they are completely free of yolk! For stability—this is important to stop the meringue from collapsing—we use 1/4 teaspoon of cream of tartar. And to sweeten it up, we need 1/2 cup of granulated sugar, added slowly while mixing.
Step-by-Step Instructions: How to Make Lemon Meringue Pie Bars
This recipe is broken down into three main bake stages, but honestly, it flies by once you get started! Make sure your oven is preheated to 350°F (175°C) right away. The secret weapon for easy cleanup and removal later is definitely lining your 9×13 inch pan with parchment paper, making sure you leave a nice overhang on the sides—that’s our handle!
Baking the Simple Lemon Bar Crust Recipe
First, let’s handle the crust ingredients. Whisk together the 1 1/2 cups of flour, the powdered sugar, and that little bit of salt in a bowl. Now, use your fingers or a pastry blender to cut in the cold, cubed butter. You’re looking for a coarse crumb, like tiny peas, not a smooth paste. Press that mixture firmly and evenly into the bottom of your prepared pan. Pop it into the hot oven for about 15 to 18 minutes until you see the edges just barely turning golden. Pull it out, but keep that oven humming!
Creating the Bright Citrus Dessert Squares Filling
While the crust bakes, tackle the filling in a saucepan. Whisk your 1 cup sugar, the filling flour, cornstarch, and salt together first. Slowly add the cold water, whisking constantly until you get a smooth mixture—no lumps allowed! Heat this over medium heat, stirring like crazy, until it gets really thick, maybe 5 to 7 minutes. Pull it off the heat! Now for the crucial part: tempering the yolks. Scoop about a cup of that hot filling into your lightly beaten egg yolks while whisking them constantly. Don’t stop! This stops them from scrambling into scrambled eggs. Pour that tempered yolk mix back into the pan, stir for one more minute on low heat (don’t boil it!), then take it off the stove completely and stir in your fresh lemon juice and zest. Pour this beautiful, Bright Citrus Dessert Squares filling right over that warm crust.
Achieving the No Fuss Meringue Topping for Bars
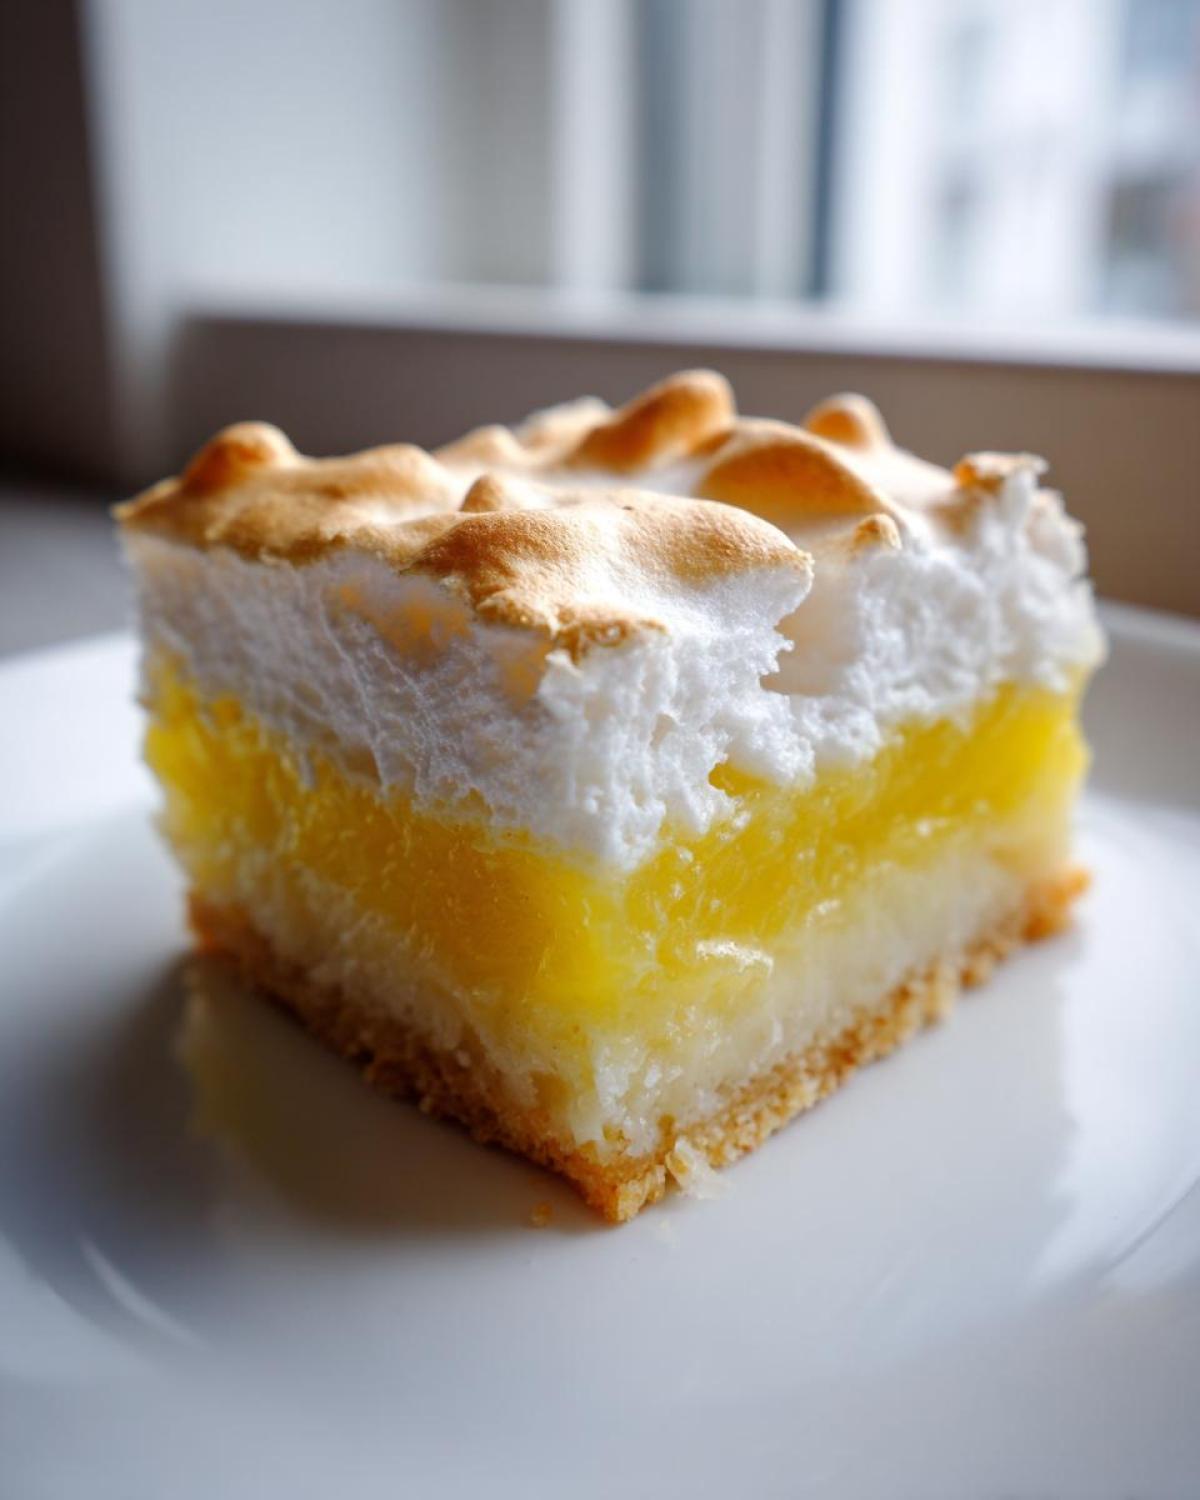
While the filling is still hot, we whip up the meringue! You absolutely must use a clean, grease-free bowl for this—any fat ruins the fluff! Beat the egg whites and cream of tartar until you get soft peaks. Then, slowly, I mean *slowly*, add that 1/2 cup of sugar, one tablespoon at a time, beating hard until you get stiff, glossy peaks. This takes about 5 to 7 minutes, so keep going! Spread that No Fuss Meringue Topping for Bars right over the hot filling, making sure you seal the meringue right to the edges of the pan so we lock in all that tartness. Bake for just 10 to 12 minutes until the peaks are lightly browned. Then, try to wait two hours before cutting these beauties!
Tips for Success with Your Lemon Meringue Pie Bars
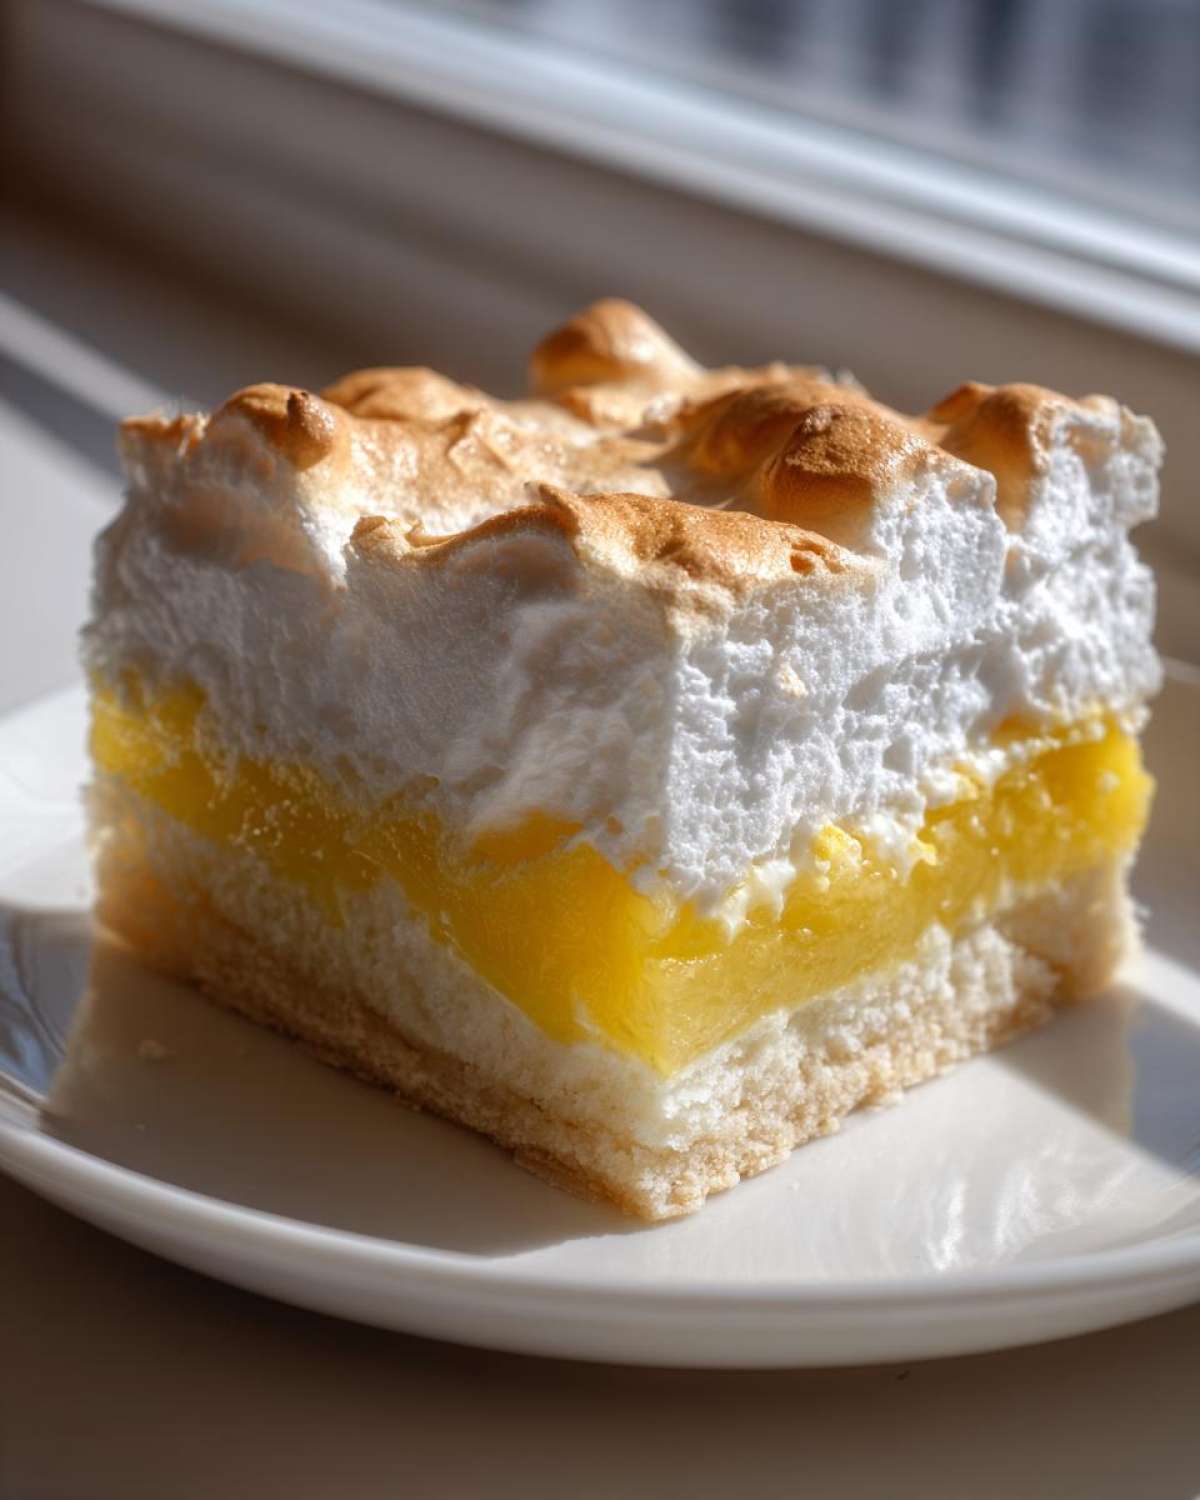
Listen, homemade meringue can be fussy, I won’t lie to you! But if you follow a couple of rules—the kind that old-school bakers swear by—you won’t end up with a soggy bottom or weeping meringue. We want these Lemon Meringue Pie Bars to look like they came straight out of a professional bakery case, right?
Preventing Meringue Weeping in Lemon Meringue Pie Bars
The biggest nightmare is that sticky, watery layer that forms between the lemon filling and the meringue. That’s weeping! First, make absolutely certain that your bowl and whisk are spotless! Seriously, wipe them down with a bit of vinegar or lemon juice if you have to, because even a hint of grease or leftover egg yolk will stop those whites from whipping up properly. Second, when you spread your meringue, make sure it seals everywhere. Push it right up against the edges of the crust all the way around. This traps the steam and keeps the filling from touching the air, which is what causes the weeping.
Techniques for Cutting Perfect Bakery Style Lemon Squares
Patience is truly an ingredient here, my friend. If you try to cut these while they are even slightly warm, the shortbread will crumble and the filling will ooze everywhere. We need them completely cooled—that means a minimum of two hours sitting on the counter. For what I call the cleanest shot at those perfect Bakery Style Lemon Squares, I actually transfer the whole thing, still wrapped in parchment, into the fridge for another 30 minutes before slicing. Use a long, sharp knife and wipe the blade clean between cuts!
Variations for Your Lemon Meringue Bars Recipe
While I stand by this original setup—the shortbread crust combined with that super tart filling—I know us home bakers love to tinker! You can absolutely use this base recipe to inspire some really fun, flavor-packed Lemon Meringue Bars Recipe variations. The structural parts—the crust thickness and the filling cooking time—need to stay the same if you want them to set right.
If you’re feeling extra creative, think about the citrus! You can swap out just half of that fresh lemon juice for lime or even orange juice. Orange meringue bars are surprisingly delicious and mellow. Just be careful when testing flavors, because if you change the acidity too much, it can affect the meringue structure later on. Stick close to the original measurements!
Now, for my friends who need to skip the gluten, don’t worry! You can very easily make excellent Gluten Free Lemon Meringue Bars. Just substitute the 1 1/2 cups of all-purpose flour in the crust with a quality 1-to-1 gluten-free baking blend that already contains xanthan gum. I use it all the time because you don’t have to fuss with adding extra binders. The rest of the recipe—the filling and the meringue—is naturally gluten-free, which is fantastic!
Another fun idea for presentation is adding a little something extra to the lemon filling before you pour it onto the crust. If you want something really beautiful and seasonal, gently fold in about 1/2 cup of fresh or frozen blueberries right as the filling comes off the stove. It just gives you these beautiful purple streaks against the bright yellow. It’s a simple swap that really elevates these Sweet and Tangy Lemon Squares!
Storage and Make Ahead Lemon Dessert Bars
One of the best things about converting that classic pie into these Make Ahead Lemon Dessert Bars is that they are relatively sturdy! However, because we have that fantastic, fluffy meringue topping, we can’t just leave them sitting out on the counter like a regular cookie bar. That meringue needs protection, and honestly, the lemon filling benefits from a chill, too.
Here’s the rule I follow for keeping these Lemon Meringue Pie Bars tasting bright and fresh. Since meringue is made primarily of egg whites, they need to be kept cold. Once these bars are completely cooled—and I mean *completely* cooled after that final bake—store them in an airtight container in the refrigerator. They are actually fantastic the next day, maybe even better since the filling has fully set up!
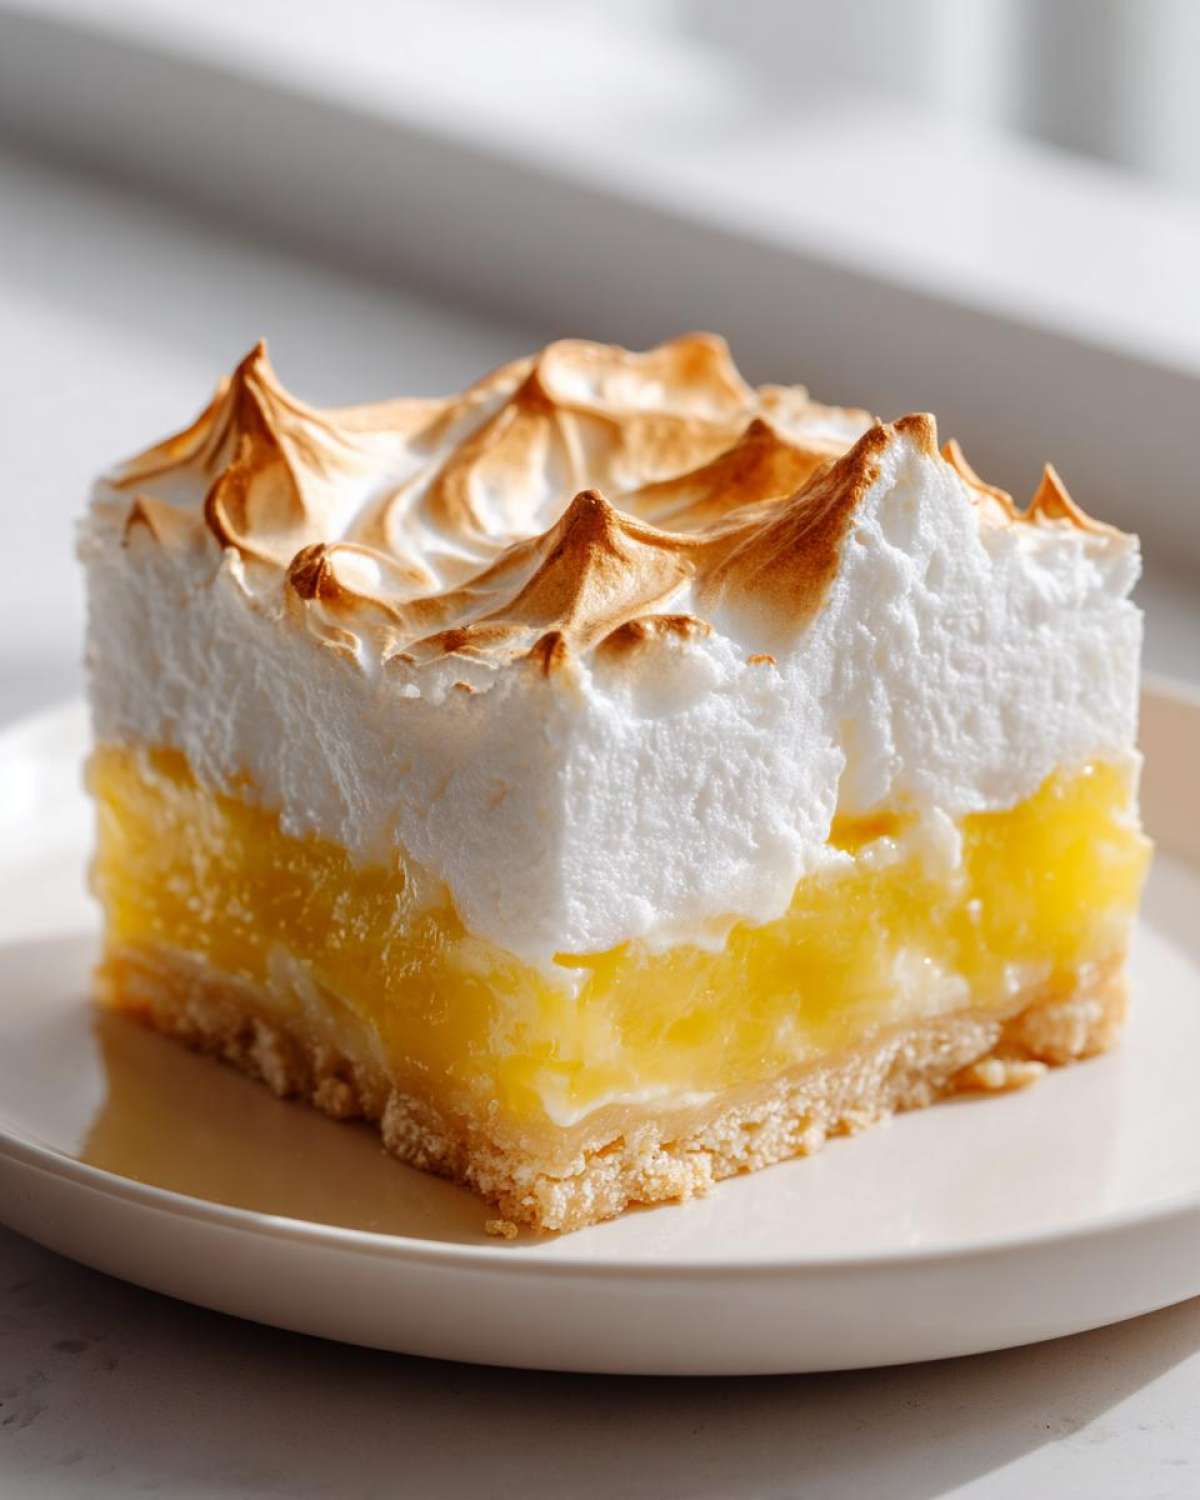
You can usually get a good four to five days out of them in the fridge this way. I always suggest placing a small piece of wax paper or parchment between any layers if you’re stacking them, just to make sure that lovely meringue doesn’t stick to the topping of the bar underneath. I try not to leave them sitting out for more than an hour or two before serving.
Now, can you freeze them? This is tricky because of the meringue. If you freeze them, the meringue will get a strange texture when it thaws—it often gets sweaty or weeps because of the moisture change. If you absolutely must freeze them, I recommend baking the crust and the lemon filling layers only, letting them cool completely, and storing those two layers sealed tightly in the freezer. Then, when you’re ready to serve, thaw the layers, make a fresh, small batch of meringue, top them, and bake that final 10 minutes. It’s an extra step, but it keeps your Lemon Meringue Bars Recipe looking pristine!
Serving Suggestions for Sweet and Tangy Lemon Squares
Serving these bright, zesty Sweet and Tangy Lemon Squares is almost as fun as making them! Because the lemon filling is so intensely tart and the meringue is so airy, you often don’t need much else. But sometimes, you want to dress them up just a little bit for company, or maybe you just want a textural contrast.
My absolute favorite way to serve these Lemon Meringue Pie Bars is exactly as they are, maybe with just a whisper of powdered sugar dusted over the peaks of the meringue. It catches the light beautifully and gives a little visual nod to the old-fashioned pies we grew up loving. It’s simple, elegant, and lets that tart flavor do all the heavy lifting.
However, if you’re looking for something extra nice, definitely pair them with fresh fruit. Since the bars already have so much zing, you want berries that offer a gentle sweetness to cut through the sharpness. Think about piling a small handful of fresh raspberries or sweet sliced strawberries right next to the bar on the plate. The color contrast between the bright yellow, the white meringue, and the deep red berries just screams summer dessert!
For a really decadent springtime dessert, sometimes I’ll serve a chilled bar alongside a tiny scoop of plain vanilla bean ice cream or maybe a dollop of unsweetened whipped cream. That cold, creamy element really balances that sharp lemon. Just be careful not to let the ice cream melt right into the meringue! If you’re feeling extra fancy, a drizzle of homemade raspberry coulis, which is just strained, slightly warmed raspberries, looks stunning winding across the plate.
Frequently Asked Questions About Lemon Meringue Pie Bars
I know you’ve got questions! When you try to merge a meringue pie with a sturdy bar, there are bound to be a few snags along the way. Don’t fret; these are the questions I get asked most often about making these Lemon Meringue Pie Bars, and I’ve got the answers right here for you.
Can I use bottled lemon juice instead of fresh for the Tart Lemon Filling Recipe for Bars?
Oh, honey, if you can possibly swing it, please use fresh! Bottled lemon juice just doesn’t have that vibrant, sharp quality that makes the Tart Lemon Filling Recipe for Bars sing. Bottled stuff often has preservatives and a duller flavor profile. If you absolutely must use bottled juice for your Lemon Meringue Bars Recipe—maybe you’re in a pinch—you’ll want to increase the fresh zest you add, maybe aiming for two tablespoons of zest, just to try and boost that essential bright aroma back into the filling.
How long do these Lemon Meringue Bars Recipe keep fresh?
Because we have that glorious meringue on top, we can’t just leave these sitting on the counter long-term. Make sure these Lemon Meringue Bars Recipe stay covered tightly in an airtight container in the refrigerator. Usually, they are fantastic for about four days. If you try to keep them longer, the crust starts to get a little soft where it touches the filling.
What is the best way to get a very tall, Perfectly Fluffy Meringue Topping Recipe?
This is all about the prep work for that Perfectly Fluffy Meringue Topping Recipe! First, and I cannot stress this enough, your mixing bowl must be spotless—zero grease, zero yolk residue. Second, you need to beat those egg whites until they are at strong soft peaks *before* you even think about adding the sugar. Then, add that granulated sugar one tablespoon at a time, making sure each spoonful is incorporated fully before you add the next. Don’t rush it; those shiny, stiff peaks need time and steady sweetening to stand up tall!
Nutritional Estimates for This Dessert Bars for Summer
Now listen, I’m a baker, not a nutritionist! I just wanted to give you a little roadmap of what you’re looking at in terms of macros for these gorgeous Dessert Bars for Summer. Since we are dealing with butter, sugar, and eggs, as expected, these are definitely a treat rather than an everyday snack, but oh so worth it!
These estimates are based on serving size being one square, or yield divided into 18 pieces. Remember that exactly how much juice you use, or how thick you make that meringue layer, can tweak these numbers slightly, so take this as a general guideline!
- Calories: Around 250 per bar. Yes, they pack a punch, but they are dense and satisfying!
- Sugar: Expect about 25 grams. That’s the lemon doing its job to balance that beautiful sweet meringue!
- Fat: About 12 grams, mostly from that wonderful buttery shortbread crust we made.
- Carbohydrates: Roughly 34 grams.
- Protein: About 4 grams.
If you want the nitty-gritty details, you can always check out a more in-depth breakdown over on my nutritional disclaimer page. But for now, just know that these Lemon Meringue Pie Bars are best enjoyed with a cup of coffee and zero guilt!
PrintLemon Meringue Pie Bars

A recipe for tart lemon filling and fluffy meringue served over a simple shortbread crust, made into easy-to-serve bars.
- Prep Time: 25 min
- Cook Time: 40 min
- Total Time: 65 min
- Yield: 18 bars
- Category: Dessert
- Method: Baking
- Cuisine: American
- Diet: Vegetarian
Ingredients
- 1 1/2 cups all-purpose flour
- 1/2 cup powdered sugar
- 1/4 teaspoon salt
- 1/2 cup (1 stick) cold unsalted butter, cubed
- 1 cup granulated sugar (for filling)
- 1/4 cup all-purpose flour (for filling)
- 1/4 cup cornstarch (for filling)
- 1/2 teaspoon salt (for filling)
- 1 1/2 cups cold water (for filling)
- 4 large egg yolks, lightly beaten (for filling)
- 2/3 cup fresh lemon juice (for filling)
- 1 tablespoon lemon zest (for filling)
- 4 large egg whites (for meringue)
- 1/4 teaspoon cream of tartar (for meringue)
- 1/2 cup granulated sugar (for meringue)
Instructions
- Preheat your oven to 350°F (175°C). Line a 9×13 inch baking pan with parchment paper, leaving an overhang on the sides for easy removal.
- Prepare the crust: In a medium bowl, whisk together the 1 1/2 cups flour, powdered sugar, and 1/4 teaspoon salt. Cut in the cold butter using a pastry blender or your fingers until the mixture resembles coarse crumbs.
- Press the crust mixture evenly into the bottom of the prepared pan. Bake for 15 to 18 minutes, or until the edges are lightly golden. Remove from the oven and set aside while you prepare the filling. Keep the oven on.
- Prepare the lemon filling: In a medium saucepan, whisk together the 1 cup sugar, 1/4 cup flour, cornstarch, and 1/2 teaspoon salt. Gradually whisk in the cold water until smooth.
- Cook the filling mixture over medium heat, stirring constantly, until it thickens significantly, about 5 to 7 minutes. Remove from heat.
- Temper the egg yolks: In a small bowl, whisk the egg yolks lightly. Slowly pour about 1 cup of the hot filling mixture into the yolks while whisking constantly. This prevents the yolks from scrambling.
- Pour the tempered yolk mixture back into the saucepan with the remaining filling. Return to low heat and cook for 1 minute, stirring constantly. Do not boil.
- Remove the filling from the heat. Stir in the lemon juice and lemon zest. Pour the hot lemon filling evenly over the warm baked crust.
- Prepare the meringue: In a clean, grease-free bowl of a stand mixer fitted with the whisk attachment (or use a hand mixer), beat the egg whites and cream of tartar on medium speed until soft peaks form.
- Gradually add the 1/2 cup sugar, one tablespoon at a time, beating until stiff, glossy peaks form. This should take about 5 to 7 minutes.
- Spread the meringue evenly over the hot lemon filling, making sure the meringue touches the edges of the crust all the way around to seal it. Create decorative swirls with the back of a spoon.
- Bake for 10 to 12 minutes, or until the meringue is lightly golden brown.
- Let the bars cool completely on a wire rack for at least 2 hours before lifting them out of the pan using the parchment paper overhang and cutting them into squares.
Notes
- To prevent the meringue from weeping, make sure your mixing bowl and whisk are completely free of any grease or egg yolk residue.
- Bake the meringue until it is just set and lightly browned; overbaking can cause shrinkage.
- For a cleaner cut, chill the finished bars for 30 minutes before slicing.
Nutrition
- Serving Size: 1 bar
- Calories: 250
- Sugar: 25
- Sodium: 100
- Fat: 12
- Saturated Fat: 7
- Unsaturated Fat: 5
- Trans Fat: 0
- Carbohydrates: 34
- Fiber: 1
- Protein: 4
- Cholesterol: 60