

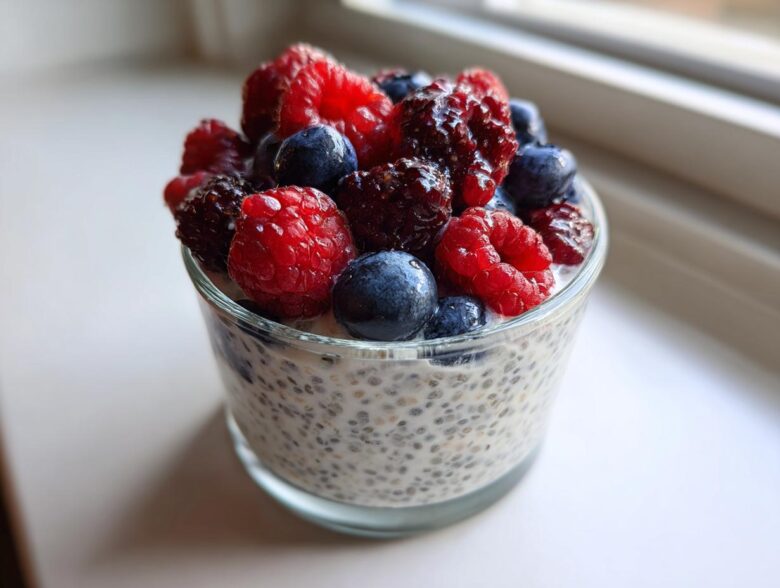
Ugh, mornings lately, right? I swear I hit snooze three times every day this week. That’s why I’ve been leaning SO hard into my make-ahead breakfasts. Seriously, having something ready to grab means I actually eat something decent before rushing out the door. My absolute savior this month has been these little **Vanilla Berry Chia Pudding Cups**. They’re perfectly portioned, taste like dessert, yet they’re packed with good stuff. I make a big batch on Sunday, and boom—healthy grab and go breakfast sorted for days!
I’ve tried chia pudding a million ways, but the combination of creamy vanilla bean flavor with that tart sweetness of fresh berries in individual little cups? It’s unbeatable. Trust me, this recipe fixed my frantic weekday routine for good. You’re going to love how easy the overnight oats guide was, but this chia pudding? This one is even faster!
Why You Need This Vanilla Berry Chia Pudding Cups Recipe
Honestly, if you’re looking for a kitchen win this week, this is it. Forget complicated cooking; this recipe is pure genius for busy people. Why should you run to the pantry right now?
- It’s the ultimate Make Ahead Healthy Snack solution—prep once, eat all week!
- Perfectly Portion Controlled Desserts (or breakfast, I won’t judge) mean no second-guessing.
- It’s the definition of a Healthy Grab and Go Breakfast when you’re running out the door.
- Plus, since it’s naturally vegan and gluten-free, everyone in the house can enjoy it.
Stop by my breakfast category for more quick inspiration when you see how fast these come together!
Essential Ingredients for Perfect Vanilla Berry Chia Pudding Cups
I always tell people that the *easiest* recipes are entirely dependent on using good ingredients, and this is especially true here. Since there’s no cooking involved, every flavor has to shine through! This is what I keep stocked for my standard batch of four servings.
You’ll need:
- Half a cup of chia seeds. Yep, that’s all it takes for four servings!
- Two cups of liquid. I stick to unsweetened almond milk, but honestly, use whatever you already have on hand—oat milk, regular dairy milk, even coconut milk works beautifully.
- Maple syrup. I use a quarter cup, but this is where you totally customize it. If you like it less sweet, start with two tablespoons and taste later!
- A full teaspoon of good vanilla extract. Don’t skimp here; it’s where the vanilla flavor comes from!
- A tiny pinch of salt. This is my secret trick—it just wakes up all the sweet flavors.
- And of course, one cup of mixed berries. Don’t worry if they are fresh or frozen; either works great, which keeps things simple.
That’s it! Seriously, just grab those things, and we can move on to making this the most Easy Chia Pudding Recipe you’ve ever tried.
Mastering the Creamy Chia Pudding Technique for Vanilla Berry Chia Pudding Cups
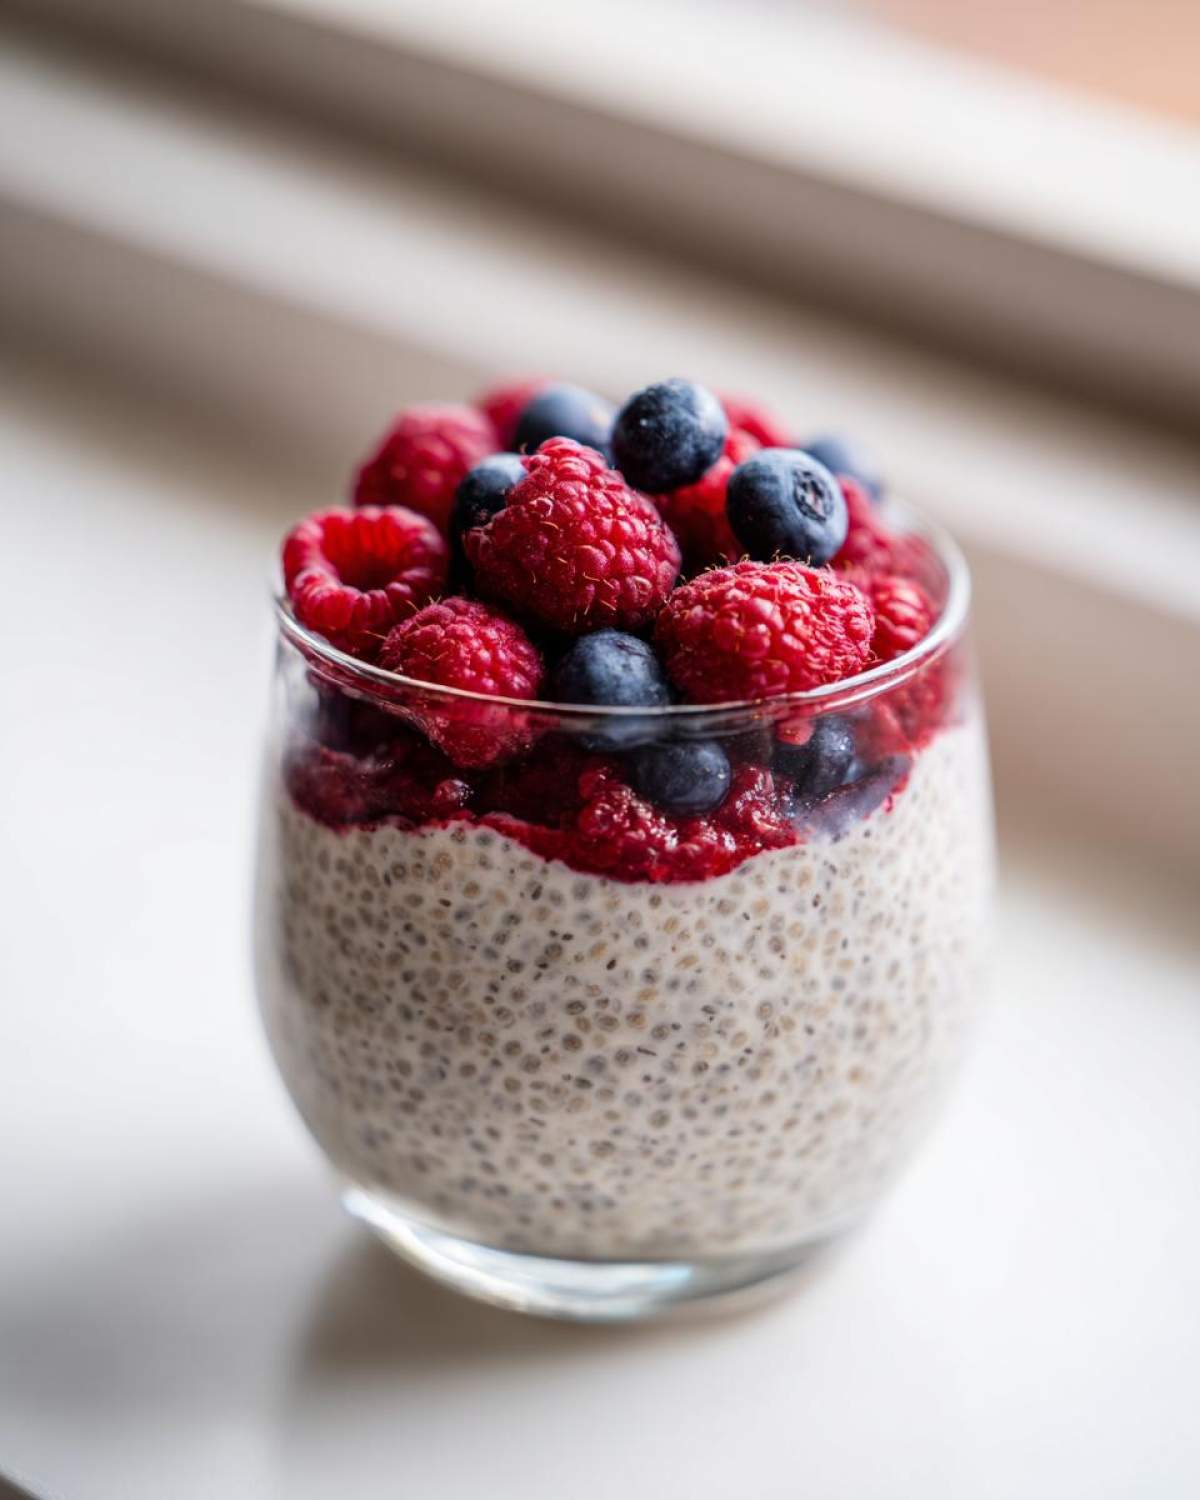
The biggest fear people have when trying this is ending up with a giant, gritty clump of seeds stuck at the bottom of the jar. Don’t let that happen to you! Getting that wonderfully smooth, velvety texture—the hallmark of a truly great Creamy Chia Pudding Technique—comes down to two very specific whisking moments. You have to work fast at the beginning and then be patient.
Think of it like this: you are rehydrating everything evenly before the seeds start to fully puff up. It’s all about surface contact! I read about mixing rice pudding, and I realized the same principles of slow addition apply here to stop clumping just like when making creamy rice pudding.
Achieving the Best Chia Pudding Base Consistency
First, the ratio. Half a cup of seeds to two cups of liquid (a 1:4 ratio) is what gets you that perfect, spoonable set—not too hard, not too watery. If you use less liquid, you’ll get something cement-like, which is *not* what we want for grab-and-go cups!
You must whisk the seeds into the liquid mixture vigorously for a full minute right away. But here’s my secret move, something I learned through trial and error: let it rest for about five minutes, and then *whisk again* for another good 30 seconds. That second whisk breaks up the initial gel layer that forms on the outside of the seeds. That one simple extra step is the difference between smooth pudding and crunchy sludge. Seriously, trust me on the second whisk; it’s how you learn How to Make Chia Pudding Thick without the lumps!
Step-by-Step Instructions for Your Vanilla Berry Chia Pudding Cups
Okay, now that we’ve got the secret to smooth texture down, the assembly couldn’t be easier. Since this is one of those wonderful No Cook Breakfast Options, all the hard work happens overnight while you sleep! You don’t even need to turn on the stove for this one.
- First up, grab a medium bowl. Whisk together all your wet ingredients first—the almond milk, maply syrup, that lovely vanilla extract, and the tiny bit of salt. You want this blended nicely before anything gets too thick.
- Now, slowly stream in those chia seeds while continuing to whisk. Keep moving that whisk for a solid minute! We do this to make sure every seed gets coated right away and doesn’t sink and clump.
- Remember the golden rule we just talked about? Let that mixture sit on the counter for about five minutes. Then, come back and give it one last, mighty whisk to ensure everything is perfectly integrated.
- Once you see it starting to thicken just a hair, grab your individual serving jars or little cups. Divide your mixture evenly among the four containers. These are perfect Portion Controlled Desserts!
- Cover them up! This is crucial for any Overnight Chia Seed Pudding. Pop them into the fridge for at least four hours, but honestly, making them the night before is where the magic happens.
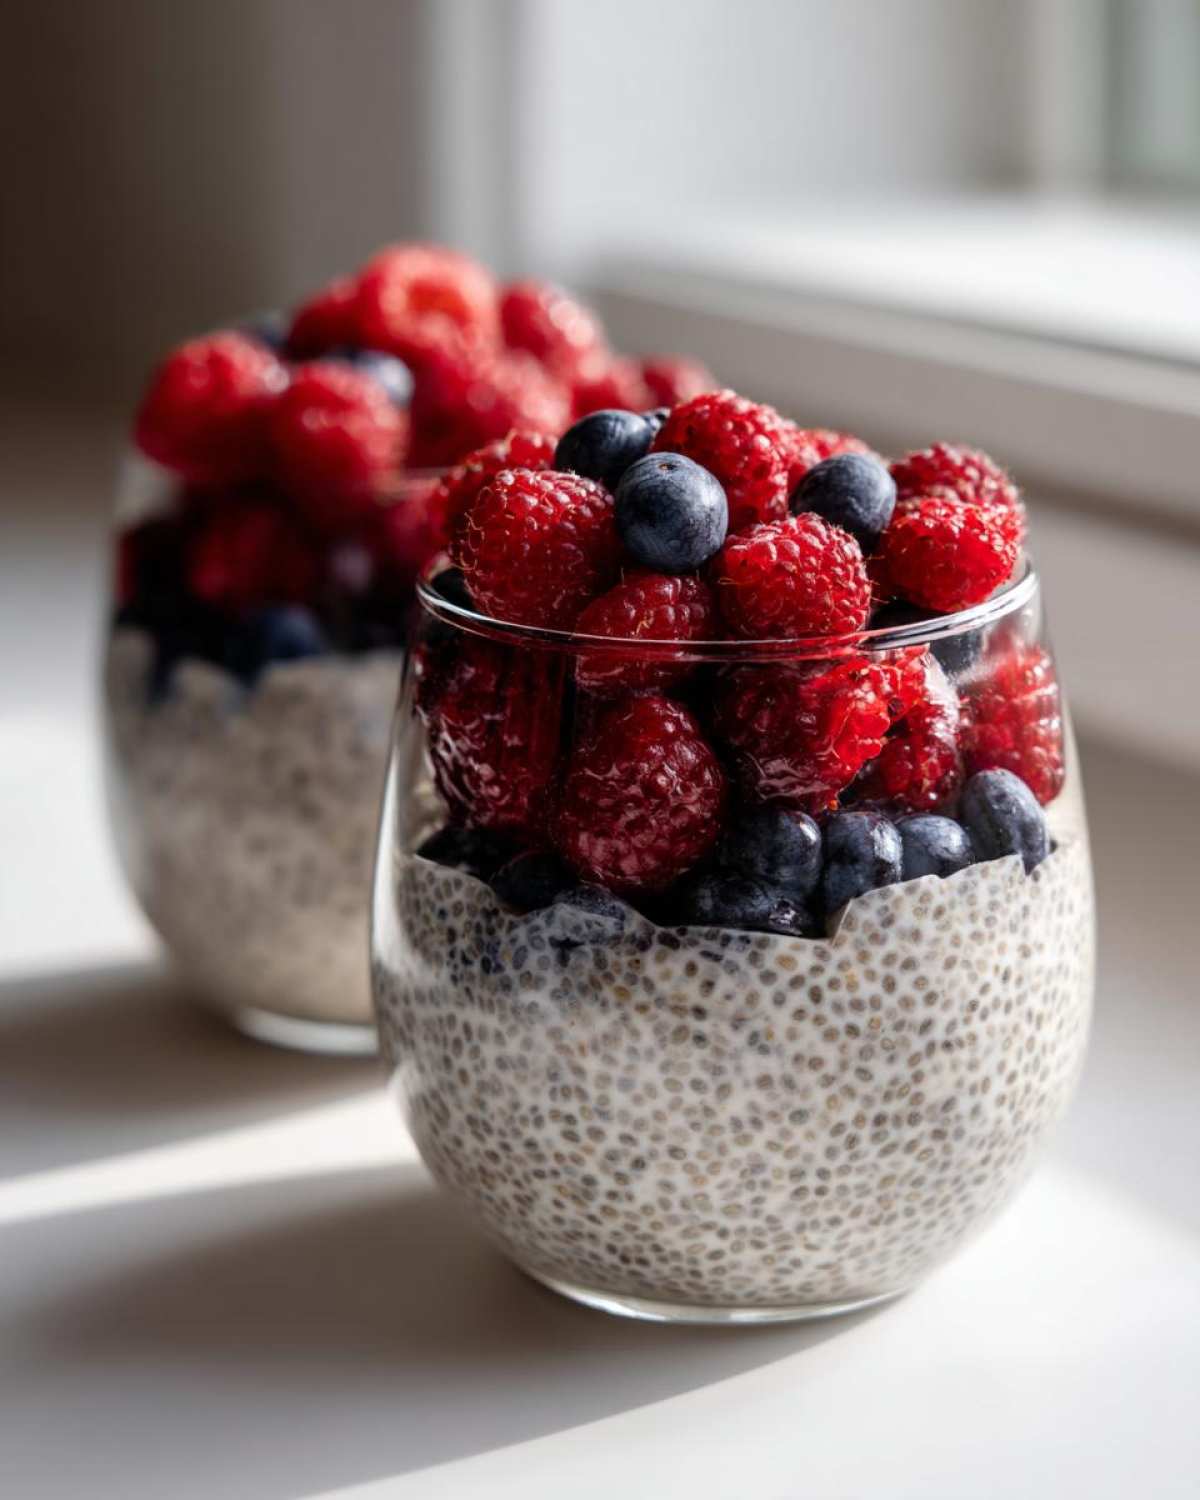
- The next morning, you pull them out, and they are perfectly set! Simply spoon your 1/4 cup of mixed berries right on top. If you want that neat look, check out my post on layering those cinnamon roll oats; you can layer the berries inside before chilling if you feel fancy!
See? Minimal fuss for maximum healthy reward. Ready to wake up to breakfast!
Ingredient Notes and Substitutions for Vanilla Berry Chia Pudding Cups
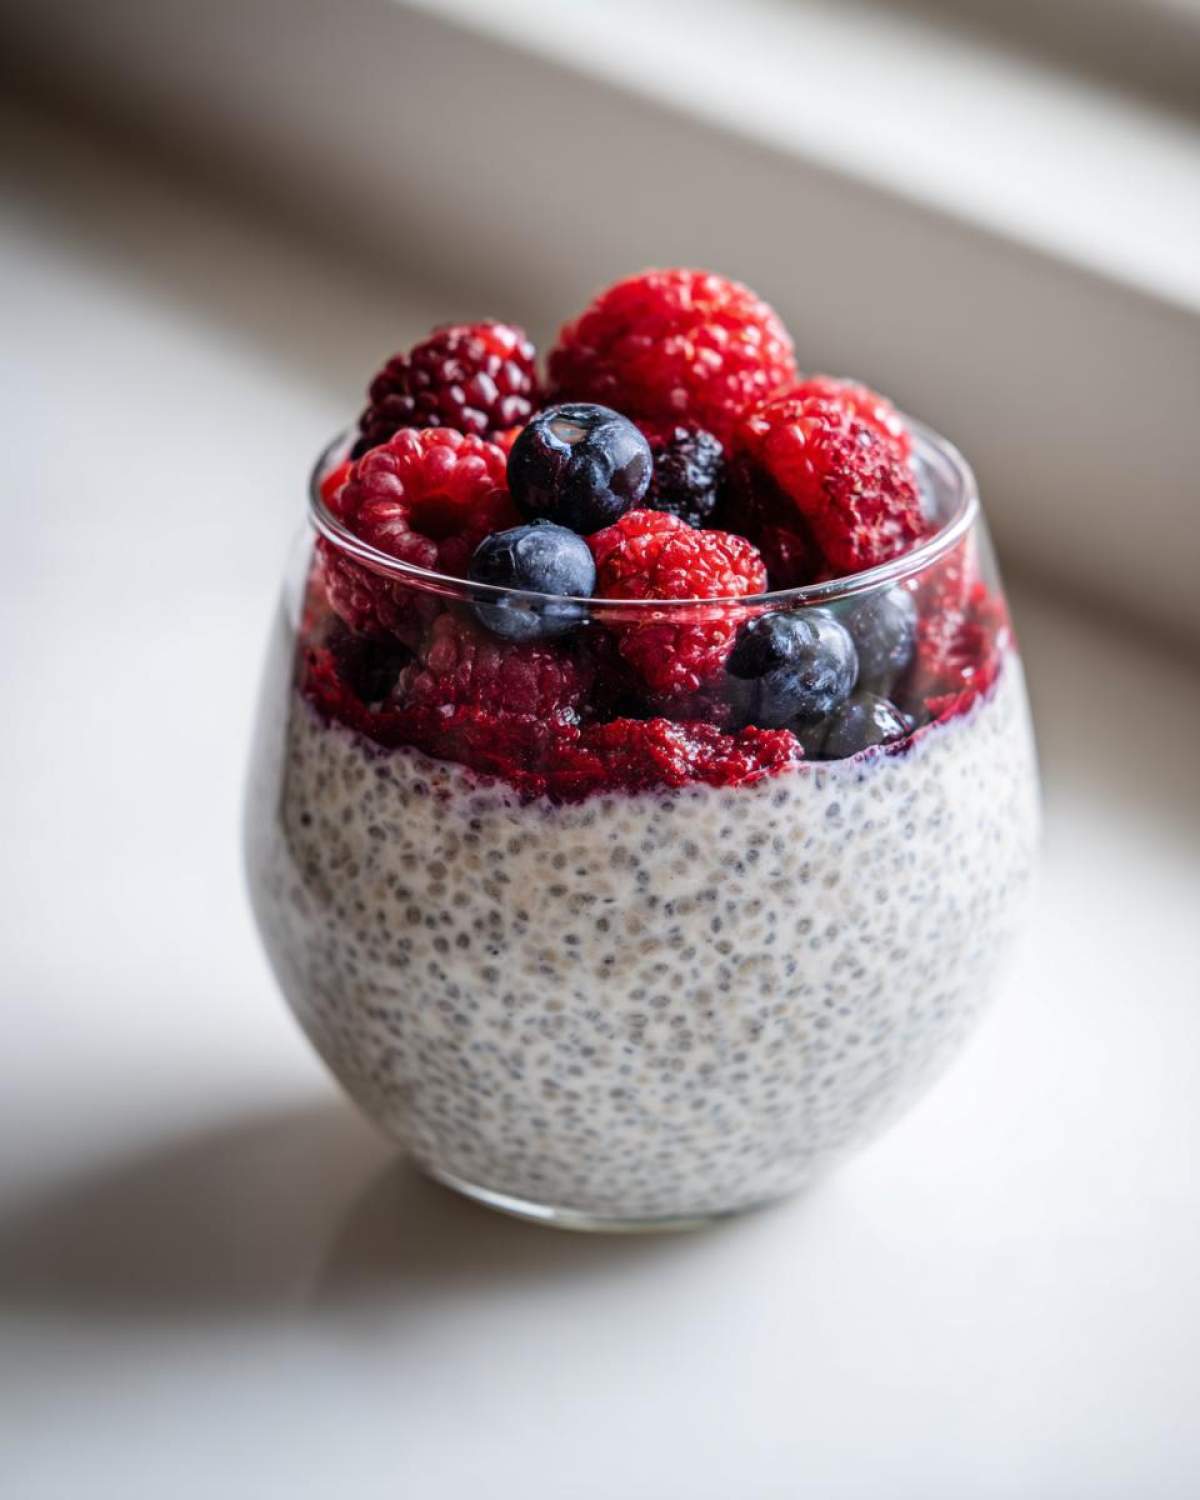
I get so many questions about tinkering with this recipe, and the fantastic news is that it’s incredibly flexible! Remember, since this recipe uses almond milk and maple syrup, it’s naturally vegan—perfect if you’re aiming for those Vegan Berry Pudding Cups. If you need to swap the milk, go nuts! Dairy, soy, oat—they all work well.
Sweetness is totally up to you. If you usually go lighter on sugar, try using just two tablespoons of maple syrup initially. You can always add more, but you can’t take it out once it’s in there! If you’re out of maple syrup, honey works just as well, or even stevia drops if that’s what you use.
Now, let’s talk thickness—this is super important for a good grab-and-go texture. If you prefer it really firm, like a dense dessert rather than a soft breakfast, just add more seeds! I often double-check the ratio by going up to two-thirds of a cup of chia seeds for every two cups of liquid if I know I won’t eat them until day three in the fridge.
A quick note on berries, especially if you’re prepping a big batch like my neighbor who swears by the vegan pumpkin pie recipe on Sundays. If you use frozen berries and decide to layer them beneath the pudding instead of just putting them on top, make sure they are slightly thawed first. If you put rock-solid frozen berries in, they can cool the pudding too quickly and mess with the overall set, giving you a weird texture right where the frozen fruit sits.
Serving Suggestions and Layering Inspiration for Your Vanilla Berry Breakfast
You’ve nailed the smooth, creamy base—that’s half the battle won! But eating something healthy feels so much better when it looks gorgeous, right? These cups are basically little canvases for you to decorate before you dig in. Since we are aiming for that perfect Vanilla Berry Breakfast experience, presentation really makes a difference!
The easiest way to elevate these is by thinking about texture. The pudding is soft, and the berries are juicy, so we need a little crunch! I keep a jar of toasted sliced almonds around all the time, and a light sprinkle on top adds such a satisfying bite. You could also toss some gluten-free granola in there right before you eat it for that classic crunch factor.
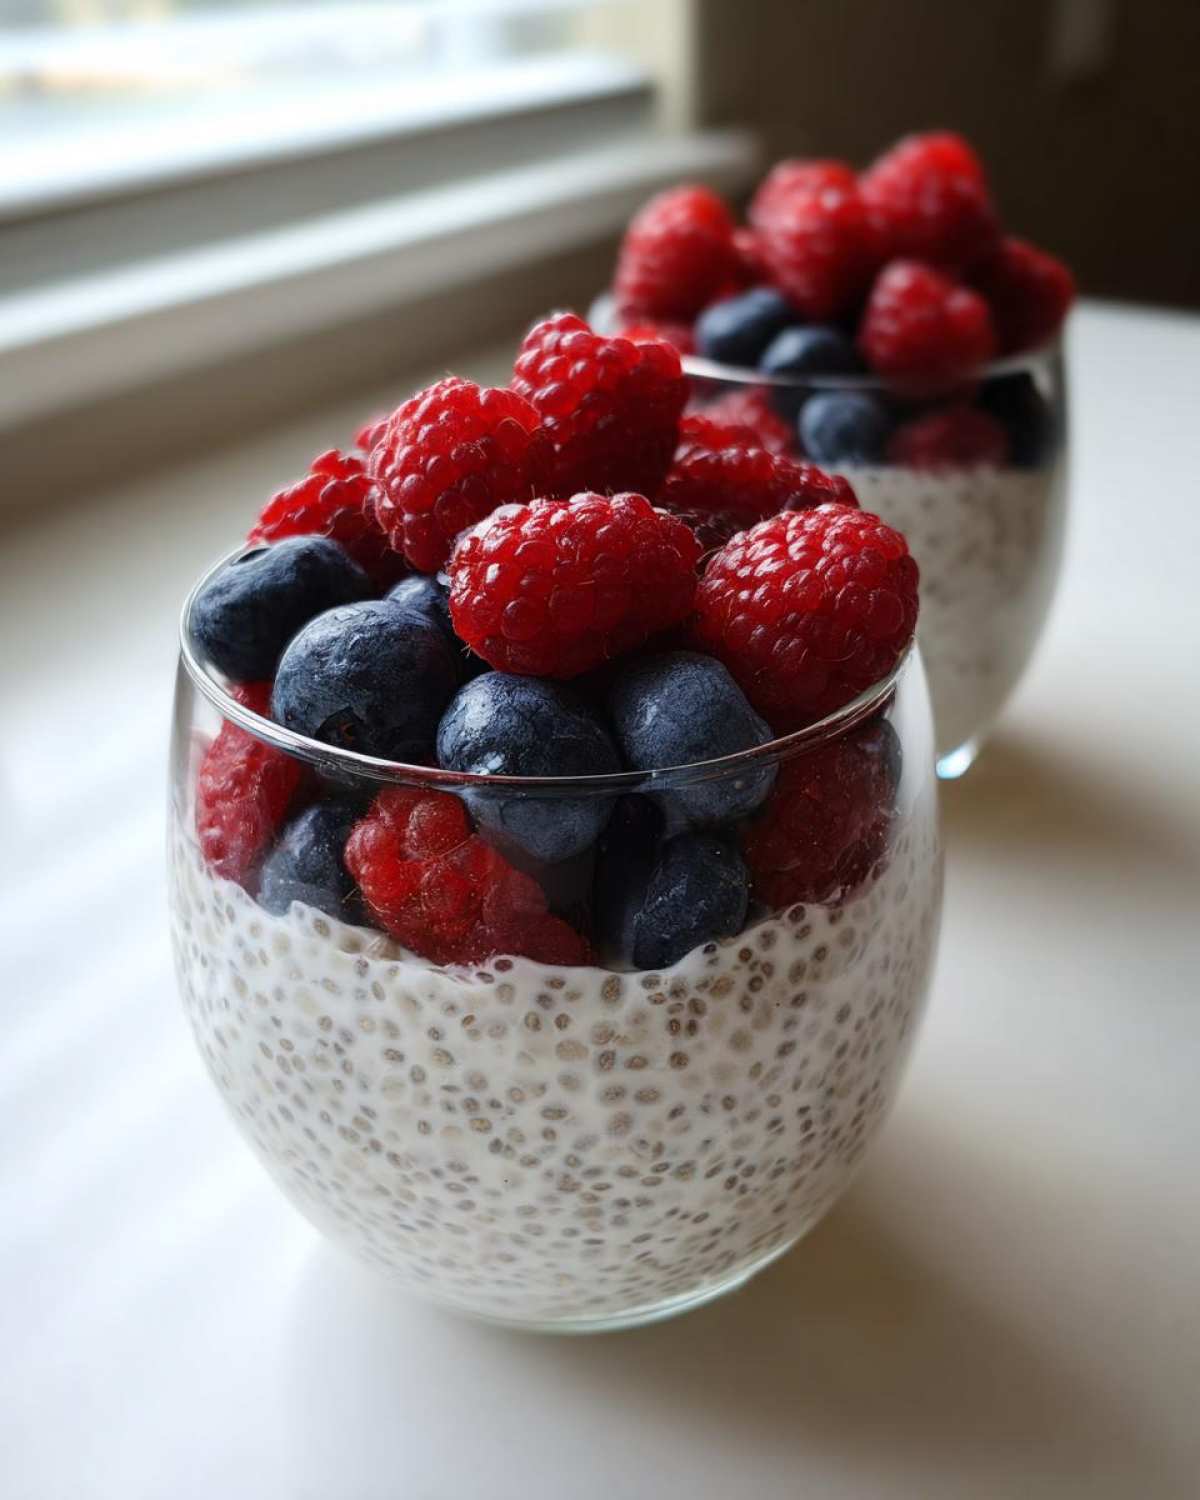
But if you want to go for maximum visual impact, you’ve got to try layering! This turns it into a stunning Berry Chia Parfait Inspiration situation right in your morning glass. Instead of just plopping the berries on top, try this:
- Spoon a layer of the vanilla pudding into the jar first.
- Top that with a layer of your mixed berries.
- Add another layer of pudding.
- Finish with a final layer of berries on top.
This layered look is so much better when you’re grabbing them for guests or just treating yourself midweek. And if you want some seriously dramatic-looking fruit layering, you have to check out the ideas I gathered for Berry Chia Parfait Inspiration—it applies perfectly here! Just make sure you layer cold pudding with cold fruit so they set nicely together in the fridge!
Storage and Make Ahead Healthy Snack Prep for Vanilla Berry Chia Pudding Cups
This is where this recipe really shines for anyone who hates morning decision fatigue! These Vanilla Berry Chia Pudding Cups are the ultimate champion for your weekly meal prep. Because they are completely no-cook, you just mix, jar, and forget until breakfast time. They truly are the best No Cook Breakfast Options for busy weekdays.
I find that the texture stays absolutely perfect if you keep them stored in the fridge for up to three full days. If I make a batch of four on Sunday, I know Tuesday and Wednesday mornings are covered, no problem. I usually top them with the berries right before I eat them, but you can layer them in if you prefer them completely set.
My only warning? Skip the freezer! Chia seeds tend to get a strange, slightly grainy texture after thawing, so they aren’t great for freezing long-term, even though they are perfect for making ahead a few days. Stick to the fridge for the best results. For more simple prep ideas that save you time, you should check out this beans and rice recipe—meal prepping doesn’t have to be complicated!
Frequently Asked Questions About Vanilla Berry Chia Pudding Cups
I always get a flood of questions once readers try this recipe for the first time, which makes total sense! Everyone wants their pudding to be just right. Here are the most common things folks ask me when they are trying out this Easy Chia Pudding Recipe.
Can I use regular dairy milk instead of almond milk?
Oh, absolutely! I use almond milk because I usually stick to a vegan diet, but please use whatever milk you prefer! Whole dairy milk makes it incredibly rich and decadent because of the fat content—it gives you an almost dessert-like texture. If you use skim milk, it might be slightly thinner, so you might want to increase the chia seeds slightly, maybe going to 5/8ths of a cup, just to make sure it sets up nicely.
How can I adjust the sweetness for my Vanilla Berry Breakfast?
That quarter cup of maple syrup is my sweet spot, but I know everyone’s sweet tooth is different. Remember, this is naturally a Gluten Free Chia Seed Recipe, and the berries add a lot of natural sugar too. If you like things more tart, start with just two tablespoons of syrup. You can always let it sit overnight and then taste it in the morning before adding more. Plus, if you use sweeter berries, like super ripe strawberries, you’ll need less sweetener!
What other fruits work well besides mixed berries?
This is the fun part—you can use nearly anything! If you’re looking for different ideas for those overnight prep options, try mango or peaches if you like things tropical. Sliced kiwi is gorgeous, though it can break down a little faster. The key, like I mentioned before, is just to make sure the fruit isn’t frozen solid when you layer it in, unless you want that frosty texture!
Is this recipe naturally gluten-free?
Yes, it absolutely is! Since we aren’t using any grains (unless you add granola on top!), the base ingredients—chia seeds, milk, vanilla, syrup, salt—are all naturally gluten-free. It’s one of the easiest Gluten Free Chia Seed Recipe options out there. Just double-check your vanilla extract label if you are super sensitive, but that’s rarely an issue!
Nutritional Snapshot of Your Vanilla Berry Chia Pudding Cups
Look, I love that this recipe is fast, healthy, and perfect for prep, but let’s be real—we all want to know what we are actually eating when we grab one of these cups first thing in the morning. While I try to keep things simple in the kitchen, I always try to be transparent about what’s going into my body, and I want you to feel good about making these!
Based on the exact ingredients listed in the recipe—using unsweetened almond milk and the 1/4 cup of maple syrup—here’s what you can generally expect per serving (that’s one of those perfectly sized cups):
- Calories: Around 250
- Sugar: About 18g (A good portion of this is natural sugar from the berries and maple syrup!)
- Fat: Roughly 10g (Mostly the good fats from the chia seeds!)
- Protein: Solid 8g boost to keep you going.
- Fiber: A fantastic 12g! That’s nearly half your daily requirement right there.
Now, a quick little disclaimer, because I know everyone changes things up! These are just estimated numbers. If you swap almond milk for whole dairy milk, or if you decide to use honey instead of maple syrup for your breakfast cookie replacements, those numbers will shift a bit. But generally, these Vanilla Berry Chia Pudding Cups stay right in that sweet spot for a balanced, super healthy start to your day!
PrintVanilla Berry Chia Pudding Cups
Make simple, portion-controlled chia pudding cups flavored with vanilla and topped with mixed berries. This recipe is great for make-ahead breakfasts or snacks.
- Prep Time: 10 min
- Cook Time: 0 min
- Total Time: 4 hours 10 min
- Yield: 4 servings
- Category: Breakfast
- Method: No Cook
- Cuisine: American
- Diet: Vegan
Ingredients
- 1/2 cup chia seeds
- 2 cups unsweetened almond milk (or milk of choice)
- 1/4 cup maple syrup (adjust to taste)
- 1 teaspoon vanilla extract
- 1/4 teaspoon salt
- 1 cup mixed berries (fresh or frozen)
Instructions
- In a medium bowl, whisk together the almond milk, maple syrup, vanilla extract, and salt until combined.
- Slowly whisk in the chia seeds. Whisk continuously for about one minute to prevent clumping.
- Let the mixture sit for 5 minutes, then whisk again thoroughly. This second whisk helps achieve a smooth consistency.
- Divide the mixture evenly into four small jars or cups.
- Cover the cups and refrigerate for at least 4 hours, or preferably overnight, until the pudding thickens.
- Before serving, top each cup with 1/4 cup of mixed berries.
Notes
- For a thicker pudding, increase the chia seeds to 2/3 cup.
- If using frozen berries, let them thaw slightly before topping the pudding.
- You can layer the berries within the pudding cups instead of just placing them on top for a parfait look.
- Substitute maple syrup with honey or your preferred liquid sweetener.
Nutrition
- Serving Size: 1 cup
- Calories: 250
- Sugar: 18
- Sodium: 150
- Fat: 10
- Saturated Fat: 1
- Unsaturated Fat: 9
- Trans Fat: 0
- Carbohydrates: 35
- Fiber: 12
- Protein: 8
- Cholesterol: 0