

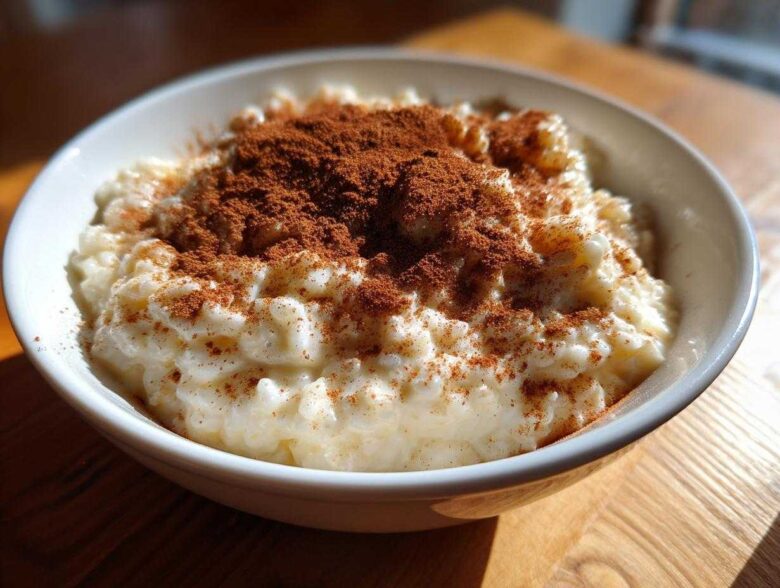
You know those desserts that just wrap you up in a hug when you eat them? That’s exactly what happens when I make this Old Fashioned Creamy Stovetop Rice Pudding recipe. Honestly, sometimes I crave that nostalgic spoonful more than anything else after a long week. For years, I struggled with rice pudding that came out grainy or too thin—flop city! But I finally cracked the code using my grandmother’s patient stovetop technique, ensuring every single batch has that unbelievably smooth texture.
Forget those runny, flavorless versions you might have tried. This isn’t just any quick microwave fix; this is the real deal, homemade pudding that tastes exactly like childhood. When you nail that creamy consistency on the stove, trust me, you’ll ditch every other method you’ve ever tried. Get ready for the best comforting sweet treat!
Why This Old Fashioned Rice Pudding Recipe is Your New Comfort Food Dessert
If you’re looking for the ultimate comfort food dessert that sticks to your ribs in the best way possible, you’ve found it! This stovetop pudding relies on super simple ingredients that you probably already have, making it an incredibly easy stovetop pudding that doesn’t need fancy equipment. We’re channeling that classic, wonderful taste that instantly brings you back to cozy days indoors.
Frankly, I think anyone can master this because it stays on the stove. That’s where the real magic happens, and it stops you from obsessing over oven temperatures!
Achieving That Signature Creamy Rice Pudding Recipe Texture
The secret to that luxurious, smooth texture everyone loves isn’t just the milk—it’s those frequent stirs on the stovetop! When you constantly agitate the short-grain rice as it cooks slowly in the milk, you encourage the starch molecules to break down and release beautifully into that liquid base. It’s pure kitchen science creating that perfect, thick coating. Trust me, that low and slow stirring is non-negotiable for a truly creamy rice pudding recipe!
Gathering Ingredients for Your Classic Rice Pudding Recipe
Okay, let’s talk about what you need for this absolute dream of a dessert. Because this is an old fashioned rice pudding recipe, we’re keeping things simple and classic. You really only need about seven pantry staples to make this magic happen on the stovetop. The most important thing you need to grab is the right rice—seriously, don’t skip this step!
We absolutely must use short-grain white rice, like Arborio if you have it. That’s what releases the starch we need for that wonderfully thick, homemade pudding texture that sets this recipe apart.
Ingredient Notes and Substitutions for a Perfect Rice Pudding Recipe
I know sometimes we have to work with what we’ve got, so listen up regarding swaps! If you want to take this straight into decadent territory, swap out about one cup of the whole milk for some heavy cream. It makes the final result so velvety smooth—it’s my little secret cheat code when I have company coming over.
Also, I get asked about using leftover rice all the time. Yes, you totally can make a quick rice pudding with leftover cooked rice! If you do that, just skip the initial 15-minute water cooking phase entirely, give the cooked rice a five-minute hot water bath to wake it up, and move straight to adding the milk. It cuts down cook time significantly, but it won’t have that deep, slow-cooked flavor of this original stovetop pudding.
Step-by-Step Instructions for the Best Rice Pudding Recipe
Alright, grab your prettiest saucepan because this is where we make magic happen! Getting the timing exactly right is the difference between perfect, scoopable comfort food and something sad and gummy. Following these steps diligently will ensure you succeed with this classic rice pudding recipe every single time, giving you that wonderful, smooth dessert texture we’re aiming for.
The key here is patience, especially during the long simmer. I know sometimes we want to rush, but resist the urge to crank up that heat past medium-low, especially once the milk is in. We want gentle persuasion, not a rapid boil!
Initial Absorption Phase of the Rice Pudding Recipe
First things first: we cook the rice in plain water with just a pinch of salt until it’s mostly swollen up. You’ll combine the rice, water, and salt in your saucepan, bring it to a boil, then immediately drop it down to a low simmer for about 15 minutes. Watch it closely and give it a stir every few minutes! It shouldn’t stick to the bottom, and you want to see that water nearly disappear before moving on. This pre-cooking softens the grains perfectly.
Simmering for a Smooth Dessert Consistency in this Rice Pudding Recipe
Next up is the main event for flavor and texture! Pour in your whole milk and the sugar, and bring that mixture up just gently to a low simmer over medium-low heat. Seriously, don’t let it rage—just gentle bubbles. Now comes the important bit: you have to stir this frequently—I tell everyone to set a timer for every three to five minutes, especially near the bottom! We cook this, uncovered, for a good 40 to 50 minutes. This long, slow cook is what releases all that glorious starch, guaranteeing that thick, rich consistency for your rice pudding recipe.
Flavor Customization: Vanilla Cinnamon Dessert in Your Rice Pudding Recipe
Once the pudding is thick enough—and you know it’s perfect when it coats the back of a spoon nicely—it’s time for the finishing touches that truly make this a classic vanilla cinnamon dessert. Pull that warm saucepan right off the heat! This is when you stir in that gorgeous vanilla extract. The heat of the pudding will wake up that aroma instantly; it smells incredible.
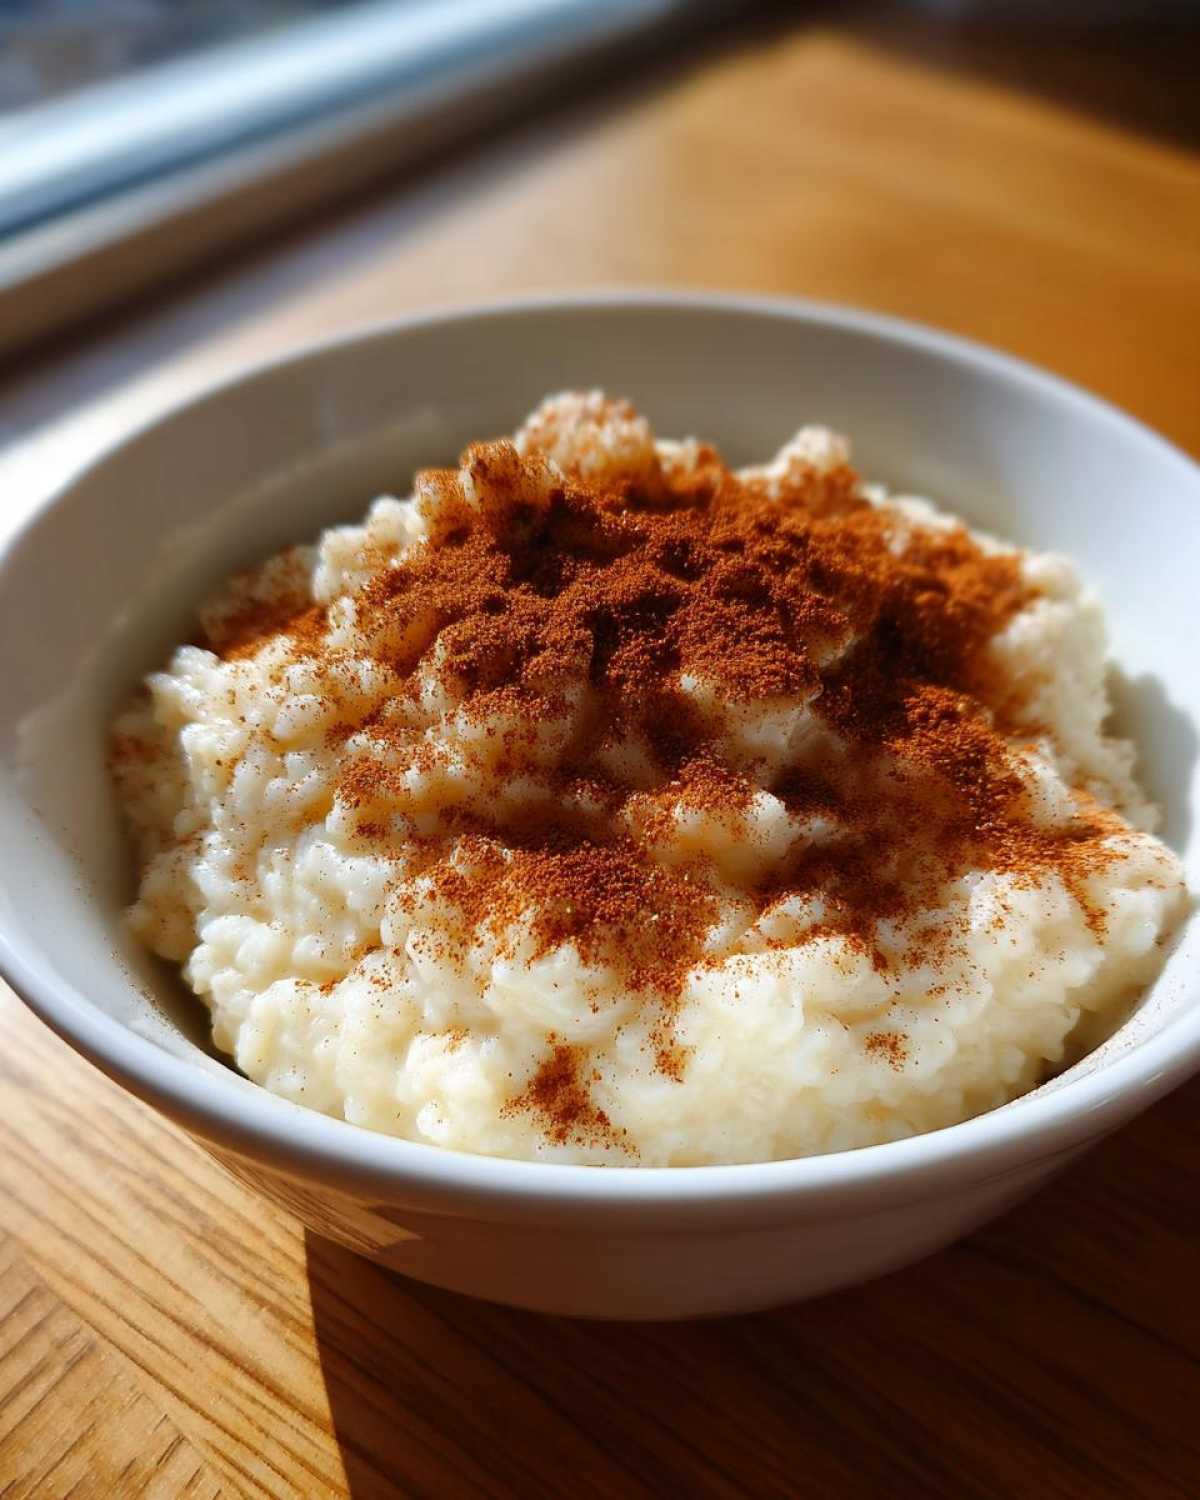
Then, we add the cinnamon. Measure out that 1/4 teaspoon that the recipe calls for, but listen, the real show starts when you serve it. Don’t be shy! A generous dusting of extra ground cinnamon right on top, whether you serve it warm or chilled, adds that final cozy touch. If you love that flavor combination, you might also adore my recipe for apple cinnamon streusel muffins!
Tips for Success with Your Homemade Pudding Recipe
I’ve learned a few tricks over the years to make sure this homemade pudding is always just right. The number one thing to remember is: it thickens a lot more as it cools down! Don’t cook it so long on the stove that it looks like paste in the pot. If you take it off the heat when it’s slightly runnier than you ultimately want it, it will set up perfectly when it chills down. I see so many people overcook it thinking they are reaching that ideal consistency right away.
Also, if you want to mix in raisins for a little burst of sweetness—and you totally should if you have them—dump them in during the last 15 minutes of that long simmer. That gives them just enough time to plump up nicely without turning them into mush. For more baking wisdom, check out my secrets for the ultimate chewy chocolate chip cookies!
Serving Suggestions for This Creamy Rice Pudding Recipe
Part of the fun with this creamy rice pudding recipe is deciding how you want to enjoy your cozy sweet treats! My personal favorite is eating it warm, just 10 minutes after it comes off the stove—it feels like edible warmth.
But don’t knock it cold! Chilled pudding is firmer and has a different, wonderful texture. Whichever you choose, always finish it off with a little jazz. A fresh, extra sprinkle of cinnamon is great, but I sometimes like grating a tiny bit of nutmeg over the top, or even adding some tart fruit. If you’re feeling really indulgent, a small dollop of my salted honey ice cream on top of warm pudding is life-changing!
Storage and Reheating Instructions for Leftover Rice Pudding Recipe
I rarely have leftovers because this stuff is too good, but if you do manage to save some of this wonderful homemade pudding, listen up! You need to store it in the fridge in a good airtight container. Seriously seal it up tight. Be warned: it gets ridiculously thick once it chills down overnight—it goes from pudding to almost sticky rice. Don’t panic when you see it!
When you want to eat the leftovers, you absolutely must add a splash of milk or cream before reheating, whether on the stove or in the microwave. That little bit of liquid coaxes it back into its creamy texture. It tastes just as good the next day, I promise!
Frequently Asked Questions About Making Rice Pudding
I know when you’re whipping up a classic rice pudding recipe, you might have a few random thoughts pop into your head while stirring away. Don’t worry, I’ve been there! Here are the few things people ask me most often about getting that perfect result for this simple dessert recipe.
Can I use different types of rice in this rice pudding recipe?
This is probably the most important question! For that true, old-fashioned, creamy rice pudding texture, you really should stick to short-grain white rice. That’s the one that releases the necessary starch to make it thick and luxurious. If you happen to have Arborio rice (the risotto rice), that works beautifully too! Long-grain rice, like what you use for a side dish, just doesn’t break down the same way, so I really wouldn’t recommend it unless you are in a major pinch.
How to achieve the smoothest dessert without a skin?
Oh, that annoying skin! I hate that, too. It forms when the milk cools unevenly on the surface. The best trick I have for keeping the top smooth? As soon as you turn the heat off and stir in the vanilla, take a piece of plastic wrap and gently press it directly onto the surface of the pudding before you let it cool down. It blocks the air contact. When you pull the wrap off later, you’ll have the most beautiful, smooth dessert topping, ready for your cinnamon dusting!
If you want to learn more about my family’s cooking philosophy, you can always check out my About Us page!
Estimated Nutritional Information for This Simple Dessert Recipe
Now, I’m not a registered nutritionist—I just love to feed people! But since this is a classic comfort food dessert, I know folks are curious about what they are diving into. The numbers below are my best estimate for one serving based on the ingredients listed in this recipe, which yields four generous bowls of pudding.
Keep in mind that using heavy cream instead of whole milk, or adding extra sugar or raisins, will definitely change these counts. This is the baseline for our standard, creamy stovetop goodness!
- Calories: Approximately 350 per serving
- Total Fat: Around 8g (with 4g being saturated fat)
- Carbohydrates: Roughly 60g in total
- Protein: About 10g
- Sugar: About 25g
It’s important to remember that this is a treat! But look at that protein count—thanks to all that glorious milk, right? It’s sweet, satisfying, and gives you just enough energy to curl up on the couch for the evening!
PrintOld Fashioned Creamy Stovetop Rice Pudding

Make a classic, creamy rice pudding on the stovetop using simple ingredients for a comforting dessert.
- Prep Time: 5 min
- Cook Time: 60 min
- Total Time: 65 min
- Yield: 4 servings
- Category: Dessert
- Method: Stovetop
- Cuisine: American
- Diet: Vegetarian
Ingredients
- 1 cup short-grain white rice
- 4 cups water
- 1/2 teaspoon salt
- 4 cups whole milk
- 1/2 cup granulated sugar
- 1 teaspoon vanilla extract
- 1/4 teaspoon ground cinnamon (plus extra for topping)
Instructions
- Combine the rice, water, and salt in a medium saucepan. Bring the mixture to a boil over medium-high heat.
- Reduce the heat to low, cover the saucepan, and simmer for 15 minutes, or until most of the water is absorbed. Stir occasionally to prevent sticking.
- Pour in the whole milk and sugar. Increase the heat slightly to medium-low and bring the mixture to a gentle simmer. Do not allow it to boil rapidly.
- Cook uncovered for 40 to 50 minutes, stirring frequently (every 3 to 5 minutes), until the pudding thickens to your desired consistency. The pudding will thicken more as it cools.
- Remove the saucepan from the heat. Stir in the vanilla extract and 1/4 teaspoon of cinnamon.
- Serve warm or chilled, sprinkled with extra ground cinnamon on top.
Notes
- For a richer flavor, substitute 1 cup of the whole milk with heavy cream.
- If you use leftover cooked rice, reduce the initial water cooking time to 5 minutes and proceed with adding the milk.
- If you want to add raisins, stir in 1/2 cup during the last 15 minutes of cooking.
Nutrition
- Serving Size: 1 serving
- Calories: 350
- Sugar: 25
- Sodium: 250
- Fat: 8
- Saturated Fat: 4
- Unsaturated Fat: 3
- Trans Fat: 0
- Carbohydrates: 60
- Fiber: 1
- Protein: 10
- Cholesterol: 25