

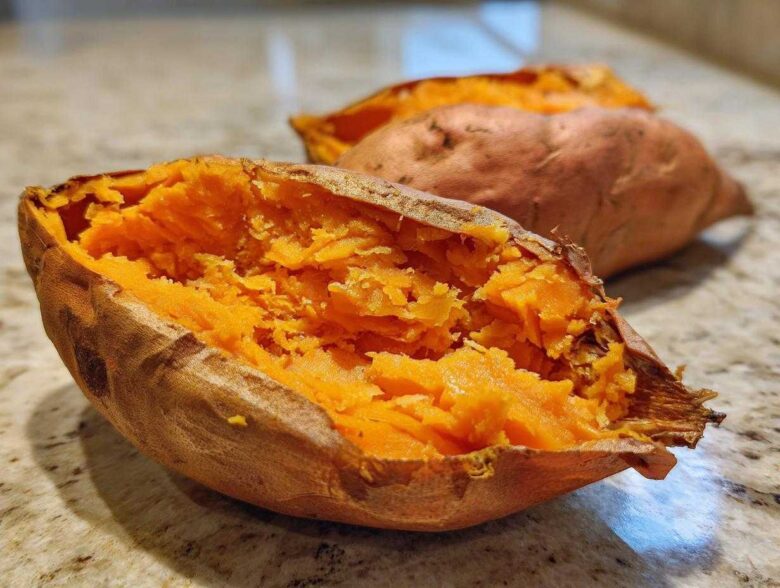
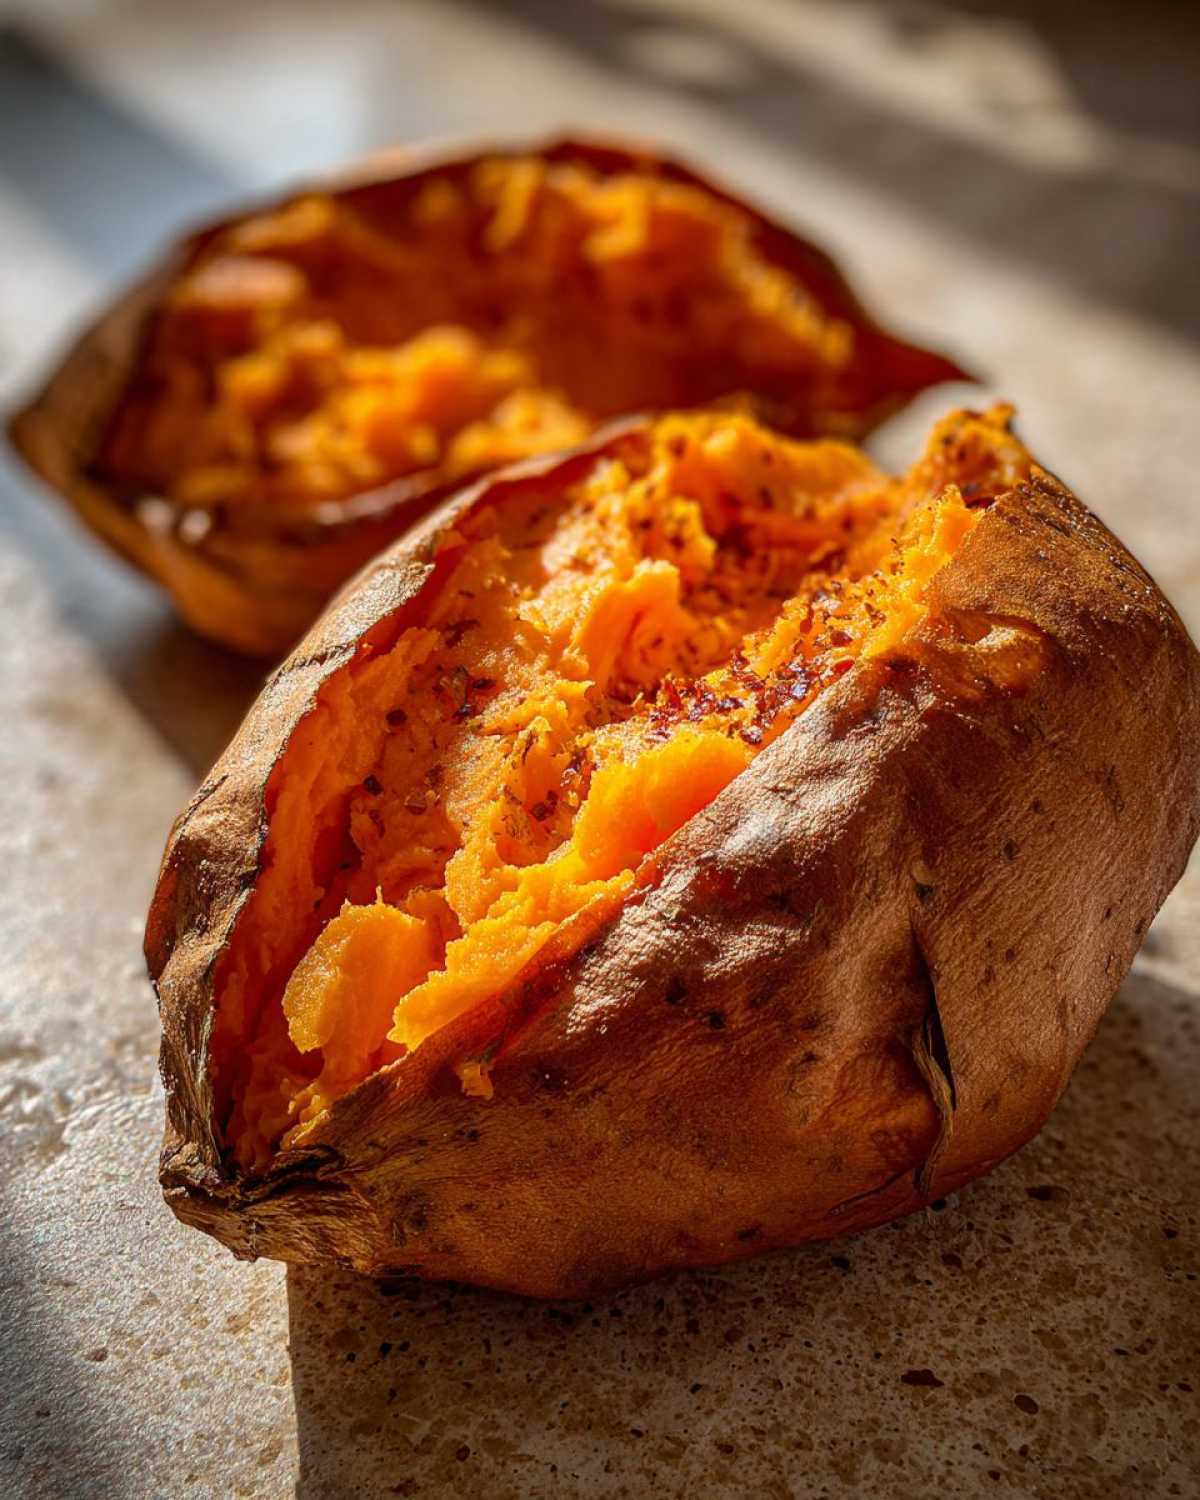
Listen, I have to tell you something crucial about sweet potatoes. We often make them complicated, wrapping them in foil like they’re going into a time capsule. But the real magic—that glorious contrast between a deeply caramelized, slightly crisp skin and an interior so fluffy it practically floats—comes from simplicity! That’s the secret to the ultimate baked sweet potato. Amina laughs, but back when we were first figuring out how to bring our flavors to our new American kitchen, we wasted so many potatoes trying fancy wrapping tricks. Now, we stick to this bare-bones technique because, just like in that Lagos market Amina haggled over yams, the best food speaks for itself. For more on the story of how we blend our histories, you can always drop by our About Us page! If you follow these steps, you’ll get tender perfection every time.
Why This Method Delivers the Best Baked Sweet Potato
You might be tempted to wrap those beauties in foil, but trust me, don’t do it! When you place the baked sweet potato directly onto the oven rack, you let the heat circulate all around it. That air circulation is what helps the skin dry out just enough to get that satisfying, slightly caramelized bite we’re aiming for. Foil traps the steam, and steamed potatoes are delicious, sure, but they are never fluffy! We want that contrast, that incredible texture that only baking naked on the rack can achieve. It’s simple cooking science, people!
Prep Time, Cook Time, and Yield Snapshot
Here’s the quick look so you can plan your dinner around these amazing sweet potatoes:
- Prep Time: 5 minutes—seriously, that’s it!
- Cook Time: About 50 minutes
- Total Time: 55 minutes
- Yield: This recipe makes 4 servings, one perfect potato per person.
Ingredients Needed for the Perfect Baked Sweet Potato
When it comes to something as pure as a baked sweet potato, you don’t need a pantry full of fancy supplies. We keep this list super tight because we want that sweet potato flavor to shine, not get lost in seven different herbs! Clarity matters here; using the right kind of salt, for instance, helps draw out that flavor. Here is exactly what Amina and I grab before we even think about firing up the oven:
- 4 medium sweet potatoes: Try to find ones that are roughly the same size—this is critical for even cooking!
- 1 tablespoon olive oil or melted butter: This is the key to getting that lovely crisp skin texture we talked about.
- 1 teaspoon coarse salt: I prefer coarse salt here, like kosher, because it sticks better and creates little flavor bursts.
- 1/2 teaspoon black pepper: Freshly cracked is always best, if you have it!
Step-by-Step Instructions to Bake the Ultimate Baked Sweet Potato
Alright, here’s where we put everything together. Don’t overthink this part; just follow these steps closely, and you’ll pull out the most beautiful baked sweet potato you’ve ever seen. We’re aiming for that incredible fluffy center, remember? I once tried to rush the drying step because Amina was calling me to dinner, and trust me, those skin spots were soggy. Never again! Every tiny detail here counts toward that perfect, tender result.
Preheating and Initial Potato Prep
First things first, get that oven roaring! We need a nice hot environment, so set it to 400 degrees Fahrenheit, or 200 degrees Celsius if you’re baking with your international friends. While it heats up, give your sweet potatoes a good bath. Wash them thoroughly and scrub off any market dust. Then, dry them completely with paper towels. I can’t stress this enough: dry them well! Water turns to steam, and steam makes skin soft, and we want crisp skin, not soggy skin.
Seasoning and Baking Your Baked Sweet Potato Directly on the Rack
Once they are dry, grab a fork and prick each potato all over—about four or five deep pokes. This lets the steam escape so the potato doesn’t explode, which is always a messy disaster! Next, rub down every spot with your olive oil or melted butter; feel free to use your hands here. Then, sprinkle them generously with that coarse salt and pepper. Now, for the big moment: place them straight onto that oven rack. No pan, no foil! Bake them for about 45 minutes up to an hour. Bigger potatoes need that extra time. If you have questions about timing, you can always check out our other general cooking guides for time charts!
Checking Doneness and Serving Preparation
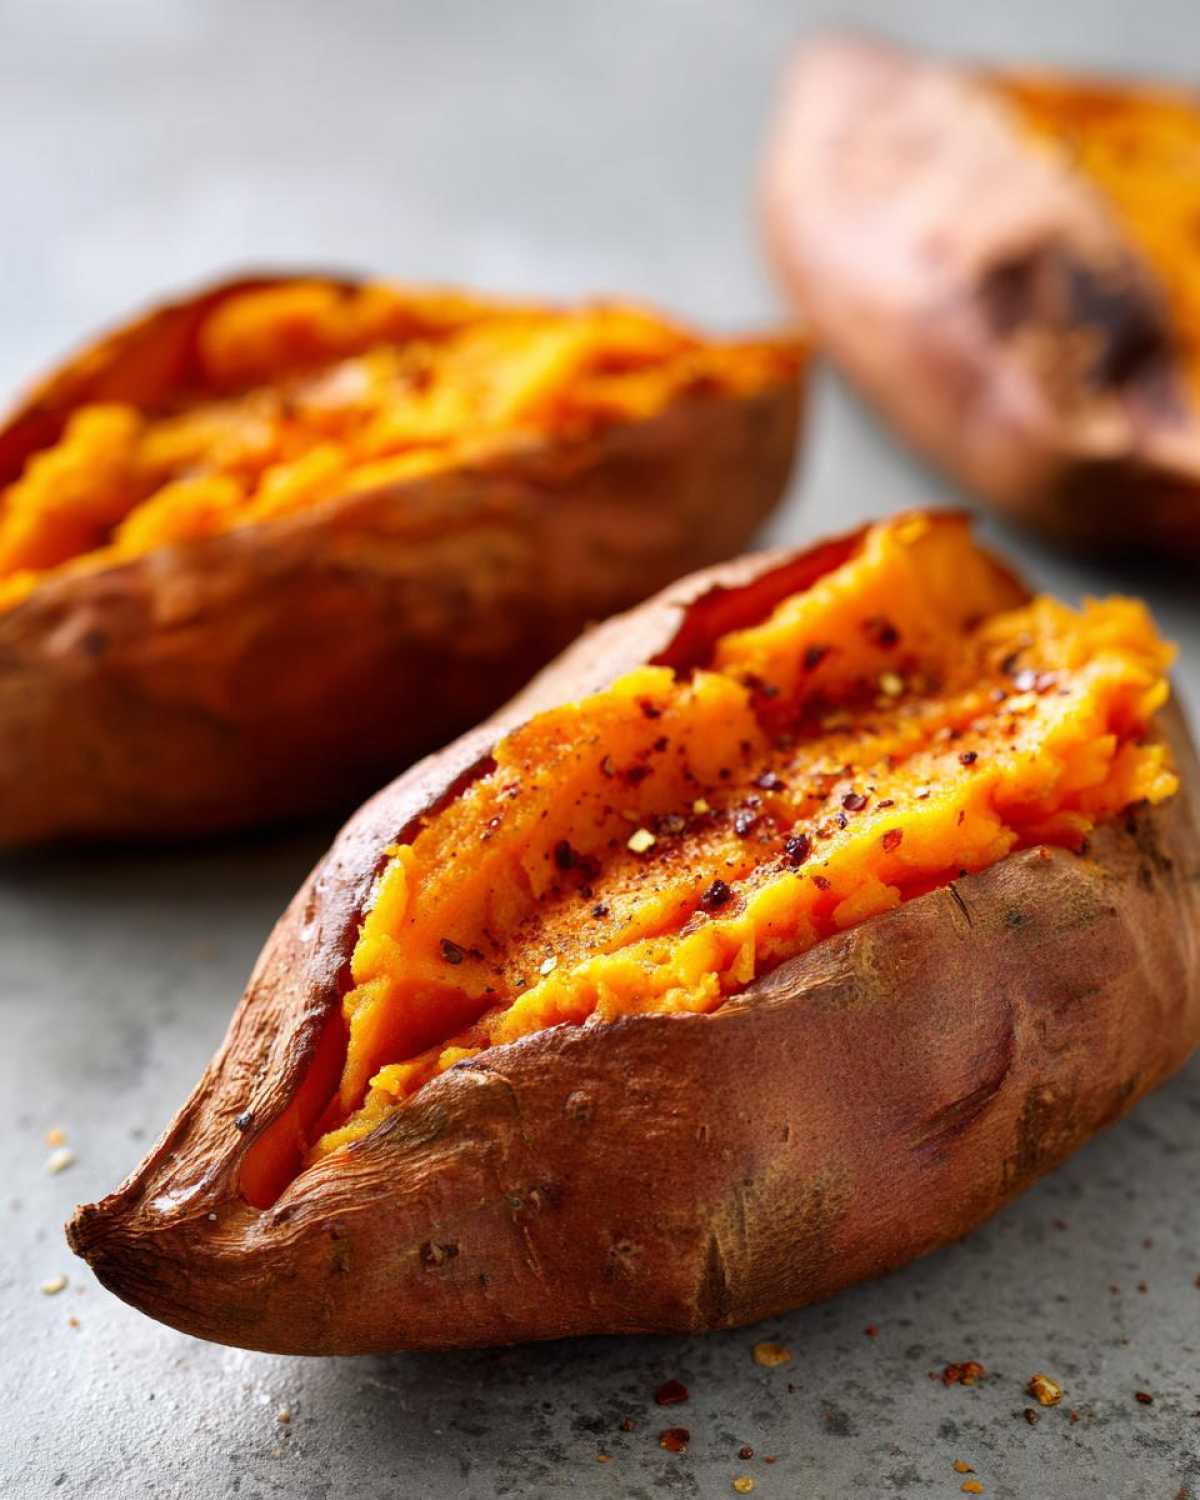
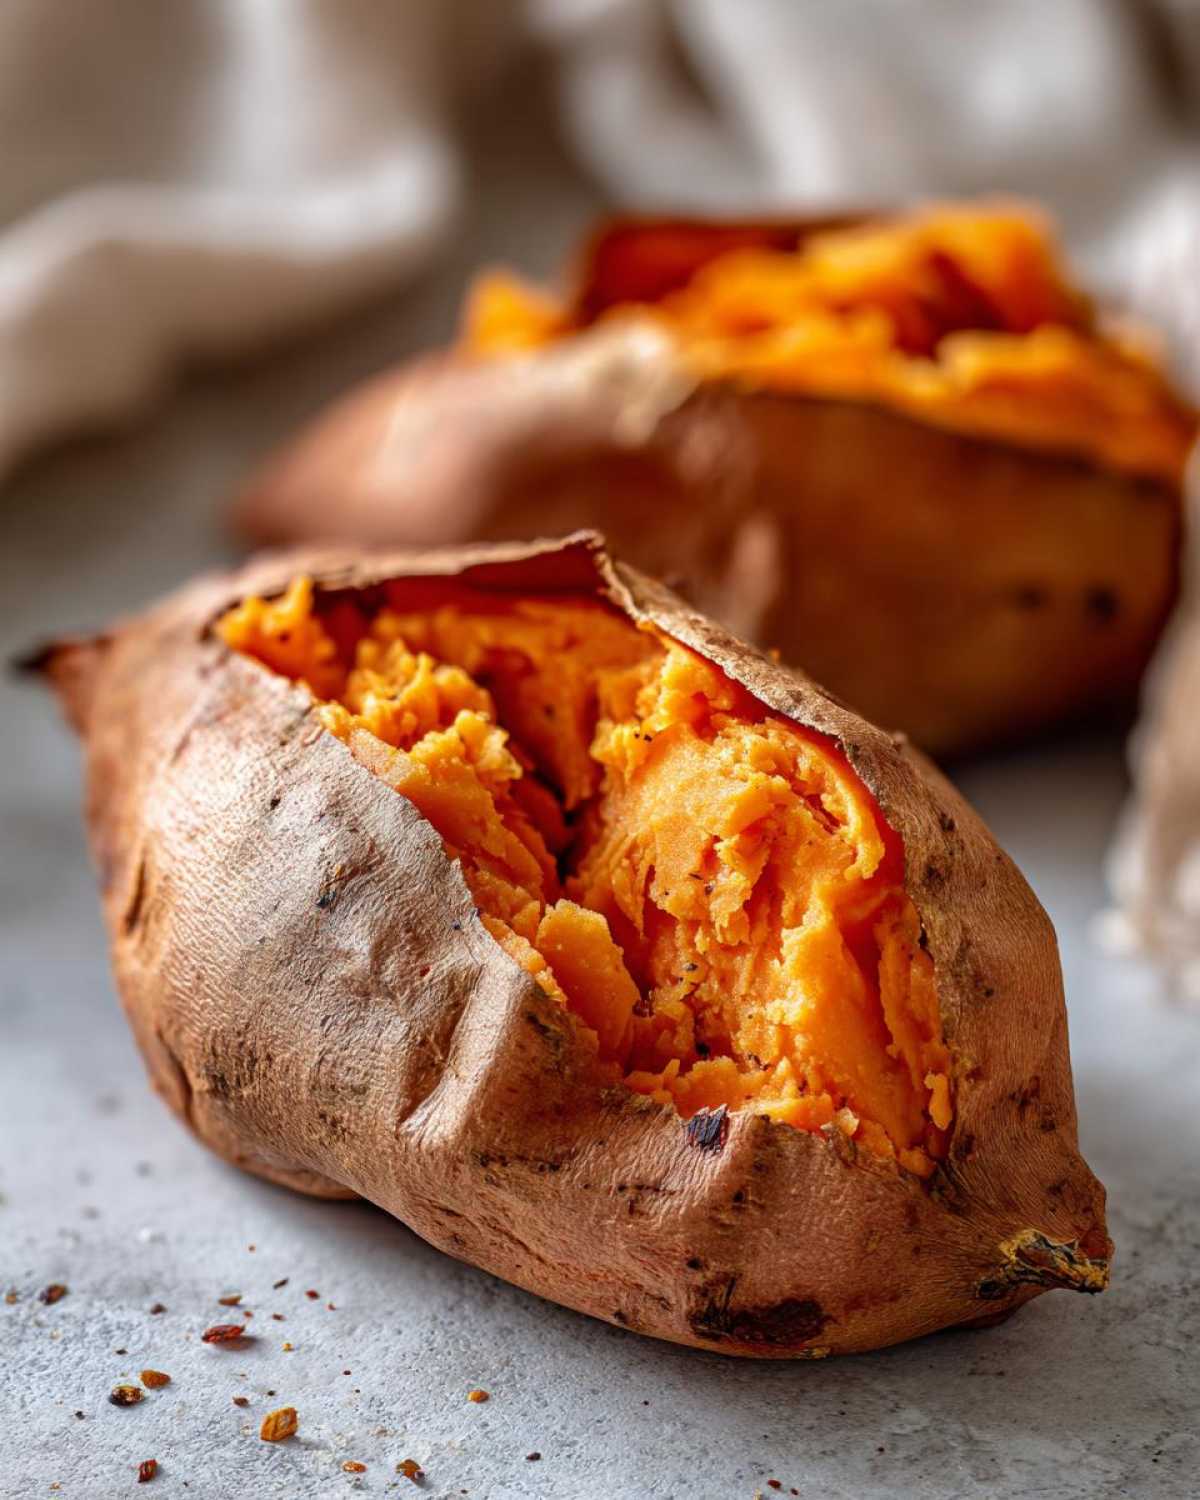
How do you truly know your baked sweet potato is ready? Forget the timer sometimes; use your senses! Gently squeeze the potato. If it gives easily, it’s good. If you’re still doubtful, poke it with a fork—the fork should slide right in with absolutely no resistance. Take them out and let them cool down just enough so you don’t burn your fingers. Slice them open lengthwise, and grab a fork to rough up that glorious, steaming hot interior fluff. It’s ready for toppings!
Tips for Success When Making a Fluffy Baked Sweet Potato
We’ve got the basic method down, but let me share a couple of little secrets that take this from good to absolutely fantastic. First, consistency is key when buying your sweet potatoes! You want potatoes that are about the same size. If one is tiny and another is huge, the small one will turn to mush while the big one is still fighting to soften up. Buy them uniform, people!
Secondly, if you want to bring a little extra holiday cheer—even if it’s Tuesday—give the skin a light rub with ground cinnamon before the salt and pepper. It warms up beautifully in the oven. Now, if you absolutely, positively must have a softer skin for some reason (maybe you’re making sweet potato boats later?), you can wrap them loosely in aluminum foil. But remember, that’s your trade-off: soft skin for a less crispy finish. For more home-base ideas that rely on simple ingredients, check out my apple cobbler recipe. But for the best baked sweet potato on its own, stick to naked baking!
Serving Suggestions for Your Baked Sweet Potato
Now that you’ve got this beautiful, fluffy thing sitting on your plate, golden skin and steaming inside, what do you do? This is the fun part! You can go pure, simple comfort food, or you can dress it up like it’s going to a party. For me and Amina, having a perfectly baked sweet potato ready means dinner just got ten times better!
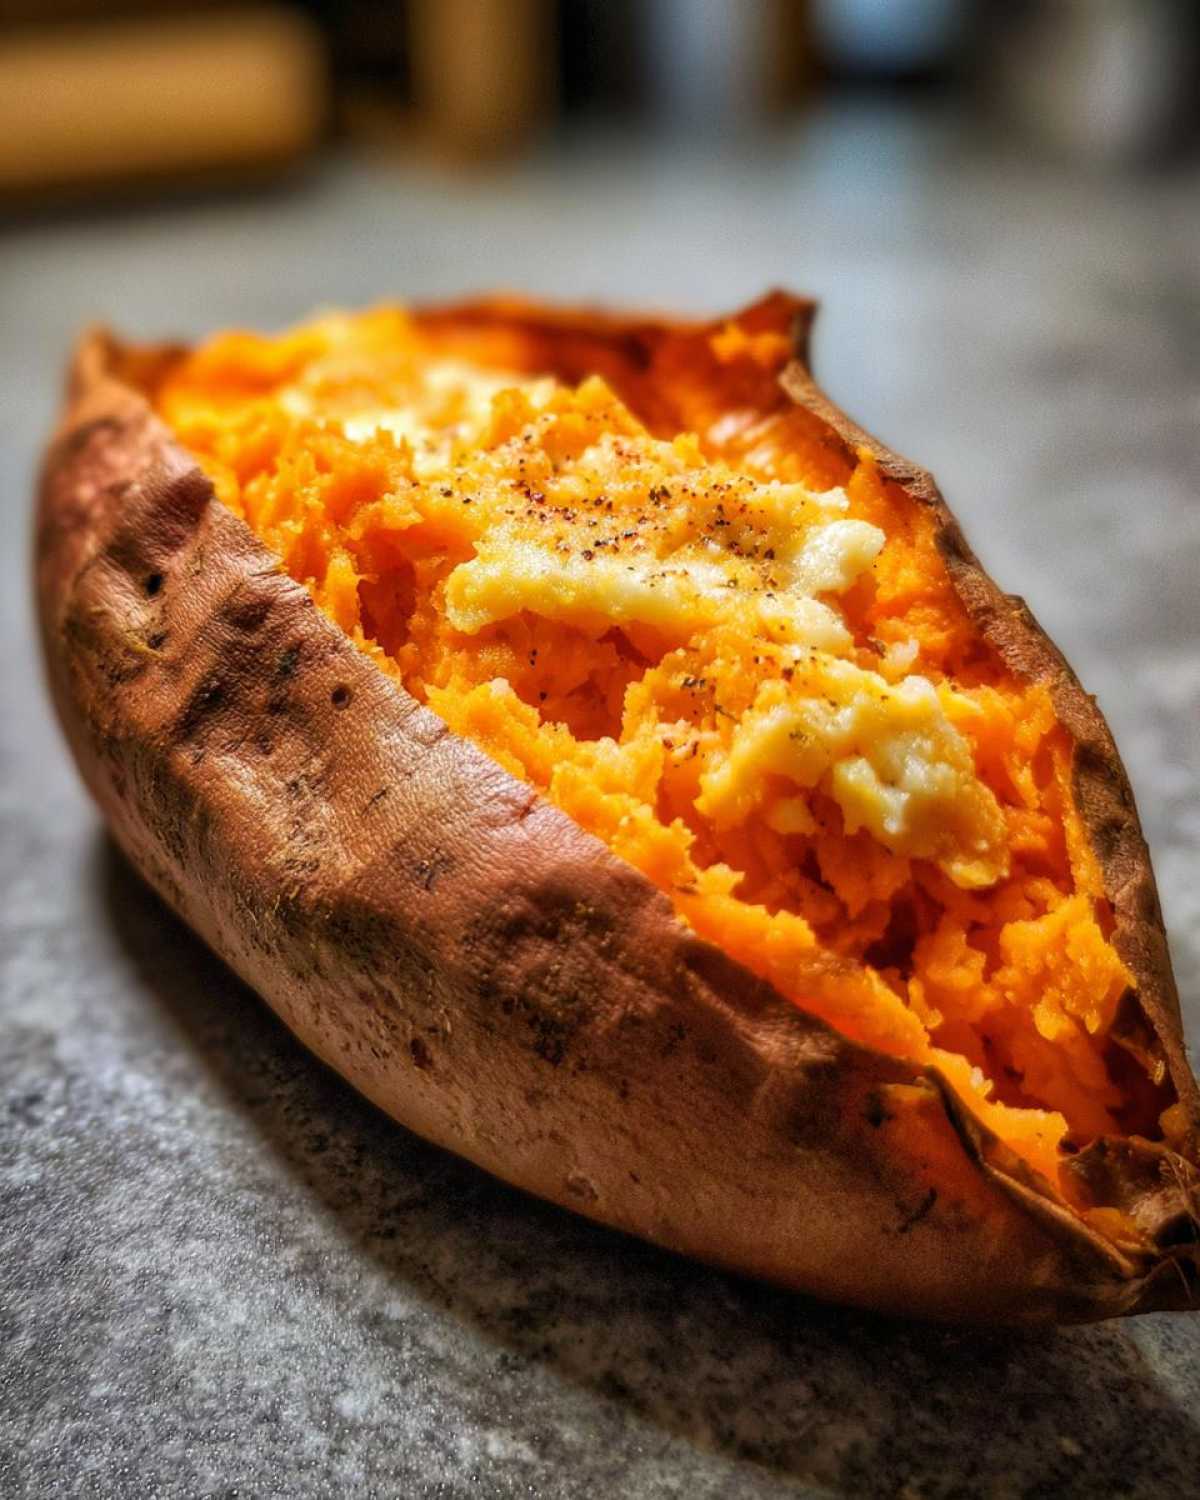
If you’re keeping it classic—and honestly, sometimes you just need the purest flavor—you absolutely need butter. I mean, melts-into-the-fluff butter, right? A pat of salty butter is phenomenal. If you want to lean into that sweet side we all love, drizzle on some brown sugar and let it mingle with the melting butter. Wow, instant dessert almost!
But because this is such a phenomenal American side dish, it plays so well with savory mains. This potato is sturdy enough to handle bigger flavors. It’s my go-to side when I’m making something smoky off the grill. Think about serving it alongside some juicy grilled pork loin or maybe a beautiful roasted chicken. Actually, it goes perfectly with our Honey Garlic Chicken—the sweetness of the potato complements that sticky glaze perfectly. Honestly, once you ditch the foil, you’ll want to make these potatoes every single night!
Storage and Reheating Instructions for Baked Sweet Potato Leftovers
Don’t let any of that amazing fluffy texture go to waste! If you happen to have any baked sweet potato left over—which rarely seems to happen in my house, but maybe you’re better disciplined than I am—storage is super easy. Make sure the potato cools down completely first. Never put hot potatoes into a sealed container; that just creates steam again and ruins your crispy skin efforts!
Once cool, just scoop out the flesh, or if you prefer, store the whole potato halves. Put whatever you’re saving into an airtight container. It should stay perfectly fine in the fridge for about three or four days. They are fantastic for meal prep, I’ll tell you that much.
Now, for reheating, you have two main roads you can travel. If you want to keep it close to that amazing oven-baked texture, wrap the potato half loosely in foil—yes, foil is okay for *reheating*! Pop it in a 350°F oven for about 15 to 20 minutes. This gives the outside time to crisp up again while the inside warms slowly.
If time is tight and you need that fluffy interior fast, the microwave is your friend. Place the potato on a microwave-safe plate and heat it in 30-second bursts. But here’s the catch: the microwave will soften the skin completely, so you lose that nice textural contrast. Still, you get that warm, fluffy sweet potato flavor super quick. It’s about choosing speed over skin perfection!
Frequently Asked Questions About Baking Sweet Potatoes
I know you still might have some lingering doubts, because mastering a perfect baked sweet potato takes a little practice! But don’t worry, we’ve tackled the most common stumbling blocks people run into when moving away from that dreary foil wrapping. We are built on trust here at Spoonful Snap, and answering your questions honestly is how we keep that connection strong. Let me clear a few things up!
How long to bake sweet potatoes?
That’s the million-dollar question, isn’t it? For medium-sized potatoes baked at 400°F, you are generally looking at 45 to 60 minutes. It truly depends on the size and your specific oven’s temperament! The best way to know for sure isn’t by the clock, but by the squeeze test—if the potato yields easily when you gently squeeze the sides, or if a fork slides right in, they are done, regardless of the time on the dial.
Do I really have to skip the foil when baking sweet potatoes?
Yes, you absolutely do if you want that crispy skin and fluffy interior! Placing the baked sweet potato directly onto the rack allows air to flow around it, drying the outside and creating that gorgeous caramelized layer. Foil traps moisture, making everything soft and steamed, which isn’t what we are aiming for here. If you want the best texture, go naked!
Can I bake these sweet potatoes ahead of time for a party?
Oh yes, you definitely can! This is one of my favorite time-savers. You can bake them completely through, let them cool down until they are no longer steaming, and then store them airtight in the fridge. When you’re ready to serve, just reheat them! I prefer wrapping them loosely in foil and popping them back into a 375°F oven for about 15 minutes just to warm through and crisp the skin slightly again. It’s a great trick, much like I use when prepping for big holiday meals with Amina—saves so much stress!
What’s the difference between a standard sweet potato and a yam after baking?
This trips up so many people! In the US, what we call “sweet potatoes” in the grocery store—the orange-fleshed ones—are often labeled as yams, but they aren’t true yams. True yams are starchier and drier. The orange-fleshed variety bakes up with this wonderfully creamy, sweet texture that we adore. If you followed this method for a real yam, the results would be much drier, so stick to the orange beauties for this recipe. For more baking inspiration, check out my thoughts on crumble bars!
Estimated Nutritional Information for a Baked Sweet Potato
Now, I promised you a healthy side dish, and this usually hits the mark! Based on our prep—just the potato, a touch of oil, salt, and pepper—here’s what you can expect per serving. Keep in mind, this is before you drown it in butter and brown sugar, which hey, we all do sometimes! This is just the base nutrition for one baked sweet potato.
- Calories: Around 180
- Carbohydrates: 35 grams
- Protein: 4 grams
- Fat: 4 grams
Since every potato is a little different in size and sugar content, think of these numbers as a solid, tasty estimate. The beauty of this simple side is how much good stuff, like fiber, you get!
Share Your Perfect Baked Sweet Potato Creation
Okay, now you have the secret. You’ve ditched the foil, you’ve got that beautiful, fluffy interior, and your skin is crisped up just right. I truly hope you love this technique as much as Amina and I do. It brings such simple joy to our table, and I want to see what you do with yours!
If this recipe truly helped you achieve the best baked sweet potato of your life—and I bet it did!—please do me a huge favor and jump down to the comments section. Tell me how long yours took, what toppings you chose (butter and cinnamon? Or maybe something savory?), and give me a star rating. Your rating helps other people find this simple, honest recipe!
And seriously, if you take a picture of your perfect, fluffy creation, tag us on social media! We love seeing our recipes come alive in your homes. It’s like a little snap of joy sent straight to us. If you’re looking for another simple comfort recipe using those same baking instincts, you should check out our moist carrot cake recipe next. Happy baking, friends! We appreciate you being here and sharing our love for real food.
For more great no-fuss recipes just like this one, you can always check out the original inspiration from our friends over at Simple Bites Recipes!
PrintHow to Bake Perfect Sweet Potatoes: Fluffy and Tender Every Time

Learn the simple, no-fuss method for baking sweet potatoes that results in a perfectly caramelized skin and a creamy, fluffy interior. This is the ultimate healthy side dish for any meal.
- Prep Time: 5 min
- Cook Time: 50 min
- Total Time: 55 min
- Yield: 4 servings
- Category: Side Dish
- Method: Baking
- Cuisine: American
- Diet: Vegetarian
Ingredients
- 4 medium sweet potatoes
- 1 tablespoon olive oil or melted butter
- 1 teaspoon coarse salt
- 1/2 teaspoon black pepper
Instructions
- Preheat your oven to 400 degrees Fahrenheit (200 degrees Celsius).
- Wash the sweet potatoes thoroughly under running water. Scrub the skins well to remove any dirt. Pat them completely dry with a paper towel. This step helps achieve a crispier skin.
- Prick each sweet potato several times all over with a fork or sharp knife. This allows steam to escape during baking.
- Rub the entire surface of each potato with olive oil or melted butter.
- Sprinkle the potatoes evenly with coarse salt and black pepper.
- Place the seasoned sweet potatoes directly onto the oven rack. Do not use foil; baking directly on the rack promotes better air circulation for a crispier skin.
- Bake for 45 to 60 minutes, depending on the size of your potatoes. Larger potatoes will require longer cooking time.
- Check for doneness by squeezing the potato gently; it should yield easily, or insert a fork into the center—it should slide in without resistance.
- Remove the potatoes from the oven. Let them cool slightly before slicing them open lengthwise. Fluff the inside with a fork.
Notes
- For extra flavor, rub the potatoes with a little cinnamon before baking.
- If you prefer a softer skin, you can wrap the potatoes loosely in aluminum foil before baking, though this may increase the cooking time slightly.
- These baked sweet potatoes are fantastic served with butter, brown sugar, or your favorite savory toppings.
Nutrition
- Serving Size: 1 potato
- Calories: 180
- Sugar: 13
- Sodium: 230
- Fat: 4
- Saturated Fat: 1
- Unsaturated Fat: 3
- Trans Fat: 0
- Carbohydrates: 35
- Fiber: 6
- Protein: 4
- Cholesterol: 0