

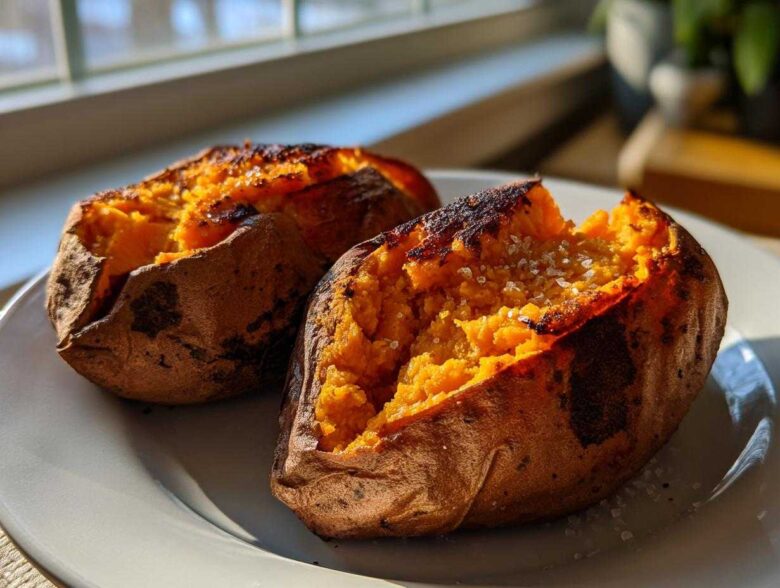
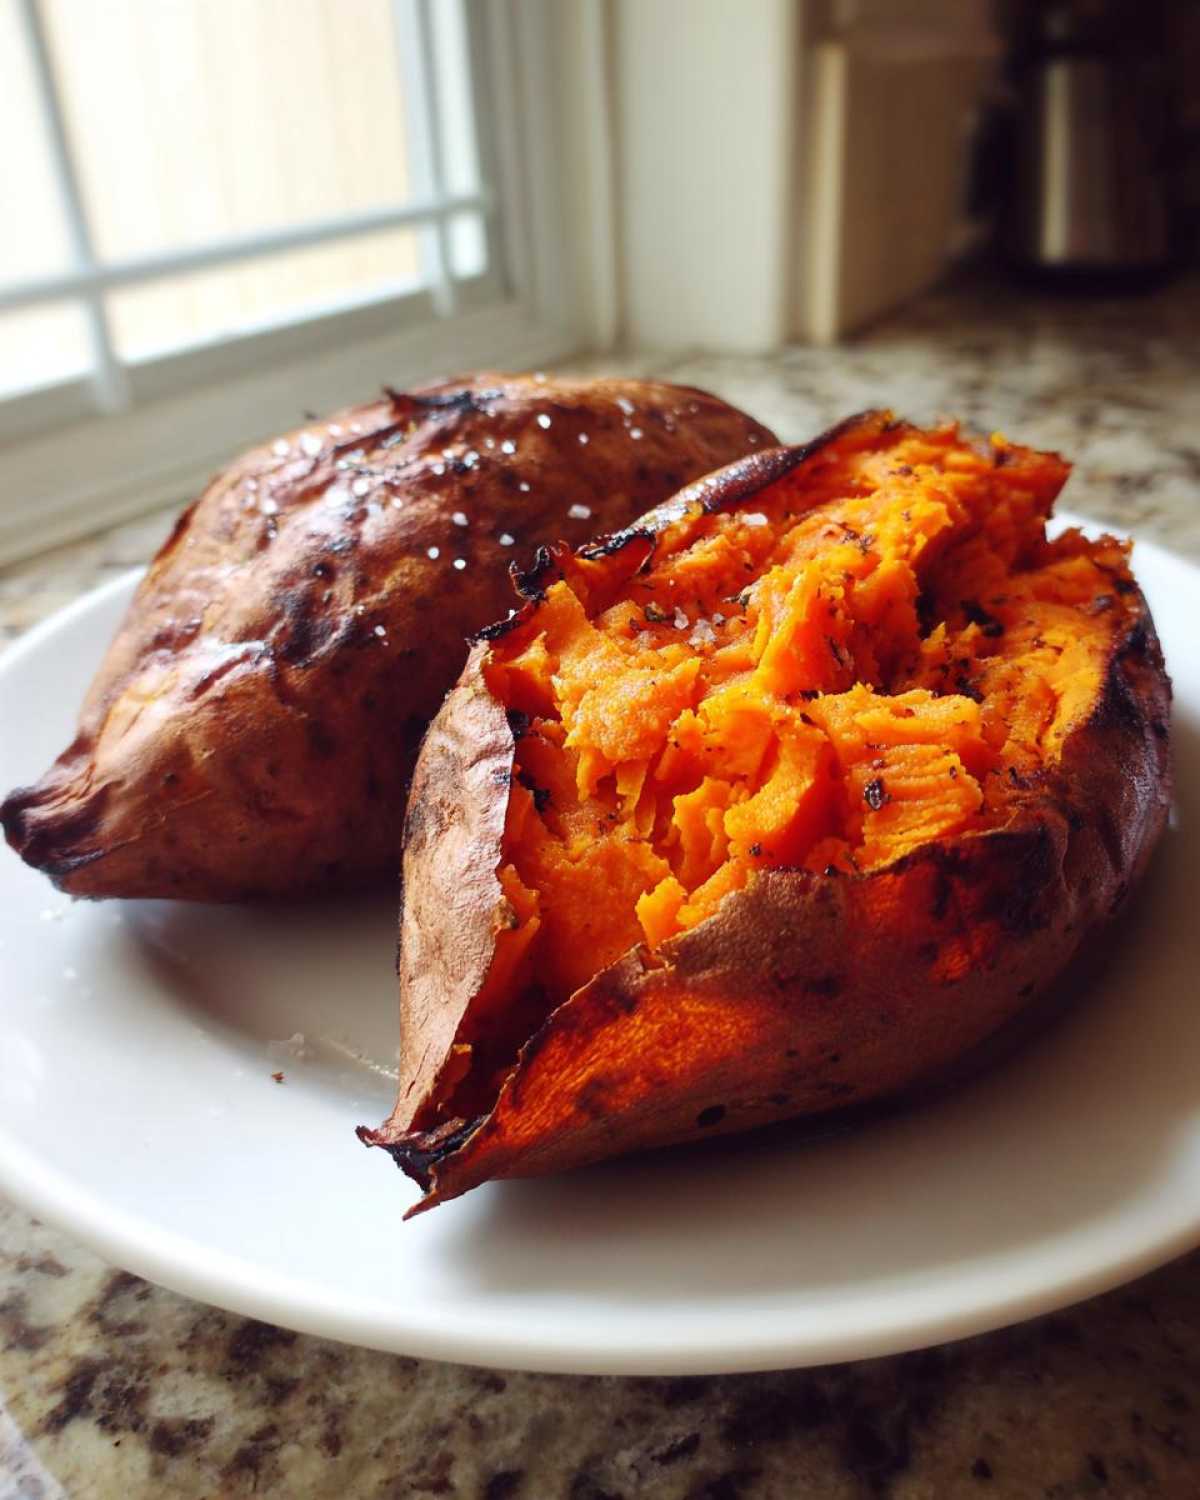
Oh, the sweet potato! Honestly, David always jokes that I grew up arguing with market vendors over the quality of root vegetables back in Lagos, and he’s not entirely wrong—I respect a good tuber! But forget fancy roasting racks or wrapping everything up in foil like it’s a precious jewel. We’re skipping all that fluff today. I’m showing you the easiest, most foolproof way to get truly perfect **baked sweet potatoes**: they come out with skin that’s impossibly crisp and a sweet, fluffy interior that practically melts. It might sound simple, but this method cuts out all the guesswork. Trust me, once you try baking them directly on the rack—a technique I learned refining so many of those hearty vegetables back home—you’ll never go back. This is our go-to comfort food side dish that tastes like you spent hours on it! You can read more about our story and how we bring that passion from the market to your oven over at About Us.
Why You Will Love These Easy Baked Sweet Potatoes
Honestly, these are the best because they hit every mark when you’re craving something satisfying but you don’t want to mess up a big meal. Here’s why I always reach for this method:
- They deliver the **crispy skin sweet potatoes** you dream about without any fussy foil wrapping.
- The inside is guaranteed to be super soft and light—it makes the best **fluffy baked sweet potatoes recipe** base.
- It’s such a **simple sweet potato side dish** requiring just a touch of oil and salt.
- This is the absolute best way for **how to bake sweet potatoes perfectly** every single time, I promise!
Plus, they make for terrific **healthy baked vegetables** that everyone actually wants to eat.
The Minimal Ingredient List for Perfect Baked Sweet Potatoes
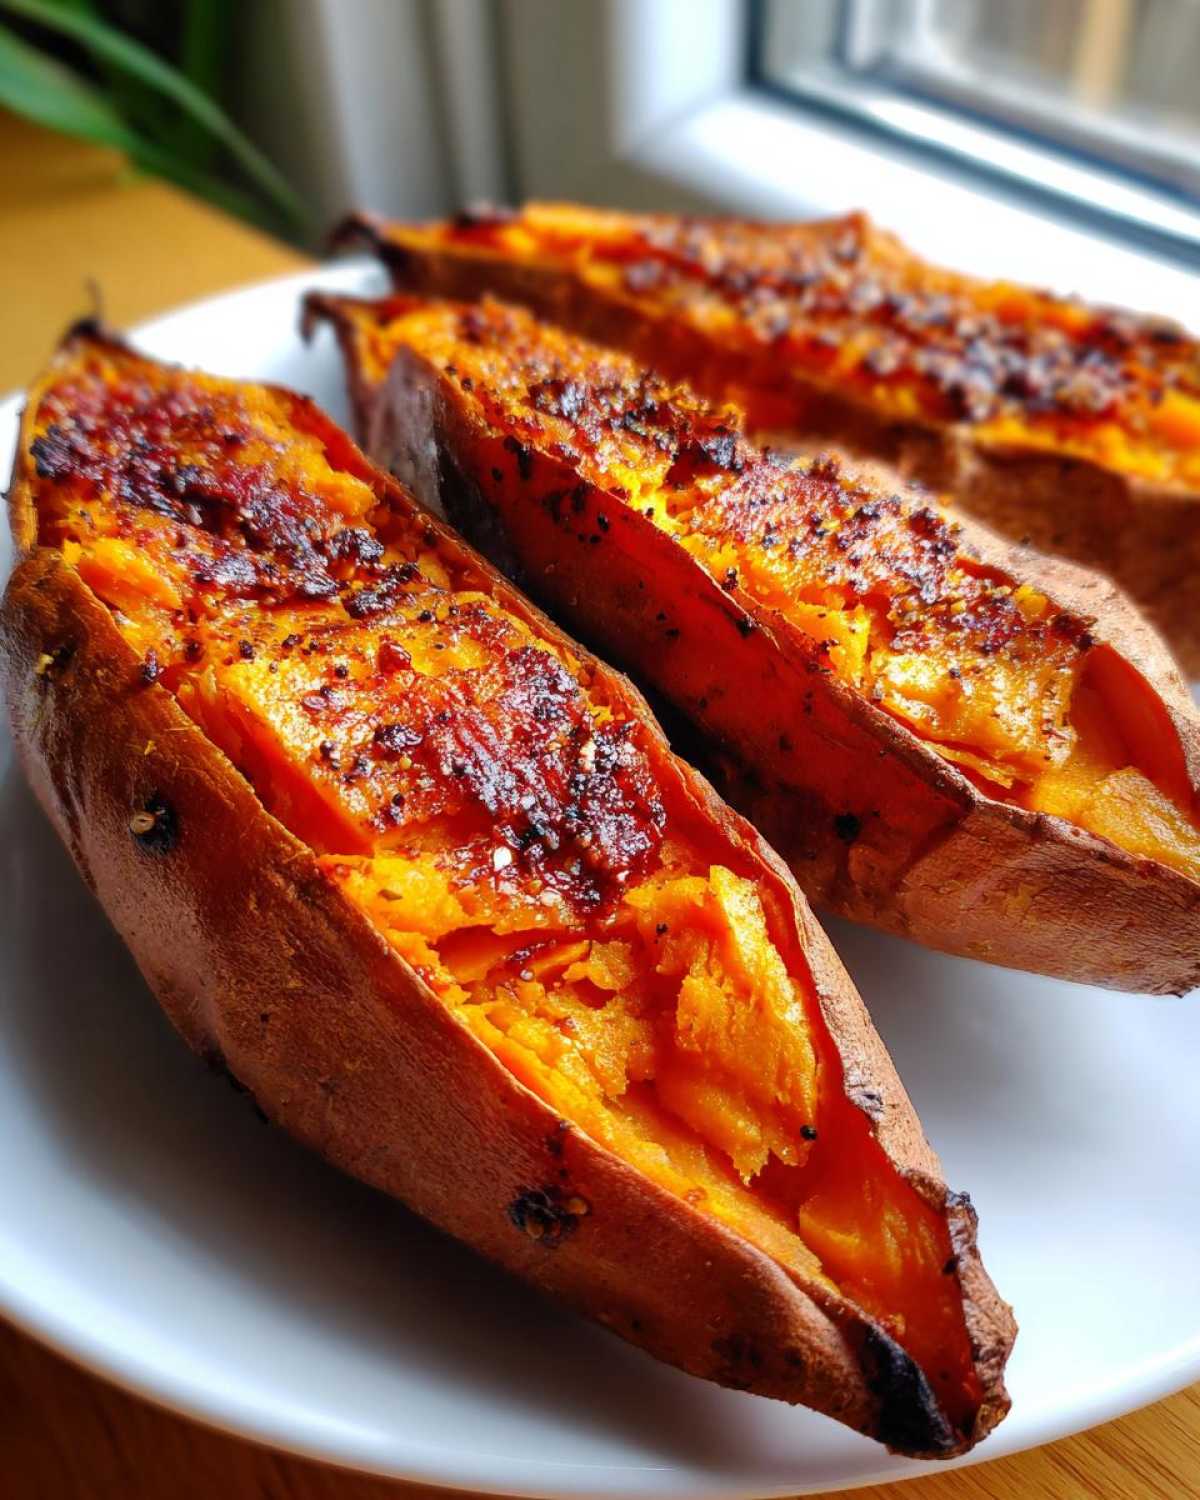
You know I love recipes that rely on great ingredients, not complicated steps! For these **easy baked sweet potatoes**, David just laughs because I refuse to use anything but the best stuff. We keep this list short because the oven does all the heavy lifting. You’ll need:
- 4 medium sweet potatoes (about 8-10 ounces each—that size is perfect for a good bake!)
- 1 tablespoon olive oil
- 1 teaspoon coarse salt (this is important for the skin!)
- 1/2 teaspoon black pepper
That’s it! No sugar, no weird spices needed here. We let the natural sweetness shine through.
How to Bake Sweet Potatoes Perfectly: Step-by-Step Guide
Alright, my friends, this is where the magic happens. If you want to know **how to bake sweet potatoes perfectly**, you have to trust the process. The main instruction I always give—and it’s the one that took me a little convincing when David first tried it—is that we are skipping the foil!
Foil steams the potato, making the skin soft. We want that wonderful, slightly caramelized skin, right? That texture difference is key to incredible **baked sweet potatoes**. If you want the real deal, follow these steps closely. For another wonderful baked creation you can try next, check out my sweet potato roast recipe!
Prepping for Fluffy Baked Sweet Potatoes Recipe Success
First things first, turn your oven up to 400 degrees Fahrenheit. While it heats up, give those potatoes a good scrub! Get all that market dirt off! Once they are totally dry—and I mean dry—you need to pierce them. Think of it like giving them little escape routes. You need to poke each sweet potato about five or six times deeply all over with a sharp fork. This lets the steam leave during baking, which is exactly what you need for that light, **fluffy baked sweet potatoes recipe** interior.
Achieving Caramelized Sweet Potatoes with Salt and Oil
Now that our potatoes are ready for their heat bath, we treat the outside. Take your tablespoon of olive oil and just rub it lightly all over the skin of every single potato. This oil layer is essential because it helps the skin crisp up instead of drying out. Once everything is slicked with oil, sprinkle that coarse salt and pepper over the whole thing. This seasoning doesn’t just taste good; it works with the dry heat to bring out those beautiful, slightly sweet, almost **caramelized sweet potatoes** notes.
Determining the Correct Oven Baked Sweet Potatoes Time
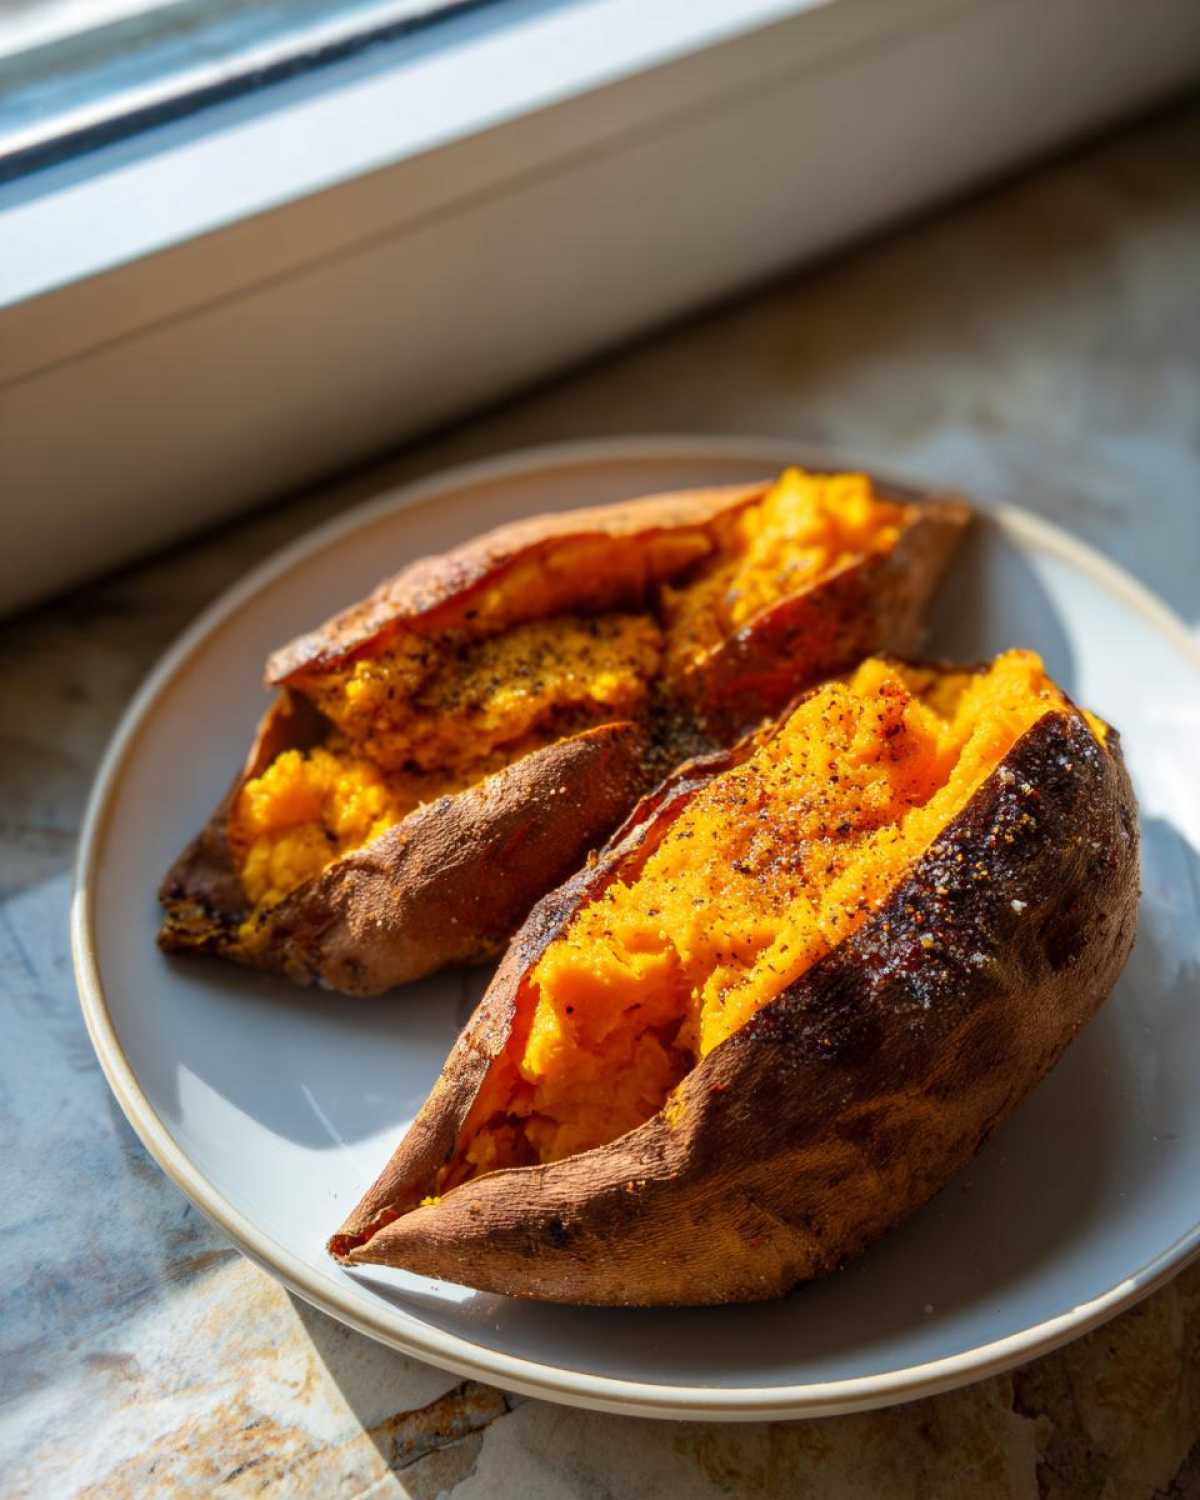
This is where patience comes in. Place the seasoned potatoes directly onto the middle wire rack in your preheated oven. Yes, directly on the rack! This airflow is what makes the bottom skin crisp up beautifully. The total **oven baked sweet potatoes time** is usually between 45 and 60 minutes. How do you know they are done? Don’t just rely on the clock! Gently squeeze the potato; it should give way easily. If you poke it with a small knife, it should slide right in without any rough resistance. That soft feel tells you the inside is perfectly tender.
Expert Tips for Homemade Baked Sweet Potatoes
Even though this baking method is simple, I have a few tricks up my sleeve that take these **homemade baked sweet potatoes** from good to absolutely spectacular. Remember I told you to put them directly on the rack? That’s Tip Number One for maximum airflow, ensuring you get that skin crispy all around. If you want extra crispy skin, you can even set a baking sheet on the rack underneath just to catch any drips, but keep the potatoes themselves on the wire!
Now, if you get home later and realize you want something truly special, these baked beauties are the perfect base for **twice baked sweet potatoes**. You just scoop out that fluffy sweet potato flesh, mix it with a little butter and maybe some cinnamon, stuff it back into the skin shell, and pop it back in the oven for a few more minutes. It’s almost a dessert, honestly! They are just so versatile.
Sweet Potato Topping Ideas to Transform Your Baked Sweet Potatoes
Now that you have the foundation—perfectly cooked, **baked sweet potatoes** with that wonderful sweet flavor—it’s time to play! This is where you get to make them your own. We use simple pantry staples to turn one ingredient into five completely different meals. These **sweet potato topping ideas** are meant to be mixed and matched. Feel free to peek around for inspiration on savory dips, too; maybe you’ll want to dip yours in my caramelized onion dip!
Here are my absolute favorites:
- The Cinnamon Dream: This is the sweetest option. Just swirl in a pat of butter, a sprinkle of cinnamon, and a drizzle of maple syrup. It turns your side dish into a legitimate dessert!
- Savory & Salty Smash: Skip the sugar when roasting, and instead top with a little olive oil, crumbled feta or goat cheese, fresh rosemary, and a touch of cracked black pepper. Delicious next to grilled meat.
- The Loaded Classic: This is nearly a full meal! Top generously with black beans, a dollop of Greek yogurt (instead of sour cream), salsa, and a few slices of creamy avocado. You can see great examples of loaded potatoes over at this great site.
- Nutty Crunch: For texture, stir in some chopped pecans or walnuts, a tiny bit of brown sugar, and a dash of sea salt. It brings out the natural sweetness beautifully.
Making Sweet Potato Meal Prep Simple with Baked Sweet Potatoes
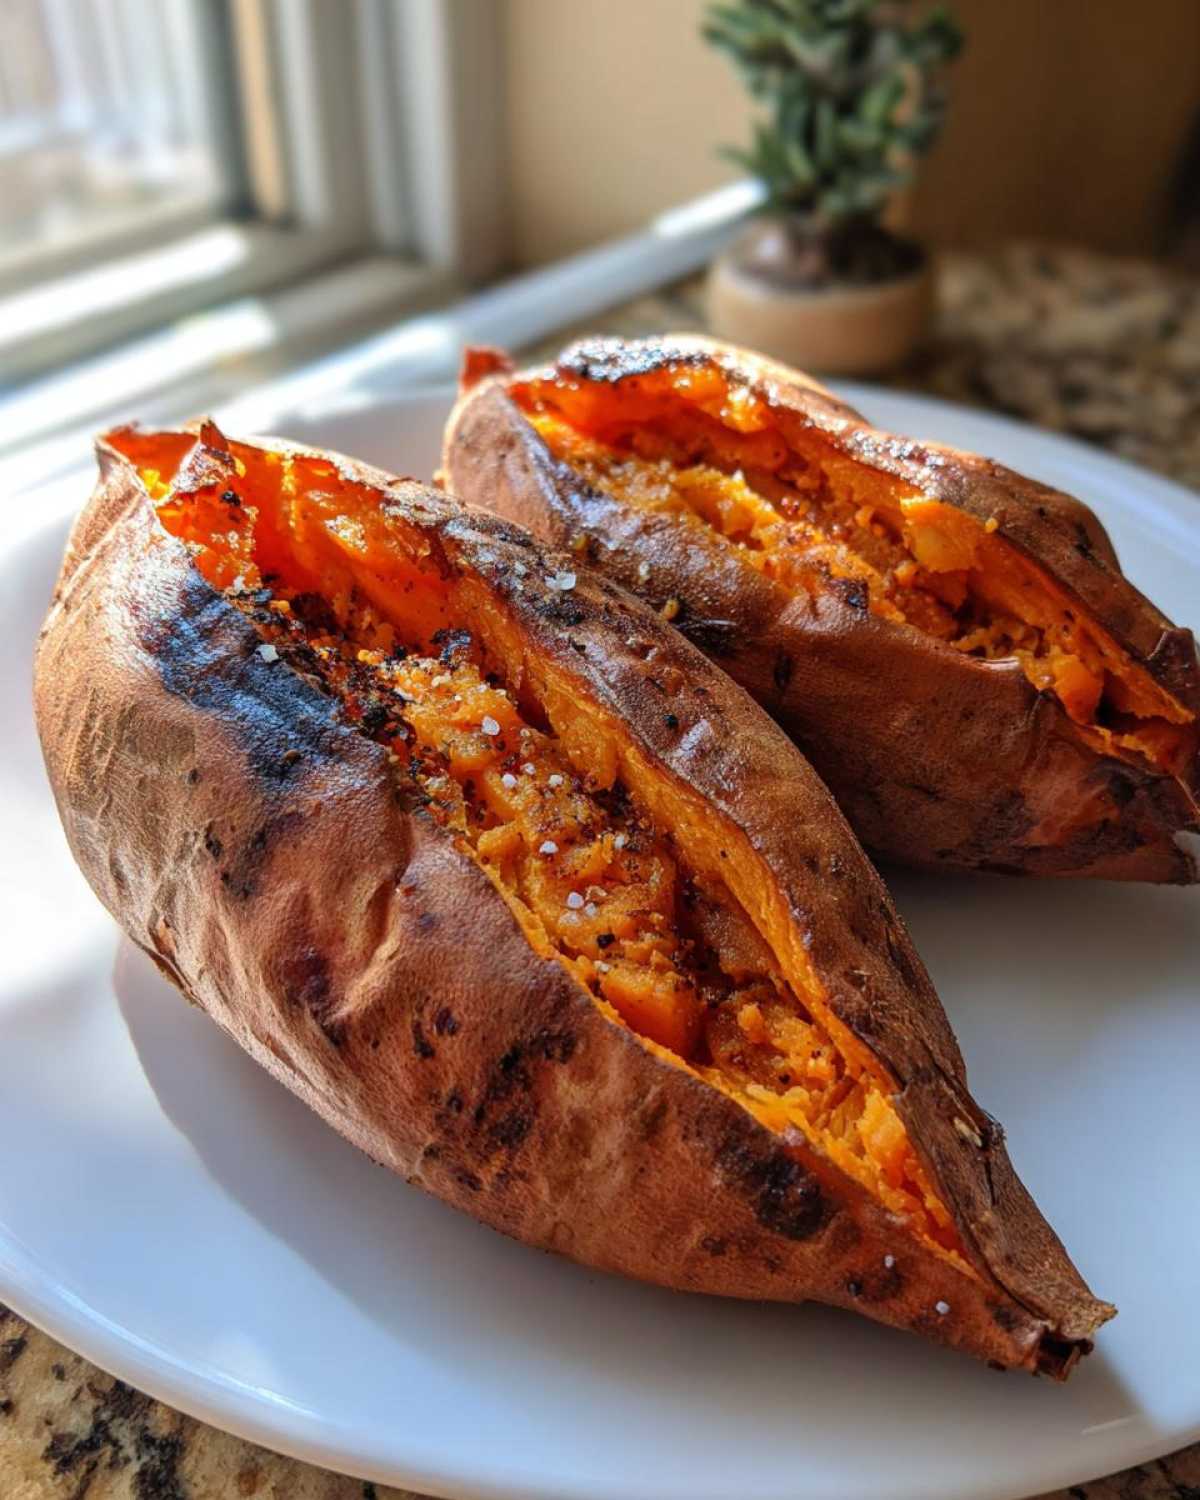
I know life gets busy, David and I barely have time to breathe sometimes! That’s why making these **easy baked sweet potatoes** ahead for snack or **sweet potato meal prep** saves my sanity. The best way to store them? Don’t cut them open! Once they are completely cool? Just pop them whole into an airtight container. They stay good in the fridge for up to four days. Talk about having dinner ready when you need it!
When you’re ready to eat, you don’t have to settle for a rubbery microwave potato, either. You can quickly reheat them in the oven until they are warm through, or yes, you can absolutely use the microwave if you’re in a real hurry. They hold up wonderfully!
Serving Suggestions for This Simple Sweet Potato Side Dish
Honestly, because these **baked sweet potatoes** get that beautiful skin and fluffy inside, they don’t need much to shine! They work perfectly as my go-to **simple dinner sides** when I’m short on time. You can just slice them open, add salt and pepper, and call it a night.
But if you’re planning a full meal, they pair beautifully with savory, smoky flavors. Think about serving them next to grilled chicken or salmon. They also make a fantastic, wholesome base for a hearty vegetarian night! David loves that they go perfectly with beans and rice—I even have a great recipe for easy one-pot beans and rice that complements these potatoes so well. If you’re doing a big **fall vegetable recipes** spread, these are mandatory!
They are hearty enough to stand up to something a little richer, like pork tenderloin, but light enough to feel like a truly healthy choice, just like the lovely pairing suggested over at This Honest Food. Who doesn’t love a good, customizable **comfort food side dishes** option?
Frequently Asked Questions About Baked Sweet Potatoes
I get so many messages asking about tiny adjustments, and honestly, that means you’re getting serious about your **homemade baked sweet potatoes**! Here are a few things I hear all the time from folks trying this method for the first time.
Why can’t I wrap my sweet potatoes in foil like I usually do?
Oh, dear, that’s the big question! Foil traps the moisture inside, which steams the potato instead of baking it. If you want that amazing, slightly dry, almost **caramelized sweet potatoes** texture on the skin—and that fluffy inside—you must skip the foil and let the direct heat of the oven do its work. It really is the **best sweet potato cooking method** for crispy results.
What if I have smaller potatoes? Should I change the oven baked sweet potatoes time?
If you have smaller ones, you definitely need less time! For truly **quick baked sweet potatoes**, if they are the size of small oranges instead of large ones, check them around the 35-minute mark. If you want to learn more about timing for all shapes, there’s a great guide over at Kitchen Seer. But always test them by squeezing them gently—that’s better than the clock!
Can I use the microwave if I’m in a huge rush?
You *can*, yes, but you won’t get the right texture. Microwaving gives you a steamy, soft potato throughout, and zero crisp skin. If you absolutely must rush, use the microwave just to soften it up, then finish it in a 400°F oven for about 10-15 minutes—that second blast of dry heat will help salvage some of that crucial texture. I always recommend sticking to the oven for the best end result. You can browse more tips on our blog!
Nutritional Snapshot of Your Homemade Baked Sweet Potatoes
One of the best things about enjoying these incredible **baked sweet potatoes** is knowing how good they are for you! This is just an estimate, remember, since your potato size and the toppings you choose will change the numbers quite a bit. But for a single, medium, unadorned potato baked using our method, here’s what you’re looking at based on our recipe calculations. It’s proof that healthy doesn’t have to mean boring!
- Serving Size: 1 medium potato
- Calories: 180
- Sugar: 13g
- Sodium: 230mg
- Fat: 0.5g
- Carbohydrates: 41g
- Fiber: 6g
- Protein: 4g
Foolproof Baked Sweet Potatoes: Crispy Skin and Fluffy Inside

Learn the simple, no-foil method to bake sweet potatoes perfectly every time. You get a caramelized skin and a soft, fluffy interior, making this the best sweet potato cooking method for a healthy side dish.
- Prep Time: 5 min
- Cook Time: 50 min
- Total Time: 55 min
- Yield: 4 servings
- Category: Side Dish
- Method: Baking
- Cuisine: American
- Diet: Vegetarian
Ingredients
- 4 medium sweet potatoes (about 8-10 ounces each)
- 1 tablespoon olive oil
- 1 teaspoon coarse salt
- 1/2 teaspoon black pepper
Instructions
- Preheat your oven to 400 degrees Fahrenheit (200 degrees Celsius).
- Scrub the sweet potatoes well under running water to remove any dirt. Dry them completely with a paper towel. This step helps achieve crispy skin.
- Prick each sweet potato deeply 5 to 6 times all over using a sharp fork. This allows steam to escape.
- Rub the entire surface of each potato lightly with olive oil.
- Sprinkle the coarse salt and black pepper evenly over the oiled skins.
- Place the seasoned sweet potatoes directly onto the middle oven rack. Do not use foil or a baking sheet underneath; direct heat helps the skin crisp up.
- Bake for 45 to 60 minutes. The exact oven baked sweet potatoes time depends on the size of your potatoes.
- Check for doneness by squeezing the potato gently; it should yield easily, or insert a thin knife into the center with no resistance.
- Remove from the oven and let them cool for 5 minutes before slicing them open lengthwise. Fluff the inside flesh with a fork.
- Serve immediately with your favorite toppings.
Notes
- For extra caramelized sweet potatoes, you can bake them directly on a wire rack placed over a baking sheet to allow air circulation around the bottom.
- If you prefer a twice baked sweet potatoes approach, scoop out the flesh after baking, mix it with butter and spices, and return it to the skins to reheat.
- For meal prep, bake the potatoes ahead of time. Store them whole in the refrigerator for up to 4 days. Reheat in the oven or microwave.
Nutrition
- Serving Size: 1 medium potato
- Calories: 180
- Sugar: 13
- Sodium: 230
- Fat: 0.5
- Saturated Fat: 0.1
- Unsaturated Fat: 0.4
- Trans Fat: 0
- Carbohydrates: 41
- Fiber: 6
- Protein: 4
- Cholesterol: 0