

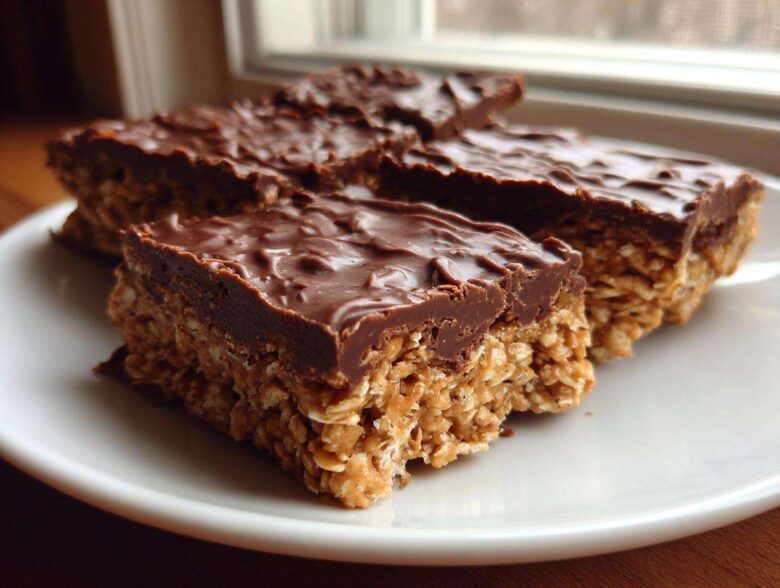
Oh my goodness, are you tired of standing over a hot oven when all you crave is something sweet, salty, and totally decadent? Me too! That’s why I live and breathe for recipes that deliver maximum flavor with zero sweat, especially when something unexpected pops up. Trust me when I say these No-Bake Chocolate Peanut Butter Oat Bars are about to save your weeknights. They are the ultimate chewy, glorious stackable treat, and the best part? The only thing heating up is maybe a quick melt of the chocolate. Seriously, I keep the ingredients stocked just in case I need a little pick-me-up after a long afternoon of recipe testing for the blog. These bars stick together perfectly and give you that rich peanut butter hit you’re dreaming about!
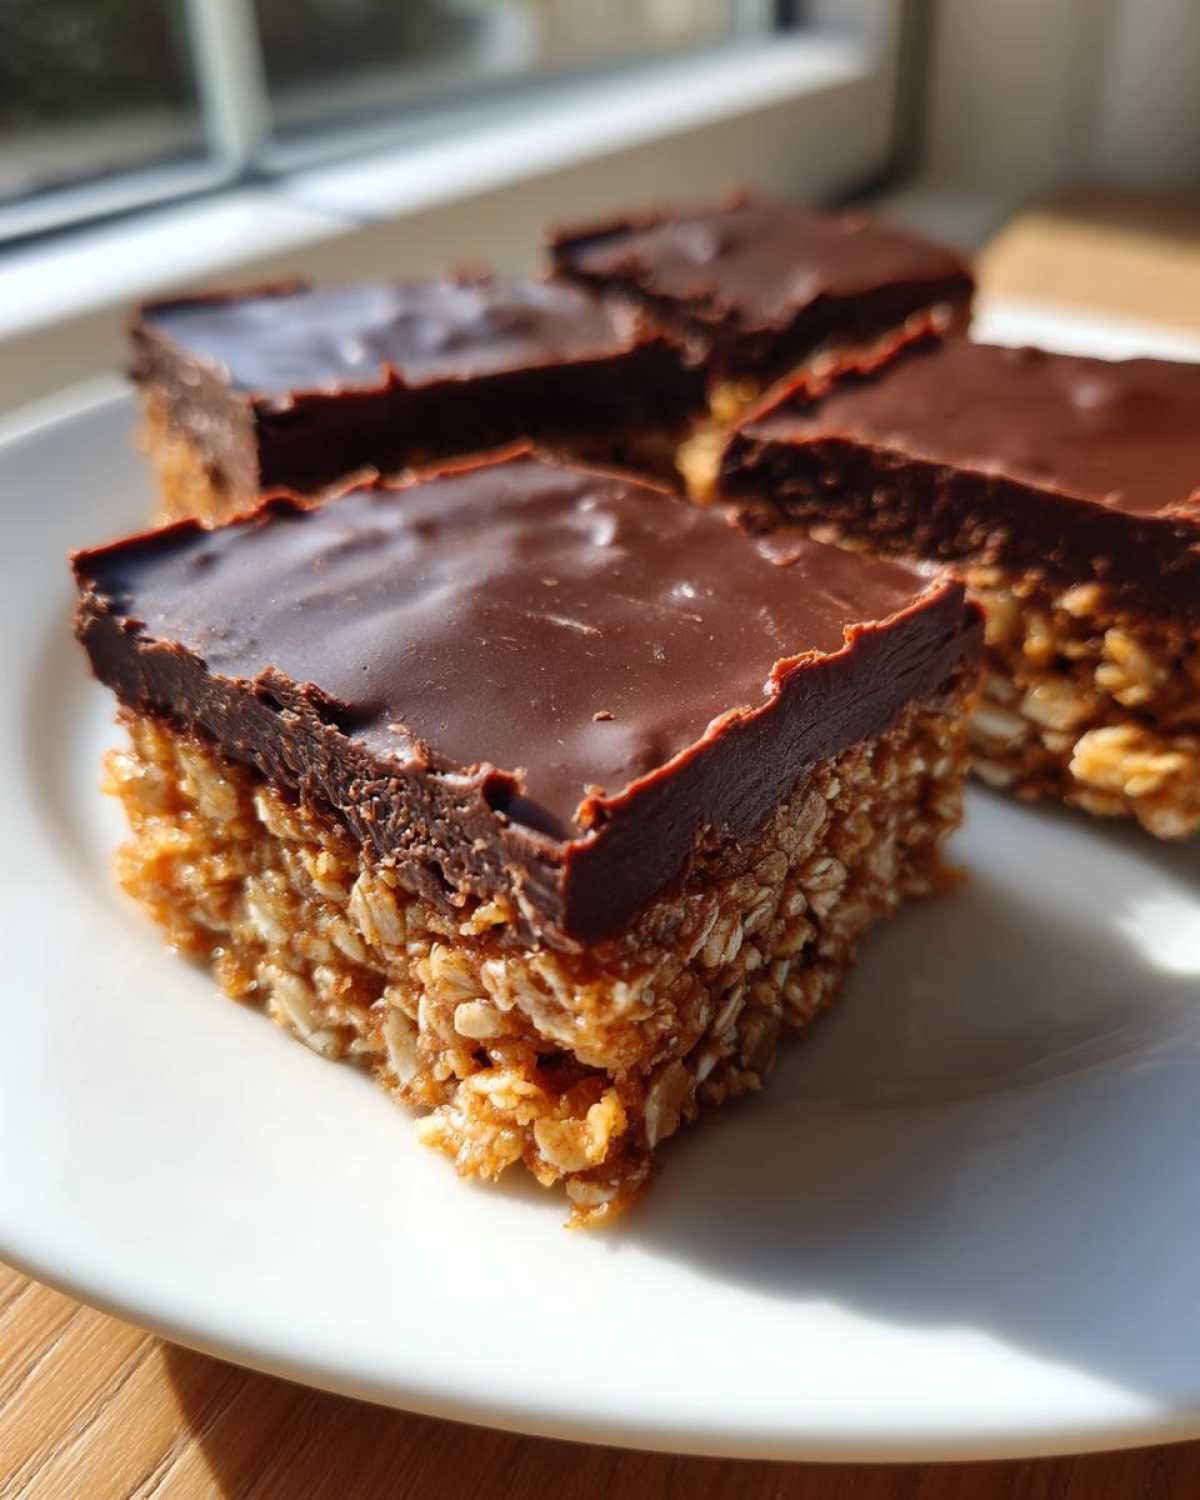
Why You Need These No-Bake Chocolate Peanut Butter Oat Bars Now
Why should these bars be in your rotation immediately? Because they tick every single box when you need a last-minute treat! You don’t have to wait an hour for your oven to preheat, and the cleanup is ridiculously fast. These are lifesavers, honestly, especially when you aren’t looking for a heavy, cakey dessert. They hit that perfect sweet spot!
- They truly are a Quick Dessert No Oven wonder—prep time clocks in at barely fifteen minutes!
- They are robust! These aren’t crumbly messes; they are firm enough to survive being packed in a lunchbox for the road.
- Forget fancy steps; these are amazing as Kid Friendly No Bake Snacks that they can actually help you stir together.
- Perfect for almost any gathering. Who doesn’t love a good square of chocolate and peanut butter fusion?
Trust me, when you need a dependable, satisfying, and fast dessert, keep these in mind. You can sneak a peek at a few other speedy meals I love while these set up, like my easy one-pot meals!
Gathering Ingredients for Your No-Bake Chocolate Peanut Butter Oat Bars
Okay, getting ready to make these is almost as fun as eating them because we get to pull out all the pantry staples! Since this is a no-bake treat, every single measurement really matters because it’s doing the heavy lifting that the oven usually handles. I always pull out my measuring cups and spoons right away so I don’t forget anything. I’ve found that using the right creamy peanut butter makes that base layer so wonderfully uniform; you definitely don’t want chunky in there for the base, trust me!
When I’m making these, I check my stash of oats first. Since these are quick-setting, I usually head over to see if I have the ingredients to whip up my favorite soft peanut butter cookies shortly after, just so I know I’m covered for the week!
For the Chewy Oat Base
This is what gives our bars their structure and that satisfying chew. Don’t skimp on measuring here!
- 1 cup rolled oats
- 1 cup creamy peanut butter
- 1/2 cup unsalted butter, melted
- 1/2 cup powdered sugar
- 1/4 cup honey or maple syrup
- 1 teaspoon vanilla extract
For the Chocolate Topping Layer
The topping needs to be silky smooth so it spreads beautifully and sets up firm enough to slice without cracking into a million pieces. That little bit of coconut oil is the secret weapon here for the perfect finish!
- 1 cup semi-sweet chocolate chips
- 1 tablespoon coconut oil
Step-by-Step Instructions for Perfect No-Bake Chocolate Peanut Butter Oat Bars
Wow, look at those ingredients ready to go! Now for the fun part where we turn simple pantry items into the most satisfying bar you’ll ever eat. Remember, since there’s no oven involved, every single step here is critical for texture, especially how well you press that base layer. We want these No-Bake Chocolate Peanut Butter Oat Bars to hold together like a dream, so pay close attention to packing it down!
Preparing the Pan and Mixing the No-Bake Chocolate Peanut Butter Oat Bars Base
First things first, you absolutely must prepare your 8×8 inch pan correctly. Line it with parchment paper, but leave a good overhang on two sides. This little trick is your saving grace later when you pull the whole slab out! It makes life so much easier.
Now, grab your big mixing bowl. Melt that butter first—you don’t want to try and mix cold butter into peanut butter, trust me, it gets grumpy! Once melted, everything else for the base goes right in: the oats, peanut butter, powdered sugar, honey (or maple syrup if you prefer), and vanilla. Mix this until it’s completely uniform. You need to see no dry spots lingering anywhere. If your mixture looks a little dry, add just a tiny splash more honey. We’re looking for a thick, doughy consistency ready to be squished.
Pressing the Base and Creating the Chocolate Topping
Time to transfer that gorgeous base into your lined pan. Don’t just dump it in! Spread it evenly first, and then comes the pressing part. This is key for sliceability. Use the back of a sturdy measuring cup or even the bottom of a glass (clean, of course!) and really press down hard. You want it compacted tightly. If you skip this, the bars might crumble when you try to slice them later.
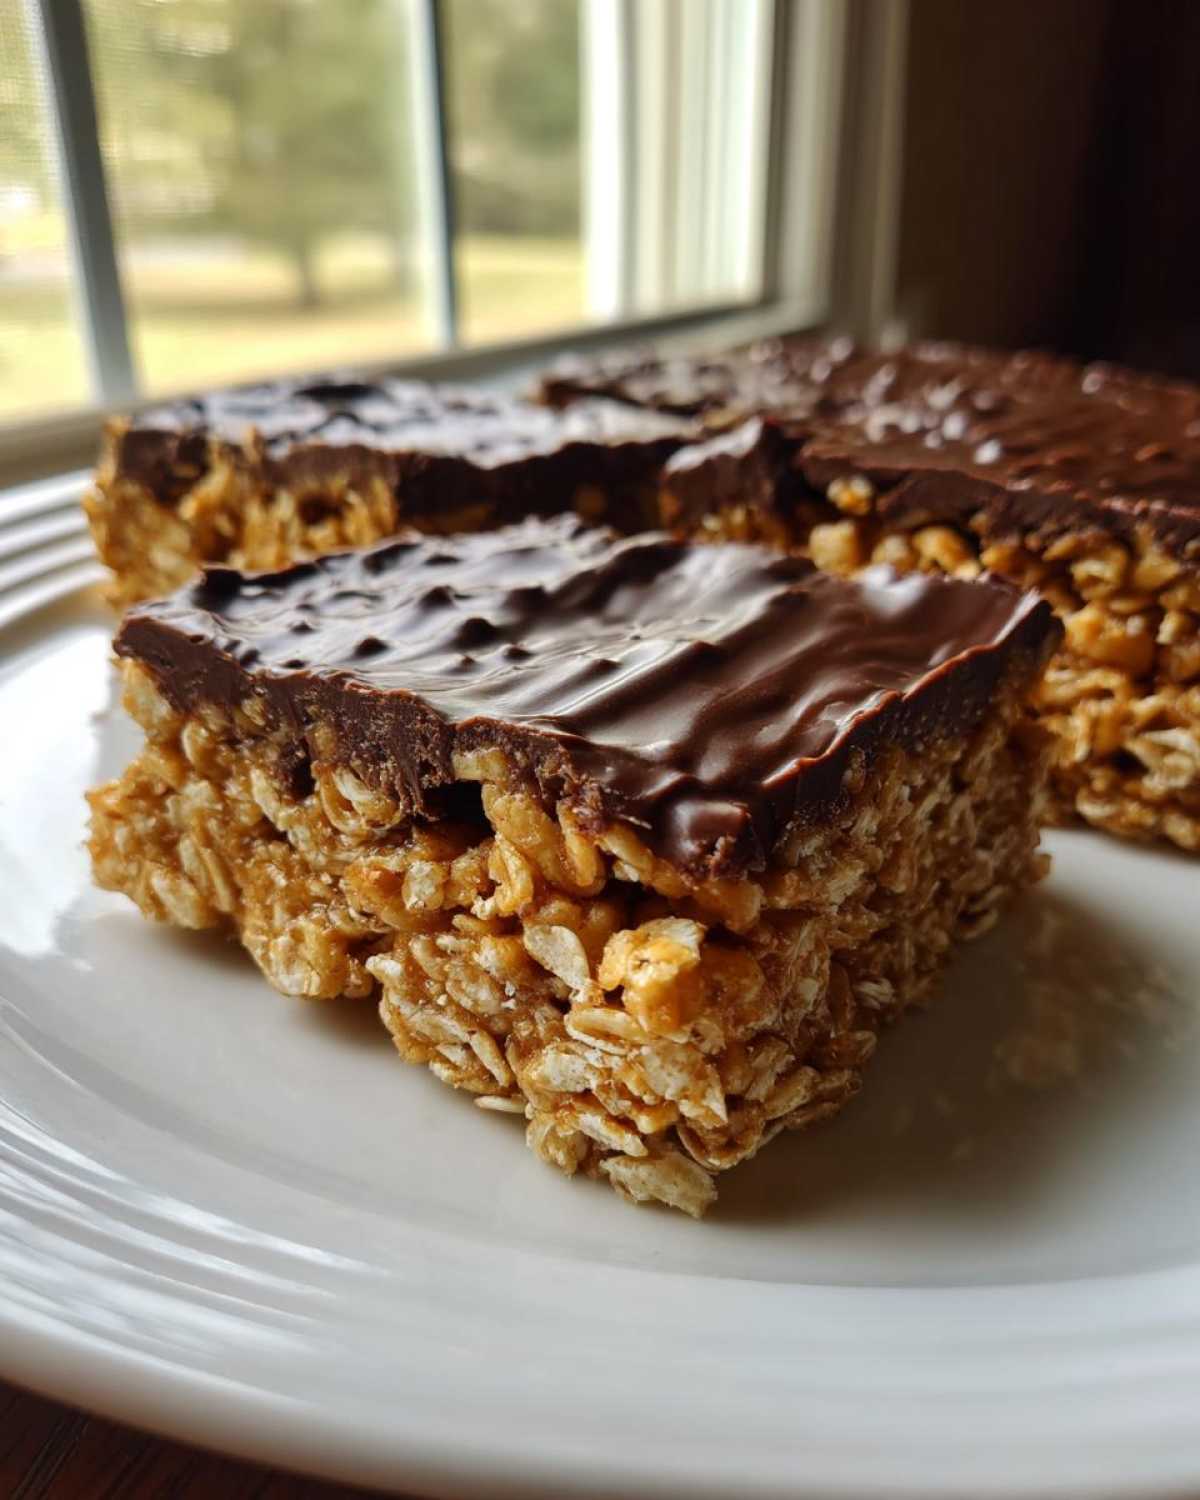
While that’s sitting there looking ready, let’s tackle the chocolate. Put the chocolate chips and that tablespoon of coconut oil into a microwave-safe bowl. I zap mine in 30-second bursts, pulling it out in between to stir well. That coconut oil helps the chocolate melt smoothly and stay glossy. As soon as it’s silky smooth (no chunks allowed!), pour it right over that pressed oat base.
Setting and Slicing Your No-Bake Chocolate Peanut Butter Oat Bars
Once the chocolate topping is spread perfectly edge-to-edge, the magic is in the patience—and the fridge! You need to chill these bars for at least two full hours. This is non-negotiable! That chilling time is what replaces the oven and makes sure the chocolate sets hard enough to cut through cleanly. I know waiting is tough, but it’s worth it.
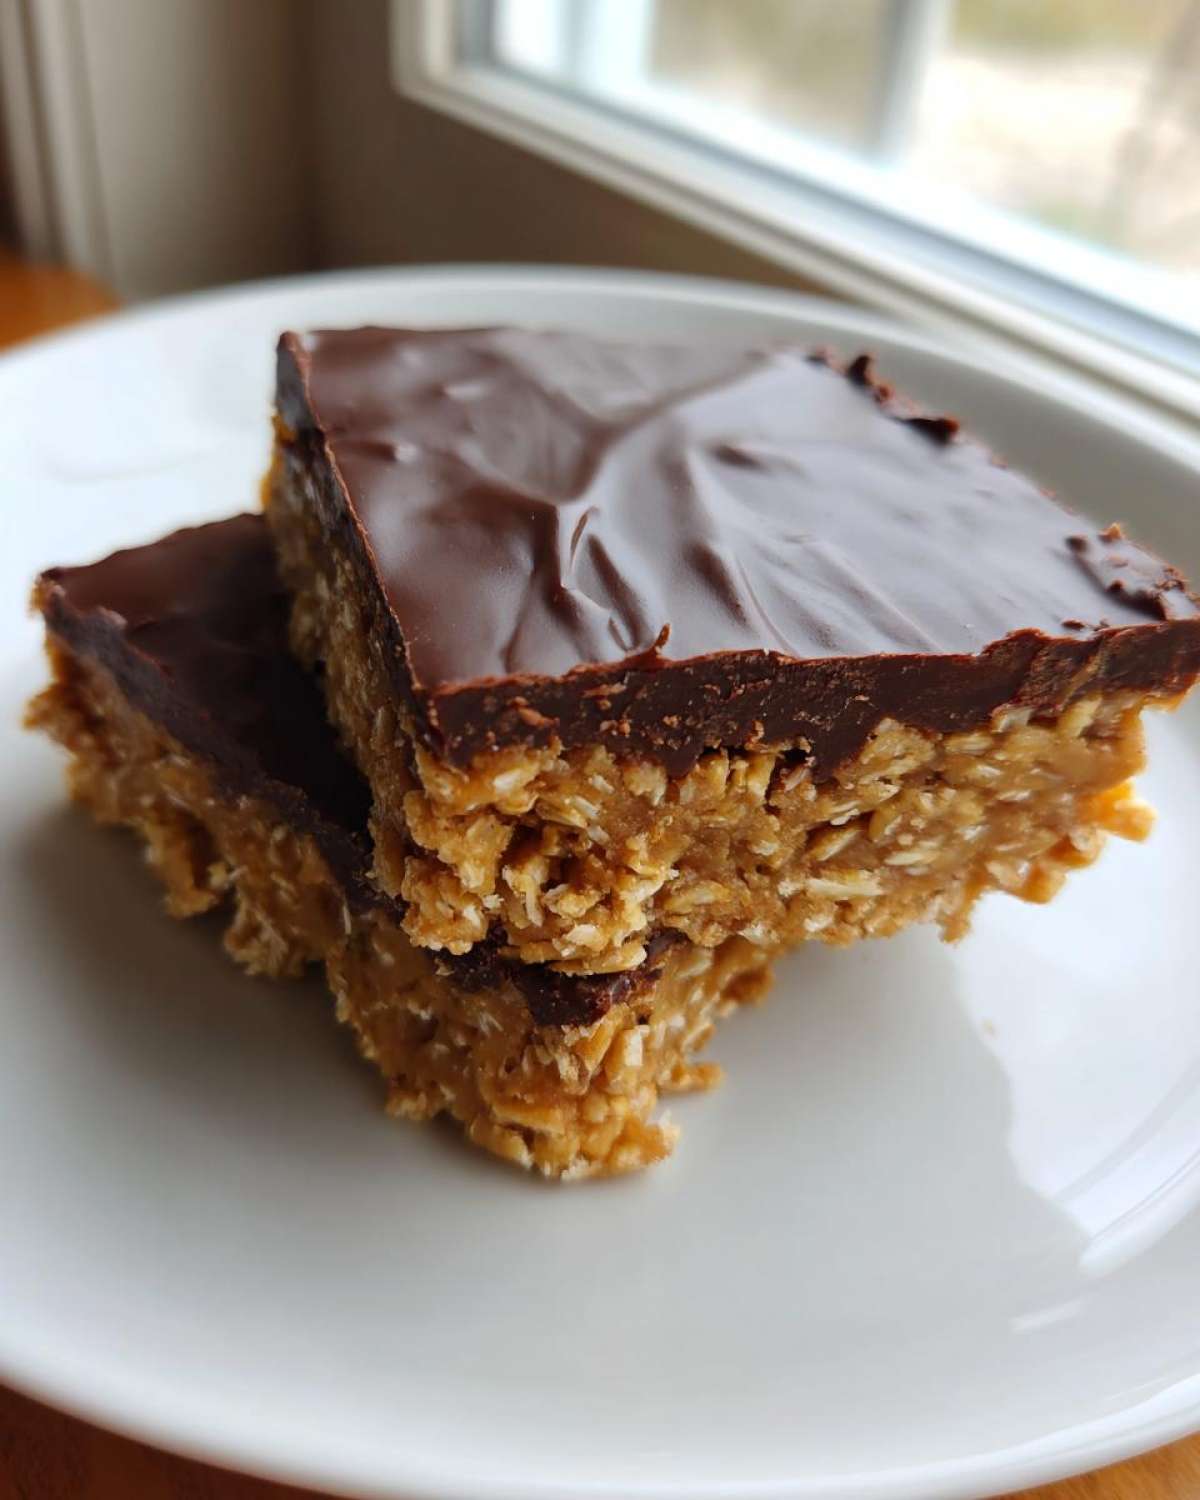
When they are totally firm, use those parchment overhangs to lift the entire block out onto a cutting board. Then, grab your sharpest knife and slice them into 16 neat squares. If you look at the recipe for the soft chewy peanut butter cookies, you’ll see how much difference a little chilling time makes!
Tips for Success When Making Easy Peanut Butter Bars
Look, even though these are simple, we want them to be perfect, right? The difference between a pretty, sliceable bar and a sloppy mess often comes down to just two tiny things. Don’t worry if your first batch isn’t magazine-worthy; that’s what learning is for! I’ve learned the hard way what keeps these Easy Peanut Butter Bars from turning on you.
If your bars seem too soft to cut when they come out of the fridge, just pop them back in for another 30 to 45 minutes. Seriously, cold temperature is your best friend here. Also, for the best structural integrity in these Simple Oat Bars Recipe, make sure you really press that base layer down hard. I mean it—use some muscle! You can even put a small piece of wax paper on top and press it with a rolling pin. That compression is what keeps them from crumbling apart later.
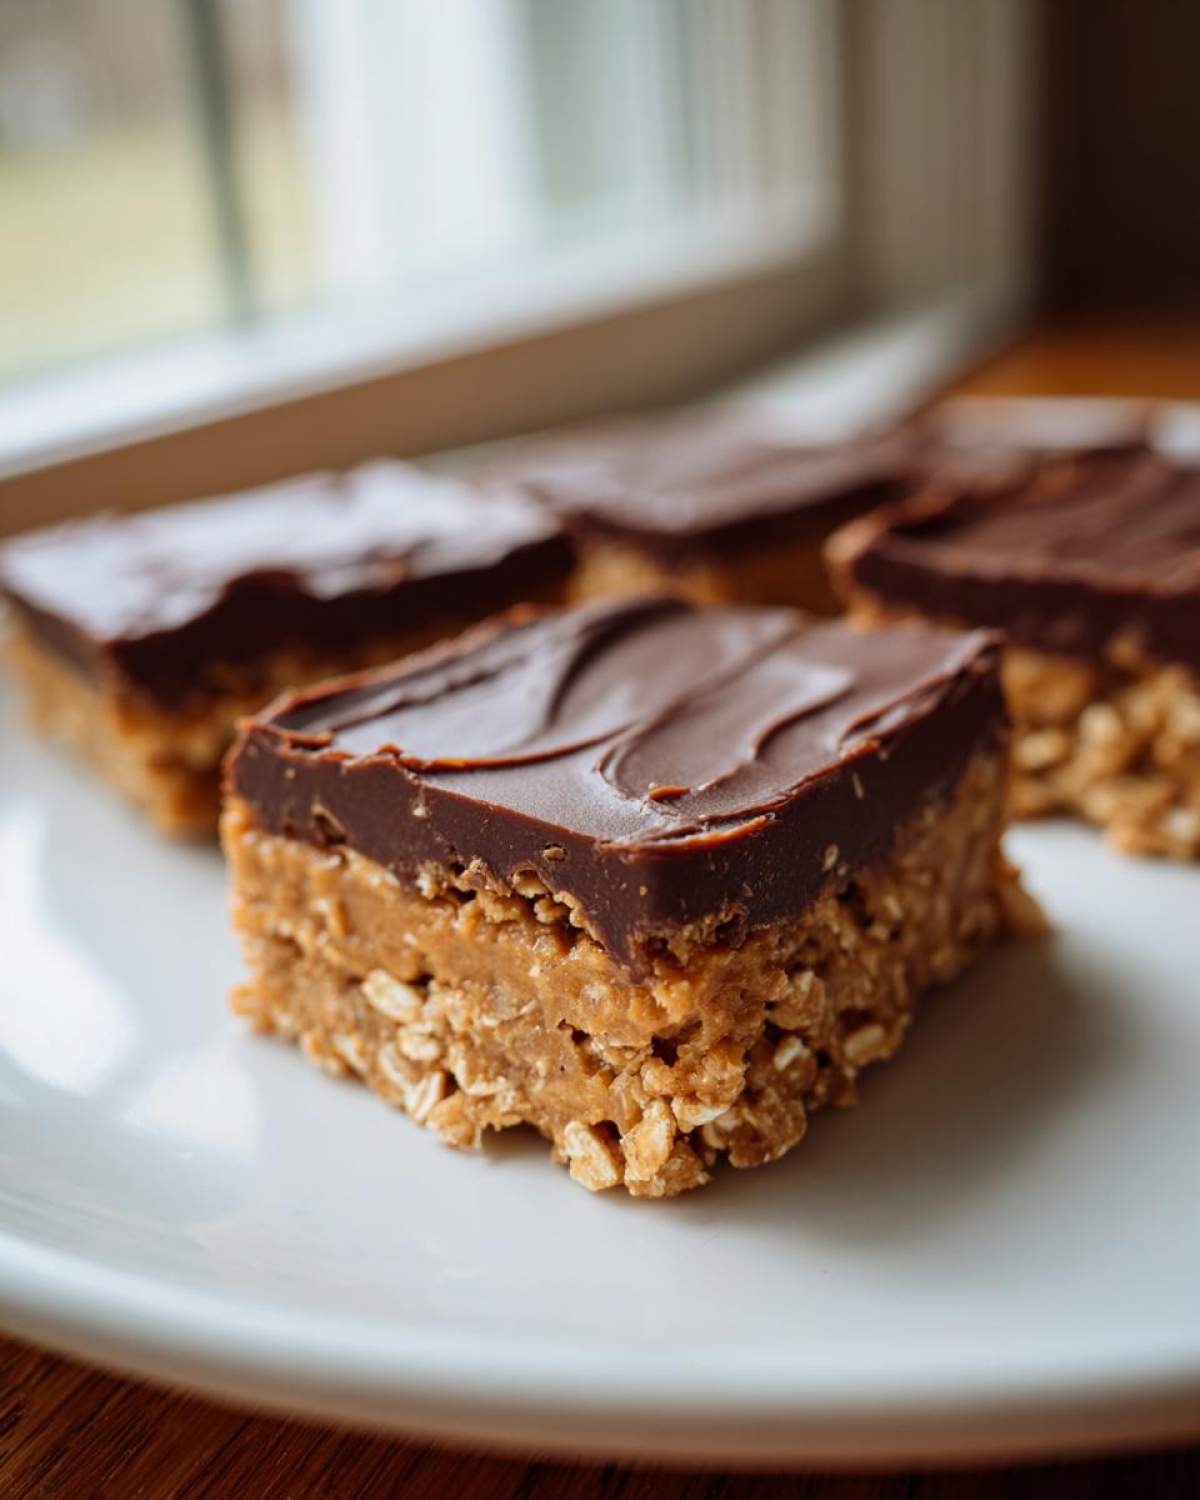
And that chocolate top? If it’s looking dull the next day, it means it didn’t set quite right. To avoid that, make sure your 1 tablespoon of coconut oil is perfectly smooth when melted with the chips. It acts as a stabilizer. If you want a thinner chocolate layer, though, I usually keep that in mind when I’m making my easy peanut butter pie. For these bars, stick to the recipe for that satisfying thickness!
Variations for Your Chocolate Oat Snack Bars
Now, while I stand firm that the original combination in these No-Bake Chocolate Peanut Butter Oat Bars is pure perfection, I know we all like to experiment! Making swaps is super easy, which is why I adore this recipe so much. It’s flexible without being fussy.
If you or a friend aren’t big fans of peanuts, don’t sweat it! You can absolutely swap out the peanut butter for creamy almond butter or even sunflower seed butter for a great nut-free option. Just make sure whatever you use is creamy so it blends well into that base.
Want to jazz up the texture a little? You can fold in about a quarter cup of mini chocolate chips right into the oat mixture before pressing it into the pan. Or, after you pour the melted topping on, throw some rainbow sprinkles on top while it’s still wet—perfect for birthdays!
If you’re a fan of adding dried fruits, make sure they are small, like dried cranberries, and soak them briefly first to keep them from pulling moisture out of your bars. Speaking of fantastic, no-bake ideas, my recipe for no-bake peanut butter balls is just as easy if you need something round instead of square!
Storage and Make Ahead Snack Ideas for No-Bake Chocolate Peanut Butter Oat Bars
One of the best things about these bars is that they are built to last, making them a total dream for meal prepping. Honestly, whipping up a batch of these No-Bake Chocolate Peanut Butter Oat Bars on Sunday means you have grab-and-go snacks ready all week long for lunches or quick afternoon snacks. They hold their shape beautifully, which is exactly what we want!
You need to keep them in the refrigerator, always. Pop them into an airtight container, and they stay perfectly firm and fresh for up to a full week. The cold temperature keeps the chocolate topping solid and the oat base nice and chewy. I actually think they taste even better on day two once they’ve fully settled in the cold! If you’re looking ahead, check out my super handy tips for make ahead snacks that can save you countless hours during busy mornings, but these bars are certainly chief among them!
Frequently Asked Questions About No Bake Dessert Recipes
I get so many questions about these bars because everyone wants that perfect slice! Since these are some of my favorite No Bake Dessert Recipes, I figured I’d quickly answer the stuff I get asked about the most concerning texture and swapping things out. We want everyone to succeed with this—no sad, crumbly bars here, please!
Can I make these bars firmer, almost fudge-like?
Oh, I know that feeling when you want something that really bites back a little, almost like a thick fudge! If you want them firmer than chewy, you definitely need to boost that chill time! After the initial two hours, try letting them hang out in the fridge for another hour before slicing. If they are still too soft for your liking, you could try cutting back on the honey by just a tablespoon, but play it safe first by just chilling them longer. A longer chill time is always the safest bet for achieving those nearly Fudge like Oat Bars!
Are these No Bake Energy Bars suitable for a gluten-free diet?
That’s a great question, especially since oats are the star here! The recipe as written uses standard rolled oats, so they aren’t automatically gluten-free. However, they are incredibly easy to adapt! If you grab certified gluten-free rolled oats instead of regular ones, then yes, you have fantastic Gluten Free Oat Bars options ready to go. Just double-check your oats packaging to be certain!
What happens if I skip the coconut oil in the chocolate topping?
Don’t ditch the coconut oil! It really isn’t just for flavor enhancement here; it’s functional. Coconut oil has some special properties that help the melted chocolate set up quickly and smoothly when it hits the cold base. If you skip it, your chocolate topping might end up looking dull, or worse, it might stay softer than you want, leading to a messy bar when you try to slice or serve it. It makes sure that beautiful top layer is firm and totally sliceable. If you need an alternative in a pinch, sometimes a tiny bit of regular shortening can mimic that effect, but I haven’t tested it much outside of my no-bake eggnog pie!
Estimated Nutrition for Peanut Butter Chocolate Squares
Now, I know some of you health-conscious bakers want to know what you’re getting into with these dreamy squares, and I totally get it! While I usually don’t stress too much about tracking calories when I’m whipping up a quick treat, I did run the numbers based on the exact ingredients listed in the recipe above. Think of this as a helpful guide rather than a sacred text, because homemade goodness always varies! These figures are estimates based on the recipe servings exactly as written.
We’re looking at a bar that packs a satisfying punch of energy and flavor. If you’re comparing this to store-bought granola bars, these homemade Peanut Butter Chocolate Squares usually win on flavor, even if the sugar content is a little higher—but hey, that’s the payoff for using real ingredients!
- Serving Size: 1 bar
- Calories: 220
- Total Fat: 14g
- Total Carbohydrates: 21g
- Protein: 6g
- Sugar: 15g
- Cholesterol: 15mg
Just a little reminder: since we are using real butter and peanut butter, the fat content is solid, which is what makes them so satisfying and keeps you full! If you are looking to compare this to things like my gooey brown sugar streusel muffins, remember that the ingredient profiles are totally different! Enjoy these squares knowing they were made with love and minimal fuss.
Share Your Ultimate Chewy No-Bake Chocolate Peanut Butter Oat Bars Experience
And just like that, we’re done! Aren’t these the absolute easiest, most satisfying treats you’ve made all year? I really hope these Ultimate Chewy No-Bake Chocolate Peanut Butter Oat Bars make your life just a little bit sweeter this week. Seriously, they are my go-to when I need something ready fast for a last-minute school event or just for me hiding in the cupboard!
I put so much love into making sure this recipe works perfectly every single time on the first try, so please, I need to hear from you! Did you try them? Did you swap out the honey for maple syrup? Did you add sprinkles on top like I mentioned? Don’t be shy!
Head down to the comments and leave a rating—even five stars for the sheer joy of not turning on the oven! I read every single comment and I love seeing your pictures or hearing about any little twists you added to your batch. If you need to get in touch with me about anything else baking-related, you can always find the contact info over at my contact page. Happy munching!
PrintThe Ultimate Chewy No-Bake Chocolate Peanut Butter Oat Bars
Make these simple, chewy bars that require no oven time. They combine oats, peanut butter, and chocolate for a quick snack or dessert.
- Prep Time: 15 min
- Cook Time: 0 min
- Total Time: 2 hr 15 min
- Yield: 16 servings
- Category: Dessert
- Method: No-Bake
- Cuisine: American
- Diet: Vegetarian
Ingredients
- 1 cup rolled oats
- 1 cup creamy peanut butter
- 1/2 cup unsalted butter, melted
- 1/2 cup powdered sugar
- 1/4 cup honey or maple syrup
- 1 teaspoon vanilla extract
- 1 cup semi-sweet chocolate chips
- 1 tablespoon coconut oil
Instructions
- Line an 8×8 inch baking pan with parchment paper, leaving an overhang on two sides for easy removal.
- In a large bowl, combine the rolled oats, peanut butter, melted butter, powdered sugar, honey or maple syrup, and vanilla extract. Mix until everything is fully incorporated and the mixture is uniform.
- Press the oat mixture firmly and evenly into the prepared pan. Use the bottom of a glass or measuring cup to compact it well.
- In a small, microwave-safe bowl, combine the chocolate chips and coconut oil. Microwave in 30-second intervals, stirring between each interval, until the chocolate is smooth and completely melted.
- Pour the melted chocolate mixture over the oat base. Spread it evenly across the top layer.
- Refrigerate the bars for at least 2 hours, or until the chocolate topping is firm.
- Use the parchment paper overhang to lift the bars from the pan. Cut into 16 squares.
Notes
- For firmer bars, chill them for an additional hour before slicing.
- You can substitute almond butter or sunflower seed butter for peanut butter.
- Store leftovers in an airtight container in the refrigerator for up to one week.
Nutrition
- Serving Size: 1 bar
- Calories: 220
- Sugar: 15
- Sodium: 85
- Fat: 14
- Saturated Fat: 6
- Unsaturated Fat: 8
- Trans Fat: 0
- Carbohydrates: 21
- Fiber: 2
- Protein: 6
- Cholesterol: 15