

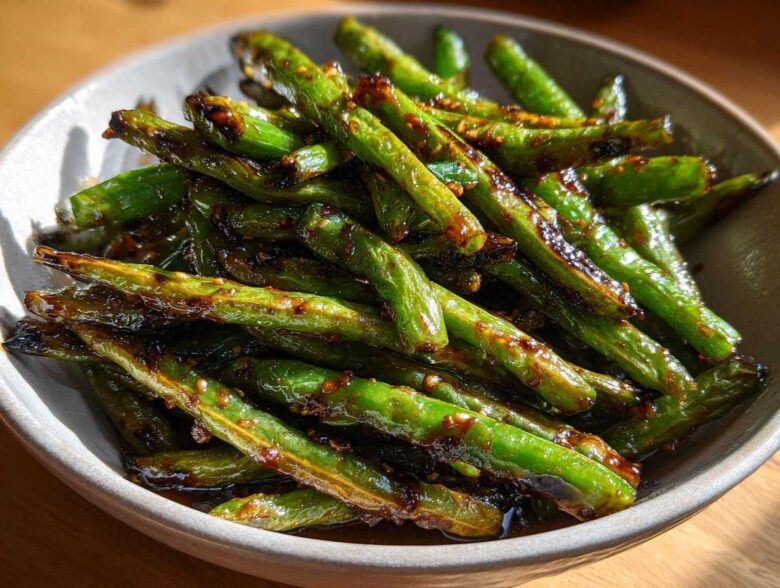
Oh, you know that feeling! You’re settling in for a quiet evening, the leftovers are gone, and suddenly you just *need* that intense, punchy flavor you get from your favorite Chinese takeout spot. We totally get it, which is why David and I perfected this recipe so we don’t have to wait for delivery! Forget soggy vegetables; these **chinese green beans with garlic sauce** are fast, coming together quicker than the delivery driver can find your house. As David always says, our whole journey here at Spoonful Snap started with finding that connection through food, and vibrant, fast side dishes are certainly part of our story. I’m Amina, and in our kitchen, side dishes have to bring the energy. If it’s not vibrant and quick, I don’t have time for it, and these blistered beauties always deliver that intense, garlicky zing we crave. They’re proof positive that the best flavors happen when you turn up the heat!
Why This Recipe for chinese green beans with garlic sauce Works So Well
You want takeout flavor, but you want it *now*, right? That’s exactly what this recipe is built for. We bypass all the fuss to get you those amazing textures and bold flavors in under twenty minutes. It’s all about technique, not complicated ingredients.
- We nail that perfect texture with quick **wok fried green beans**.
- The whole side dish is ready before you even choose what movie to watch!
- It’s super forgiving—I promise you can do this, even if you’re scared of high heat!
Achieving Perfect Blistered Green Beans Texture
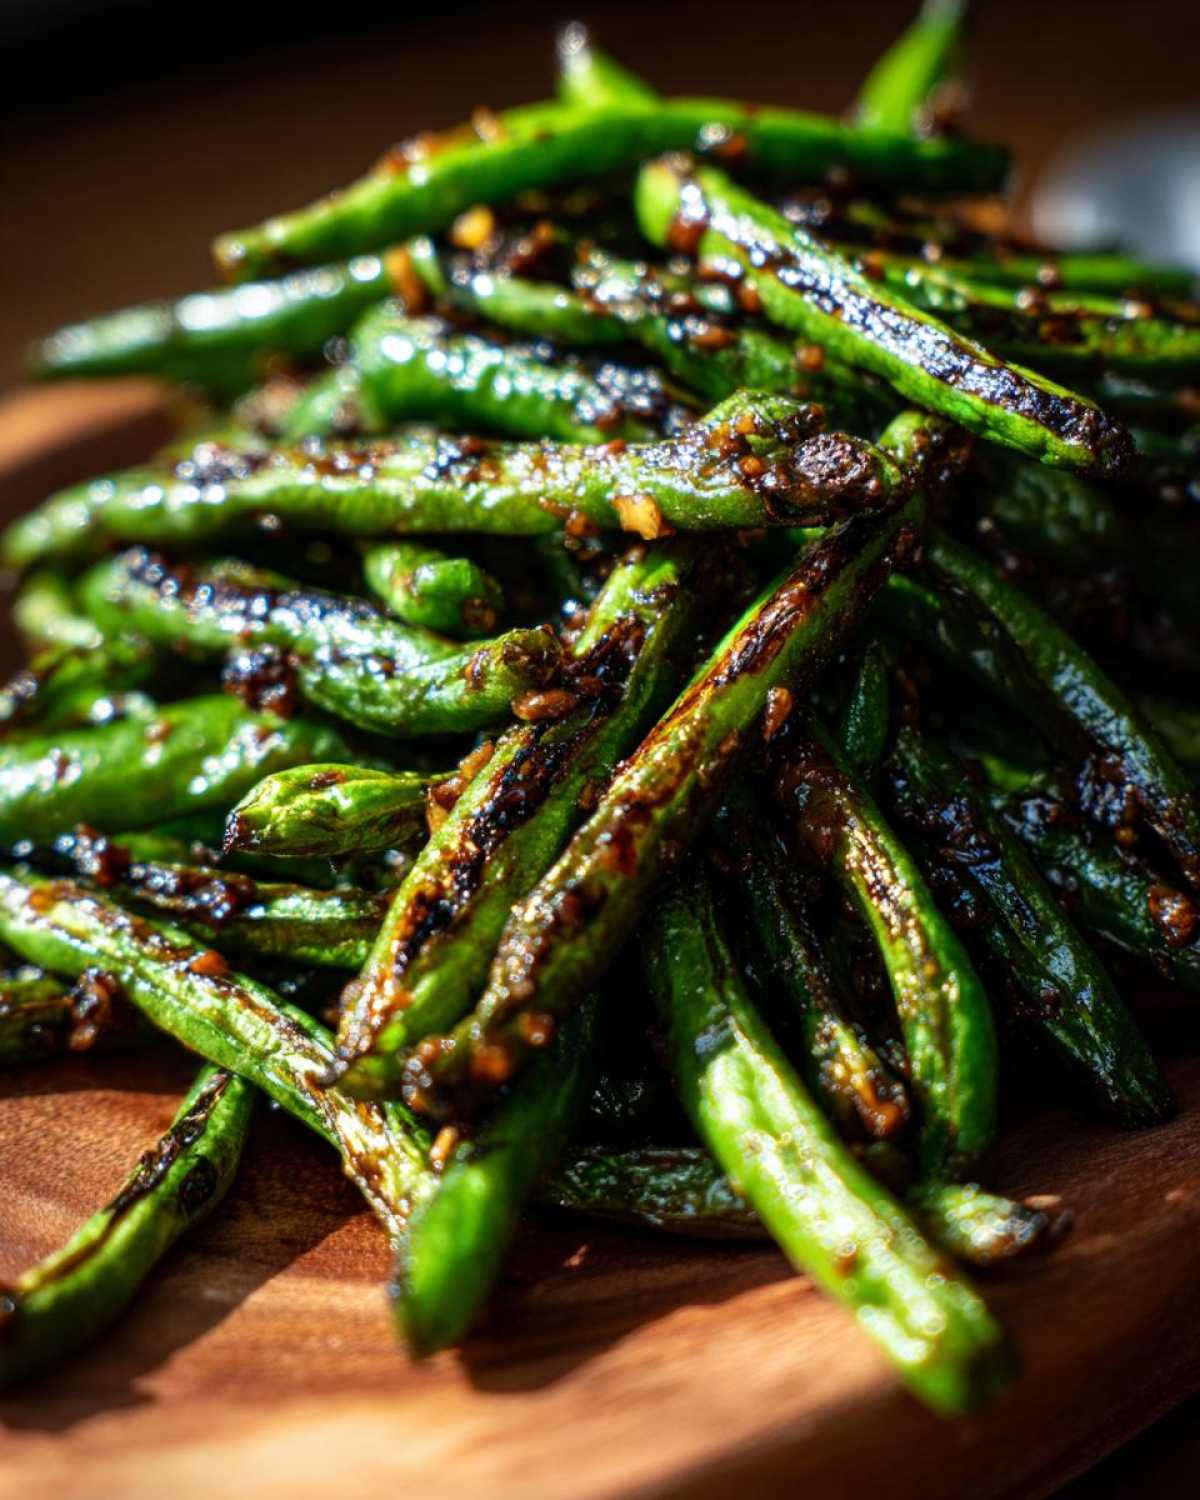
The secret is treating those beans like they belong in a scorching hot wok! We use a method called dry frying. This means super hot oil and letting the beans sit undisturbed for a minute or two. That’s how those gorgeous, slightly charred spots—the **blistered green beans** everyone loves—actually form. The high heat cooks them tender-crisp, not soggy. Trust me, that char is everything!
The Punchy Garlic Sauce Flavor Profile
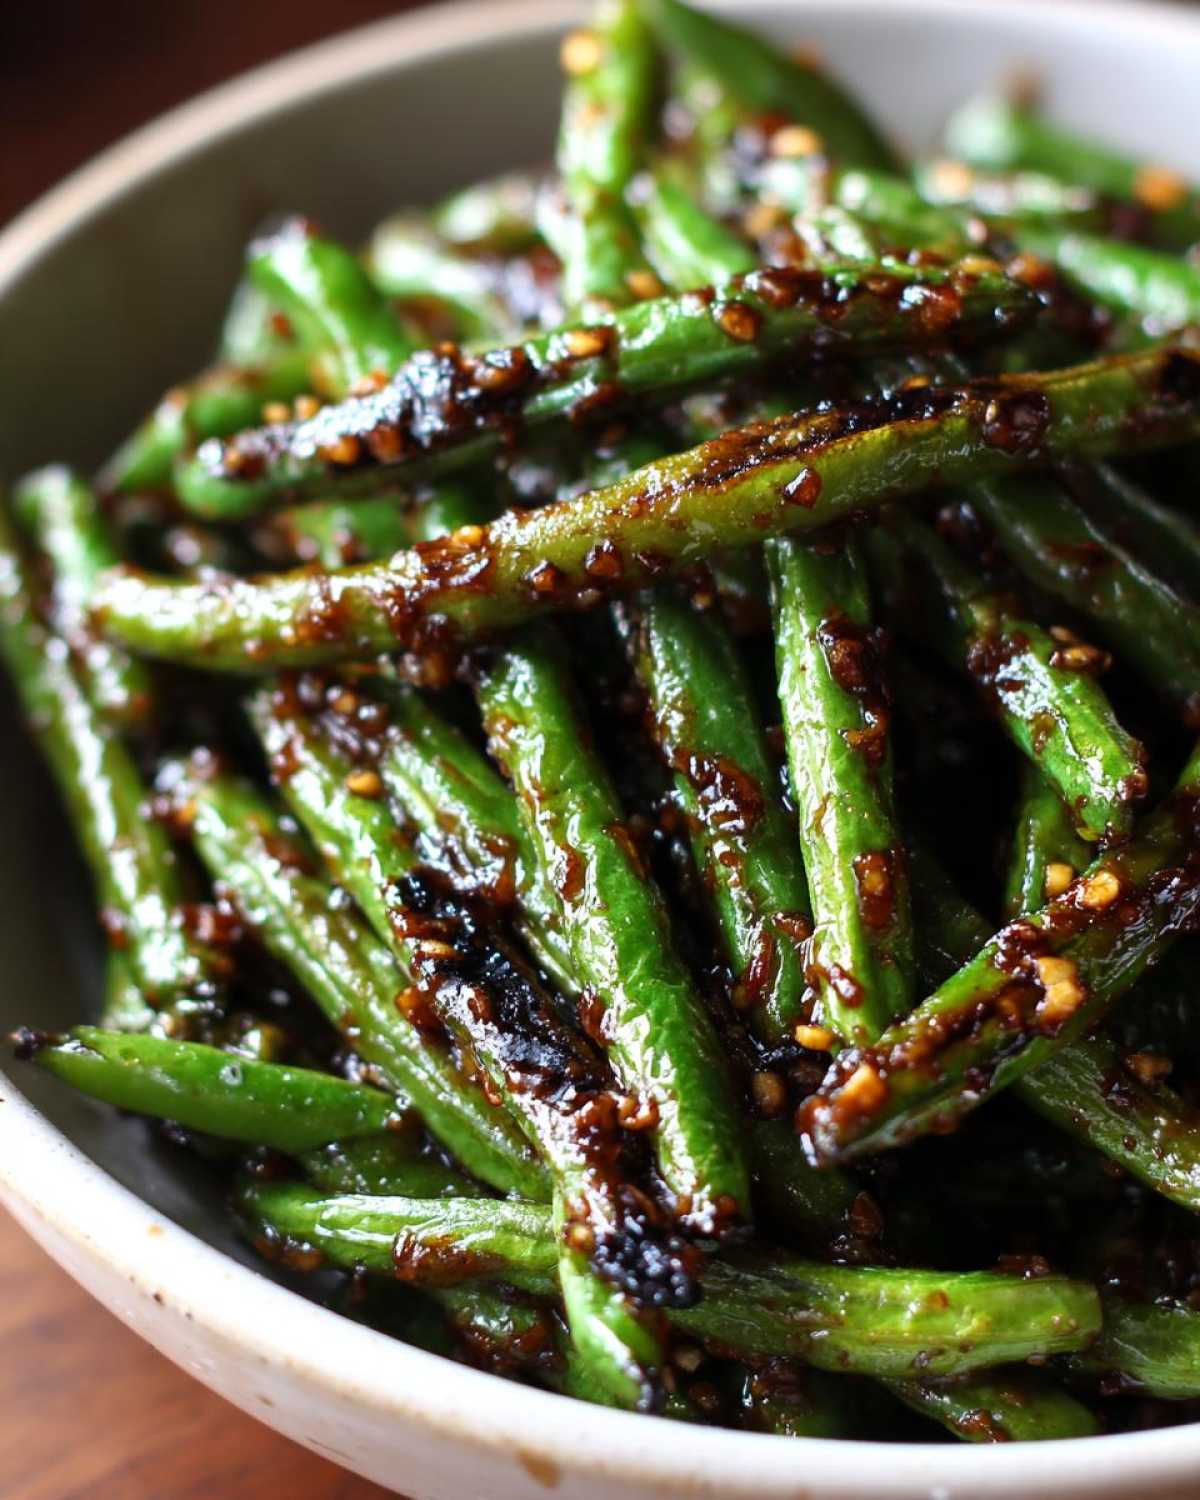
Once we have the texture right, we hit it with the sauce. The beauty of these **chinese green beans with garlic sauce** is that balance. It’s salty from the soy sauce, just a hint of sweet to balance the savory, and a bright tang from the vinegar. Plus, we make sure we cook the fresh garlic and ginger just long enough to bloom their perfume before tossing everything together. It’s an explosion of flavor without any heavy dredging!
Gathering Your Ingredients for chinese green beans with garlic sauce
Okay, let’s talk about what you need to gather. Since this dish cooks so fast, having everything measured and ready to go—we call that ‘mise en place’—is absolutely essential. If you don’t have everything ready, the garlic will burn before you even find the vinegar!
Here’s the simple list that brings authentic flavor home:
- About one pound of fresh green beans. Make sure they are completely trimmed!
- Three big tablespoons of neutral oil—something with a high smoke point works best here.
- Four whole cloves of garlic, don’t be shy, and make sure they are minced fine.
- One teaspoon of fresh ginger that you’ve also minced up.
- A quarter cup of low-sodium soy sauce, please!
- One tablespoon of rice vinegar.
- Just one teaspoon of sugar to balance the saltiness.
- Half a teaspoon of sesame oil for that classic aroma.
- Optional: A pinch of red pepper flakes if you like a little fire!
- Two tablespoons of plain water or vegetable broth for the final toss.
Ingredient Notes and Substitutions
Don’t panic if you’re missing one tiny thing. We’ve worked around ingredients plenty of times! If you need to keep this gluten-free, swap that soy sauce straight up for tamari; the flavor stays nearly identical, which is wonderful. If you are out of water for the final step, a splash of vegetable broth works beautifully and adds depth. For the oil, I usually go for canola because it handles the high heat needed for blistering without smoking too much right away. It’s all about setting yourself up for success!
Step-by-Step Guide to Wok Fried chinese green beans with garlic sauce
Alright, grab your wok or your biggest, heaviest skillet! Remember what I said about having everything ready? Now is the time your preparation pays off, because this cooking part moves fast—we’re talking about eight minutes max. Don’t walk away from the stove, but also don’t be afraid of the fire! We’re going to layer the flavor step by step to get that perfect restaurant finish for our **garlic green beans**.
Preparing the Sauce Base
First things first, let’s mix that delicious coating! In a small bowl, just whisk together the low-sodium soy sauce, the rice vinegar, that sneaky bit of sugar, the sesame oil, and your pepper flakes if you’re using them. Whisk it until the sugar dissolves. See? That was easy! Set that magic potion right near your stove. You won’t touch it again until the beans are almost done.
Developing Char: The Blistering Technique
This is the critical moment for crispy texture! Get your wok screaming hot—I mean really, really hot. Add your neutral oil and let it shimmer. Next, drop in those trimmed green beans. I know it seems scary, but listen to the sizzle! Let them sit for a minute or two just to get those dark, beautiful char marks. Then you toss them constantly for about four to six minutes until they are tender-crisp. If you don’t have a wok, use a large skillet, but seriously, don’t overcrowd the pan, or you’ll steam them instead of getting those fantastic **dry fried green beans**!
Finishing the chinese green beans with garlic sauce
Once the beans are looking properly spotted, push them to one side. Now, quickly toss in your minced garlic and ginger into the hot, empty space. Let them sizzle for just 30 seconds until you can really smell that perfume—watch them closely so they don’t burn! Now, toss everything together, pour in your prepared sauce, and add your water or broth. Stir everything quickly to coat it all evenly. Let it bubble for just one minute until the sauce clings a bit. That’s it! Take it off the heat immediately so the beans stay crisp, grab a plate, and maybe check out this wonderful sauce recipe for your next noodle craving!
Tips for Success Making Authentic chinese green beans
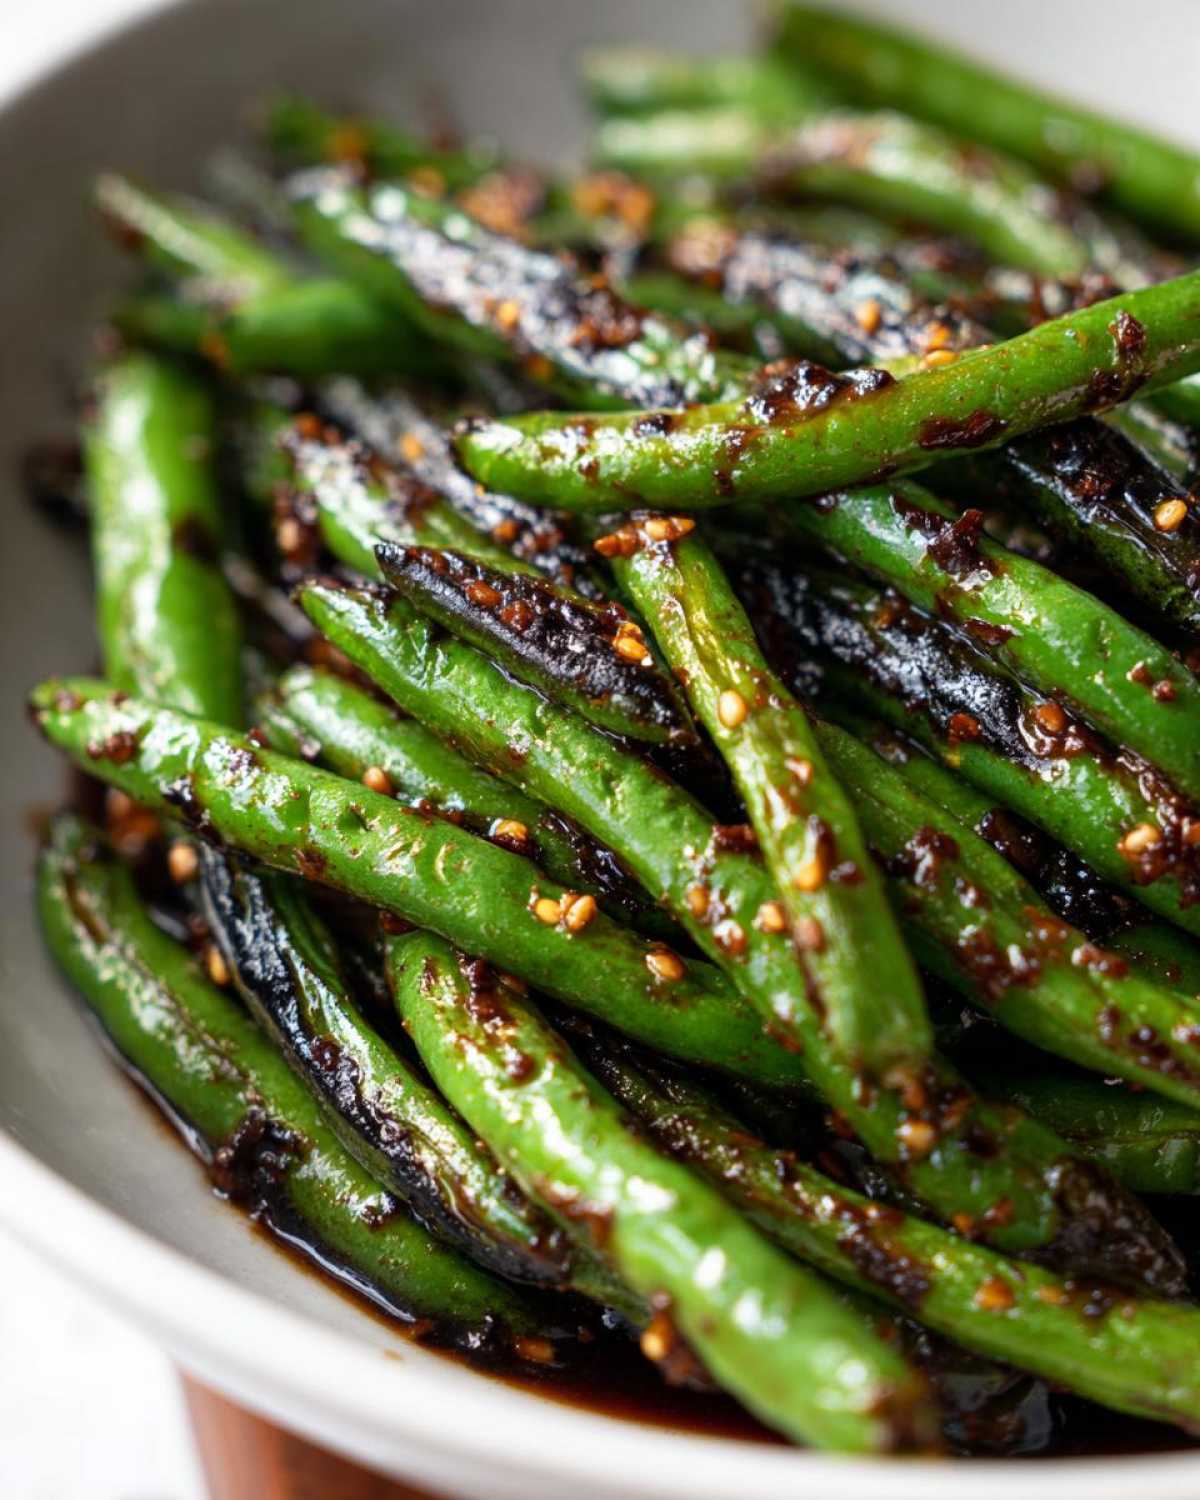
Honestly, getting these **garlic green beans** right comes down to three tiny things I learned from watching my auntie cook for years. First, that high heat? It’s non-negotiable. If your oil isn’t hot enough to make those beans shout when they hit the pan, you’ll get soggy beans, not the good char we want. Second, fresh means fresh! Please, use freshly minced garlic and ginger; dried spices just can’t compete with that perfume. My personal favorite part is when the garlic hits the hot oil—that amazing, sharp aroma hits the air, and I know the dish is going to be perfect. Lastly, make sure your beans are dry before they go into the wok. Any leftover water will fight the oil and stop the blistering process dead in its tracks. Just pat them down with a paper towel!
Pairing Your chinese green beans with garlic sauce for Takeout Night
These vibrant **chinese side dishes** are meant to go shoulder-to-shoulder with something hearty! Because the **blistered green beans** are so bold and garlicky, they cut right through richer main courses. They are absolutely perfect next to my husband David’s famous easy pepper steak recipe. Seriously, the savory beef and pepper steam picks up the zing from the beans beautifully. But if you’re keeping it plant-based, these are fabulous alongside crispy tofu or a simple veggie fried rice. It just elevates the whole spread beautifully. Don’t you just love a dinner where every single component sings?
Storage and Reheating Instructions for Garlic Green Beans
Now, listen, these **garlic green beans** are best straight out of that blazing hot wok! If you do manage to have leftovers—which I seriously doubt if David and I are around—you need to store them in an airtight container in the fridge for up to three days.
The secret to reheating? Don’t even *think* about the microwave; it makes them instantly wilted! Pop them back into a clean, very hot, dry skillet for just a minute or two. That high heat wakes up the garlic and helps crisp them back up nicely. They won’t be *perfectly* charred like the first time, but they’ll still be super tasty!
Frequently Asked Questions About chinese green beans
I always get so many questions when people try this recipe for the first time! It’s all about confidence in the high heat, but let’s tackle the hiccups you might run into while making these amazing **vegan chinese sides**.
Can I use frozen green beans instead of fresh for these garlic green beans?
You certainly can try, but I won’t lie—the results aren’t the same! Frozen beans have a lot of trapped water inside them. When you put them in that super hot wok, they tend to steam instead of charring properly, and you’ll miss out on those beautiful **blistered green beans**. If you absolutely must use them, thaw them completely and pat them bone-dry first. Fresh is always best for that signature texture in **wok fried green beans**!
How do I make this recipe suitable as vegan chinese sides?
Great news—this recipe is naturally vegan! We use vegetable oil, and the sauce is just soy sauce, sugar, vinegar, and sesame oil. There are no animal products hiding in there at all. If you swap soy sauce for tamari, you’re set! It’s one of my easiest **chinese green beans** recipes to whip up when we need a reliable plant-based side dish. You don’t have to stress about substitutions here; it’s already perfect for a **vegan chinese side**!
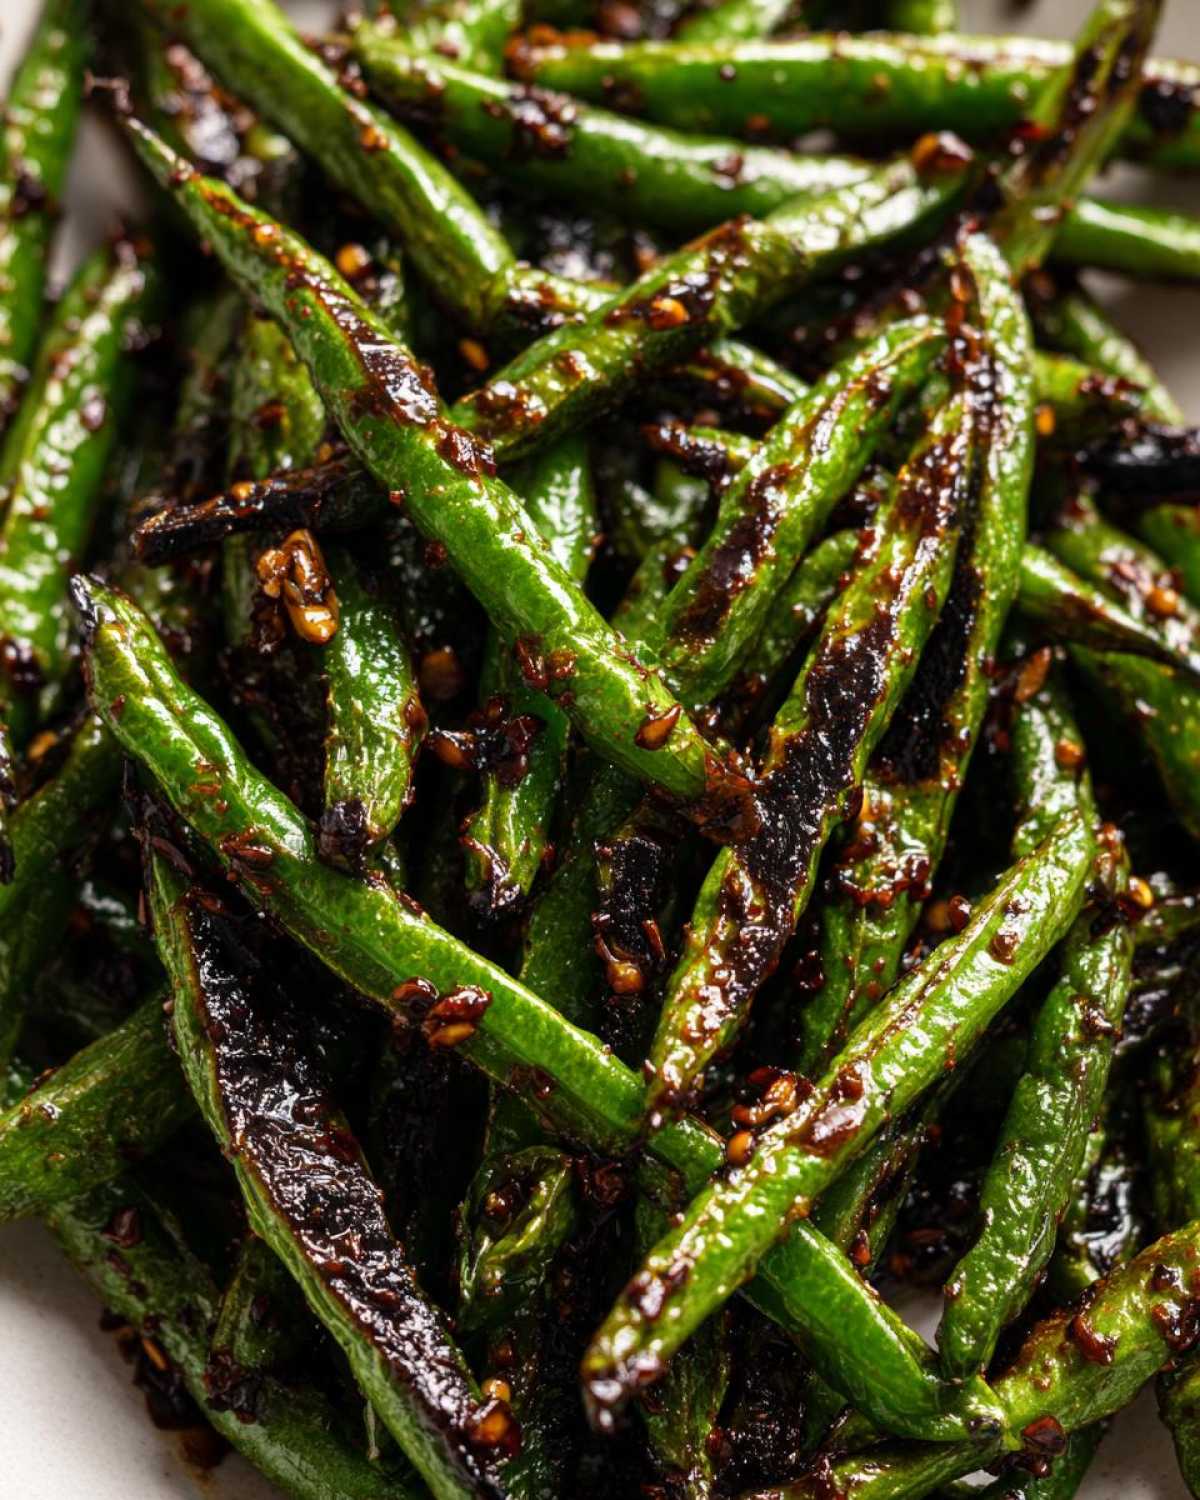
Let me know what you think after you try it! If you want to see more of our kitchen adventures and recipes, feel free to browse our main blog page. Happy cooking!
Estimated Nutritional Data for chinese green beans with garlic sauce
Now, I always tell everyone that cooking with love and fire doesn’t always mean sticking to the numbers, but sharing the estimates is important, right? When David and I run the numbers on these delicious **garlic green beans**, it helps us balance out the rest of our meal. Keep in mind that because we are using high heat and a good amount of oil to get those crisp tops, the fat content will be a bit higher than just steamed beans, but oh my goodness, the flavor is worth every drop!
This data is my best estimate based on the ingredients listed in the recipe above; the sodium can vary wildly depending on how salty your soy sauce is, so adjust that if you’re watching your intake!
- Serving Size: 1/4 recipe
- Calories: 150
- Fat: 10g
- Saturated Fat: 1g
- Unsaturated Fat: 9g
- Trans Fat: 0g
- Cholesterol: 0mg
- Carbohydrates: 13g
- Fiber: 4g
- Sugar: 4g
- Protein: 3g
- Sodium: 450mg (Remember, this is based on low-sodium sauce!)
See? Packed with flavor and still quite reasonable for a side dish! It’s proof that bold eating doesn’t have to break your healthy goals.
Share Your Kitchen Magic
Now that you’ve tried these spicy, charred **chinese green beans**, I really want to know what you think! Did your wok get hot enough? Tell me how they tasted alongside your dinner tonight. Please leave a rating for the recipe and share any photos or questions you have down below. We read every single comment, and we just love seeing the flavors we share come to life in your own kitchens!
PrintRestaurant-Style Chinese Green Beans with Garlic Sauce
Make these blistered green beans with a punchy garlic soy sauce right in your wok or skillet. This recipe delivers that takeout flavor fast.
- Prep Time: 10 min
- Cook Time: 8 min
- Total Time: 18 min
- Yield: 4 servings
- Category: Side Dish
- Method: Wok Frying
- Cuisine: Chinese
- Diet: Vegan
Ingredients
- 1 pound fresh green beans, trimmed
- 3 tablespoons neutral oil (like canola or vegetable)
- 4 cloves garlic, minced
- 1 teaspoon fresh ginger, minced
- 1/4 cup low-sodium soy sauce (or tamari for gluten-free)
- 1 tablespoon rice vinegar
- 1 teaspoon sugar
- 1/2 teaspoon sesame oil
- Pinch of red pepper flakes (optional)
- 2 tablespoons water or vegetable broth
Instructions
- Prepare the sauce: In a small bowl, whisk together the soy sauce, rice vinegar, sugar, sesame oil, and red pepper flakes. Set aside.
- Heat the wok or large skillet over high heat until very hot. Add the neutral oil.
- Add the trimmed green beans to the hot wok in a single layer if possible. Let them cook without stirring for 1 to 2 minutes to start developing char marks.
- Toss the green beans frequently for about 4 to 6 minutes until they are tender-crisp and have blistered spots. This dry frying technique creates the best texture.
- Push the green beans to one side of the wok. Add the minced garlic and ginger to the empty space and cook for about 30 seconds until fragrant. Do not let them burn.
- Toss the garlic and ginger with the green beans.
- Pour the prepared sauce mixture and the water or vegetable broth into the wok. Stir quickly to coat everything evenly. Cook for 1 minute until the sauce thickens slightly.
- Remove from heat immediately and serve your garlic green beans hot.
Notes
- For a spicier kick, use a teaspoon of chili garlic sauce instead of red pepper flakes.
- If you do not have a wok, use a large, heavy-bottomed skillet and work in batches to avoid overcrowding, which prevents proper blistering.
- This dish pairs well with fried rice or vegan stir-fry for a complete dinner.
- If you need a substitute for soy sauce, use tamari for a gluten-free option.
Nutrition
- Serving Size: 1/4 recipe
- Calories: 150
- Sugar: 4
- Sodium: 450
- Fat: 10
- Saturated Fat: 1
- Unsaturated Fat: 9
- Trans Fat: 0
- Carbohydrates: 13
- Fiber: 4
- Protein: 3
- Cholesterol: 0