

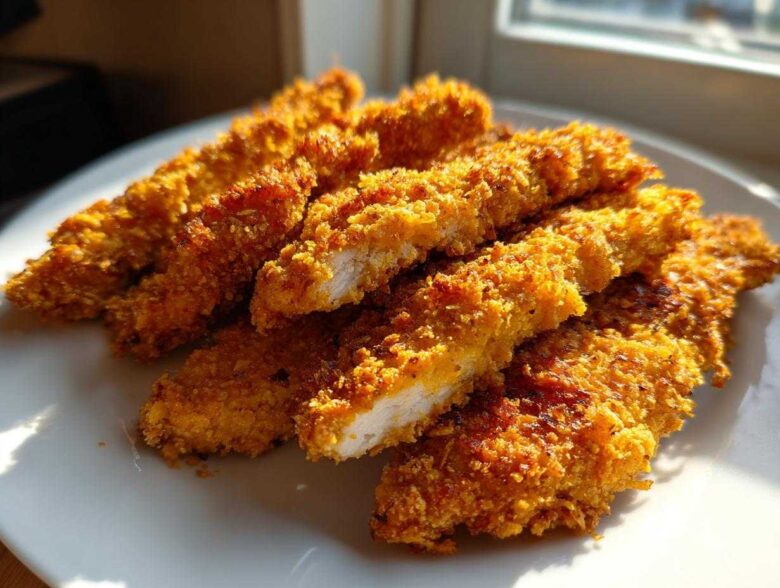
I used to think that that truly satisfying, deep-fried crunch was only achievable when the chicken was actually submerged in oil. I mean, who hasn’t been disappointed by baked chicken tenders that end up tasting soggy or dry? Well, I’ve finally cracked the code, and trust me, I spent way too many afternoons testing coatings! This isn’t just another recipe; this is *the* blueprint for achieving the ultimate Crispy Baked Chicken Tenders with Cornflake Crust right in your oven. It’s unbelievably crunchy, surprisingly light, and honestly better than most takeout versions. If you’ve been searching for the perfect crunchy chicken fingers baking that skips the fryer entirely, stop looking—you found it!
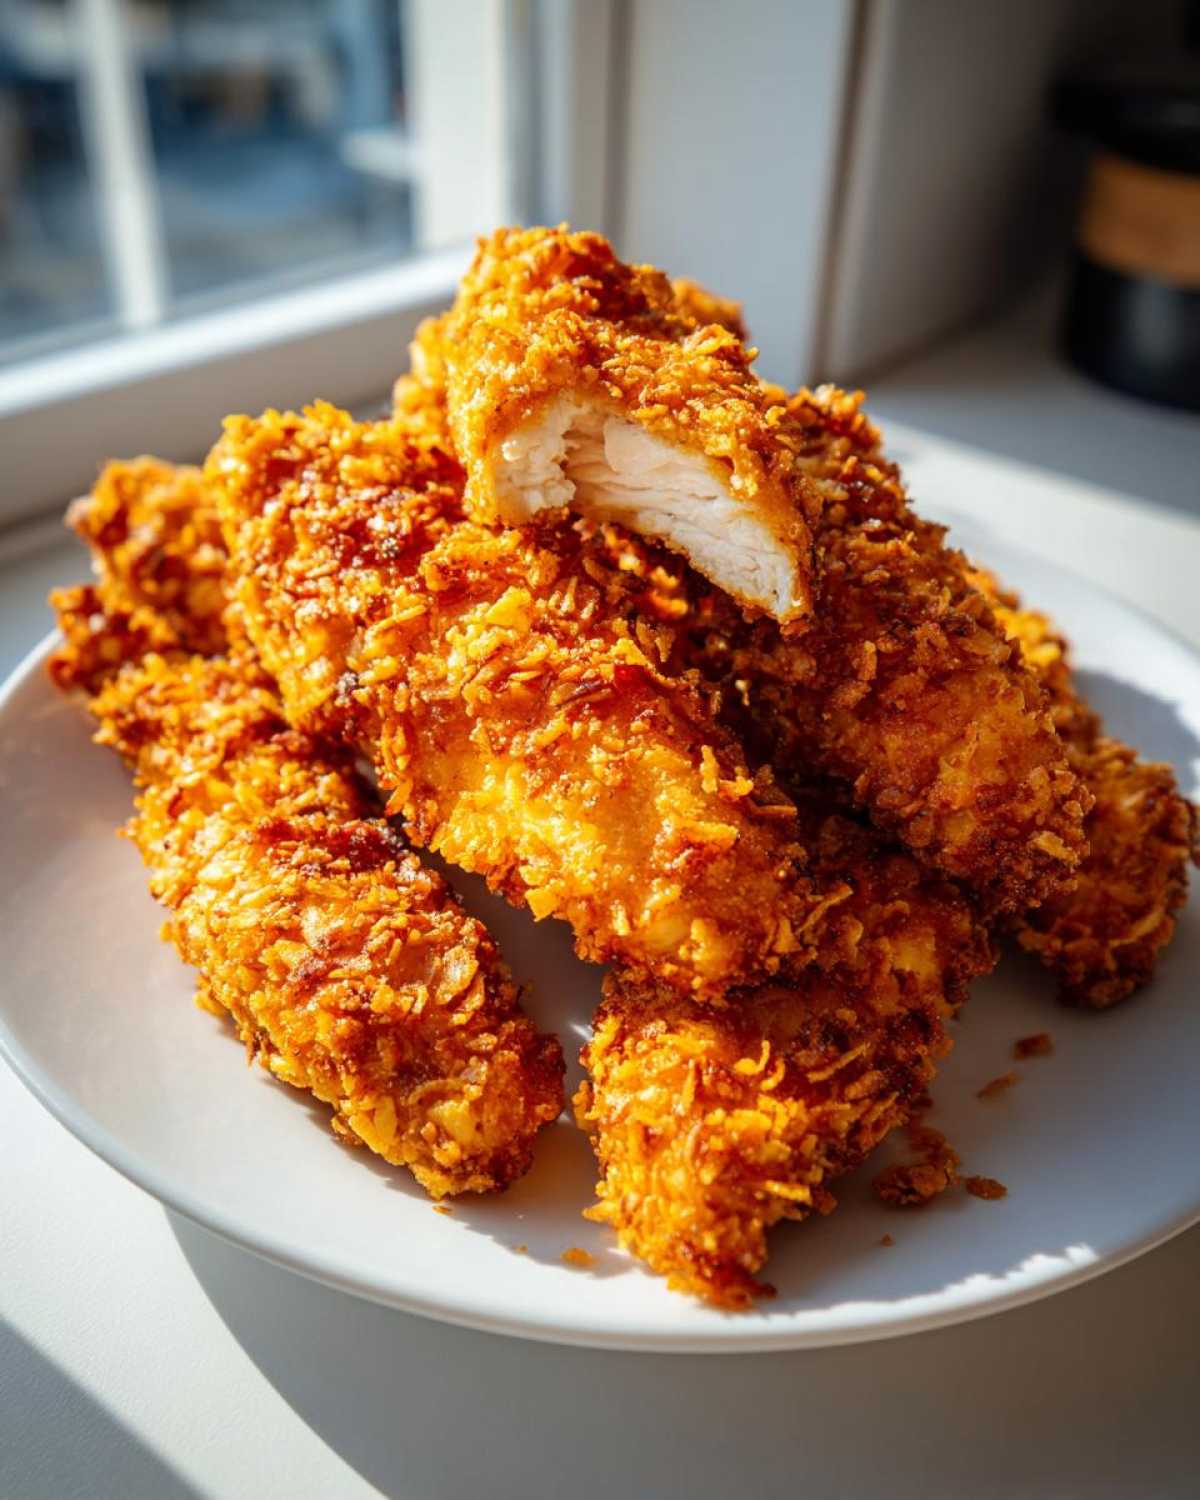
Why This Crispy Baked Chicken Tenders with Cornflake Crust Recipe Works
My biggest goal here was making sure you didn’t have to compromise. Nobody wants a tender that tastes like health food when they wanted crunch! This recipe truly rivals anything you’d get from a fryer, and it’s all thanks to a few key moves we make.
The cornflakes are the star, naturally. They have a fantastic texture that holds up to the heat. Because we crush them just right—not powder, but coarse crumbs—we maximize the surface area that browns and crisps up. We also make sure the chicken is completely coated and elevated so air can get underneath it. Seriously, this method delivers that satisfying shatter!
- Perfect crunch you’d expect from frying, but totally baked.
- The three-step coating process locks moisture in while sealing the crust on tight.
- It’s fast enough for a real Weeknight Chicken Dinner.
If you ever need to amp up the flavor of your chicken *before* you even bread it, check out my secrets in this zesty marinade guide!
Time Breakdown for Your Crispy Chicken Tenders with Cornflake Crust
You’ll be amazed at how quick this comes together. It’s a go-to for me on busy evenings.
- Prep Time: 20 minutes
- Cook Time: 22 minutes
- Total Time: 42 minutes
Essential Ingredients for the Best Crispy Baked Chicken Tenders with Cornflake Crust
To get that incredible, shatteringly crisp texture, we can’t skimp on the quality here. Think of this as building the perfect protective shell for your chicken. You need the right layers, and I’ve listed out exactly what I pull from my pantry every time I make these family-favorite tenders.
We start with 1.5 pounds of boneless, skinless chicken breasts cut into strips. Then we move into our three stations: flour, egg, and the mighty cornflake crust. You need two eggs, a splash of milk for the binder, and a cup of plain flour for the initial dredge. The flavor comes from the seasoning in that flour!
- 1 cup all-purpose flour
- 1 teaspoon salt
- 1/2 teaspoon black pepper
- 1/2 teaspoon paprika
- 2 large eggs, lightly beaten
- 1/4 cup milk
- 3 cups cornflakes, crushed finely
- 1 teaspoon garlic powder
- 1/2 teaspoon onion powder
- 1/4 cup grated Parmesan cheese (this is optional, but so good!)
Ingredient Notes and Substitution Tips
Okay, let’s talk about the cornflakes. You absolutely need the plain ones, nothing frosted or flavored, or you’ll end up with a sweet coating that browns too fast. Crush them up in a zip-top bag using a rolling pin until they are coarse crumbs—if they turn to dust, they won’t give us the crunch we are begging for.
That Parmesan cheese is my secret weapon! It adds a little savoriness and helps the crust brown beautifully, so I really recommend leaving it in if you can. If you don’t have it, no worries, but don’t skip that garlic and onion powder; they give these healthy baked chicken strips all their foundational flavor!
Step-by-Step Instructions: How to Make Crispy Chicken Tenders No Fry
This is the process, people! Getting Crispy Baked Chicken Tenders with Cornflake Crust is all about organization. Set up your three dredging stations before you even look at the chicken. This keeps your hands cleaner and makes the process fly by. First, give your oven a serious preheat to 400 degrees Fahrenheit (200 Celsius). And here’s the *huge* rookie mistake people make: don’t just put the tenders on a flat baking sheet! Grab a wire rack, pop it on top of your sheet, and give it a light spray. That air circulation underneath is what stops them from steaming as they bake.
Take your chicken strips and dredge them thoroughly in the seasoned flour mixture first. Shake off the excess—we just want a light coating there. Next, dip them into the egg/milk binder. Finally, the fun part! Press that floured strip firmly into the cornflake mixture. I mean *press* it on all sides. You want that crust to really stick, so don’t be shy.
Place them on your prepared rack, making sure there’s a little space between each one. If they touch, they’ll steam together, and we definitely don’t want soggy spots on our healthy baked chicken strips!
Baking Technique for Ultimate Crunchy Chicken Fingers Baking
They go into that hot oven for about 12 minutes. Set a timer! When the timer goes off, flip every single tender over. That’s crucial for even browning. They go back in for another 8 to 10 minutes. You’re looking for that golden, totally crunchy exterior and, most importantly, an internal temperature of 165 degrees Fahrenheit (74 Celsius). Use a meat thermometer, please! It’s the only way to guarantee they are perfectly cooked through without drying them out. Serve these immediately for the best crunch factor!
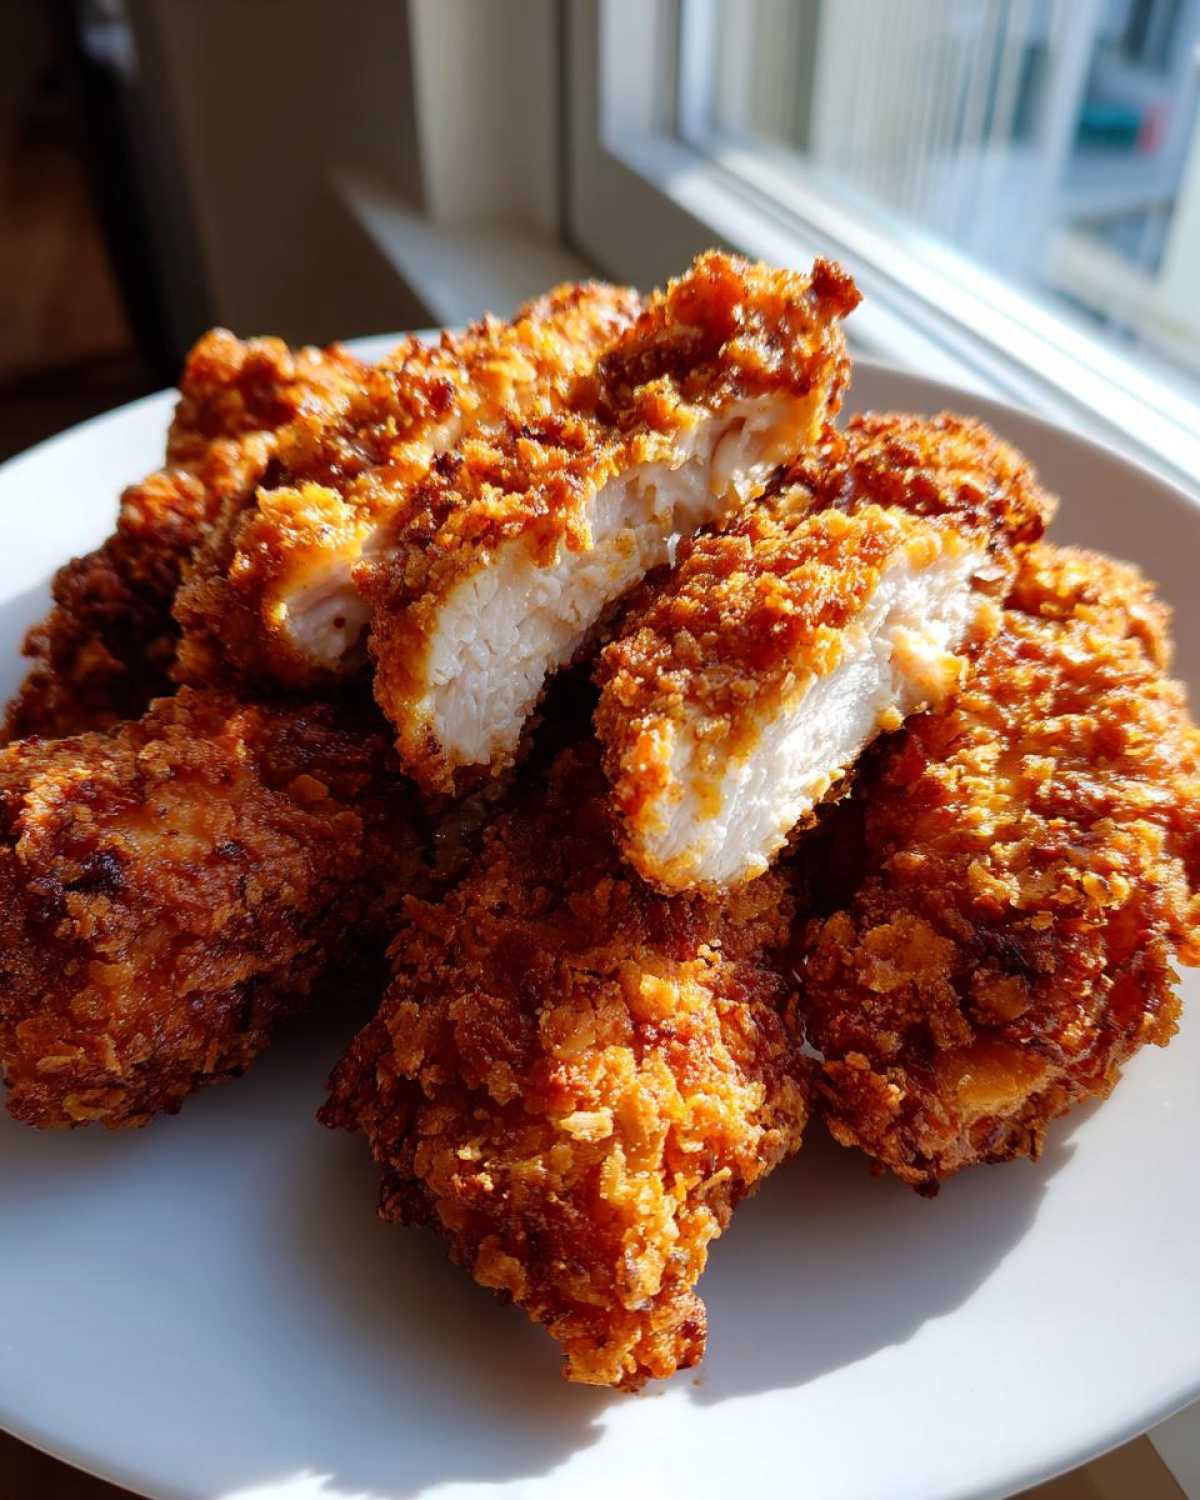
Tips for Success with Your Crispy Baked Chicken Tenders with Cornflake Crust
Even with the best recipe, sometimes things can go a little sideways in the oven. I’ve learned the hard way what makes the difference between a stellar batch and one that’s just ‘okay.’ Don’t worry if your first try isn’t magazine-perfect; these little tweaks make all the difference in achieving that legendary crunch.
First up: the baking surface. I mentioned this before, but I’m saying it again because it’s my number one rule for Crispy Chicken Tenders No Fry. You *must* use a wire rack set over your baking sheet. If the crust sits directly on the metal, the bottom half steams, and that lovely crunch turns soft and sad. The rack lets the hot air circulate all around, meaning even the undersides get beautifully browned and crisp. It’s non-negotiable for truly crunchy chicken fingers baking!
Next, we talk about adhesion—keeping that gorgeous coating stuck on. This is where you need to channel your inner kindergarten teacher! When you press the egg-dipped chicken into the cornflake mixture, really press it in. Don’t just roll it; use your fingers to gently compact the crumbs onto the strip. This mechanical action helps force those little flakes to grab onto the wet binder layer. If you want an extra boost, just lightly spray the tops of the coated tenders with a little cooking oil right before they go into the 400°F oven. It gives the crust a little ‘fryer’ sizzle without the actual frying!
And please, check your crush consistency! You want coarse material, like tiny gravel, not flour. If you’re wondering which cornflakes work best or need more ideas on texture, I’ve written down a few more thoughts in my deep dive on cornflake coating secrets. Keeping the strips uniform in size also helps a ton so they all cook at the same rate.
Make Ahead Baked Tenders and Storage Instructions
I know just wanting to know I can sneak these Make Ahead Baked Tenders into the freezer for a desperation meal makes them even better! The great news is that these totally keep well, but we have to be smart about storage if we want that crunch back later. My husband always packs leftovers for his lunch, so I’ve perfected the re-crisping routine.
After they have cooled *completely*—this is important to stop condensation—you just pack them into a good airtight container. Pop that container right into the fridge. They’ll be good for about three days cold. If you want to freeze them, lay them out on a cookie sheet first so they freeze individually, then transfer them to a freezer bag. Keeps them from sticking together, which is super annoying!
When you are ready to eat the leftovers, please, I beg you, skip the microwave! That’s the quickest way to turn a beautiful, crisp coating into sad, soggy rubber. Instead, reheat them in a 375°F oven for about 8 to 10 minutes, or toss them into an air fryer at 380°F for just 4 minutes. They come back to life—seriously crunchy again!
If you want to get really ahead of the game and prep for summer trips, check out how I handle other make-ahead meals for easy transport in my guide on campfire breakfast burritos; the freezing principles are similar!
Serving Suggestions: Best Dipping Sauces for Tenders
These Crispy Baked Chicken Tenders with Cornflake Crust are so flavorful on their own, but honestly, what’s a tender without a perfect pool of sauce waiting for it? Serving these without at least three options on the table feels like a missed opportunity! The crunchy texture pairs beautifully with something creamy or something that brings a little tang.
My family insists on having options because everyone has fierce brand loyalties. For a classic crowd-pleaser, you cannot go wrong with a simple, zesty honey mustard. It hits the sweet spot that complements the savory crust perfectly. If you’re feeling a bit fancier, a smoky, slightly sweet barbecue sauce is always a family hit.
But if you want to get serious about homemade flavor, you have to try my homemade tartar sauce recipe! It sounds odd for chicken, I know, but once you taste that blend of pickles and herbs, you’ll be hooked. You can find the full instructions on how to make the easiest homemade classic tartar sauce here. It’s amazing!
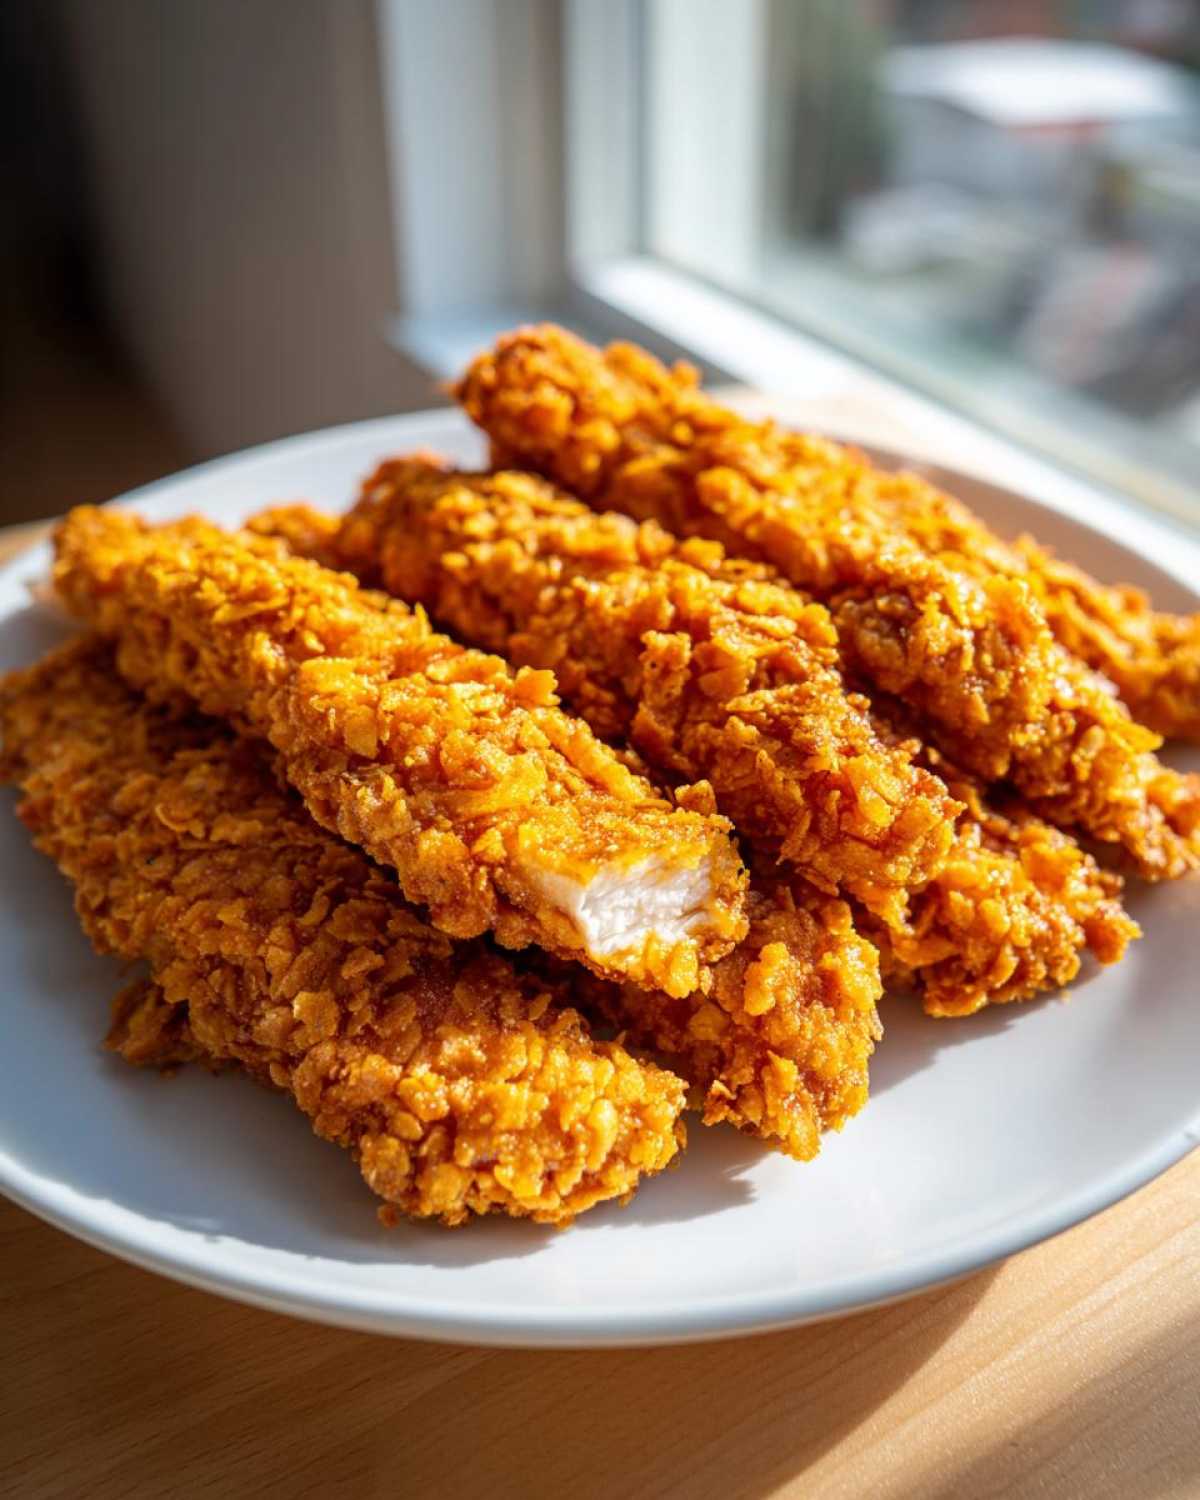
Here are my top four pairings for tonight’s dinner:
- Classic Honey Mustard: Sweet, tangy, and always safe.
- Smoky BBQ Sauce: Pick your favorite bottle, or try making one from scratch!
- Creamy Ranch: Cool, herbaceous, and a must-have for the kids.
- Spicy Ketchup: Just mix a dash of your favorite hot sauce into regular ketchup. It gives you that familiar flavor with a little kick!
Variations for Your Crunchy Chicken Fingers Baking
Once you master the basic technique for our Crispy Baked Chicken Tenders with Cornflake Crust, you can start playing around a little bit! It’s fun to jazz things up so you don’t feel like you’re eating the exact same thing every time you serve this Family Dinner Chicken Idea. The beauty of using cornflakes as the base is that they are such a perfect sturdy vehicle for other flavors.
I have a couple of reliable tweaks I use when I’m making a double batch just to keep things interesting. I always try to keep the core structure the same—flour, egg, cornflake crust—but we can swap out the seasonings or add a little something extra to the crunch layer. If you’re looking for ways to shake up your coating game in general (not just with cornflakes), you can read some of my other favorite crispy chicken coating ideas!
Spice It Up: The Kick of Cayenne
If your household is okay with a little heat, this is the easiest way to add excitement! Just take about half a teaspoon of cayenne pepper—maybe a little more or less depending on how brave you are—and mix it right in with your crushed cornflakes, garlic powder, and onion powder. You don’t change the baking temperature or anything. That little pinch of red pepper flakes just blooms in the heat and gives a lovely background warmth that makes these tenders taste way more complex than they actually are. It’s perfect if you’re serving them with a cool homemade ranch.
Texture Play: Adding Panko Breadcrumbs
This one is interesting because it slightly changes the texture, making it even more robust. Try using 2 cups of cornflakes and 1 cup of plain Panko breadcrumbs in your coating mix instead of the full 3 cups of flakes. Panko are those flaky, airy Japanese breadcrumbs, and they offer a different kind of airy crispness.
When you combine them, you get a crust that is super crunchy but maybe a *little* less aggressive than pure cornflake. I find this combination is amazing if you are planning to reheat them later, as the Panko seems to hold up slightly better against humidity. If you’re ever thinking about putting these into the air fryer, this mixed coating is my go-to. It’s a wonderful twist in the world of Crunchy Chicken Fingers Baking!
Herbaceous Notes with Dried Parsley
For a version that feels a bit more gourmet, try mixing in about two tablespoons of dried parsley flakes right into your cornflake crust mixture along with the regular seasonings. It adds lovely little flecks of green, making the tenders look beautiful when you serve them, and it provides that subtle, savory herbaceousness that just tastes *right* when paired with chicken. It doesn’t change the crispiness at all, but it really brightens up the overall flavor profile!

Frequently Asked Questions About Crispy Baked Chicken Tenders
When people ask me about making these Crispy Baked Chicken Tenders with Cornflake Crust, it’s almost always about the texture. I totally get it! You swapped out the fryer hoping for health, but you don’t want to trade that crunch for cardboard. Here are the things I hear most often, so we can make sure your batch comes out perfectly crunchy every single time!
Can I use an air fryer for these Crispy Baked Chicken Tenders with Cornflake Crust?
Oh absolutely! The air fryer is fantastic for this, especially if you want an even quicker reheat later. Since air fryers circulate heat so powerfully, you’ll need to adjust the temperature down slightly and skip the flipping. Set your air fryer to about 380 degrees Fahrenheit. Cook for 10 to 12 minutes total. Make sure you don’t overcrowd the basket! Lay them in a single layer, or you defeat the entire purpose of the air fryer circulating that beautiful hot air around your Chicken Tenders No Fry coating. Honestly, it makes them even crispier! If this sounds like something you want to dive deeper into, I’ve got a whole guide on the air fryer chicken tenders cornflakes alternative!
Are these Oven Baked Chicken Tenders Recipe suitable for kids?
Yes, this entire Oven Baked Chicken Tenders Recipe is totally kid-friendly—that’s part of why I developed it! Kids love the crunch, and since we bake them, they feel much better serving them up guilt-free. The only thing you need to watch out for is the seasoning level. If you have little ones, just leave out the paprika in the flour dredge, and definitely make a separate, unspiced batch of the cornflake coating just for their portion. They’ll gobble them down!
Why do I need to use a wire rack? Doesn’t a flat pan work fine?
I know cutting corners is tempting when you’re whipping up a fast Weeknight Chicken Dinner, but please don’t skip the rack! If the bottom of your tender sits directly on the hot metal of the baking sheet, the condensation from cooking gets trapped underneath. That steam turns your wonderful cornflake crust soft and mushy—we call that the ‘steamed bottom.’ The wire rack lifts the tenders up, allowing all that hot air to flow completely around the food. This is the single most important thing you can do to ensure maximum crispiness!
How thin should I crush my cornflakes for the perfect crunch?
This is a make-or-break detail when aiming for Crunchy Chicken Fingers Baking success! You don’t want dust; you want texture. Think coarse sand or very fine gravel. Use a heavy rolling pin or put them in a food processor with quick pulses. You should still be able to see distinct flakes, but they should be small enough to adhere well to the chicken when pressed. If it looks like powder, go back and pulse it a couple more times until you get that perfect, coarse texture.
Nutritional Snapshot of This Healthy Baked Chicken Strips Recipe
Who says you can’t have delicious, crunchy chicken tenders and still feel good about what you’re serving for dinner? Since these are baked and not fried, they are significantly lighter than take-out versions. I’m always happy to share the numbers, but keep in mind these are just estimates floating around my kitchen. Remember, your exact ingredient brands, how much you press the coating on, and whether you added that optional Parmesan will change these numbers slightly!
For a serving size of about 4 tenders, here’s what you’re looking at, based on the recipe’s components. It’s a great, high-protein choice for the family!
- Calories: 310
- Fat: 7g
- Carbohydrates: 28g
- Protein: 34g
- Sugar: 3g
- Sodium: 450mg (This is the one to watch—use low-sodium salt if you have concerns!)
These values really show off how powerful this Healthy Baked Chicken Strips recipe is. You get over 30 grams of protein to keep everyone full and satisfied, all under 350 calories. That’s what I call a win-win for dinner tonight!
PrintCrispy Baked Chicken Tenders with Cornflake Crust

A reliable recipe for making exceptionally crispy chicken tenders in the oven using a crunchy cornflake coating.
- Prep Time: 20 min
- Cook Time: 22 min
- Total Time: 42 min
- Yield: 4 servings
- Category: Dinner
- Method: Baking
- Cuisine: American
- Diet: Low Fat
Ingredients
- 1.5 lbs boneless, skinless chicken breasts, cut into 1-inch strips
- 1 cup all-purpose flour
- 1 teaspoon salt
- 1/2 teaspoon black pepper
- 1/2 teaspoon paprika
- 2 large eggs, lightly beaten
- 1/4 cup milk
- 3 cups cornflakes, crushed finely
- 1 teaspoon garlic powder
- 1/2 teaspoon onion powder
- 1/4 cup grated Parmesan cheese (optional, for extra flavor)
Instructions
- Preheat your oven to 400 degrees Fahrenheit (200 degrees Celsius). Lightly grease a large baking sheet or line it with a wire rack placed over the sheet.
- Prepare the chicken: In a shallow dish, combine the flour, salt, pepper, and paprika. Dredge each chicken strip in the flour mixture, shaking off any excess.
- Prepare the binder: In a second shallow dish, whisk together the eggs and milk until fully combined.
- Prepare the crust: In a third shallow dish, combine the finely crushed cornflakes, garlic powder, onion powder, and Parmesan cheese, if using. Mix well.
- Coat the chicken: Dip each floured chicken strip first into the egg mixture, allowing excess to drip off. Immediately press the strip firmly into the cornflake mixture, coating all sides completely. Press the coating on to help it adhere.
- Place the coated tenders on the prepared baking sheet or rack, ensuring they do not touch.
- Bake for 12 minutes. Flip the tenders carefully. Bake for another 8 to 10 minutes, or until the internal temperature reaches 165 degrees Fahrenheit (74 degrees Celsius) and the crust is golden brown and crisp.
- Serve immediately with your preferred dipping sauces.
Notes
- For maximum crispiness, use a wire rack set over the baking sheet. This allows air to circulate underneath the tenders.
- Crush the cornflakes until they resemble coarse breadcrumbs; avoid turning them into dust.
- Press the coating onto the chicken firmly in the final step to prevent it from falling off during baking.
- If you prefer a slightly richer flavor, lightly spray the tops of the coated tenders with cooking spray before baking.
Nutrition
- Serving Size: 4 tenders
- Calories: 310
- Sugar: 3
- Sodium: 450
- Fat: 7
- Saturated Fat: 1.5
- Unsaturated Fat: 5.5
- Trans Fat: 0
- Carbohydrates: 28
- Fiber: 1
- Protein: 34
- Cholesterol: 110