

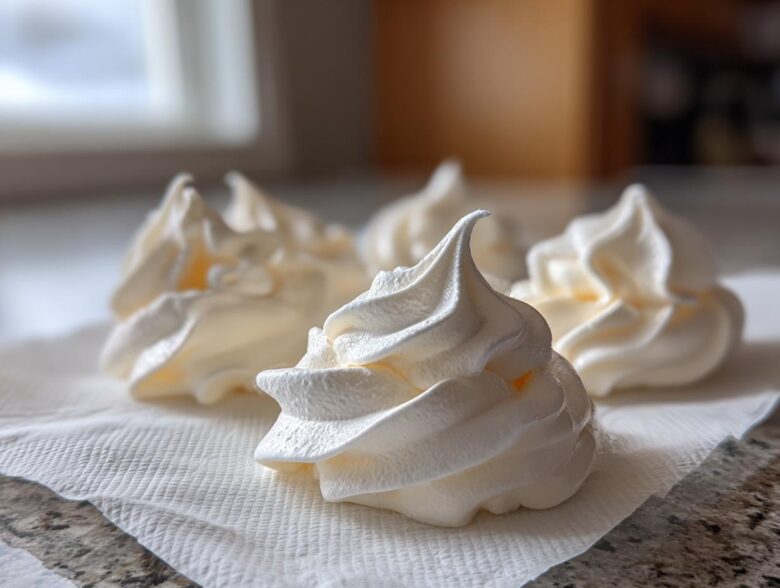
Oh my goodness, is there anything better than that perfect *snap* when you bite into a truly crisp meringue cookie? I swear, my kitchen used to be a graveyard for failed batches—flat, sticky messes that wept all over the counter. It was so frustrating! But trust me on this; you just need the right foundation. After way too many years of trial and error, I finally cracked the code for the easiest, no-fail recipe for light and airy **meringue cookies**. You’re going to love how simple these delicate sweet cookies really are! For more baking inspiration, check out my main recipe index!
Why This Classic Meringue Cookies Recipe Works (The Science of Crisp)
People get so nervous about making homemade meringues, and I totally get it! They seem so fussy, collapsing right when you look at them wrong. But honestly, the magic behind these **crispy meringue cookies** isn’t complicated; it’s just about respecting physics a tiny bit. The trick to avoiding that awful weeping—where beads of sugar syrup form on top—is the slow, steady addition of sugar to the egg whites. That sugar actually stabilizes the air bubbles we are trapping inside! Seriously, don’t rush it, and you won’t have any sad, sticky bottoms. If you need an extra assurance boost, I have a dedicated guide to my no fail meringue philosophy.
Achieving Stiff Peaks for Perfect Meringue Cookies
Before you even think about turning on the mixer, two things have to be perfect. First, your bowl and whisk attachments must be spotless—I mean clinically clean. Any trace of fat or water will stop those egg whites from whipping up properly. Second, the egg whites must be at room temperature; cold whites just won’t build the volume we need! When you finally start whipping, you are looking for stiff, glossy peaks. That means when you lift the whisk out, the little peak stands straight up, sharp as a tack, and the entire mixture looks super shiny. That’s how we build the structure for these **light and airy desserts**.
Essential Ingredients for Crisp Meringue Cookies
There’s almost nothing to these! That’s the beauty of **homemade meringues**. You only need a few basics, but the quality matters. Here is exactly what you need for a successful batch of **easy meringue cookies**:
- 4 large egg whites, room temperature
- 1 cup granulated sugar
- 1 teaspoon vanilla extract
- 1/4 teaspoon cream of tartar
- Pinch of salt
Now, listen up about the sugar: You absolutely must use granulated white sugar here. Don’t even think about using powdered sugar or brown sugar for the main structure! Powdered sugar has cornstarch, which messes with the aeration, and brown sugar adds moisture we desperately don’t want. Granulated sugar dissolves just right when whipped slowly, giving us that perfect structure for **simple egg white recipes**. If you want to check out more ways to use up leftover whites, I have a post on simple egg white recipes!
How to Make Meringue Cookies: Step-by-Step Instructions
Ready to make some magic? Getting those gorgeous **meringue cookies** onto the tray is easier than you think if you follow these steps precisely. Remember that we are essentially baking air, so precision on the technique matters a lot! First, get your oven set super low—200 degrees Fahrenheit is what we’re aiming for—and line two baking sheets with parchment paper. You can’t skip the parchment; these babies stick! If you want a deep dive, I cover the whole process over here on my how to make meringue cookies guide.
Start whipping those room temperature egg whites with the cream of tartar until they get soft peaks. Now for the crucial part: adding the sugar. You have to do it slowly, one tablespoon at a time, pausing about 30 seconds between each addition. Seriously, take your time here! We don’t want speed; we want structure. Once all the sugar is in, keep beating on high until you have glossy, stiff peaks. Give the vanilla a quick beat in there, and you’re ready to go! When you rub a little bit between your fingers, it shouldn’t feel grainy at all.
Piping Your Delicate Sweet Cookies
This is where your **whimsical meringues** come to life! I always grab my star piping tip because those ridges catch the light, making them look professional.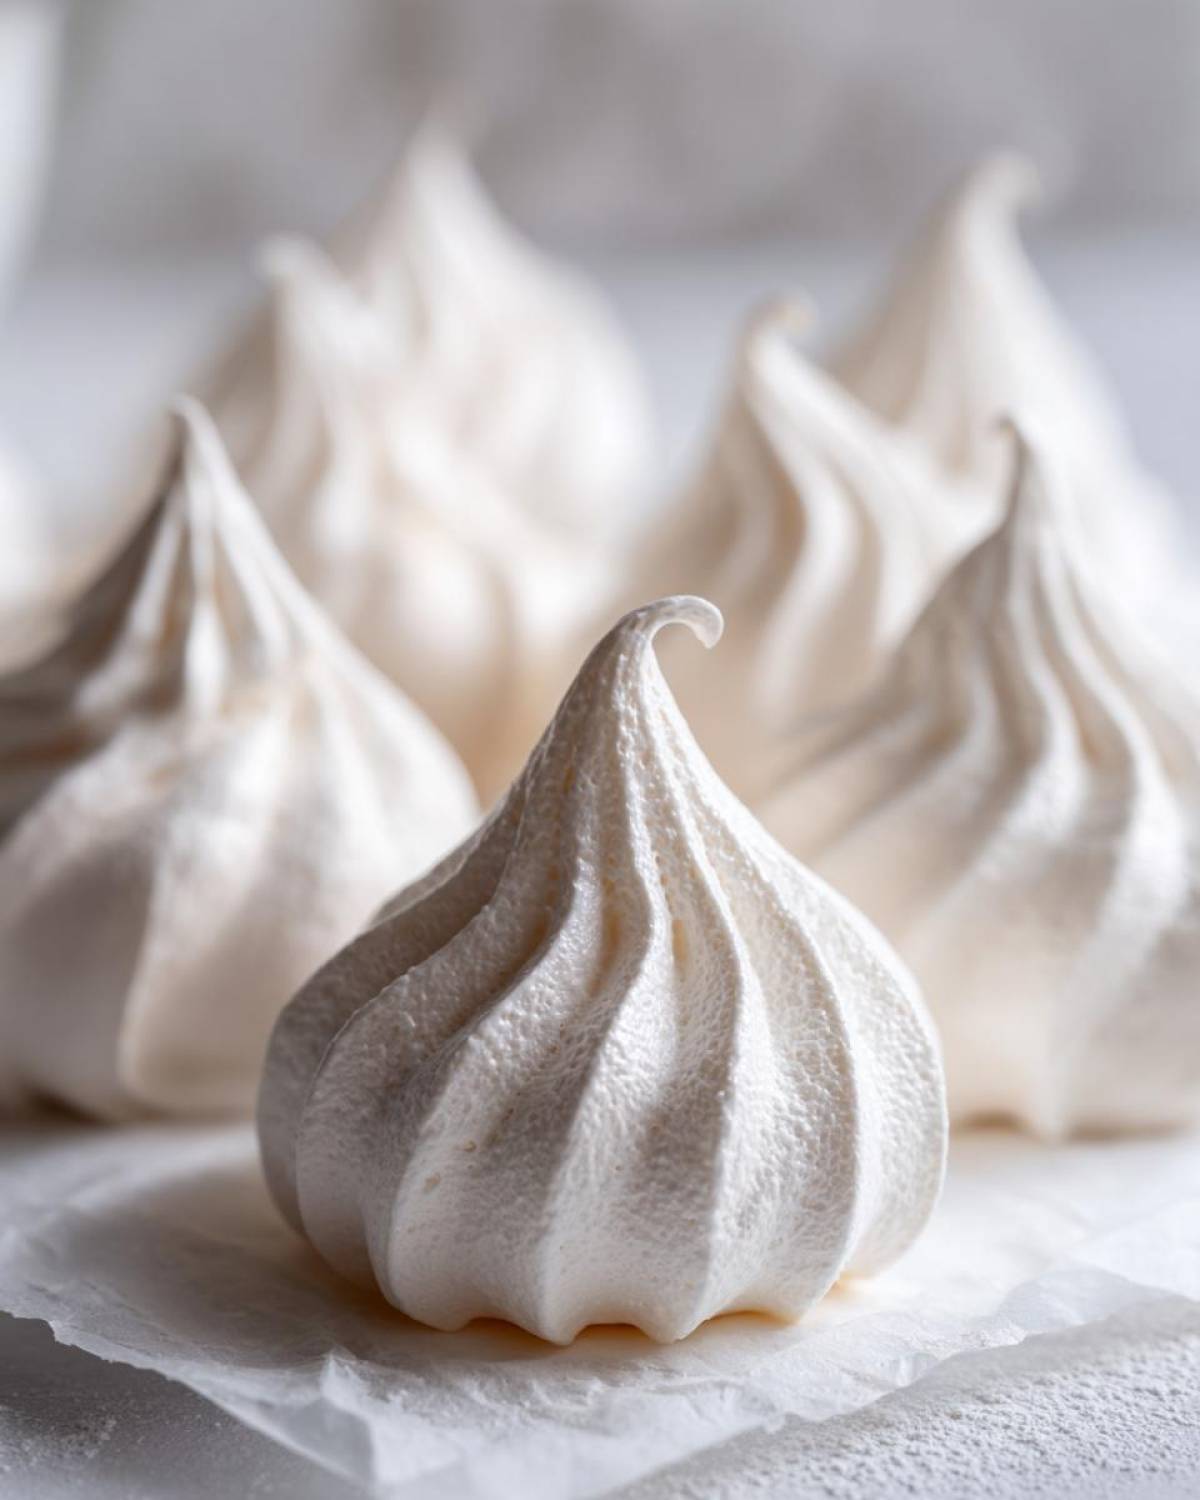 Pipe little kisses, about an inch apart, onto your prepared sheets. If you don’t have a piping bag? Don’t stress! You can gently dollop them with two spoons for a rustic look, which is super charming too. Just make sure they are spaced out so when they bake, they don’t kiss each other!
The Crucial Low-Temperature Baking and Cooling for Meringue Cookies
Since we’re drying these out, not actually baking them, the low oven temperature is non-negotiable. They need a good hour to an hour and fifteen minutes at 200°F until they are completely dry to the touch. But the real secret to truly **crispy meringue cookies** happens after the bake time. Turn the oven OFF! Seriously, just cut the heat. Then, wedge the oven door open slightly using a wooden spoon. You have to let them sit in that residual heat for at least an hour, or better yet, leave them inside overnight. This slow cool down prevents them from cracking and keeps them impossibly delicate inside!
Tips for Perfect Homemade Meringues
Okay, let’s talk about making sure your **homemade meringues** turn out flawlessly every time. While the recipe is simple, there are little rules that make a huge difference! First, about your egg whites: always make sure they are at room temperature. They whip up much better and hold more air than cold ones. Also, I can’t stress this enough—your bowl has to be absolutely grease-free. I sometimes wipe my stainless steel bowl down with a little vinegar just to be sure! This helps give you those incredible volumes needed for **basic baking techniques**.
Remember those handy recipe notes I keep? For awesome color, use gel food coloring, not the liquid grocery store drops, and add just a few drops after the stiff peaks form. A little goes a long way! And here’s my personal humidity tip for E-E-A-T: If it’s a rainy, soggy day where you live, skip baking meringues entirely! Humidity steals the crispness right out of them. If you want more tips on general baking success, check out my guide to basic baking techniques. Finally, once they are totally cool and dry, stash those **delicate sweet cookies** in an airtight container at room temperature. That keeps them perfect for days!
Variations for Your Meringue Cookies
While I adore this classic **vanilla meringue cookie** base, once you master the technique, you can have so much fun customizing them! These **meringue cookies** are true blank canvases, perfect for turning into showstoppers for any occasion. For the holidays, I often divide my stunning meringue mixture into three bowls. I leave one white, mix the next with a teaspoon of cocoa powder for a little chocolate contrast, and then I color the third bowl using gel colors—think soft pink or pale blue for **pastel meringue cookies**.
If you want that vibrant, fun look, try mixing in just a touch of Jello powder right at the end for a fruity flavor burst! And yes, you can totally fold in finely chopped mini chocolate chips or crushed peppermint right before piping. Just go super easy on the additions so you don’t deflate your beautiful stiff peaks! I sometimes use these as fun, light fillers on my dessert platters, making them perfect **dessert tray fillers**. You can see how I transform other simple desserts here, like my lemon blueberry cheesecake bars.
Storage and Keeping Your Meringue Cookies Fresh
Alright, you’ve pulled off the drying process, and you have dozens of perfectly crisp shells. Don’t let all that hard work go to waste by storing them incorrectly! The absolute best way to keep these **melt in your mouth cookies** tasting perfect is simple: an airtight container at room temperature. That’s it! No fridge needed, please. Refrigeration is the enemy because it’s full of sneaky moisture that the dry meringue will just drink right up, making them soft again.
If you find yourself baking on a super humid day, you might need to eat these faster than normal! Humidity is our biggest foe when it comes to keeping that satisfying snap. I usually put a small, open packet of silica gel beads (the kind that comes in shoe boxes or new electronics—wash them first!) in the container with the cookies just for an extra measure of security. They stay perfectly crisp that way!
Frequently Asked Questions About Easy Meringue Cookies
I get so many messages asking for clarifications on the tricky parts of making **easy meringue cookies**, so I figured I’d cover the most common questions right here! Don’t let these delicate sweet cookies intimidate you; most issues come down to one tiny mistake.
Can I use the liquid egg whites from a carton?
While technically you *can*, I really advise against it if you are aiming for those stunning, stiff peaks needed for amazing **meringue cookies**. Carton whites often have added stabilizers or have been pasteurized in a way that slightly reduces their whipping power compared to fresh, room-temperature whites. For the best volume and that light and airy texture we love, stick to the four fresh eggs called for in the recipe!
What happens if I skip the cream of tartar?
Oh, please don’t! Cream of tartar is your safety net, your guaranteed insurance policy for **homemade meringues**! It’s an acid that helps denature those egg white proteins just enough to let them trap huge amounts of air and keeps your meringue stable. If you skip it, your cookies might collapse, weep, or just refuse to firm up nicely. If you absolutely, positively can’t find it, use a teaspoon of white vinegar or lemon juice instead, but that cream of tartar is your best friend!
I don’t have a piping bag—can I still make those nice shapes?
Absolutely! Piping bags are super handy for getting those classic **meringue cookie shapes**, but they aren’t mandatory. If you don’t have one, grab two regular spoons. Get a dollop of meringue onto one spoon, then use the second spoon to gently push the meringue off into a little mound on the parchment paper. This creates a beautiful, rustic, slightly uneven look that is incredibly charming—sometimes I even prefer it! You can find more tips on shaping and presentation on my easy meringue cookies guide.
Why did my cookies start sticking to the parchment paper?
If you’re having trouble getting your **crispy meringue cookies** to lift cleanly, it almost always means they weren’t dried out enough! They might feel dry on the outside, but if you rushed the cooling process in the oven, the interior still holds some moisture. They must cool completely, preferably overnight in the turned-off oven. Once they are fully cooled, they should peel off paper like a sticker!
Nutritional Snapshot for These Meringue Cookies
Now, I’m not a nutritionist, you know I’m just a home baker, so please take these numbers as just a fun estimate! Since these **gluten free cookies** are basically just egg whites and sugar, they are wonderfully light in fat and protein. For one little cookie, you’re looking at about 35 calories, which is practically nothing! You get all your carbs from the sugar, of course, but they make such a lovely, light way to finish a big meal. You can see a bit more about how I make other lighter treats over on my gluten free zucchini banana bread post!
Sharing Your Holiday Meringue Treats
These little puffs are just perfect for gifting, especially when you’re putting together a big platter of **Christmas Meringue Ideas**. They look so elegant stacked up—think pale blue, pink, and white swirls mixed around your fudge and shortbread! They truly shine as **dessert tray fillers** because they take up almost no space but add fantastic height and visual interest. I always tie ribbons around little cellophane bags filled with these delicate treats. Have you tried making any fun colors for your baking trays this year? Let me know in the comments below which recipe you’re trying first, or share a picture of your beautiful apple butter snickerdoodles once you are done!
PrintClassic Crisp Meringue Cookies

A simple, reliable recipe for light, airy, and crisp meringue cookies using only egg whites and sugar.
- Prep Time: 15 min
- Cook Time: 75 min
- Total Time: 1 hour 30 min
- Yield: About 3 dozen
- Category: Dessert
- Method: Baking
- Cuisine: American
- Diet: Gluten Free
Ingredients
- 4 large egg whites, room temperature
- 1 cup granulated sugar
- 1 teaspoon vanilla extract
- 1/4 teaspoon cream of tartar
- Pinch of salt
Instructions
- Preheat your oven to 200 degrees Fahrenheit. Line two baking sheets with parchment paper.
- In a clean, dry mixing bowl, combine the egg whites and cream of tartar. Beat on medium speed until soft peaks form.
- Gradually add the sugar, one tablespoon at a time, while continuing to beat on high speed. Wait about 30 seconds between each addition.
- Continue beating until the meringue is stiff, glossy, and holds firm peaks. When you rub a small amount between your fingers, you should not feel any sugar granules.
- Beat in the vanilla extract.
- Transfer the meringue to a piping bag fitted with your desired tip (a star tip works well for classic shapes).
- Pipe small kisses or desired shapes onto the prepared baking sheets. Keep the cookies about one inch apart.
- Bake for 1 hour to 1 hour 15 minutes, or until the meringues are dry to the touch and lift easily from the parchment paper.
- Turn off the oven, prop the door open slightly with a wooden spoon, and let the cookies cool completely inside the oven for at least 1 hour, or preferably overnight. This drying process helps them stay crisp.
Notes
- Use room temperature egg whites for the best volume when whipping.
- Ensure your mixing bowl and whisk attachments are completely free of grease or water residue.
- For colored meringues, add a few drops of gel food coloring after the stiff peaks form.
- Store finished meringue cookies in an airtight container at room temperature.
Nutrition
- Serving Size: 1 cookie
- Calories: 35
- Sugar: 9
- Sodium: 1
- Fat: 0
- Saturated Fat: 0
- Unsaturated Fat: 0
- Trans Fat: 0
- Carbohydrates: 9
- Fiber: 0
- Protein: 0
- Cholesterol: 0