

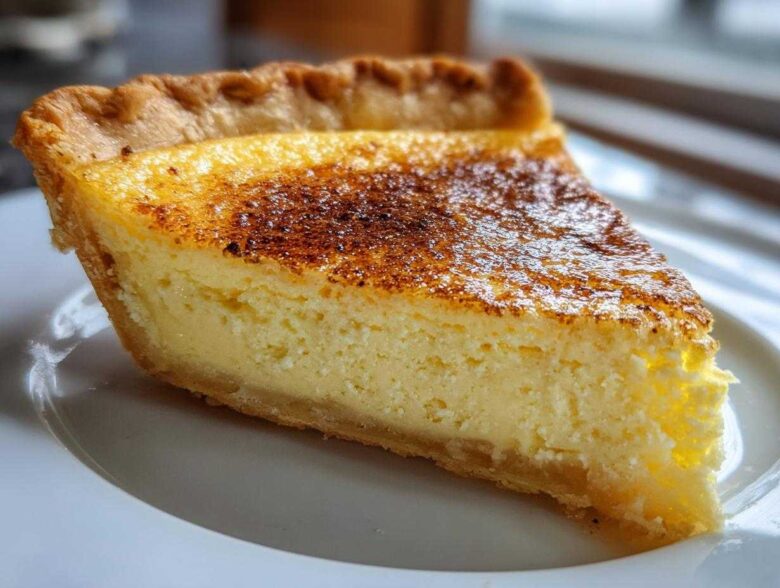
There is just nothing that screams ‘home’ louder than a dessert baked low and slow, letting that warm vanilla scent drift through the house. If you’re searching for true comfort food made with simple tradition, you have found it here! This is our absolutely Fail-Proof Old Fashioned Egg Custard Pie recipe. I promise you, if you follow these simple steps, you will achieve that dreamily smooth texture everyone chases in an egg custard.
This recipe often reminds me so much of my grandmother. She didn’t have fancy gadgets, but she knew how to coax the best flavor out of simple ingredients. Learning the proper way to mix the eggs and milk—that careful respect for heritage ingredients—is what makes this a piece of our family story now. To learn more about how David and I blend our traditions in the kitchen, you can always check out our story on the About Us page. When I make this, I feel an immediate connection back to her kitchen. It’s more than just dessert; it’s a taste of history, the kind of reliable, good food that anchors a family.
Why This Old Fashioned Egg Custard Pie is Your New Favorite
Honestly, if you’re nervous about making custard, this is the one you need in your back pocket. We call it fail-proof for a reason! It’s the ultimate old fashioned dessert—rich, nostalgic, and so much easier than people think. Forget those complicated recipes that leave you with rubbery tops; we’re focusing on simple, honest baking here.
This recipe cuts right to the chase, giving you everything you want in a homemade treat without any drama. It’s the definition of comfort food desserts, especially when the house is chilly! You’ll get results that look and taste like they took hours, but they really don’t. Trust me on this one.
- It keeps things simple: This is an incredibly easy egg custard recipe, perfect for beginners or when you’re short on time.
- Velvety results guaranteed: We use a special trick later that guarantees that gorgeous, creamy egg custard filling every single time. No lumps, no cracks!
- Classic flavor profile: That hint of nutmeg on top of the sweet vanilla custard? Perfection. It tastes exactly like the pies our grandmothers used to make.
If you want more simple, reliable treats for gatherings, you should check out some of my favorite easy holiday pies inspiration on the blog!
Gathering Ingredients for Your Fail-Proof Egg Custard
Okay, let’s talk supplies! The beauty of this old fashioned dessert is that it requires very few ingredients. You probably have most of this stuff sitting in your fridge right now. Remember, when you’re making something this simple, the quality matters even more because there’s nowhere for mediocre ingredients to hide!
Here is exactly what you need for a perfect 9-inch pie:
- 3 large eggs
- 1/2 cup sugar
- 2-2/3 cups milk (whole milk works best!)
- 1 teaspoon pure vanilla extract
- 1/4 teaspoon ground nutmeg (for sprinkling)
- 1 unbaked 9-inch pie crust (use your favorite homemade or store-bought crust)
Now, a little note from my heart to yours about the milk. Since this recipe relies on the milk fat for that rich, creamy mouthfeel—that stunning creamy egg custard filling—please, please try to use whole milk if you can. Low-fat or skim milk just won’t give you that luxurious melt-in-your-mouth texture we are aiming for in this homemade egg custard.
Ingredient Notes and Substitutions for Perfect Egg Custard
I want you to nail this custard pie from scratch on the first try, so let’s talk about temperature for a moment. This is where so many people accidentally struggle with their simple custard recipe!
If your eggs and milk are straight out of the fridge, they are cold! Cold ingredients don’t combine nicely with the sugar and can even bake unevenly. For the best, most cohesive batter, take your eggs and milk out about 30 minutes before you start mixing. They just need to be room temperature. It helps prevent those tiny, annoying bits of unmixed egg white—it’s a game-changer for a truly professional, smooth custard technique.
Also, I need to drill this in one last time: the water bath is non-negotiable for achieving that signature look. If you skip the water bath, the direct, harsh heat is going to cook the edges of your egg custard way too fast. That’s what causes cracking on the top or that weirdly rubbery texture underneath. Think of the water bath as giving the pie a gentle hug while it bakes; it keeps everything mellow for that perfect set!
Step-by-Step Instructions for a Smooth Egg Custard Pie
Okay, deep breath! Making the perfect classic baked custard is less about complicated math and more about gentle handling. Seriously, we are going to conquer that fear of lumpy texture right here, right now. The entire process for this simple custard recipe is about controlling the heat so those eggs set slowly and beautifully.
First things first: get your oven ready! Preheat your oven right away to 350 degrees Fahrenheit. But here’s the first secret for amazing results: place an empty, larger baking pan onto the lower-middle rack *while* the oven heats up. This pan is going to be our water bath vessel, and it needs to be hot when the pie goes in. Check out my general guide on fail-proof baking tips if you want more general oven wisdom!
Next, in a bowl, take your 3 room-temperature eggs. I cannot stress this enough: whisk them very lightly. You are mixing the yolks and whites; you are *not* whipping up meringue! If you incorporate too much air, you end up with bubbles on top, which ruins that silky look we want in our homemade egg custard. Just a quick mix until they look uniform.
Whisk in your sugar until it mostly dissolves, then gently stir in the milk and vanilla. Everything should swim together peacefully. Now comes the most important part for that incredibly creamy egg custard filling: straining! Pour that whole mixture through a fine-mesh sieve into a big measuring cup. This removes any stringy bits of egg or tiny clumps, guaranteeing you a velvety result.
Pour that lovely, strained liquid into your unbaked pie crust. Give the top a gentle, even sprinkle of nutmeg—that sweet, warm smell is already taking me back! Then, carefully place that pie plate into the hot pan sitting in the oven. Now you can grab some hot (not boiling, just hot!) water and pour it into the *outer* pan until the water comes about halfway up the sides of the pie plate. Done! This whole process ensures we deliver on the promise of a smooth texture for your custard pie from scratch.
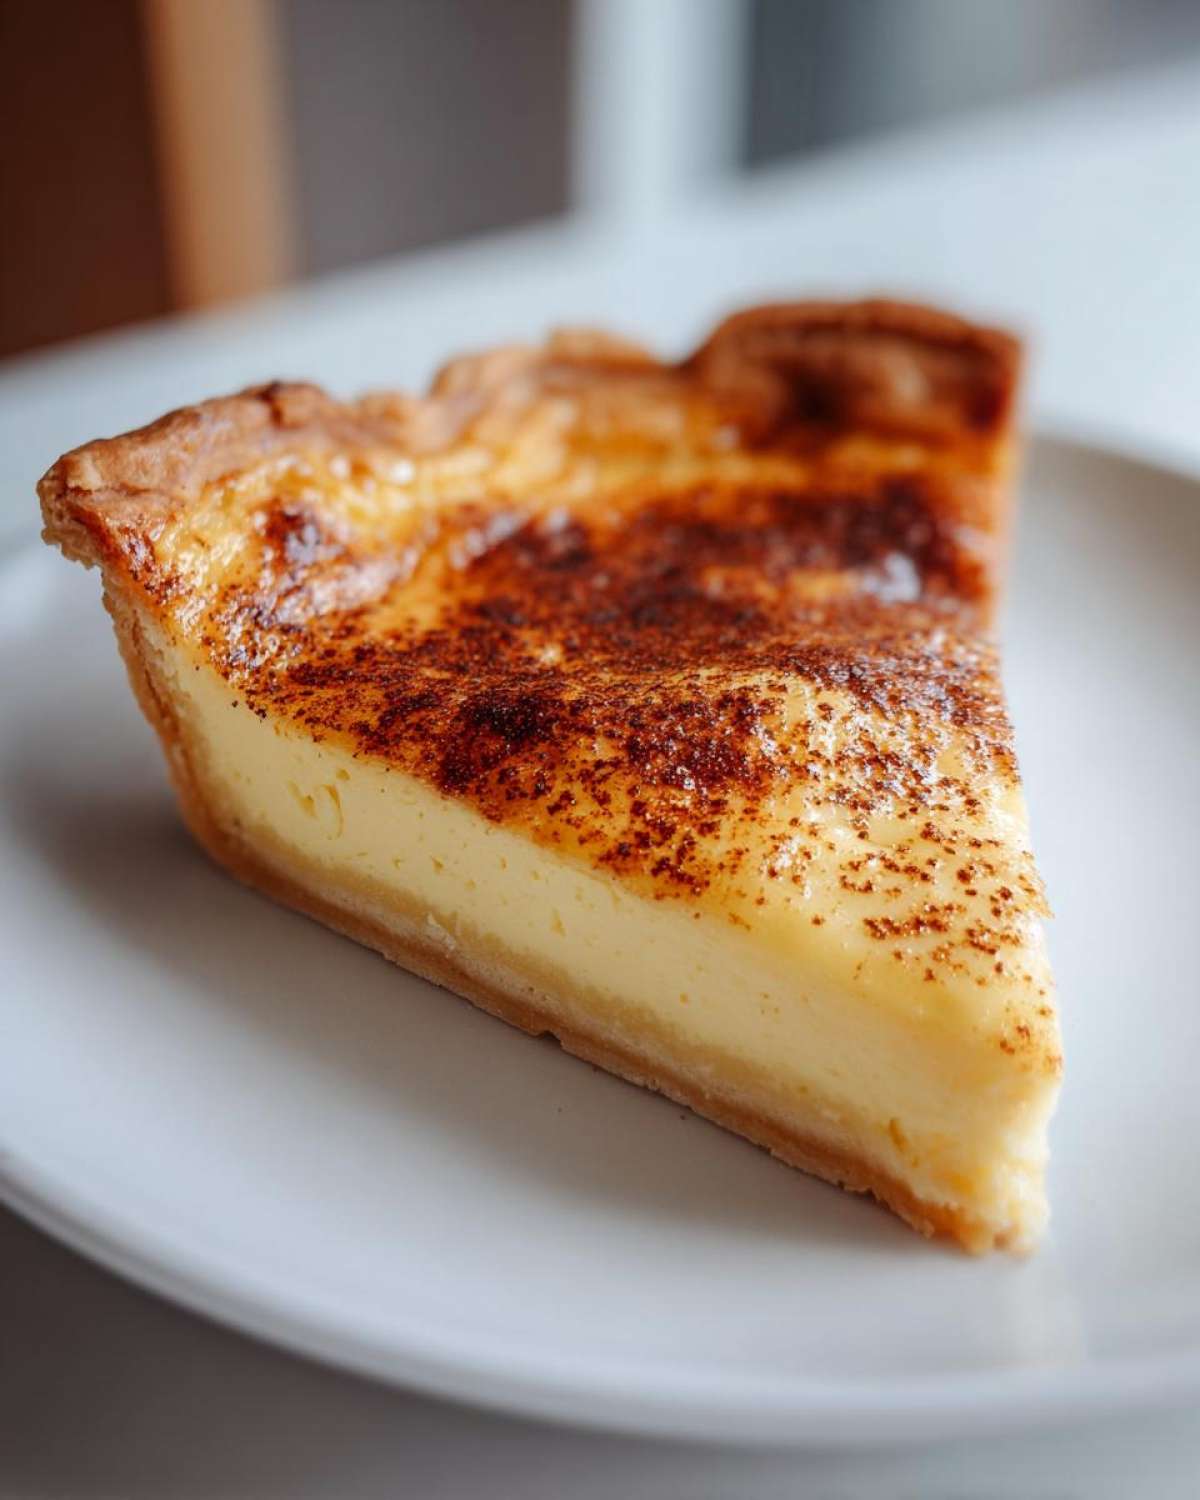
The Essential Water Bath Technique for Creamy Egg Custard Filling
Listen, if you take only one thing away from this recipe, let it be the water bath—or bain-marie, if you want to sound fancy! This gentle heat transfer is the backbone of any great classic baked custard. Think about it: eggs are delicate. If you bake them in dry, direct heat, the outside cooks instantly, solidifying too fast while the middle is still liquid. This differential cooking causes cracks and makes the texture tough or rubbery.
The hot water surrounding the pie plate creates a humid, gentle environment. It raises the temperature inside the oven slowly and evenly around the custard. This means the proteins in the eggs coagulate slowly, resulting in that incredibly smooth, almost silky texture you dream about with an egg custard dessert. It keeps the temperature in check, preventing scorching and ensuring that even when you nudge the pie, the center jiggles just right, indicating a perfect, gentle set.
Tips for Success: Achieving the Best Homemade Egg Custard
You’ve gotten it into the oven, and now the hard part begins: waiting! But before you set a timer and walk away, I have a few final pieces of wisdom from my years of baking this custard pie from scratch. These little nudges in technique are what separate a good custard from an absolutely sensational one.
Remember how I stressed the water bath? Gosh, I had one disastrous Thanksgiving years ago where I was rushing, and I thought, “It’s fine, this simple custard recipe is so easy, I don’t need the water bath today.” Oops! That pie came out looking like the surface of the moon—cracked, split, and the texture was honestly awful. Don’t make my mistake! That gentle heat is the absolute magic for a smooth custard technique.
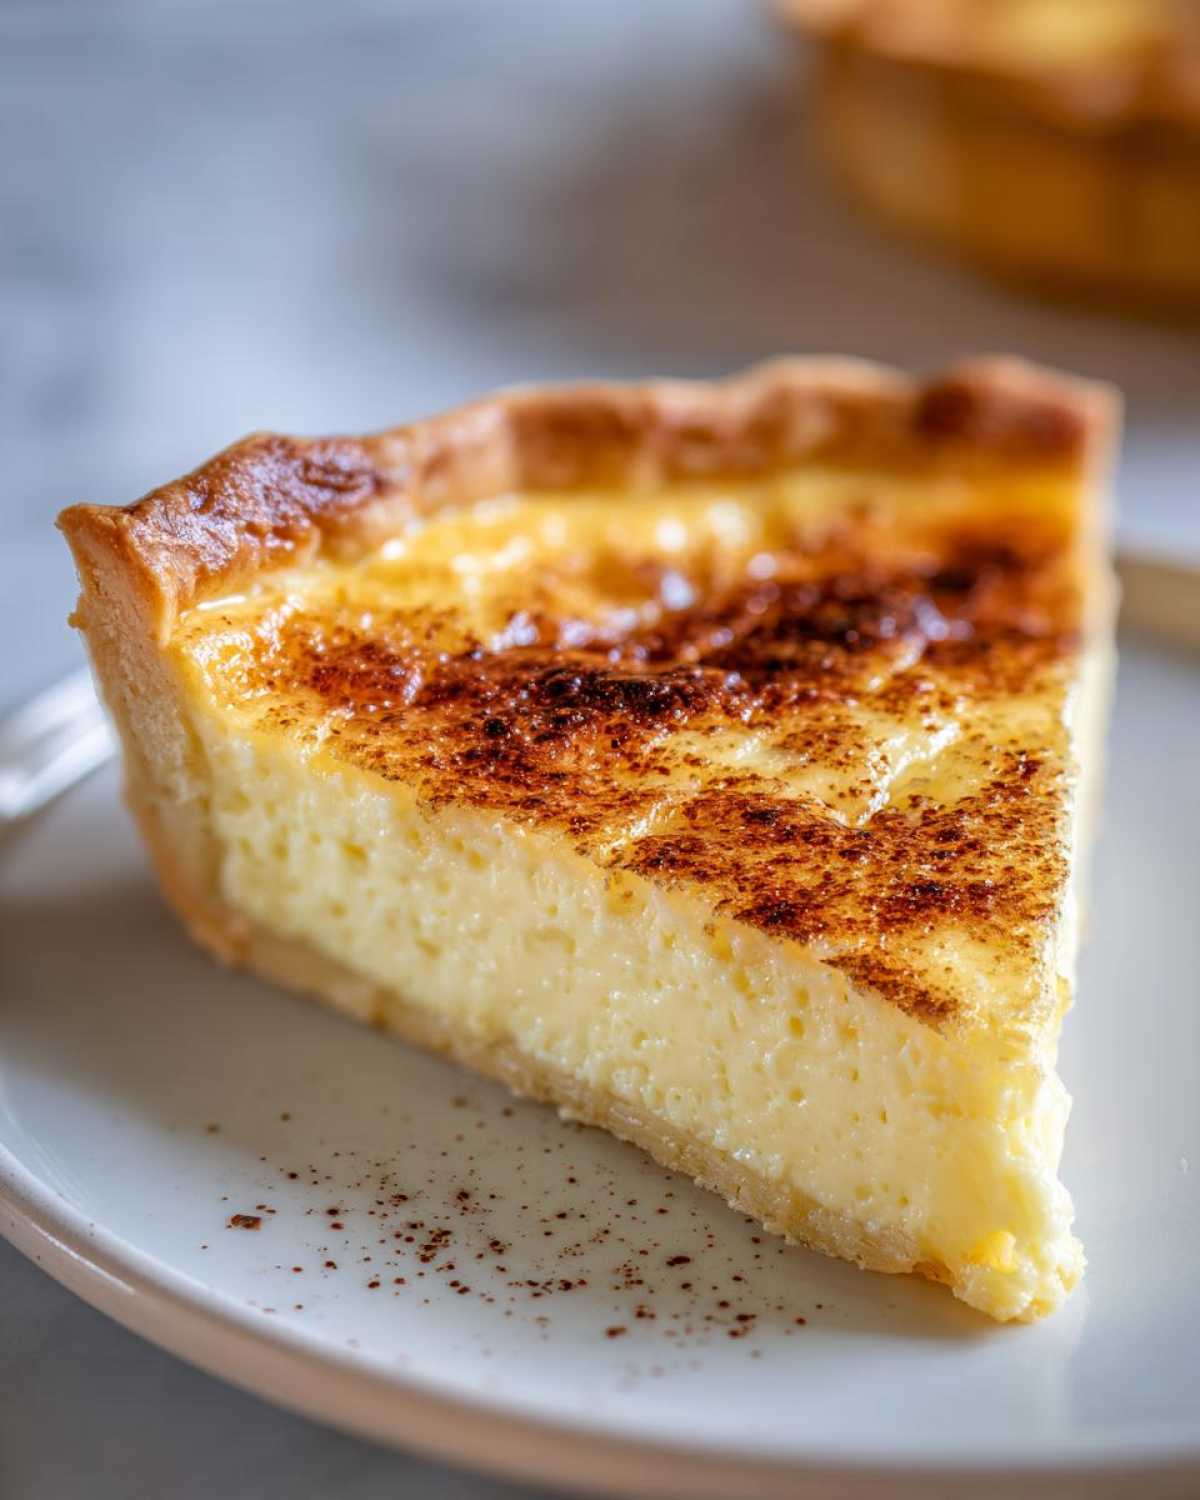
Now, let’s talk about testing for doneness. This is where patience really pays off, and it’s different from testing a regular cake. You are looking for a slight wobble. When you gently nudge the edge of the pie plate (use mitts!), the outer edges should look firm and set, but the very center—say, a silver dollar sized spot—should still jiggle softly, almost like thick yogurt. If it doesn’t jiggle at all, it’s already overcooked, trust me.
The cooling process is just as important as the baking process, so don’t rush it! When you carefully pull that pie out of the water bath (remember those oven mitts!), set it on a wire rack. Let it cool completely to room temperature. This slow cooling allows the proteins to finish setting up gently, locking in that creamy texture. If you try to stick a hot pie straight into the fridge, you shock the custard, and it can upset that beautiful set we worked so hard to achieve.
Once it’s totally cool, cover it loosely and pop it in the refrigerator for at least four hours, but overnight is truly best for an old fashioned dessert like this one. When it’s chilled, the filling becomes firm enough to slice beautifully. This recipe is fantastic for making a day ahead, which is why it’s one of my top picks for reducing stress when making vintage dessert recipes for company!
Serving Suggestions for Your Simple Custard Recipe
Once you have that perfectly chilled, silky slice of egg custard in front of you, the fun really begins! Because this simple custard recipe is so wonderfully pure in its vanilla-egg base, it acts like a beautiful blank canvas for toppings. It’s phenomenal on its own, especially with that classic nutmeg sprinkle, but sometimes you just want a little something extra to dress it up for company.
For a really light and airy contrast, you cannot beat a big dollop of freshly whipped heavy cream. Skip the store-bought aerosol cans if you can—whip heavy cream with just a tablespoon of powdered sugar until you get soft, pillowy peaks. That lightness cuts through the richness of the classic baked custard perfectly.
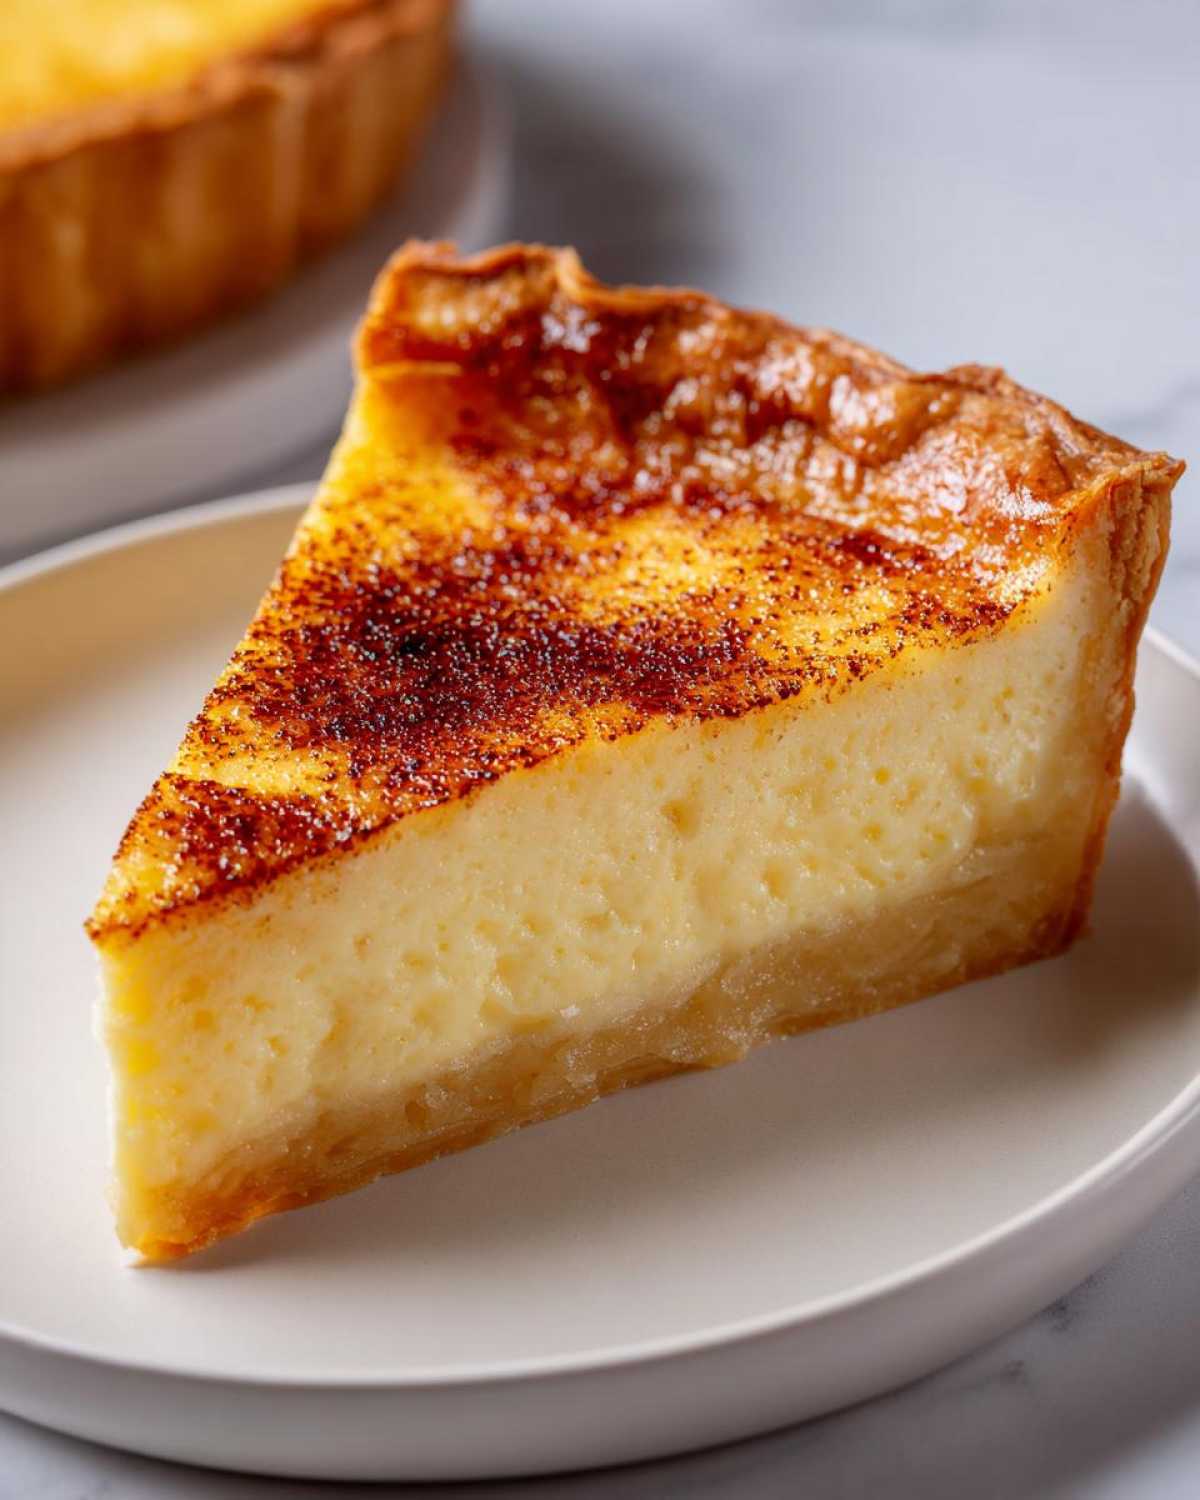
If you’re serving this during berry season, a handful of fresh raspberries or a light drizzle of reduced blackberry sauce works wonders! The tartness from the fruit plays so nicely against the sweet warmth of the pie. It makes this classic dessert feel instantly fresh. It moves your pie from being just a cozy end-of-meal treat to something you could proudly serve at one of those easy holiday pies gatherings!
Storing and Reheating Your Classic Baked Custard
One of the best things about whipping up this classic baked custard is that it tastes even better the next day! Since it’s such an old fashioned dessert, it holds up beautifully in the fridge, making it perfect for prepping ahead of time for big dinners or weekend entertaining. That chilling time overnight really allows the flavors to deepen and the texture to firm up perfectly.
Once your pie is completely cooled on the counter—and I mean completely cool, maybe give it two hours—cover it loosely with plastic wrap or foil. You don’t want it sealed airtight right away, because trapped moisture can encourage sogginess on that beautiful crust. Store it in the refrigerator. It keeps really well this way for about three to four days. Any longer than that, and you risk drying out the crust edge, even if the filling is still holding strong.
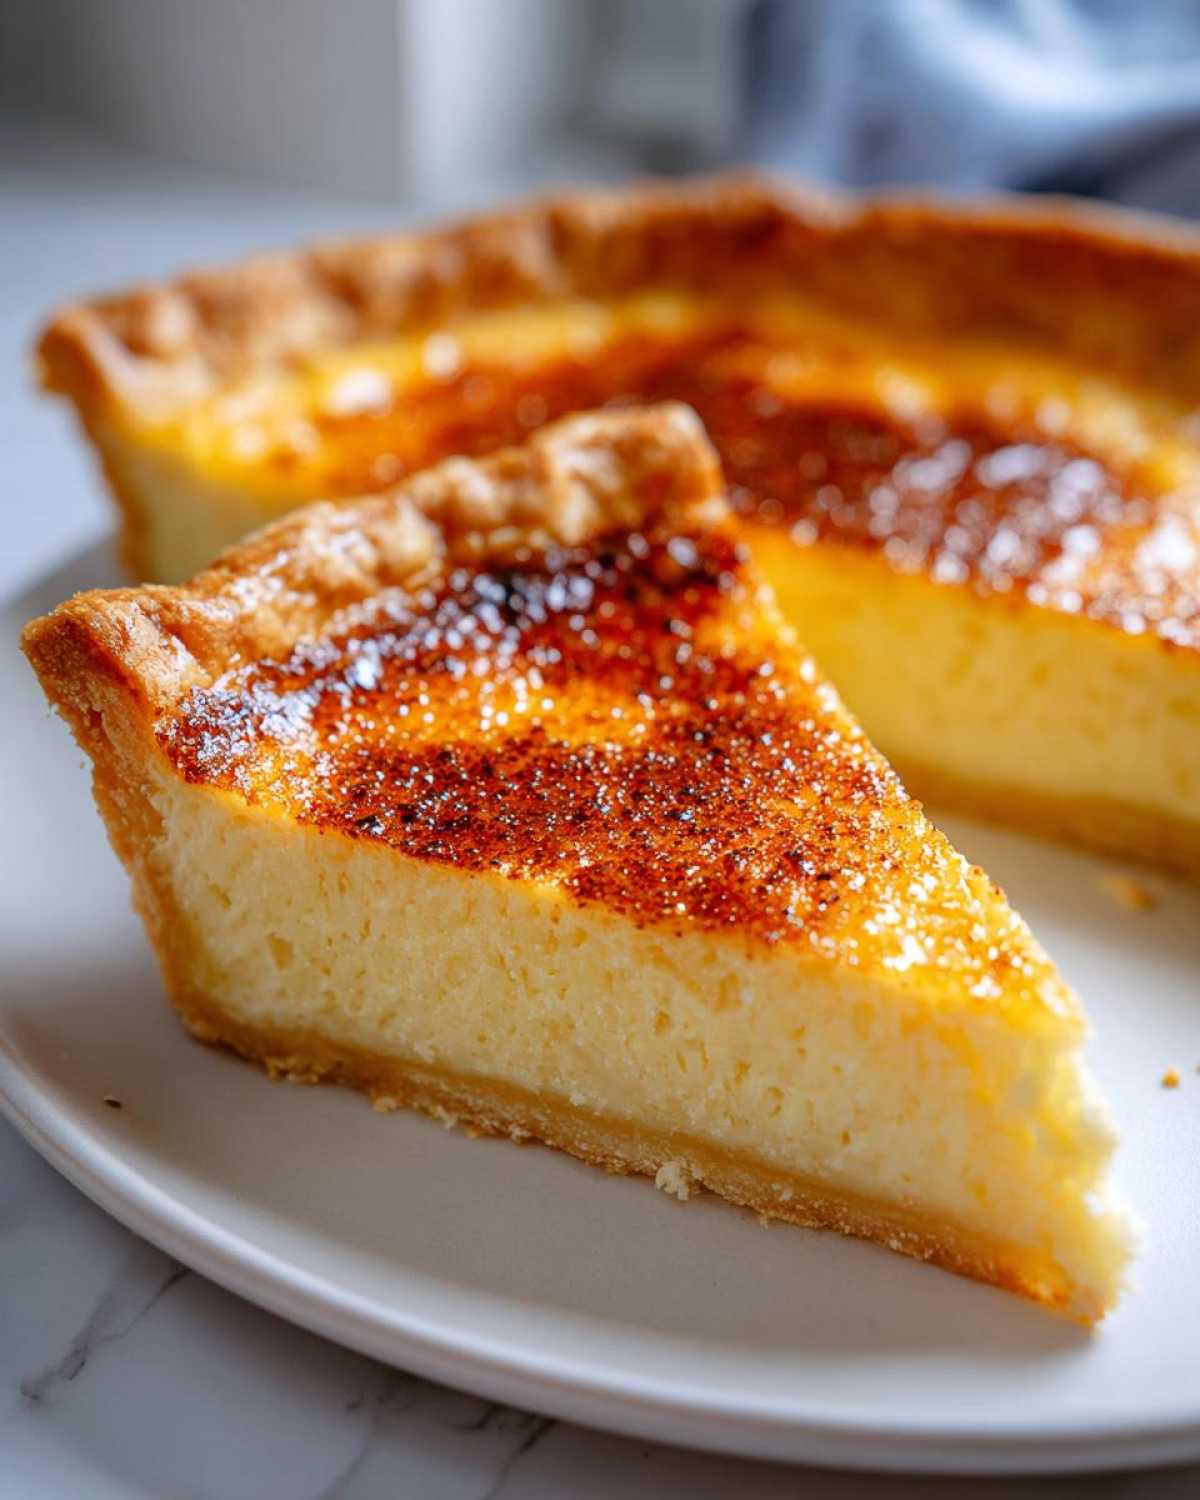
Now, how do you reheat your slice? Honestly, I rarely reheat it! This pie is amazing cold straight from the fridge, especially on a warm day. It gives you that firm, cool, clean bite of vanilla custard. If you absolutely crave warmth, you need to be gentle. Pop your slice on a small oven-safe plate and warm it in a very low oven—maybe 300 degrees Fahrenheit—for just 5 to 8 minutes. You’re just warming it through, not cooking it again! Skip the microwave completely; it turns egg dishes rubbery in seconds, and we definitely don’t want to sabotage that smooth custard technique we mastered!
Frequently Asked Questions About Egg Custard Pie
I know there are always a few little details that pop up when you’re trying something new, even if it’s a familiar recipe like this egg custard. It’s all about mastering that simple technique, and if you have a question, odds are someone else does too! Fire away, and let’s make sure you get that perfect result for your custard pie from scratch.
Can I make this egg custard without a pie crust?
That’s a great question! You absolutely can, especially if you’re looking for a lower-carb option or just want a straight-up classic baked custard that’s easier to serve. If you skip the crust, you’ll be making what’s technically just baked custard in little ramekins or custard cups. Just grease those dishes really well!
Since there’s no crust to hold the structure, you should probably reduce the baking time slightly, maybe by 5 to 10 minutes. Keep checking the center, though. You still want that slight jiggle for the perfect smooth custard technique. These little cups are a fantastic way to test your technique before committing to a full pie!
How do I know when the center of the egg custard is truly set?
This is the secret handshake for all custard makers! You’re looking for what professional bakers sometimes call ‘the tremble.’ When the pie is done, the outside third of the filling should look completely firm and set—no liquid motion there. But the very center should still have a gentle wobble. Imagine a water bed; it moves, but it’s still supported.
Do not wait until the center doesn’t move at all! If it looks totally firm while it’s still in the oven, it means it’s already overcooked. As it cools outside the oven, the carry-over heat will firm up that final little bit. This slight wobble is key to preventing your simple custard recipe from coming out rubbery. Trust the gentle tremble!
Can I substitute the milk in this simple custard recipe?
While I truly stand by whole milk for achieving that rich, decadent flavor in this homemade egg custard, I know substitutions happen! If you must swap it out, the best choice (if you’re avoiding cow’s milk) would be unsweetened, full-fat oat milk or even canned coconut milk. These options have a higher fat content similar to whole milk, which helps the custard set nicely.
Avoid almond or skim milk if you can. They are simply too watery. They lack the fat content needed to carry the richness of the eggs and sugar, and you’ll find your final texture is thinner and less satisfying. Remember, the ratio of milk to egg is what determines that perfect set for your easy egg custard recipe!
If you’re enjoying learning these technical details, you can find more helpful tips and baking experiments on the main Spoonful Snap blog!
Estimated Nutritional Data for Egg Custard
I always feel a little awkward presenting nutrition facts, because let’s be real, when you’re making a true comfort dessert like this old fashioned dessert, you aren’t really thinking about macros! But I know some of you lovely readers like to keep track, so I did my best to break down the estimate for one slice of this silky homemade egg custard pie based on the standard ingredients listed.
Remember, this is just a guide, especially since flour content in the crust can vary wildly depending on if you use store-bought or your famous homemade pastry. This data is based on 8 equal servings.
- Calories: 250
- Sugar: 18g
- Total Fat: 10g
- Saturated Fat: 5g
- Carbohydrates: 28g
- Protein: 10g
Please know that these numbers are just an estimate for a single serving of our simple custard recipe. If you use a lighter crust or swap out some ingredients, those numbers will change, of course! The most important thing is that the flavor of this classic baked custard is 100% rich and delicious!
Share Your Experience Making This Egg Custard Recipe
Now it’s your turn! I have shared all my family’s secrets for creating that perfect, velvety egg custard, and I truly hope you’ve tried making this old fashioned dessert for your own loved ones. Baking is always better when it’s shared, so I want to know every detail about how it turned out in your kitchen!
Did you stick to the classic nutmeg sprinkle, or did you try something fun on top? Most importantly, tell me about that texture! If you finally mastered the smooth custard technique using the water bath and the sieve, please shout it out in the comments below! I get so genuinely excited reading about your successes, especially when you tell me you feel like you’ve unlocked a secret family recipe of your own.
Please, if you loved this easy egg custard recipe, click over to the recipe card and give it a genuine 5-star rating! Those stars really help other home bakers find reliable, comforting recipes like this one. And if you snapped a picture of your beautiful, wobble-center pie, please tag us on social media! We absolutely adore seeing our Spoonful Snap family creating magic. If you have any last-minute questions that popped up while you were baking, don’t hesitate to reach out through our contact page—David and I love hearing from you!
PrintFail-Proof Old Fashioned Egg Custard Pie

Bake a classic, creamy egg custard pie that sets perfectly every time. This old fashioned recipe uses simple ingredients and a reliable technique for a smooth, comforting dessert.
- Prep Time: 15 min
- Cook Time: 50 min
- Total Time: 65 min
- Yield: 8 servings
- Category: Dessert
- Method: Baking
- Cuisine: American
- Diet: Vegetarian
Ingredients
- 3 large eggs
- 1/2 cup sugar
- 2-2/3 cups milk (whole milk works best)
- 1 teaspoon pure vanilla extract
- 1/4 teaspoon ground nutmeg (for sprinkling)
- 1 unbaked 9-inch pie crust (use your favorite homemade or store-bought crust)
Instructions
- Preheat your oven to 350 degrees Fahrenheit. Place an empty baking pan on the lower-middle rack while the oven heats. This pan will hold a water bath.
- In a medium bowl, lightly whisk the 3 large eggs until just combined. Do not over-beat the eggs; you want to avoid incorporating too much air.
- Whisk in the sugar until it dissolves slightly. Add the milk and vanilla extract. Mix until everything is smoothly incorporated.
- Pour the custard mixture through a fine-mesh sieve into a large measuring cup or bowl. This step removes any chalazae or unmixed egg bits, which helps create a smooth custard.
- Place your unbaked pie crust into a standard 9-inch pie plate. Pour the strained custard filling into the crust.
- Sprinkle the top evenly with the ground nutmeg.
- Carefully place the pie plate into the preheated water bath pan on the oven rack. Pour enough hot water into the pan to come about halfway up the sides of the pie plate. This water bath is key to a creamy egg custard filling and prevents cracking.
- Bake for 45 to 55 minutes. The custard is done when the edges are set, but the center still jiggles slightly when gently nudged.
- Carefully remove the pie from the water bath using oven mitts. Let the pie cool completely on a wire rack. The center will finish setting as it cools.
- Chill the pie in the refrigerator for at least 4 hours, or preferably overnight, before slicing and serving.
Notes
- For a truly fail-proof result, use room temperature eggs and milk; this helps them combine evenly without scrambling.
- If you skip the water bath, you risk a rubbery texture or a cracked top. The gentle, moist heat is essential for smooth custard technique.
- This recipe is a great base for a simple custard recipe; try adding a pinch of cinnamon with the nutmeg for variation.
Nutrition
- Serving Size: 1 slice
- Calories: 250
- Sugar: 18
- Sodium: 150
- Fat: 10
- Saturated Fat: 5
- Unsaturated Fat: 5
- Trans Fat: 0
- Carbohydrates: 28
- Fiber: 1
- Protein: 10
- Cholesterol: 90