

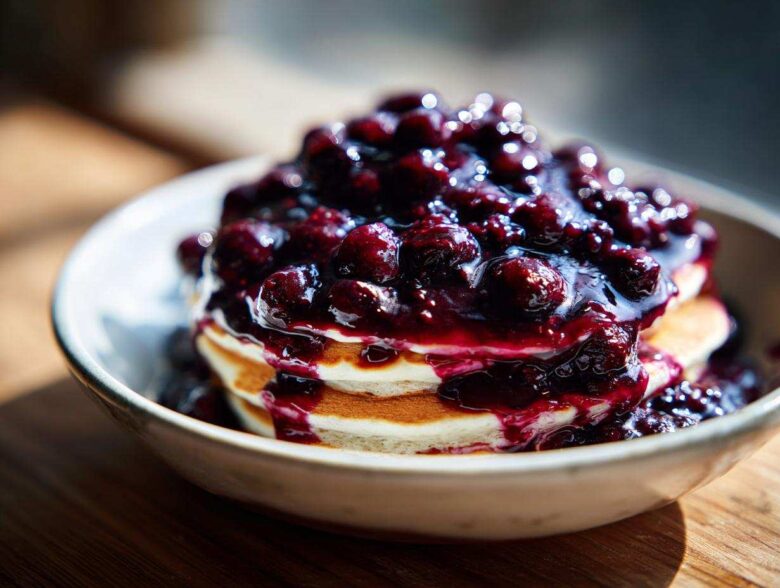
If I’m being honest, perfectly fluffy pancakes or golden waffles feel unfinished without the perfect drizzle. We’ve all been there, right? Standing in front of the pantry staring down that plastic bottle of store-bought stuff that tastes mostly like corn syrup and food coloring. Ugh! Well, forget that noise. Today, I’m sharing my absolutely favorite, fail-proof formula for the Homemade Blueberry Syrup you’ve been dreaming about. This isn’t some fussy sauce; it’s my go-to for weekend breakfasts, and honestly, it takes barely longer than brewing a pot of coffee. You’re going to love how vibrant and fresh this tastes on everything!
I always make sure I have some ready to go, especially if I’m aiming for my famous thick and tall pancakes stack. Trust me, this simple step elevates your entire breakfast game for the week.
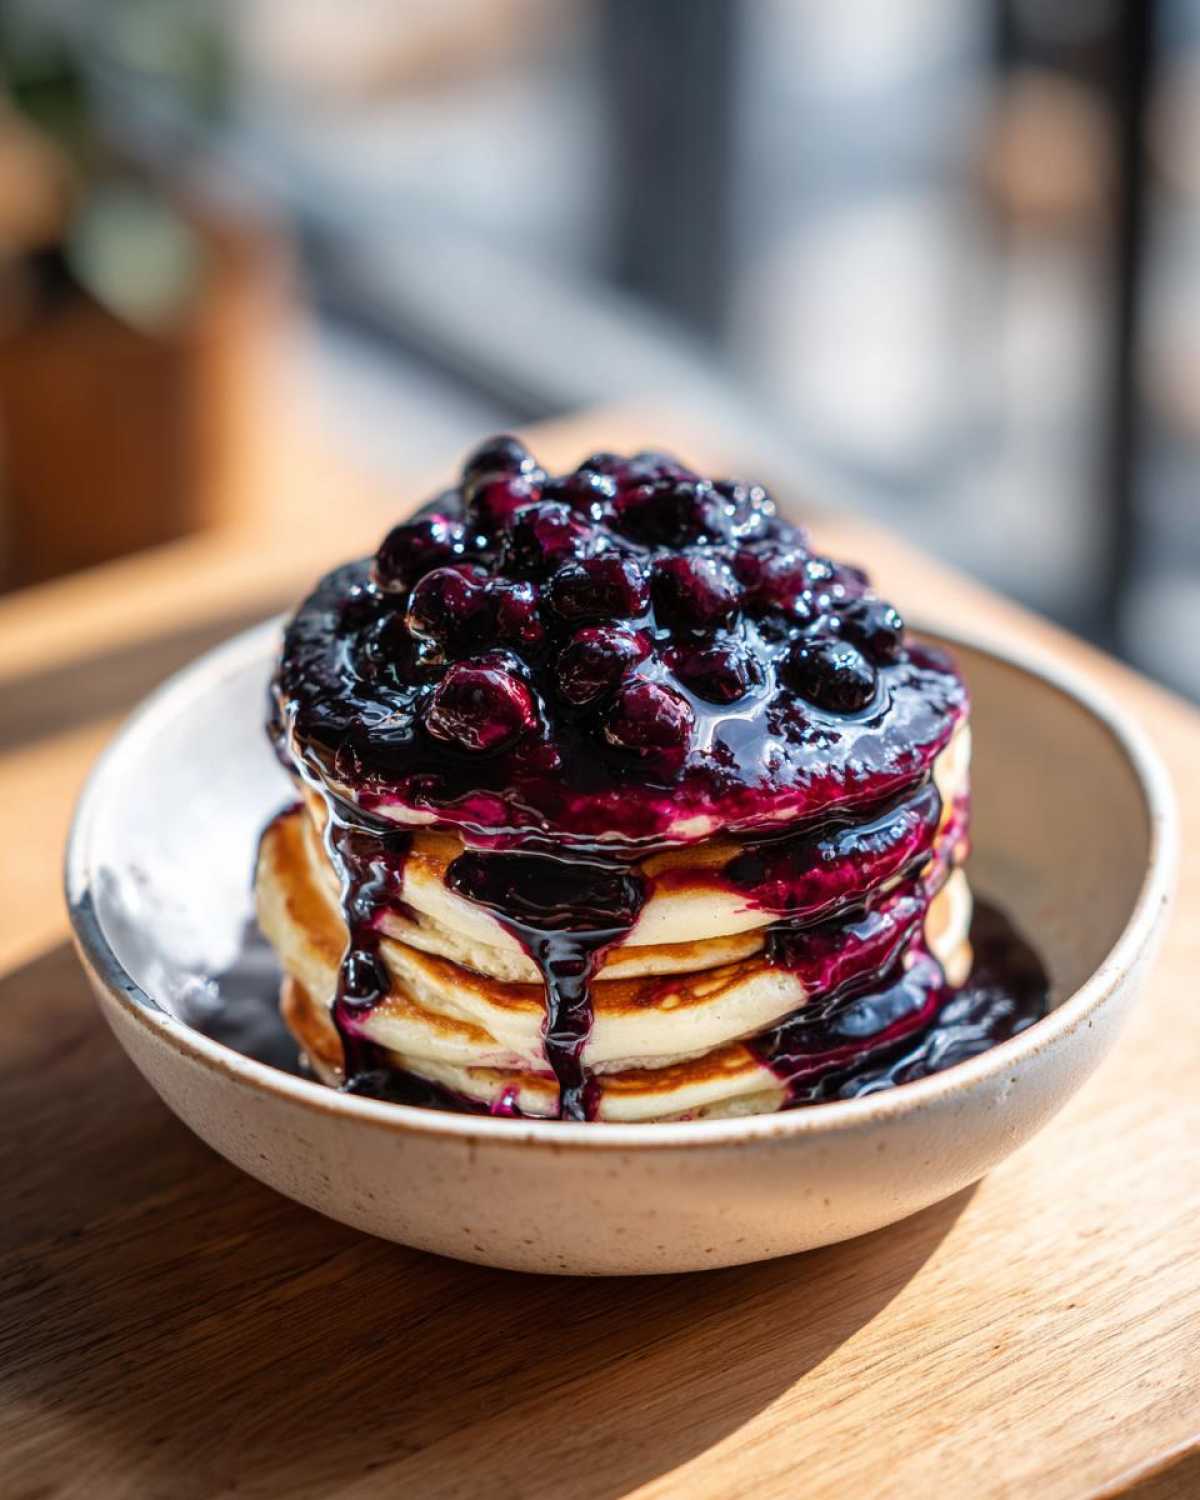
Why This Homemade Blueberry Syrup is Your New Favorite Topping
This isn’t just breakfast dressing; it’s a homemade upgrade that tastes like summer. When you see how easy it is to make Homemade Blueberry Syrup, you’ll wonder why you ever bought the stuff in the store. It’s all about quality you can control!
- Real fruit flavor that pops—no fake stuff here!
- It tastes way more gourmet than it actually is.
- Perfect for using up those seasonal berries.
You can find tons of great ideas for breakfast pairings over at my breakfast favorites hub.
Quick Preparation Time for Homemade Blueberry Syrup
Honestly, speed is everything before 9 AM, right? This whole process, from grabbing the berries to having a jar cooling on the counter, clocks in at right around 25 minutes total. That makes this my favorite Simple Blueberry Syrup Recipe for busy weekday mornings when I still want something special.
Achieving the Perfect Thick Blueberry Syrup Guide
Nobody wants watery syrup that dissolves instantly into their waffle! The best way to get that nice consistency for a Thick Blueberry Syrup Guide is letting the berries simmer down naturally. If you want it super thick, I give you the cornstarch trick, but often just reducing it a bit longer on the stovetop is all you need for that perfect pour.
Gathering Ingredients for Homemade Blueberry Syrup from Scratch
Okay, the magic of making a truly great Homemade Blueberry Syrup starts right here, with quality ingredients. I like to keep things super simple, which is why this recipe only calls for five core things, plus two optional goodies for texture and flavor.
When you’re following my instructions, pay close attention to how I describe the cornstarch mixture—that’s the thickening agent, and you have to mix it separately until it’s totally smooth before you even think about turning on the heat. Don’t just dump the cornstarch in raw, or you’ll end up with weird little white clumps, and we can’t have that!
Here’s what you need to pull together:
- 2 cups fresh or frozen blueberries (I grab whatever is on sale, honestly!)
- 1 cup water
- 3/4 cup granulated sugar (Taste your berries first! See the adjustments below.)
- 1 tablespoon lemon juice (This brightens everything up!)
- 1 teaspoon vanilla extract (Totally optional, but I love the depth it adds.)
- 1 teaspoon cornstarch mixed with 1 tablespoon cold water (This is your safety slurry if you need extra thickness.)
Ingredient Notes and Substitutions for Homemade Blueberry Syrup
So, let’s talk berries for a second. Can you use frozen? Yes, absolutely! They work perfectly fine for this Homemade Blueberry Syrup. If you use frozen, you might just need to simmer it for an extra five minutes or so because they release water slower at first. Either way, you get incredible results.
Also, sugar is a funny thing with fruit. If your blueberries are super sweet and plump from the grocery store, you might only want to start with half a cup. If they taste a little tart, stick to the full 3/4 cup. Always taste your syrup right before you decide to strain it, and adjust sweetness then. That’s just practical cooking, right?
Stovetop Blueberry Syrup Instructions: How To Make Blueberry Syrup
Alright, this is where the magic happens! Making this Homemade Blueberry Syrup is super straightforward, but timing matters just a touch. We’re talking about getting that perfect burst of berry flavor without turning it into jam. You’ll need a nice medium saucepan for this whole process. These Stovetop Blueberry Syrup Instructions are designed to move fast.
First things first: dump your blueberries, water, and that sugar right into the pan. Get it over medium-high heat and stir it up until that sugar looks like it’s completely vanished. Once it hits a boil, you know what to do—turn that heat down low and let it bubble gently for about 10 to 15 minutes. That’s the secret simmer time!
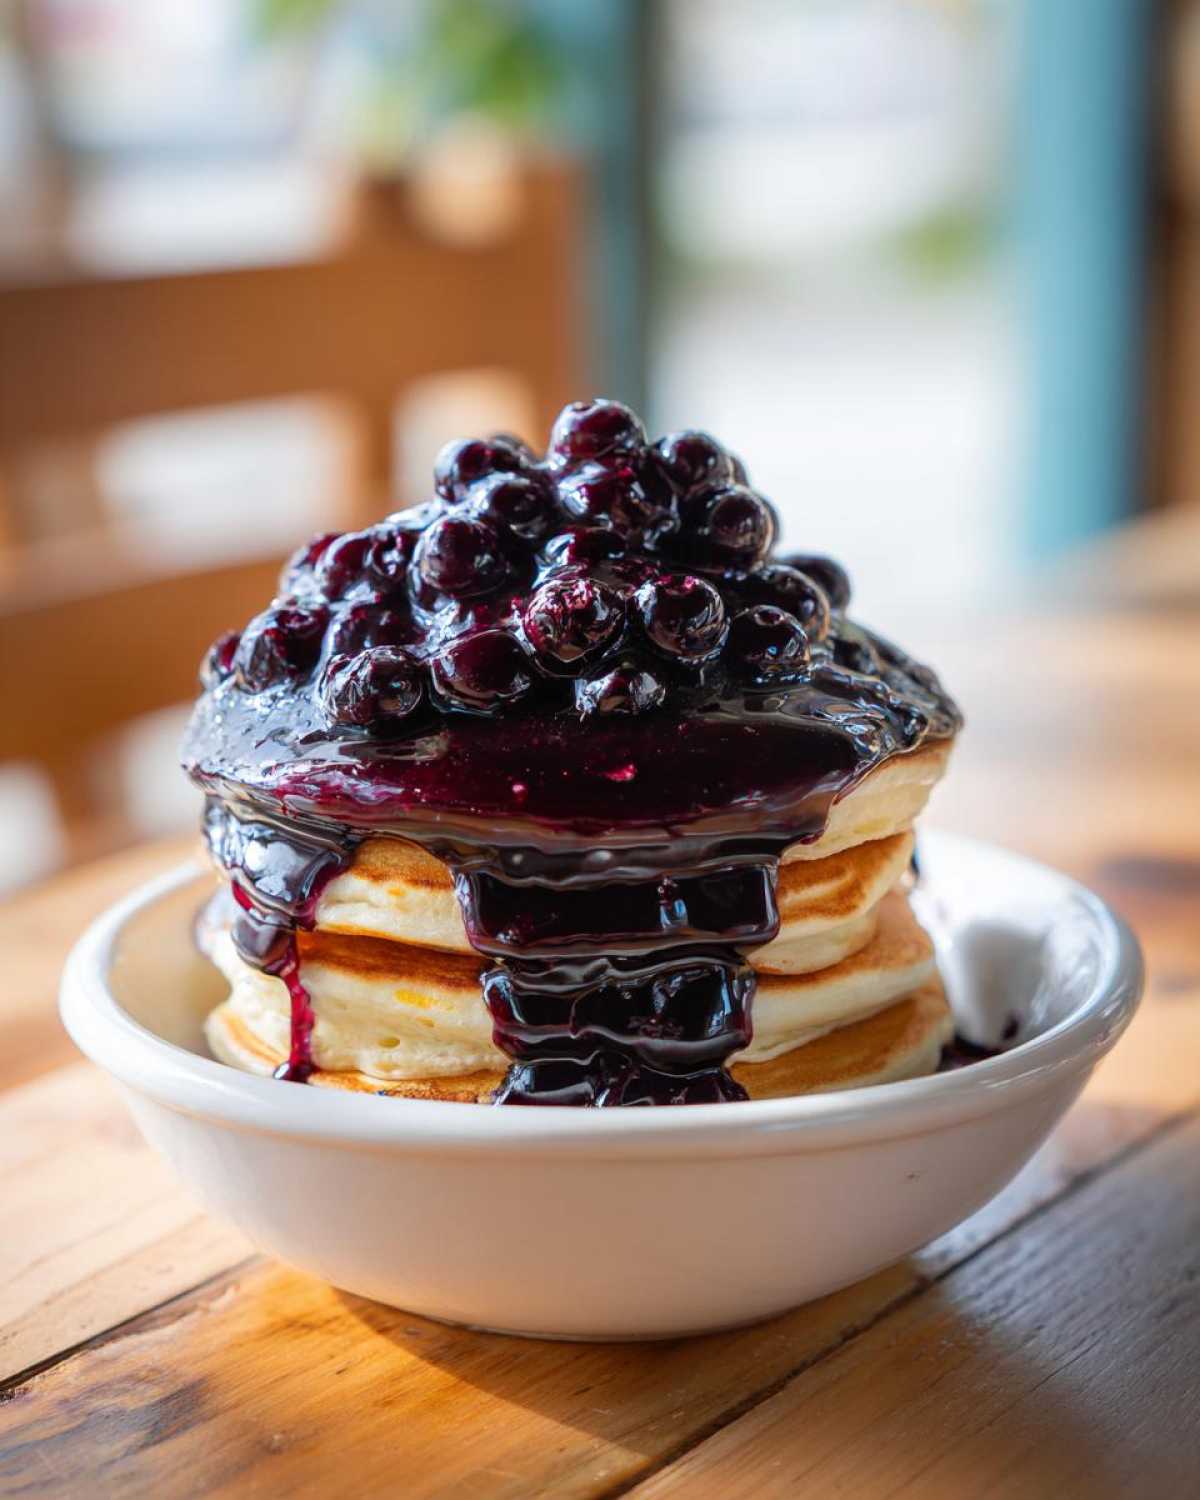
For more amazing fruit syrup inspiration that moves beyond just blueberries, check out my guide on easy fruit syrup recipes!
Simmering and Breaking Down Berries for Homemade Blueberry Syrup
During that 15-minute simmer, the berries are going to start collapsing, which is exactly what we want for our Homemade Blueberry Syrup. If you truly hate bits of berry skins in your finished product, grab a sturdy spoon or even a potato masher and just gently press down on them while they simmer. It helps release all that good juice and flavor into the water and sugar base, moving us closer to that perfect pour.
Thickening and Straining Your Homemade Blueberry Syrup
Once you pull it off the heat, stir in your lemon juice and vanilla—don’t skip the lemon! Now, if you taste it and decide it’s still too watery for your liking, that’s when the cornstarch slurry comes into play. Whisk that cold slurry in slowly while the pan is back on low heat, and let it simmer just for one minute until it thickens up wonderfully. Remember this:** it turns significantly thicker as it cools down**, so don’t overdo the cornstarch! If you want that ultra-smooth finish, push the whole mixture through a fine-mesh sieve. If you like texture, just leave those beautiful, burst berries right in there!
Tips for the Best Homemade Blueberry Syrup Success
Even though this is practically a No Fail Syrup Recipe, a couple of little secrets can take your Homemade Blueberry Syrup from great to absolutely unforgettable! I learned this the hard way—sometimes you have to tweak a recipe based on what the season gives you.
For the most vibrant, jewel-toned color, you really want to aim for fresh blueberries. Frozen ones are great for convenience, but sometimes they dull the shade a bit. Also, about the texture we talked about: if you are skipping the cornstarch entirely—which you totally can do—just keep simmering until you see the steam slow down and the liquid starts clinging to the back of your spoon. If you reduce it too far, it can turn firm when it cools!
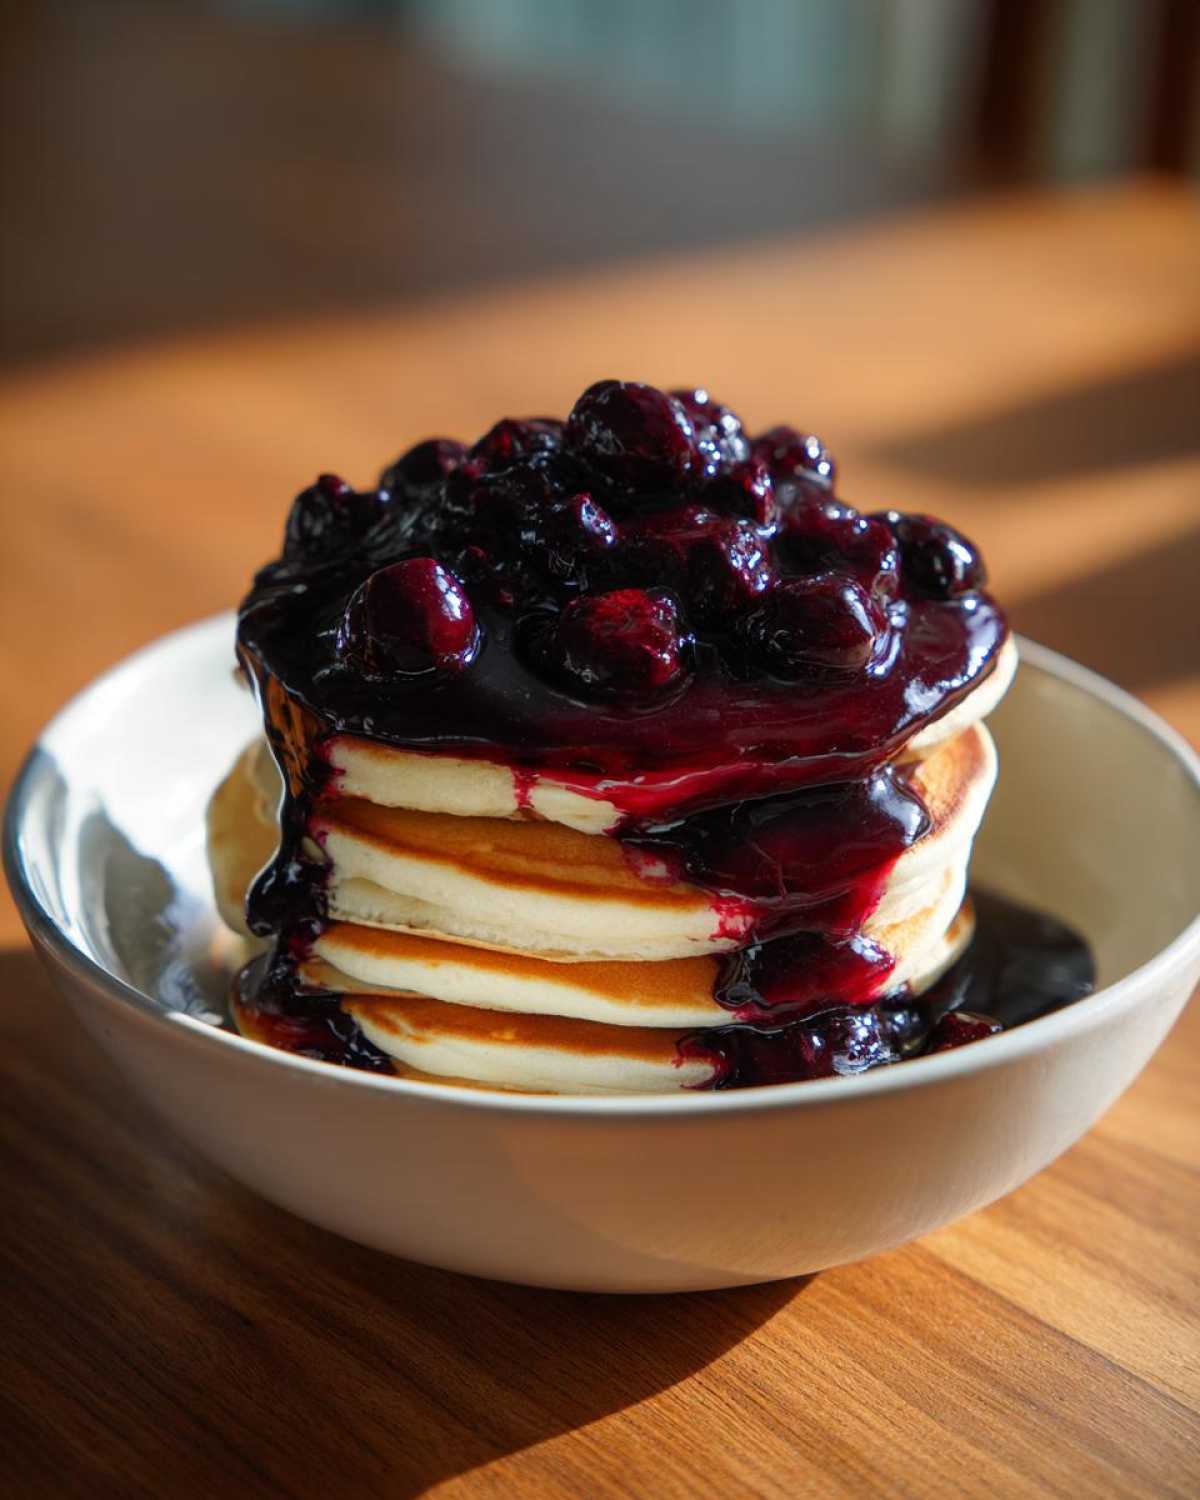
I always encourage readers to explore my general kitchen tips and advice section if they are looking for general cooking help. Taste as you go! That’s the most important tip I can give you for balancing that sugar just right.
Serving Suggestions for Your Easy Homemade Blueberry Syrup
Now that you’ve made this incredible Homemade Blueberry Syrup, what are you going to drown it in? The sky is the limit, but let’s start with the classics. Of course, it’s stunning poured warm over a double stack of fluffy pancakes or crispy waffles—those are my top two Waffle Topping Ideas!
But don’t stop there! This syrup is amazing when you drizzle it over plain Greek yogurt with a sprinkle of granola for a quick dessert. For something really special, try mixing a couple of spoonfuls into sparkling water. It makes the most refreshing homemade soda. If you want to elevate dessert, use it as a Gourmet Blueberry Drizzle over vanilla ice cream or cheesecake. Honestly, once you taste this fresh flavor, you’ll find uses for it everywhere. Check out my favorite glaze base ideas for other baked goods too!
Long Lasting Homemade Blueberry Syrup Storage Instructions
Making a big batch just means less work later on! Luckily, this delicious Homemade Blueberry Syrup keeps really well. You absolutely must store it in a clean, airtight container—a mason jar works perfectly for this kind of thing. Place it in the darkest, coldest part of your fridge.
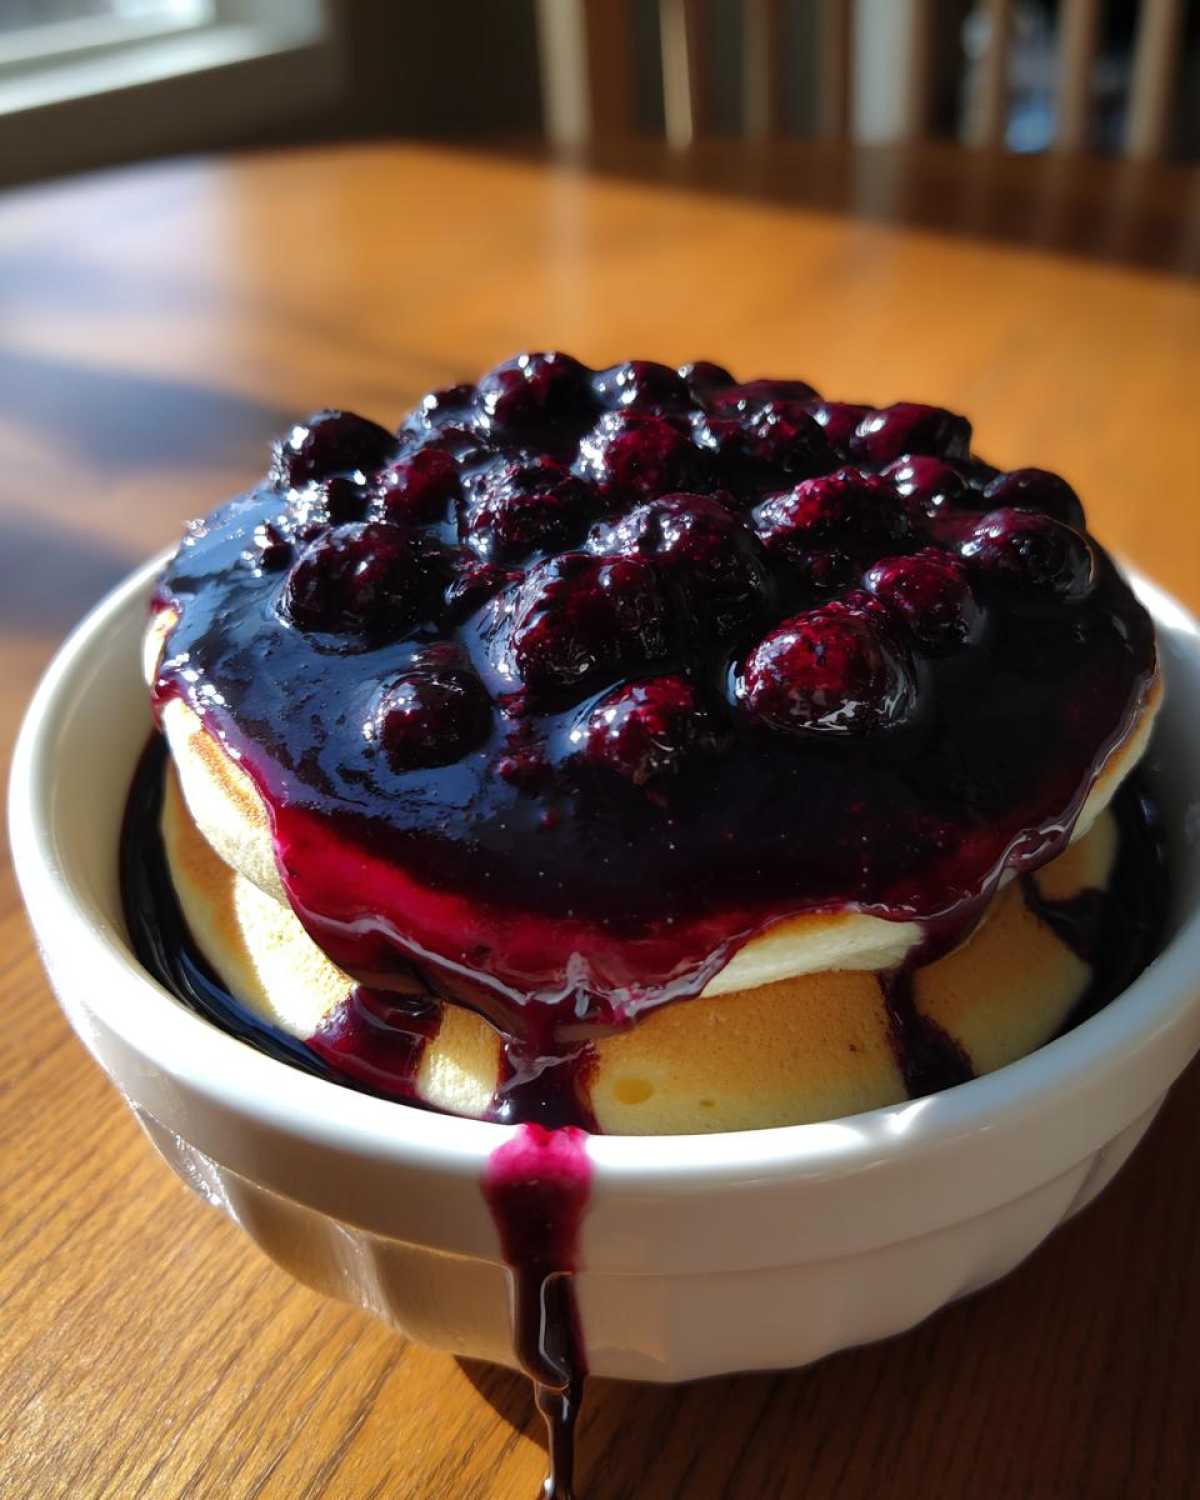
If you follow those rules, you can expect the syrup to stay fresh and flavorful for about two full weeks. That shelf life is great for weekend prep! Relying on tight, effective Long Lasting Blueberry Syrup Storage means you always have a gourmet topping ready to go.
Frequently Asked Questions About Homemade Blueberry Syrup
I always get so many questions after people try this Homemade Blueberry Syrup for the first time because it turns out so much better than they expected! Here are a few common things folks ask me when they are first trying out this Simple Blueberry Syrup Recipe.
If you’re looking for other quick breakfast fixes, check out my category for easy snack and breakfast ideas!
Can I make this Simple Blueberry Syrup Recipe without added sugar?
That’s a great question about making a naturally sweetened version! You can certainly skip the granulated sugar, but you absolutely must taste the berries first. If you skip the sugar, the flavor won’t be as bright, and the syrup won’t be as thick naturally since sugar helps with the structure. If you skip it entirely, know that the shelf life in the fridge might be a little shorter than the full two weeks because sugar acts as a minor preservative.
How do I use Frozen Blueberries for Syrup?
Don’t even bother thawing them! Just toss those icy little jewels right into the saucepan with the water and sugar. Because they start out colder, you’ll probably need to let your initial boil take a bit longer to get going. Once you reduce the heat for the simmer, I suggest adding an extra five minutes to the cook time just to ensure they break down thoroughly for your Homemade Blueberry Syrup. They give you a beautiful, deep color, by the way!
Estimated Nutritional Data for Homemade Blueberry Syrup
When we talk about making our own Homemade Blueberry Syrup, we get the benefit of controlling exactly what goes in, which is fantastic! Knowing what you’re pouring over your pancakes gives me such peace of mind. Now, I’ve run the numbers based on the standard measurements in the recipe—using 3/4 cup of sugar—but I need to stress something important.
Don’t treat this panel like gospel! Because everyone uses different berries, and you might adjust that sugar down (smart move!), these numbers are truly just estimates. I always refer back to my general kitchen disclaimer page when sharing this data, because fruit sugar content fluctuates so much!
Here’s a ballpark look at what you’re getting per 1/4 cup serving of the standard recipe:
- Calories: Around 180
- Sugar: About 40 grams (Yes, it’s high, it’s syrup!)
- Carbohydrates: Roughly 46 grams
- Fat: Less than half a gram, which is excellent!
- Protein: Very low at 0.5 grams
See? Not much fat, but definitely a sugar rush to get that breakfast going. If you cut the sugar down to half a cup, you’ll bring those calorie and sugar counts down quite a bit, so feel free to track that change!
Share Your Homemade Blueberry Syrup Creations
That’s it! You’ve made a truly exceptional, vibrant, and delicious Homemade Blueberry Syrup that’s going to put all those dusty bottles in shame. I’m so proud of you for taking the time to make something real from scratch!
Now, I really, really want to know how it turned out for you. Did you use fresh berries for that amazing color? Did you skip the cornstarch and reduce it down naturally? Head down to the comments section below and tell me exactly what you paired it with—were they pancakes, yogurt, or maybe you mixed it into a fancy cocktail?
If you loved how easy and flavorful this was, do me a huge favor and give the recipe a rating! Hit those stars so other folks know this Homemade Blueberry Syrup is the real deal they need this weekend. If you ever need to get in touch directly with questions that aren’t covered here, you can always reach me through my contact page. Happy drizzling!
PrintEasy Homemade Blueberry Syrup

A simple recipe for making rich, flavorful blueberry syrup from scratch using fresh or frozen berries.
- Prep Time: 5 min
- Cook Time: 20 min
- Total Time: 25 min
- Yield: About 1.5 cups
- Category: Breakfast Topping
- Method: Stovetop Simmering
- Cuisine: American
- Diet: Vegetarian
Ingredients
- 2 cups fresh or frozen blueberries
- 1 cup water
- 3/4 cup granulated sugar (adjust to taste)
- 1 tablespoon lemon juice
- 1 teaspoon vanilla extract (optional)
- 1 teaspoon cornstarch mixed with 1 tablespoon cold water (slurry, optional for thickening)
Instructions
- Combine blueberries, water, and sugar in a medium saucepan.
- Bring the mixture to a boil over medium-high heat, stirring occasionally until the sugar dissolves.
- Reduce heat to low and simmer for 10 to 15 minutes, stirring occasionally, until the berries break down and the mixture thickens slightly.
- If you prefer a smoother syrup, mash the berries gently with a spoon or potato masher during simmering.
- Remove the saucepan from the heat. Stir in the lemon juice and vanilla extract, if using.
- For a thicker syrup, return the mixture to low heat. Slowly whisk in the cornstarch slurry. Simmer for 1 minute until the syrup thickens to your desired consistency.
- Strain the syrup through a fine-mesh sieve into a clean jar if you want a very smooth syrup, pressing down on the solids to extract all the liquid. Discard solids or reserve for another use.
- Let the syrup cool completely before storing. It will thicken more as it cools.
Notes
- For a brighter color, use fresh blueberries. Frozen blueberries work well but may result in a slightly deeper, less vibrant color.
- Adjust the sugar amount based on the sweetness of your berries. Start with less and add more if needed before removing from the heat.
- To achieve a thick syrup without cornstarch, simmer the mixture longer until it reduces significantly.
- Store the finished syrup in an airtight container in the refrigerator for up to two weeks.
- Use this syrup on pancakes, waffles, yogurt, ice cream, or mix it into sparkling water for a homemade soda.
Nutrition
- Serving Size: 1/4 cup
- Calories: 180
- Sugar: 40
- Sodium: 1
- Fat: 0.5
- Saturated Fat: 0
- Unsaturated Fat: 0.1
- Trans Fat: 0
- Carbohydrates: 46
- Fiber: 1
- Protein: 0.5
- Cholesterol: 0