

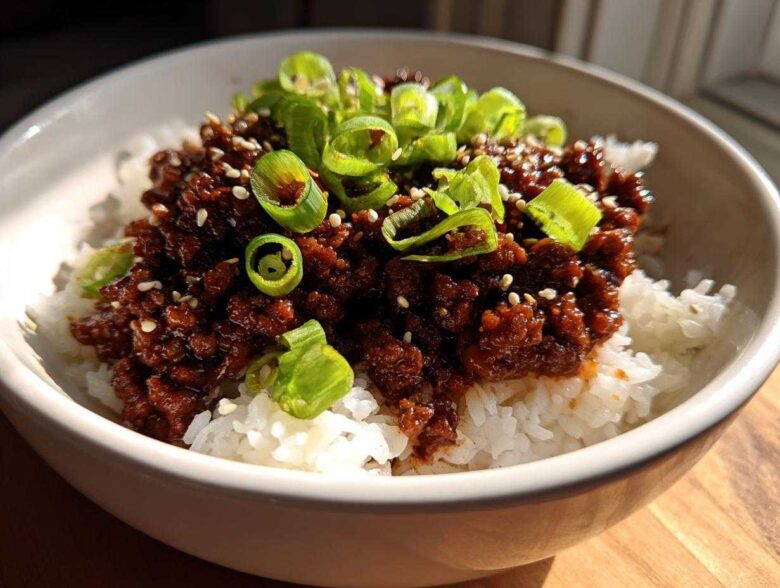
Oh my gosh, I know the feeling. It’s 6:00 PM, you’re tired, and the thought of marinating meat for hours—or even making something that feels *fancy*—is just too much. Well, I cracked the code for those chaotic weeknights! This recipe for Korean Ground Beef Bulgogi Bowls is my absolute weeknight savior. We skip the slicing and marinating traditional bulgogi requires because we’re using humble ground beef. Trust me, that sweet, savory, garlicky sauce we whip up in minutes is absolutely spot-on. I fiddled with the sauce ratios for weeks until it tasted just like what I remember from my favorite Korean restaurant, only faster. It’s ready in under 30 minutes, delivering massive flavor without the fuss! If you want more quick cooking inspiration, take a peek at my general blog archives for more easy dishes!
Why This Korean Ground Beef Bulgogi Bowls Recipe Works for Weeknights
When you’re staring down a hungry family and zero motivation, speed is everything. Seriously, this recipe is built for speed. We are using ground beef for these Korean Ground Beef Bulgogi Bowls, which means virtually no prep time compared to fussing over thin slices of steak. It’s completely different than making a sauce for something like my creamy peanut sauce, where you have to blend things perfectly; here, we just whisk and simmer!
The best part? You can have dinner on the table from start to finish in about 25 minutes total. That’s faster than most delivery windows, and it tastes a million times better! Here’s why this dish has earned its permanent spot in my rotation:
- It’s a one-skillet wonder, meaning cleanup is shockingly easy compared to recipes that require multiple pots.
- The sauce uses pantry staples like soy sauce and brown sugar, so you usually don’t need a special trip to the store.
- It transforms ground beef—a budget-friendly staple—into something that feels exciting and exotic.
Speed and Simplicity: The Ultimate Quick Korean Beef Bowls
Traditional bulgogi needs good marination time, sometimes hours, to tenderize and soak up flavor. Who has that kind of time on a Tuesday night? Nobody! Since ground beef cooks almost instantly, all the flavor gets absorbed right there in the pan while it’s simmering in the sauce. I’m talking about 15 minutes of active cooking time before it hits the rice. If you are looking for more inspiration for getting dinner done fast, check out my general list of quick Korean beef bowls ideas!
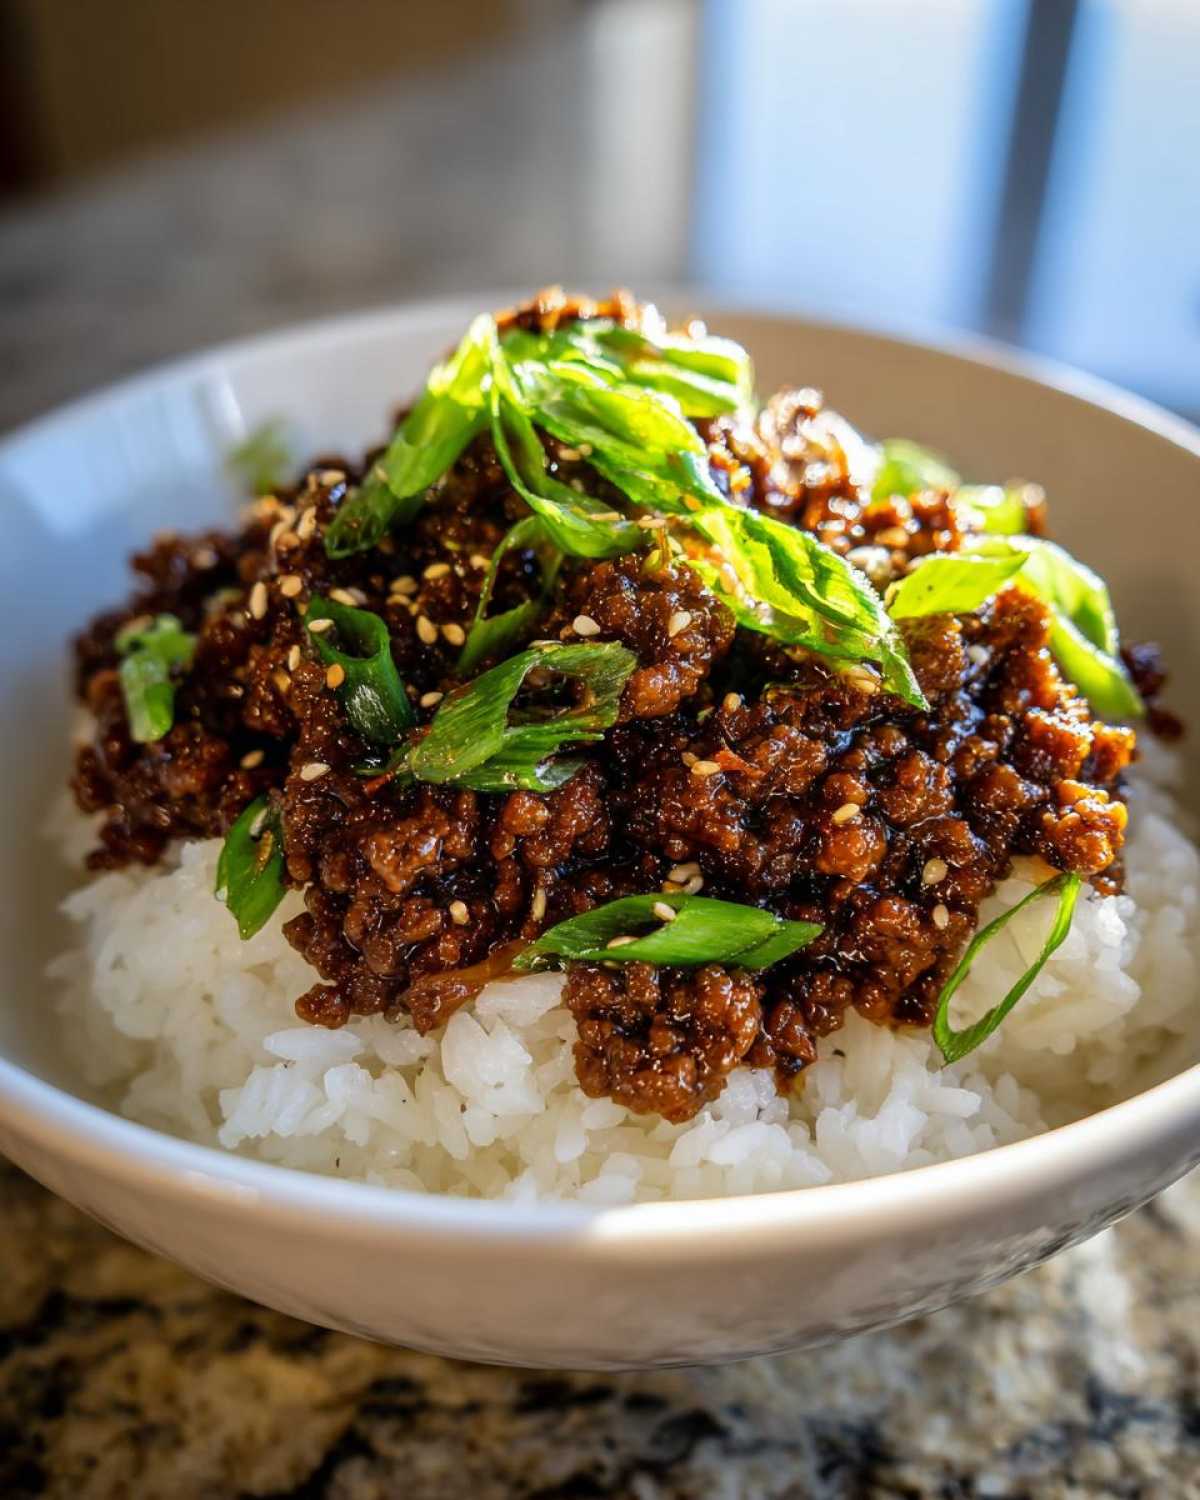
Flavor Profile: Authentic Taste, Minimal Effort
Don’t let the speed fool you; this isn’t some watered-down version of Korean beef. The sauce is packed with robust flavor. We hit all the right notes—the salty punch from the soy sauce, the richness of sesame oil, that signature sweetness from brown sugar, and tons of fresh garlic and ginger. It’s savory, sweet, and smells like heaven while it simmers. You get that deep, complex umami flavor instantly without waiting for any marinating juices to start working their magic.
Gathering Ingredients for Your Korean Ground Beef Bulgogi Bowls
You only need a handful of things for this recipe, which is honestly the beauty of ground beef weeknight meals like this! Don’t just grab any old bottle of soy sauce, though. For the best results and to keep things healthy-ish, I always reach for low-sodium soy sauce. Everything needs to be ready to go because this cooks so fast. I’ve learned the hard way that fumbling for garlic knives while your beef is already browning is a recipe for burnt aromatics!
The Ground Beef and Aromatics
You’ll need a full pound of ground beef. I usually stick with 85/15 because that little bit of fat helps carry the flavor so nicely, but use what you have! The stars of the show besides the beef are the fresh aromatics. You absolutely must mince four generous cloves of garlic—don’t use the jarred stuff here, please! And for that bright, zesty kick that separates this from just a regular stir-fry, we need one teaspoon of fresh ginger, grated. You need that fresh punch!
Crafting the Simple Bulgogi Sauce
This is where the magic happens, making our simple bulgogi sauce. In a separate little bowl, whisk together half a cup of low-sodium soy sauce—we get enough salt from that alone—with a quarter cup of brown sugar. Make sure that brown sugar is truly packed into the cup or it will throw off the sweetness balance! Next, add in two tablespoons of sesame oil, one tablespoon of rice vinegar for just a tiny edge of tang, one teaspoon of black pepper, and finally, that one-quarter cup of water to help the sauce thin out a bit before it reduces.
Assembling the Korean Rice Bowl
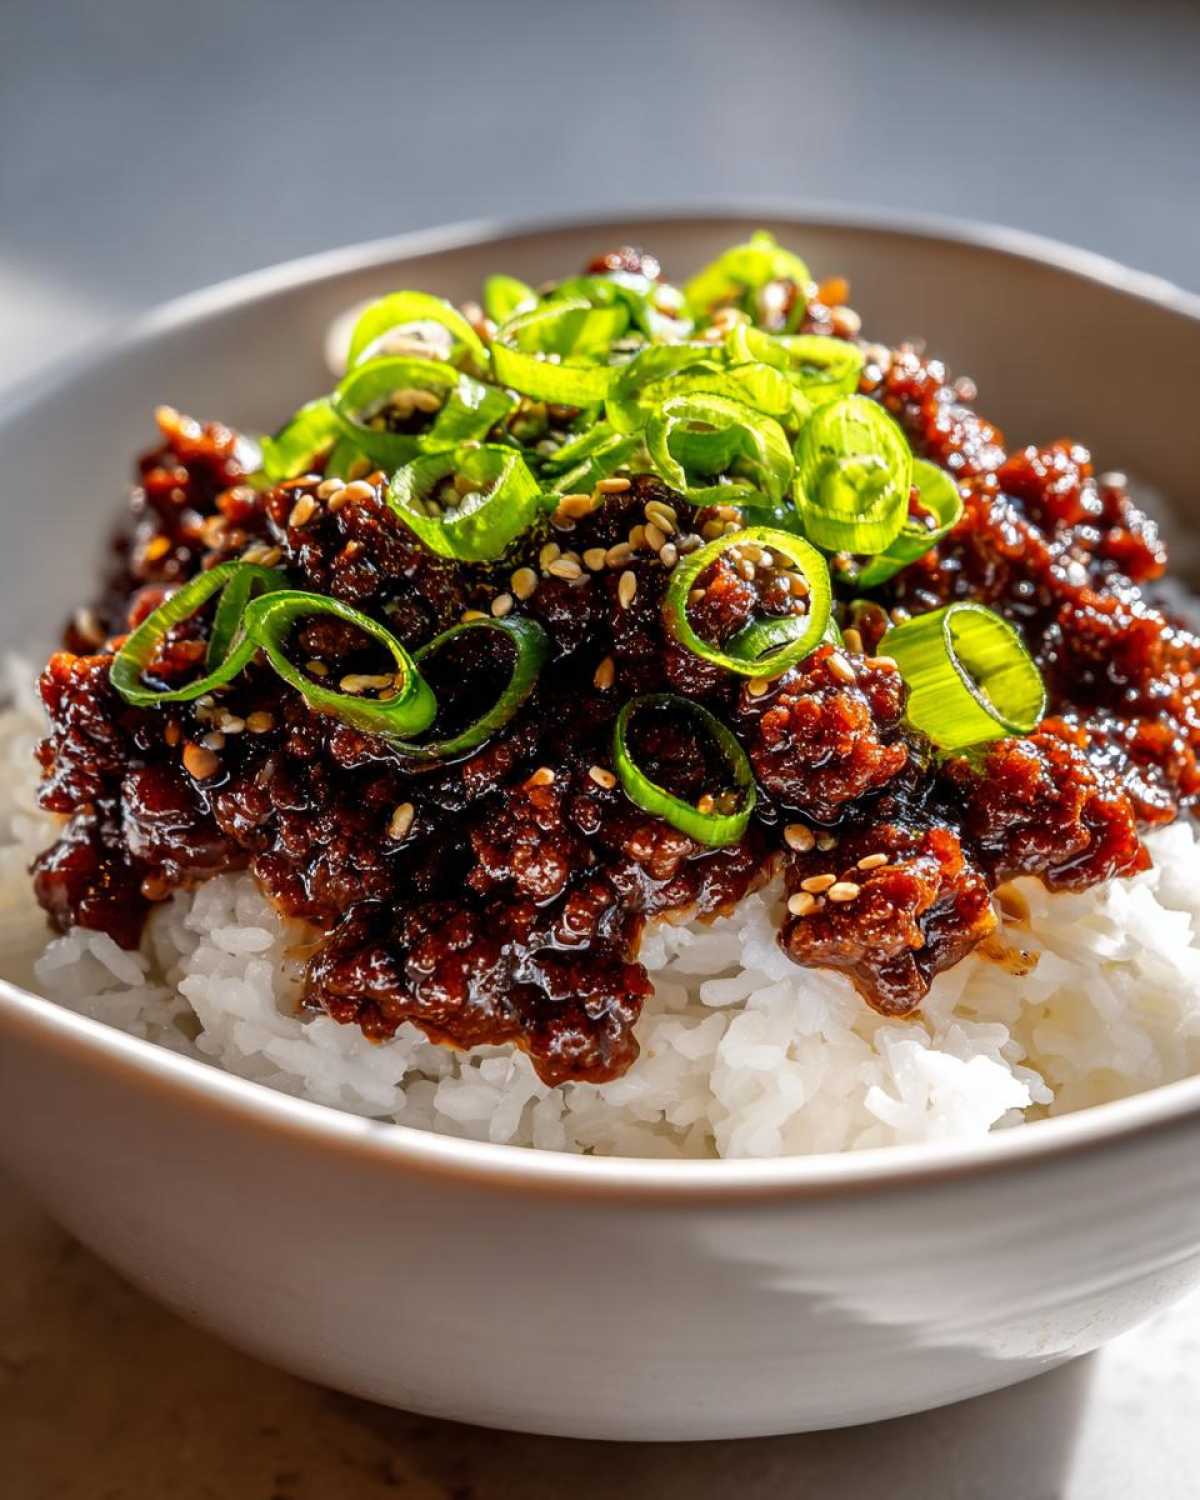
Once the beef is cooking, you’ll need your base ready to go. We’re aiming for four generous servings, so you’ll want about four cups of cooked white rice ready. When it comes time to build the bowl, the toppings are non-negotiable for that authentic look and texture. You absolutely need sliced green onions—don’t be shy with them! And a sprinkle of toasted sesame seeds over the top is crucial for that nutty flavor pop. It’s all about that final presentation that screams Korean rice bowl assembly!
Step-by-Step Instructions for Easy Bulgogi Bowls
Okay, this is the part where you need your cutting board cleared and everything measured out, because once the meat hits the pan, things move *fast*. Unlike a traditional slow-cooked stew, we need to move quickly here to keep the flavor bright. I always tell folks that reading the instructions twice before turning on the stove is the best way to ensure a successful quick Korean beef dinner!
Preparing the Simple Bulgogi Sauce First
Before you even think about touching the stove, get that sauce whisked together! Grab a small bowl—that’s a non-negotiable first step. Whisk together your soy sauce, brown sugar, sesame oil, rice vinegar, black pepper, and water until that sugar has mostly dissolved. Seriously, set this bowl right next to your empty skillet. Having it ready means you won’t panic when the garlic starts popping!
Cooking the Ground Beef and Sautéing Aromatics
Next, heat a teaspoon of oil in your big skillet over medium-high heat. Toss in the pound of ground beef and just start breaking it apart immediately with a wooden spoon. Cook it down until there is absolutely no pink left—you want it fully browned. Once it looks done, carefully drain off any excess grease; nobody wants a soupy bowl! Now, toss in your minced garlic and grated ginger. You only cook this part for about 60 seconds until you can really smell it. If you push it past a minute, that garlic burns, and the whole dish tastes bitter, so watch it closely!
Finishing the Korean Ground Beef Mixture
Now for the payoff! Pour that beautiful sauce you mixed earlier right over the beef mixture. Give it a good stir so every last bit of meat gets coated in that sweet, garlicky goodness. Bring the whole thing up to a gentle simmer, then immediately reduce the heat down to medium-low. Let it bubble gently for about three to five minutes. You’re looking for the sauce to thicken just enough so it clings snugly to the meat, not so much that it turns into thick candy! If it starts sticking too hard, just splash in a tablespoon of water.
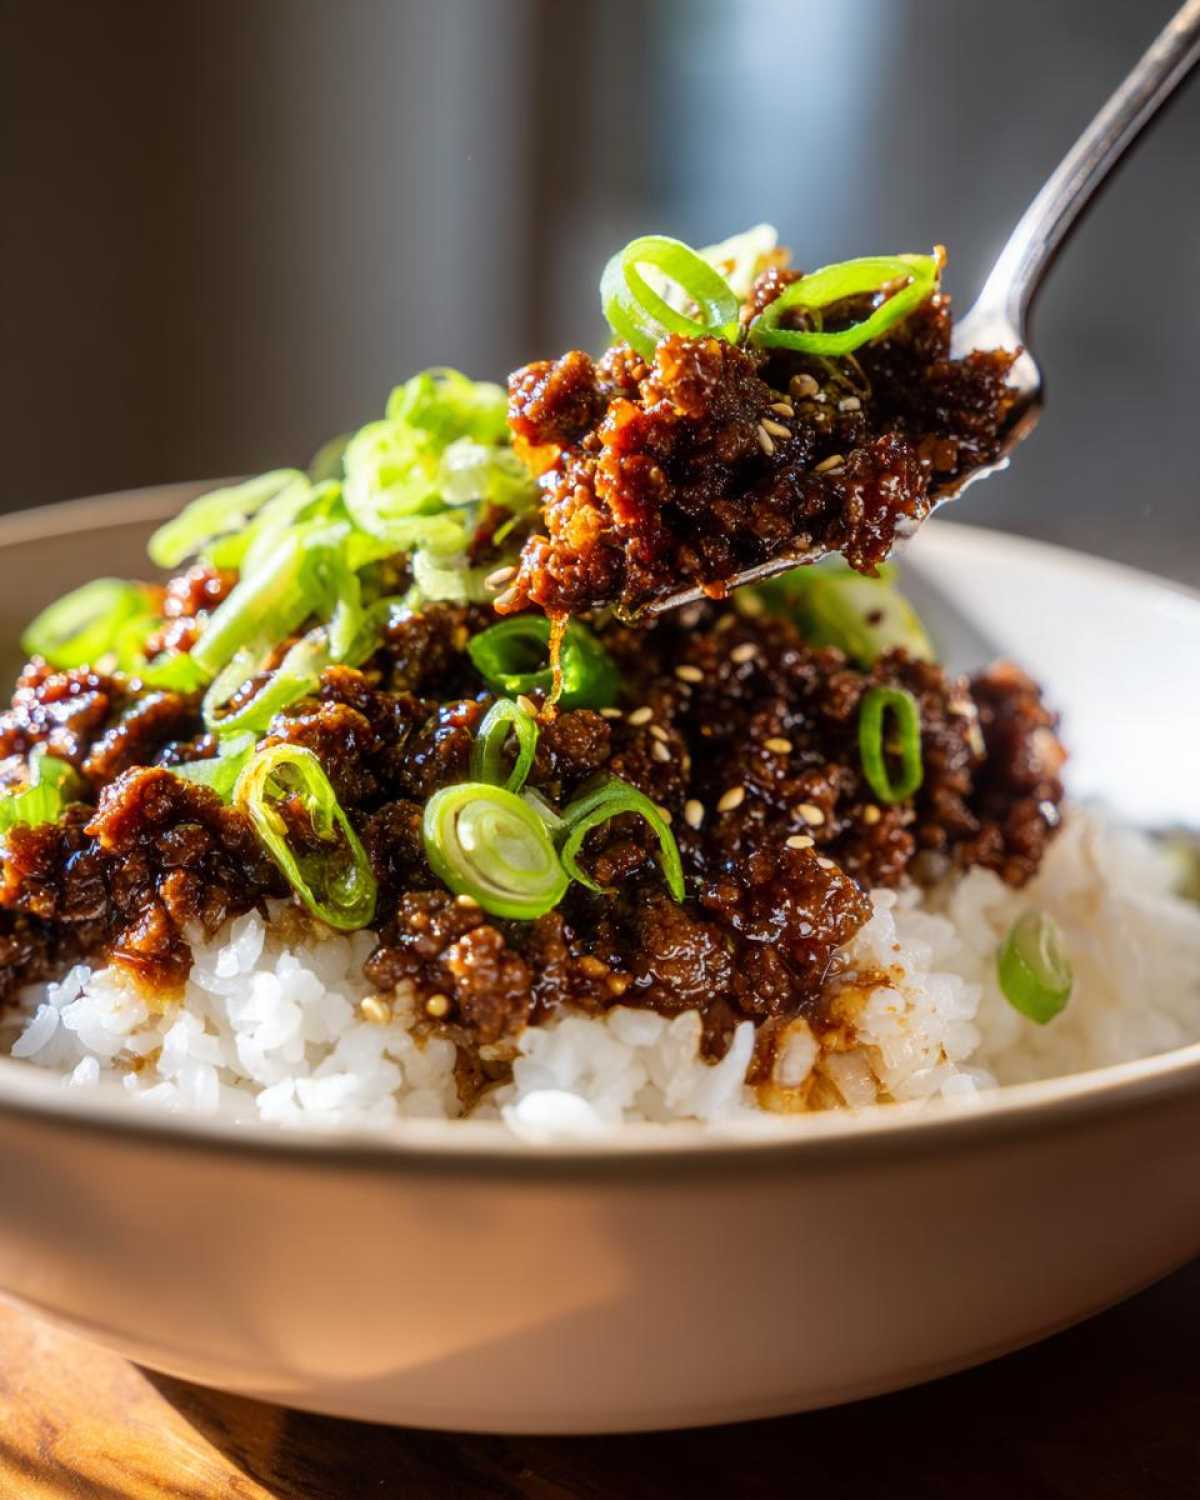
Mastering the Korean Rice Bowl Assembly
We did the hard work cooking that savory, perfectly glazed beef, so don’t rush the ending! The assembly—the actual Korean rice bowl assembly—is what makes this meal feel like a genuine, thoughtful dinner instead of just leftovers dumped in a dish. Presentation matters, even on a Tuesday night!
Start with the base. You want a nice fluffy bed of your cooked rice. Don’t mash it down; keep it light! Then, you’re going to spoon that beautiful ground beef mixture over one side of the rice. Try not to let the sauce completely drown the rice, especially if you made extra sauce, because no one wants soggy rice right away. You want distinct areas of white rice and rich beef glaze.
Now comes the fun part: piling on those colors and textures! Take those thinly sliced green onions and let them cascade over the beef. They add a fresh, sharp bite that cuts through the richness of the sauce. Then, grab your toasted sesame seeds and just lightly dust them over everything. That little bit of crunch and nutty aroma elevates the whole dish instantly. If you made those quick pickles I mentioned earlier? Tuck those salty, vinegary slices right next to the beef for the perfect counterpoint!
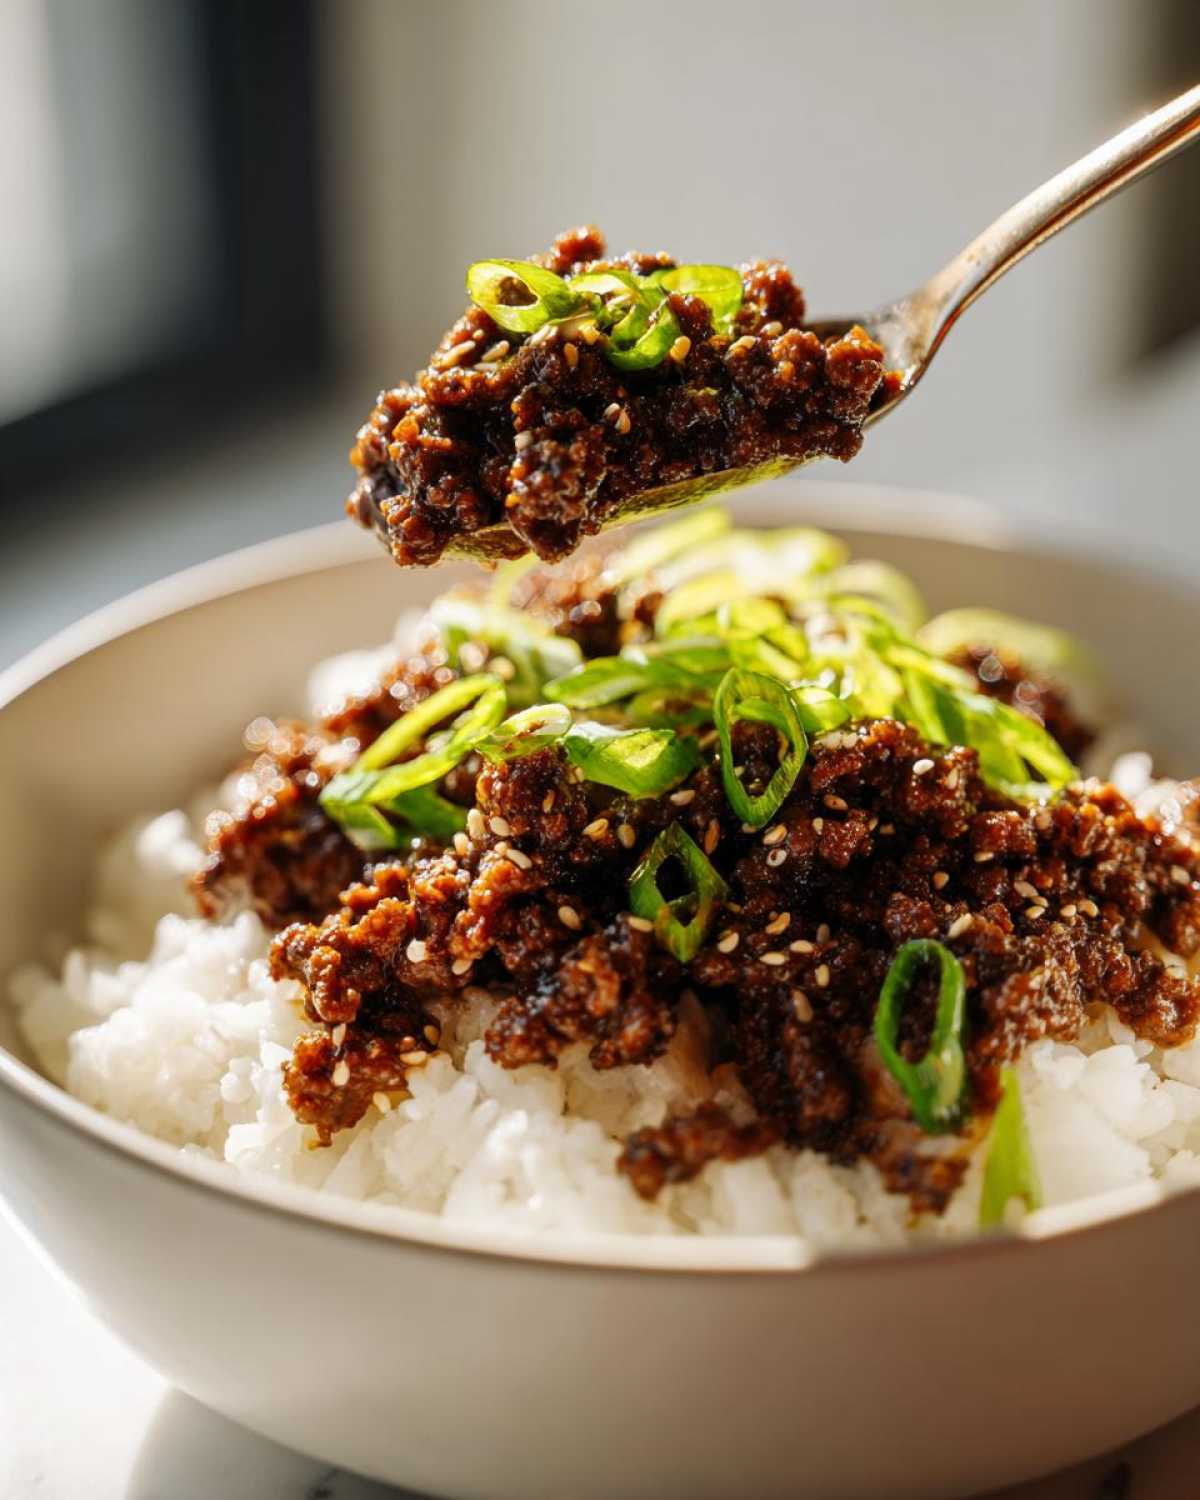
Tips for the Best Korean Ground Beef Bulgogi Bowls
I’ve made this recipe dozens of times, tweaking it for spice levels and different grocery store runs, so I’ve picked up a few things that really elevate these Korean Ground Beef Bulgogi Bowls from good to truly addictive. It’s all about those little details that show you’ve been cooking for a while—that’s the E-E-A-T part, right? If you’ve got leftover sauce, don’t throw it away! You can use it as a quick dip or even brush it onto grilled zucchini. For more cool ways to apply flavor boosters like this, check out my thoughts on ground beef marinade ideas.
Ingredient Notes and Smart Substitutions
Let’s talk about substitutions first, because dietary needs pop up all the time. If you are cooking for someone who can’t handle gluten, this is super easy to adjust! Just swap out the regular soy sauce for Tamari. It has the same salty, savory depth that we love in the sauce but without the wheat. It’s a direct one-for-one swap and your sauce won’t miss a beat.
Now, if you’re feeling like this needs some serious heat—because sometimes sweet and savory just isn’t enough for me—you can definitely add spice! I toss in about one teaspoon of gochujang, which is that wonderful Korean chili paste, right into the sauce mix when I’m whisking it all together. It gives it this gorgeous red tint and a beautiful, deep heat.
I also highly recommend making the quick pickled cucumbers. They are heavenly alongside the rich beef. It’s so simple: thinly slice one small cucumber and toss it immediately with just one tablespoon of rice vinegar and one teaspoon of sugar. You only need them to sit for about ten minutes while the meat is cooking. But wow, those cold, crisp, vinegary slices next to the hot, sweet beef? Perfection! It completely refreshes your palate.
Achieving Perfect Sauce Consistency
This is the most common place people mess up the sauce, so listen closely! When you pour that sauce over the ground beef, your main goal is to let it *coat* the meat, not create a soup. If you let it simmer too long, all the water burns off and you’re left with a really sticky, almost burnt glaze that tastes too sweet. You only need about three to five minutes on low heat.
You know it’s done when you drag your spoon across the bottom of the pan and it takes the sauce a second or two to flow back together and cover the space you made. That indicates it’s thick enough to cling to every piece of beef without pooling at the bottom of your bowl. If you accidentally reduce it too much, seriously, don’t panic! Just stir in a tiny splash of water or even just chicken broth, heat it for 30 seconds, and you’re back in business. It’s an easy fix!
Variations for Your Ground Meat Korean Recipe
While I absolutely adore this dish made with beef—it just seems to hold up to that salty-sweet glaze perfectly—I know not everybody keeps ground beef stocked all the time, or maybe you just want to switch up the protein for a lighter feel. This basic sauce structure works beautifully across different types of ground meat, making it a truly versatile staple in my kitchen. If you’re exploring different ways to use up what you have on hand, you should check out my guide to the ground meat Korean recipe variations!
We’re talking about a format that is so adaptable. You can easily change the core ingredient without having to adjust the sauce ingredients at all, which is such a huge time-saver when you’re meal prepping or just trying to use up the last bits in the fridge.
If you swap out the beef, you might need to just keep a closer eye on the cooking time in Step 2. Lighter meats like ground turkey or chicken tend to dry out faster than fattier beef, so they don’t need as long before you add the sauce back in for that final glaze. Also, if you use ground pork, it tends to render more fat than beef, so make sure you drain off that excess fat really well before introducing the garlic and ginger, otherwise, your final sauce might end up a little too oily.
Honestly, sometimes I even use ground chicken breast when I’m being super strict about watching the fat intake, and while it’s a little less rich, the sauce completely carries it. The flavor profile is so strong thanks to that sesame-garlic combination—that the protein underneath just serves as the perfect vehicle for licking clean!
Storage and Reheating Korean Ground Beef
When I cook this on a Sunday night, I’m already planning my lunch for Monday! Thankfully, these sesame garlic ground beef mixtures are fantastic leftovers. The flavors actually seem to deepen overnight, which is always a bonus when you’re doing some quick prep. I try to store the components separately when I can, but since this is all mixed together, storing the beef and sauce mixture separately from the rice is the secret to keeping everything tasting fresh the next day.
For storage, let the cooked Korean ground beef cool down completely on the counter—don’t put a piping hot container straight into the fridge, as that warms up everything else! Once cooled, transfer it into an airtight container. It keeps really well in the refrigerator for about four to five days. I usually make enough for about three meals, so it’s gone before I have to worry about that five-day limit. If you need more simple, quick meals that store well, you have to check out my recipe for easy one-pot beans and rice; it’s another life-saver!
Reheating is where you need to be careful. Nobody wants dry, rubbery beef, right? If you reheat it in the microwave directly, it can get a little steamy and lose some of its texture. So, here’s my trick for keeping that glazed coating intact:
- Stovetop Method (Best): Pop the beef mixture into a small skillet over medium-low heat. Add just one teaspoon of water or broth right at the bottom of the pan. Cover it lightly and let it steam for just a few minutes until it’s fully heated through. This adds just enough moisture back in to make that sauce glossy again without making it runny.
- Microwave Method (Fastest): If you’re really in a rush, put the beef in a microwave-safe bowl and cover it loosely with a paper towel before heating. The paper towel catches steam that might otherwise make the beef chewy. Heat in 30-second bursts, stirring in between, until it’s hot.
And remember, no matter how you reheat the beef, always serve it over fresh, piping hot rice and refresh those garnishes—a sprinkle of new sesame seeds and a fresh snip of green onion makes it taste like it was just made!
Frequently Asked Questions About Korean Ground Beef Bulgogi Bowls
It’s funny how often people ask the same few things once they get familiar with a recipe! I tried to capture all the common questions I usually get about this dish, especially for folks trying to adapt it. If you’re looking for even more breakdown on the process, I put together a whole guide on how to make bulgogi bowls if you want to dive deeper!
Can I substitute the ground beef?
Oh yes, totally! I love this recipe precisely because it works so well as a base for whatever ground meat Korean recipe you want to try. You can absolutely swap the beef out for ground turkey, ground chicken, or even ground pork. The sauce is strong enough that it flavors anything beautifully.
The main thing you have to watch out for is your cooking time. Remember how I said ground beef is forgiving? Leaner poultry cooks way quicker and dries out if you leave it on high heat too long. So, when you are browning your substitute meat, just eyeball it until it’s cooked through—maybe a minute or two less overall—then drain the fat and proceed exactly as written by adding the garlic and ginger. The sauce will do the rest of the heavy lifting!
How can I make this a Healthy Korean Ground Beef option?
That’s a great question, especially since the sauce does contain a bit of sugar. There are a few easy ways to tip these quick Korean beef bowls toward the healthier side without sacrificing the flavor. First, if you haven’t bought your beef yet, go leaner! Try switching from the 85/15 blend to a 93/7 ground beef. You’ll have less fat to drain, which saves you a step, too!
Second, when it comes to the sauce, you can definitely skimp on the brown sugar just a touch. I usually dial the quarter cup down to three tablespoons. The savory notes of the soy sauce will still shine, but you cut back significantly on the sweetness. It’s still delicious, I promise.
And finally, don’t forget the base! If you are swapping out the white rice for brown rice or even quinoa, you automatically boost your fiber and nutritional value way up. The sauce works great over anything, so don’t feel locked into white rice just because the recipe calls for it!
Nutritional Snapshot of These Quick Korean Beef Bowls
Okay, listen, I’m a cook, not a nutritionist, so take this with a grain of salt—or maybe a sprinkle of sesame seed! Since we are using ground beef and brown sugar, these quick Korean beef bowls are satisfying, but they definitely have some sodium and sweetness because of that amazing sauce. This breakdown below details what you can expect in one serving based on the main recipe measurements, which I call Option A—the classic, full-flavor version.
I always try to keep the rice base a modest amount—about one cup—to balance out the richness of the beef mixture. If you use more rice, your carbs go up, and if you use leaner meat, your fat content will actually drop! So, view this as a good starting point for tracking your macros, but remember those ingredients can shift around a bit depending on what you have on hand. For another easy sauce-based dinner that lets you track macros easily, you should look at my easy weeknight bolognese sauce recipe!
Here is the approximate breakdown per serving (Yield: 4 servings):
- Calories: 550
- Protein: 35g
- Fat: 18g (with 6g of that being saturated fat)
- Carbohydrates: 65g
- Sugar: 18g
- Sodium: 750mg
See? Solid protein content to keep you full through the evening! If you’re worried about that 750mg of sodium, remember that using low-sodium soy sauce helps a ton, and you can always serve it over cauliflower rice instead of traditional white rice for a much lower carb and calorie count. Ultimately, since this is a home-cooked meal, you are in total control of the final nutritional profile!
PrintQuick Weeknight Korean Ground Beef Bulgogi Bowls
A fast recipe for Korean-style ground beef cooked in a sweet and savory bulgogi sauce, served over rice with fresh toppings.
- Prep Time: 10 min
- Cook Time: 15 min
- Total Time: 25 min
- Yield: 4 servings
- Category: Dinner
- Method: Skillet
- Cuisine: Korean
- Diet: Low Fat
Ingredients
- 1 pound ground beef (85/15 recommended)
- 1 tablespoon vegetable oil
- 4 cloves garlic, minced
- 1 teaspoon fresh ginger, grated
- 1/2 cup low sodium soy sauce
- 1/4 cup brown sugar, packed
- 2 tablespoons sesame oil
- 1 tablespoon rice vinegar
- 1 teaspoon black pepper
- 1/4 cup water
- 4 cups cooked white rice
- For serving: Sliced green onions, toasted sesame seeds, optional quick pickled cucumbers
Instructions
- In a small bowl, whisk together the soy sauce, brown sugar, sesame oil, rice vinegar, black pepper, and water to create the bulgogi sauce. Set aside.
- Heat the vegetable oil in a large skillet or wok over medium-high heat.
- Add the ground beef to the skillet and cook, breaking it apart with a spoon, until it is browned completely. Drain off any excess grease.
- Add the minced garlic and grated ginger to the beef. Cook for 1 minute until fragrant.
- Pour the prepared bulgogi sauce over the beef mixture. Stir well to coat everything.
- Bring the sauce to a simmer. Reduce the heat to medium-low and cook for 3 to 5 minutes, stirring occasionally, until the sauce thickens slightly and coats the meat.
- To assemble the bowls, divide the cooked rice among four bowls. Spoon the Korean ground beef mixture over the rice.
- Garnish each bowl with sliced green onions and toasted sesame seeds. Serve immediately.
Notes
- For a gluten-free option, substitute tamari for the soy sauce.
- To make quick pickled cucumbers, thinly slice 1 small cucumber and toss it with 1 tablespoon rice vinegar and 1 teaspoon sugar. Let it sit for 10 minutes while you cook the beef.
- If you prefer a spicier flavor, add 1 teaspoon of gochujang (Korean chili paste) to the sauce mixture.
Nutrition
- Serving Size: 1 bowl
- Calories: 550
- Sugar: 18
- Sodium: 750
- Fat: 18
- Saturated Fat: 6
- Unsaturated Fat: 12
- Trans Fat: 0
- Carbohydrates: 65
- Fiber: 2
- Protein: 35
- Cholesterol: 85