

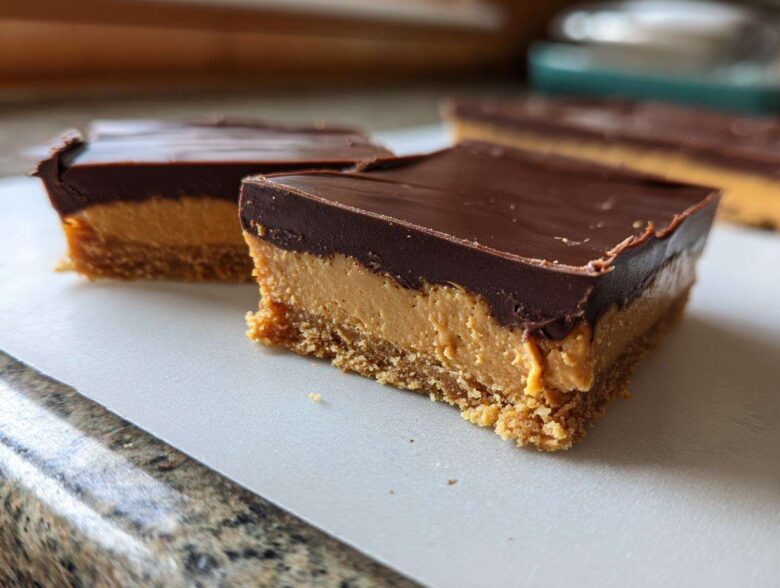
Oh, you know those days, right? When you just need something sweet, something rich, something that tastes exactly like childhood, but the thought of turning on the oven makes you sweat? Me too! That’s why these No Bake Chocolate Peanut Butter Bars are my absolute sanity saver.
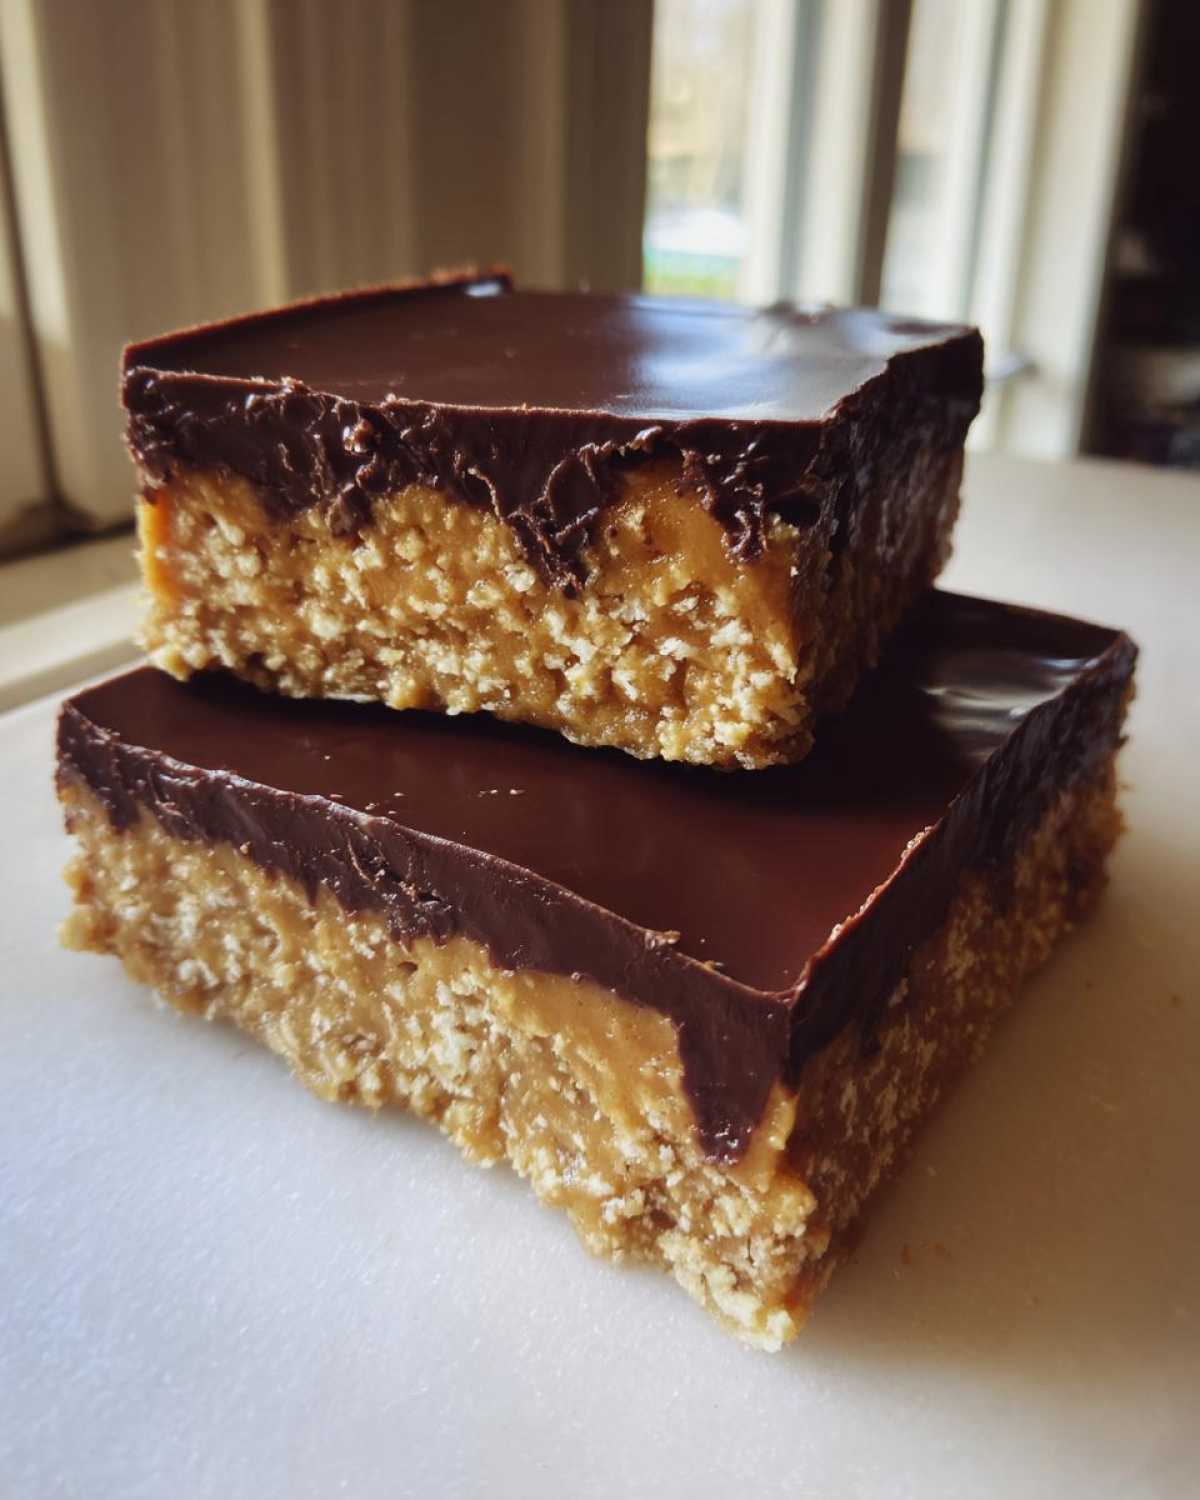
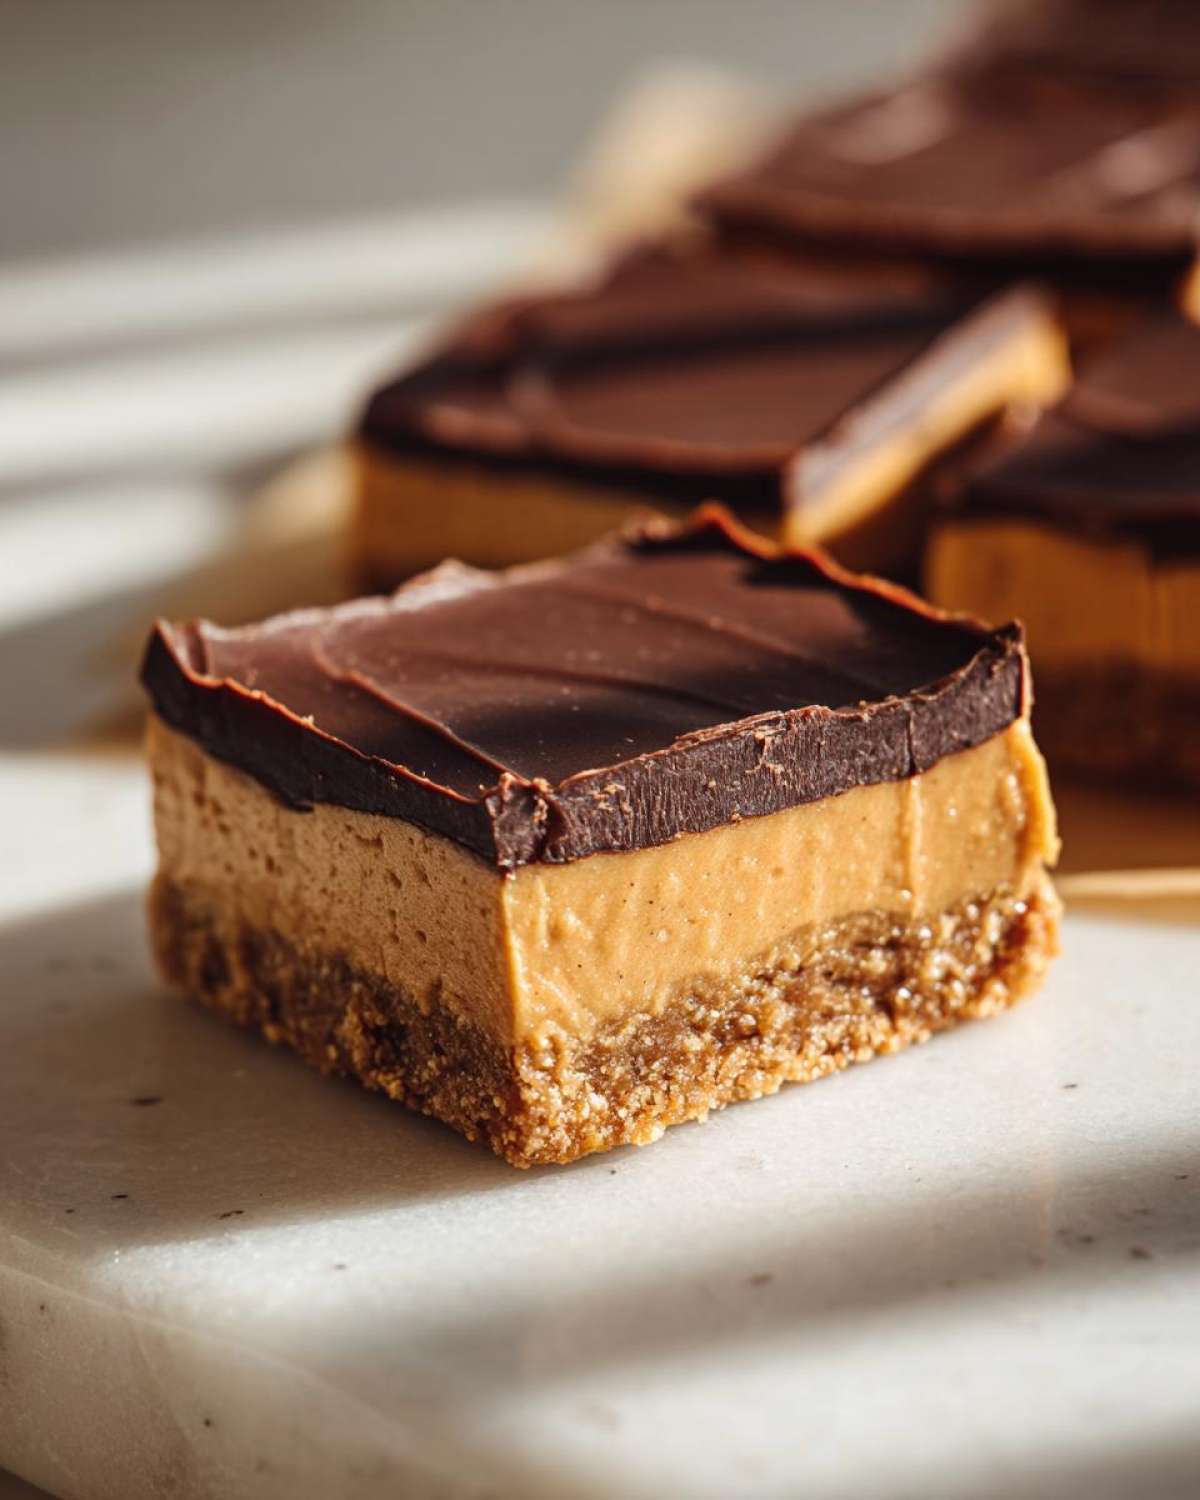
When I talk about the ultimate comfort dessert, these peanut butter bars are number one on the list. Forget fussy layers or complicated steps! We’re talking a super creamy, perfectly sweet peanut butter base, mixed with that hint of graham cracker crunch, and then smothered in a thick, fudgy chocolate topping. Honestly, they hit every spot for a truly quick sweet snack. There’s zero baking involved, which means they’re ready for the fridge in about fifteen minutes flat. These are the homemade dessert bars everyone asks me to bring, and trust me, they taste so much better than anything you buy premade!
Why You Will Love These No Bake peanut butter bars
Listen, if you need a winner fast, this is it. I keep ingredients stocked specifically for days when I need a treat five minutes ago. Seriously, you’re going to adore these because:
- They are completely oven-free! We skipped the heat entirely, meaning they are the perfect **No Bake Dessert Bars** for summer baking fatigue.
- Active prep time is less than 15 minutes. You mix, press, top, and chill. That’s it!
- The texture is exactly what you want: a thick, **creamy peanut butter** center that just melts in your mouth.
- And, obviously, that luscious, deep chocolate layer on top means you get a perfect **peanut butter and chocolate delight** in every single bite.
Gathering Ingredients for Classic peanut butter bars
Getting started on these amazing **peanut butter bars** is so easy because, honestly, we’re using pantry staples. Forget specialty items when you need a craving satisfied right now! I always organize everything before I even grab the mixing bowl, and trust me, it makes the whole process feel like a breeze. We’re splitting the ingredients into two groups: what makes up that fantastic, dense bottom layer, and what melts down into that gorgeous, shiny chocolate coating.
As you look through what you need, remember that quality matters even in simple ingredient bars. Using good creamy peanut butter makes a huge difference in the final texture!
For the Creamy Base Layer
For the foundation, you need one cup of butter, but here’s the catch: it *must* be softened, truly softened, like room temperature soft. That lets you cream it properly! We mix that with a cup of good creamy peanut butter, a cup of powdered sugar for pure sweetness, a teaspoon of vanilla extract, and then our body—about two cups of graham cracker crumbs. If those crumbs aren’t soft enough, your base won’t set right.
For the Rich Chocolate Topping
Next up is the chocolate marriage that makes these so fun to eat. For the topping, we just need semi-sweet chocolate chips—one cup is perfect. Then we mix that with half a cup more of creamy peanut butter, and just two tablespoons of butter to give it that extra melt-in-your-mouth richness. These three things melt down into the most beautiful, fudgy layer over the top when microwaved.
Step-by-Step Instructions for No Bake peanut butter bars
Okay, let’s get these incredible **peanut butter bars** assembled! Since this is a no-bake scenario, timing is everything, but the steps are so simple you’ll think you cheated. I always make sure my 8×8 inch pan is ready to go first because once that base is made, it needs to go into its home right away. Don’t skip the parchment paper either—having those little ‘handles’ sticking up means you can lift the whole slab out later without any broken edges. Trust me on that one! You want these finished so fast, which is why you’ll love these 10 minute dessert recipes.
When mixing the base, remember that your softened butter is the key player. Get it smooth first, then gently mix in the dry crumbs. The goal isn’t a glossy batter; it’s a thick, crumbly mixture that holds together when you squeeze it.
Preparing the Pan and Base
First thing’s first: line that 8×8 inch pan with parchment paper so you have an overhang on two sides. This overhang is your lifesaver for pulling the whole block out later! Now, grab your big bowl and cream that perfectly soft butter, the cup of peanut butter, the powdered sugar, and the vanilla until it’s looking light and fluffy. Once that’s smooth—and I mean *really* smooth—it’s time for the graham cracker crumbs. Fold those in gently until everything is just combined. You don’t want to overmix this part! Then, dump that whole glorious mixture into your lined pan. Take your time now, using the back of a spatula or even just lightly oiled hands, and press that base down firmly and evenly across the whole bottom. It needs to be packed tight to give the chocolate something sturdy to sit on.
Creating the Chocolate Topping and Assembly
Time for the chocolate magic! You need a microwave-safe bowl here. Toss in your chocolate chips, the remaining half cup of peanut butter, and those two tablespoons of butter. Zap it in 30-second bursts. The trick, and I learned this the hard way when I tried to melt it all at once, is to stir it well *between* every 30 seconds, even if it doesn’t look melted yet. Keep going until it’s just smooth—that keeps the chocolate from seizing up on you! Pour that melted mixture right over your pressed peanut butter base. Use an offset spatula to spread it delicately right to the edges. Once it’s looking perfect, you have to hide it! Pop the whole pan into the refrigerator for at least two full hours. Seriously, don’t rush the chill time, that’s how you get those neat, satisfying squares when you cut them later.
Tips for Perfect Creamy Chocolate peanut butter bars
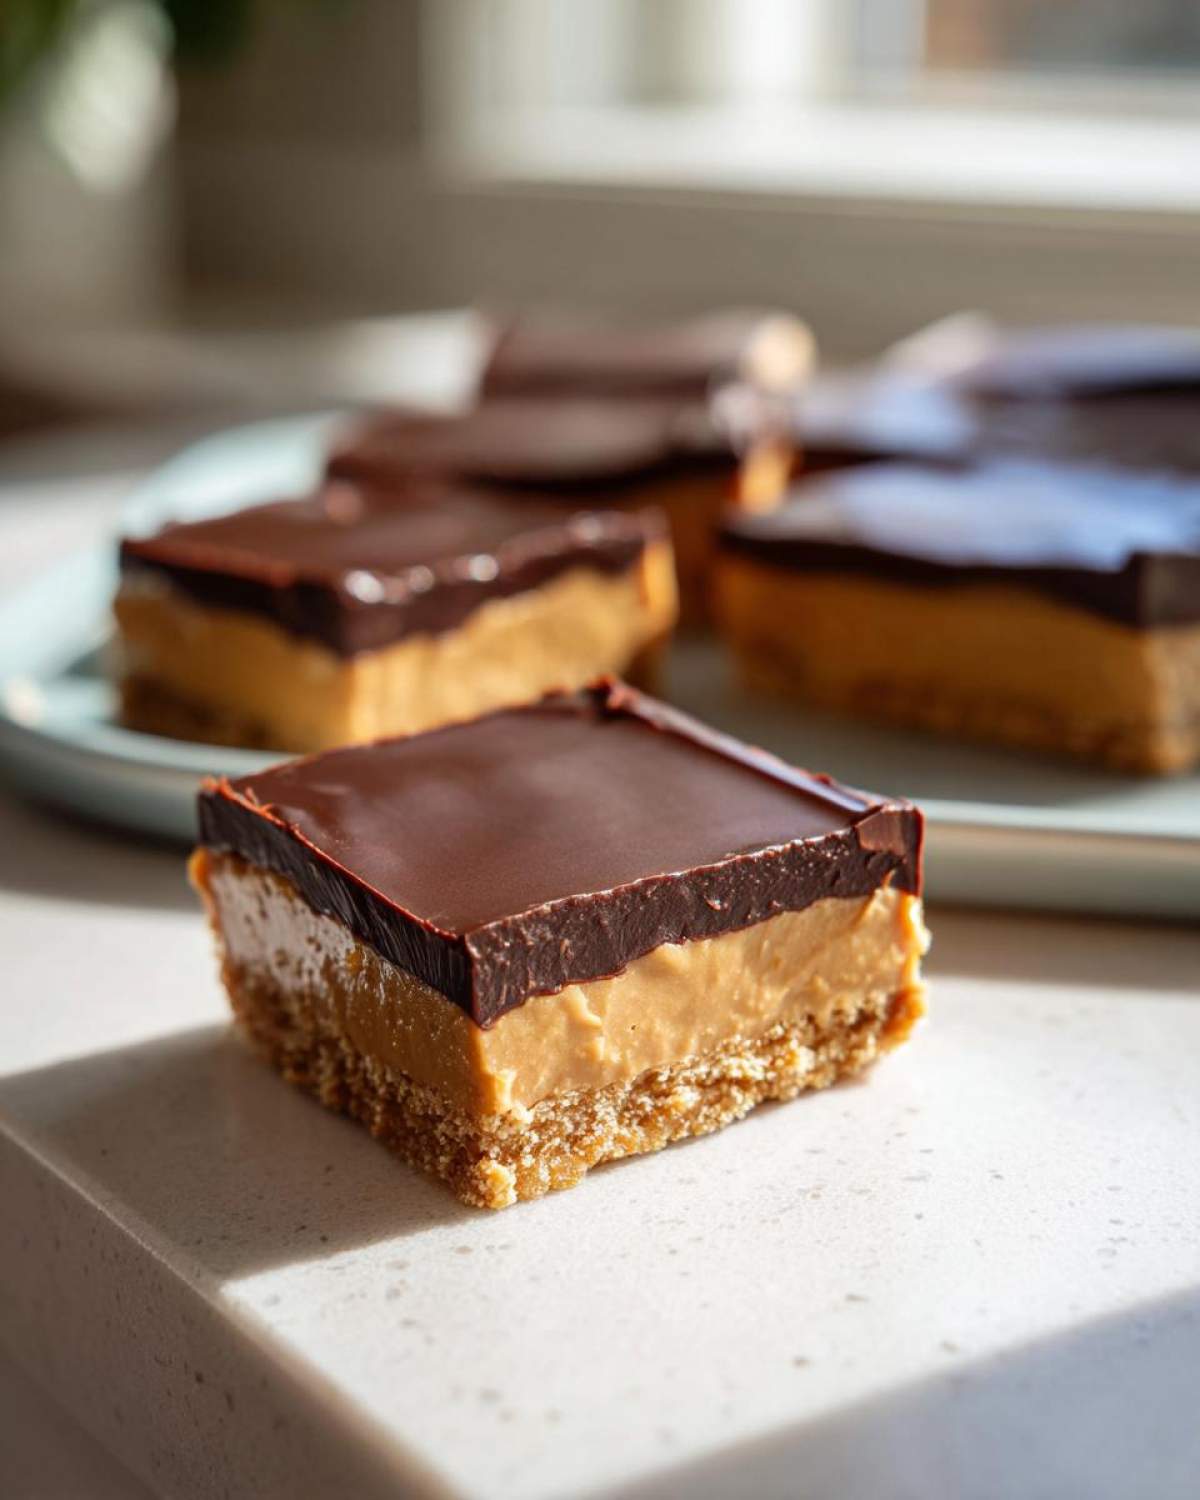
You really can’t mess up this recipe, but there are a few little tricks I use to make sure these **peanut butter bars** come out looking like they came from a bakery, not just my kitchen counter! First, let’s talk about that butter again. It has to be room temperature—not melted, not cold from the fridge. When it’s soft, it creams up light and airy when you mix it with the powdered sugar. Those tiny air pockets are what keep the base from being a brick and give you that wonderfully **creamy chocolate peanut butter bars** texture.
Another must-do? Chilling time! Seriously, if you try to slice these while they’re even slightly warm, you’ll get chocolate smears everywhere. Pop them in the fridge for those full two hours, or even longer. If you ever want more ideas for **easy peanut butter treats** that skip the oven, I have tons of great options linked above for you to browse! Check out my favorite quick recipes here.
Also, remember that if you don’t have graham crackers on hand, my note says you can totally substitute with vanilla wafer crumbs! That makes it even easier. And one thing I get asked about a lot is the peanut butter. If you use the natural kind that separates—you know, the oily stir-it-up kind—you need to be careful. That excess oil can make your chocolate runny and your base greasy because it doesn’t absorb into the sugar the same way. For the best texture, stick to the classic commercial brands required for these bars!
Variations on Classic peanut butter bars Recipe
While this recipe for **peanut butter bars** is genuinely perfect as written—classic, creamy, and totally nostalgic—sometimes I just need to shake things up a tiny bit! Luckily, this combination of peanut butter and chocolate is super adaptable. You don’t have to change much to get a completely new favorite square.
If you’re aiming for that next-level **Peanut Butter and Chocolate Delight**, my very favorite modification is adding a little sprinkle of flaky sea salt right on top of the chocolate layer while it’s still wet. Those little bursts of salt cut through the sweetness perfectly. It’s a game-changer, honestly! If you love peanut butter treats, you have to try making these little tweaks.
Another super easy swap is playing with the base crumbs. I already mentioned vanilla wafers work beautifully instead of graham crackers, but you could also crush up some shortbread cookies if you have some lying around. That adds a buttery flavor that’s just divine! Finally, if semi-sweet chips aren’t your thing, try using high-quality dark chocolate chips for the topping. It makes the whole square feel a little more sophisticated while keeping that amazing no-bake simplicity!
Storage and Make-Ahead for your peanut butter bars
The best thing about these **peanut butter bars** is that they actually taste better the next day! Since they are a **no oven dessert bar**, they hold up really well in the fridge. You should keep them airtight in a container in the refrigerator, and honestly, they stay wonderfully fresh and firm for about five days. They firm up even more after that first night, which is great if you like your filling dense.
If you’re making a big batch for later or for meal prepping those **quick sweet snacks**, freezing is totally an option! Just make sure they are cut into squares first. Place them in a freezer-safe container with wax or parchment paper separating the layers so they don’t all stick together. They freeze beautifully for up to three months. Just let them thaw on the counter for maybe an hour before you dig in!
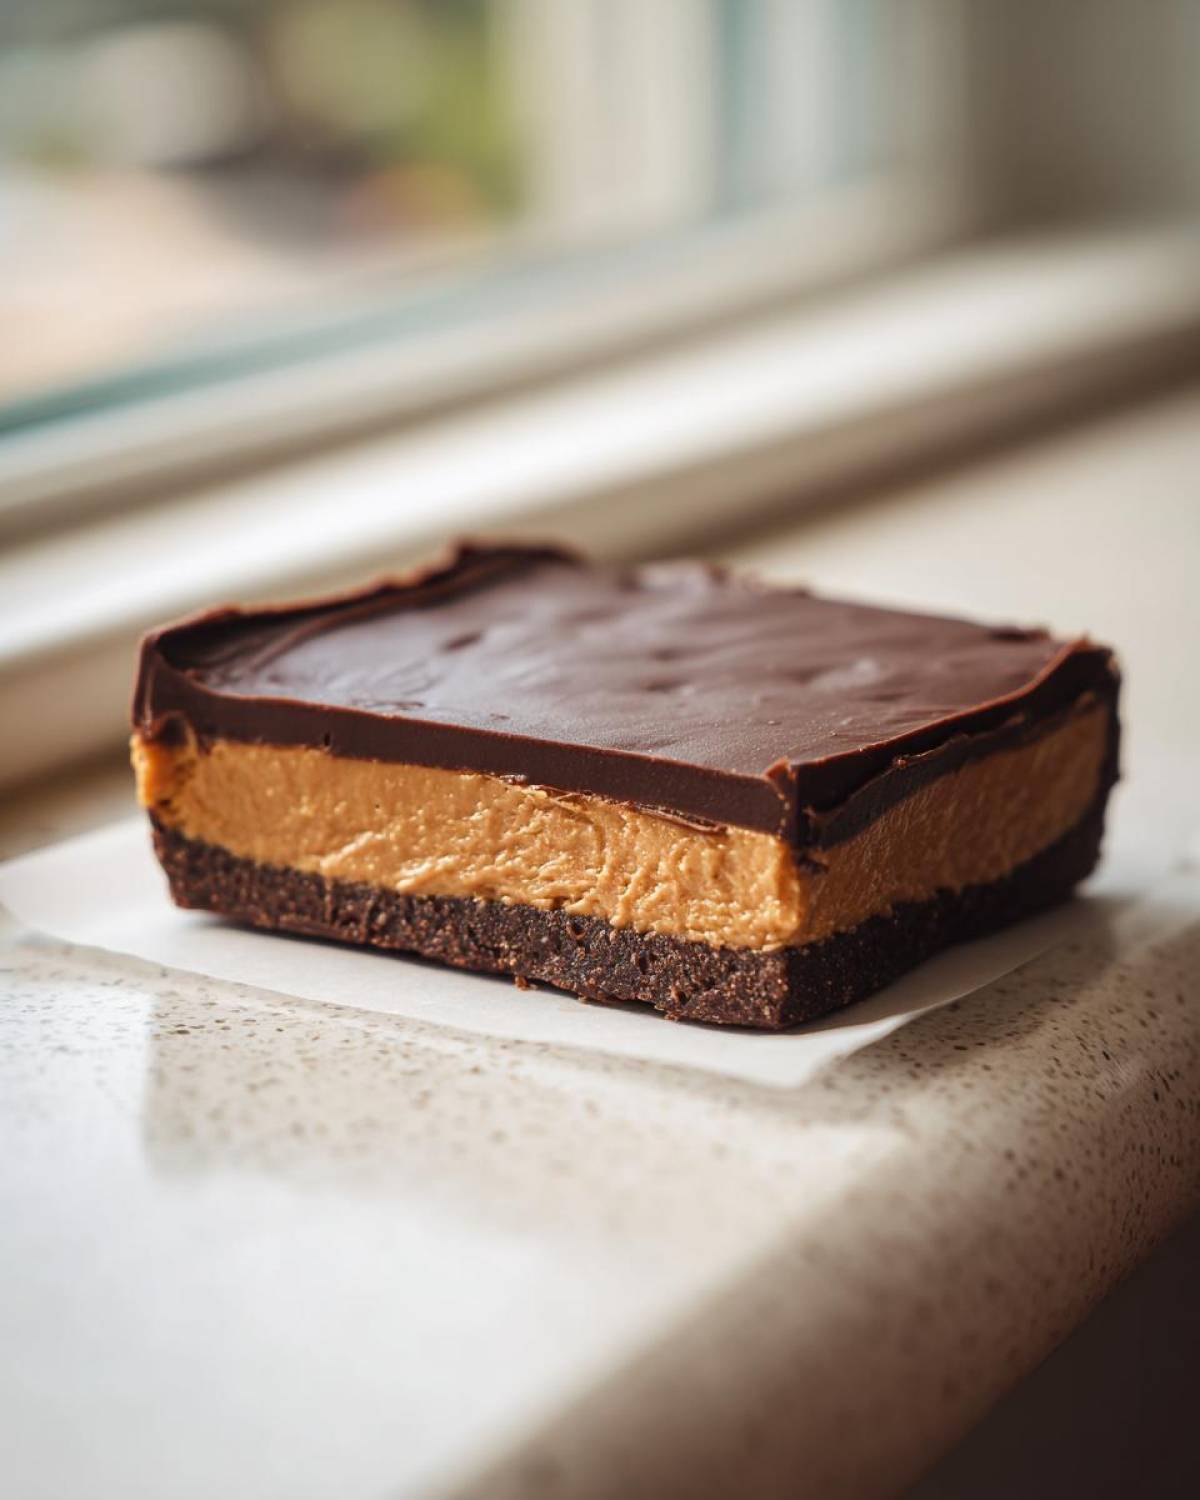
We actually prefer them slightly cold, so don’t rush them too much if you freeze them. To see some other great make-ahead options, check out my guide to simple protein bars—it’s great for keeping snacks ready all week!
Frequently Asked Questions about peanut butter bars
I know you’re probably planning your next batch already, so let’s quickly tackle some of the questions I always get about these **peanut butter bars**. It’s usually just little things that trip people up, but once you know the secret, you’ll be churning out perfect **simple peanut butter fudge** squares every time! For more ideas on this, you can always dive into my post on simple peanut butter fudge too.
Can I make these peanut butter bars with crunchy peanut butter?
You absolutely can, and some people actually prefer it! Just know that switching to crunchy peanut butter will change the texture of that base layer. Instead of that super smooth, velvety feel, you’ll get little textural pops from the nut pieces. It doesn’t ruin the recipe at all, but it won’t give you that classic, melt-in-your-mouth creaminess that the recipe is famous for. I stick to creamy for the best **homemade dessert bars** result, but play around if you love the crunch!
How do I get the cleanest slices when cutting these bars?
This is all about temperature, honey! If you try to cut them when they are just barely firm, the chocolate shears and smears. You *must* let them chill for the full two hours, minimum. But here is my favorite pro tip for those perfect squares: once they are completely firm, take a large, sharp knife and dip it into a glass of very hot water. Wipe it completely dry first, and then use that hot blade to make one cut. Dip it, wipe it, cut again. The heat slices right through that chilled chocolate topping like it’s butter, leaving you with stunning, clean edges. It works like magic!
Another common thought is whether you can skip the graham crackers. You can use vanilla wafers instead, as I mentioned, but I really wouldn’t skip the crumb element entirely. That crumb provides the structure since we aren’t using any flour or eggs! Without it, you just have very thick, soft fudge, not a stable bar. For more easy **no bake dessert bars**, check out some of my other recipes linked above!
Nutritional Estimates for Homemade peanut butter bars
Now, I know we’re making these because they taste like heaven, not because they’re kale shakes, but it’s still good to have an idea of what you’re working with! Based on the ingredients listed for these **peanut butter bars**, the general estimate comes out to about 280 calories per square. That includes about 19 grams of fat and 25 grams of carbs.
Just a quick heads-up, though: these numbers are just rough guidelines based on standard ingredients. If you use dark chocolate or a different brand of peanut butter, those values can shift just a tiny bit. But hey, they are homemade, and that’s always better!
Share Your Experience Making These Irresistible peanut butter desserts
That’s it! You’ve made the best, easiest **peanut butter bars** ever. Now I can’t wait to hear what you think! Please hop down below and leave a rating—a quick five-star rating tells me you loved them, and I really appreciate that support!
Did you try drizzling them with salt, or maybe you swapped in shortbread crumbs? Tell me everything in the comments! If you share a picture on social media, please tag me so I can see your beautiful, chocolate-topped squares!
Keep checking back on the blog for more simple, comforting treats just like this one!
PrintNo Bake Chocolate Peanut Butter Bars
Make simple, creamy peanut butter bars with a chocolate topping using no oven time.
- Prep Time: 15 min
- Cook Time: 0 min
- Total Time: 2 hours 15 min
- Yield: 16 servings
- Category: Dessert
- Method: No Bake
- Cuisine: American
- Diet: Vegetarian
Ingredients
- 1 cup unsalted butter, softened
- 1 cup creamy peanut butter
- 1 cup powdered sugar
- 1 teaspoon vanilla extract
- 2 cups graham cracker crumbs
- 1 cup semi-sweet chocolate chips
- 1/2 cup creamy peanut butter (for topping)
- 2 tablespoons butter (for topping)
Instructions
- Line an 8×8 inch baking pan with parchment paper, leaving an overhang for easy removal.
- In a large bowl, beat the softened butter, 1 cup peanut butter, powdered sugar, and vanilla extract until smooth.
- Stir in the graham cracker crumbs until fully combined. This forms the base layer.
- Press the base mixture firmly and evenly into the prepared pan.
- In a small, microwave-safe bowl, combine the chocolate chips, 1/2 cup peanut butter, and 2 tablespoons of butter.
- Microwave in 30-second intervals, stirring between each, until the mixture is smooth and melted.
- Pour the chocolate mixture over the peanut butter base and spread it evenly to cover the entire surface.
- Refrigerate the bars for at least 2 hours, or until the chocolate topping is firm.
- Use the parchment paper overhang to lift the bars from the pan. Cut into squares before serving.
Notes
- Use room temperature butter for the base mixture to ensure easy creaming.
- For cleaner cuts, chill the bars thoroughly before slicing.
- If you do not have graham crackers, you can substitute with vanilla wafer crumbs.
Nutrition
- Serving Size: 1 square
- Calories: 280
- Sugar: 22
- Sodium: 110
- Fat: 19
- Saturated Fat: 7
- Unsaturated Fat: 12
- Trans Fat: 0
- Carbohydrates: 25
- Fiber: 1
- Protein: 6
- Cholesterol: 25