

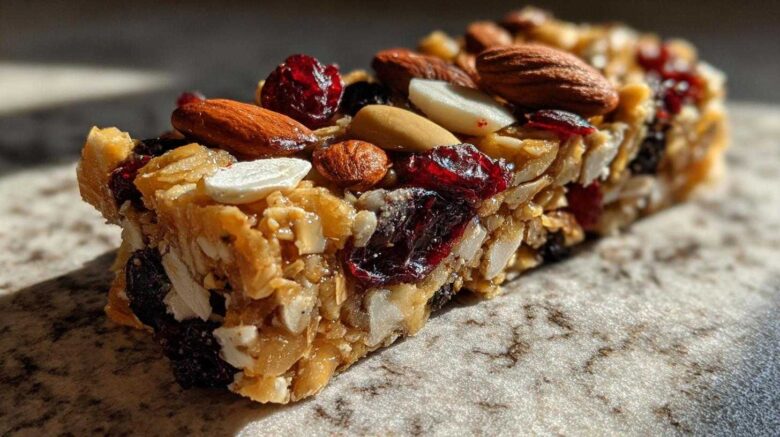
No-Melt Trail Mix Energy Bars: Your Ultimate Adventure Fuel
Hello fellow adventurers and kitchen explorers! I’m so excited to share these fantastic No-Melt Trail Mix Energy Bars with you. They are an absolute lifesaver for any outdoor escapade.
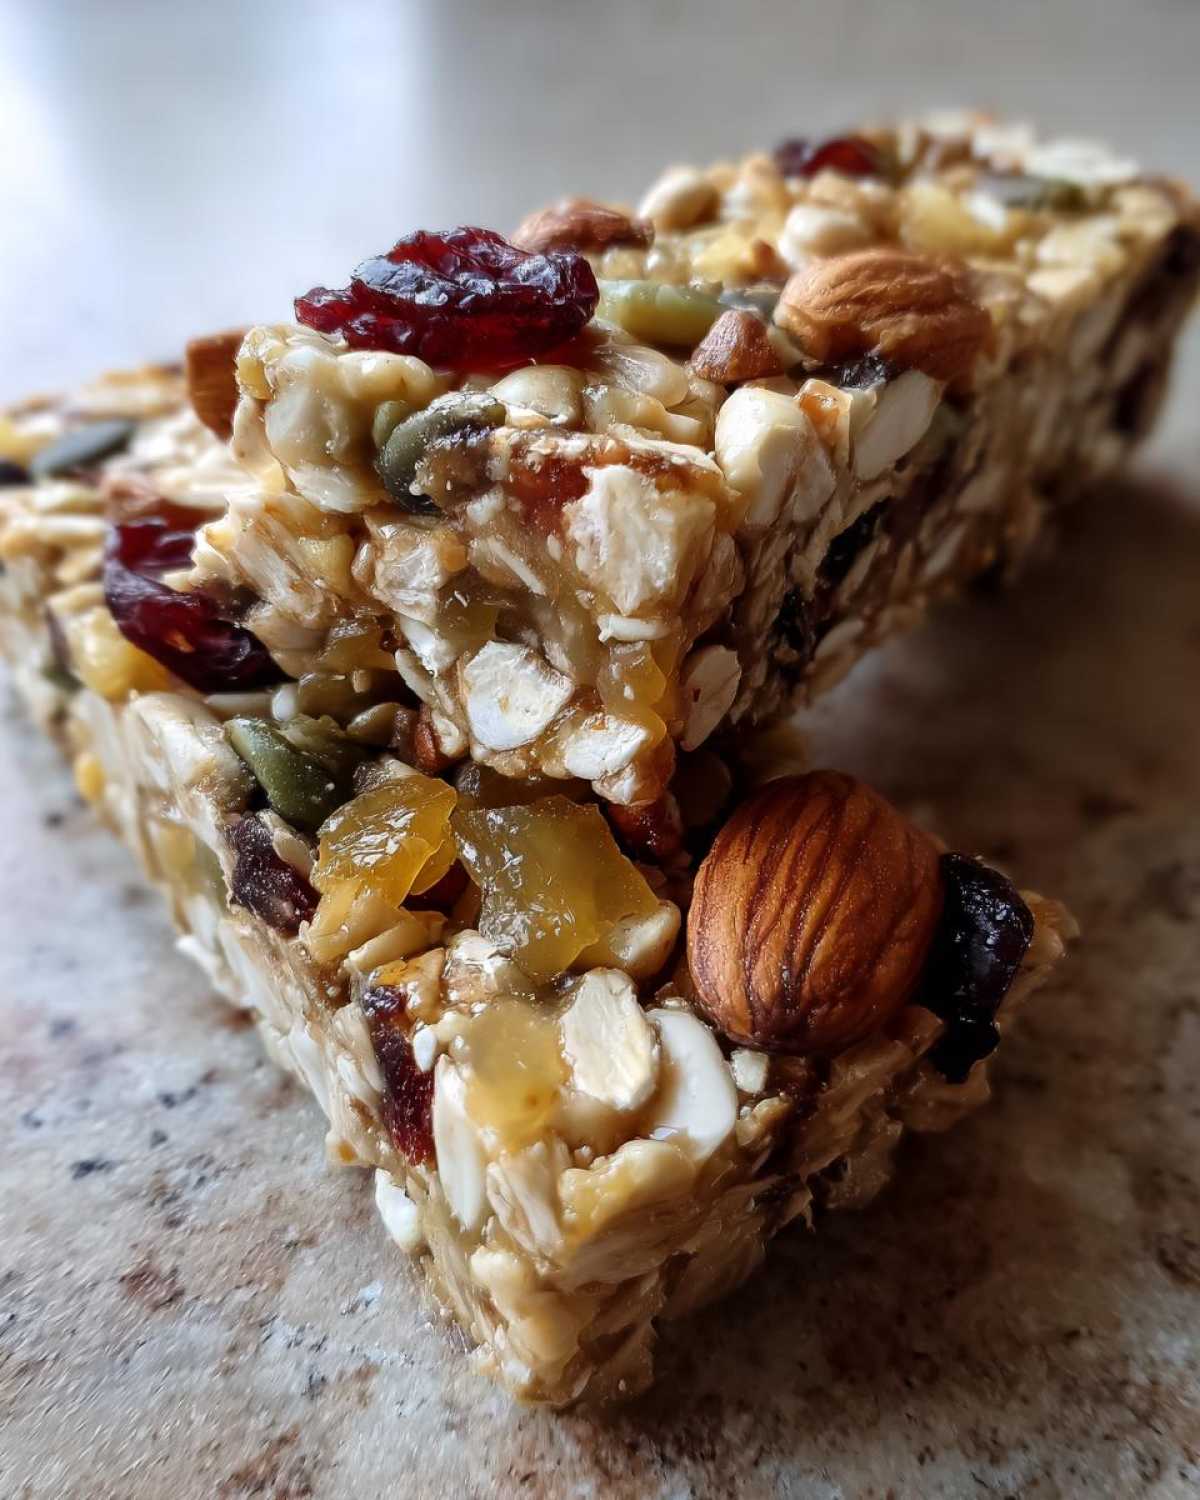
Forget sticky, melted chocolate bars ruining your hike! These are designed to stay perfectly intact, no matter the weather. They’re packed with wholesome goodness. I love knowing I have reliable energy right in my backpack.
These bars are truly a game-changer for any trip. They give you sustained energy. They are also super easy to make. You’ll be whipping them up in no time.
Why You’ll Love These No-Melt Trail Mix Energy Bars
- They won’t melt in the heat.
- They provide sustained energy for your adventures.
- They are simple to prepare at home.
- They use wholesome, natural ingredients.
- They are perfectly portable for any outing.
Amina’s Inspiration for No-Melt Trail Mix Energy Bars
I remember one sweltering summer hike a few years back. My carefully packed chocolate granola bar had turned into a gooey mess. It was everywhere! I ended up eating a very sad, melted blob. That’s when I knew I needed a better solution. I wanted something that could withstand the sun. Something that would still taste great, even after hours in my backpack. These No-Melt Trail Mix Energy Bars were born from that very frustration!
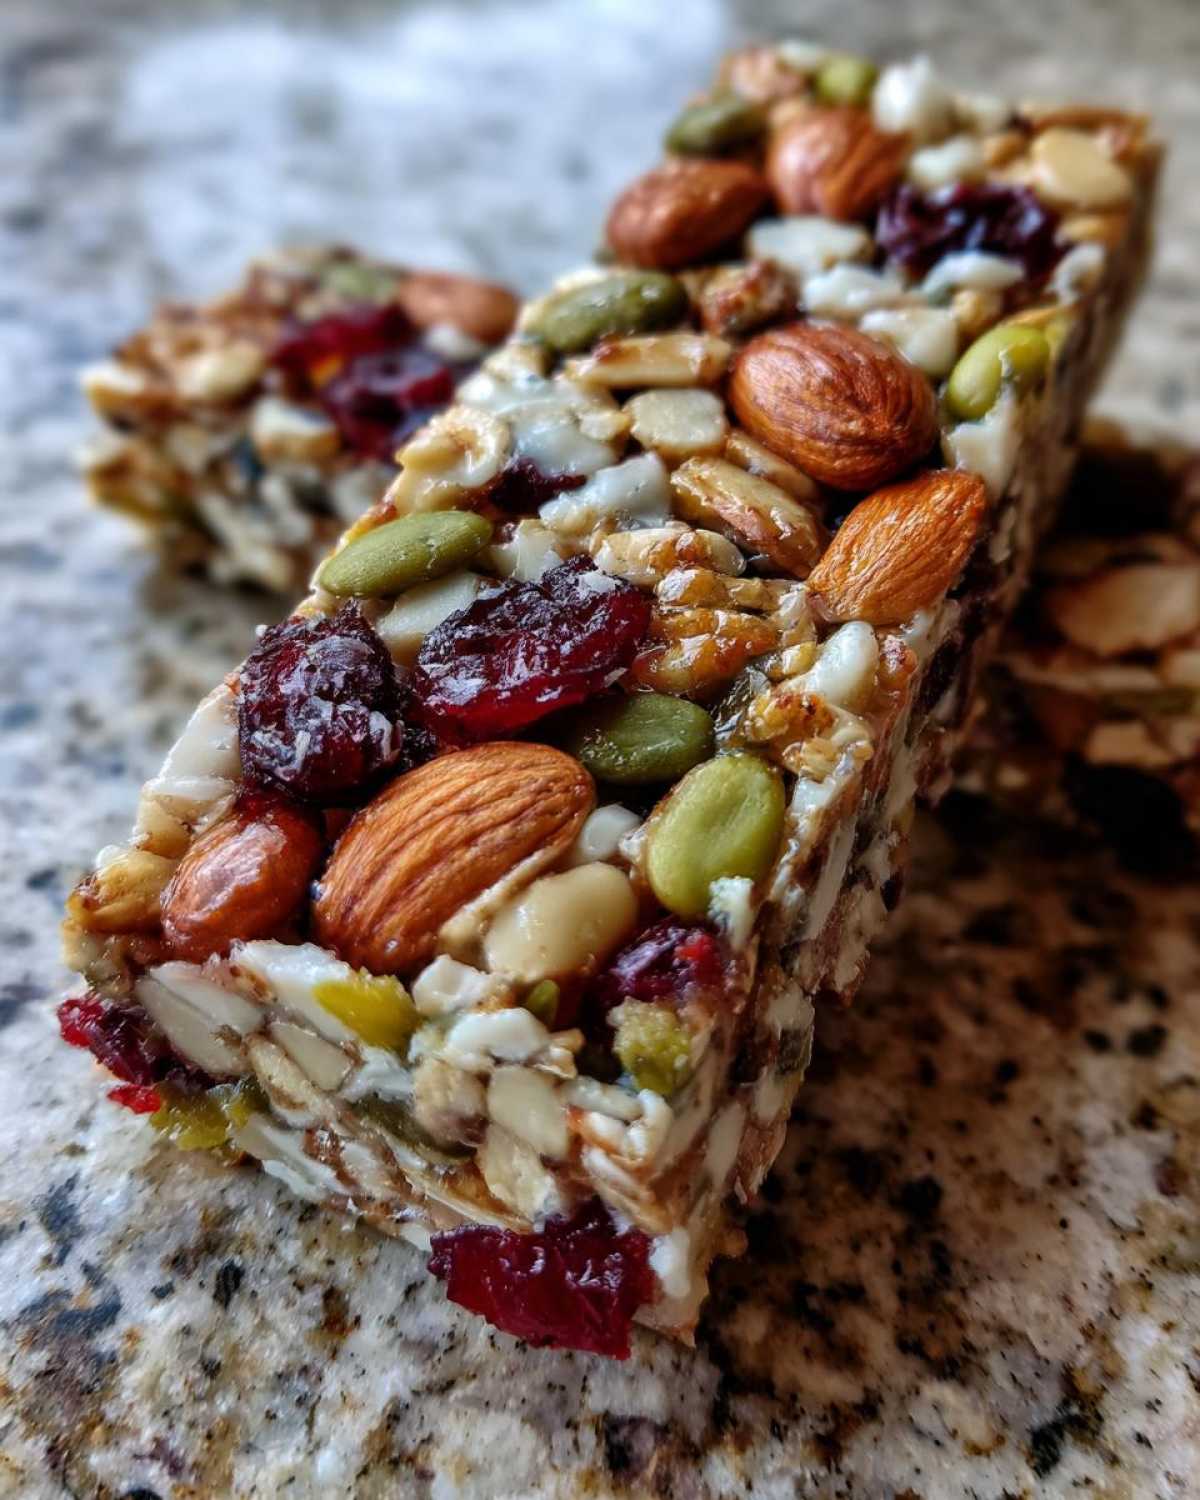
Essential Ingredients for No-Melt Trail Mix Energy Bars
Let’s gather everything you need for these amazing No-Melt Trail Mix Energy Bars. You’ll start with 1 cup of rolled oats. Make sure they’re uncooked for the best texture. Then, grab 1/2 cup of chopped nuts. Almonds, walnuts, or pecans all work wonderfully. We also need 1/4 cup of seeds. Sunflower seeds and pumpkin seeds are great choices. For a touch of sweetness and chewiness, add 1/4 cup of dried fruit. Raisins, cranberries, or chopped apricots are perfect.
For the binding, we’ll use 1/4 cup of creamy peanut butter or almond butter. Honey or maple syrup, 1/4 cup, brings it all together. A teaspoon of vanilla extract adds lovely flavor. Finally, a pinch of salt balances the sweetness.
Ingredient Notes and Smart Substitutions
When it comes to oats, old-fashioned rolled oats give the best chewiness. Quick oats can make them a bit too soft. Don’t have peanut butter? Almond butter or even sunflower seed butter works great. If you’re not a fan of honey, maple syrup is a fantastic alternative. You can also use agave nectar. Feel free to mix up your nuts and dried fruits! Sunflower seeds can be swapped for pepitas. Cranberries can be replaced with dried blueberries. These bars are wonderfully forgiving!
Crafting Your No-Melt Trail Mix Energy Bars: Step-by-Step
Let’s get these delicious No-Melt Trail Mix Energy Bars made! First, preheat your oven to 350°F (175°C). Line an 8×8 inch baking pan with parchment paper. This helps prevent sticking later.
In a large bowl, combine the rolled oats, chopped nuts, seeds, and dried fruit. Give it a good stir to mix them up. In a separate bowl, whisk together the peanut butter, honey or maple syrup, vanilla extract, and salt. You want this mixture to be nice and smooth. It’s the glue that holds everything together!
Now, pour the wet ingredients over the dry ones. Mix everything really well with a spatula or your hands. Make sure every bit of the oats and nuts is coated. It should look like a sticky, delicious mess. Transfer this mixture to your prepared baking pan. Press it down firmly and evenly. This is important for the bars to hold their shape.
Use the bottom of a glass or a flat measuring cup to get it really compact. This helps them stick together nicely. The firmer you press, the better they’ll hold up on your adventures.
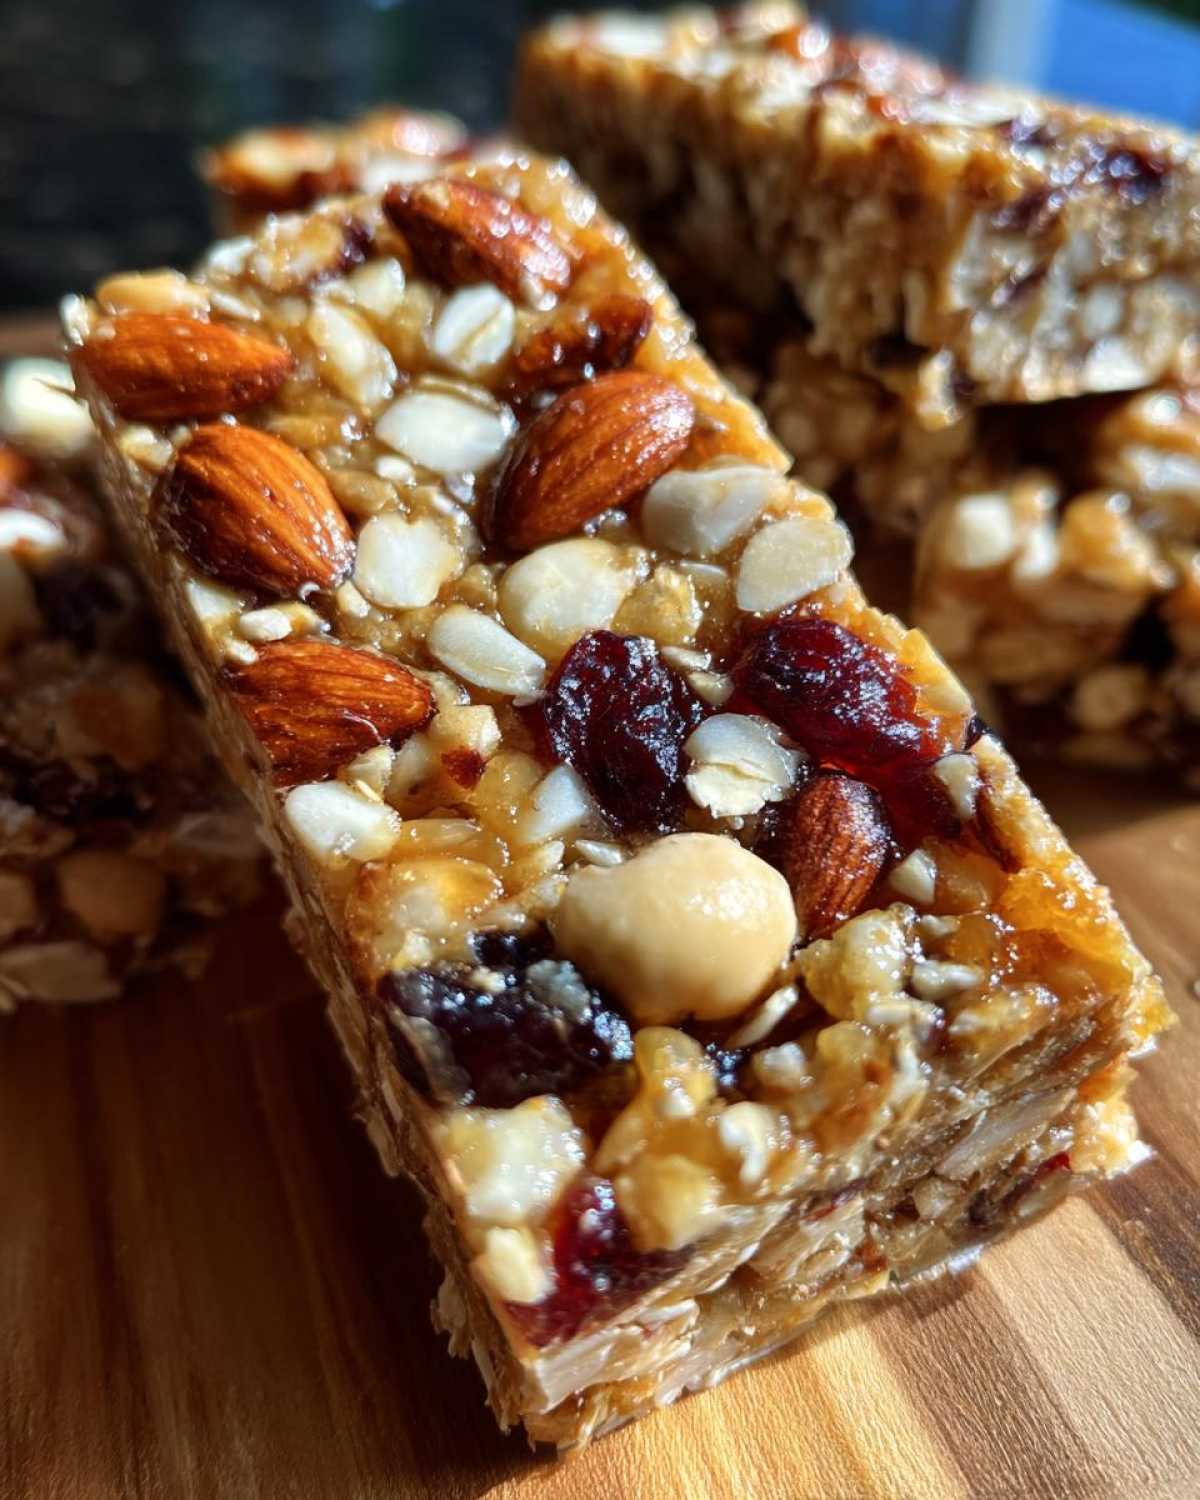
Baking Your No-Melt Trail Mix Energy Bars to Perfection
Bake for 15 to 20 minutes. You’re looking for the edges to turn a lovely golden brown. This means they’re cooked through and slightly crisp. Keep an eye on them in the last few minutes. You don’t want them to get too dark!
Cooling and Cutting Your No-Melt Trail Mix Energy Bars
This is a crucial step! Let the bars cool completely in the pan. Seriously, wait until they are fully cool. This allows them to set properly. If you cut them while warm, they’ll likely crumble. Once cooled, lift the parchment paper out of the pan. Cut them into your desired squares or bars. A sharp knife makes clean cuts easier.
Tips for Success with No-Melt Trail Mix Energy Bars
To get the best No-Melt Trail Mix Energy Bars, press the mixture into the pan really firmly. This is key! A compact base means fewer crumbles on your travels. Use a flat-bottomed glass or a spatula to really pack it down. Make sure your oven rack is in the center. This helps your bars bake evenly. You don’t want one side darker than the other.
Don’t overbake them! Watch for those golden brown edges. They should still be a little soft in the middle. They firm up as they cool. This keeps them from being too hard. Patience during the cooling phase is a must. It truly pays off for perfect bars.
Variations for Your No-Melt Trail Mix Energy Bars
Want to jazz up your No-Melt Trail Mix Energy Bars? I love adding a tablespoon of chia seeds or flax seeds for extra fiber and a nutty crunch. A pinch of cinnamon or nutmeg also adds a warm, cozy flavor. For a bright twist, try adding a teaspoon of orange or lemon zest to the wet ingredients. You could also swap some of the nuts for toasted coconut flakes for a tropical flair. Get creative with your favorite dried fruits, too!
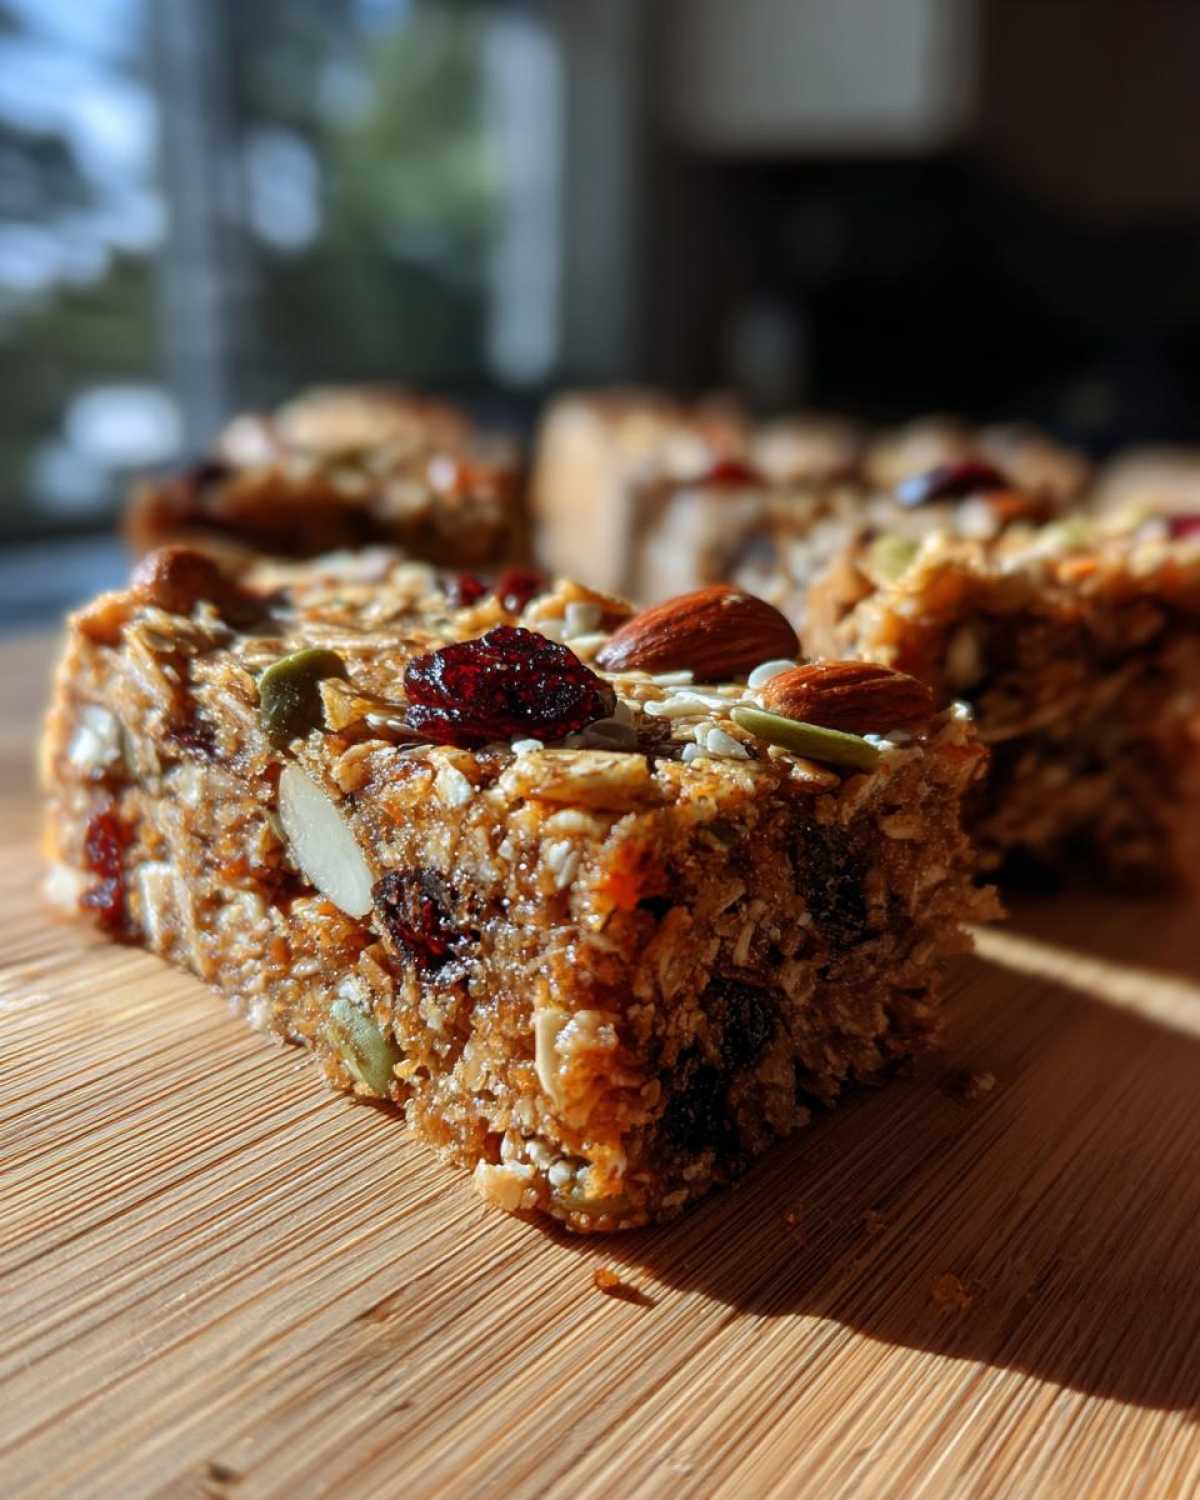
Serving and Storing Your No-Melt Trail Mix Energy Bars
These No-Melt Trail Mix Energy Bars are perfect for so many occasions! I love grabbing one with my morning coffee. They’re also a fantastic pre-hike snack. They give me a boost of energy. You can also pack them for a road trip or your kids’ lunchboxes. They are so versatile!
To keep them fresh, store them in an airtight container. I usually place them in a cool, dry spot in my pantry. They’ll stay good for about a week. If you live in a warmer climate, or plan to keep them longer, the refrigerator is a good option. Just make sure they’re well-sealed. This prevents them from drying out or absorbing other smells. They’ll last even longer this way!
Frequently Asked Questions about No-Melt Trail Mix Energy Bars
Got questions about our trusty No-Melt Trail Mix Energy Bars? I’m happy to help!
Can I make these bars no-bake? While this recipe is baked for a nice texture, you can adapt it. Press a no-bake mixture firmly into your pan. Chill it thoroughly in the fridge for a few hours to set. They won’t be as firm as baked bars, though. They might be a bit softer on very warm days.
How long do these no-melt energy bars last? Properly stored in an airtight container at room temperature, they stay fresh for about a week. For longer storage, the refrigerator is best. They can last up to two weeks there. Just ensure they are well-sealed so they don’t dry out.
Can I use different types of nuts or seeds? Absolutely! Customize your trail mix bars with any nuts or seeds you enjoy. Pecans, macadamia nuts, or even a mix of seeds like chia and flax work wonderfully. Just ensure they are roughly chopped for even distribution.
What if I don’t have peanut butter? No problem! Almond butter, cashew butter, or sunflower seed butter are excellent substitutes. They all bind the ingredients well. Choose your favorite for delicious results.
Estimated Nutritional Information for No-Melt Trail Mix Energy Bars
Please remember that the nutritional details for these delicious No-Melt Trail Mix Energy Bars are estimates. The exact amounts can vary quite a bit. This depends on the specific ingredients you choose. Brands of peanut butter, types of nuts, and even the sweetness of your dried fruit can all make a difference. Enjoy them as a wholesome treat!
PrintAmina’s 5 Stellar No-Melt Trail Mix Energy Bars
Create your own No-Melt Trail Mix Energy Bars, perfect for outdoor adventures. These bars are packed with energy and won’t melt in your backpack, unlike chocolate-based snacks. Enjoy a reliable, delicious fuel source for your hikes and camping trips.
- Prep Time: 15 minutes
- Cook Time: 20 minutes
- Total Time: 35 minutes
- Yield: 12-16 bars
- Category: Snacks
- Method: Baking
- Cuisine: American
- Diet: Vegetarian
Ingredients
- 1 cup rolled oats
- 1/2 cup chopped nuts (almonds, walnuts, or pecans)
- 1/4 cup seeds (sunflower seeds, pumpkin seeds)
- 1/4 cup dried fruit (raisins, cranberries, apricots)
- 1/4 cup peanut butter or almond butter
- 1/4 cup honey or maple syrup
- 1 teaspoon vanilla extract
- Pinch of salt
Instructions
- Preheat your oven to 350°F (175°C). Line an 8×8 inch baking pan with parchment paper.
- In a large bowl, combine the rolled oats, chopped nuts, seeds, and dried fruit.
- In a separate bowl, whisk together the peanut butter, honey or maple syrup, vanilla extract, and salt until smooth.
- Pour the wet ingredients over the dry ingredients and mix well until everything is evenly coated.
- Transfer the mixture to the prepared baking pan and press it down firmly and evenly.
- Bake for 15-20 minutes, or until the edges are golden brown.
- Let the bars cool completely in the pan before cutting them into squares or bars.
Notes
- For extra crunch, add a tablespoon of chia seeds or flax seeds.
- You can customize the dried fruit and nuts based on your preference and what you have on hand.
- Ensure the bars are completely cooled before storing to prevent them from crumbling.
Nutrition
- Serving Size: 1 bar
- Calories: 200-250
- Sugar: 10-15g
- Sodium: 50-100mg
- Fat: 10-15g
- Saturated Fat: 2-3g
- Unsaturated Fat: 8-12g
- Trans Fat: 0g
- Carbohydrates: 20-25g
- Fiber: 3-5g
- Protein: 5-7g
- Cholesterol: 0mg