

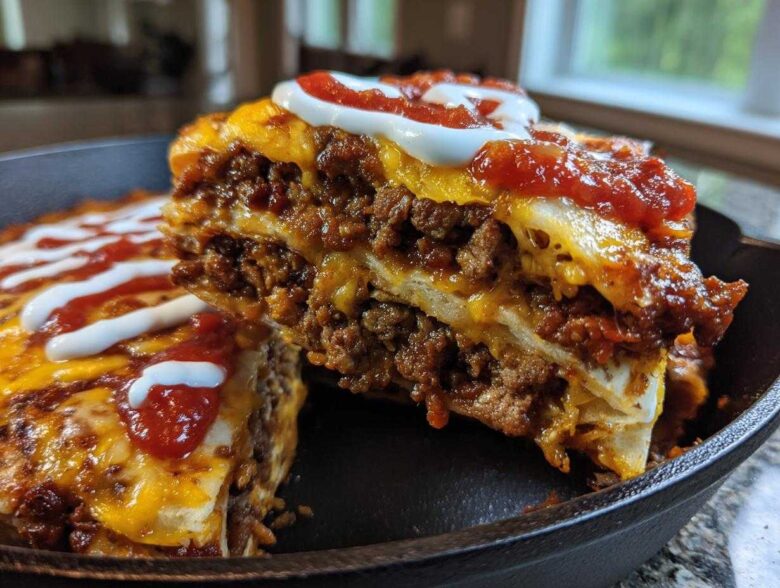
You know those nights, right? You get that gigantic craving for a Taco Bell Crunchwrap Supreme—all those layers of seasoned beef, creamy beans, and that perfect little crunch in the middle—but then you look at that fussy folding technique and think, “Nope, not tonight.” I’ve been there more times than I care to admit! That’s why I tweaked the classic into what I call the Refried Bean Crunchwrap Skillet. Seriously, it’s a game-changer for weeknights. We get all that amazing Tex-Mex flavor layered neatly in one oven-safe skillet. It’s so much easier than folding those tricky shells, and cleanup is a breeze. If you love one-pan dinners, you absolutely have to try this comfort food. Need other hearty bean meals? Check out my recipe for easy one-pot beans and rice, but trust me, this skillet is the weeknight winner!
Why You Will Love This Refried Bean Crunchwrap Skillet
I swear, this is the recipe that saves my Monday nights when everyone is tired but craving something fun. It’s everything you love about the original, minus the fussy folding process that makes you want to hide the tortillas in the back of the pantry. You’re missing out if you don’t try this simplified method!
- It’s unbelievably quick! Since we aren’t folding, this is probably the fastest way to get Crunchwrap flavor on the table. Perfect for busy evenings!
- Total cleanup win! We are using just one oven-safe skillet, meaning less scrubbing later, which is always a win in my book.
- It hits every texture point: creamy beans, saucy meat, soft tortilla layers, and that satisfying crunch right in the middle. It’s just so satisfying.
- This is a true Family Friendly Weeknight Meal. The kids actually ask for this, and it holds up great to picky eaters since everyone gets warm, cheesy goodness.
- It’s totally customizable! If you need a vegetarian swap, no problem—it comes together just as fast. Easy Taco Skillet Recipe fame incoming!
Seriously, ditch the folding anxiety and jump straight to the cheesy, bubbly result. This One Pan Crunchwrap Casserole is about to become your new secret weapon.
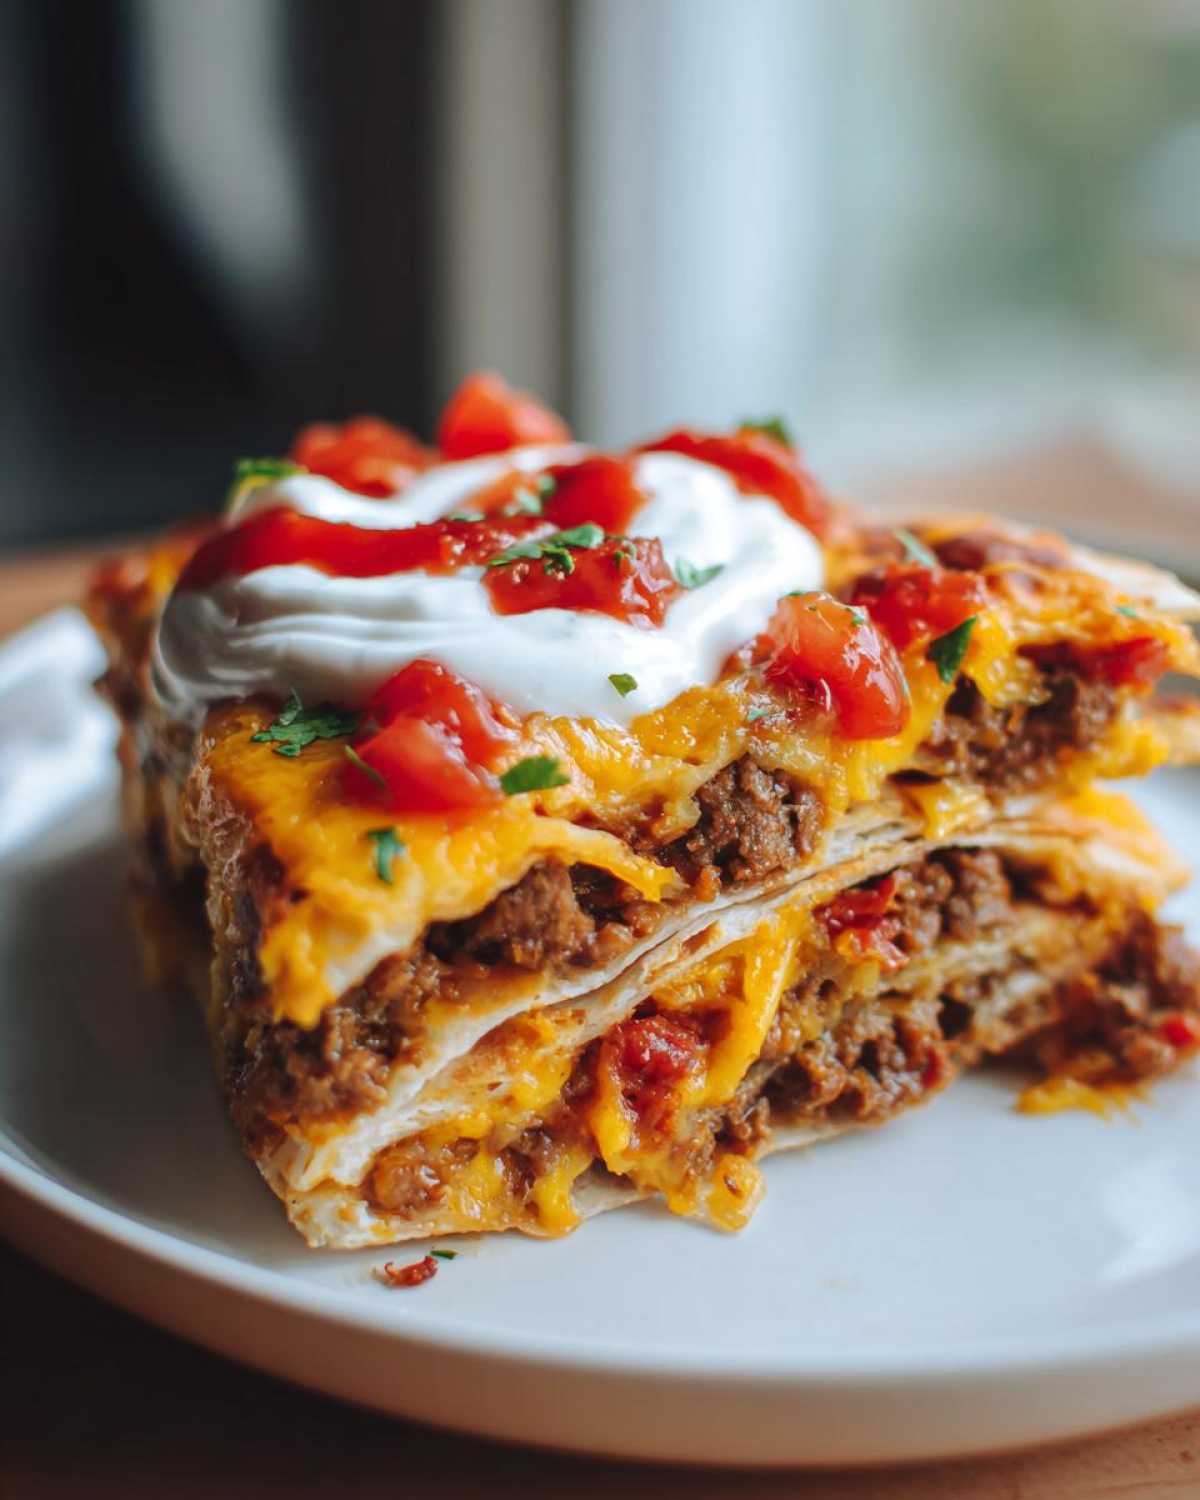
Essential Ingredients for Your Refried Bean Crunchwrap Skillet
When we switch from individual wraps to a skillet bake, we need to make sure those core flavors that made the original famous are still front and center. That means high-quality beans and lots of good melting cheese. I’ve listed exactly what you need below, and I really stress the prep notes—they matter more than you think!
Make sure your refried beans are warmed up before they hit the skillet; cold beans will mess with the baking time. And if you’re hoping for that signature *crunch* inside this Layered Bean and Beef Skillet, you’ve got to use the crushed chips in the middle, not just on top! If you want to level up the cheese game, you could try making a simple cheese sauce first, like this easy homemade nacho cheese, but the pre-shredded Mexican blend is just fine for a quick skillet night.
Here’s what you’ll need to gather for the best Refried Bean Crunchwrap Skillet:
- 1 tablespoon vegetable oil
- 1 pound ground beef (or your sub choice)
- 1 packet taco seasoning mix
- 1 cup water
- 1 (16 ounce) can refried beans, gently warmed
- 8 small flour tortillas (Don’t try to use the huge burrito ones here, trust me!)
- 1 cup crushed tortilla chips (the plain kind work best!)
- 2 cups shredded cheddar or Mexican blend cheese
- 1/2 cup sour cream, for topping when serving
- 1/2 cup salsa, for topping when serving
Step-by-Step: Making the Refried Bean Crunchwrap Skillet
Getting this Refried Bean Crunchwrap Skillet together is honestly therapeutic because it’s just layering; there’s no high-stakes folding involved! Before we start cooking anything, go ahead and crank that oven up to 375 degrees Fahrenheit. Lightly grease your 10-inch oven-safe skillet first—if you don’t have one of those sturdy cast iron pans, I’ve got notes at the end about swapping to a regular casserole dish, though the skillet is just so much prettier for serving! If you want to see how I prep my cast iron for other baking projects, check out my skillet cornbread recipe for pan prep tips.
Preparing the Taco Meat Filling for the Refried Bean Crunchwrap Skillet
First things first, we build the flavor! Get a separate large skillet hot over medium-high heat and drizzle in that oil. Toss in your ground beef and cook it until it’s nice and browned up. Listen, drain off every bit of excess fat you can—nobody wants a greasy casserole! Once it’s drained, stir in that packet of taco seasoning and the water. Let that simmer gently for about five minutes until the sauce thickens up and clings to the meat. Pull that skillet off the heat; that’s our saucy superstar layer!
Layering the One Pan Crunchwrap Casserole
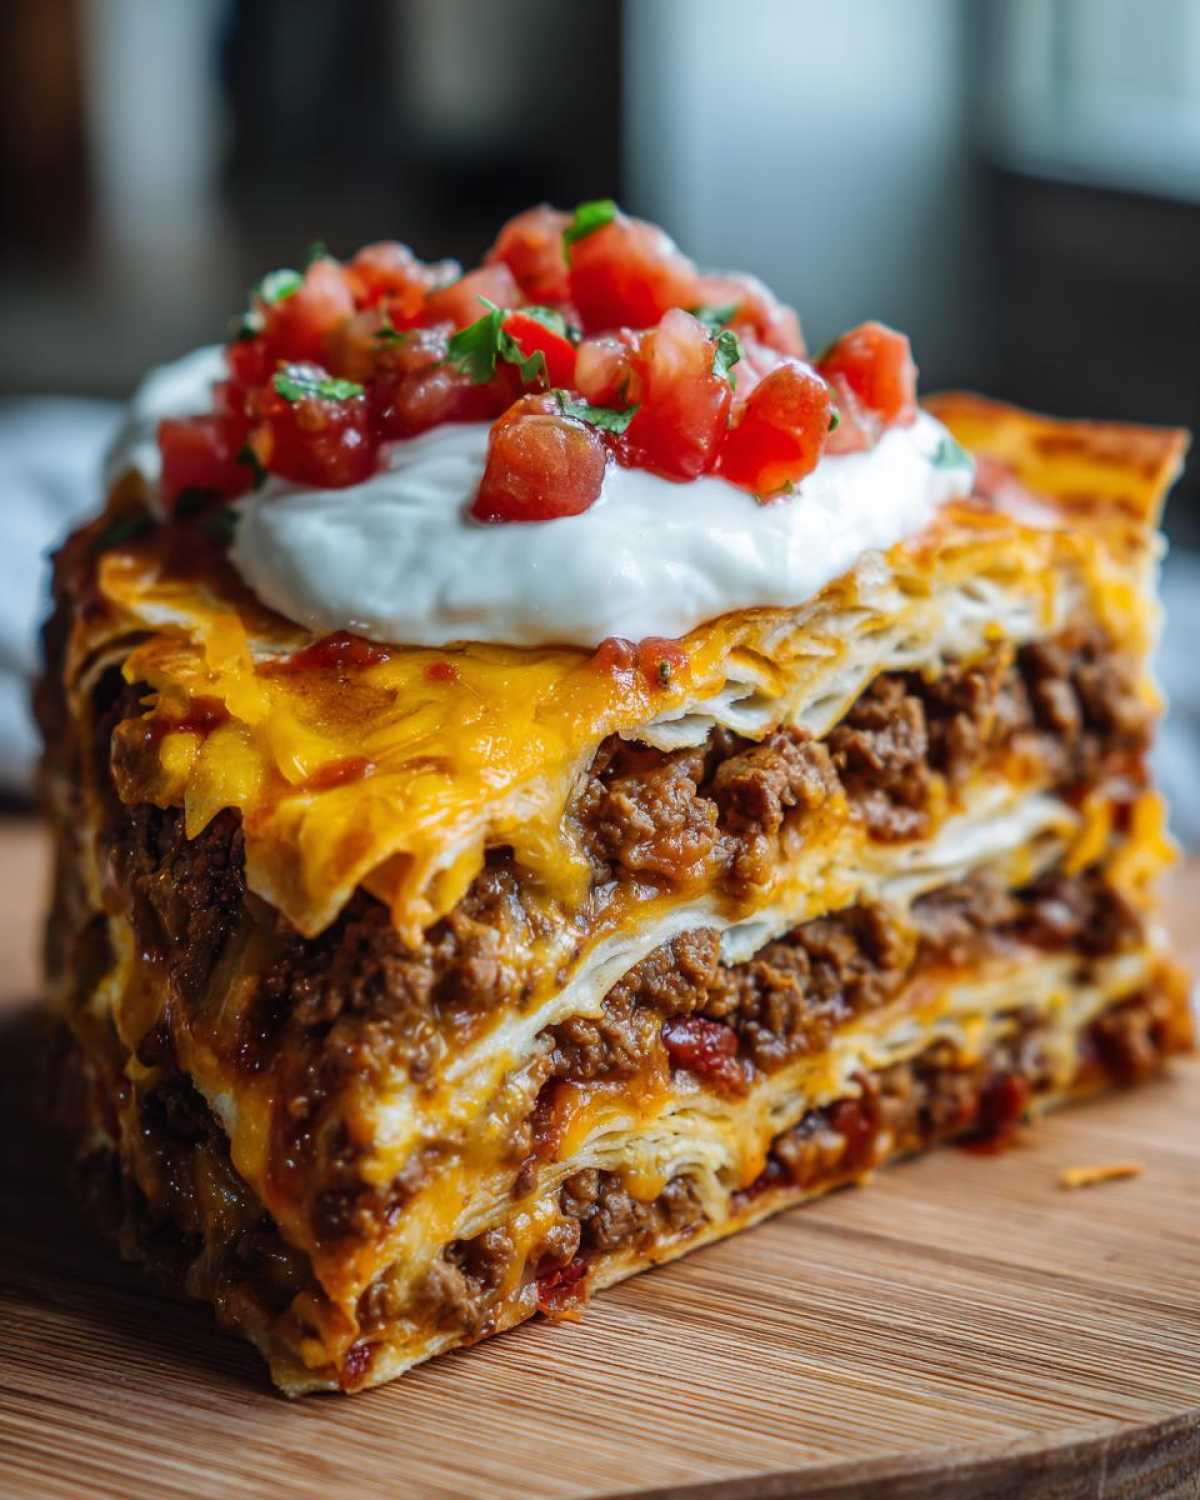
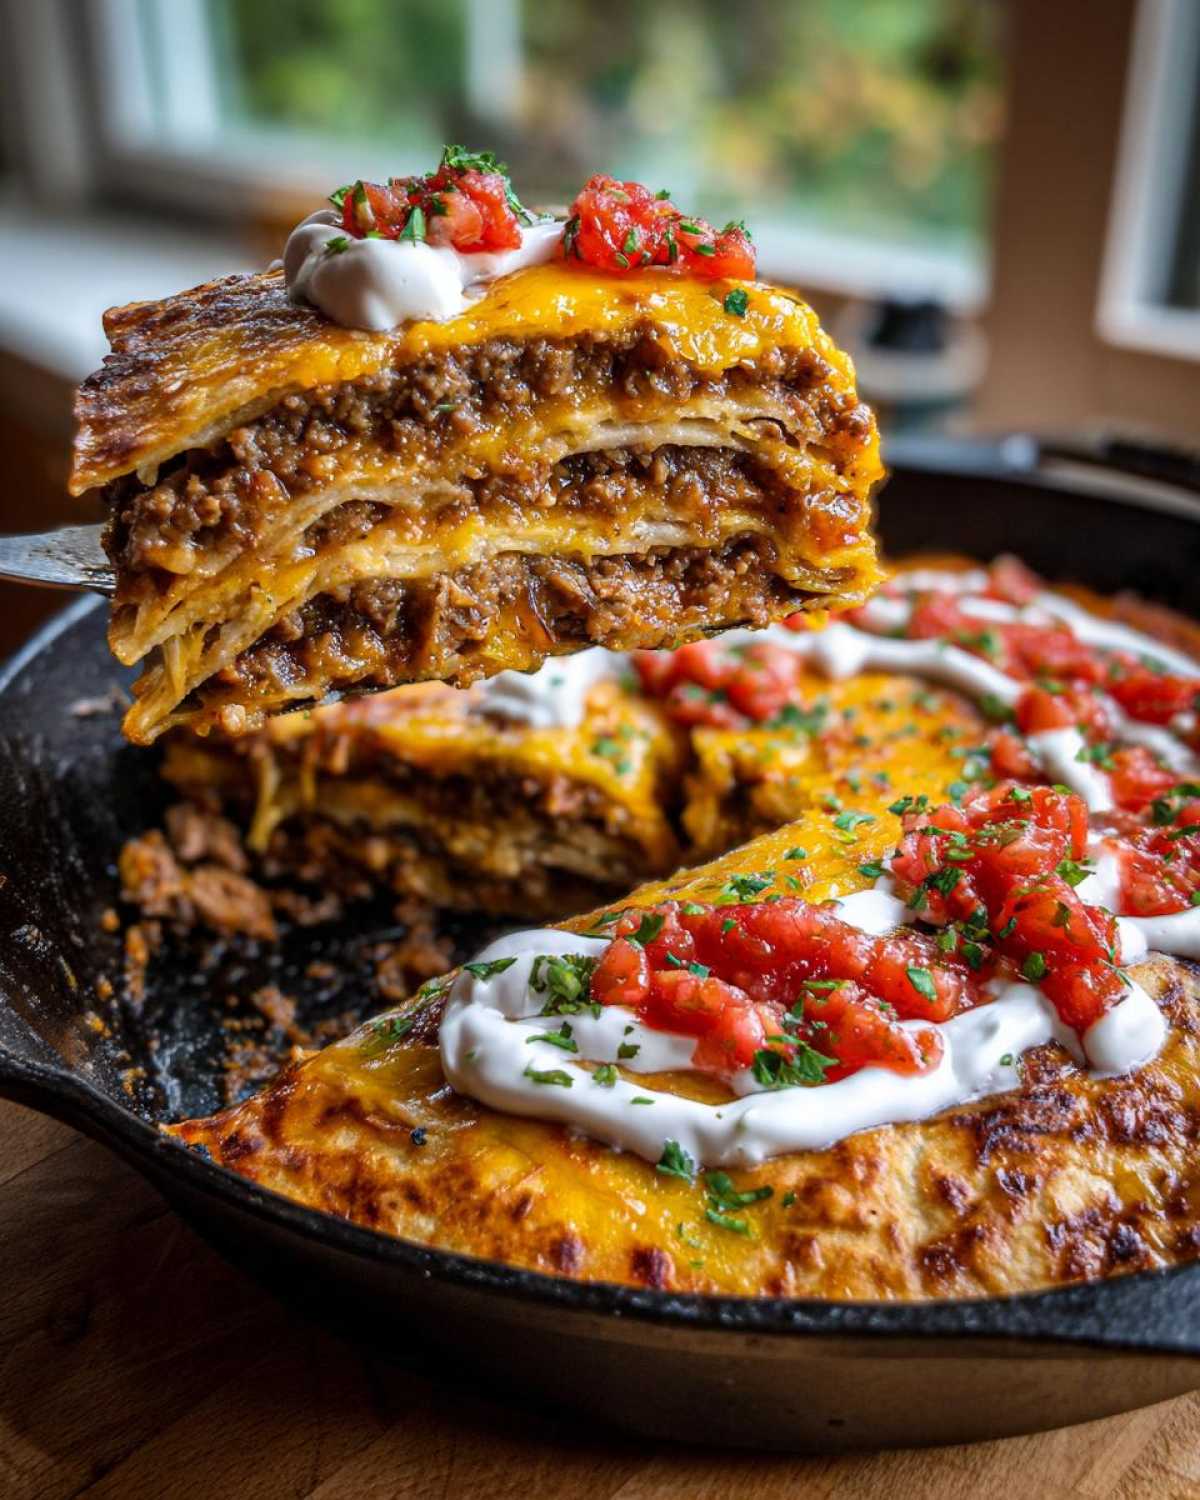
Okay, now for the fun part where we build our delicious skyscraper! Take half of those warmed refried beans and spread them nice and even across the bottom of your prepared oven-safe skillet. Next, you lay down four of those small flour tortillas, overlapping them slightly so they cover everything. Now, dollop that seasoned meat mixture right on top of the tortillas. Sprinkle half of your shredded cheese over the meat. Here’s the real secret: sprinkle that cup of crushed tortilla chips over the cheese! That’s our internal crunch! Spread the remaining refried beans over the chips, and finally, top the whole thing with the last four tortillas and the rest of your cheese.
Baking and Finishing the Refried Bean Crunchwrap Skillet
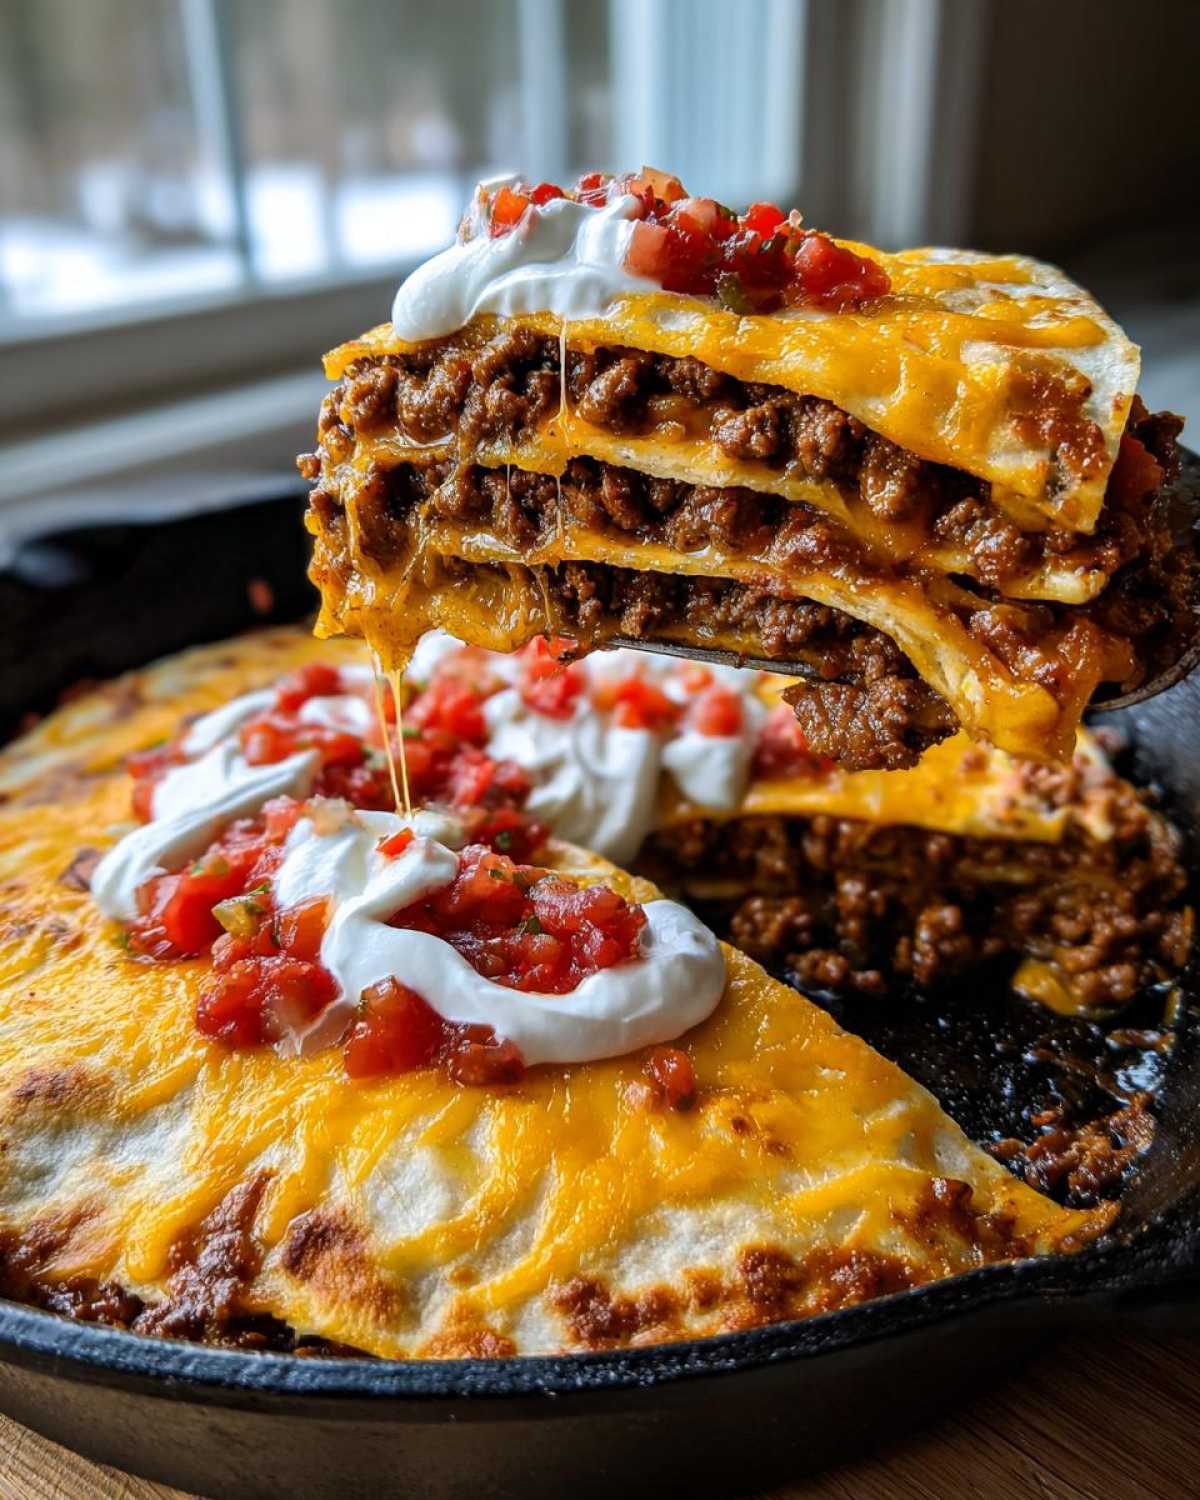
Into the oven it goes! Bake this beautiful One Pan Crunchwrap Casserole for about 15 to 20 minutes, or until you see that top cheese layer is completely melted and looking golden and bubbly at the edges. When it comes out, you have to let it sit on the counter for about five minutes. This is crucial so the layers set up—it makes cutting those neat slices so much easier! Serve it up warm, topped with a dollop of cool sour cream and your favorite salsa drizzle.
Tips for the Best Refried Bean Crunchwrap Skillet Results
Even though this is a super simple Refried Bean Crunchwrap Skillet, a couple of tiny tweaks can make it go from great to absolutely amazing. I learned this from years of tweaking my other comfort food recipes, like these chewy cookies—it’s all about using the best core ingredients!
First, let’s talk cheese. If you have time, please shred your own cheese. Those bags of pre-shredded stuff are coated in anti-caking agents, and sometimes they just sit there like little rubber blankets instead of melting into that gooey pool we dream about. Freshly shredded melts smooth, period.
For locking in that crunch? The crushed tortilla chips go in the absolute *middle*—sandwiched between the two layers of refried beans. This prevents them from getting soggy too fast during the initial bake. The beans act like a tasty glue and a moisture shield. Don’t skimp on that layer, or you might end up with disappointing layers instead of that signature homemade Crunchwrap texture!
Ingredient Notes and Substitutions for Your Layered Bean and Beef Skillet
One of the best parts about this Layered Bean and Beef Skillet is how flexible it is when you have dietary needs pop up. If you’re skipping the ground beef, don’t worry! Swap it out for two cans of rinsed black beans mashed up a bit, or use one of those great plant-based crumbles seasoned exactly the same way. If you’re interested in other bean magic, my black bean brownies are surprisingly fudgy!
Remember, we use small flour tortillas—I usually grab the 6-inch ones because they fit perfectly in my 10-inch skillet without overlapping too much. For the cheese, if you can’t find a Mexican blend, sharp cheddar or Monterey Jack works in a pinch. Just make sure whatever cheese you use melts well!
Storage and Reheating Instructions for the Skillet Taco Bake
If you are lucky enough to have leftovers of this glorious Skillet Taco Bake—which I doubt, because my family devours it—storage is simple. Just cover that skillet tightly with foil or wrap the slices individually and pop them in the fridge. They keep well for about three days, which is great for lunch prep!
When you’re ready to reheat, I highly recommend using the oven or an air fryer for a few minutes at 350 degrees. That helps bring some of the texture back. If you’re in a huge rush, the microwave works, but be warned: that fantastic interior crunch we worked so hard for might get a little soft since the moisture from the beans and meat has to redistribute. It’ll still taste like heaven, just slightly less crispy in the middle!
Serving Suggestions for this Quick Mexican Dinner Idea
Because the Refried Bean Crunchwrap Skillet is so rich, cheesy, and satisfying all on its own, you don’t need a huge side dish situation, especially on a busy Tuesday! I usually keep things light and fresh on the side. A simple helping of crisp shredded lettuce adds a nice coolness against the hot skillet layers. A quick scoop of fresh guacamole or some sliced black olives always feels right. If you want something a little brighter, try mixing up a batch of my Cowboy Caviar—it’s zesty, fresh, and the perfect contrast to all that warm Tex-Mex goodness!
Frequently Asked Questions About the Refried Bean Crunchwrap Skillet
I get so many questions whenever I post this recipe on social media because honestly, everyone wants that Crunchwrap fix without the kitchen chaos! Here are the things folks ask me most often about making this Refried Bean Crunchwrap Skillet.
What size skillet is best for this recipe?
For the perfect layering effect where the tortillas almost touch the edges, a 10-inch oven-safe skillet is what I used. If your skillet is bigger, say 12 inches, you might need to use slightly larger tortillas or be prepared for more overlapping, which is fine! If you don’t have an oven-safe one, just assemble this One Pan Crunchwrap Casserole in a standard 8×8 or 9×13 baking dish instead; the flavor is the same, just the presentation changes slightly.
How do I make sure the middle layer stays crunchy?
This is the secret everyone wants to know! You absolutely have to sandwich the crushed tortilla chips right between the two layers of refried beans. The bottom layer of beans protects the chips initially, and the top layer of beans protects them from the heat coming from the top cheese layer. It works like magic to keep that satisfying crispness intact, even when you reheat leftovers!
Can I make this vegetarian using the beans?
Totally! The vegetarian swap directions are super easy. You just skip the ground beef entirely and use two full cans of refried beans instead of just one. Season that extra batch of beans exactly how you would the meat—with taco seasoning and a little water—and use that as your main filling layer. It turns into a fantastic Cheesy Bean Layer Bake!
If I used a larger casserole dish, how do I adjust the cooking time?
That’s a great question for anyone doubling the recipe! If you move this from a skillet to a large 9×13 dish, you’ll need to add about 5 to 10 minutes to the bake time because the heat has further to travel to the center. Keep baking until you see the cheese bubbling vigorously all the way to the middle. For other easy baking tips, you can always check out my guide on easy chicken cobbler—it follows similar baking logic!
Nutritional Snapshot of Your Simplified Crunchwrap Recipe
While this Simplified Crunchwrap Recipe is comfort food heaven, it’s important to know what you’re digging into! These are just estimates based on my standard recipe using ground beef, so things change if you use vegetarian swaps or different cheese.
For one serving, you’re looking right around 450 calories. It keeps you full thanks to about 25 grams of protein, and it clocks in with about 35 grams of carbohydrates. It does have around 24 grams of fat, so you know that cheese and meat are doing their job! Enjoying this rich dinner is totally worth it, and remember, you can always lighten it up by adding more fresh lettuce on top when you serve it.
Nutritional Snapshot of Your Simplified Crunchwrap Recipe
While this Simplified Crunchwrap Recipe is comfort food heaven, it’s important to know what you’re digging into! These are just estimates based on my standard recipe using ground beef, so things change if you use vegetarian swaps or different cheese. You can always read up on the full details over on my disclaimer page.
For one serving, you’re looking right around 450 calories. It keeps you full thanks to about 25 grams of protein, and it clocks in with about 35 grams of carbohydrates. It does have around 24 grams of fat, so you know that cheese and meat are doing their job! Enjoying this rich dinner is totally worth it, and remember, you can always lighten it up by adding more fresh lettuce on top when you serve it.
PrintRefried Bean Crunchwrap Skillet
Make a simplified, layered version of the Crunchwrap Supreme in a single skillet. This recipe combines seasoned meat, refried beans, and cheese into an easy-to-serve casserole.
- Prep Time: 15 min
- Cook Time: 25 min
- Total Time: 40 min
- Yield: 6 servings
- Category: Dinner
- Method: Baking
- Cuisine: Tex-Mex
- Diet: Vegetarian
Ingredients
- 1 tablespoon vegetable oil
- 1 pound ground beef (or vegetarian substitute)
- 1 packet taco seasoning mix
- 1 cup water
- 1 (16 ounce) can refried beans, warmed
- 8 small flour tortillas
- 1 cup crushed tortilla chips
- 2 cups shredded cheddar or Mexican blend cheese
- 1/2 cup sour cream, for topping
- 1/2 cup salsa, for topping
Instructions
- Preheat your oven to 375 degrees Fahrenheit. Lightly grease a 10-inch oven-safe skillet.
- Heat the oil in a separate large skillet over medium-high heat. Add the ground beef and cook until browned. Drain any excess fat.
- Stir in the taco seasoning and water. Bring to a simmer and cook for 5 minutes, stirring occasionally, until the sauce thickens slightly. Remove from heat.
- Spread half of the warmed refried beans evenly over the bottom of the prepared oven-safe skillet.
- Arrange four flour tortillas over the beans, overlapping slightly if necessary to cover the bottom.
- Spread the seasoned meat mixture evenly over the tortillas.
- Sprinkle half of the shredded cheese over the meat layer.
- Sprinkle the crushed tortilla chips over the cheese.
- Spread the remaining refried beans over the chips.
- Top the beans with the remaining four flour tortillas.
- Sprinkle the remaining shredded cheese over the top layer of tortillas.
- Bake for 15 to 20 minutes, or until the cheese is melted and bubbly.
- Remove from the oven and let it cool for 5 minutes before serving. Top each serving with a dollop of sour cream and salsa.
Notes
- For a vegetarian option, substitute the ground beef with black beans or a plant-based ground substitute seasoned with taco spices.
- You can use pre-shredded cheese, but freshly shredded cheese melts better.
- If you do not have an oven-safe skillet, assemble the layers in a standard 9×13 inch baking dish.
Nutrition
- Serving Size: 1 serving
- Calories: 450
- Sugar: 5
- Sodium: 650
- Fat: 24
- Saturated Fat: 11
- Unsaturated Fat: 13
- Trans Fat: 0.5
- Carbohydrates: 35
- Fiber: 5
- Protein: 25
- Cholesterol: 60