

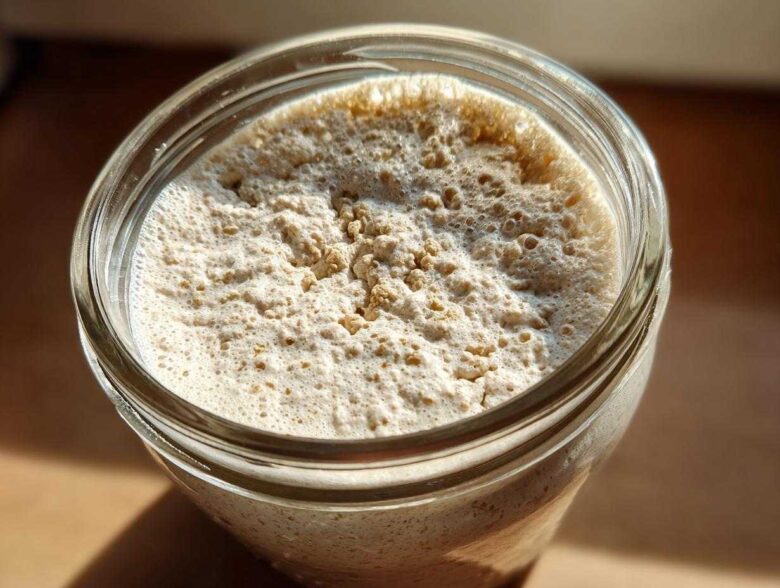
Isn’t it absolutely wild what just flour and water can do? I mean, seriously, watching that humble mixture slowly come to life, brimming with wild yeast and bacteria—it feels like actual kitchen magic, and it’s all thanks to natural fermentation! If you’ve ever felt intimidated by those complicated-looking artisan loaf recipes or thought that making bread without instant yeast was just too much trouble, I have the best news for you. This isn’t just another recipe; this is the definitive, easy guide to making your first sourdough starter from scratch right on your counter. When I first started, mine seemed sluggish, but I learned the rhythm!
Stick with these simple daily steps, and I promise, in about a week or so, you’ll have a thriving, bubbly sourdough starter ready to go. This homemade culture is the entire foundation for delicious, tangy, and deeply satisfying no yeast bread making. Once you have this base ready, the whole world of baking opens up, and you can even try something fun right away like using your eventual discards for amazing sourdough discard pizza dough. Trust me on this one!
Why You Will Master Your First Sourdough Starter
I know it seems like a big step, but honestly, starting your own sourdough starter is way easier than most people think! We aren’t going for complicated chemistry here; we are going for reliable results. You are going to nail this because we are keeping the process incredibly simple right from the beginning.
- You only need two ingredients to start: flour and water! No fancy store-bought yeast needed ever again.
- We use a straightforward, repeatable daily feeding schedule that removes the guesswork. That’s how we guarantee you get a strong, reliably bubbly sourdough starter.
- This whole setup gives you the deepest flavor possible in your future bread, and it’s so rewarding to know you grew that life yourself.
Gathering Supplies for Your Homemade Sourdough Culture
Okay, so before we start mixing up our first batch of glorious goo, we need the right tools. Since this is purely a flour and water starter project, you don’t need anything fancy or expensive! Keep everything super clean though; that’s my first big tip for getting good yeast activity. If your jar is dirty, you might invite the wrong kind of party guests, right?
Essential Equipment Checklist
Here’s the short list of what you’ll need ready to go. My biggest piece of advice? If you ever want to get serious about your baking later on, invest in a cheap digital kitchen scale. Measuring flour by volume (cups) is so inconsistent, and when you’re trying to cultivate wild yeast for your sourdough starter, precision really matters!
- A clean glass jar, about a quart size (or big enough to let it double in size without overflowing!).
- A digital kitchen scale—seriously, measure everything in grams!
- A small rubber spatula or wooden spoon for mixing.
- A breathable cover—cheesecloth or a loose coffee filter secured with an elastic band works perfectly. Don’t seal the jar tight! It needs to breathe.
The Day-by-Day Process: How to Make Sourdough Starter From Scratch
This is where the real work—and the real fun—begins! Creating your very own sourdough starter usually takes about a week, maybe a little longer if your kitchen is chilly, so patience is your number one baking virtue here. Consistency with the daily routine is everything, I cannot stress that enough. Think of it like training a very tiny, extremely important flour pet!
The measurements we use are by weight (grams) because, as I mentioned, it’s the only way to be accurate. Don’t fret if your starter looks suspiciously quiet for the first few days; that’s super normal as the initial bacteria fight it out. Once you see the signs of true activity, you’ll know you’re on your way to mastering this whole sourdough starter thing. We’re aiming for that perfect, robust culture that lets you bake the most amazing sourdough discard recipes later on!
Day 1: Creating the Initial Sourdough Starter
For Day 1, we want to wake up the wild yeast lurking in the whole grain flour. Grab 50 grams of whole grain rye or whole wheat flour and mix it with 50 grams of room temperature non-chlorinated water. Mix it really well in your jar until there isn’t a single dry speck of flour left hiding anywhere—it’ll look like thick pancake batter. Cover it loosely (a coffee lid resting on top works great) and leave it somewhere warm. Here’s my personal tip: I usually put my jar near the pilot light on the oven or on top of the fridge; 75°F is the sweet spot where the yeast really gets going!
Days 2 through 5: Establishing the Sourdough Starter
This is the routine for the middle week! Every 24 hours, you have to discard about half of what’s in the jar—yes, it feels wasteful at first, but trust me, you are managing the population! After discarding down to about 50g of your existing culture, you feed it again with 50g of all-purpose/bread flour and 50g of fresh water. Mix it up well! You might see some tiny bubbles popping up, or maybe it smells a little yeasty or even like gym socks. That’s totally fine; it just means the natural bacteria are setting up shop. This daily rhythm is the core of our beginner sourdough guide to success.
Days 6 to Activation: Intensifying Your Sourdough Starter Feeding
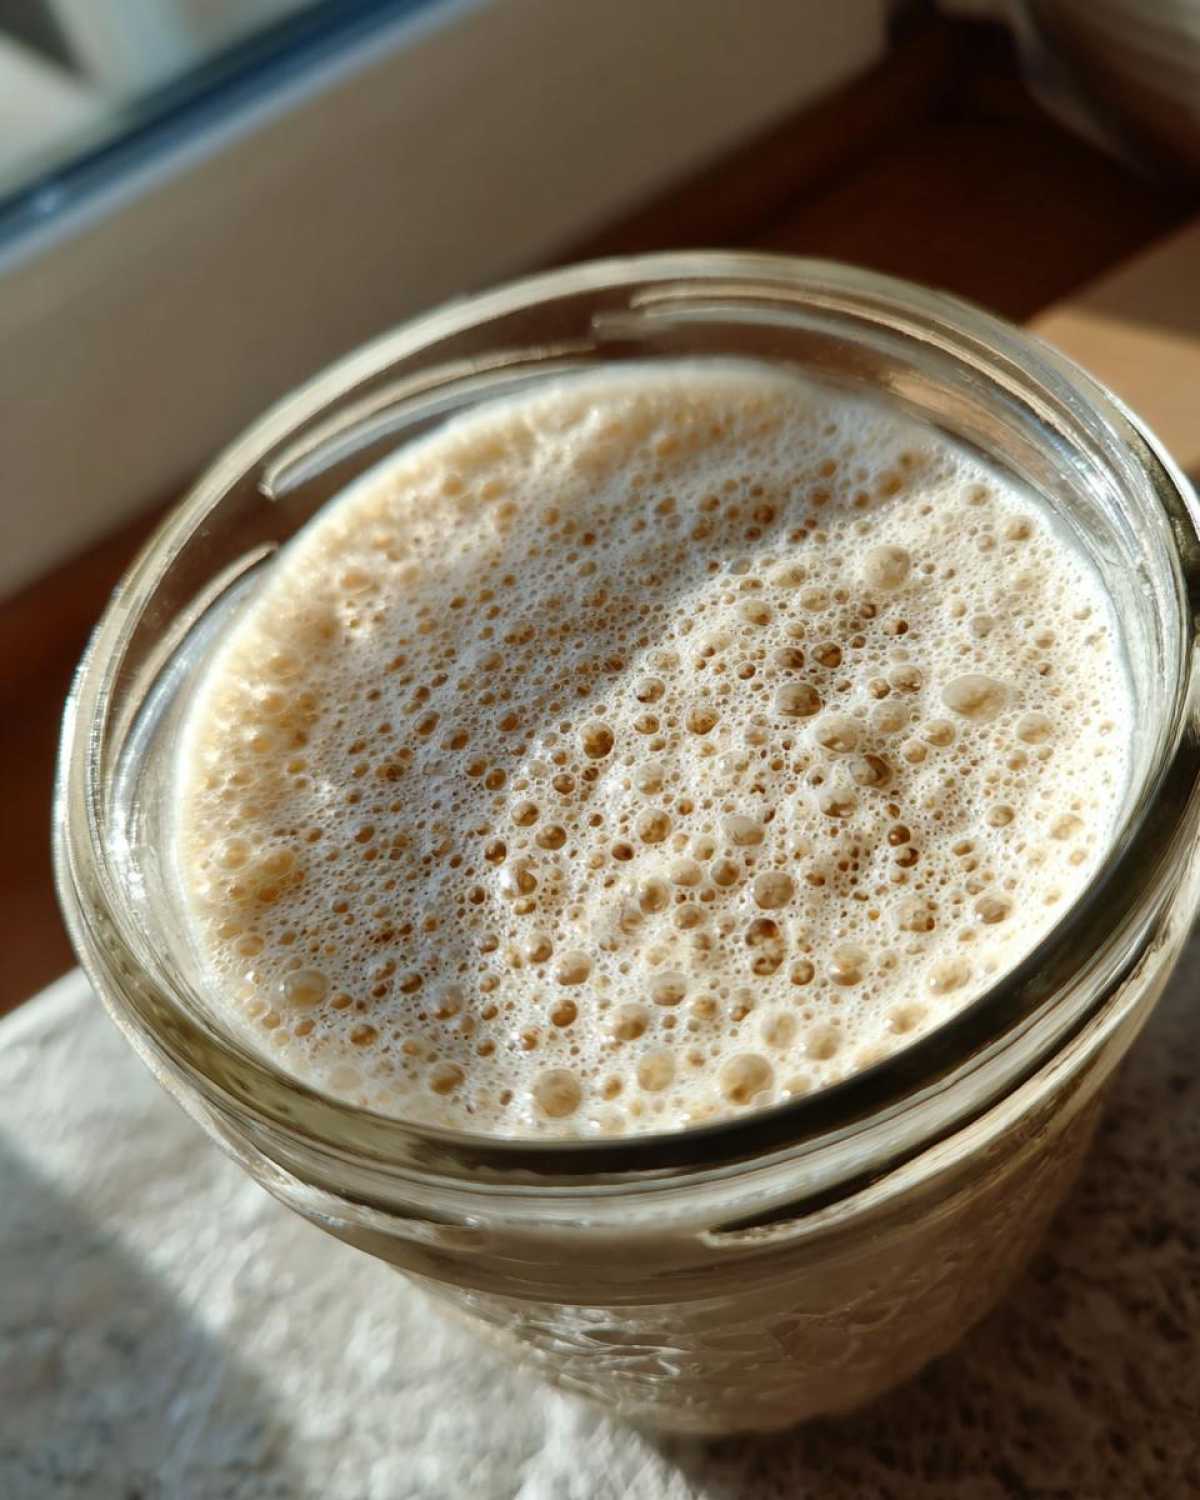
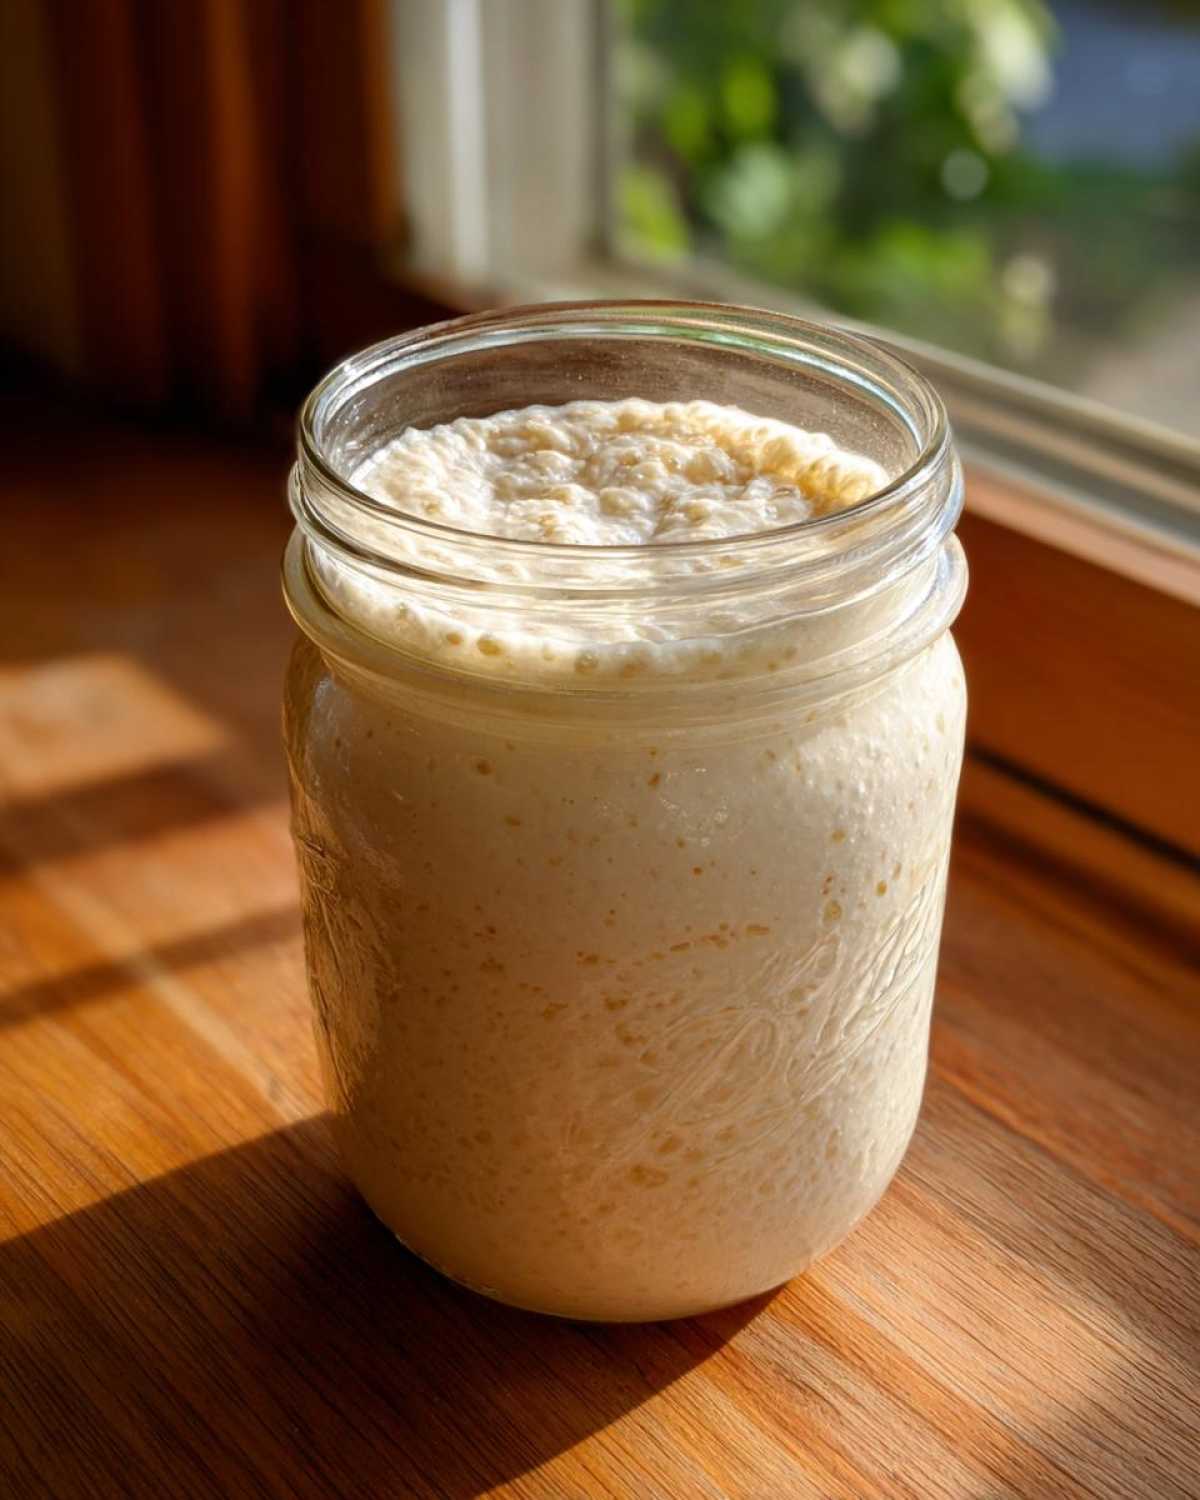
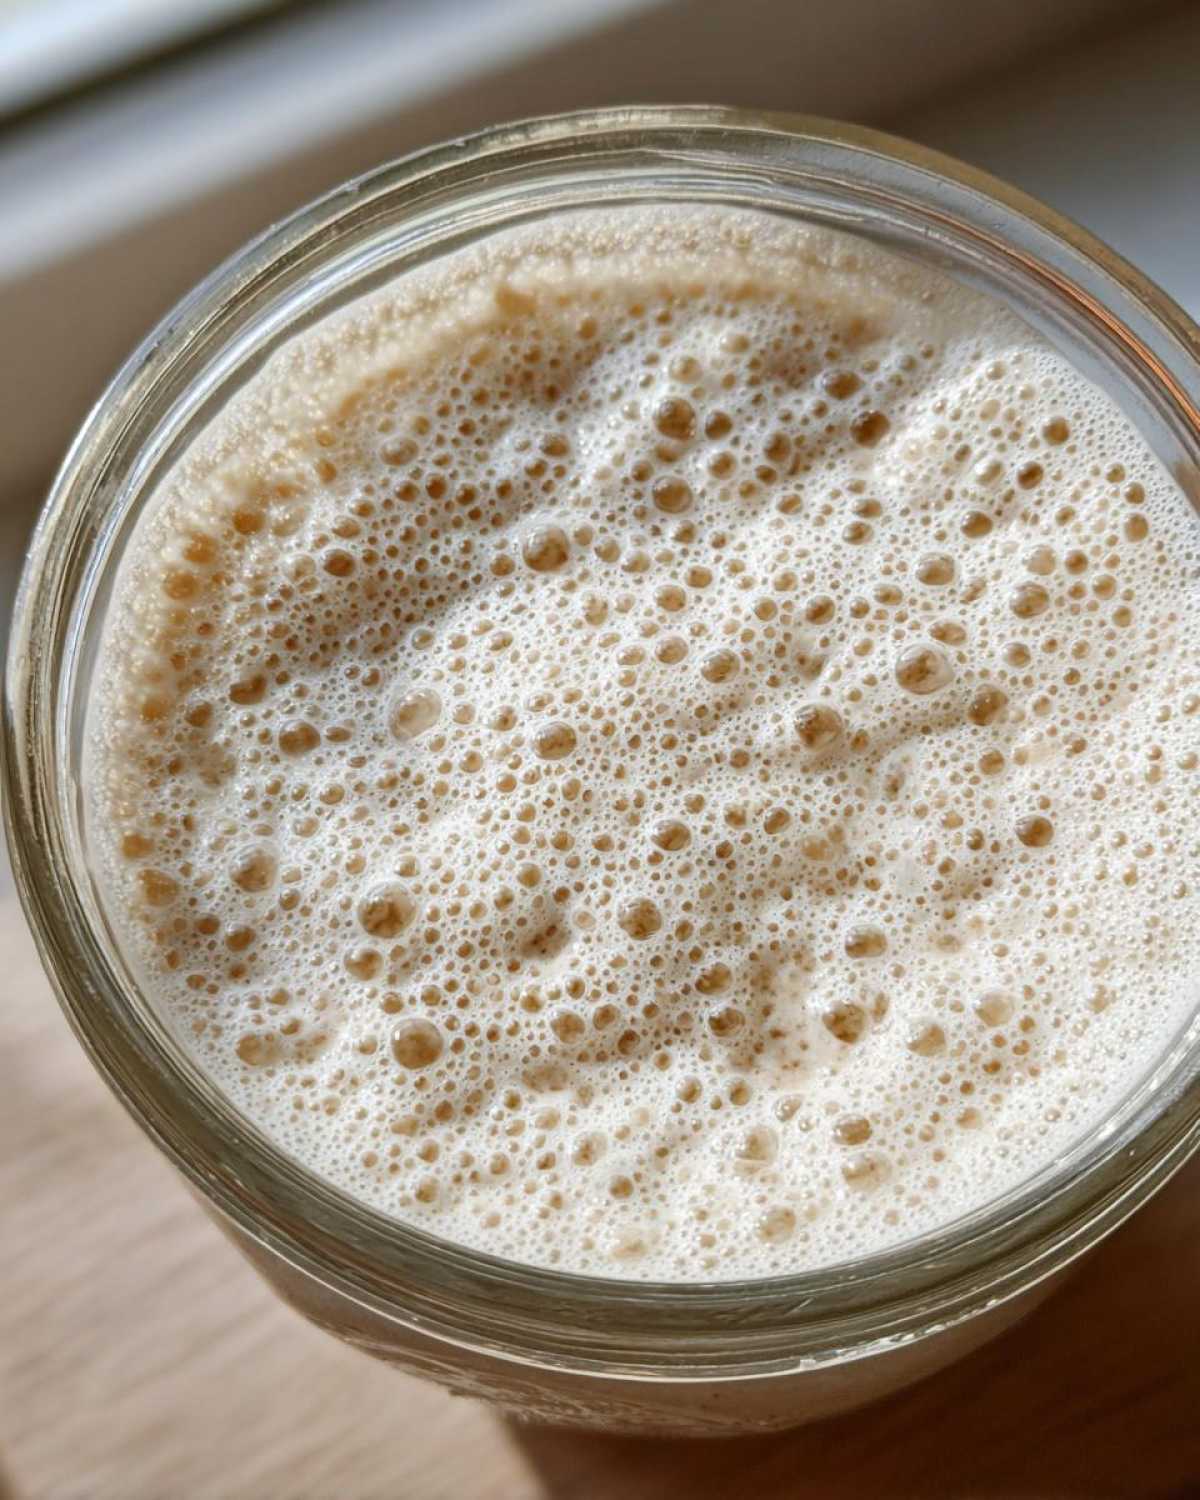
Around Day 6, if you’re seeing some definite action, it’s time to boost the strength! We’re doubling our feeding frequency to every 12 hours. You still use the same 1:1:1 ratio—so discard down to 50g starter, then add 50g flour and 50g water. This twice-daily feeding creates a stronger environment for the yeast. You know your sourdough starter is truly ready when that mixture reliably doubles in size—meaning it goes from filling half the jar to touching the top—within 4 to 8 hours after you feed it. That consistent rise means you have a super powerful, active sourdough starter recipe ready for bread!
Ingredient Notes and Substitutions for Your Sourdough Starter
I get asked all the time about swapping out ingredients, especially when people aren’t running to the bakery just for a specific specialty flour. It’s smart to know how flexible the basic sourdough starter formula really is—and where you absolutely cannot cheat! Trust me, the first few days are critical, and the type of flour you use is making a huge difference in how fast those little yeast friends wake up.
Flour Choices: Whole Grain vs. All-Purpose
When you first start on Day 1, I insist you use whole grain flour—either rye or whole wheat. Why? Because the bran and germ in whole grains carry way more wild yeast and nutrients ready to feast! That initial boost helps get your culture started quickly and reliably. Once you see some consistent bubbling activity, usually by Day 4 or 5, you can swap entirely to that standard unbleached all-purpose or bread flour for the rest of the feeding process. It’s lighter and what you’ll probably use for baking later.
Now, here’s a non-negotiable rule from my kitchen: please, please, please, avoid bleached flour at all costs. Bleaching strips away a lot of the natural goodness the yeast needs to thrive. If you only have bleached flour, don’t use it for your starter! Stick to unbleached or whole grain until you buy the right stuff.
Water Quality Matters for a Healthy Sourdough Starter
The second major ingredient is water, and this is where beginners accidentally kill their yeast before it even gets breathing room. Tap water is often treated with chlorine to keep it safe for drinking, but chlorine? That stuff is mean to yeast! It’s a disinfectant, and we are trying to cultivate a living culture here.
If you’re using tap water, here’s the incredibly easy workaround: just fill up your water pitcher and let it sit uncovered on the counter for at least 12 hours—even 24 hours is better! This allows the chlorine gas to simply evaporate right out of the water. If your tap water tastes strongly metallic or weird, definitely use filtered or bottled water instead. It’s worth that extra small step to ensure your brand new homemade sourdough culture has the purest environment to grow strong and healthy.
Sourdough Maintenance: Keeping Your Active Sourdough Starter Healthy
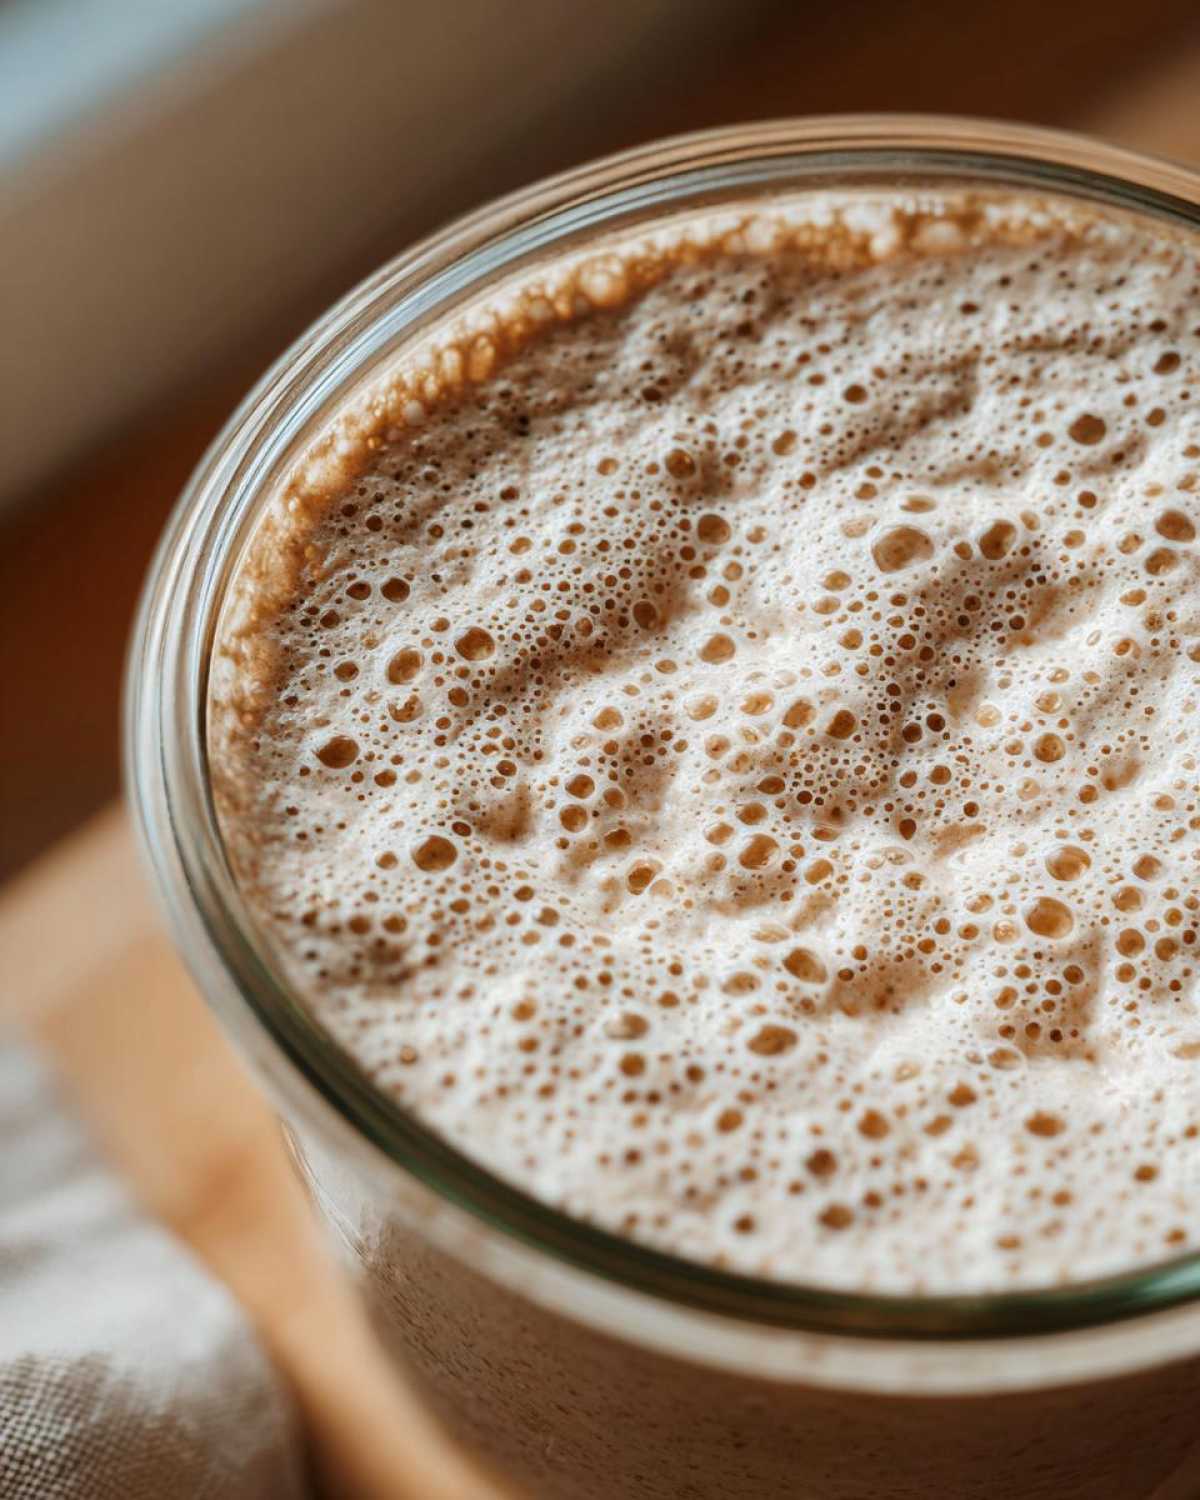
Yay! Congratulations, you’ve got an active, predictable culture! The next big question everyone asks me is, “Okay, now what? Do I have to feed this thing twice a day forever?” Nope! Once your sourdough starter is mature and doubling reliably, you get to pick your lifestyle. Do you bake every day, or are you more of a weekend warrior baker? Your answer dictates where you store your culture.
If you bake often, keeping it out on the counter at room temperature is fine, but you absolutely have to stick to that frequent feeding schedule—usually once or twice a day, depending on how warm your kitchen is. But if you’re like me and only bake on Saturdays, the fridge is your best friend! It’s a vacation setting for your culture.
Room Temperature vs. Refrigerated Sourdough Starter Storage
Storing your starter cold slows down the wild yeast activity almost to a crawl. When you tuck your established sourdough starter into the fridge, you only need to feed it about once a week. Just pop it out of the cold, give it a good refresh (same discard/feed ratio we used earlier), let it sit on the counter for a few hours until you see signs of life again, and then put it right back in the cold.
If you’re ready to bake, it needs a little wake-up call first! Take your starter out of the fridge the night before you plan to mix your dough. Give it one full feeding cycle on the counter at room temperature first. Wait until it doubles in size after that first counter feeding. Then, use it for your recipe! If you need it extra punchy for a big loaf of artisan bread from scratch, you might even feed it a second time on the counter before mixing your final dough. This little cool-down period doesn’t hurt it at all; it just pauses the party until you’re ready to host again!
Troubleshooting Common Sourdough Starter Issues
Okay, don’t panic if things aren’t going exactly according to the schedule! I’ve seen it all—starters that stall, starters that weep, and starters that just won’t float. These are normal hiccups when you’re working with wild yeast, which behaves a bit differently than that fast-acting stuff from the packet. Showing up every day to feed your culture is the most important part, even when it seems like nothing is happening.
The secret to fixing problems is usually just adjusting the environment or the food supply. We aren’t making a gourmet meal here, just keeping microscopic friends happy enough to multiply!
What to Do When Your Sourdough Starter Isn’t Bubbling
If you hit Day 5 or 6 and things look flat, don’t despair! The first thing you should check is the temperature. Remember how I said 75°F is ideal? If your kitchen is under 70°F, those yeasties are moving in slow motion. Try moving the jar somewhere warmer, like near a radiator or on top of your fridge, just for 12 hours, and see if that wakes them up.
If the temperature is fine, maybe the nutrition isn’t quite right. For a day or two, switch back to using a 50/50 mix of whole wheat and all-purpose flour instead of just the white flour. That extra boost of grain might give your reluctant sourdough starter the energy it needs to get doubling again! Just remember the full timeline we discussed; sometimes, nature just takes 14 days instead of 7. Patience is key!
Dealing with Hooch and Mold
This is probably the most common thing you’ll see once your culture is established: a layer of grayish-brown liquid sitting on top. That liquid has a name—it’s called “hooch,” and it’s basically the alcohol byproduct of your starter eating all its food! It means your starter is hungry and needs to be fed sooner. You have two options here: you can either very gently pour the hooch off, or you can just stir it right back in before you feed it. Both methods work, but pouring it off results in a slightly milder flavor next time.
Now, let’s talk about the scary part: mold. If you see anything fuzzy, pink, blue, or any strange color that looks totally different from the hooch, you have to stop immediately. That is actual spoilage, and unfortunately, once mold sets into a liquid culture, it’s impossible to save safely. Please don’t take a chance. Just take a deep breath, dump the whole jar, sterilize it really well, and happily restart the process. It happens to everyone!
FAQ: Essential Sourdough Starter Questions Answered
This is usually the section where I answer all the random little worries that pop up as you start nurturing your sourdough starter! Honestly, most of the time, the answer is just to relax and keep feeding it consistently. You’re doing great, and we are going to get you baking soon enough!
How long does it take to get an active sourdough starter?
It really depends on the temperature of your kitchen, but you need to plan for a minimum of seven days. Some people see activity right away, but that initial bubbly stage can sometimes be misleading bacteria jumping in. For a truly reliable, active culture that you can trust for baking, you should budget between 7 and 14 days. The real sign—the thing you’re waiting for—is when your sourdough starter reliably doubles in volume within that 4 to 8 hour window after feeding. That’s when you know the ecosystem is balanced and strong!
Can I use my sourdough starter discard for baking?
Absolutely you can! That’s why we have recipes dedicated to using that extra culture! You are going to accumulate a lot of it during the first week, and you definitely shouldn’t dump it all. But here is a very important distinction for your beginner sourdough guide: discard is usually not strong enough to leaven a loaf of bread on its own. Discard hasn’t been fed recently, so its yeast population is a bit sleepy.
If you plan on tackling a big, beautiful loaf of artisan bread from scratch, you always want to use the starter *after* it has doubled. For things like pancakes, crackers, or muffins, though, your recently discarded portion works perfectly because those recipes rely on baking powder or soda for the main lift. That’s a great way to use up leftovers!
What is the best feeding ratio for a mature sourdough starter?
For that initial week while you are creating the culture, we stick strictly to the 1:1:1 ratio (equal parts starter, flour, water by weight). That frequent feeding ratio builds the population fast! Once your sourdough starter is mature and you move it to the fridge for weekly feedings, you can actually switch to a lean ratio like 1:2:2 or even 1:5:5 once a week.
What that higher ratio means is you are feeding it more food relative to the amount of existing starter you keep. This lets it stay healthy in the fridge longer without needing as much attention. When you want to bake, you just take that tiny bit of cold starter out, feed it 1:1:1 twice on the counter, and you are back in business!
Next Steps: Baking with Your New Sourdough Starter
Hooray! You’ve done the hard part—you have a living, breathing, happy sourdough starter sitting on your counter! Now what? I’m so excited for you because this is where the real reward comes in. You’ve successfully unlocked the magic key to making incredible bread at home. You’re officially done with the tedious part of the sourdough 101 course!
Don’t worry, I’m not going to leave you hanging! While this guide was all about getting your culture established, the next step is putting that powerhouse to work. Mastering the initial creation of this culture means you are now ready to step into the world of artisan bread from scratch whenever you are ready. Seriously, the depth of flavor, the beautiful crumb structure—it’s unbeatable. Once you feel comfortable, you should absolutely try making a gorgeous loaf using a recipe like my whole wheat loaf; you’ll see how much better it tastes when using your homegrown yeast!
Take a deep breath, celebrate that beautiful jar of bubbly culture, and get ready for your first bake!
Estimated Nutritional Data for Flour and Water Starter
Okay, this is a fun one, and it comes up a lot! You need to know that this data is strictly for the sourdough starter culture itself—the leftover mix of flour and water after you’ve been feeding it. It is NOT the nutrition for your final, beautiful loaf of bread, which changes completely once baked. Think of this as a basic snapshot of what you are discarding or using as a small portion of your bigger bread recipe. I always try to estimate conservatively since ingredients aren’t perfectly standardized, but this is a good general range for that 100-gram serving of active starter.
When you are feeding it consistently, the calorie count will fluctuate slightly based on whether you use whole wheat or white flour, so view this as your sourdough 101 baseline for the active culture.
- Serving Size: 100g culture
- Calories: Roughly 180 (This is mostly carbs from the flour used in the feed cycle)
- Total Fat: About 0.5g
- Carbohydrates: Around 37g
- Protein: Roughly 6g
See? It’s mostly just very hydrated, active carbohydrates. It doesn’t have much sugar because the hungry yeast and bacteria have already eaten most of it during the fermentation process! That’s why we usually need to feed it again before we decide to bake anything big and hearty!
PrintHow to Make a Sourdough Starter From Scratch (Beginner Guide)
Follow these simple steps to create your own active sourdough starter using only flour and water. This guide covers daily feeding and maintenance for beginners.
- Prep Time: 5 min
- Cook Time: 0 min
- Total Time: 7 days (for activation)
- Yield: 1 active starter culture
- Category: Baking Basics
- Method: Fermentation
- Cuisine: General
- Diet: Vegetarian
Ingredients
- 100g whole grain rye or whole wheat flour
- 100g unbleached all-purpose or bread flour
- 100g non-chlorinated room temperature water
Instructions
- Combine 50g of whole grain flour and 50g of water in a clean jar. Mix until no dry flour remains. Cover loosely and let it sit at room temperature (68-75°F or 20-24°C) for 24 hours.
- On Day 2, discard half of the mixture. Add 50g of all-purpose flour and 50g of water to the remaining starter. Mix well, cover loosely, and wait 24 hours.
- Repeat the discard and feeding process (50g starter, 50g flour, 50g water) every 24 hours for Days 3, 4, and 5. You may see some bubbles or smell sourness; this is normal.
- Starting on Day 6, begin feeding twice a day (every 12 hours) using the same ratio: discard down to 50g starter, then feed with 50g flour and 50g water.
- Continue the twice-daily feeding schedule. Your starter is active when it consistently doubles in volume within 4 to 8 hours after feeding and is full of bubbles. This usually happens between Day 7 and Day 14.
- Once active, you can switch to a maintenance feeding schedule if you are not baking immediately.
Notes
- Use filtered or bottled water if your tap water is heavily chlorinated, as chlorine can inhibit yeast growth.
- Keep the starter in a warm spot (around 75°F) for faster activity, especially in the first week.
- If you see dark liquid (hooch) forming on top, stir it in or pour it off before feeding. This means your starter is hungry.
- To store an established starter long-term, feed it, let it rest for an hour, then place it in the refrigerator. Feed it once a week.
Nutrition
- Serving Size: 100g culture
- Calories: 180
- Sugar: 0.5
- Sodium: 1
- Fat: 0.5
- Saturated Fat: 0.1
- Unsaturated Fat: 0.4
- Trans Fat: 0
- Carbohydrates: 37
- Fiber: 3
- Protein: 6
- Cholesterol: 0