

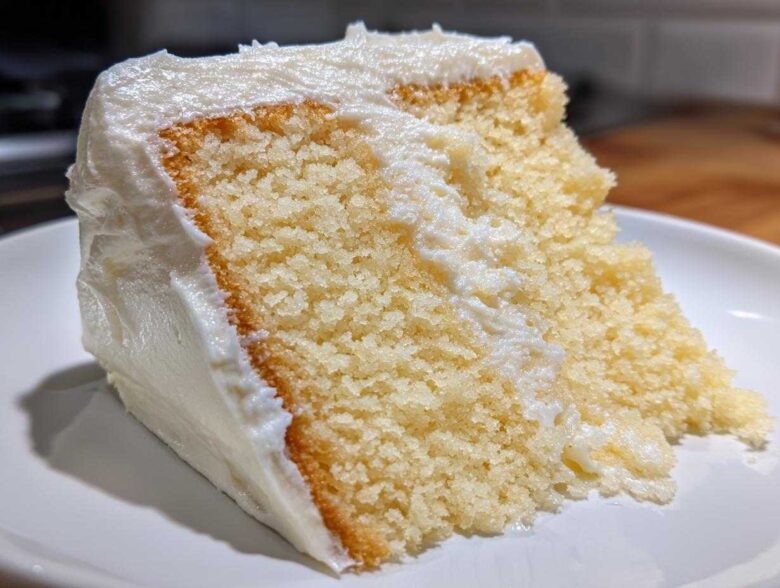
There is nothing more disappointing than spending hours baking the perfect cake only to ruin it with weepy, grainy, or weak frosting! Trust me, I have been there with those sad, collapsed swirls. But don’t worry, because I’m handing over the keys to the absolute best, quickest, and most reliable recipe for rich **vanilla buttercream frosting** you will ever need. Seriously, we are talking about a genuinely fluffy frosting in about 10 minutes total time. This classic **American buttercream recipe** is the foundation of all my cake decorating dreams, and it holds its shape beautifully. Once you try this method, you won’t look back!
You can visit my main blog page here for more quick dessert ideas: Check out more recipes!
Why This is the Best Vanilla Buttercream Frosting Recipe
So, why are we all gathering around this particular recipe? It ticks every single box I look for when I need **vanilla buttercream frosting** right now. It’s fast, it’s rock-solid stable, and frankly, it tastes like pure happiness. No fuss, no complicated steps—just pure, creamy goodness designed for everyone from nervous first-timers to seasoned bakers.
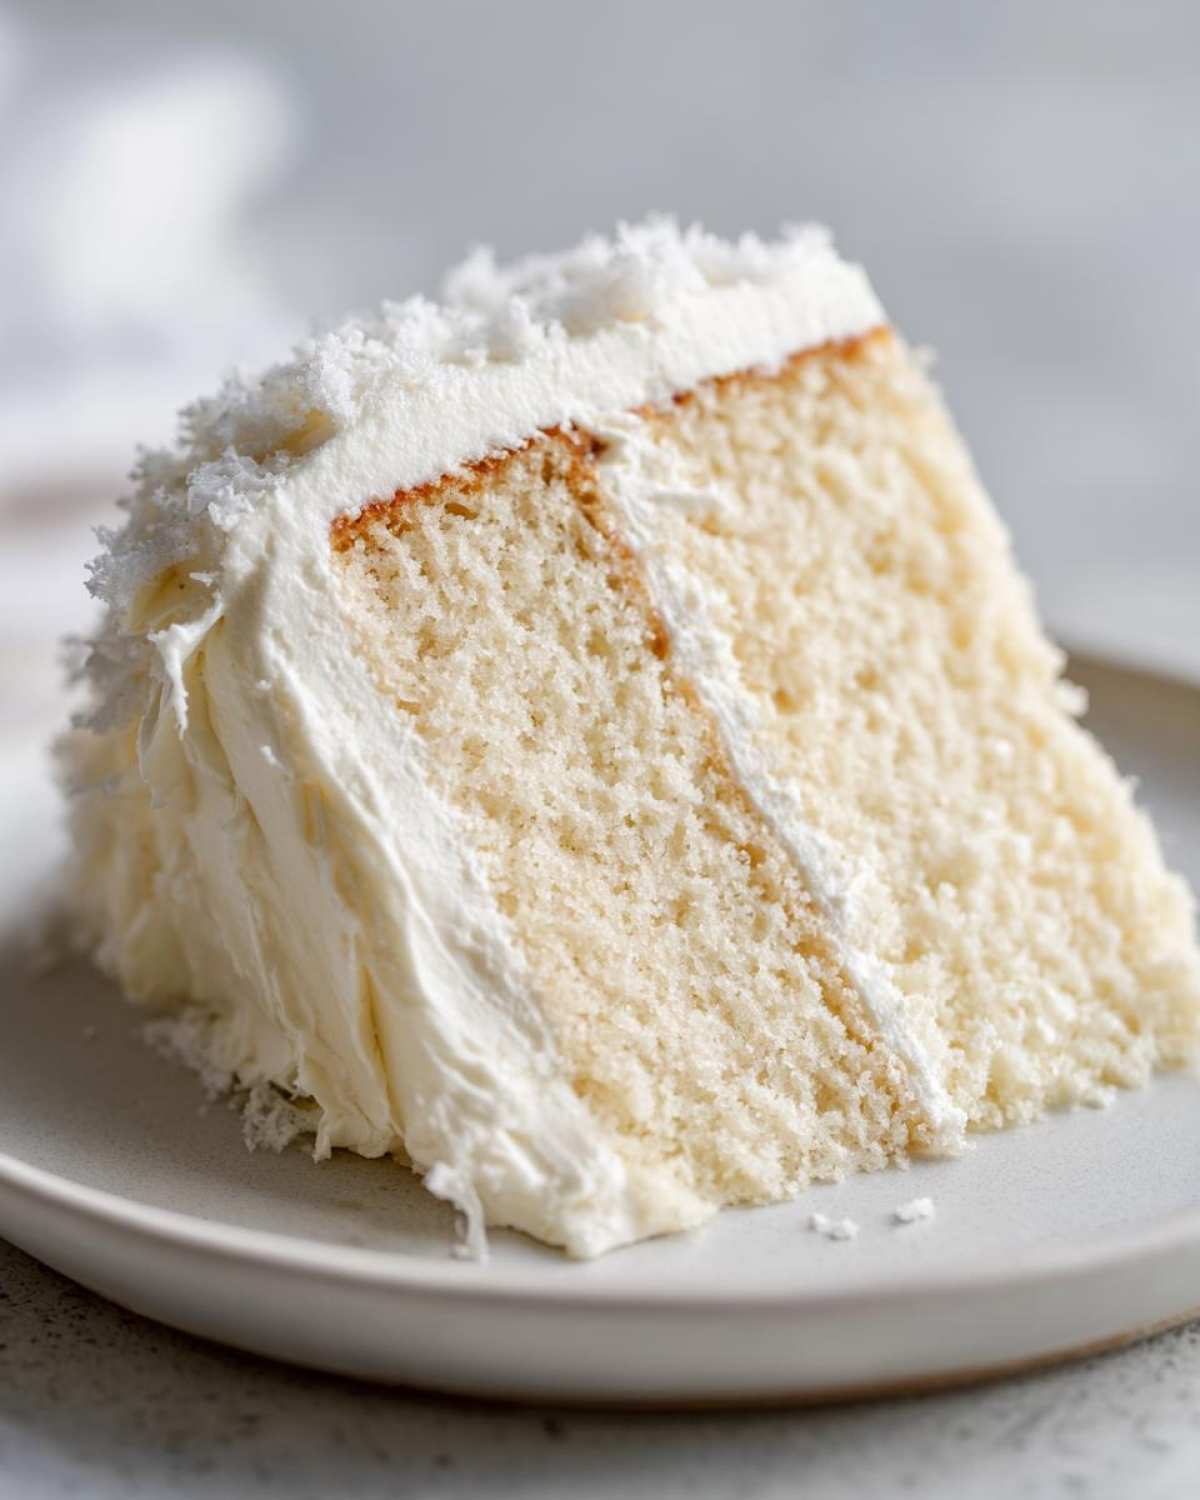
- It’s genuinely fast! We are talking 10 minutes start to finish.
- It pipes like a dream. Sharp edges? Yes, please!
- It’s the ultimate versatile topping for layer cakes, cookies, or just eating with a spoon (don’t judge me!).
If you’ve ever tried to make a quick frosting for a last-minute birthday cake, you know how stressful it can be. This recipe guarantees success every time, making it the perfect **beginner buttercream recipe**.
Quick Preparation Time for Your Vanilla Buttercream Frosting
The best part? The total time commitment is right around ten quick minutes. That’s just enough time to whip it up while your cake is cooling down or right before you need a **quick dessert topping idea**. No waiting for things to set or chilling the bowl first—this **vanilla buttercream frosting** comes together super fast!
Achieving Fluffy Cupcake Frosting Consistency
The secret to getting that light, cloud-like texture used in professional **fluffy cupcake frosting guides** is all about the air we whip in at the end. Once the sugar is mixed in, we turn the mixer way up high for 3 to 5 minutes. This intense whipping changes the structure of the butter and sugar, making it pale, airy, and wonderfully soft. If you want to try this frosting method on some epic cookies, check out my Ultimate Chewy Chocolate Chip Cookies!
Ingredients for Perfect Vanilla Buttercream Frosting
Okay, let’s talk about what goes into this magic. The ingredient list is seriously short and sweet, which is why the quality and condition of what you put in matter so much. If you follow these few checks, you are halfway to the **best vanilla buttercream frosting recipe** ever.
We are using the standard tools for an **American buttercream recipe**, but paying attention to the small details makes this recipe shine. Here are the staples we need:
- 1 cup unsalted butter, softened until it’s perfectly pliable.
- 4 cups powdered sugar, and yes, you absolutely have to sift this! Trust me on this one.
- 1 teaspoon pure vanilla extract. Go for the good stuff if you can!
- 2 to 4 tablespoons heavy cream or milk—we use this to smooth things out.
- A tiny pinch of salt to cut that serious sweetness.
Ingredient Specifics for Creamy Vanilla Icing Recipe
Let’s talk preparation because that’s where the success of your **creamy vanilla icing recipe** really happens. That butter needs to be at room temperature—soft enough that your finger leaves an easy indent, but nowhere near shiny or melted. If your butter is too warm, the entire frosting is going to turn into soup—we want structure!
And the sugar? You must sift the powdered sugar. If you skip this, you’ll end up poking little stubborn lumps out of your frosting later when you’re trying to get those gorgeous swirls. Sifting ensures that smooth texture we are looking for in every batch of **vanilla buttercream frosting**.
Step-by-Step Instructions for Buttercream Frosting From Scratch
This part is so exciting because you can actually watch this **vanilla buttercream frosting** come together right before your eyes! The process is simple, but we need to respect the order of operations so we don’t end up with a stiff mess. Remember, even though this is one of the easiest recipes out there, technique matters, especially when we are aiming for that perfect, rich texture. If you’re looking for another fast treat after this, these No-Bake Oat Bars are always a crowd-pleaser!
Whipping Buttercream to Perfection: Creaming the Butter
Step one is all about creating a smooth, airy base. Put that perfectly softened butter into your mixer and beat it on medium speed until it looks consistently creamy—no streaks or lumps allowed! I usually let it go for a solid couple of minutes. This initial step is absolutely crucial because we are creating the air pockets that will expand later, giving our final **vanilla buttercream frosting** that essential light crumb. Don’t rush this foundational element!
Incorporating Sugar Slowly for Smooth Vanilla Frosting
Once the butter is beautiful, bring your mixer speed down low—we don’t want a powdered sugar explosion across your kitchen! Add that sifted sugar one cup at a time. Wait until the sugar is mostly mixed into the butter before adding the next cup. You absolutely must scrape down the sides and the bottom of the bowl frequently during this process. If you skip scraping, you’ll have pockets of gritty sugar hiding in your beautiful **smooth vanilla frosting**.
The Final Whip: Achieving Light and Fluffy Vanilla Buttercream Frosting
Now for the transformation! Add your vanilla and salt, mix to combine, and then toss in just 2 tablespoons of heavy cream. Turn that mixer up high—medium-high is good—and let it whip now for a full 3 to 5 minutes. This is where the magic happens and the frosting visibly lightens up! If your final **vanilla buttercream frosting** seems too stiff for spreading or piping nicely, just add your remaining cream or milk about a teaspoon at a time until it swooshes exactly how you want it for decorating.
Tips for Success When Making Your Vanilla Buttercream Frosting
I want you to have stellar results every time you make this amazing frosting, so listen to these crucial little tips I’ve learned over the years. It’s the difference between good frosting and the **best vanilla buttercream frosting**!
First off, that butter temperature is everything. I mentioned it before, but I’ll say it again: room temperature, not melted! Second, promise me you’ll sift that powdered sugar. Nobody wants crunchy frosting when they are expecting a **rich vanilla dessert topping**.
If you whip it up and it seems a little too soft to hold those fancy shapes you planned? No panic allowed! Just toss the whole bowl into the fridge for about 10 to 15 minutes. Pop it back out and give it a quick re-whip, and it firms right up. If you want to see how I use my frosting on something decadent, check out these Red Velvet Brookies!
How to Pipe with Buttercream Frosting for Decorating
When you nail the whipping time, this **vanilla buttercream frosting** becomes incredibly reliable for decorating! Stability is key here, and thankfully, this American buttercream recipe naturally produces a tight enough structure for pretty swirls and shells. Before you even bother loading up a piping bag with a star tip, grab a small offset spatula and dollop a tiny bit onto a plate.
You need to check the consistency; if it holds that shape without immediately slumping over, you’re good to go for **how to pipe with buttercream frosting**. If it looks a little too soft, put it back in the fridge for another 5 minutes. This stable icing is exactly what you need for topping those fun ice cream cone cupcakes!
Storage and Reheating Instructions for Classic Cake Decorating Icing
I always make a huge batch because it’s just so quick! But what do you do with the leftovers of this amazing **vanilla buttercream frosting**? Keeping it fresh is super easy, but you do have to remember that it’s mostly butter, so temperature matters.
If you plan on using the rest of your **classic cake decorating icing** within a day or two, keeping it on your counter in an airtight container works just fine—as long as your kitchen isn’t scorching hot! I just cover my bowl tightly with plastic wrap pressed right down onto the surface of the frosting to stop it from developing any crust. That ensures it stays fresh.
For longer storage, the fridge is your friend! Place your airtight container in the refrigerator for up to two weeks. It will get hard in there, naturally, because of that butter content. Don’t panic when you pull it out!
When you’re ready to use it again, just let it sit on the counter for an hour or two until it softens up to room temperature. Once it’s pliable again, you *must* give it a really good, fast whip in the mixer for about 30 seconds. This whips the air back in and makes it smooth and perfect again. This is the best way to keep your **vanilla buttercream frosting** ready for any last-minute craving!
Variations on This American Buttercream Recipe
While the original **vanilla buttercream frosting** is truly perfect, sometimes you need a little twist! Because this is such a stable **American buttercream recipe**, it takes flavor additions like a dream. It’s so easy to switch things up without wrecking the texture we worked so hard to achieve.
If you’re feeling zesty, try adding the finely grated zest of one lemon right along with your vanilla extract—it brightens everything up perfectly. Or, swap out the vanilla entirely for almond extract; that really makes it feel special for wedding cupcakes!
And for my chocolate lovers? You can easily transform this into a light chocolate frosting. Just add about 1/4 cup of sifted cocoa powder in with the powdered sugar, but you might need an extra tablespoon of milk to keep that perfect consistency. If you’ve made a batch, maybe try these Lemon Blueberry Cheesecake Bars next week and use this frosting idea for them!
Frequently Asked Questions About Making Vanilla Buttercream Frosting
It’s natural to have questions when you are trying out a brand-new favorite recipe! Even though I try to cover everything in the steps above, sometimes you need a quick answer for a specific situation. Here are some of the questions I get most often about achieving the perfect **vanilla buttercream frosting**.
Can I substitute the heavy cream in this easy homemade frosting for cakes?
You absolutely can! If you don’t have heavy cream on hand, plain whole milk works just fine to thin out your frosting to the right spreading consistency. The slight difference is that heavy cream has a higher fat content. This means using cream gives you an ever-so-slightly richer mouthfeel and sometimes a marginally more stable final product. But for an everyday batch of **easy homemade frosting for cakes**, milk is a totally acceptable swap!
My frosting is too soft. How do I fix this no cook vanilla frosting?
Oh, that happens, usually if your butter was just a little too warm to begin with! Don’t panic and definitely do not throw it away. The fix is simple: cover the bowl and pop the whole thing into the refrigerator for 10 to 15 minutes. This allows the butter to firm up just enough. Then, pull it out and give it another quick, high-speed whip—it comes right back to life! If it is still too soft after that, slowly add in just one tablespoon of powdered sugar at a time until it stiffens appropriately for your **no cook vanilla frosting** needs.
What happens if I use salted butter instead of unsalted?
This is a big one! If you only have salted butter available, you can use it, but you run the risk of making your frosting too salty because you can’t control the salt content. If this is your only option, leave out the extra pinch of salt we added in Step 3. Remember, you can always add salt later, but you can’t take it away! For the very best flavor in your **vanilla buttercream frosting**, I really recommend using unsalted so you control that seasoning.
Can I make this buttercream ahead of time and store it?
Yes, you absolutely can make this **vanilla buttercream frosting** ahead! It stores great in an airtight container on the counter for a couple of days, or in the fridge for up to two weeks. Just remember the reheating instruction from the previous section: let it come fully to room temperature, then give it a quick, hard whip in the mixer to bring the air back into it so it’s fluffy enough for piping.
Estimated Nutritional Data for Vanilla Buttercream Frosting
I always feel a little guilty looking at the nutritional breakdown for something this delicious, but knowledge is power, right? You should know what you are dealing with when you decide to whip up a big bowl of this beautiful, **rich vanilla dessert topping**!
Please remember that these numbers are just estimates based on how the recipe is written, using standard ingredients. If you use more cream or different types of sugar, those numbers will shift a bit. You can always find my full medical disclaimer here: Read the full disclaimer. This is what we are looking at for a standard serving size of about 1/4 cup of **vanilla buttercream frosting**:
- Serving Size: 1/4 cup
- Calories: Approximately 350
- Fat: 15g (with about 9g being saturated fat)
- Carbohydrates: 56g
- Sugar: 55g (Yep, it’s sweet, that’s the point of frosting!)
- Protein: 1g
- Sodium: About 50mg
See? It’s mostly butter and sugar—that’s what makes it taste so decadent and handles so well when you are decorating those perfect cupcakes! Enjoy responsibly!
PrintClassic Fluffy Vanilla Buttercream Frosting
Make a rich, smooth, and fluffy vanilla buttercream frosting from scratch. This recipe is quick to prepare and perfect for frosting cakes and piping decorations.
- Prep Time: 10 min
- Cook Time: 0 min
- Total Time: 10 min
- Yield: About 3 cups
- Category: Dessert Topping
- Method: Mixing
- Cuisine: American
- Diet: Vegetarian
Ingredients
- 1 cup unsalted butter, softened
- 4 cups powdered sugar, sifted
- 1 teaspoon pure vanilla extract
- 2 to 4 tablespoons heavy cream or milk
- Pinch of salt
Instructions
- Place the softened butter in a large bowl or the bowl of a stand mixer fitted with the paddle attachment. Beat the butter on medium speed until it is smooth and creamy, about 2 minutes.
- Gradually add the sifted powdered sugar, one cup at a time, mixing on low speed until fully incorporated after each addition. Scrape down the sides of the bowl as needed.
- Add the vanilla extract and the pinch of salt. Mix on low speed until combined.
- Add 2 tablespoons of heavy cream or milk. Increase the mixer speed to medium-high and beat for 3 to 5 minutes until the frosting is light and fluffy.
- If the frosting seems too stiff, add the remaining cream or milk, one teaspoon at a time, until you reach your desired spreading or piping consistency.
- Use immediately to frost cakes or cupcakes.
Notes
- For the fluffiest result, ensure your butter is truly at room temperature, but not melted.
- Sift your powdered sugar to prevent lumps in the final frosting.
- If the frosting seems too soft after mixing, chill it for 10 to 15 minutes before using it for piping.
Nutrition
- Serving Size: 1/4 cup
- Calories: 350
- Sugar: 55
- Sodium: 50
- Fat: 15
- Saturated Fat: 9
- Unsaturated Fat: 6
- Trans Fat: 0
- Carbohydrates: 56
- Fiber: 0
- Protein: 1
- Cholesterol: 60