

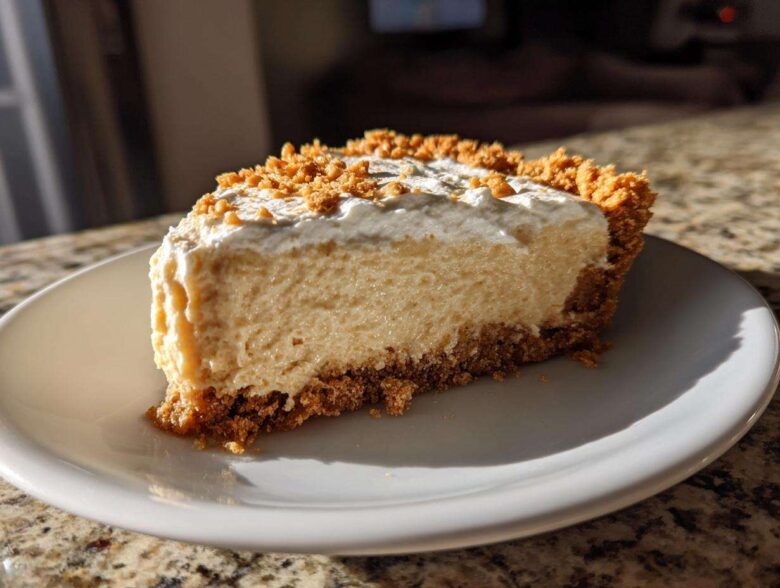
When the holidays roll around, or honestly, any time I need something rich and unbelievably satisfying without turning on the oven, I reach for my secret weapon: the ultimate peanut butter pie. Amina always teases me because I can whip this dessert up faster than she can find the right serving platter! This isn’t just some quick fix; it’s the go-to, crowd-pleasing dessert that guarantees happy faces at every gathering we host. Forget complicated custards and fussy baking.
This recipe is the definition of a simple, quick peanut butter dessert that tastes like pure indulgence. It’s got that magnificent, creamy texture everyone craves. Trust me, once you see how fast this comes together, it’ll be locked into your personal rotation, too.
Why This No Bake Peanut Butter Pie Recipe Is Your New Favorite
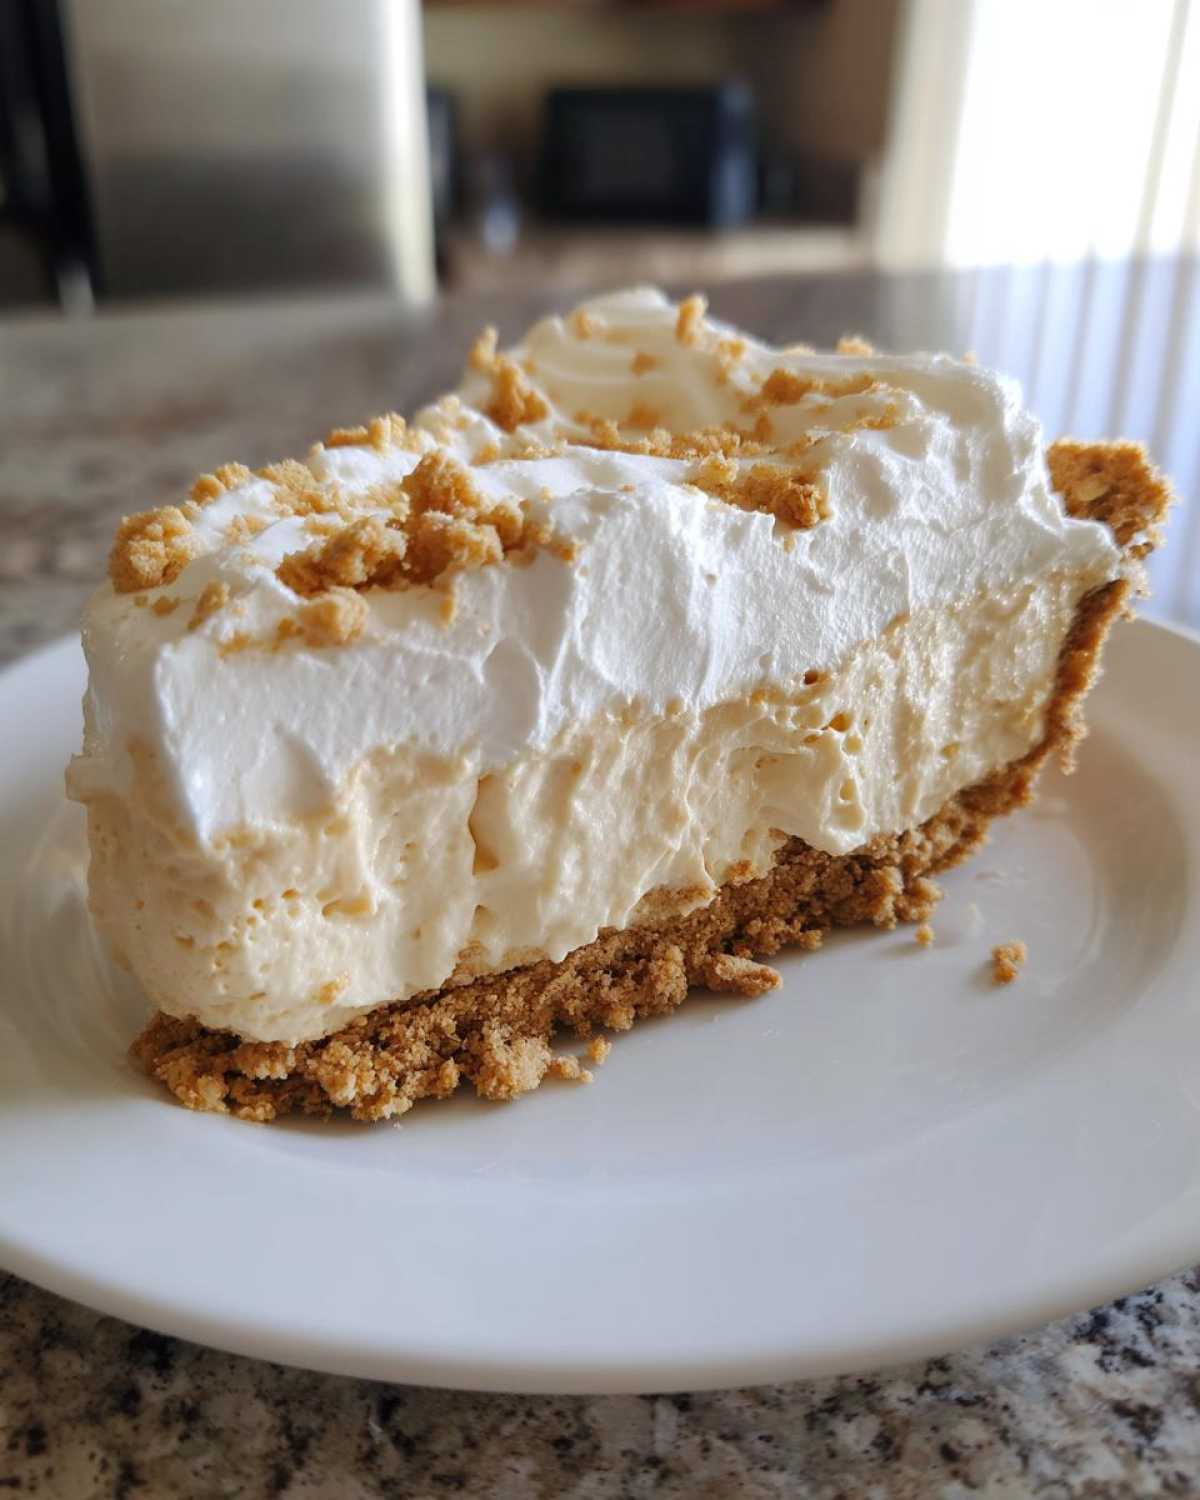
Listen, when it comes to getting dessert on the table, especially during busy times like the holidays, I want zero fuss and maximum flavor. That’s why this No Bake Peanut Butter Pie just takes the cake—or, well, the pie! It’s shockingly easy, but tastes like you spent hours fussing over it. You have to give this one a try; it’s always the first thing cleared off the table at any gathering.
- Quick Peanut Butter Dessert Prep Time: Seriously, we’re talking twenty minutes of active work, tops. Since it’s one of those glorious No Oven Desserts, you save all that oven space for the main meal.
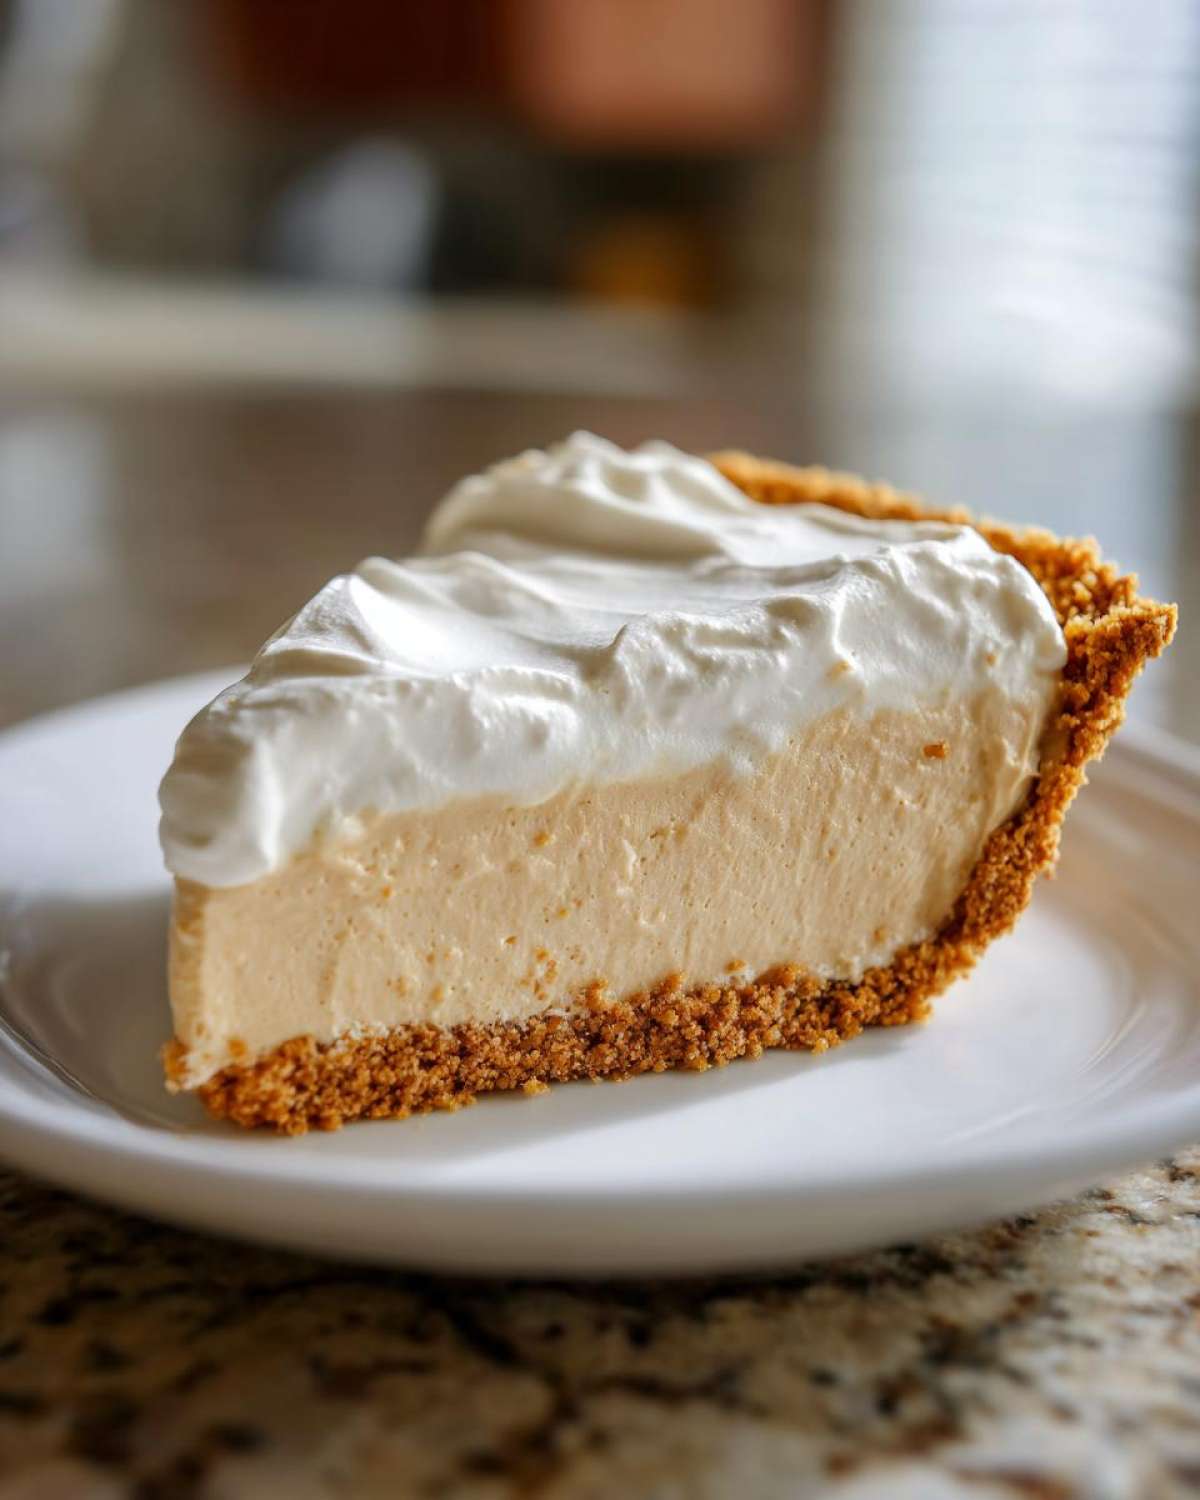
- Crowd Pleaser Dessert Texture: That filling! It’s not airy; it’s dense, rich, and so incredibly Creamy Peanut Butter Pie smooth. It sets up perfectly in the fridge, giving you those beautiful, clean slices that look professional.
Ingredients for the Creamy Peanut Butter Pie
The beauty of this Easy Peanut Butter Pie Recipe is how few components you need to bring together something so spectacular. Everything here is straightforward, but measuring correctly is key to getting that perfect set. You just need a few pantry staples and the magic happens fast!
For the Graham Cracker Crust Pie
- 1 1/2 cups graham cracker crumbs
- 1/4 cup granulated sugar
- 6 tablespoons unsalted butter, melted
Keep in mind, if you prefer an Oreo Crust Peanut Butter Pie instead, just swap in 24 finely crushed Oreos—the butter ratio stays the same!
For the Rich Dessert Pie Filling
- 1 (8 ounce) package cream cheese, softened
- 1 cup creamy peanut butter (this is important for that smooth texture!)
- 1 (14 ounce) can sweetened condensed milk
- 1 teaspoon vanilla extract
- 1 (12 ounce) container frozen whipped topping, thawed
- Optional Topping: Chocolate syrup or mini peanut butter cups
How to Make This Easy Peanut Butter Pie Recipe
Okay, let’s get down to business, because this is where the “no-bake” magic really happens! You don’t need any fancy baking skills—just a good electric mixer and a patient streak for chilling time. Remember, with this No Bake Peanut Butter Pie, the fridge does all the heavy lifting on texture. This whole process is so streamlined; it reminds me just how satisfying it is to make a dessert like no-bake Tiramisu—fast results for big rewards!
Assembling the Graham Cracker Crust Pie
First things first, let’s build the foundation. Dump your graham cracker crumbs, that little bit of sugar, and the melted butter into a bowl. I like to use my hands here, squeezing it all together until it looks like wet sand. Press that mixture firmly and evenly into your 9-inch pie plate. Don’t be shy! After you press it down tight, slip that crust into the freezer. We need it nice and frosty while we tackle the filling.
Creating the Creamy Peanut Butter Pie Filling
Time for the indulgence! In a separate big bowl, get your cream cheese beat until it’s totally silky smooth—no lumps allowed, that’s a must for our Creamy Peanut Butter Pie! Next, add your cup of creamy peanut butter and beat until they hug nicely. Now, slowly pour in that sweet condensed milk, scraping down the sides, and finish it up with the vanilla extract until your base mixture looks incredible.
Finishing and Chilling the Peanut Butter Pie
Here’s where we lighten things up. Gently fold in about half of your thawed whipped topping. And I mean *gently*! We don’t want to knock out all the air we just worked to incorporate. Spread that glorious filling into your chilled crust smoothly. Then, spread the rest of the whipped topping evenly over the top. Cover it loosely and get it into the refrigerator for at least four hours. Seriously, don’t cut it early! That chill time solidifies every layer, ensuring your Peanut Butter Pie slices up perfectly clean.
Tips for the Best Peanut Butter Pie Success
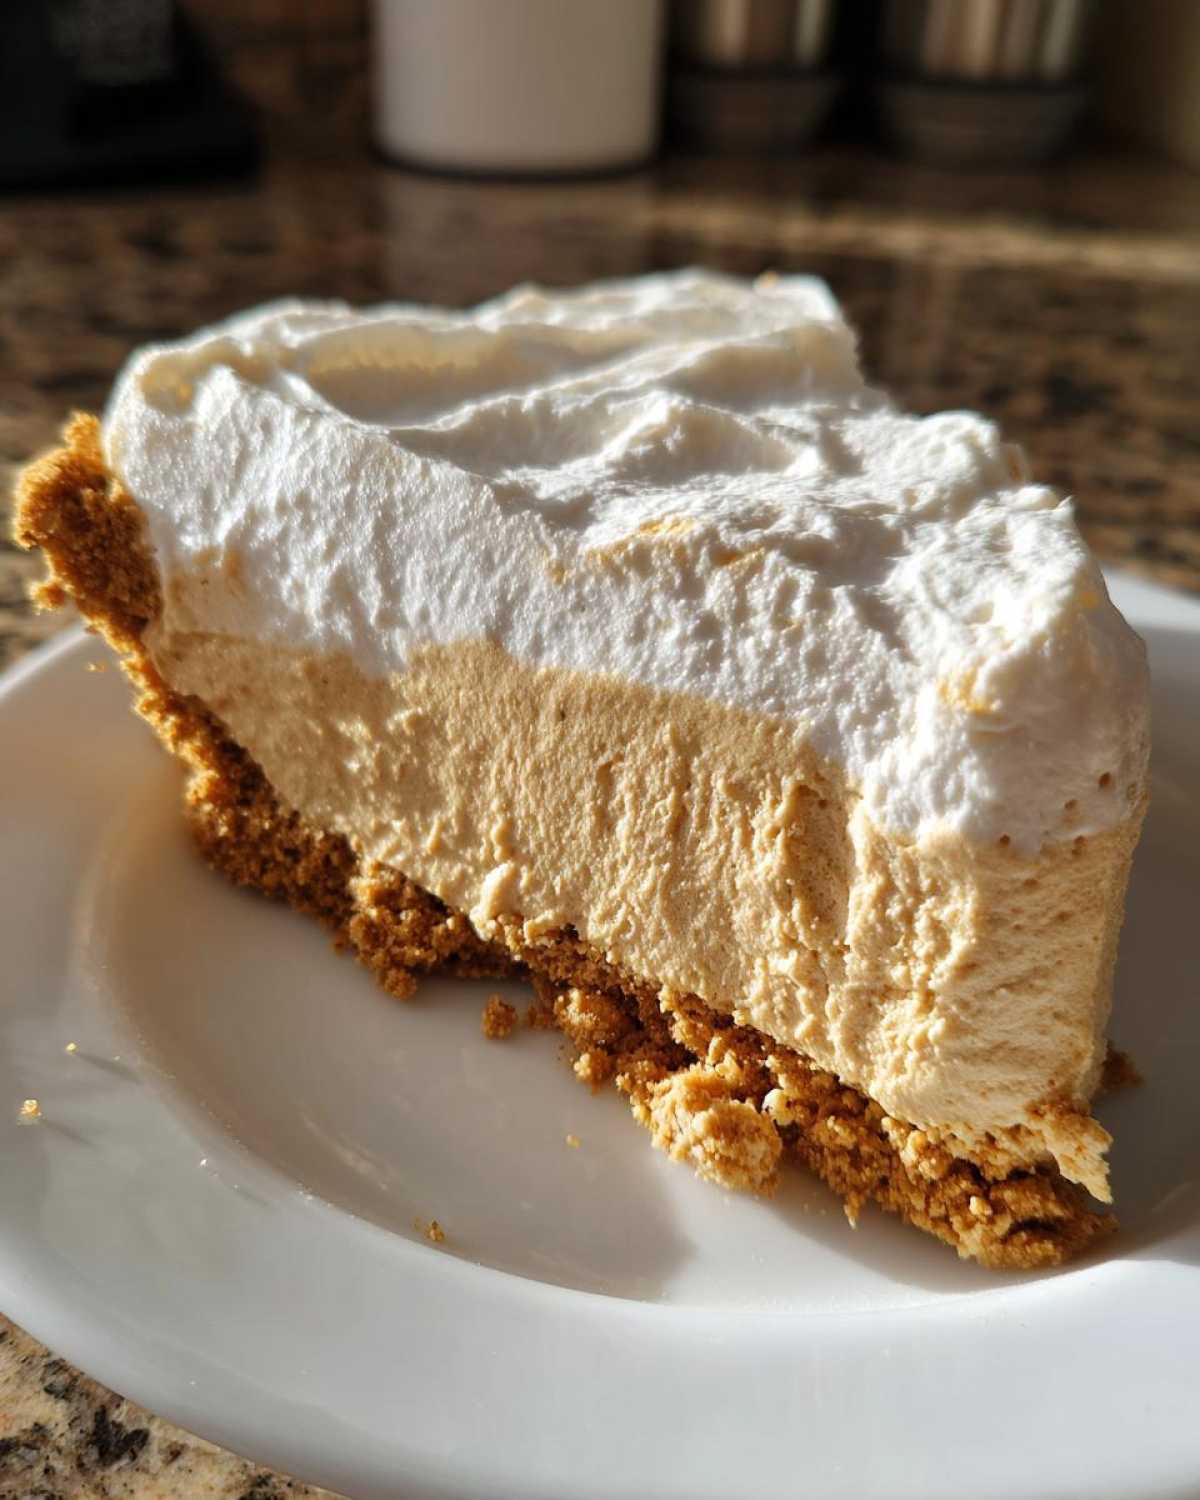
Okay, look, while this is an Easy Peanut Butter Pie Recipe, there are just a couple of little secrets Amina and I learned over the years to take it from great to absolutely unforgettable. Getting that perfect texture is everything, right? We don’t want a soupy mess when we go to slice it, especially if we’re serving it to the neighborhood folks! Sometimes I just crave something sweet and simple, like sugar cookie icing, but for this Peanut Butter Pie, technique really matters.
Achieving a Perfect Creamy Peanut Butter Pie Texture
The biggest mistake I see people make with their No Bake Peanut Butter Pie is collapsing their whipped topping! You have to fold it in—don’t stir it like you’re making soup. Use a spatula and treat it gently, just until you don’t see white streaks anymore. Also, make sure that cream cheese is actually soft! I leave mine out for at least an hour. Cold cream cheese will give you lumps in your gorgeous Creamy Peanut Butter Pie filling, and nobody wants that surprise.
Crust Variations for Your Peanut Butter Pie
While the graham cracker crust is king in my book—it has that perfect salty crunch—you absolutely have options if you want to switch things up! We mentioned Oreos, which adds a wonderful dark chocolate note, making it a great twist on a Graham Cracker Crust Pie. But if you have stale vanilla wafers sitting around? Crush those up! They work beautifully and carry a similar buttery flavor base. Honestly, experiment, but always press that crust in tight so it holds up against that luscious filling!
Peanut Butter Pie Toppings and Serving Suggestions
So, you’ve built this magnificent, creamy monument that is your Peanut Butter Pie! Now, how do we dress it up? The recipe lists chocolate syrup or mini cups, and honestly, that’s usually enough because the filling is so rich. But if you’re making this for a real event, you need to think bigger!
Amina loves to drizzle ours with melted dark chocolate after it has chilled completely. That slight bitterness cuts through the sweetness perfectly. For an extra layer of indulgence, try sprinkling some crushed salted peanuts or toffee bits right before serving. It’s the perfect finisher for our Crowd Pleaser Dessert. If you’re using a homemade chocolate drizzle, I have a lovely recipe for that moist chocolate cake that works wonders when melted down!
Storage and Make Ahead Dessert Recipes for This Peanut Butter Pie
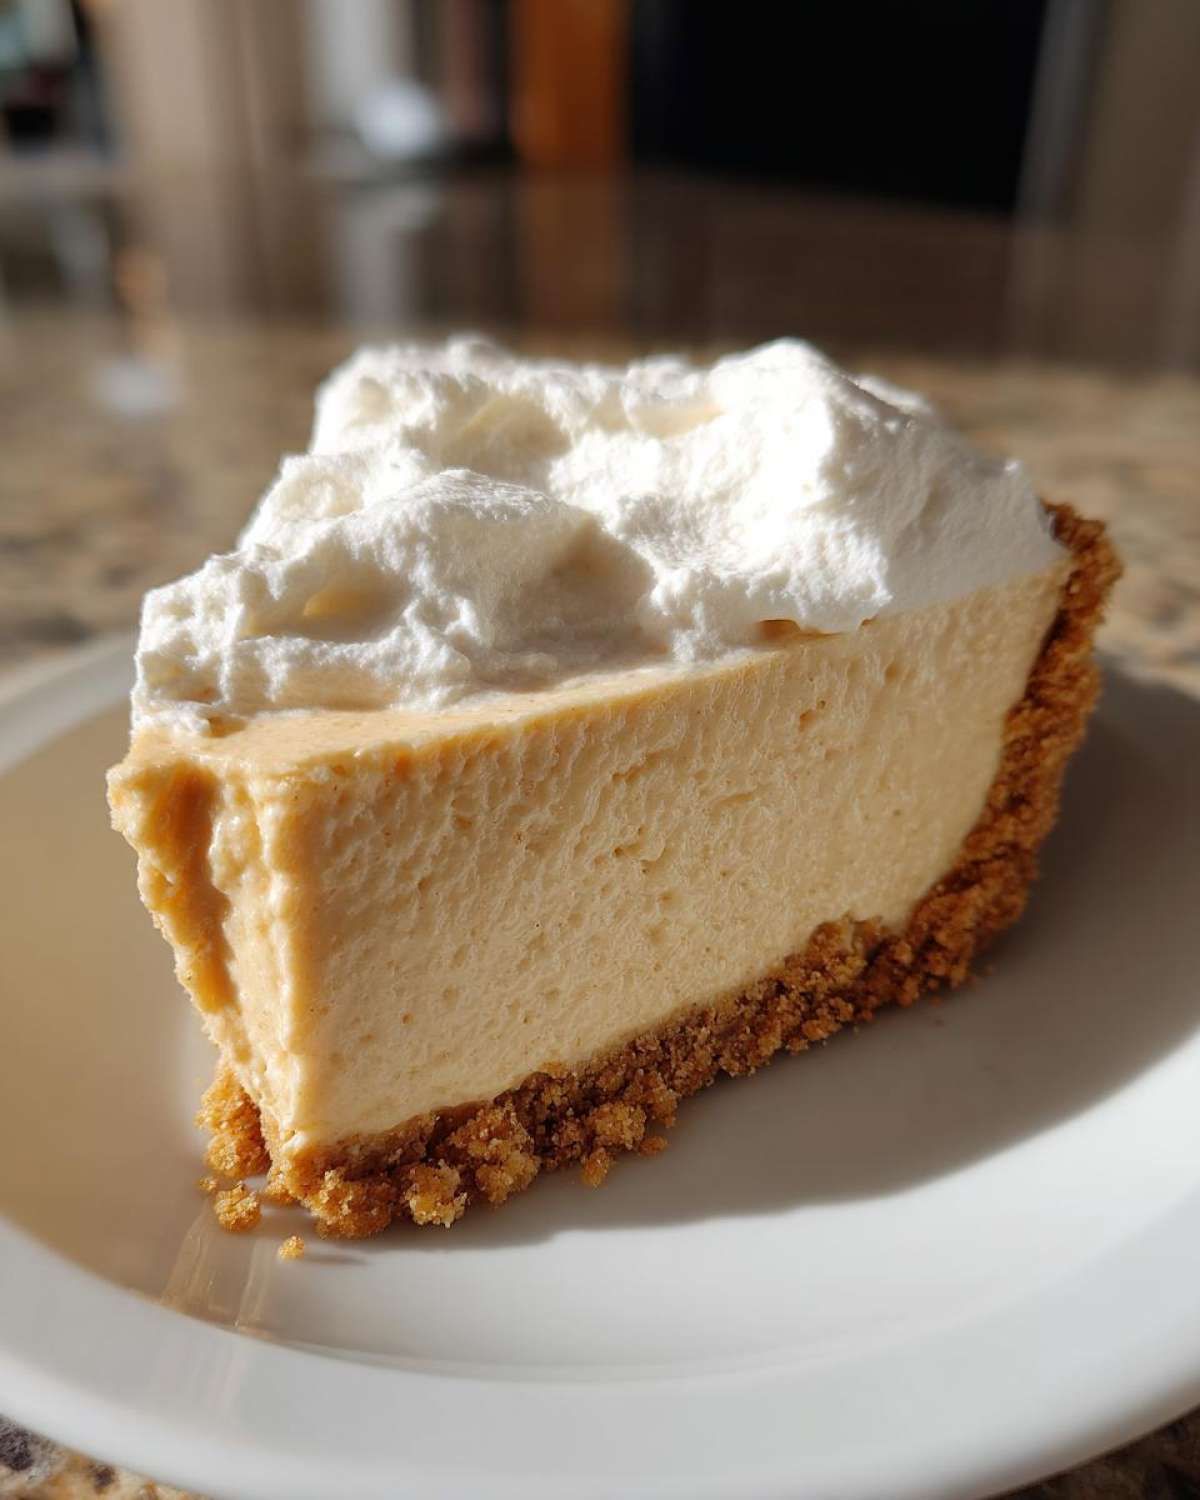
This is my absolute favorite part about making this Peanut Butter Pie—it demands that you make it ahead of time! This recipe is truly the champion of Make Ahead Dessert Recipes.
Amina and I always make this the day before any big event, like Thanksgiving dinner. Why wait? It gives the filling time to really set up beautifully. You can confidently keep it covered tightly in the fridge for up to three whole days. If you need to push it, I think it freezes fine, too, though you might lose a tiny bit of that perfect whipped topping fluffiness when it thaws. Honestly, it rarely lasts that long around here anyway!
If you’re planning meals, be sure to check out my recipe for make-ahead breakfast burritos; planning ahead is just smart cooking!
Frequently Asked Questions About Peanut Butter Pie
I know when you’re making a dessert for a big group, you want every detail locked down. We get asked questions about this Peanut Butter Pie all the time, especially since it’s such a fantastic Crowd Pleaser Dessert. Don’t worry about the small stuff; we’ve got you covered so your pie sets perfectly every time, making us all look like baking geniuses!
Can I use crunchy peanut butter in this No Bake Peanut Butter Pie?
You absolutely can! If you love texture, go right ahead. Just know that if you swap it in, it won’t be that super-smooth, dreamy Creamy Peanut Butter Pie texture we were aiming for—it’ll have little peanut bits throughout the filling. For me, creamy is the way to go, but if you love that crunch, it’s your kitchen, friend!
How long does the Easy Peanut Butter Pie need to chill?
This is crucial for clean slices! The recipe calls for a minimum of four hours chilling time, and that’s really just the bare minimum to make it hold its shape. If you want the absolute best, firmest slice—especially if you plan on drizzling chocolate on top—let this Easy Peanut Butter Pie Recipe hang out in the fridge overnight. Trust me, waiting the extra eight hours is worth the structural integrity!
Can I use a different crust besides graham crackers for this pie?
Oh, yes! We talked about the Oreo Crust Peanut Butter Pie swap if you’re feeling chocolatey, which is amazing. But another great option is using finely crushed shortbread cookies. They bake up buttery and provide a slightly cleaner, almost sandy texture compared to the thicker graham cracker crumbs. Either way, just make sure you pack that crust in really tight!
If you have more burning questions about filling stability or anything else, swing by our main blog page!
Estimated Nutritional Data for This Indulgent Peanut Butter Dessert
Now, let’s talk numbers. I know this Peanut Butter Pie is heading straight for “Indulgent Peanut Butter Dessert” status, and it’s definitely rich! But for those of you keeping track, here is the estimated nutritional breakdown per slice, based on 8 servings. Remember, this is just an estimate, because Amina and I tend to sneak an extra dollop of peanut butter in there when we think no one is looking!
- Serving Size: 1 slice
- Calories: 450
- Sugar: 35g
- Fat: 28g (with 10g Saturated Fat)
- Carbohydrates: 45g
- Protein: 10g
- Sodium: 300mg
It’s a dessert, folks, meant to be enjoyed! Don’t stress too much over the numbers when you’re enjoying such a delicious, make ahead dessert recipe like this one!
Share Your Homemade Peanut Butter Pie Experience
Alright, my friends, you’ve made the ultimate Peanut Butter Pie, you’ve admired the magnificent set, and you’ve dug into that gorgeous slice! Now, I need to know what you thought! Did it disappear in five minutes flat? Did Aunt Carol ask you for the recipe even though she swore she wouldn’t bake anything until next year?
We pour so much heart into sharing these simple, delicious recipes, like this Quick Peanut Butter Dessert, and seeing your successes truly makes our day. Please, take a minute and drop a comment below. Let me know how it went! Did you use the chocolate drizzle or did you go wild with Reese’s pieces?
If you snapped a photo of your beautiful finished pie—especially if it’s sitting on the table waiting for Thanksgiving guests—please, share it on social media and tag us! We absolutely love seeing Spoonful Snap in kitchens all over the country. You can always reach out directly if you have any specific troubleshooting questions or just want to share a good story through our contact page here! Happy baking (or, well, no-baking)!
PrintEasy No-Bake Creamy Peanut Butter Pie

You will love this simple, rich, and creamy peanut butter pie with a buttery graham cracker crust. It is a perfect, quick dessert for any gathering, requiring no oven time.
- Prep Time: 20 min
- Cook Time: 0 min
- Total Time: 4 hr 20 min
- Yield: 8 servings
- Category: Dessert
- Method: No-Bake
- Cuisine: American
- Diet: Vegetarian
Ingredients
- 1 1/2 cups graham cracker crumbs
- 1/4 cup granulated sugar
- 6 tablespoons unsalted butter, melted
- 1 (8 ounce) package cream cheese, softened
- 1 cup creamy peanut butter
- 1 (14 ounce) can sweetened condensed milk
- 1 teaspoon vanilla extract
- 1 (12 ounce) container frozen whipped topping, thawed (or homemade whipped cream)
- Optional Topping: Chocolate syrup or mini peanut butter cups
Instructions
- Prepare the crust: In a medium bowl, mix the graham cracker crumbs, 1/4 cup sugar, and melted butter until the crumbs are evenly moistened. Press this mixture firmly into the bottom and up the sides of a 9-inch pie plate. Place the crust in the freezer while you prepare the filling.
- Make the filling base: In a large bowl, beat the softened cream cheese with an electric mixer until it is smooth and fluffy. Add the peanut butter and beat until fully combined.
- Incorporate the milk: Gradually beat in the sweetened condensed milk until the mixture is smooth. Stir in the vanilla extract.
- Fold in the whipped topping: Gently fold half of the thawed whipped topping into the peanut butter mixture until just combined. Do not overmix.
- Fill the crust: Spoon the creamy peanut butter filling evenly into the chilled graham cracker crust. Smooth the top with a spatula.
- Chill the pie: Spread the remaining half of the whipped topping over the filling. Cover the pie loosely with plastic wrap and refrigerate for at least 4 hours, or until the pie is firm.
- Serve: Before serving, drizzle with chocolate syrup or sprinkle with chopped peanut butter cups, if desired. Slice and enjoy this crowd pleaser dessert.
Notes
- For an Oreo crust peanut butter pie, substitute the graham cracker crumbs with finely crushed Oreo cookies (about 24 cookies) and use the same amount of butter.
- You can make this pie ahead of time; it holds well in the refrigerator for up to three days.
- If you want a sweeter, richer topping, use a homemade stabilized whipped cream instead of the frozen variety.
Nutrition
- Serving Size: 1 slice
- Calories: 450
- Sugar: 35g
- Sodium: 300mg
- Fat: 28g
- Saturated Fat: 10g
- Unsaturated Fat: 18g
- Trans Fat: 0g
- Carbohydrates: 45g
- Fiber: 2g
- Protein: 10g
- Cholesterol: 40mg