

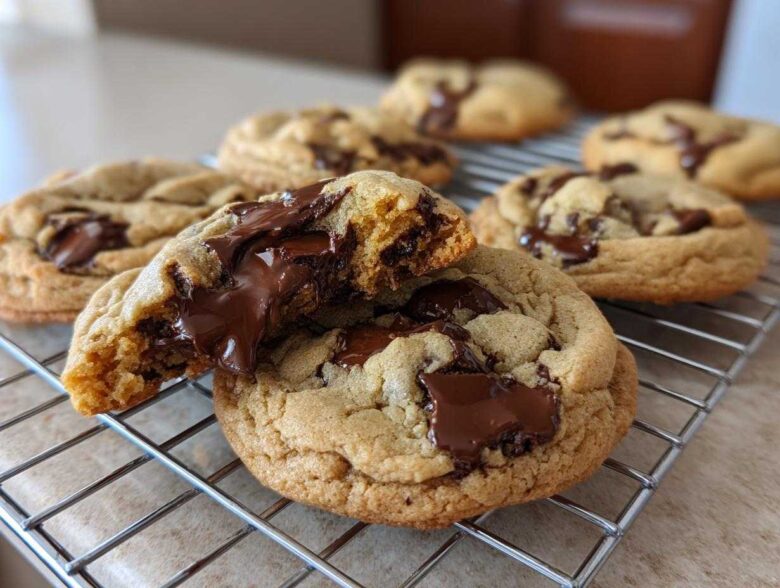
Listen, if you think a standard chocolate chip cookie is good, just wait until you try one made with brown butter. Seriously, don’t even bother making another batch until you try my technique for the brown butter chocolate chip cookies. The difference is night and day! We aren’t just adding richness; we’re introducing this incredible, deep, toasted hazelnut flavor that you just can’t replicate any other way. I spent nearly six months messing around with the cooling time for the butter because I was obsessed—absolutely obsessed—with nailing that perfect chewy center cookies result every single time.
My apartment smelled like a giant, glorious French pastry shop during that testing phase, and my husband gained at least five pounds trying to convince me they were perfect, even when they weren’t quite right! We finally landed on the ultimate balance of sugar and chilling time here. If you want bakery-style cookies at home that literally melt in your mouth, this is the method you need. Plus, once you master how to brown butter for cookies, you’ll want to put it in everything—brown butter blondies, brown butter frosting… you name it!
I even used the leftovers from my best test batch to make overnight oats once (we hated waste!), and you can check out my process for that over here: my little trick for overnight oats. But back to the stars of the show—these cookies.
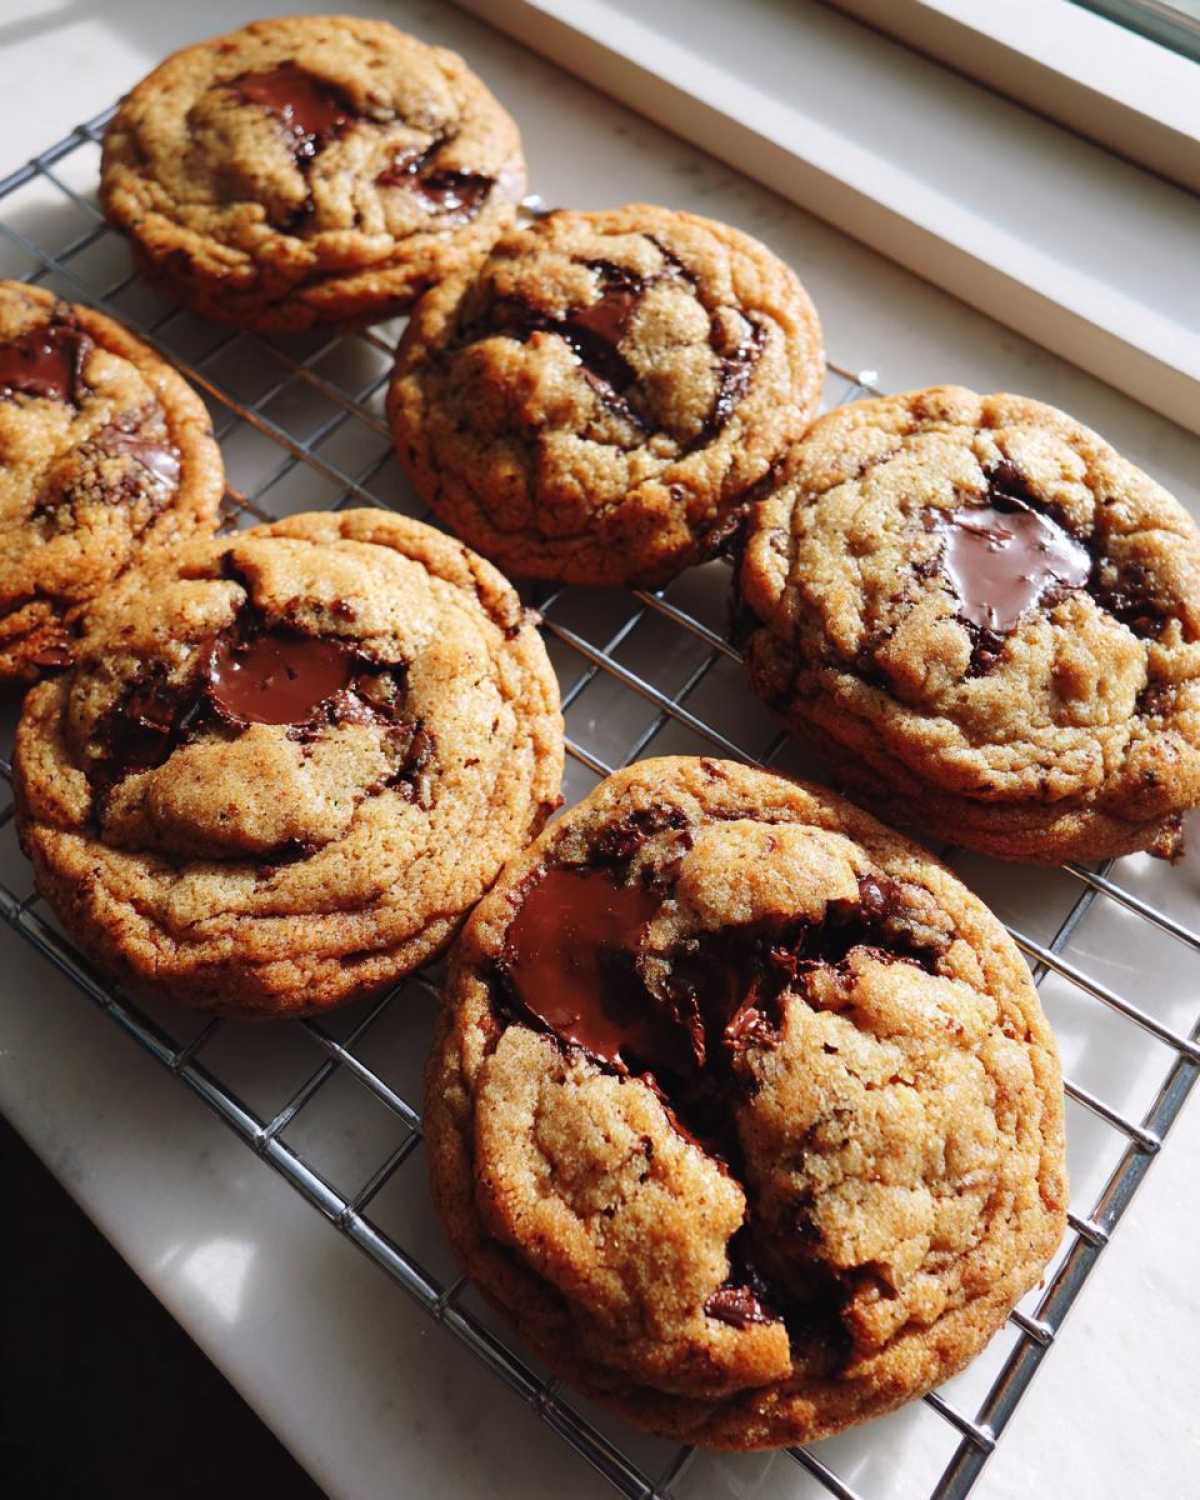
Why This is the Ultimate Brown Butter Chocolate Chip Cookies Recipe
The real secret here—the thing that separates these from your average drop cookie—is that deep, complex flavor. Standard butter is fine, but when you take the time to make these nutty chocolate chip cookies, you create a foundation built on perfectly caramelized flavor cookies. That nutty aroma when the butter browns? That’s pure heaven, and it translates directly to an incredible richness you just can’t fake. This technique is why I call this my ultimate recipe; it’s the difference between a good cookie and something you immediately want to hide from your family!
We aren’t stopping at flavor, though. We’re hitting that texture sweet spot too. If you’re curious about other recipes that nail that chewiness factor, you should definitely peek at my absolute favorite chewy cookie guide!
Achieving Chewy Center Cookies with Crispy Edge Cookies
It’s a two-part harmony! Browning the butter changes the structure of the fat slightly, helping the edges set up nicely when baked. But the long chill time is what locks in that soft, gooey center cookies texture. If you skip the chill, you get pancakes. Simple as that!
Essential Ingredients for Rich Brown Butter Chocolate Chip Cookies
Okay, for these brown butter cookies recipe to shine, you have to treat the ingredients right. I’ve laid out exactly what you need below, but don’t rush through it! The quality and preparation of these simple items are what turn a standard bake into gourmet chocolate chip cookies.
You’re going to start with 1 cup of unsalted butter—that’s two full sticks—and then balance that nutty flavor foundation with a good mix of sugars: 1 cup packed light brown sugar for chewiness, and 1/2 cup of white granulated sugar for those pretty crispy edge cookies. We need two large eggs, which must absolutely be at room temperature, and a full tablespoon of vanilla extract because you deserve the best flavor.
For the dry stuff, whisk together 2 1/4 cups of all-purpose flour with 1 teaspoon of baking soda for the lift, and just 1/2 teaspoon of salt to balance the sugar overload. And finally, the best part: 1 1/2 cups of your favorite chocolate chips or chunks. If you want that beautiful, gooey center cookies look, try using chopped chocolate chunks instead of chips—they melt more unevenly, which is exactly what we want!
If you’re curious about other ways to incorporate rich brown butter into your baking, check out my recipe for maple cookies with a soft brown butter glaze—another winner!
Ingredient Notes and Substitutions for Brown Butter Cookies Recipe
Here’s where people sometimes mess up! First, that butter we browned? It needs to cool down partially. I chill mine until it’s solid again but still soft enough to dent easily with a spoon—this should take about 30 minutes on the counter, or maybe 15 minutes in the fridge if you’re impatient. If it’s liquidy, your cookies will spread into giant caramel puddles!
Also, room temperature eggs are a must. Cold eggs shock the softened brown butter when you mix them in, sometimes causing the fats to seize up, which ruins the light, fluffy texture we established with all that creaming. Seriously, just pull them out when you start melting the butter. It pays off!
The Browned Butter Baking Tutorial: How to Brown Butter for Cookies
Alright, let’s conquer the part that sounds scary but is seriously the easiest part of this whole process: learning exactly how to brown butter for cookies. This isn’t just about melting the butter; we are transforming it! Grab a light-colored saucepan—this is crucial because you need to see the color change, you can’t trust timing alone!
Melt your full cup of butter over medium heat. At first, it will just foam up, which is normal. Keep stirring gently. You’ll see the foam subside, and then, watch closely! Those little milk solids sitting at the bottom will start to turn gold, then tawny brown. This is your cue! The smell will change dramatically from creamy to deeply nutty and toasted—that caramelized flavor is what we are after. As soon as you hit that lovely brown speck stage, pour that beautiful liquid immediately into a heatproof bowl, making sure to scrape every last dark bit in there. That’s where the magic lives!
My go-to move during this browned butter baking tutorial is to immediately move the bowl to a cool counter. It needs to cool down significantly before we add sugar and eggs, or we end up cooking them! I usually pop mine in the fridge for about 15 minutes to get it mostly solid but still pliable. Don’t worry, even if you let it go too long and it gets rock hard, you can just microwave it gently for five seconds to soften it up again!
Step-by-Step Instructions for Ultimate Chocolate Chip Cookies
Now that we have our perfectly cooled, nutty brown butter fat base, we move into assembly. This is where we lock in those gorgeous qualities we worked so hard to achieve! First, grab your mixer and beat that softened brown butter with both the light brown sugar and the white sugar until it gets genuinely light and fluffy. It should take about two solid minutes. This creaming step is what sets up the structure for the entire batch of ultimate chocolate chip cookies.
Beat in your room-temperature eggs, one at a time, making sure you mix well after each addition—don’t rush this! Then, stir in that lovely vanilla. In a separate bowl, give your flour, baking soda, and salt a quick whisk together. Now, here’s the important bit: add your dry ingredients to the wet ingredients slowly, mixing only on low speed until it’s *just* combined. I mean it, stop the mixer as soon as flour streaks disappear, because we absolutely cannot overmix!
Fold in those chocolate chips gently by hand. And here comes the most crucial step for winning the texture game: you must cover that dough and chill it! I insist on at least two hours, but I’m telling you from experience, chilling overnight brings those flavors together so completely. That long nap in the fridge is what guarantees you get those fantastic gooey center cookies next time you bake.
Baking Tips for Perfect Brown Butter Chocolate Chip Cookies
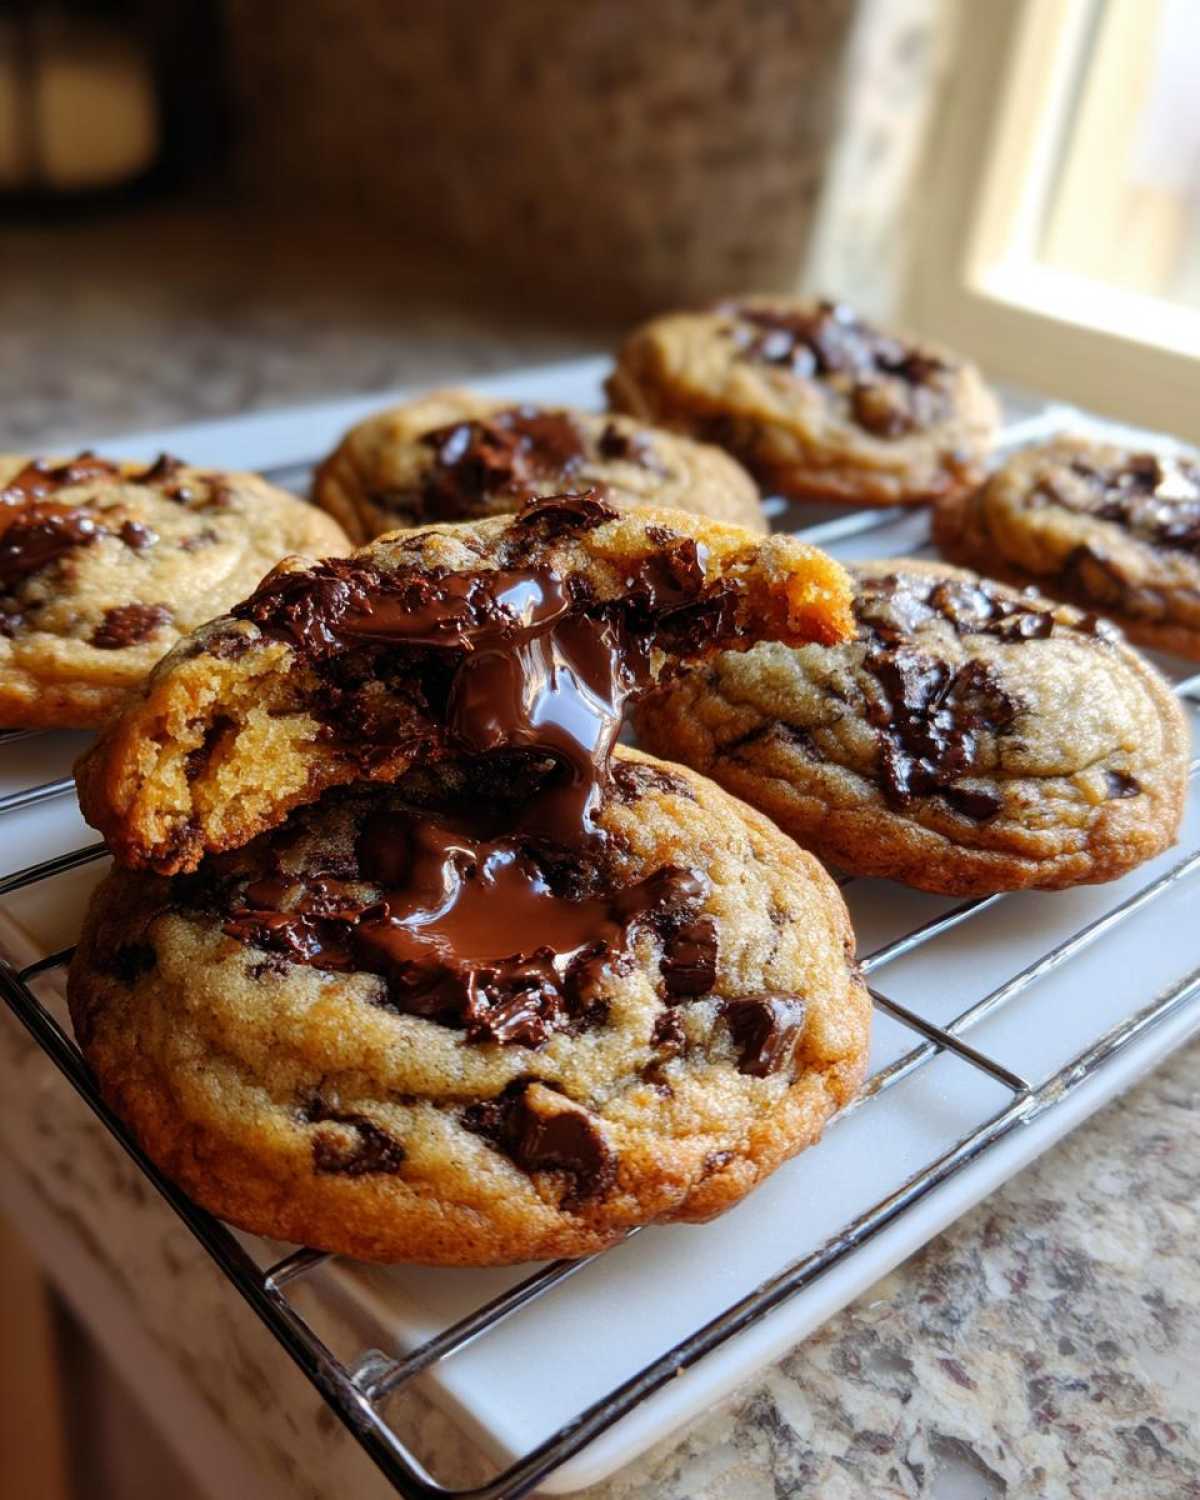
Once chilled, crank that oven up to 375 degrees Fahrenheit. Line your sheets with parchment paper—don’t skip it! Scoop out rounded tablespoon-sized balls and place them about two inches apart. I always take a few extra chocolate chips and gently press them right onto the tops of the raw dough balls. It makes them look like they came straight from that fancy bakery and it ensures you see big pools of chocolate when they bake.
Bake them for 10 to 13 minutes exactly. The trick to success here is pulling them out when the edges look set and golden brown, but the very middle still looks slightly soft, maybe even a tiny bit underbaked. They cook up the rest of the way on the hot pan, which prevents them from drying out! Remember to let them sit on that baking sheet for five minutes before moving them to a rack. If you want the absolute prettiest, chewiest ones, you can find my other tips for making bakery-style cookies at home right here on the blog!
Making Gourmet Brown Butter Chocolate Chip Cookies Ahead of Time
I actually think these brown butter chocolate chip cookies taste better the next day! Honestly, once you go through the chilling stage, you can totally leave the dough balls tucked away in the fridge for up to three days. Don’t worry about the recipe going stale; this is where the magic really happens.
While the minimum chill time is two hours, letting them rest longer—say, 24 or even 48 hours—just lets all that nutty, caramelized flavor from the brown butter really soak into the flour. You end up with incredibly rich chocolate chip cookies that have developed such a deep taste profile. When you’re ready to bake that second batch, just pull the dough out, let it sit on the counter for maybe 15 minutes so it’s scoopable, and bake as directed!
If you have leftovers after baking (which is rare in my house!), store them in an airtight container at room temperature. They usually stay perfectly soft and chewy for about four days. For more amazing make-ahead dessert secrets, you should take a look at my chewy fruitcake cookie recipe—they are fantastic for keeping on hand!
Troubleshooting Common Issues with Brown Butter Cookies Recipe
Even with the best recipe in the world, baking can sometimes throw us a curveball, right? Don’t panic if your first batch doesn’t look exactly like the photo! Most issues with these brown butter cookies recipe are actually super easy to fix next time around. The number one problem I hear about is cookies spreading way too thin, usually turning into those awful crispy edge cookies instead of having a soft middle.
If your cookies spread excessively, 99% of the time it means the fat wasn’t cool enough when you added the eggs, or you skimped on the chilling time. Remember, the browned butter needs to solidify back up to that nice soft stage we talked about! If it’s warm, the cookies melt too fast in the oven. If you forgot to chill overnight, try putting the dough balls in the freezer for 15 minutes right before baking—that buys you time for the edges to set before the center liquefies.
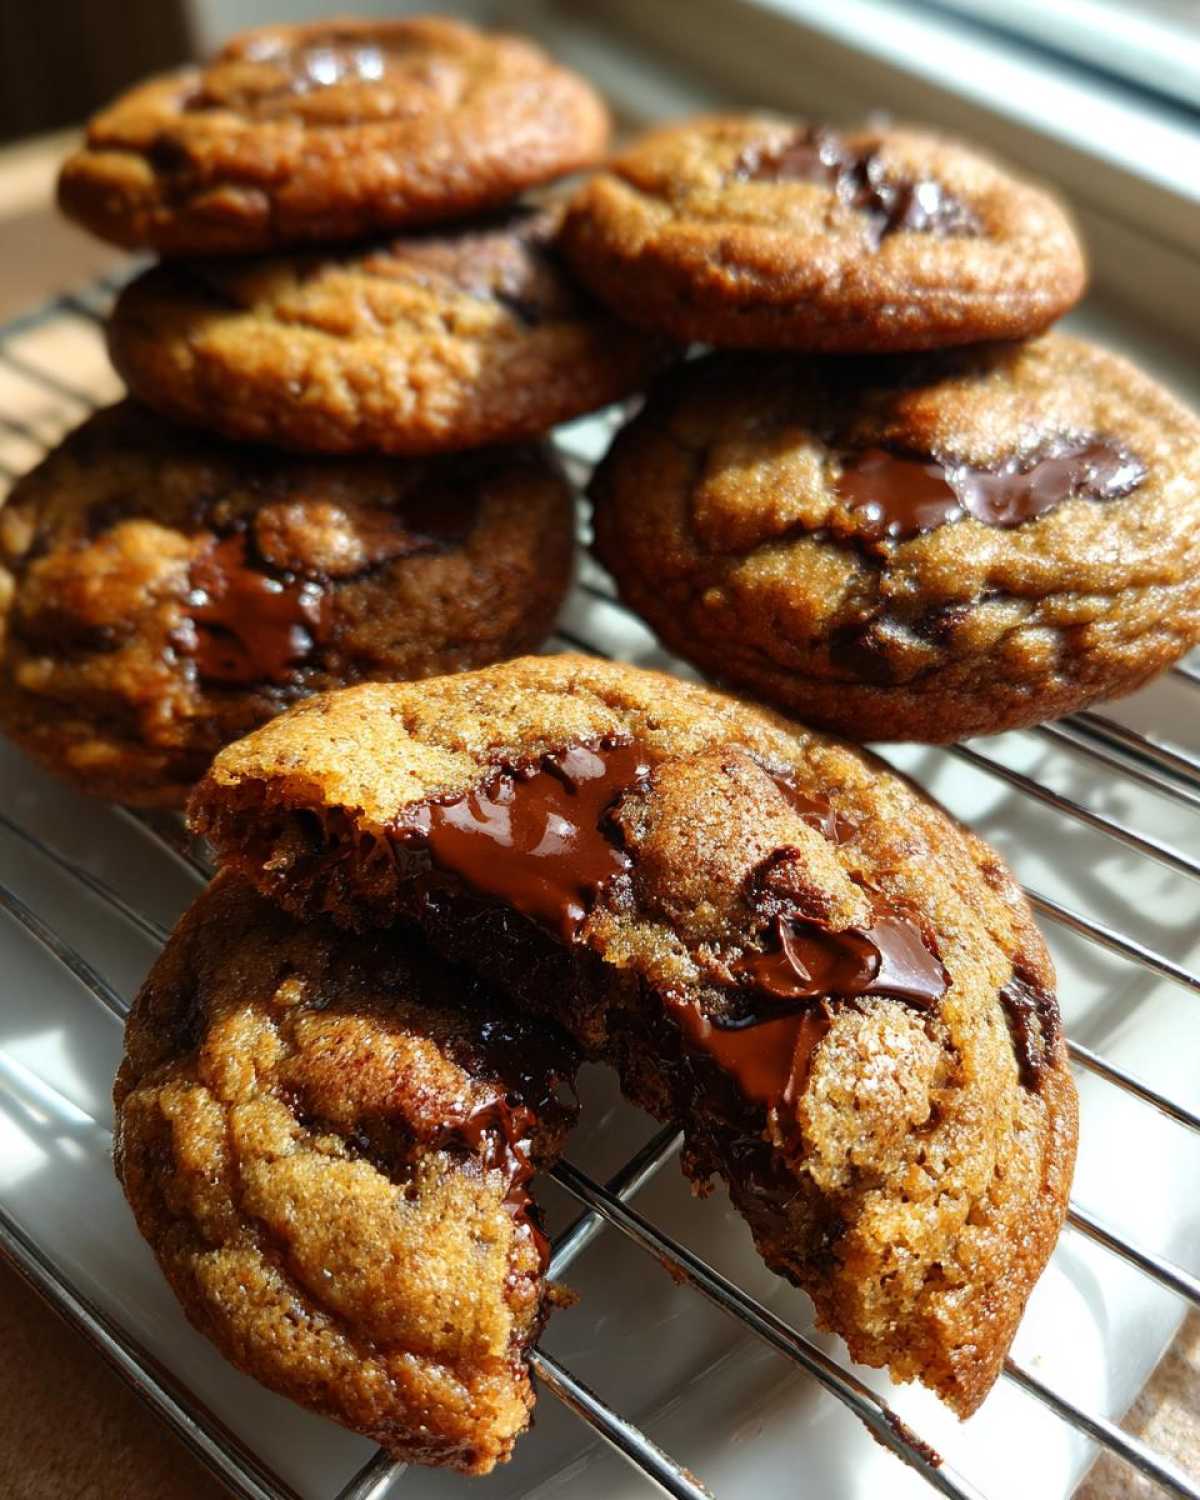
What if you mess up the browning step? It happens! If you accidentally burn the butter—meaning the specks turn black and smell acrid, not nutty—you absolutely have to start over. Burnt butter tastes terrible and will completely ruin the rich chocolate chip cookies flavor. Toss it, clean the pan, and gently re-melt a fresh stick of butter. A little color is good; black is bad, pure and simple!
Another common hitch is texture if you overmix after adding the flour. If you mix too long, you develop gluten, which gives you tough, cakey cookies instead of the soft, melt in your mouth cookies we want. Always mix dry ingredients in on low speed, and stop the second you see the last streak of flour disappear. If you need more tips on handling dough issues, I have a whole feature on troubleshooting my sourdough variations that you might find helpful as well!
Serving Suggestions for Your Caramelized Flavor Cookies
Once you pull these beauties out of the oven, you have to decide how to enjoy them! The best way to eat these caramelized flavor cookies is definitely warm, maybe ten minutes out of the oven while the chocolate is still ridiculously molten. They are incredible straight up, paired with a tall, frosty glass of cold milk—classic for a reason!
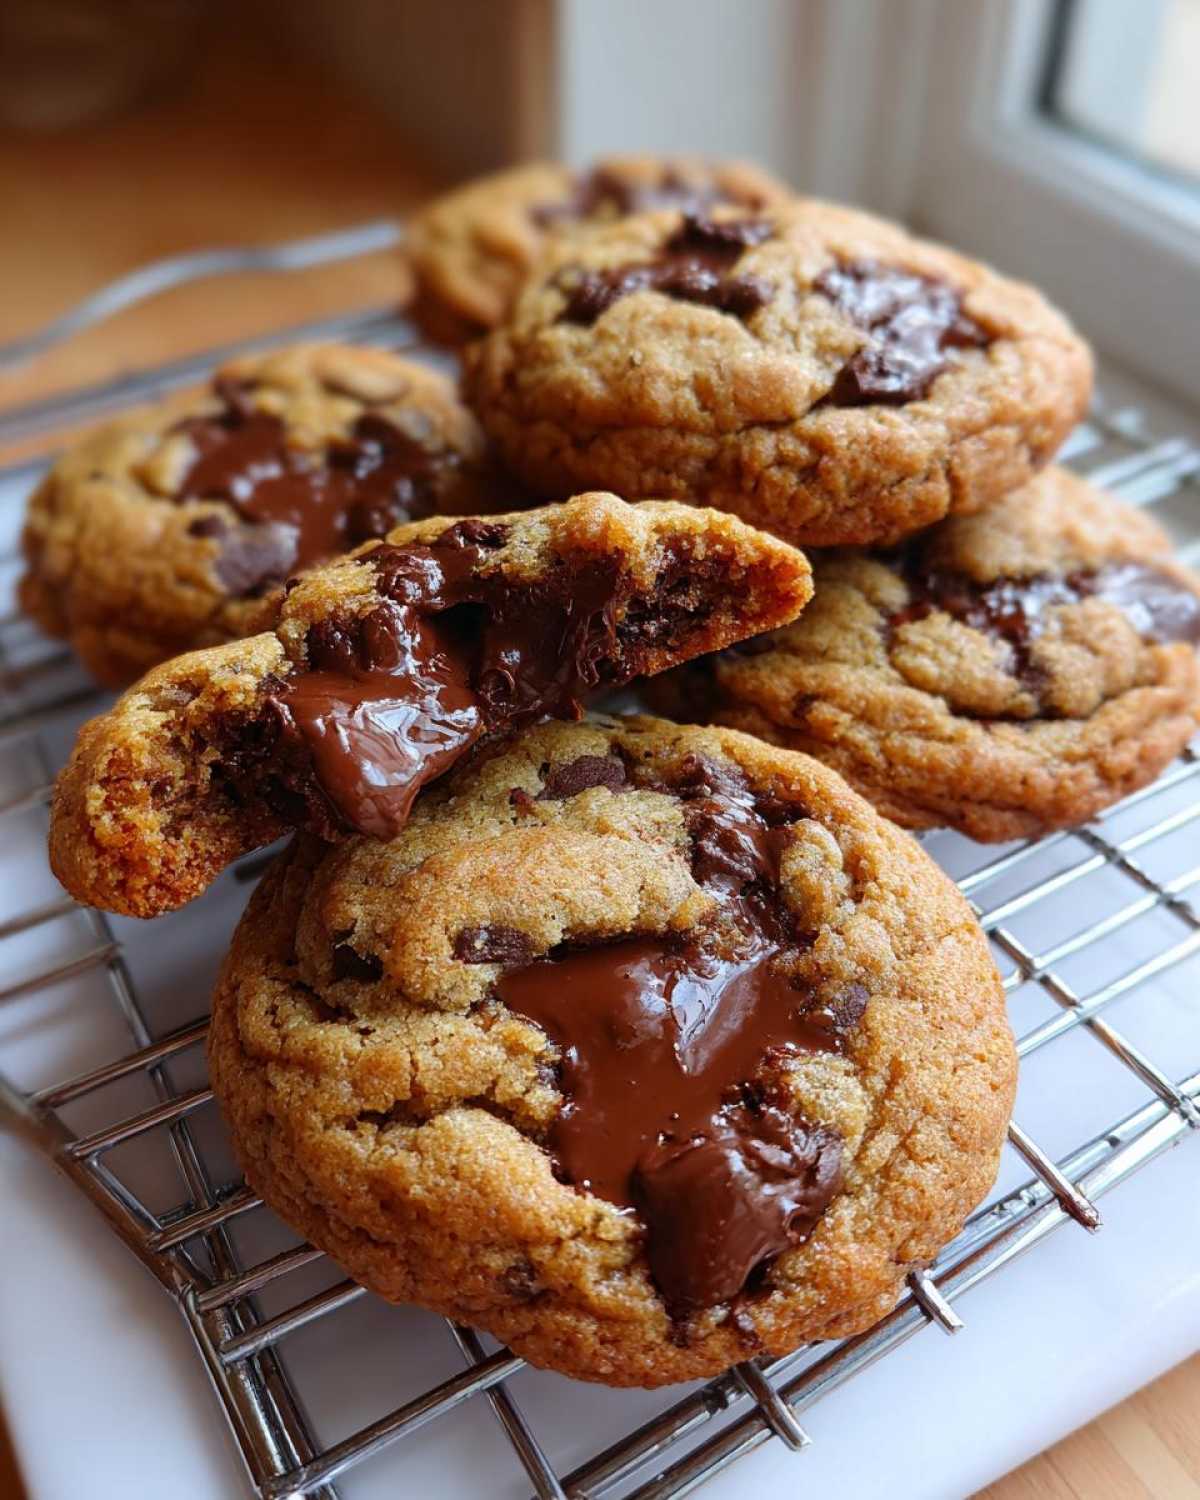
But if you really want to step up your game, let them cool just slightly so they hold their shape, and top one with a scoop of good vanilla bean ice cream. You can even drizzle a little something on top, perhaps a quick homemade caramel sauce if you’re feeling ambitious! For more dessert inspiration, check out my creamy rice pudding recipe; it’s a totally different vibe but just as comforting.
Frequently Asked Questions About Brown Butter Chocolate Chip Cookies
I know you probably have some questions once you see how dedicated we are to getting these brown butter chocolate chip cookies perfect! It’s totally normal. When you’re dealing with an elevated version of a classic, there are always little details that trip people up. I tried to cover everything in the main instructions, but here are the few most common things people ask me!
Can I skip chilling the dough for these chewy chocolate chip cookies?
Oh, trust me, I’ve been tempted when a craving hits! But please, please don’t skip the chilling time. If you try to bake this dough right away, you won’t get chewy chocolate chip cookies; you’ll get thin, greasy cookies that spread way too much. Chilling is absolutely non-negotiable if you want that amazing contrast between the slightly crispy edge cookies and the soft center. Give it those required two hours, minimum!
What kind of chocolate is best for the richest flavor?
For the most “gourmet chocolate chip cookies” experience, ditch the standard chips, if you can. I find that using a mix of 60% cacao bittersweet chocolate chips and some chopped-up dark chocolate bars gives you the best result. The chopped chunks create those gorgeous, melty puddles everywhere, ensuring you get that perfect gooey center cookies experience in every single bite. It really boosts the overall richness, adding to the caramelized flavor cookies profile.
My butter burned a little bit—can I still use it for my brown butter cookies recipe?
This is the hardest lesson, but you have to be ruthless when browning butter! If you see actual black specks floating around, or if it smells acrid and burnt instead of deeply nutty, toss it out. A little bit of golden-brown sediment on the bottom of the pan is fantastic, but if it’s black, it will taste bitter. Seriously, just start fresh with another stick—the beauty of this brown butter cookies recipe is the flavor, and burnt flavor ruins it all!
How do these compare to other bakery style cookies at home recipes?
Honestly? These are my gold standard for bakery style cookies at home. Most commercial recipes try to use chemical shortcuts to mimic browning, but they never succeed the way real browned butter does. This recipe gives you superior flavor depth and better texture longevity. If these don’t become your new go-to for the best chocolate chip cookie recipe, I’ll be shocked! If you are interested in baking different kinds of cookies, I’ve got a fantastic recipe for moist coconut cake variations, too!
Estimated Nutrition for These Brown Butter Chocolate Chip Cookies
Okay, so I know when you’re diving deep into a new recipe like this, especially one loaded with butter and sugar, you’re probably wondering about the nutritional side of things—even if we mostly bake these for pure indulgence! Remember, since we’re using room temperature ingredients and handmade techniques, these numbers are just a good guideline.
These figures are estimates based on the full recipe breakdown, using semi-sweet chips and everything exactly as written. They are the closest approximation we have for these incredible brown butter chocolate chip cookies!
- Serving Size: 1 cookie (This recipe yields about 24 cookies!)
- Calories: About 210 calories per cookie
- Sugar: Around 18g
- Fat: Roughly 12g total (That’s where all that amazing flavor is hiding!)
- Saturated Fat: About 7g
- Carbohydrates: 25g total
- Protein: 2g
- Sodium: 105mg
It’s definitely a treat, right? But trust me, the depth of flavor from the brown butter makes it worth every single calorie! If you’re looking for other recipes where the nutrition profile might be slightly different, maybe check out how I approach my classic moist carrot cake recipe next time you are baking!
PrintThe Ultimate Chewy Brown Butter Chocolate Chip Cookies: Mastering the Nutty, Gooey Center Texture
Follow this detailed recipe to create rich, chewy chocolate chip cookies featuring the deep, nutty flavor achieved by using browned butter. This method focuses on achieving a soft center and slightly crisp edge.
- Prep Time: 20 min
- Cook Time: 13 min
- Total Time: 2 hours 33 min
- Yield: About 24 cookies
- Category: Dessert
- Method: Baking
- Cuisine: American
- Diet: Vegetarian
Ingredients
- 1 cup (2 sticks) unsalted butter
- 1 cup packed light brown sugar
- 1/2 cup granulated sugar
- 2 large eggs, room temperature
- 1 tablespoon vanilla extract
- 2 1/4 cups all-purpose flour
- 1 teaspoon baking soda
- 1/2 teaspoon salt
- 1 1/2 cups semi-sweet chocolate chips or chunks
Instructions
- Melt the butter in a light-colored saucepan over medium heat. Continue cooking, stirring occasionally, until the butter foams, then subsides, and brown bits form at the bottom. The butter will smell nutty. Immediately pour the browned butter into a heatproof bowl, scraping in the brown bits. Let it cool at room temperature for 30 minutes until it is mostly solid but still soft.
- In a large bowl, beat the softened brown butter, brown sugar, and granulated sugar together with an electric mixer until light and fluffy, about 2 minutes.
- Beat in the eggs one at a time, mixing well after each addition. Stir in the vanilla extract.
- In a separate medium bowl, whisk together the flour, baking soda, and salt.
- Gradually add the dry ingredients to the wet ingredients, mixing on low speed until just combined. Do not overmix.
- Stir in the chocolate chips by hand.
- Cover the dough and chill in the refrigerator for at least 2 hours, or preferably overnight. Chilling is key for the chewy texture.
- Preheat your oven to 375 degrees Fahrenheit. Line baking sheets with parchment paper.
- Scoop rounded tablespoons of dough onto the prepared sheets, spacing them about 2 inches apart.
- Bake for 10 to 13 minutes. The edges should be set and golden brown, but the centers should still look slightly underbaked and soft.
- Let the cookies cool on the baking sheet for 5 minutes before transferring them to a wire rack to cool completely.
Notes
- To properly brown butter, use a light-colored pan so you can clearly see the milk solids turning brown.
- For extra gooey centers, press a few extra chocolate chips onto the tops of the dough balls immediately after scooping them onto the sheet before baking.
- If your dough is too stiff after chilling, let it sit at room temperature for 10 minutes before scooping.
Nutrition
- Serving Size: 1 cookie
- Calories: 210
- Sugar: 18g
- Sodium: 105mg
- Fat: 12g
- Saturated Fat: 7g
- Unsaturated Fat: 5g
- Trans Fat: 0.3g
- Carbohydrates: 25g
- Fiber: 1g
- Protein: 2g
- Cholesterol: 35mg