

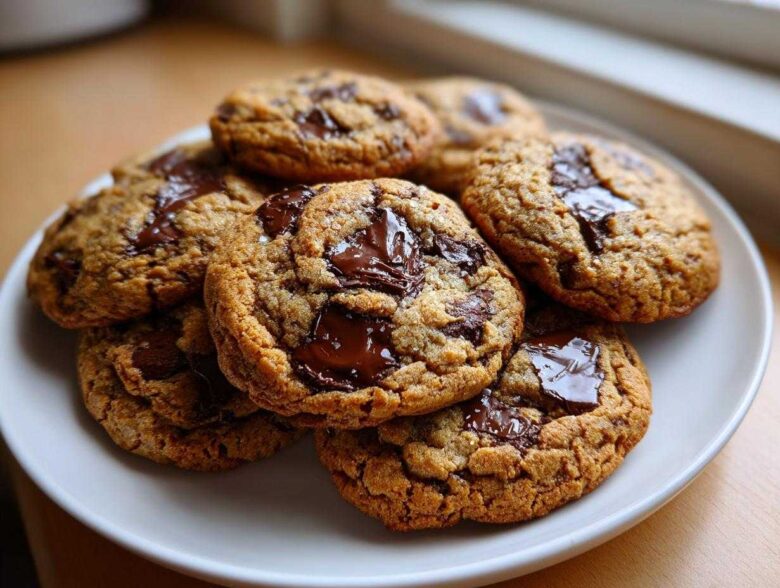
Oh my gosh, you are in for such a treat today! David always jokes that he knew he wanted to marry me when he realized how perfectly soft and gooey my chocolate chip cookies were fresh from the oven. Forget hockey-puck textures; we are chasing that ultimate bakery-style bite—you know, where the edges are just a little crisp but the middle is pure, decadent chewiness? That is exactly what this recipe delivers. I finally perfected this batch just last week, trying to capture the flavor profile of those famous, thick cookies we all dream about, and trust me, this foolproof method is the one you need. It’s everything I ever wanted in a cookie! For all the details on how we nail this texture every time, check out my deep dive on achieving the ultimate chewy chocolate chip cookies.
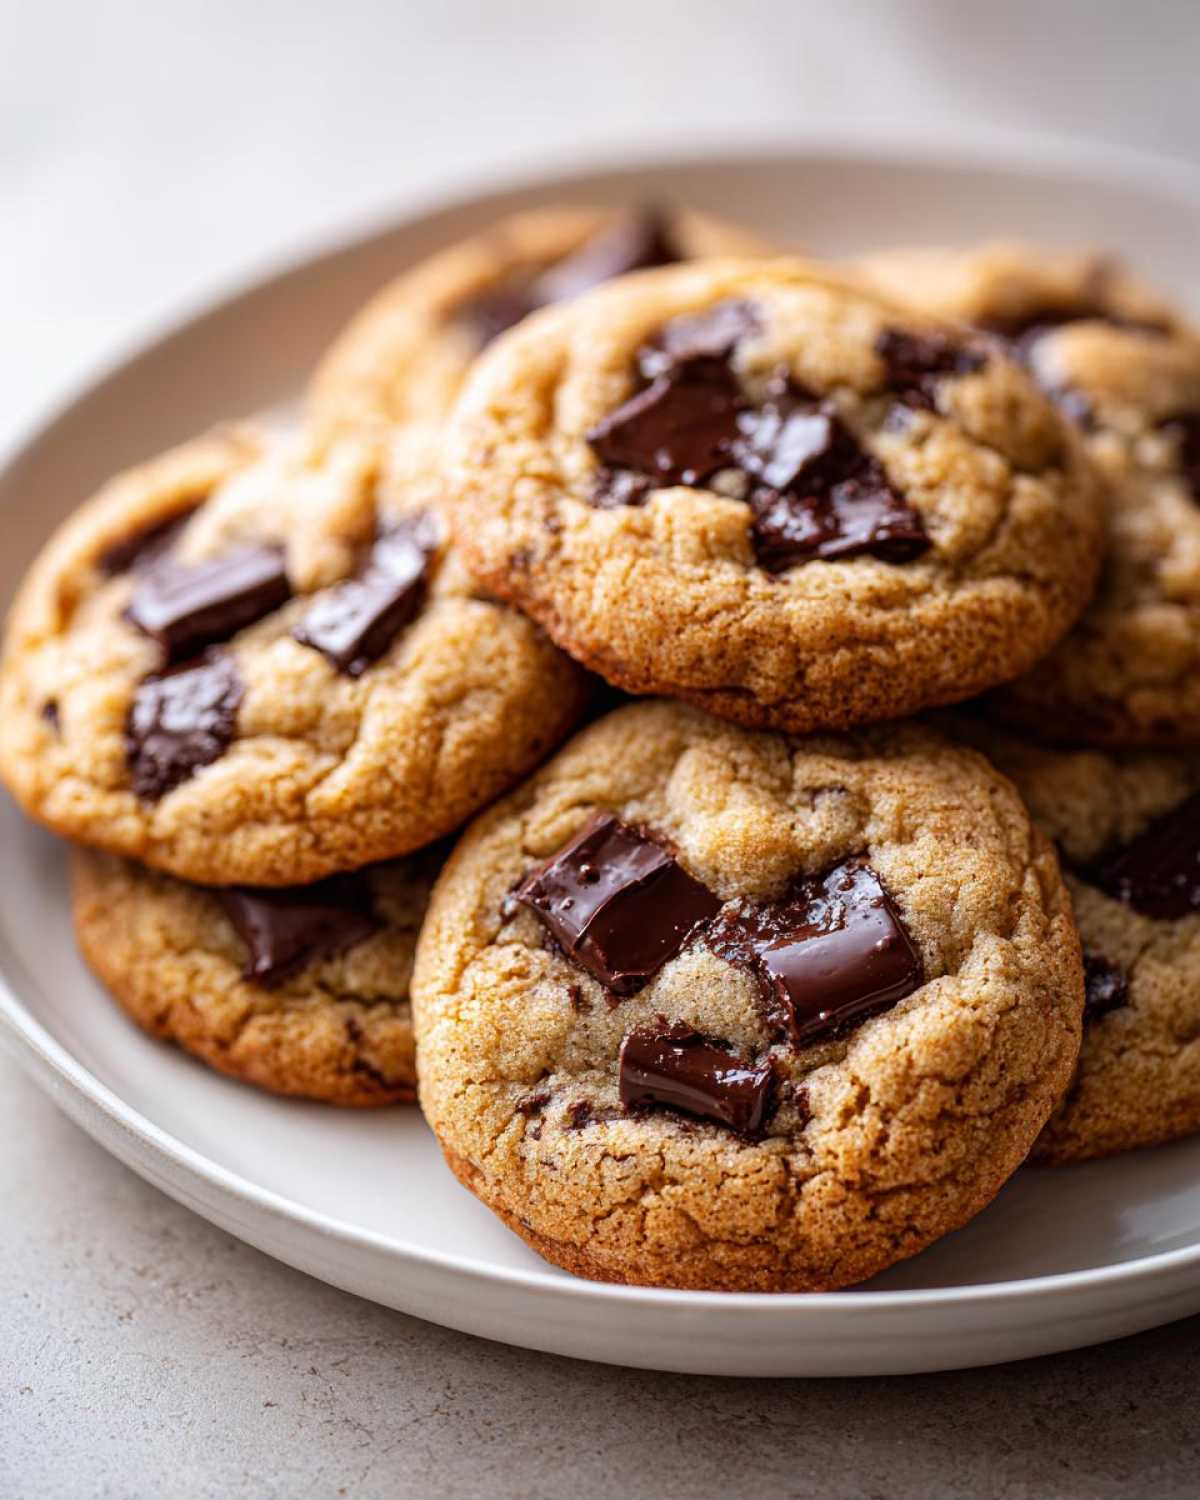
Why You Will Bake The Best Chocolate Chip Cookies Every Time
I know there are a million recipes out there, but this one just *works*. It’s the secret to getting that perfect texture right out of the oven, every single time you reach for that bag of chocolate chips. Forget flat cookies! If you want to see other incredible ways to make the ultimate treat, check out this Ultimate Chocolate Chip Cookie Recipe You Need To Try!
- You get that heavenly texture: perfectly soft baked chocolate chip bodies with just the slightest hint of a crispy edge.
- It’s genuinely foolproof. Even if you’re new to baking, you can achieve bakery-style cookies with this guide.
- We use melted butter, which immediately cranks up the chew factor! Who doesn’t want that?
Ingredients for Soft Baked Chocolate Chip Cookies
Okay, let’s talk about the lineup. Because these are the Best Chocolate Chip Cookies, the ingredients matter—but don’t panic! You probably have most of this sitting in your pantry right now. Seriously, these are classic, simple, and rely on technique more than fancy additions. If you want to get really deep into flavor building, you absolutely must check out my tips on how to make brown butter chocolate chip cookies; it takes it to the next level!
Here’s exactly what you need to gather before we start mixing:
- 1 cup (that’s 2 sticks!) unsalted butter, and listen close: it needs to be melted and then cooled just a tiny bit. Not hot, just warm to the touch!
- 1 cup packed light brown sugar (we need that molasses for chewiness, don’t skip it!)
- 1/2 cup granulated sugar
- 2 large eggs. Make sure these are room temperature; it helps them mix in smoothly.
- 1 tablespoon of real vanilla extract. Don’t skimp here, it makes a difference!
- 2 1/4 cups all-purpose flour.
- 1 teaspoon baking soda (our main lifter).
- 1/2 teaspoon salt (we need that balance).
- 1 1/2 cups semi-sweet chocolate chips. I always recommend using a high-quality chip or even chopping up a bar of good chocolate for the best melt!
- Flaky sea salt for topping—this is optional, but wow, it makes the edges pop!
The Secrets to Perfect Chocolate Chip Cookie Dough Preparation
Alright, this is where the magic really starts brewing, the part that turns basic pantry staples into the Best Chocolate Chip Cookies. We start with that melted butter. Now, I often give David a gentle nudge to take that extra minute to brown the butter—it adds such a rich, nutty depth that honestly makes people ask where I bought them! But if you’re short on time, just make sure that melted butter isn’t scorching hot when you add the sugars. Give the butter, brown sugar, and granulated sugar a really enthusiastic whisk together until it’s totally uniform and creamy. This is key for that signature chewiness. If you skip this part, you might end up with something closer to a flat cracker! If you want to see the full steps for that next-level flavor, I have all the details on my brown butter chocolate chip cookies.
If you’re after a serious copycat recipe, you need to see how they handle the base over here too: Make Famous Chocolate Chip Cookies At Home.
Mixing Wet Ingredients for Gooey Chocolate Chip Cookies
Once your base is smooth, we add the eggs one at a time, beating just enough after each addition to get it incorporated. Then swirl in your vanilla. That’s it! Resist the urge to beat it until it’s pale and fluffy like you would for a cake; that actually whisks too much air in. We want dense, gooey results for these gooey chocolate chip cookies, not cakey ones. Overmixing the wet ingredients now means you’ll fight gluten development later.
Combining Dry Ingredients and Folding in the Chocolate Chips
In another bowl, take a moment to whisk your flour, baking soda, and salt together. It’s important because you want those leavening agents evenly spread out. When you bring the dry mix into the wet, mix on low speed—and I mean low! Stop mixing as soon as you see the last streak of flour disappear. Seriously, physically stop the mixer! Then, grab a spatula—this part has to be by hand—and gently fold in all those gorgeous chocolate chips. I always recommend using the best quality chips you can find because they are the star of the show!
Crucial Steps for Chewy Chocolate Chip Cookies: Chilling the Dough
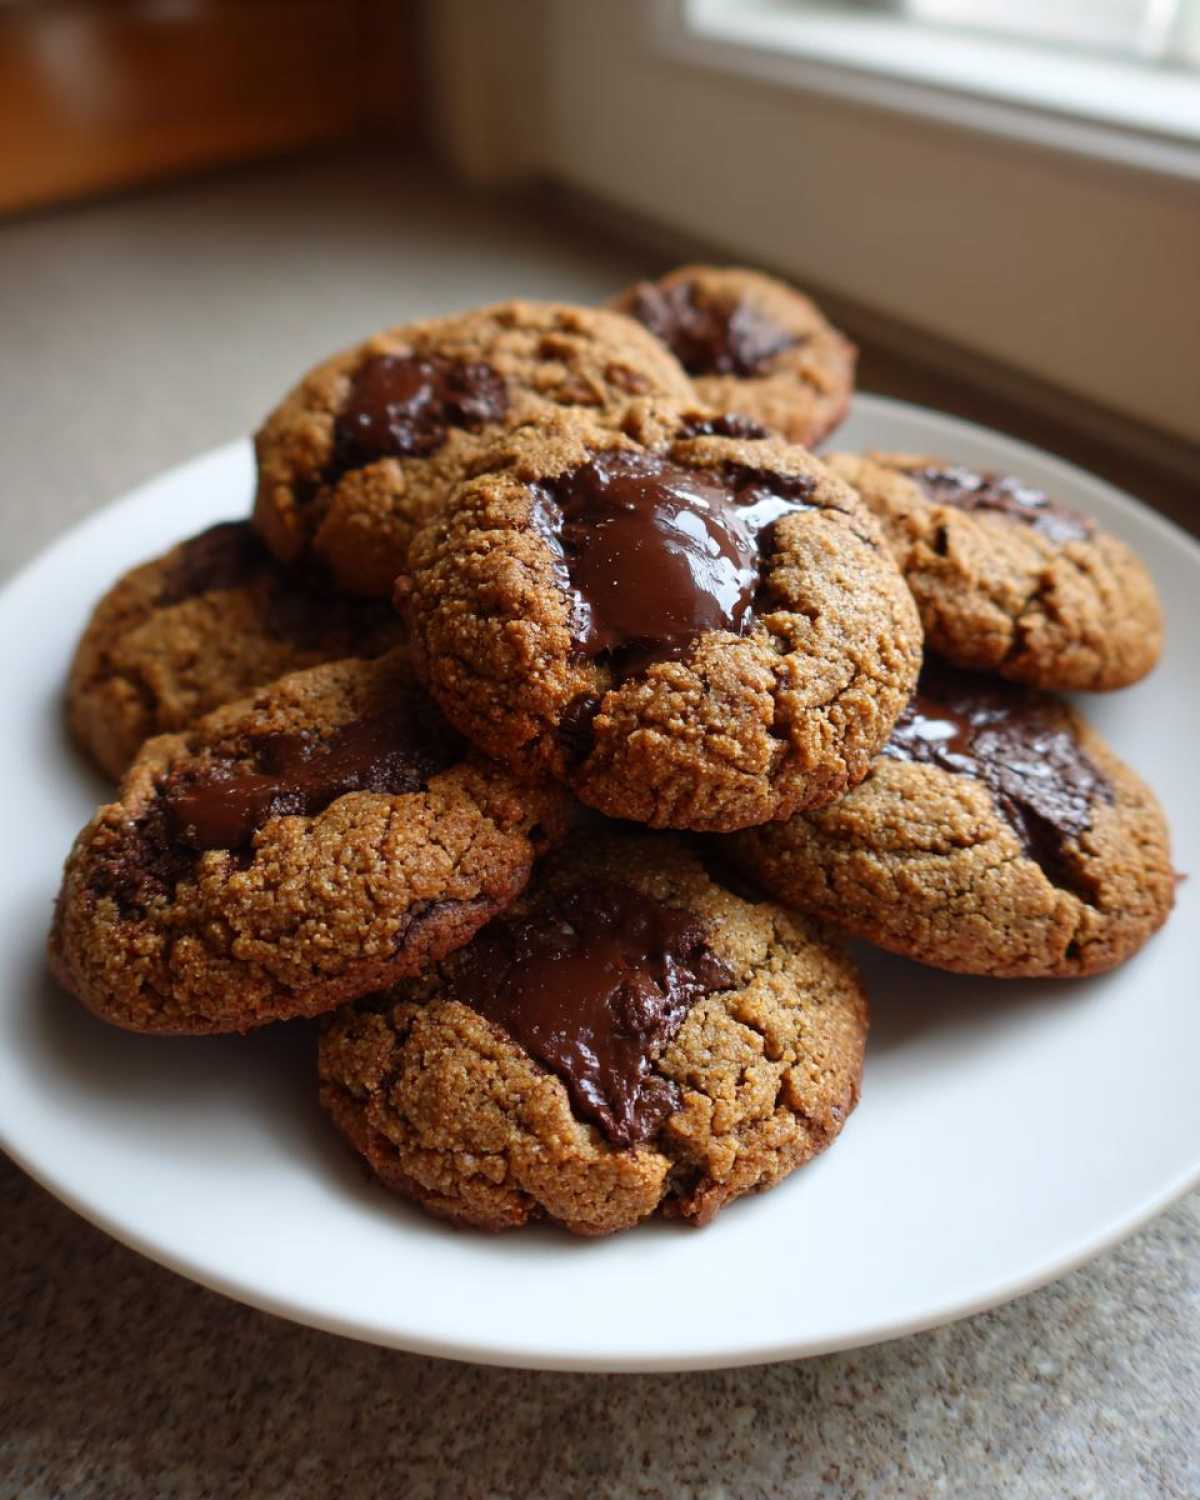
If you are here looking for The Ultimate Chocolate Chip Cookie, I have to tell you honestly: skipping the chill time is like trying to read a great book but stopping halfway through. It just won’t give you the impact it should! Chilling the dough is arguably the most important step for achieving those beautiful, thick, bakery-style cookies we’re aiming for.
When the dough rests in the fridge, two amazing things happen. First, the flour gets a chance to fully hydrate, which helps the cookie hold its shape instead of spreading out into a greasy puddle on your baking sheet. Second, and this is my favorite part, even though this recipe is already packed with flavor, resting allows those sugars and vanilla to really meld and deepen. It concentrates that rich flavor profile, making every bite taste more intense and caramelized. If you’re in a rush—say, you need cookies *now*—you can get away with chilling for about 30 minutes, just enough time for the butter to firm up slightly. But if you really want those thick, impressive cookies that stay soft for days, tuck that dough away for a full 12 to 24 hours. Trust me, the flavor payoff is huge!
I learned this trick when I was trying to make a huge cookie cake recipe and needed the dough to be sturdy enough to press into the pan without melting immediately. Chilling saved that entire project!
Baking Your Perfect Chocolate Chip Cookies
Okay, we’ve done the hard work downstairs in the mixing bowl—now for the actual baking! First things first: heat that oven up to 375 degrees F (190 degrees C), and please, please line your baking sheets with parchment paper. This prevents sticking, which is essential if you want those pretty, even bottoms on your crispy edge soft center cookies. I always grab my medium cookie scoop for this part; we want balls of dough that are about two tablespoons each. Space them out nicely, about two inches apart, because they will spread a little—but not too much, thanks to our chilling session!
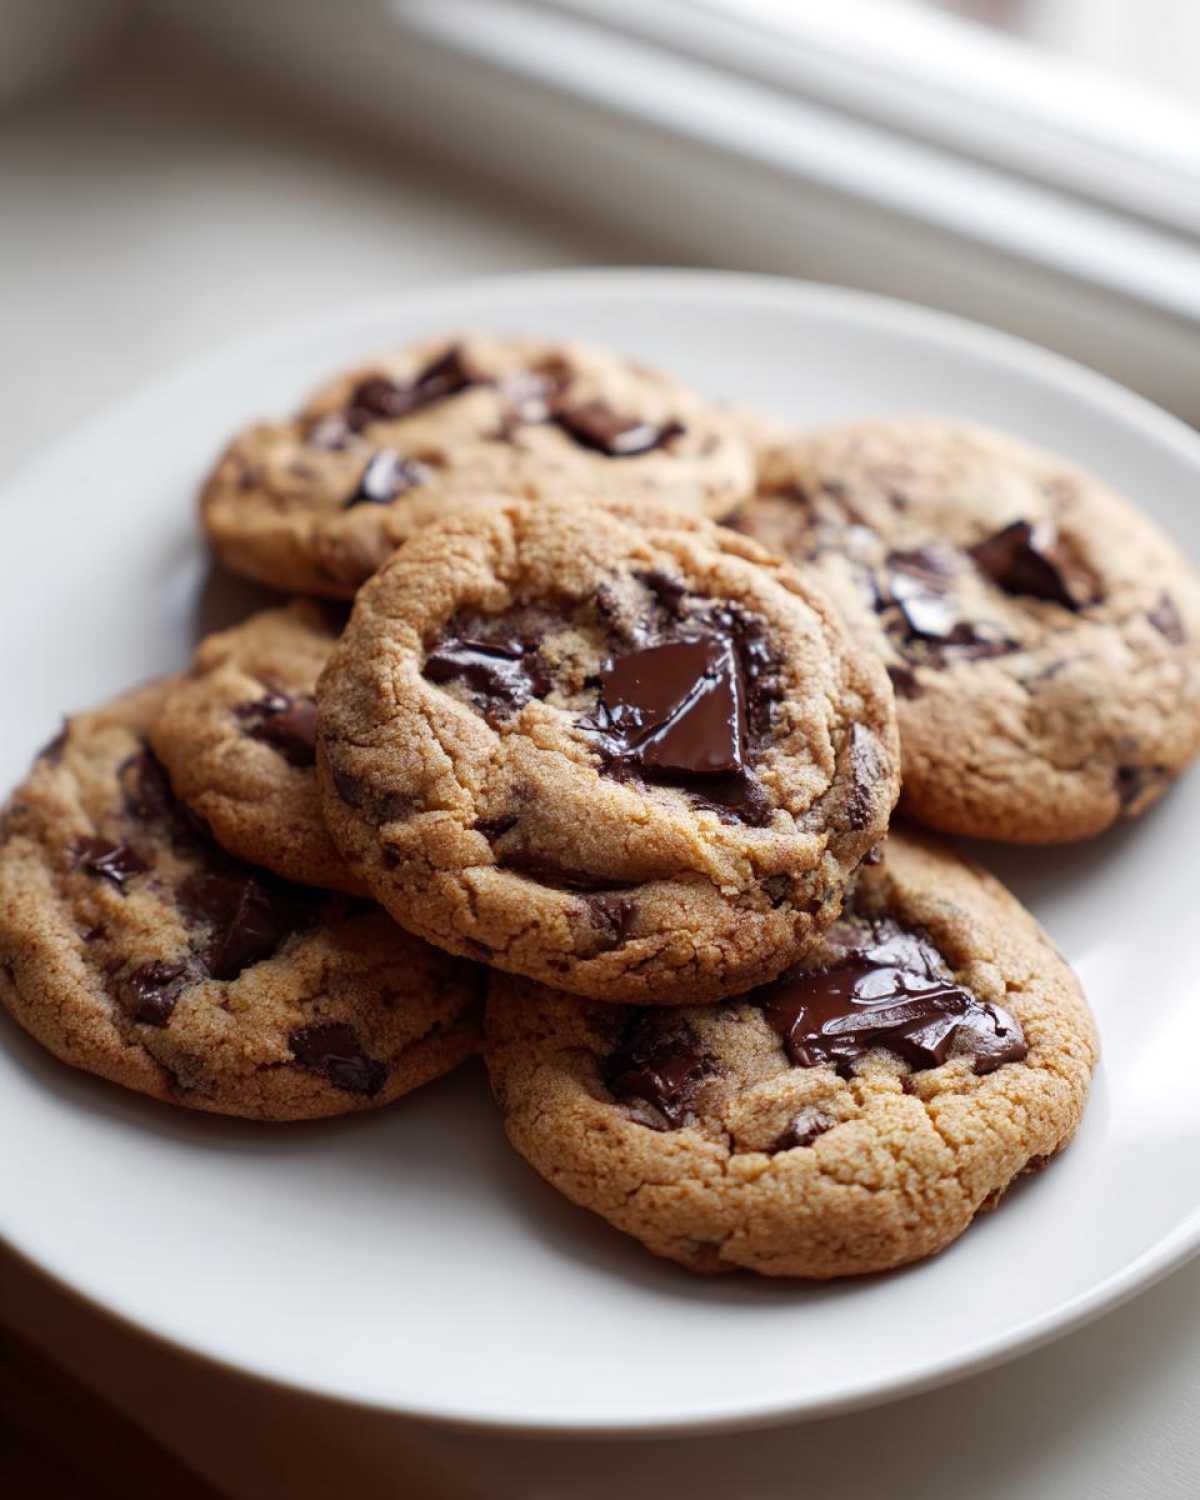
When they go in, keep an eye on the clock. We’re looking for just 10 to 12 minutes. You want the edges to look set and just starting to turn golden brown, but the very center should still look a little underdone—soft, maybe even slightly gooey. That’s the secret to preventing dry cookies! As soon as they come out, if you bought that flaky sea salt, sprinkle just a tiny pinch right on top. It really makes the chocolate flavor sing. You can see a great example of this finished look over at Crispy and Chewy Chocolate Chip Cookies. Let them rest on the hot sheet for five minutes before carefully moving them to a rack. Don’t skip that resting time; it lets them finalize their structure before you dig in. If you want another perspective on creating the ultimate texture, check out this guide: Ultimate Chocolate Chip Cookie Recipe You Need To Try!
Tips for Success with this Chocolate Chip Recipe
Even with a great recipe, sometimes things go slightly sideways in the oven, right? I’ve been there! David sometimes rushes the tempering of the eggs, and I swear, you can taste the difference. But don’t you worry, because I’ve got a few extra little tricks up my sleeve—secrets I’ve picked up over years of baking since I first got hooked on making chocolate chip cookies. These little adjustments are what separate a good cookie from what I call a ‘must-hide-it-from-David’ cookie.
Here are my top hacks for a foolproof batch every time:
- The ‘Pinch and Fold’ Chocolate Trick: I mentioned using chopped chocolate alongside chips, but here’s the extra step: when you fold everything in, take about a quarter cup of your chips and set them aside. Right after you put the dough balls on the sheet, gently press a few of those reserved chips onto the very top of the dough ball. When they bake, these visible chips melt beautifully and create those shiny, gooey pools that look exactly like professional bakery cookies. It’s visual marketing for your baking skills!
- Fixing Flat Cookies Immediately: If you pull a tray out and realize they spread just a *little* too much—maybe you skipped the chilling, oops!—don’t panic and don’t throw them out. Wait until they have set for about 2 minutes on the hot sheet. Then, grab a round biscuit cutter or even a wide glass, and immediately place it around the still-warm cookie. Gently twist the cutter/glass around the cookie edges. This reshapes it back into a perfect, thick circle before it completely cools and sets. It’s like a little magic trick to keep the shape thick.
- The Day-Old Savior (Texture Insurance): This is one of my favorite secrets, especially for storage. If you plan on keeping your soft baked chocolate chip cookies around for more than a day, you need insurance against dryness. Place one slice of plain white bread directly into your airtight cookie container. The cookies will actually pull the moisture from the bread overnight! When the bread gets hard, you know it’s done its job. I learned this when David accidentally left a batch cooling on the counter overnight before a picnic. The bread saved them, really!
For more advanced techniques, check out how I handle things like using sourdough starter in my Sourdough Chocolate Chip Cookies; those tricks work here too!
Storage and Reheating Your Chocolate Chip Cookies
The worst part about baking the absolute best chocolate chip cookies is when they, somehow, magically disappear, or worse, get a little stale before you can eat them all! Since these are made with melted butter, they are naturally prone to being softer, which means they benefit from good storage practices. I always tell David, “These aren’t meant to last a week,” but we try anyway, right?
If you are an advanced planner (which I usually am, thanks to my grandmother’s influence!), freezing the dough balls is your best friend. Scoop out all your little balls of chocolate chip pan cookie dough onto a baking sheet, freeze them until solid overnight, and then transfer them to a heavy-duty zip-top bag. You can bake them right from frozen—just add about 3 to 5 extra minutes to your baking time. This way, you always have that option for fresh cookies!
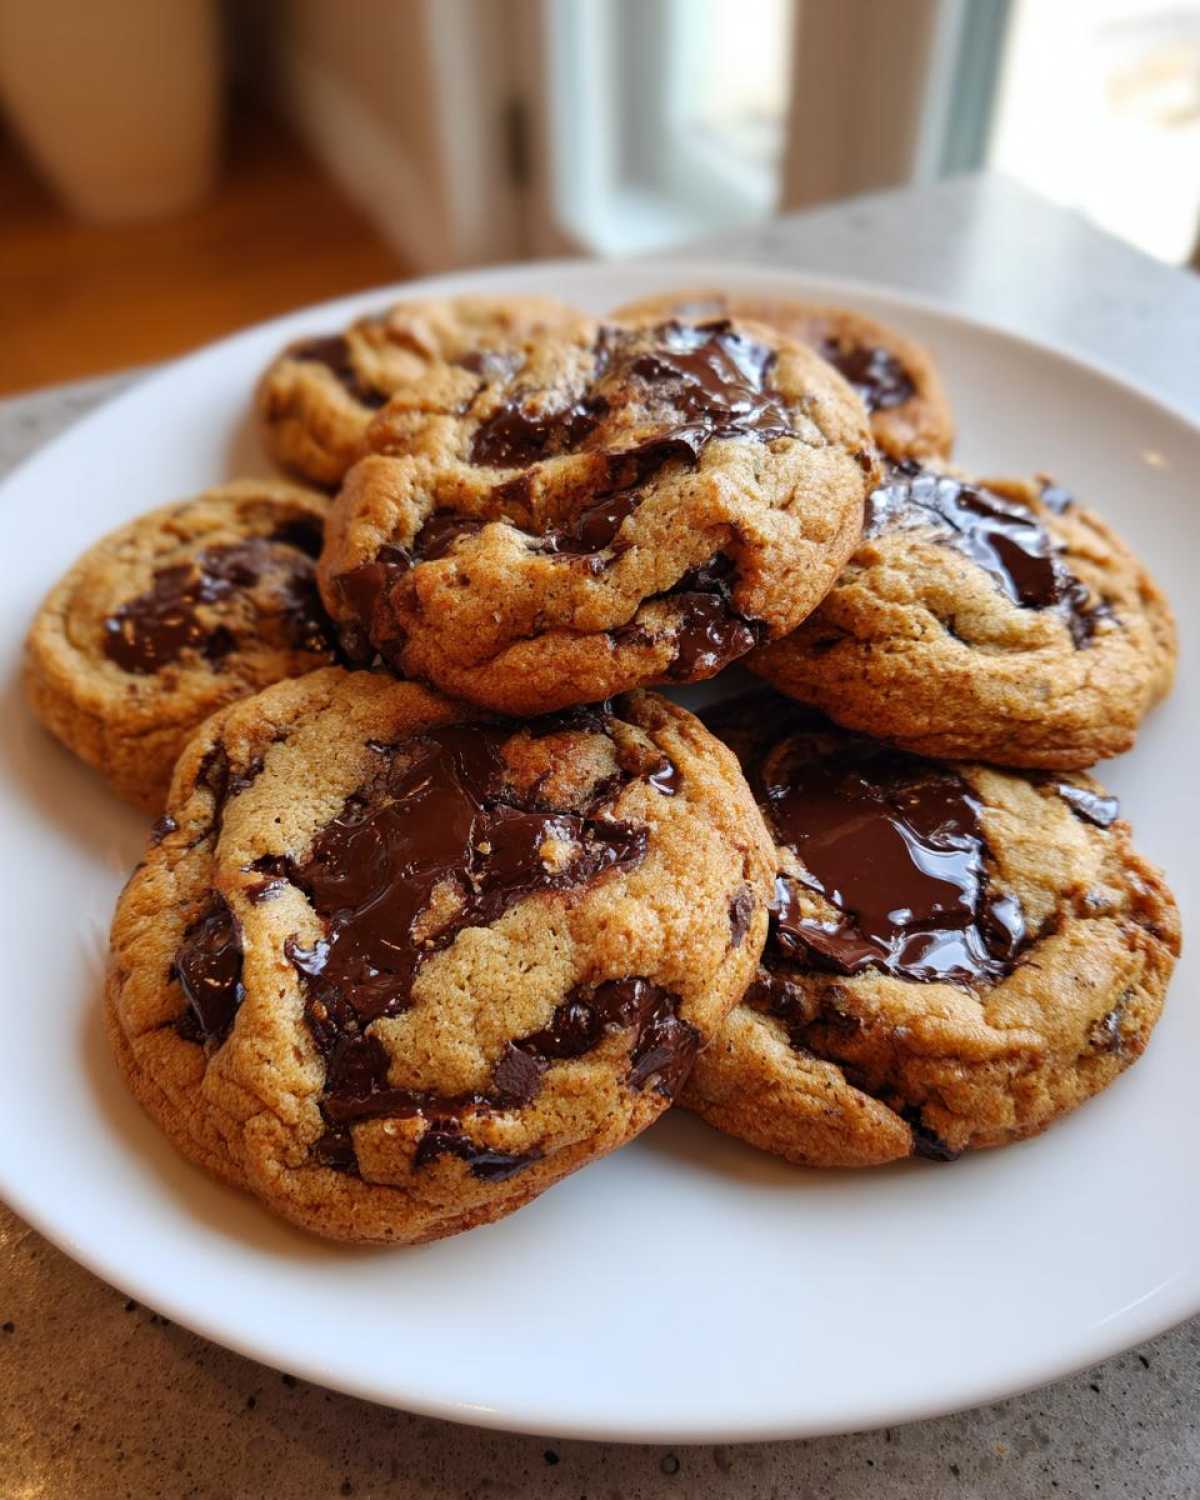
For the cookies you’ve already baked? You need airtight containers, plain and simple. If you want them to stay soft for a few days, remember that tip about the bread slice I mentioned earlier. Toss a plain slice in the container with them. If the cookies start to firm up too much, reheating is the answer. Don’t even think about the microwave unless you only want one cookie at a time for about 10 seconds. If you have a batch, pop them on a cool baking sheet in a 300-degree oven for just three or four minutes. That gentle heat rewakes the butter and melts those chocolate chips just enough. They come out tasting like they were just finished, honestly!
Frequently Asked Questions About Homemade Chocolate Chip Cookies
I get so many questions when people try to master their first batch of chewy chocolate chip cookies, and honestly, that’s the best part! Seeing you all in the kitchen making memories is why David and I do this. Here are a few things I hear all the time, especially about getting that perfect texture.
Why are my chocolate chip cookies always flat?
This is probably the number one question I get! Flat cookies usually mean one of two things, sometimes both. First, your butter might have been too warm or even melted when you added your sugars. This causes them to spread too fast before the structure can set up. Second, and this is huge, you skipped the chilling time! If you’re looking for soft baked chocolate chip cookies, that chill lets the fats solidify so they only spread a little in the oven. If you want to learn the magic behind stopping the spread, check out my favorite cookie advice over at The Best Chocolate Chip Cookies: Easy Chewy & Delicious Recipes.
Can I skip chilling the dough for quick baking?
Oh, I know the temptation when you need that sweet fix *right now*! You can absolutely skip chilling if you are okay with a slightly thinner, less intensely flavored cookie. If you are in a massive rush, chill for at least 30 minutes just to get the butter firm enough. However, for truly thick, bakery style cookies that have that deep molasses flavor, you really need at least 4 hours, but I truly urge you to try the full 24 hours.
What is the absolute best chocolate to use for chocolate chip cookies?
This is where you can really elevate your baking, in my opinion! While store-bought semi-sweet chips are totally fine for easy homemade cookies, the secret to that rich, puddly chocolate is using a mix. I always use about 60% high-quality chocolate chips and 40% dark chocolate (like Ghirardelli or Lindt) that I roughly chop myself. When the bars melt, they create glorious, gooey pools that chips just can’t replicate. It makes a huge difference for that luxurious mouthfeel!
Help! My cookies came out hard, not soft!
That almost always happens because they were overbaked or you used too much flour. Remember how I said the center should look slightly underdone when you pull them out? That’s your goal. Cookies continue to bake on the hot sheet for about five minutes after leaving the oven! If you bake them until the center looks perfectly done in the oven, they will be rock hard on the rack. For classic chocolate chip recipe perfection, remember to pull them when they look *almost* ready.
Estimated Nutritional Information for This Chocolate Chip Recipe
Now, I know some of you are counting, and I totally respect that! But remember, baking is about joy, and these chocolate chip cookies are meant to be enjoyed. David is always trying to trick me into sharing the exact numbers, but honestly, these figures are just a good guidepost. We are never going to get perfect counts because I change my preferred brand of chocolate chips based on what’s on sale!
That being said, for transparency, here are the estimated nutritional facts we calculated per one cookie based on the recipe provided. Think of these as a gentle reminder that everything tastes better with a little indulgence! If you are looking for some lighter baking adventures, check out how I sometimes lighten up my chocolate banana bread for a treat without as much guilt.
Please keep in mind these are just estimates, and your results will vary greatly depending on the type, brand, and weight of the chocolate chips you choose. We are aiming for deliciousness here, not laboratory precision!
- Serving Size: 1 cookie
- Calories: Approximately 210
- Sugar: About 18g
- Fat: Around 12g (But oh, that butter flavor is worth it!)
- Saturated Fat: About 7g
- Carbohydrates: Roughly 25g
- Protein: Around 2g
- Sodium: Estimated at 110mg
- Cholesterol: Around 35mg
See? Not too scary! Enjoy your ultimate chocolate chip cookie, and don’t worry about that small amount of sugar—it just proves you enjoyed a truly homemade treat!
PrintThe Ultimate Soft and Chewy Chocolate Chip Cookies
Learn to make bakery-style chocolate chip cookies at home that are perfectly soft and chewy with crisp edges. This foolproof recipe guarantees delicious results every time you bake.
- Prep Time: 15 min
- Cook Time: 12 min
- Total Time: 27 min
- Yield: About 2 dozen cookies
- Category: Dessert
- Method: Baking
- Cuisine: American
- Diet: Vegetarian
Ingredients
- 1 cup (2 sticks) unsalted butter, melted and slightly cooled
- 1 cup packed light brown sugar
- 1/2 cup granulated sugar
- 2 large eggs, room temperature
- 1 tablespoon vanilla extract
- 2 1/4 cups all-purpose flour
- 1 teaspoon baking soda
- 1/2 teaspoon salt
- 1 1/2 cups semi-sweet chocolate chips (use high-quality chips for best flavor)
- Flaky sea salt for topping (optional)
Instructions
- In a large bowl, whisk together the melted butter, brown sugar, and granulated sugar until completely smooth. This step is key for chewiness.
- Beat in the eggs one at a time until fully incorporated, then stir in the vanilla extract.
- In a separate medium bowl, whisk together the flour, baking soda, and salt.
- Gradually add the dry ingredients to the wet ingredients, mixing on low speed until just combined. Do not overmix.
- Fold in the chocolate chips by hand.
- Cover the dough and chill in the refrigerator for at least 30 minutes, or up to 24 hours. Chilling develops flavor and prevents spreading.
- Preheat your oven to 375 degrees F (190 degrees C). Line baking sheets with parchment paper.
- Scoop the dough into balls, about 2 tablespoons each, and place them 2 inches apart on the prepared sheets.
- Bake for 10 to 12 minutes. The edges should look set and golden brown, but the centers should still look slightly underbaked and soft.
- Remove from the oven. Immediately sprinkle the tops with flaky sea salt, if using. Let the cookies cool on the baking sheet for 5 minutes before transferring them to a wire rack to cool completely.
Notes
- For extra rich flavor, brown your butter before melting it down for the recipe. Let it cool before adding sugars.
- If you want thicker, bakery-style cookies, chill the dough for a full 24 hours.
- Use a mix of chocolate chips and chopped chocolate bars for varied texture and melt.
Nutrition
- Serving Size: 1 cookie
- Calories: 210
- Sugar: 18
- Sodium: 110
- Fat: 12
- Saturated Fat: 7
- Unsaturated Fat: 5
- Trans Fat: 0
- Carbohydrates: 25
- Fiber: 1
- Protein: 2
- Cholesterol: 35