

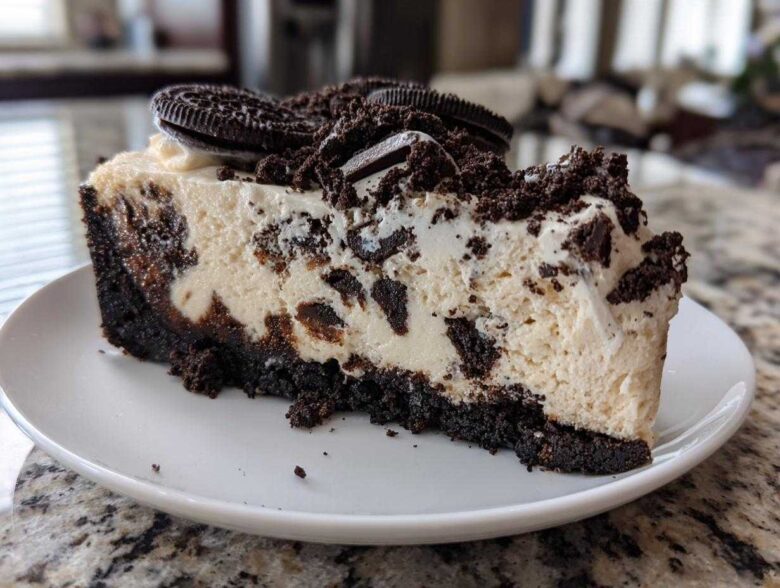
Oh, my gosh, I have to share my absolute go-to dessert for when company shows up unexpectedly! Seriously, when the doorbell rings and I have zero patience to turn on the oven, this is what comes out of the fridge looking like I spent all day on it. Forget complicated steps; this recipe for the **No-Bake Oreo Cheesecake** is pure magic. Last month, my sister decided to swing by with the kids an hour before dinner, and I whipped this up in twenty minutes while waiting for the water to boil for pasta. It was the star dessert, and nobody had any idea how truly simple putting this creamy dreamy dessert together actually was!
This isn’t just any chilled dessert; it’s the king of convenience. Best of all, it uses Oreos in two totally different, delightful ways. If you need a guaranteed crowd-pleaser that tastes like it took hours, you’ve found your winner. Trust me, after one bite of this rich, chilled treat, you won’t even think about firing up the stove for a baked version ever again. You can check out my other favorite quick fix, the easy eggnog pie, but this Oreo masterpiece is usually the family favorite!
Why This No-Bake Oreo Cheesecake is Your New Family Favorite Cheesecake
I know you’re busy, which is why this recipe is built for speed! It’s truly the **easiest Oreo cheesecake recipe** you’ll ever find, perfect for impromptu gatherings. You get all the deep chocolate flavor and that satisfying, creamy texture without ever sweating over a hot oven. It’s unbelievable how good it tastes for how little effort it takes.
Seriously, this is my top pick for a **No Bake Dessert for Parties**. People always ask for the recipe! It’s ready to go as a **make ahead Oreo dessert** because it needs serious chilling time anyway, so you make it the night before and completely relax the next day. If you’re looking for another great no-bake option, you have to check out this classic Tiramisu! I promise, this recipe, much like my advice for make-ahead breakfasts, lets you relax later.
- No oven necessary—seriously, not even a quick bake!
- Uses beloved Oreos for both the foundation and the filling flavor.
- Takes less than 25 minutes of active work time.
- It sets up beautifully, giving you that firm slice every single time.
Key Details for Your Quick Cheesecake Recipe
Let’s look at the commitment needed so you can plan ahead. You won’t be spending any time cooking, but you do need to plan for cooling time, which is non-negotiable for a good set!
- Prep Time: Only 20 minutes of actual hands-on work!
- Cook Time: Zero minutes! You heard me. Zero heat required.
- Total Time: About 6 hours 20 minutes, but most of that is just waiting patiently in the fridge.
- Yield: This fills a 9-inch pan and gives you a generous 10 servings. You might want to double it if your crowd loves Oreo desserts as much as mine does!
Gathering Ingredients for Your No-Bake Oreo Cheesecake
Okay, gathering the supplies for this **Easy Cream Cheese Dessert** is almost the best part because you don’t have to worry about specialty flours or weird extracts! Everything here is something you can usually grab on a quick grocery run. Remember, high-quality ingredients make this **Simple Oreo Cookie Dessert** shine. Here’s the rundown of what you’ll need:
For the Crust (The Foundation!):
- 1 1/2 cups Oreo cookie crumbs (that’s about 30 cookies if you’re crushing them yourself—and you should be!).
- 6 tablespoons unsalted butter, and you absolutely must melt this down first.
For the Filling (The Dreamy Center):
- 2 full packages (8 ounces each!) of cream cheese, and again, they need to be fully softened to room temperature.
- 1 cup powdered sugar—don’t try shaking regular sugar in here, trust me!
- 1 teaspoon vanilla extract—make sure it’s the real stuff if you have it!
- 1 1/2 cups of heavy whipping cream. This has to be COLD!
- The grand finale: 1 cup of crushed Oreo cookies mixed right into the filling.
For Garnish:
- Whipped cream and some extra Oreo pieces for sprinkling right before serving.
Ingredient Notes and Substitutions for Easy Cream Cheese Dessert
I have two big rules for this list. First, that heavy whipping cream has to be straight out of the fridge, ice cold, when you whip it. If it’s even a little warm, it just won’t get those lovely stiff peaks we need for structure. If you want to make this slightly richer, which I sometimes do when I feel like treating myself—and since you’re already making a **Best No Bake Cheesecake**—substitute half the cream cheese with mascarpone. It adds such a lovely, velvety mouthfeel. It’s a small switch that makes a big difference, almost like an upgrade to that amazing classic cream cheese frosting texture!
Step-by-Step Instructions for the Easiest Oreo Cheesecake Recipe
Now for the fun part—putting everything together so we can eat it later! Since this is a **Quick Cheesecake Recipe** that requires zero baking, the structure relies entirely on chilling the ingredients just right. Every step matters, especially when mixing those whipping creams. You need to be gentle; we are building delicate air pockets here, not mixing concrete!
Preparing the Oreo Crust No Bake Base
Let’s start with the foundation. Grab those 1 1/2 cups of Oreo crumbs and toss them in a bowl with the 6 tablespoons of melted butter. Mix it up with a fork or your fingers until it looks like wet sand—you know, the kind that holds its shape when you squeeze it. Now, press that mixture firmly into the bottom of your 9-inch springform pan. I mean firmly! Press it down right to the very edges. This crust needs to be solid because it’s holding up all that creamy goodness. Once it’s packed tight, pop that pan right into the freezer. We want this base rock solid before we pour anything in, so give it at least ten minutes while you focus on the filling.
Achieving a Creamy No Oven Dessert Filling
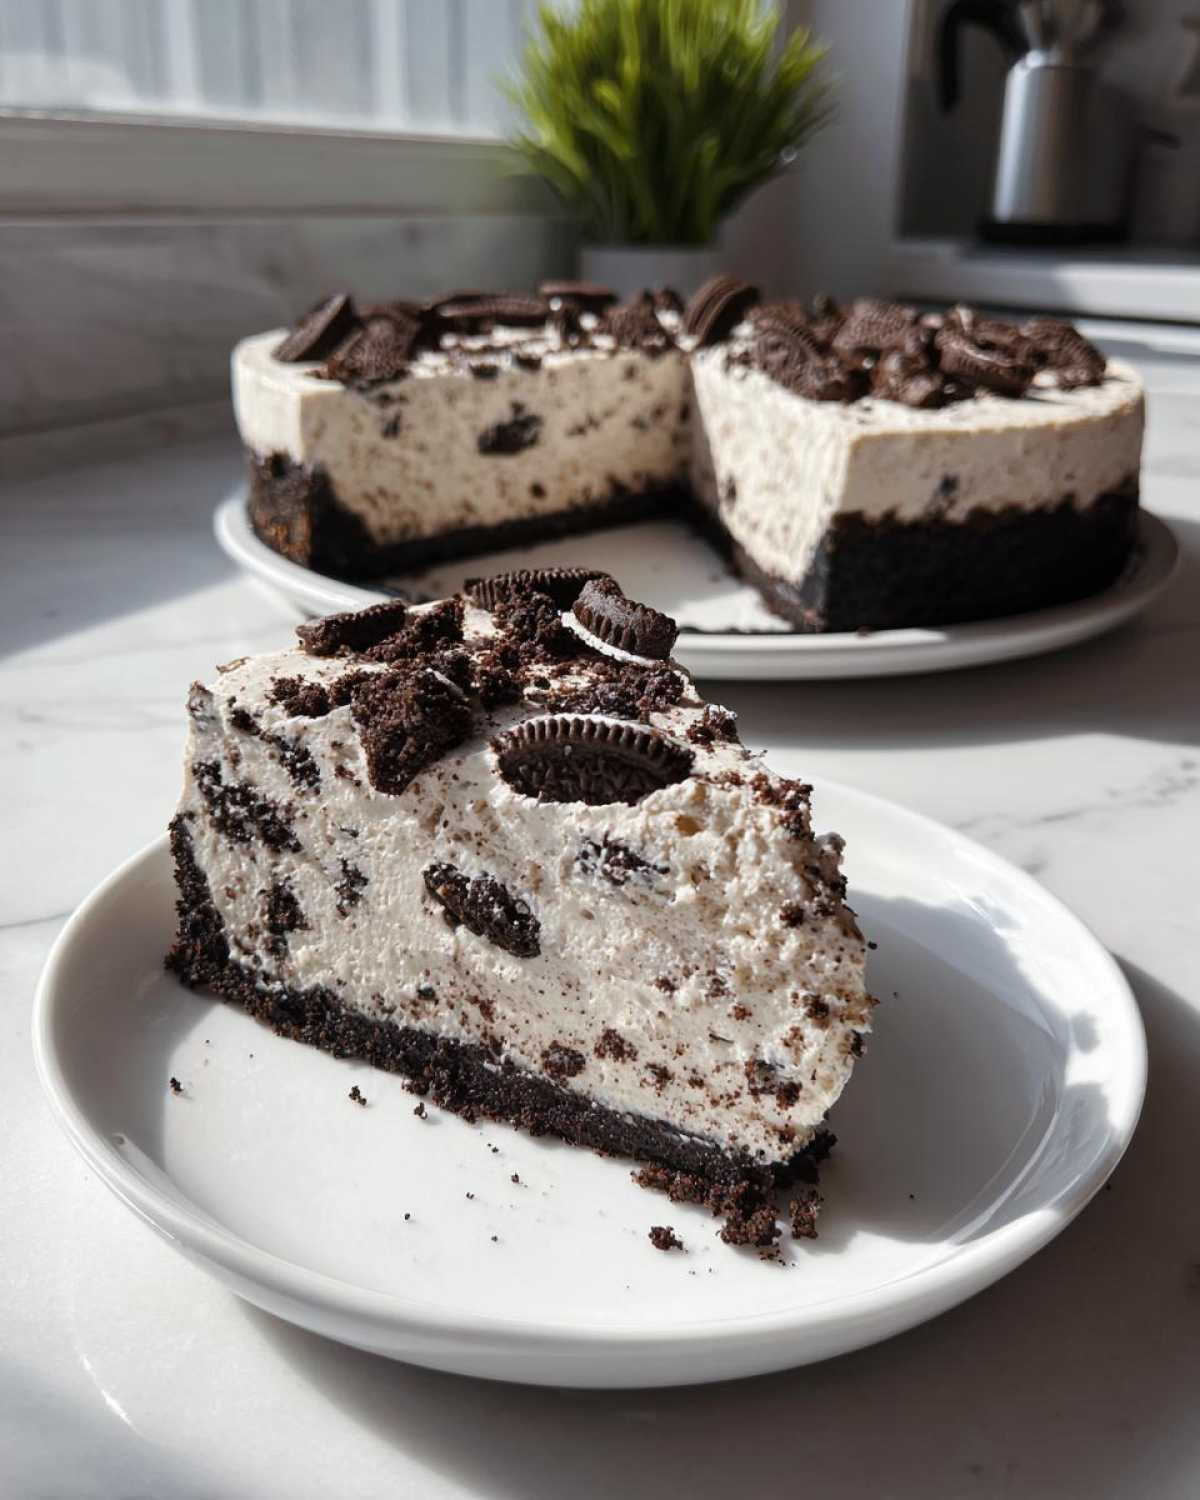
We have to handle the cream cheese first, and this is important: make sure it’s soft! Don’t rush this part. Beat your two blocks of softened cream cheese in a big bowl all on its own until it’s velvety smooth. If you have lumps here, you’ll have lumps in your final **Creamy No Oven Dessert**. Next, slowly add in your powdered sugar and vanilla. Mix that till it’s perfectly blended and creamy looking. Now, here comes the critical part that makes this cheesecake light: the whipped cream. Whip your cold heavy cream in a completely separate, clean bowl until you get stiff peaks. You’ll know it’s ready when you can pull the whisk out and the cream stands straight up! When you bring the two mixtures together, you must gently fold the whipped cream into the cream cheese base. Use big, sweeping motions. We are folding, not beating! Overmixing here will deflate all that wonderful air. Finally, fold in that last cup of crushed Oreos! If you need other inspiration for quick meals after you’re done making this amazing dessert, take a peek at my easy one-pot beans and rice recipe.
Chilling and Serving Your No-Bake Oreo Cheesecake
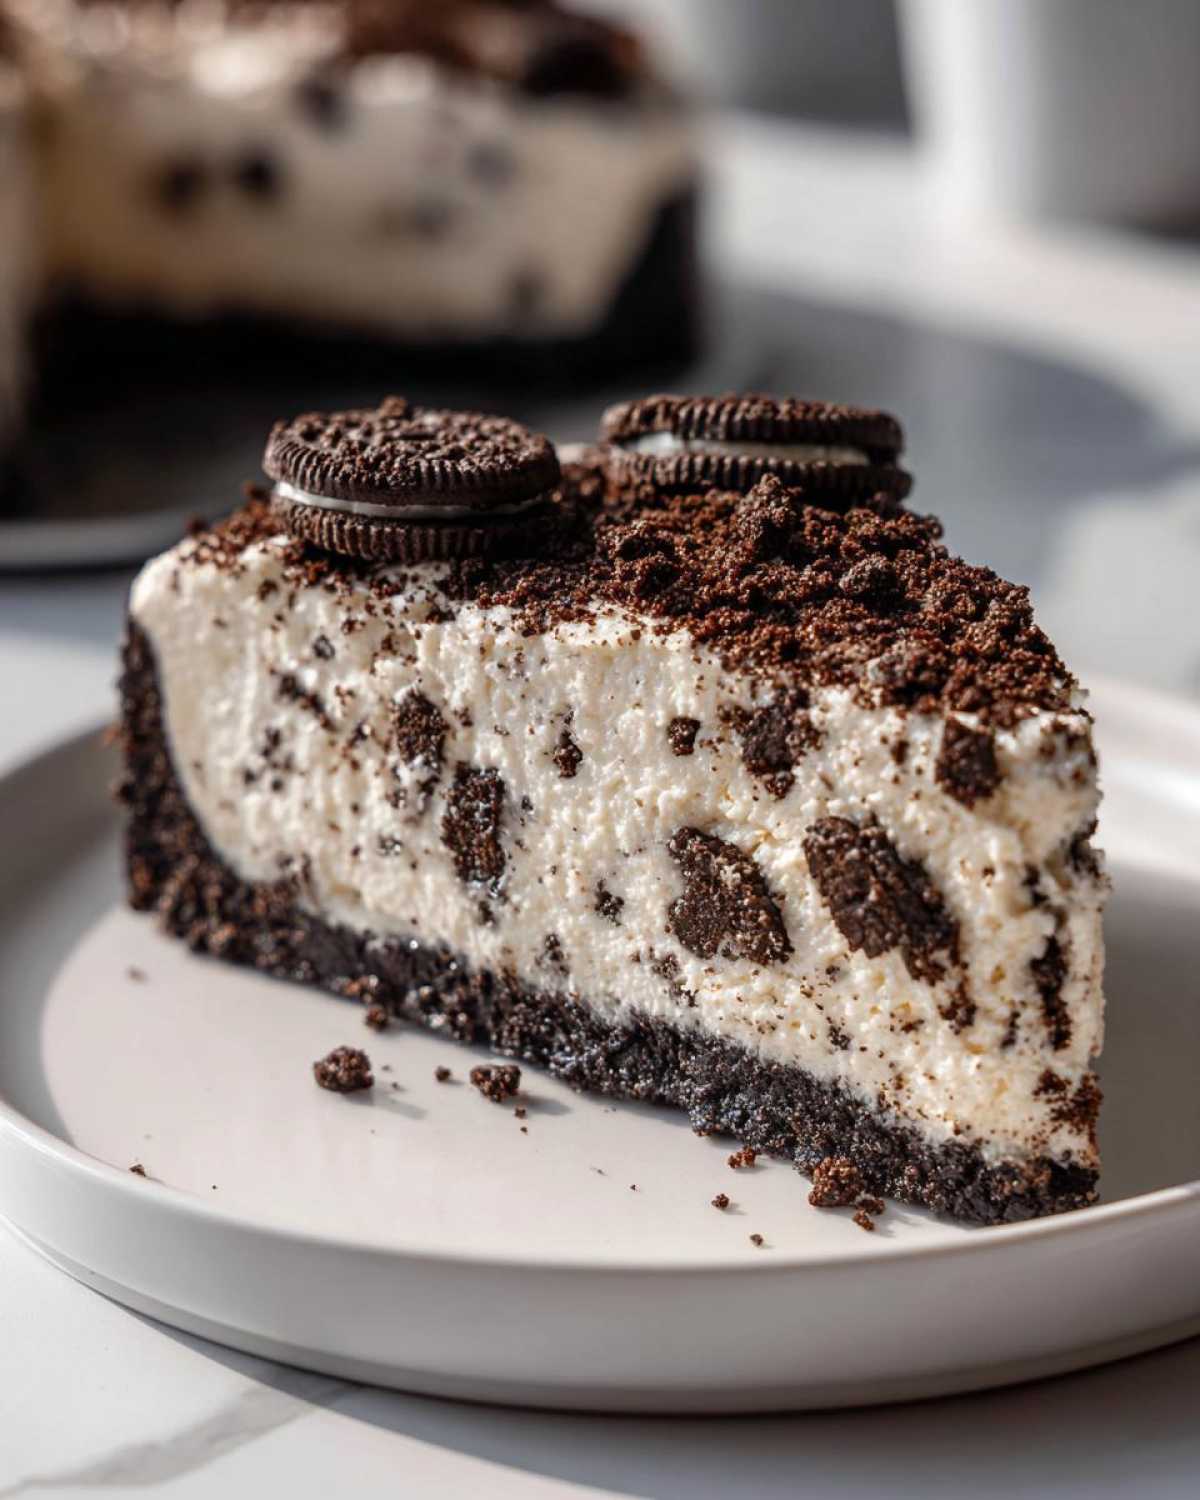
Okay, take that frosty crust out of the freezer. Pour that glorious, fluffy filling right over the top and use an offset spatula or the back of a spoon to spread it evenly. This is the last thing you do before patience begins! Cover the whole thing loosely with plastic wrap—loose is important so it doesn’t stick to the top—and slide it into the refrigerator. Do not cheat this step! It needs a minimum of 6 hours to set properly, but I always aim for overnight. This gives the filling time to firm up so you can slice it beautifully. When it’s time to serve, run a thin, warm knife around the edge of the cheesecake before releasing the springform collar. If you used parchment paper on the bottom like I suggested in my notes, it will slide right out onto your serving platter for easy plating!
Tips for Success Making the Best No Bake Cheesecake
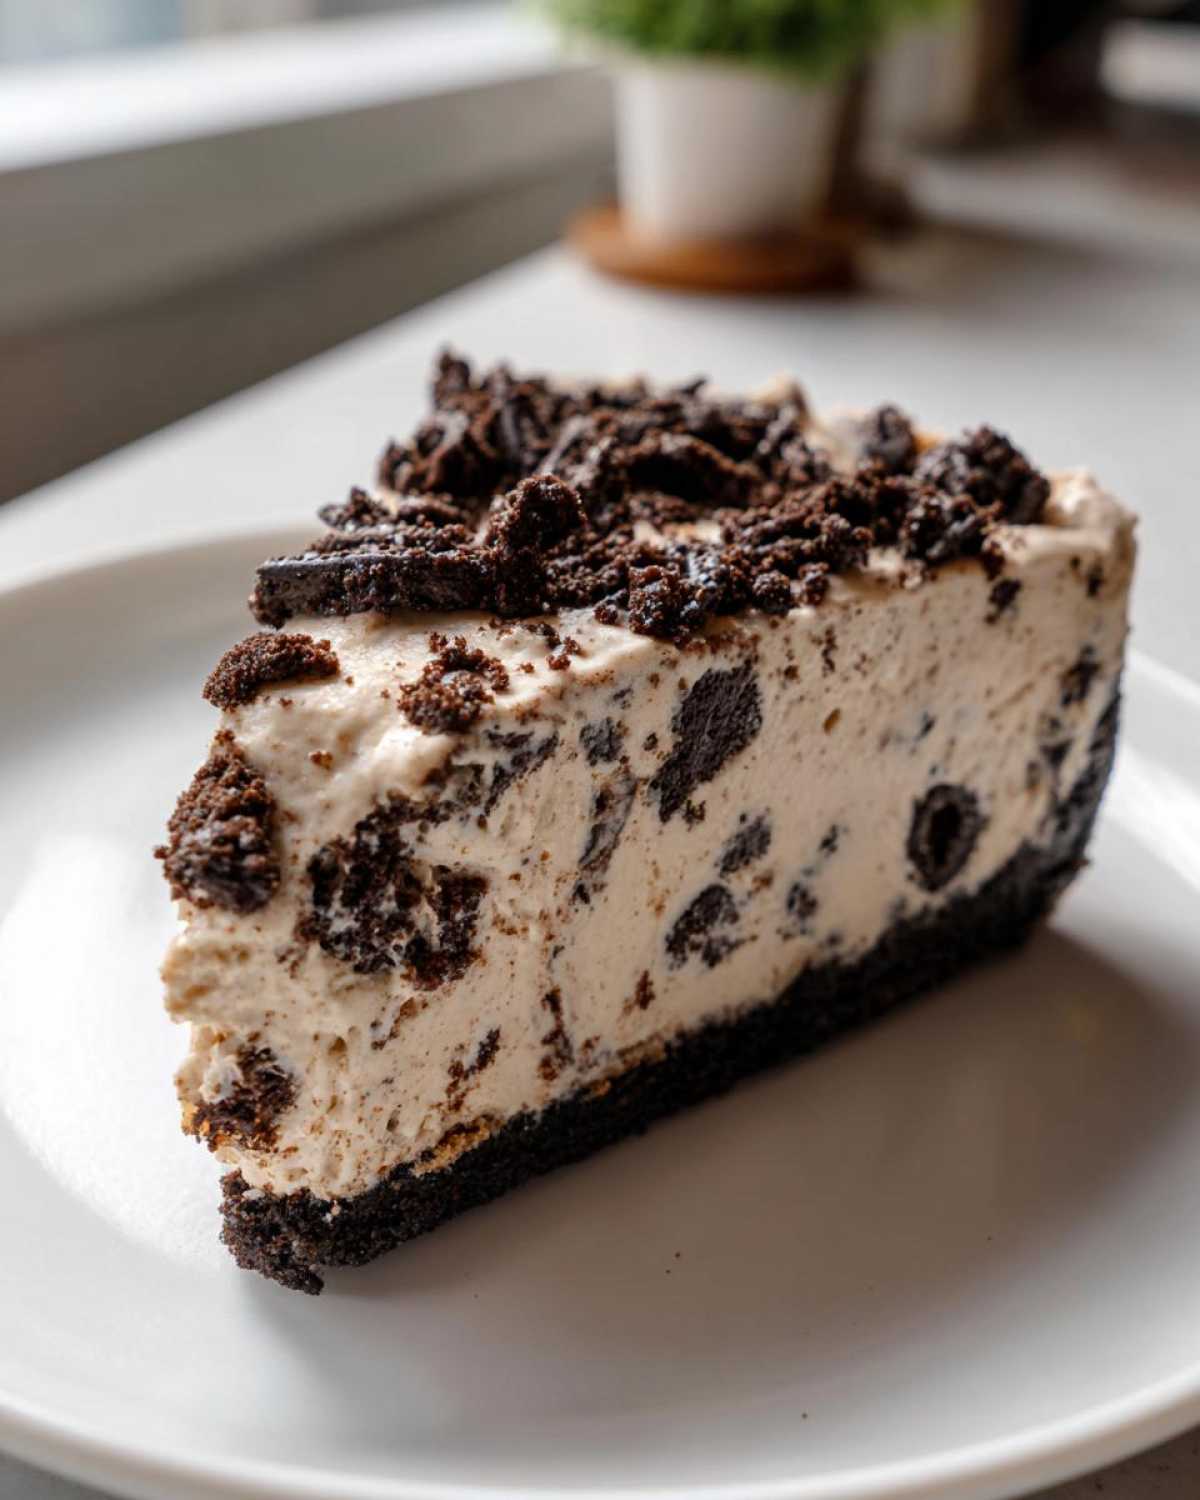
Even though this is the **Best No Bake Cheesecake**, you still have to respect the ingredients or you’ll end up with a soupy mess instead of a perfectly set dessert! My biggest piece of advice—and I stress this every time—is to let your cream cheese sit out. I mean it, let it sit until it’s truly soft, almost squishy. If you try to beat cold cream cheese, you get chunks, and that ruins the whole smooth vibe we’re going for here.
The second big tip is about the whipped cream. When you fold those stiff peaks into the cream cheese base, you have to go slow! If your whisking technique is too vigorous, you pop all those lovely air bubbles, and then your cheesecake ends up dense and heavy. Gentle folding equals light, dreamy texture. You want to stop mixing the second you see no more white streaks—that’s it! It’s like making my sugar cookie icing; finesse is key. Remember that long chill time is your friend for this dessert!
No Bake Oreo Dessert Ideas: Variations and Toppings
Once you’ve mastered the classic, it’s fun to start playing around with this **Simple Oreo Cookie Dessert**! You asked for variations, and I have a few that I sneak in when the family thinks they are getting the exact same recipe twice. You can easily swap out the standard Oreos for Golden Oreos if you want a lighter, vanilla-forward crust and filling contrast. That is so pretty when you slice into it!
If you’re feeling extra fancy—and let’s be honest, we always are when making a showstopper like this—try folding in a teaspoon of espresso powder when you mix the cream cheese. It doesn’t make it taste like coffee, but it really deepens that chocolate flavor. It brings out the richness almost like brown butter does in chocolate chip cookies! For topping, don’t stop at just whipped cream and cookie dust. A drizzle of hot fudge right before serving makes this feel truly decadent. You have so much room to experiment!
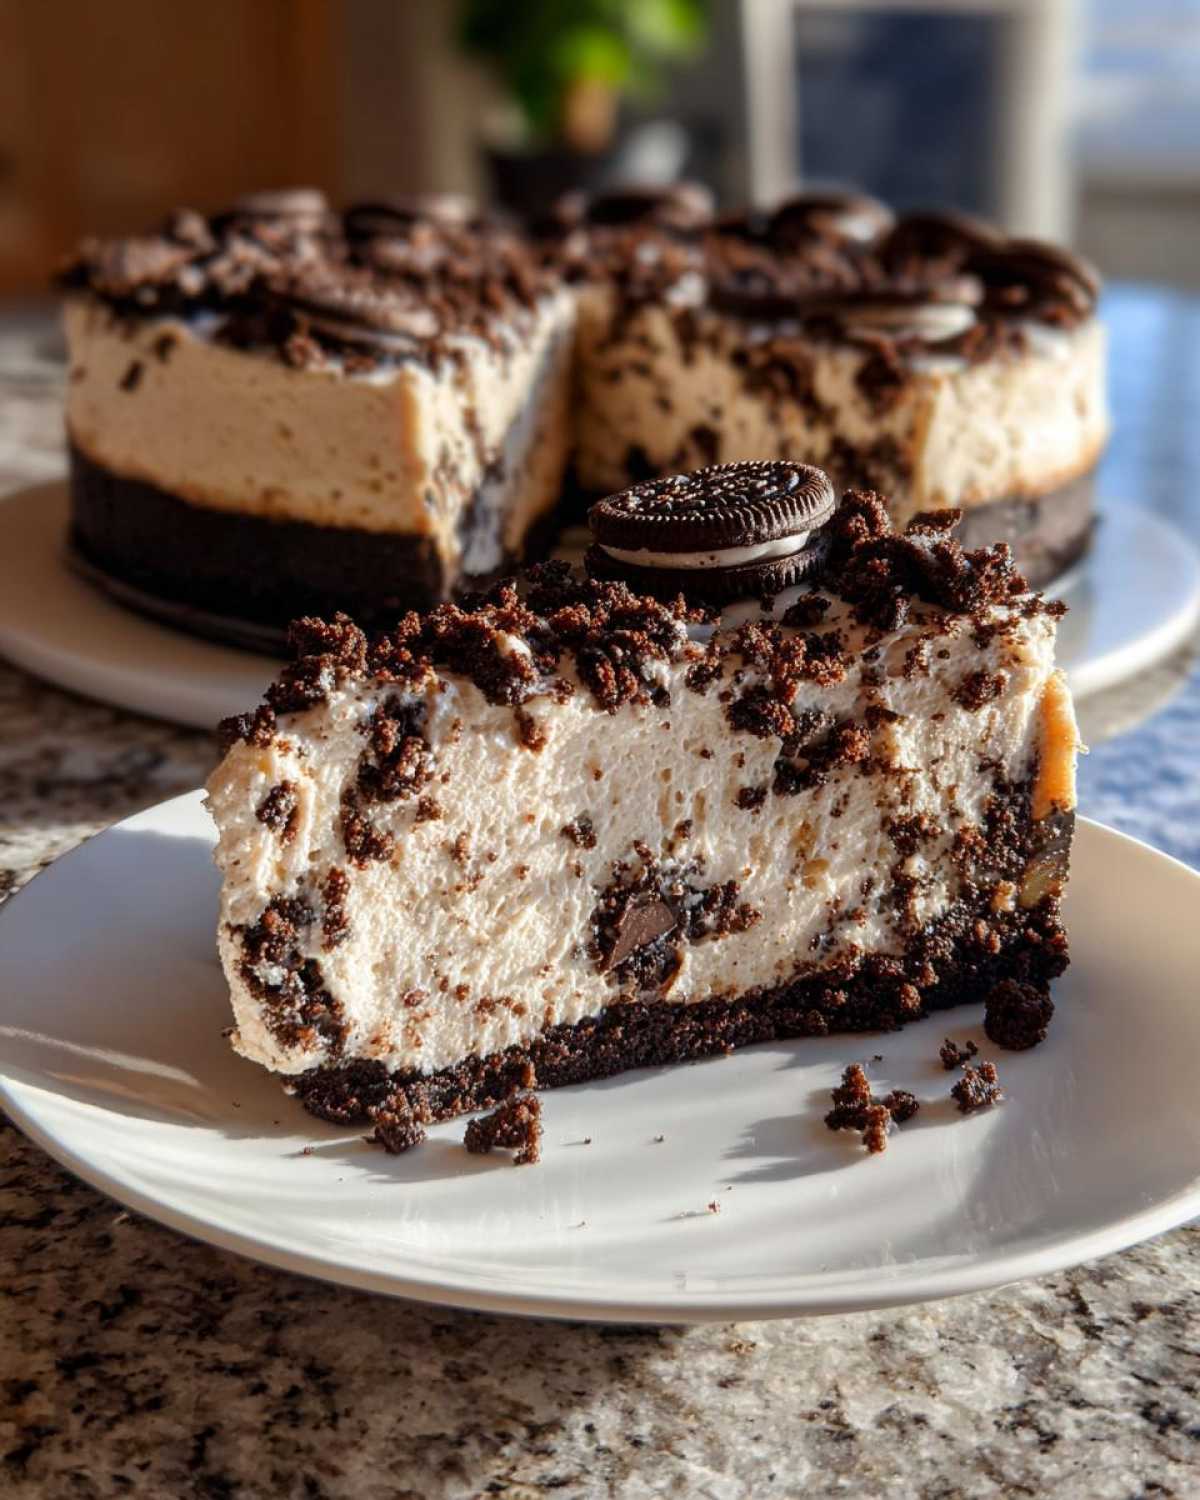
Storage and Make Ahead Oreo Dessert Planning
The best part about this **Make Ahead Oreo Dessert** is that, unlike real cheesecake, you don’t have to worry about it cracking or drying out in the fridge! Since this is a totally **chilled Oreo dessert**, storage is super easy. You just need to make sure it’s sealed up tight so it doesn’t absorb any weird leftover smells from the fridge—nobody wants a pickle-flavored cheesecake, right?
After it has fully set, just cover your springform pan loosely with plastic wrap or even foil. It keeps beautifully in the refrigerator for up to four days. I’ve actually found that it tastes better on day two because the Oreo crust has had more time to soften slightly against the filling! It’s perfect for parties because you truly can make it Wednesday night for a Saturday gathering.
When it comes to serving, there’s no reheating needed, obviously! Just make sure you pull it out of the fridge about ten minutes before you plan to slice it—just enough time to take the harsh chill off the cream cheese so your slices look perfect. Since this is so easy to prep ahead, I often make a big batch and save half for the next day if I know we won’t finish it all. It’s just as good later! For other great make-ahead meal strategies, you might want to check out my guide on ultimate overnight oats. Planning ahead makes life so much sweeter!
Frequently Asked Questions About This Chilled Oreo Dessert
I always get questions after I post this, especially from folks who are nervous that a dessert without oven just won’t set up right. Don’t worry about that! This recipe is designed to be rock solid, assuming you follow the chilling steps. It’s one of the easiest recipes I’ve ever developed, guaranteeing a beautiful slice every time you make this **Chilled Oreo Dessert**!
Can I use a different type of cookie for the crust?
Oh, absolutely! The Oreo’s chocolate wafer is great because it crumbles nicely and the filling holds onto it well. But if you want a total change, you can use vanilla wafers or even graham crackers, though you’ll need to adjust the amount of butter slightly since they are generally drier than Oreos. If you use graham crackers, I highly suggest adding about half a teaspoon of cocoa powder to the crumbs so you still get that nice chocolatey hint against the creamy filling—just a little trick I learned! If you love peanut butter, you might want to check out my recipe for easy peanut butter pie, which uses a similar crust method!
How long must the No Bake Oreo Cheesecake chill?
This is the most crucial question when making any **Creamy No Oven Dessert**! The absolute minimum chill time is 6 hours. If you rush it, the filling will collapse the second you try to cut into it, and you’ll end up with a melted puddle instead of the perfect square slice you deserve. But here’s the real secret: If you can let it go overnight, do it! When you chill it longer, the heavy cream settles in perfectly, marrying all the flavors together and making the texture much firmer and even smoother. Seriously, overnight chilling takes this from good to phenomenal!
If you’re ever wondering why your cheesecake didn’t set up, nine times out of ten, it’s because the heavy cream wasn’t cold enough when you whipped it, or you didn’t chill it long enough! Don’t let that discourage you; just aim for that overnight goal next time!
Estimated Nutritional Data for One Slice of No-Bake Oreo Cheesecake
I know some of you are tracking calories or macros, and while this is ridiculously indulgent, it’s good to have a rough idea of what you’re diving into! Remember, since this is a rich, delicious treat, it’s not exactly a health food, but hey, everything in moderation, right? I’ve put together the basic estimate below for one slice—and try not to cut your slice too thin; you deserve the proper amount!
Because we’re using full-fat cream cheese and heavy cream, the fat content is definitely on the higher side, but trust me, you can taste the richness! If you want to look at another great snack that’s a bit easier on the count (but still delicious!), check out my recipe for no-bake chocolate peanut butter oat bars.
Here is the breakdown based on 1/10th of the recipe:
| Nutrient | Amount (per slice) |
|---|---|
| Calories | 350 |
| Sugar | 30g |
| Fat | 22g |
| Saturated Fat | 13g |
| Carbohydrates | 35g |
| Protein | 4g |
Please remember these are just estimates! If you swap out the Oreos for a lower-sugar cookie, or skip the full-topping, your numbers will obviously change. But for the classic, gooey, rich version—this is what you’re looking at for this amazing **no-bake dessert**!
Share Your No Bake Oreo Dessert Ideas
Well, that’s it! You’ve got the blueprint for the absolute easiest, creamiest, no-fuss **No-Bake Oreo Cheesecake** right here. I’ve shared all my secrets, from making sure your cream cheese is soft enough to folding in those whipped cream peaks gently.
Now it’s your turn! I genuinely want to know what you think. If you make this **Simple Oreo Dessert**, please pop down into the comments and leave me a rating—I’d be thrilled if you gave it a perfect 5 stars! Did you try folding in coffee? Did you use Golden Oreos? Did you just eat the whole thing standing over the sink? Tell me everything!
I love seeing how you all adapt these tried-and-true family recipes. Don’t forget to browse around the blog for more easy treats when you get a moment; you can see all my latest kitchen experiments right here on the main blog page. Happy chilling!
PrintSimple No-Bake Oreo Cheesecake
Make a rich, creamy cheesecake without turning on your oven. This recipe uses Oreo cookies for both the crust and the filling.
- Prep Time: 20 min
- Cook Time: 0 min
- Total Time: 6 hr 20 min
- Yield: 10 servings
- Category: Dessert
- Method: No Bake
- Cuisine: American
- Diet: Vegetarian
Ingredients
- 1 1/2 cups Oreo cookie crumbs (about 30 cookies)
- 6 tablespoons unsalted butter, melted
- 2 (8 ounce) packages cream cheese, softened
- 1 cup powdered sugar
- 1 teaspoon vanilla extract
- 1 1/2 cups heavy whipping cream, cold
- 1 cup crushed Oreo cookies (for filling)
- Optional topping: Whipped cream and extra Oreo pieces
Instructions
- Prepare the crust: Mix the 1 1/2 cups of Oreo crumbs with the melted butter until combined. Press this mixture firmly into the bottom of a 9-inch springform pan. Place the pan in the freezer while you prepare the filling.
- Make the filling base: In a large bowl, beat the softened cream cheese with an electric mixer until smooth. Gradually add the powdered sugar and vanilla extract, mixing until fully incorporated and creamy.
- Whip the cream: In a separate, clean bowl, whip the cold heavy whipping cream until stiff peaks form.
- Combine: Gently fold the whipped cream into the cream cheese mixture until just combined. Do not overmix.
- Add Oreos: Fold in the 1 cup of crushed Oreos.
- Assemble: Pour the filling over the chilled crust in the springform pan and spread evenly.
- Chill: Cover the pan loosely with plastic wrap and refrigerate for at least 6 hours, or preferably overnight, until the cheesecake is firm.
- Serve: Before serving, carefully release the springform side. Top with whipped cream and extra Oreo pieces if desired.
Notes
- For the easiest crust removal, line the bottom of the springform pan with parchment paper before adding the crumb mixture.
- If you do not have a springform pan, you can use an 8×8 inch baking dish, but chilling time may increase slightly.
- You can substitute half of the cream cheese with mascarpone for a slightly richer texture.
Nutrition
- Serving Size: 1 slice
- Calories: 350
- Sugar: 30
- Sodium: 250
- Fat: 22
- Saturated Fat: 13
- Unsaturated Fat: 9
- Trans Fat: 0.5
- Carbohydrates: 35
- Fiber: 1
- Protein: 4
- Cholesterol: 65