

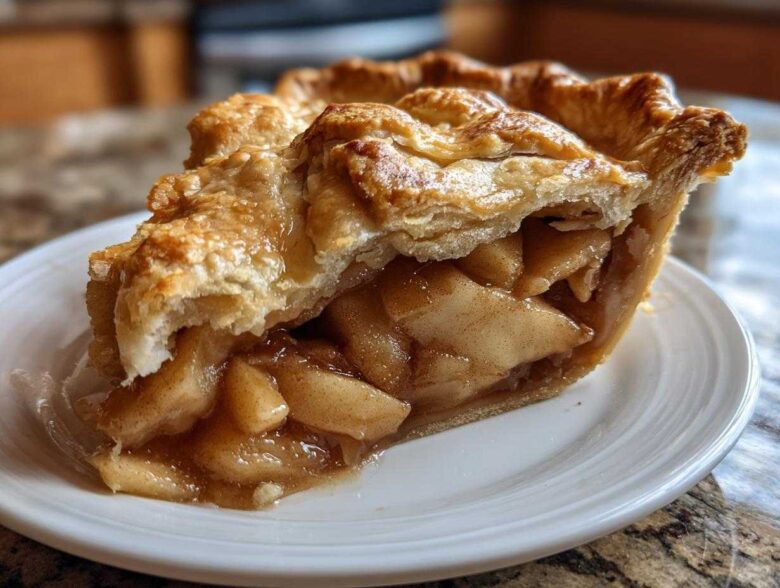
Oh, friend, let me tell you, there is nothing in this world quite like the smell of a real, homemade apple pie baking away while the weather starts to turn crisp outside. It’s instant comfort, isn’t it? I’ve tried countless versions over the years—quick fixes, fancy concoctions—but I always come back to this one. This is, hands down, the ultimate apple pie recipe you will ever open on your kitchen counter. Why? Because it finally cracked the code on two things everyone struggles with: a truly flaky butter crust that doesn’t shrink, and a sweet, spiced apple filling that holds its shape! Seriously, trust me on this; after years of tinkering, this is the one that earned a permanent spot in my family cookbook. I think you’re going to adore it!
Why This Is The Best Apple Pie Recipe for Home Bakers
So many recipes online promise the world, but then you end up with a soggy bottom or a crust that shatters into dust instead of flaking apart. Ugh, the worst! This isn’t just another standard instruction set; this is the foolproof apple pie recipe that consistently delivers that perfect holiday dessert vibe, even on a Tuesday. You can check out my apple cinnamon streusel muffins if you want another easy fall bake, but this pie really tops them all.
What makes it the best? It’s all about streamlining the tricky parts without sacrificing that old-fashioned flavor we crave. It’s dependable, which is what we all need when baking for company!
- It makes the most beautifully flaky pie crust recipe—I swear the cold butter trick is witchcraft!
- The filling is so balanced; it’s sweet, spiced with warming cinnamon, but the apples never turn to complete mush.
- If you can chill dough and chop apples, you can absolutely nail this double crust masterpiece.
Key Components of Our Classic Apple Pie Recipe
When you look at what makes this pie tick, it really boils down to two stars working together perfectly. First, we have that incredible, buttery dough that keeps its shape. Second, we have the filling—a fragrant mix of tart and sweet fruit singing with spices. Mastering these two elements is your secret weapon.
Ingredients for Your Easy Homemade Apple Pie
Okay, let’s get down to the good stuff! When you’re aiming for the best apple pie recipe out there, you can’t skimp on the ingredients, but don’t panic—these are all simple things you probably already have! Quality matters most here, especially with the butter, because that’s where the flakiness comes from. I always grab a mix of apples like Granny Smith for that necessary tartness and Honeycrisp for sweetness. It’s that mix that makes the filling sing! If you’re looking for other comforting fall bakes, you absolutely must try my apple butter snickerdoodles sometime.
Ingredients for the Flaky Pie Crust Recipe
Remember what I said about cold? We need everything ice cold for this crust to work its magic. Don’t substitute margarine for the butter here, please! It just won’t have the same lovely texture.
- 2 1/2 cups all-purpose flour
- 1 teaspoon salt
- 1 cup (2 sticks) cold unsalted butter, cut into small cubes
- 1/2 cup ice water, plus more if needed
Ingredients for the Sweet Spiced Apple Filling
This filling is pure heaven. That little bit of allspice is my secret touch that makes people wonder exactly *how* you made this classic dessert!
- 6 medium baking apples (like Granny Smith and Honeycrisp), peeled, cored, and sliced 1/4 inch thick
- 3/4 cup granulated sugar
- 1/4 cup packed light brown sugar
- 1 teaspoon ground cinnamon
- 1/4 teaspoon ground nutmeg
- 1/8 teaspoon ground allspice
- 2 tablespoons all-purpose flour (just to help thicken the juices)
- 1 tablespoon lemon juice
- 1 large egg, beaten with 1 teaspoon water (for egg wash, don’t skip this for color!)
How to Make the Flaky Crust for This Apple Pie Recipe
Alright, let’s talk crust because this is where the magic of any apple pie recipe really happens. If you want that gorgeous, shatter-when-you-touch-it texture, you have to treat the butter like delicate snow! Seriously, don’t handle it too much with your warm hands; that’s how you end up with a tough crust instead of a flaky one.
First, grab your flour and salt in a big bowl. Then toss in those tiny cubes of super-cold butter. I use a pastry blender, but honestly, my fingers work just as well if I’m quick! You’re blending until you’ve got coarse crumbs, but make sure you still see some pea-sized chunks of butter hanging around. Those chunks are tiny steam pockets waiting to happen in the oven!
Next up is the ice water. Add it slowly, a tablespoon at a time. You’re just mixing until the dough *barely* holds together—no more. It should look shaggy, not smooth! Divide that shaggy dough into two equal pieces, shape them into discs—don’t knead them, just pat them flat—wrap them up tight, and put them in the fridge for at least an hour. Chilling is non-negotiable for the flakiest results! It relaxes the gluten and keeps that butter rock hard. Now we can mix up that amazing filling while we wait, which you can read about right after you check out these neat caramel apple cinnamon rolls!
Assembling and Baking Your Classic Apple Pie Recipe
Okay, the dough is chilled and the filling is tossed—now for the fun part: putting together this gorgeous apple pie recipe! Take one dough disk out first, and dust your counter lightly with flour. Roll it out gently into a circle about 12 inches across. Don’t panic if it starts cracking a bit; we can patch that up later! Gently drape that beautiful layer into your 9-inch pie plate, letting the extra dough hang over the sides, maybe an inch or so.
Next, pour in all those juicy, spiced apples. You want them piled up nicely in the center! I usually tuck a tiny pat or two of extra butter right on top of the pile before covering it up—it helps all those juices turn into glossy sauce. Now, roll out your second disk and lay that masterpiece right over the top. Trim both edges, match them up, and then crimp them together to seal in all that goodness. Make sure you cut several vents in the top crust, or you will have an apple volcano explosion instead of a pie!
Brush the whole top surface evenly with that egg wash we mixed up—that’s what gives us that famous, shiny golden-brown finish you see in all the best food magazines. Seriously, brush it all over! Now for the baking trick: Start hot! We bake this apple pie recipe at 425 degrees for about 15 minutes. This blasts the bottom crust so it sets up beautifully (goodbye, soggy bottom!). Then, drop the heat down to 375 degrees and bake for another 40 to 50 minutes until it’s bubbling happily. If those edges look too dark, just cover them with foil strips. And please, please, please let it cool for at least two hours before slicing. It needs that time to set up so you get clean slices!
Tips for the Perfect Double Crust Apple Pie Finish
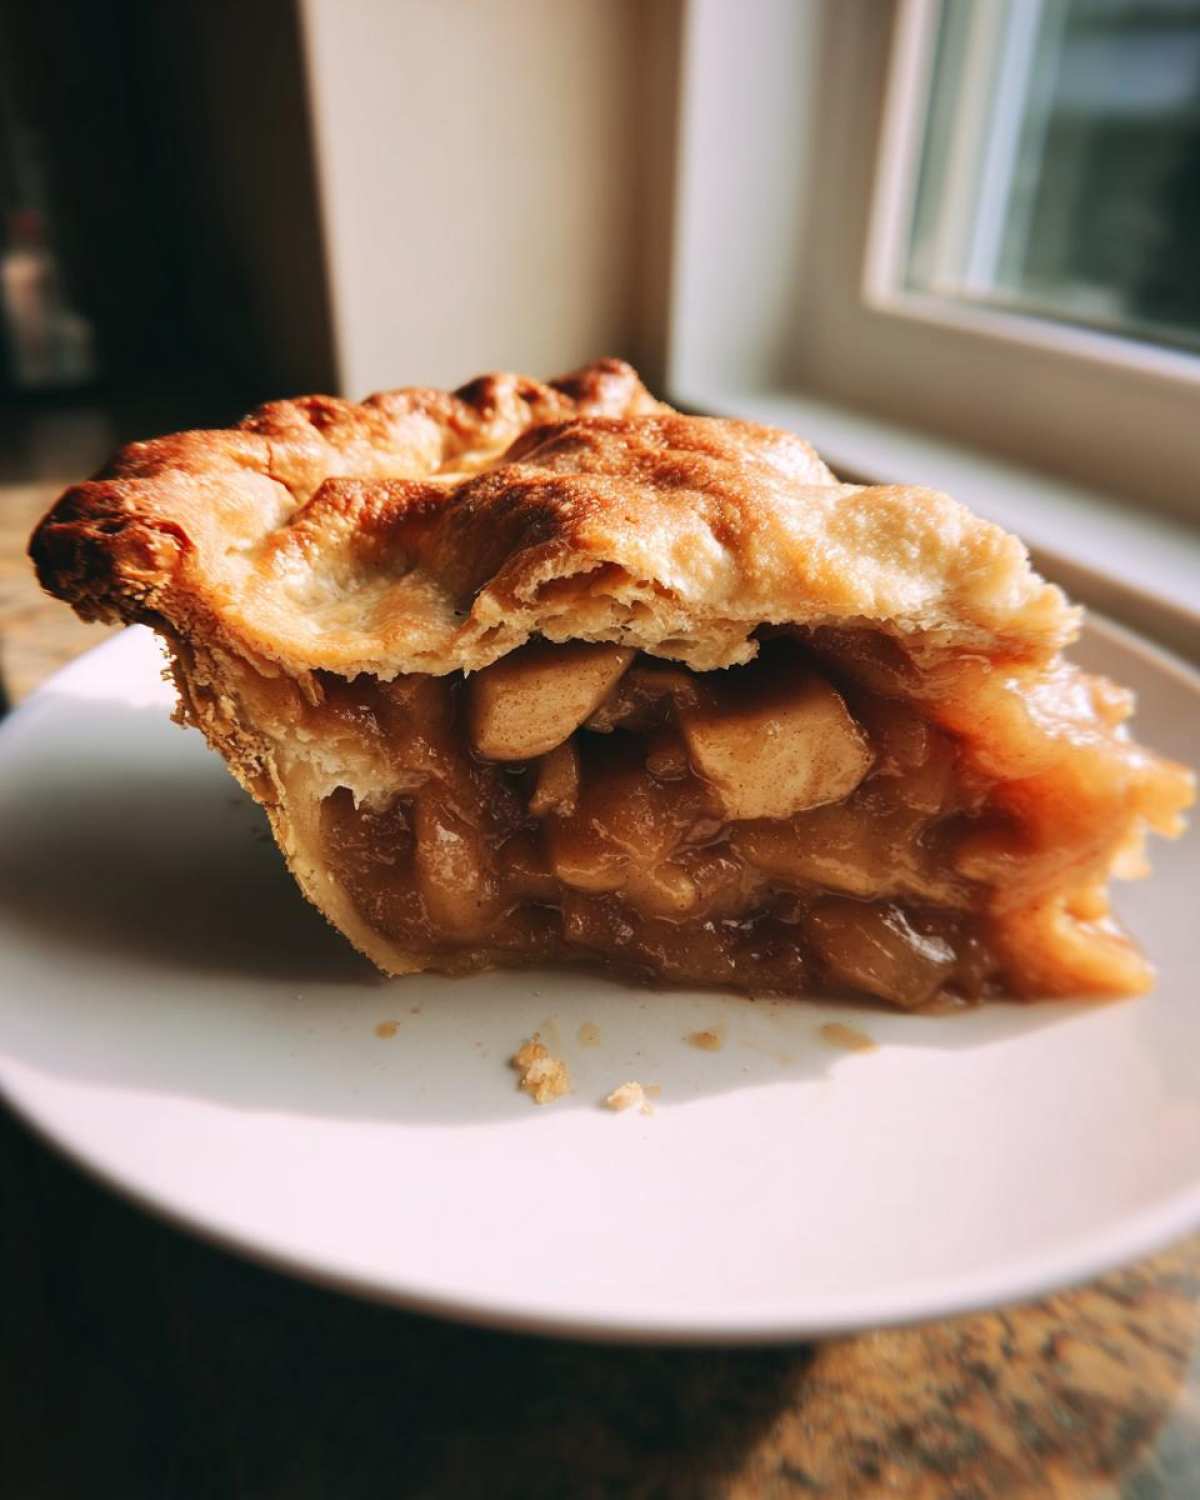
The finish really sets an apple pie recipe apart, doesn’t it? When you’re crimping the edges, press firmly with your thumb and forefinger to make a nice, strong seal. That keeps the steam trapped until it meets the vents. Also, don’t be shy with those steam vents! They need to be big enough for steam to escape without tearing the crust. I usually aim for four slits, maybe crossing in an ‘X’ pattern.
The egg wash is crucial for shine, but I always reserve some of the filling juice that collects in the bottom bowl to mix with my final brushstroke just before it goes into the oven—it gives the crust a richer color. And if you ever want to take it up a notch, check out these amazing salted caramel apple pie bars for a fun variation once you master the original!
Ingredient Notes and Substitutions for Your Apple Pie Recipe
Even when following the absolute best apple pie recipe, sometimes you have to make little pivots based on what’s in your pantry, right? That’s totally normal! The most common question I get is about the apples. My honest advice? Don’t stick to just one kind if you can help it. A blend of tart (like Granny Smith) and sweet/firm (like Honeycrisp or Fuji) gives you texture and flavor complexity that a single apple just can’t provide. If you ever have leftover cooked apple filling, remember you can heat up some slow cooker cinnamon apples separately for a quick dessert topping!
If you’re out of brown sugar, you can use all white sugar, but you’ll lose that lovely caramel depth. Just know the flavor profile shifts a bit! If you’re making this for friends avoiding dairy? You can swap that cold butter for a high-quality vegan butter substitute—just make sure it stays as cold as possible for that flaky lift. These kinds of little adjustments are what make this pie yours!
Storage and Reheating Instructions
So you made a whole pie, which is just the best, but now you have leftovers—congratulations! For best results, don’t leave this pie sitting out too long. Since it’s loaded with fruit, it can safely sit covered on the counter for about half a day, especially if it’s cool in your kitchen. If you want it to last longer than that, wrap a slice tightly in plastic wrap and tuck it into the fridge; it should be nice for about four days.
When you want a warm slice later, skip the microwave! A few minutes in a toaster oven or regular oven at an easy 350 degrees will crisp that bottom crust right back up. That’s the secret to enjoying leftover baked goods—always reheat them dry!
Frequently Asked Questions About This Apple Pie Recipe
I know when you look at a truly **classic apple pie recipe**, you’re going to have a few questions pop up. Baking can be intimidating, but once you nail these basics, you’ll be making this dessert for every single holiday gathering! Here are the things I always get asked about making my best apple pie recipe.
Can I use pre-made apples for this recipe?
While you *can* get away with frozen or canned slices if you’re in a real pinch, honestly no, I really advise against it if you want perfect texture. Pre-cut apples are usually softer and sometimes watery. For that perfect bite in our **easy homemade apple pie**, you need to slice your apples fresh right before mixing them with the spices!
Why is my crust soggy on the bottom?
Ah, the dreaded soggy bottom! This usually happens for one of two reasons: too much moisture in the filling, or not enough heat hitting the bottom crust early on. That’s why this particular **apple pie recipe** calls for that initial blast at 425 degrees! Also, make sure your apples aren’t sitting in their own juice for hours before baking.
What are the best apples for pie?
This is the most important question! For the **best apple pie recipe**, you need a mix. You must use at least one firm, tart apple like Granny Smith for structure and bite. Then mix it with a slightly sweeter, firmer apple like Honeycrisp or Fuji. That combination gives you depth of flavor and prevents the whole thing from turning to baby food! If you’re looking for a healthier crunchy snack, try my cinnamon sugar apple chips!
Is this considered an old-fashioned apple pie?
Absolutely! It uses only butter in the crust, a spice blend that leans heavily on cinnamon and nutmeg, and a traditional double-crust design. It captures that wonderful **old-fashioned apple pie** feeling without overly complicated steps. It’s the quintessential **Thanksgiving dessert recipe**!
Estimated Nutritional Information for This Apple Pie Recipe
I always feel a little guilty looking at this section, but hey, you need to know what you’re digging into, right? These numbers are just estimates, mind you. They depend entirely on how much butter drips out and how big you cut those final slices! But for a standard slice of this rich, comforting pie, here is what you can generally expect. It’s a treat, not an everyday snack, so load up on the happiness!
- Serving Size: 1 slice
- Calories: 450
- Sugar: 35g
- Fat: 25g
- Carbohydrates: 58g
- Protein: 5g
Share Your Classic Apple Pie Recipe Success
Well, that’s it! You’ve made it through the ultimate apple pie recipe, and I am so proud of you for tackling that flaky crust! Now, I desperately need to know how it turned out. Did your apples blend perfectly? Did the crust shine?
Please, please, leave me a rating down below—five stars if you loved it as much as my family does! And tell me if you tried any fun variations. If you need to get in touch about your baking adventures, my contact page is always open. Happy baking, friend!
PrintEasy Homemade Classic Apple Pie with Flaky Crust
Follow this simple recipe to make a classic double-crust apple pie featuring a flaky butter crust and a perfectly spiced, sweet apple filling.
- Prep Time: 45 min
- Cook Time: 65 min
- Total Time: 110 min
- Yield: 8 servings
- Category: Dessert
- Method: Baking
- Cuisine: American
- Diet: Vegetarian
Ingredients
- 2 1/2 cups all-purpose flour
- 1 teaspoon salt
- 1 cup (2 sticks) cold unsalted butter, cut into small cubes
- 1/2 cup ice water, plus more if needed
- 6 medium baking apples (like Granny Smith and Honeycrisp), peeled, cored, and sliced 1/4 inch thick
- 3/4 cup granulated sugar
- 1/4 cup packed light brown sugar
- 1 teaspoon ground cinnamon
- 1/4 teaspoon ground nutmeg
- 1/8 teaspoon ground allspice
- 2 tablespoons all-purpose flour (for filling)
- 1 tablespoon lemon juice
- 1 large egg, beaten with 1 teaspoon water (for egg wash)
Instructions
- Prepare the crust: In a large bowl, whisk together the flour and salt. Cut in the cold butter using a pastry blender or your fingers until the mixture resembles coarse crumbs with some pea-sized pieces of butter remaining.
- Gradually add the ice water, one tablespoon at a time, mixing until the dough just comes together. Do not overmix. Divide the dough in half, form each half into a disk, wrap in plastic, and chill for at least 1 hour.
- Prepare the filling: In a large bowl, combine the sliced apples, granulated sugar, brown sugar, cinnamon, nutmeg, allspice, 2 tablespoons of flour, and lemon juice. Toss gently to coat the apples evenly.
- Preheat your oven to 425 degrees Fahrenheit (220 degrees Celsius).
- Roll out one dough disk on a lightly floured surface into a 12-inch circle. Carefully transfer the dough to a 9-inch pie plate. Trim the edges, leaving a 1-inch overhang.
- Pour the apple filling into the crust. Dot the top of the filling with a few small pieces of leftover butter, if desired.
- Roll out the second dough disk. Place it over the filling. Trim the top crust, leaving a 1-inch overhang. Crimp the top and bottom edges together to seal. Cut several slits in the top crust to allow steam to escape.
- Brush the top crust evenly with the egg wash.
- Bake for 15 minutes at 425 degrees Fahrenheit. Reduce the oven temperature to 375 degrees Fahrenheit (190 degrees Celsius) and continue baking for 40 to 50 minutes, or until the crust is golden brown and the filling is bubbly. If the edges brown too quickly, cover them loosely with foil.
- Cool the pie on a wire rack for at least 2 hours before slicing and serving.
Notes
- For the flakiest crust, keep all ingredients, especially the butter and water, very cold.
- Use a mix of tart and sweet apples for the best flavor balance.
- If you prefer a quicker method, you can substitute one store-bought refrigerated pie crust for the homemade dough.
Nutrition
- Serving Size: 1 slice
- Calories: 450
- Sugar: 35g
- Sodium: 250mg
- Fat: 25g
- Saturated Fat: 15g
- Unsaturated Fat: 10g
- Trans Fat: 0g
- Carbohydrates: 58g
- Fiber: 4g
- Protein: 5g
- Cholesterol: 60mg