

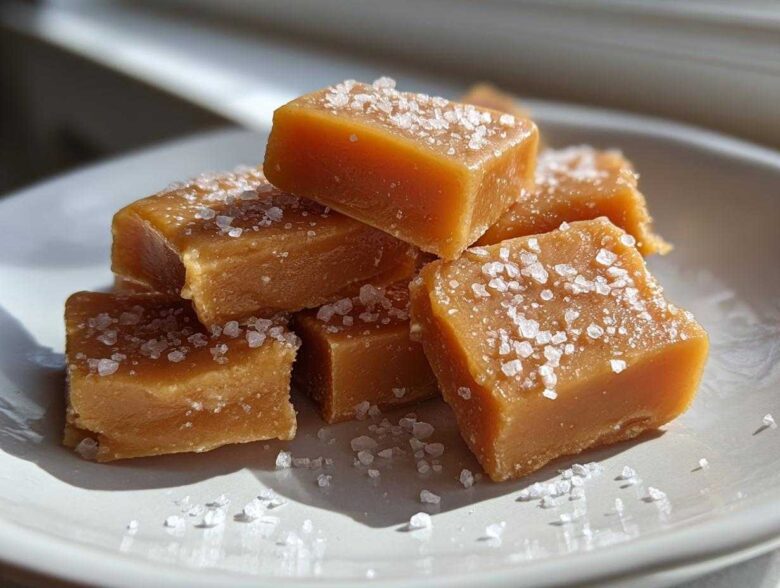
Oh, there is absolutely nothing—and I mean NOTHING—that beats the pull and velvety chew of a perfect piece of homemade caramel candy. Remember those times you tried making homemade caramels and they turned out sugary, grainy, or just plain hard? I’ve been there! I wasted so many batches trying follow recipes that didn’t explain the why behind the steps. But now? We’ve cracked the code. I’m so excited to share my method for the ultimate soft and chewy homemade sea salt caramels using the reliable stovetop technique. Trust me, once you nail this, you won’t ever look back at the store-bought stuff again! I learned so much about the backbone of baking just by perfecting this one recipe; you can read a little bit about my journey over on the About Us page!
This isn’t just another recipe; it’s the one that finally gave me that perfect mouthfeel—the kind that melts just right instead of getting stuck in your teeth. We’re going all the way from scratch candy making to those gorgeous, salty squares. Get your heavy-bottomed saucepan ready, because we’re making the very best caramels you’ve ever tasted.
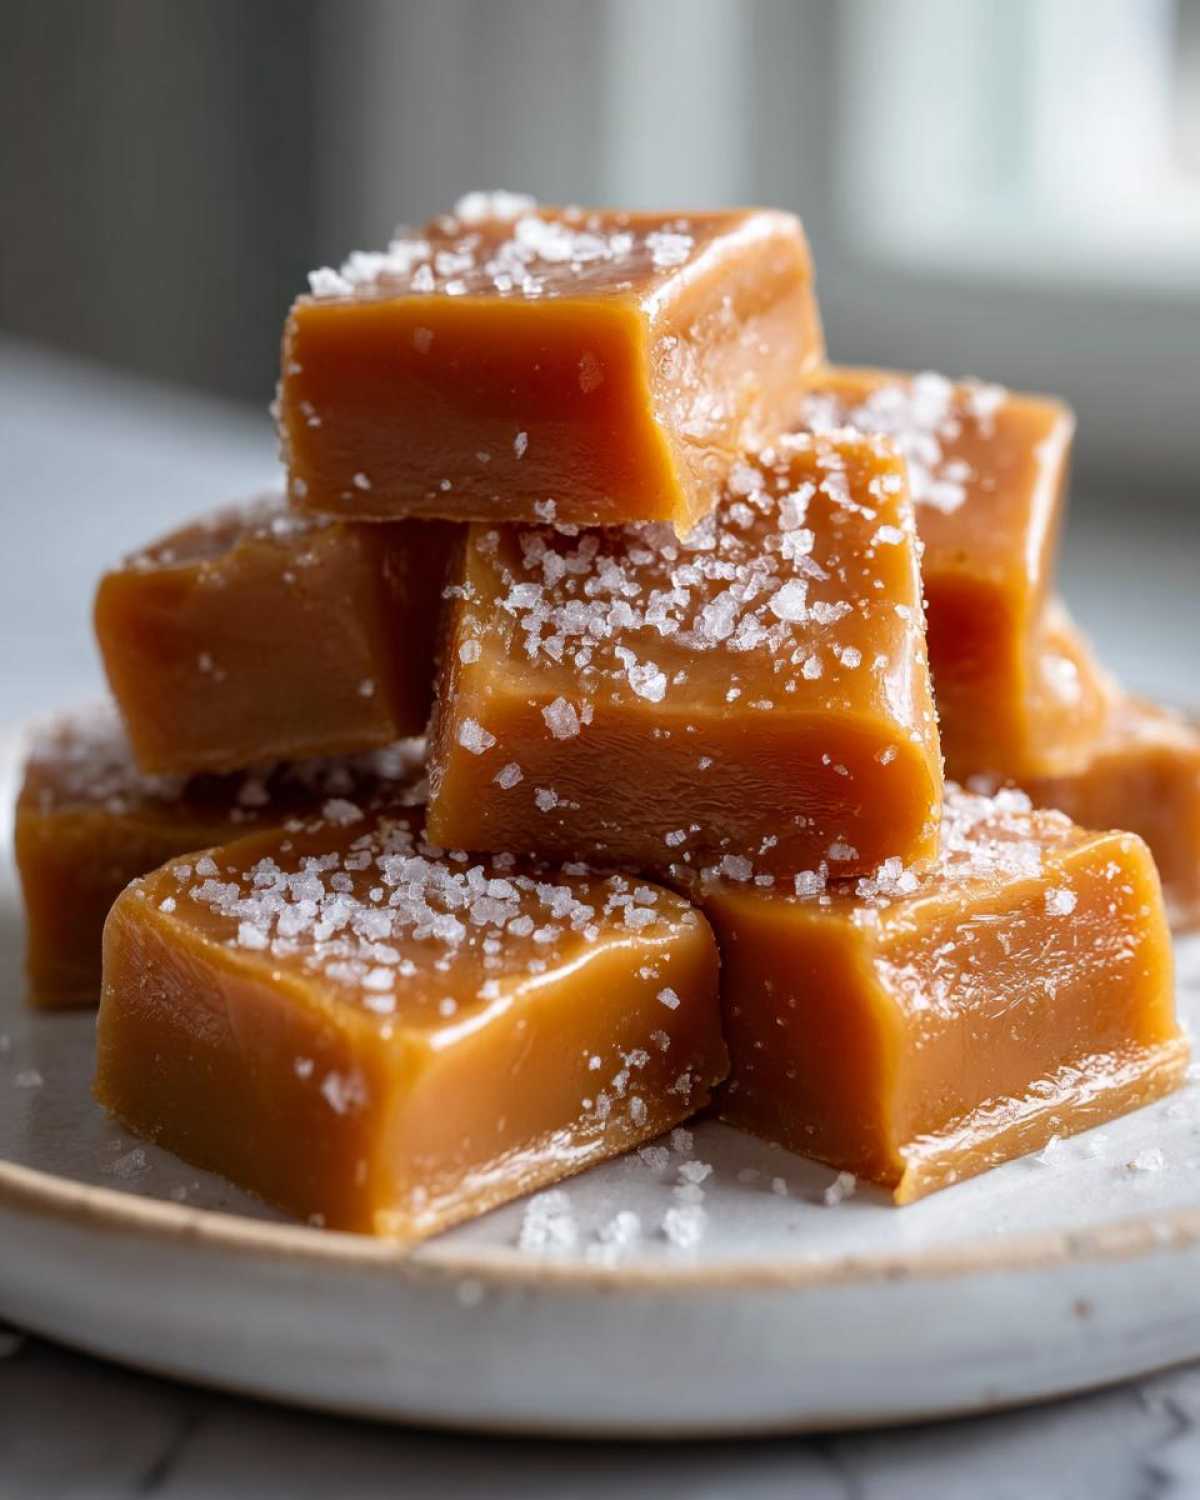
Why This is the Best Recipe for Soft Caramels
I truly believe this is the best caramel recipe out there because it respects the science of candy making while keeping things simple enough for a home cook. We want those incredible melt in your mouth caramels, not crunchy little sugar rocks! The secret to keeping everything soft and perfectly chewy comes down to controlling two things: temperature and stirring habits. Most recipes rush the process, or they tell you to stir when you simply shouldn’t be stirring. That’s how you introduce sugar crystals and ruin the texture we’ve worked so hard to achieve.
When you follow my steps exactly, you’ll end up with those rich, buttery treats that people beg you to make every holiday season. Forget those recipes that promise quick results but deliver grainy results.
Key Factors for Perfect Chewy Caramel Candy
Getting those fantastic chewy caramel candy results relies on respecting these few crucial points:
- You must use an accurate candy thermometer. Guessing leads to disaster! We are aiming for a very specific temperature range.
- Warm your heavy cream and butter *before* adding them to the boiled sugar. Cold liquids will seize the sugar instantly.
- Once the sugar starts boiling alone, hands off! Do not stir the sides of the pan until the cream mixture is added back in. This is key to avoiding crystallization.
- We stop cooking right at 248°F for that ideal soft-set chewiness.
Gathering Ingredients for Homemade Caramels
Look, if you want truly luxurious, buttery caramels, you have to start with ingredients you trust. Cheap substitutes just won’t give you the same rich depth of flavor when we’re making them completely from scratch. This recipe is straightforward—we aren’t using complicated pantry items—but the quality here matters a lot!
The heavy cream and the unsalted butter are going to make up the bulk of that beautiful, velvety texture, so don’t skimp! Also, the preparation of your pan is non-negotiable. If you forget this part, cutting and unwrapping these beauties later will be a massive headache, trust me.
Ingredient Clarity and Preparation
Here’s the short list of what you need. I always measure everything out before I even turn the stove on; it’s called mise en place, and it stops me from panicking mid-boil!
- 1 cup granulated sugar
- 1 cup light corn syrup (this keeps them soft!)
- 1 cup heavy cream
- 1 cup unsalted butter, cut into small pieces
- 1 teaspoon vanilla extract
- 1/2 teaspoon fine sea salt, plus extra for topping
Crucially, you must prepare your pan first! I need you to line an 8×8 inch baking pan with parchment paper. Make sure you leave extra paper hanging over two opposite sides—those are your handles for lifting the whole block out later. Give that parchment paper a quick brush with butter or spray so nothing sticks.
Step-by-Step Instructions for Stovetop Sea Salt Caramels
Preparing the Pan and Initial Sugar Cook
Okay, let’s get cooking! Remember that parchment-lined pan we prepped? Keep it close by. First, you need to combine the beautiful white sugar with the light corn syrup right in your heavy-bottomed saucepan. Seriously, use a heavy one—it distributes the heat so much better and prevents scorching. Set your heat to medium and stir constantly until that sugar is completely dissolved and you see it starting to bubble up.
As soon as it starts boiling, you have to stop stirring! This is vital. Pop your candy thermometer right into the liquid, making sure the tip isn’t touching the bottom of the pan. Now, just let it go, untouched, until the temperature climbs steadily to exactly 245 degrees Fahrenheit. This stage is where most people panic, but resist the urge to stir, or you’ll end up with crystals forming on the sides!
Combining Wet Ingredients and Reaching Final Temperature for Caramels
While the sugar mixture is working hard to hit 245°F, grab another little saucepan. Over low heat, gently warm up your heavy cream and the cubed butter until the butter is just melted. We want it warm, not boiling hot! You want them to be close in temperature. If you need a reminder on getting textures just right, you might want to check out my tips for chewy chocolate chip cookies!
The second that first pot hits 245°F, whisk it off the heat immediately. Now, slowly, carefully, pour that warm cream and butter combo into the sugar base. It’s going to bubble up dramatically, so stand back a bit! Whisk gently until it’s smooth. Then, we put it all back onto medium-low heat. Keep stirring regularly now—we don’t want it sticking anywhere—until the temperature moves again, this time aiming perfectly for 248 degrees Fahrenheit. This second stage cooks out just enough moisture to guarantee that perfect consistency for our chewy caramels.
Once you hit 248°F, pull it immediately off the burner. Time for the flavor boost! Stir in your vanilla extract and that half teaspoon of fine sea salt. Give it one last gentle mix, then pour that gorgeous, molten mixture straight into your prepared pan. Smooth the top gently if you need to, and then, right away, give it a generous sprinkle of extra sea salt across the top layer. It looks gourmet, tastes incredible, and firms up beautifully!
Setting, Cutting, and Wrapping the Soft Caramels Recipe
This is the hardest part: waiting! You have to let the caramel cool completely and set up firm. My kitchen counter works great, but don’t rush it—I mean at least four hours, sometimes longer depending on humidity. If you cut it warm, you’ll just have a giant, hot caramel puddle!
Once it’s totally solid, use those parchment paper handles to lift the entire block out onto a cutting board. I use a very sharp knife—you might want to lightly wipe the blade with oil between cuts—to slice it into neat 1-inch squares. This is the magic moment when you see how wonderfully yielding and soft the soft caramels recipe turned out! Finally, wrap each piece individually in wax paper or little cellophane squares. They stick together if you just toss them in a bag, and wrapping them makes them perfect for holding or giving away.
Quick Alternative: Microwave Caramels Quick Method
Now, I know sometimes life is just too hectic for the stovetop dance, and I totally get that! If you need a super fast version of these sticky treats, I’ve got you covered with the microwave caramels quick method listed in my notes. It’s a lifesaver when you need a batch for an afternoon craving or a last-minute dessert topping.
You still need that 8×8 pan lined with parchment, no cheating there! For this version, just throw the brown sugar, butter, corn syrup, and heavy cream into a microwave-safe bowl—make sure the bowl is big because it foams up! Microwave it on high for 4 full minutes, stir it really well, and then pop it back in for 3 to 5 more minutes. You are aiming for 240 degrees F, but if you don’t have a thermometer, just watch for it to thicken significantly. Stir in the vanilla and salt quickly, and get it into your pan immediately. You can check out how speedy it is compared to my 5-minute cinnamon roll mug cake!
It’s a little less precise than the stovetop method, but honestly, it gives you a wonderfully soft texture in a fraction of the time. Just be extra careful when you pull that hot bowl out of the microwave!
Tips for Success When Making Homemade Caramels
I want everyone who tries my recipe to have absolutely glorious homemade caramels, so let’s quickly recap the biggest things that trip people up. It all comes back to trust and patience. If you are nervous because you don’t own a candy thermometer, don’t worry! You can still make these. Just focus on that ice water test I mentioned in the notes: drop a tiny bit in ice water and if it forms a ball that you can gently flatten with your fingers, it’s ready! That usually means you’ve hit that sweet spot around 248°F.
Secondly, prevention is better than cure when it comes to graininess. You absolutely MUST avoid any crystals clinging to the sides of your pan while the sugar is boiling alone. If you see any white streaks creeping up the side while it’s heating, grab a wet pastry brush and gently wash them down quickly. That little trick ensures your final product is smooth, not gritty.
If you decide to dive deeper into my baking philosophy, you can always browse my main blog page for tons of other kitchen adventures!
Storage and Gifting Your Chewy Caramel Candy
Once you have successfully mastered your batch of chewy caramel candy, the next big decision is how to store them—and frankly, how quickly you can hide some for yourself before they’re all gone! Because these are such amazing homemade treats, they make fantastic holiday candy recipes. They look so beautiful packaged up!
The most important thing for storage is wrapping. Since these caramels are wonderfully soft, they absolutely must be wrapped individually. If you just toss them into a container, they will melt into one giant caramelly blob, especially if your kitchen is warm. I like using small squares of wax paper or clear cellophane for wrapping. It keeps the individual pieces perfectly shaped.
Store them wrapped in an airtight container at cool room temperature for up to two weeks. If you need them to last longer, you can actually freeze them! Just wrap them tightly in plastic wrap first before putting them into your freezer container. They thaw out perfectly fine, ready for any last-minute event or packaging up as thoughtful caramel gift ideas. You can see how I package up some of my other seasonal treats, like my Haunted Candy Bark, for inspiration!
Common Questions About Classic Caramel Candy
I know making candy from scratch can feel intimidating, so let’s tackle some of the things I always wondered about when I first started making these classic caramel candy batches. Knowing the answers to these little details really builds up your confidence when you’re working with hot sugar!
Can I make these old fashioned caramels without corn syrup?
That’s a very popular question when making old fashioned caramels! While you technically could substitute it with an equal amount of extra sugar or maybe even honey, I really, really push for you to use the corn syrup here. Why? Because corn syrup is an *invert sugar*. It basically keeps the granulated sugar in the mix from locking arms and forming those rough, gritty crystals we hate. Without it, you run a huge risk of ending up with an unpleasantly grainy texture, no matter how carefully you cook it.
How do I get the perfect sea salt caramels flavor?
Ah, this is where we elevate things! For the best sea salt caramels experience, you need two different approaches to sprinkling. First, the salt you mix *into* the almost-finished caramel (the 1/2 teaspoon in the recipe) should be a fine sea salt that easily dissolves into the mixture, just for general flavor balance. But the topping? That’s where you need that beautiful, flaky Maldon or a nice coarse finishing salt. Those bigger flakes won’t dissolve, so they give you that wonderful, sharp burst of salty crunch right on top of the sweet chewiness. It’s an amazing contrast!
What temperature results in a firmer caramel?
This is all about the “ball stage” physics! We stop at 248°F for our ideal soft-chewy caramel texture. If you were aiming for something firmer, say, something closer to a taffy or a firmer chew that holds its shape even better at room temperature, you would need to cook the mixture longer until it hits about 250°F or even 252°F. But for these specific soft caramels, stick like glue to 248°F. That extra two degrees makes a noticeable difference in how tender they feel when you bite into them!
Nutritional Estimates for These Buttery Caramels
Okay, let’s talk numbers for a minute. I try not to live my life by the nutrition label, especially when it comes to something as comforting as a homemade treat, but if you’re curious about what you’re sneaking into those buttery caramels, I’ve got the best guess right here! Remember, since we are making these entirely from scratch and using real cream and butter, these values are estimates based on the standard serving size of one tiny square.
If you’re splitting this recipe into the 64 squares I suggest, here’s what you’re looking at per square. These are estimates only, of course, and you should always check out my full disclaimer page for details on how I calculate these figures!
- Calories: Around 110
- Fat: About 5 grams
- Sugar: Roughly 16 grams (This is the price we pay for deliciousness!)
- Carbohydrates: About 17 grams
- Saturated Fat: Approximately 3 grams
Yes, they have sugar and fat—hello, they are caramels! But they are also packed with rich, real butter flavor that you just can’t fake. I like knowing what I’m eating, and that little treat is totally worth it when you’ve made it with quality ingredients right in your own kitchen!
Share Your Homemade Caramels Creations
Now it’s your turn! Seriously, I want to see the results of your hard work. Making candy from scratch can be such a rewarding kitchen project, and I live for seeing people enjoy my tried-and-true secrets. As soon as your caramels are cooled and cut—and I hope you didn’t eat them all before wrapping them!
Please take a picture and tag me on social media. I love seeing the beautiful presentation of everyone’s homemade caramels. Seeing your gorgeous batches makes my day and confirms that this recipe truly works for everyone!
If you’ve made these, please scroll down and leave a rating. Just five stars tells me I’m sharing things that matter to you. And don’t just leave a number! I want to hear the details in the comments. Did you go with the plain sea salt topping, or did you try something crazy?
Tell me, what topping did you choose for your caramels? Were you classic with just the sea salt, or did you sprinkle on pecans or maybe even dried lavender? I’m always looking for new ways to tweak recipes, and I answer every single comment! If you have any trouble at all, or if you just want to share a victory, you can always reach out directly via my contact page!
PrintSoft and Chewy Homemade Sea Salt Caramels
Make rich, buttery, soft caramels from scratch using this straightforward stovetop method. This recipe yields chewy candies perfect for gifting.
- Prep Time: 15 min
- Cook Time: 35 min
- Total Time: 4 hours 50 min
- Yield: About 64 pieces
- Category: Dessert
- Method: Stovetop
- Cuisine: American
- Diet: Vegetarian
Ingredients
- 1 cup granulated sugar
- 1 cup light corn syrup
- 1 cup heavy cream
- 1 cup unsalted butter, cut into pieces
- 1 teaspoon vanilla extract
- 1/2 teaspoon fine sea salt, plus extra for topping
Instructions
- Line an 8×8 inch baking pan with parchment paper, allowing excess paper to hang over the sides for handles. Lightly grease the paper with butter or cooking spray.
- Combine the sugar and corn syrup in a heavy-bottomed saucepan over medium heat. Stir constantly until the sugar dissolves and the mixture begins to bubble.
- Stop stirring once boiling begins. Insert a candy thermometer and cook the mixture without stirring until it reaches 245 degrees Fahrenheit (Firm Ball stage). This takes about 15 to 20 minutes.
- While the sugar mixture cooks, warm the heavy cream and butter together in a separate small saucepan over low heat until the butter melts. Do not boil the cream mixture.
- When the sugar reaches 245 degrees F, remove the saucepan from the heat. Carefully and slowly pour the warm cream and butter mixture into the sugar mixture. Whisk gently until just combined. The mixture will bubble vigorously.
- Return the saucepan to medium-low heat. Continue cooking, stirring frequently with a heatproof spatula, until the temperature reaches 248 degrees Fahrenheit. This usually takes another 5 to 10 minutes.
- Remove the pan from the heat. Stir in the vanilla extract and 1/2 teaspoon of sea salt.
- Pour the hot caramel mixture into the prepared baking pan. Sprinkle the top evenly with extra sea salt. Let the caramel cool completely and set at room temperature for at least 4 hours, or until firm.
- Once set, use the parchment paper handles to lift the block of caramel out of the pan. Cut into 1-inch squares using a sharp, lightly oiled knife. Wrap individually in wax paper or cellophane for storage.
Notes
- For a quick microwave variation: Combine 1 cup brown sugar, 1/2 cup butter, 1/2 cup light corn syrup, and 1/2 cup heavy cream in a microwave-safe bowl. Microwave on high for 4 minutes, stir well, then microwave for 3 to 5 more minutes until the mixture reaches 240 degrees F. Stir in vanilla and salt, then pour into the prepared pan.
- If you do not have a candy thermometer, the caramel is done when a small amount dropped into ice water forms a soft, pliable ball that flattens when pressed.
- Do not scrape the sides of the pan while the sugar is boiling, as this can cause crystallization.
Nutrition
- Serving Size: 1 square
- Calories: 110
- Sugar: 16
- Sodium: 45
- Fat: 5
- Saturated Fat: 3
- Unsaturated Fat: 2
- Trans Fat: 0
- Carbohydrates: 17
- Fiber: 0
- Protein: 0
- Cholesterol: 15