

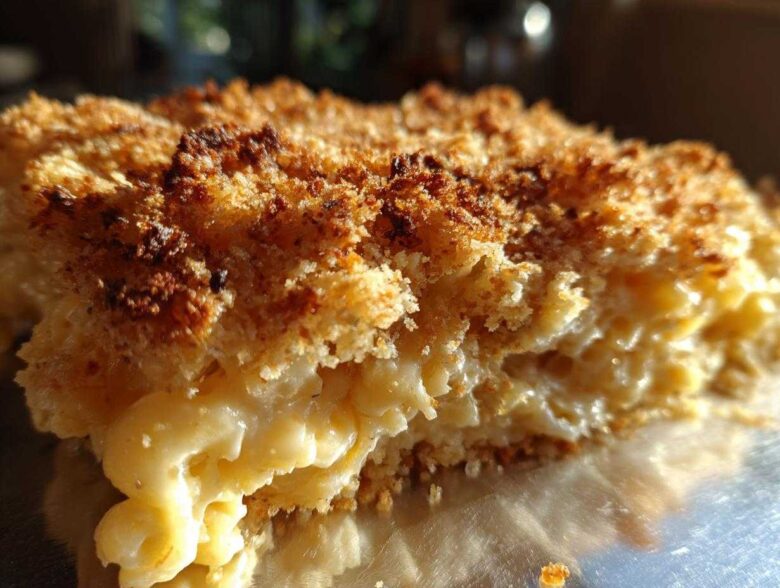
Listen, when life throws you a curveball, nothing fixes it like digging into a casserole dish full of cheesy, bubbly comfort. But let’s be honest, making baked mac and cheese can be stressful! You end up with dry pasta or, worse, that grainy sauce that just separates when it hits the oven. Ugh! Don’t even start me on a soggy top. Well, stop worrying, because I’m handing you my foolproof formula for the ultimate baked mac and cheese. This recipe guarantees that luxurious, creamy texture inside and seals it with the crunchiest, golden topping you’ve ever tasted. I’ve tested this about a million times for family dinners, and trust me, it never fails to impress.
I want you to feel like you can nail this creamy baked macaroni and cheese every single time, so stick close to my roux instructions. I’m sharing the secret to why this is my go-to baked mac and cheese recipe.
Why This Is The Ultimate Baked Mac and Cheese Recipe
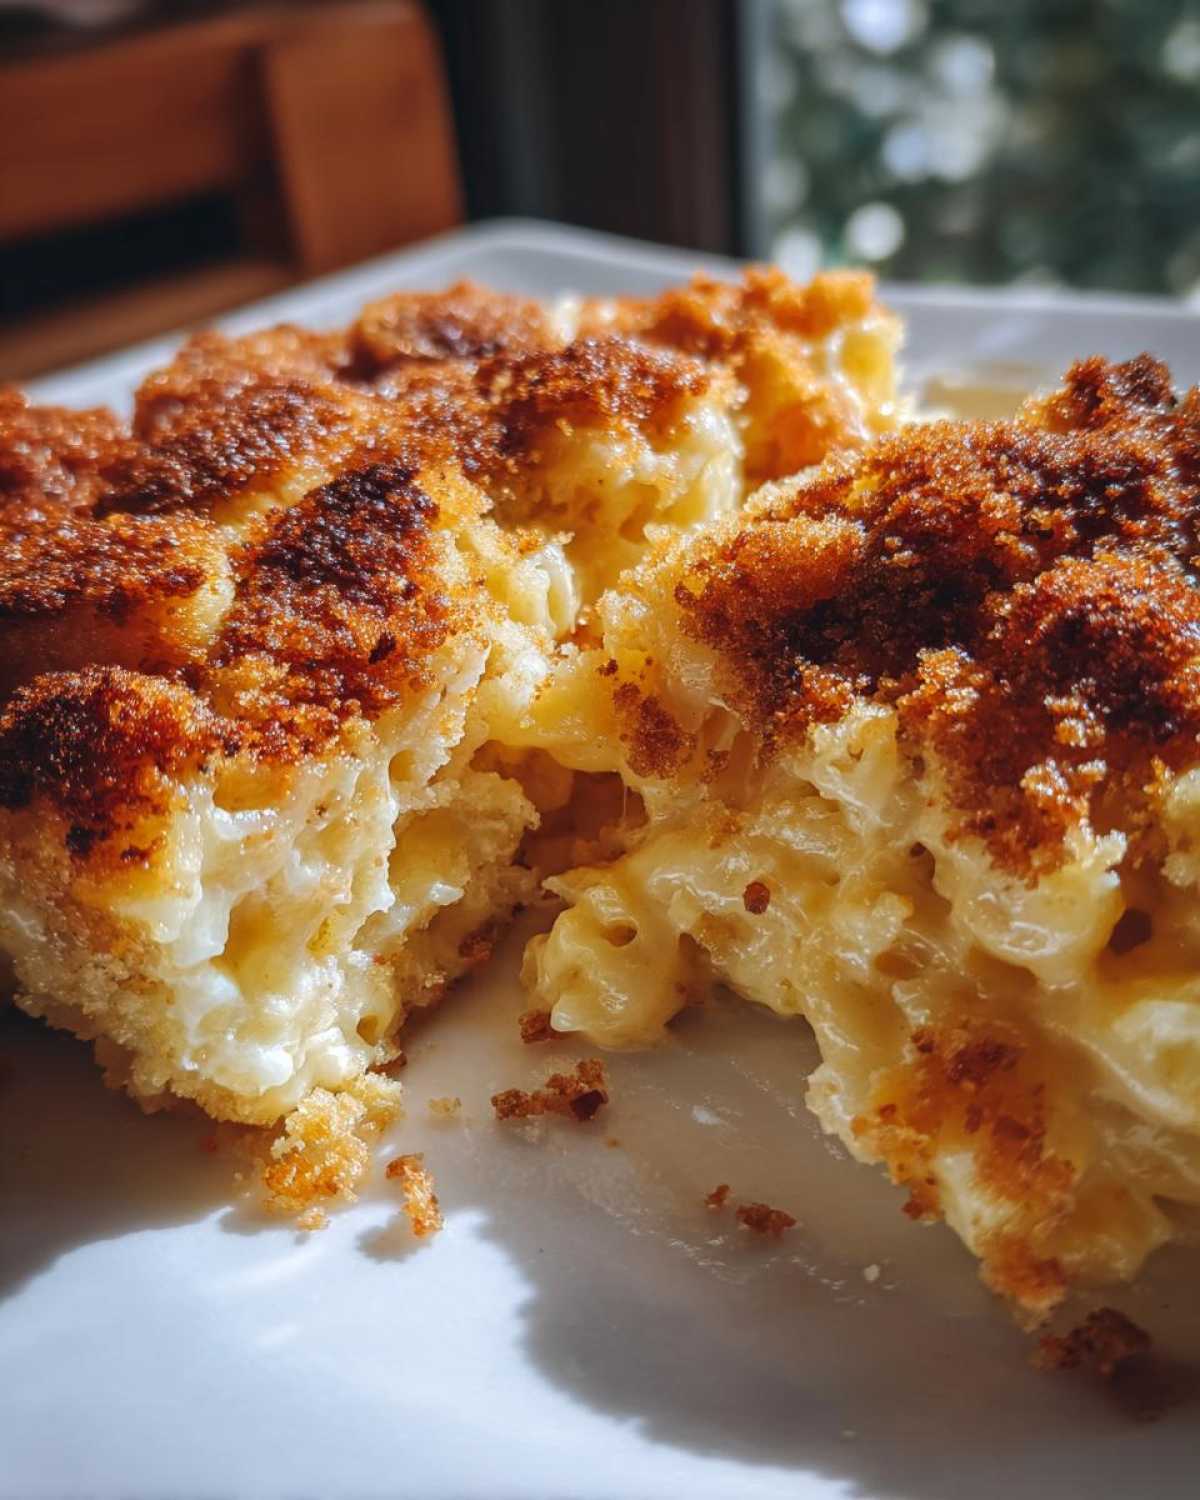
What makes this dish the ultimate baked mac and cheese? It’s about hitting that perfect trifecta every time! First, we nail the creaminess factor—this is next-level luxurious. Secondly, I use a blend of cheeses that gives you flavor complexity you just don’t get from plain cheddar. It’s a real crowd-pleaser.
And finally, the top layer! Forget those soft, sad tops; we are going for shatteringly crisp. If you want the best homemade mac and cheese recipe that delivers rich flavor and texture, just look at these secrets beneath.
Achieving Foolproof Creaminess in Your Baked Mac and Cheese
The secret to spectacular, creamy baked macaroni and cheese starts way back with the roux. Don’t rush this part; the roux is the glue holding everything together! We cook the flour and butter just long enough to cook out that raw flour taste, which is crucial. Then, warming the milk before adding it slowly stops the sauce from getting lumpy or grainy when we introduce the cheese.
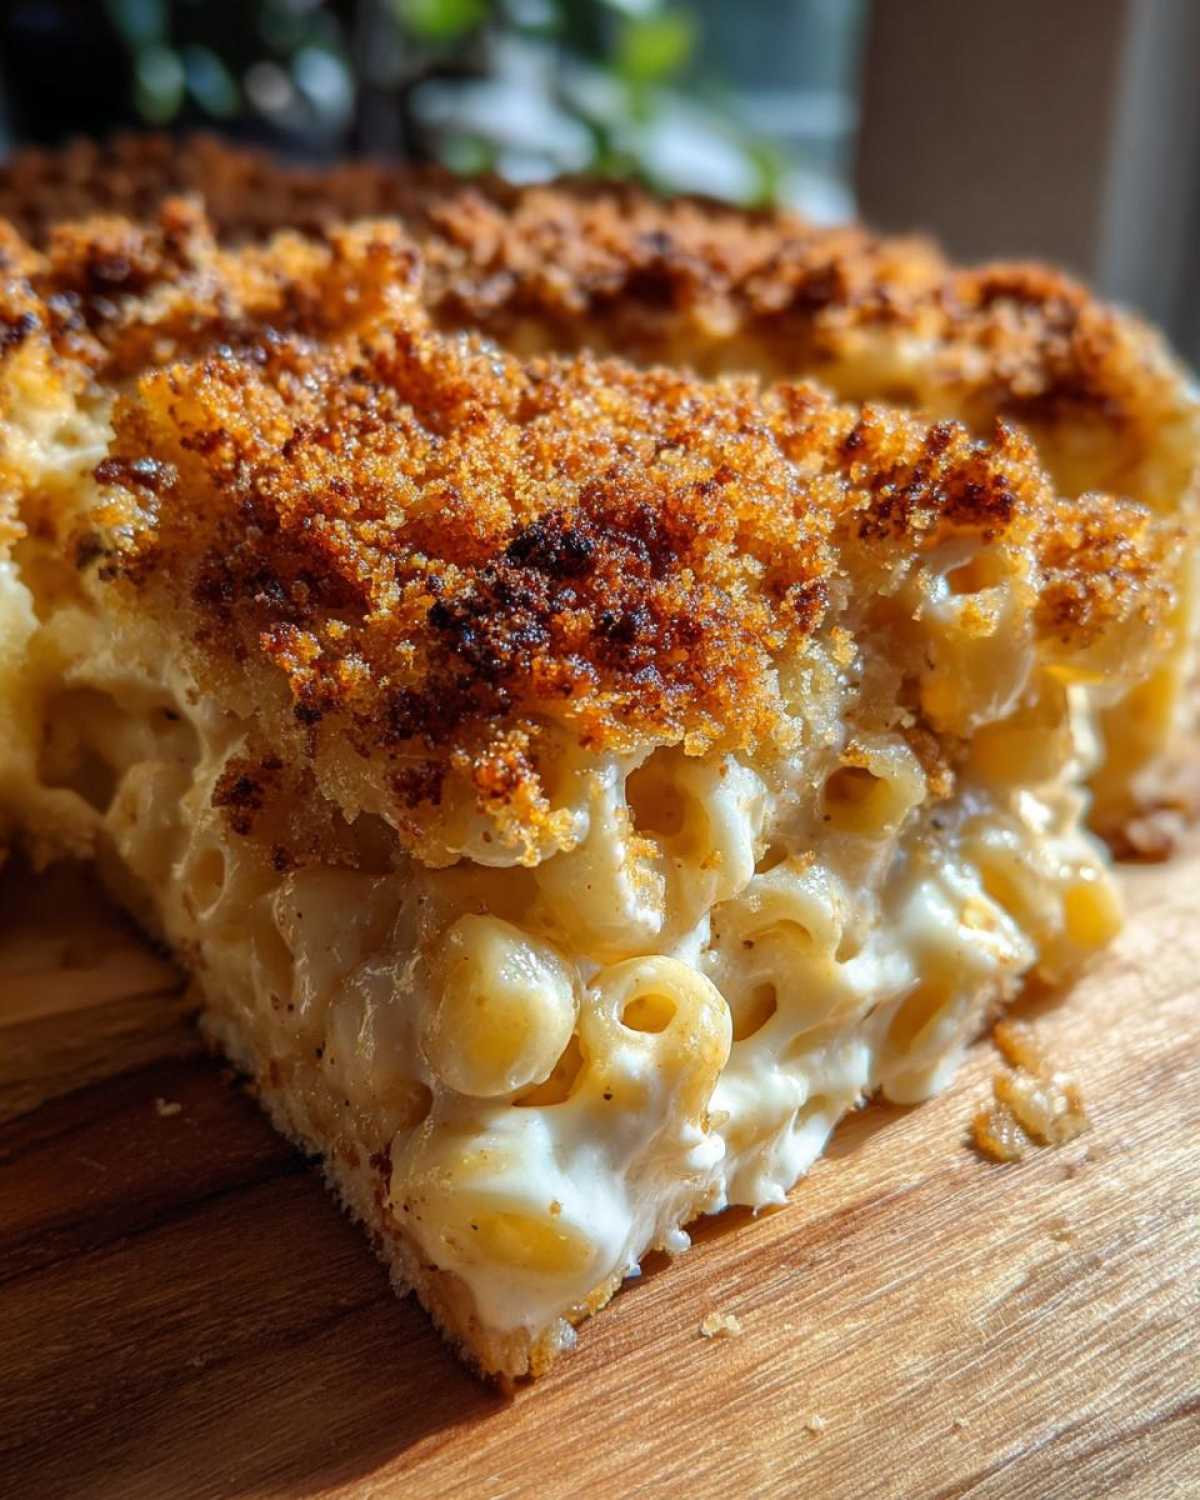
This technique ensures that when we fold in that sharp cheddar and silky Gruyère, you get a velvety smooth sauce that clings to every noodle. No graininess, I promise!
The Perfect Baked Mac and Cheese with Crunchy Topping
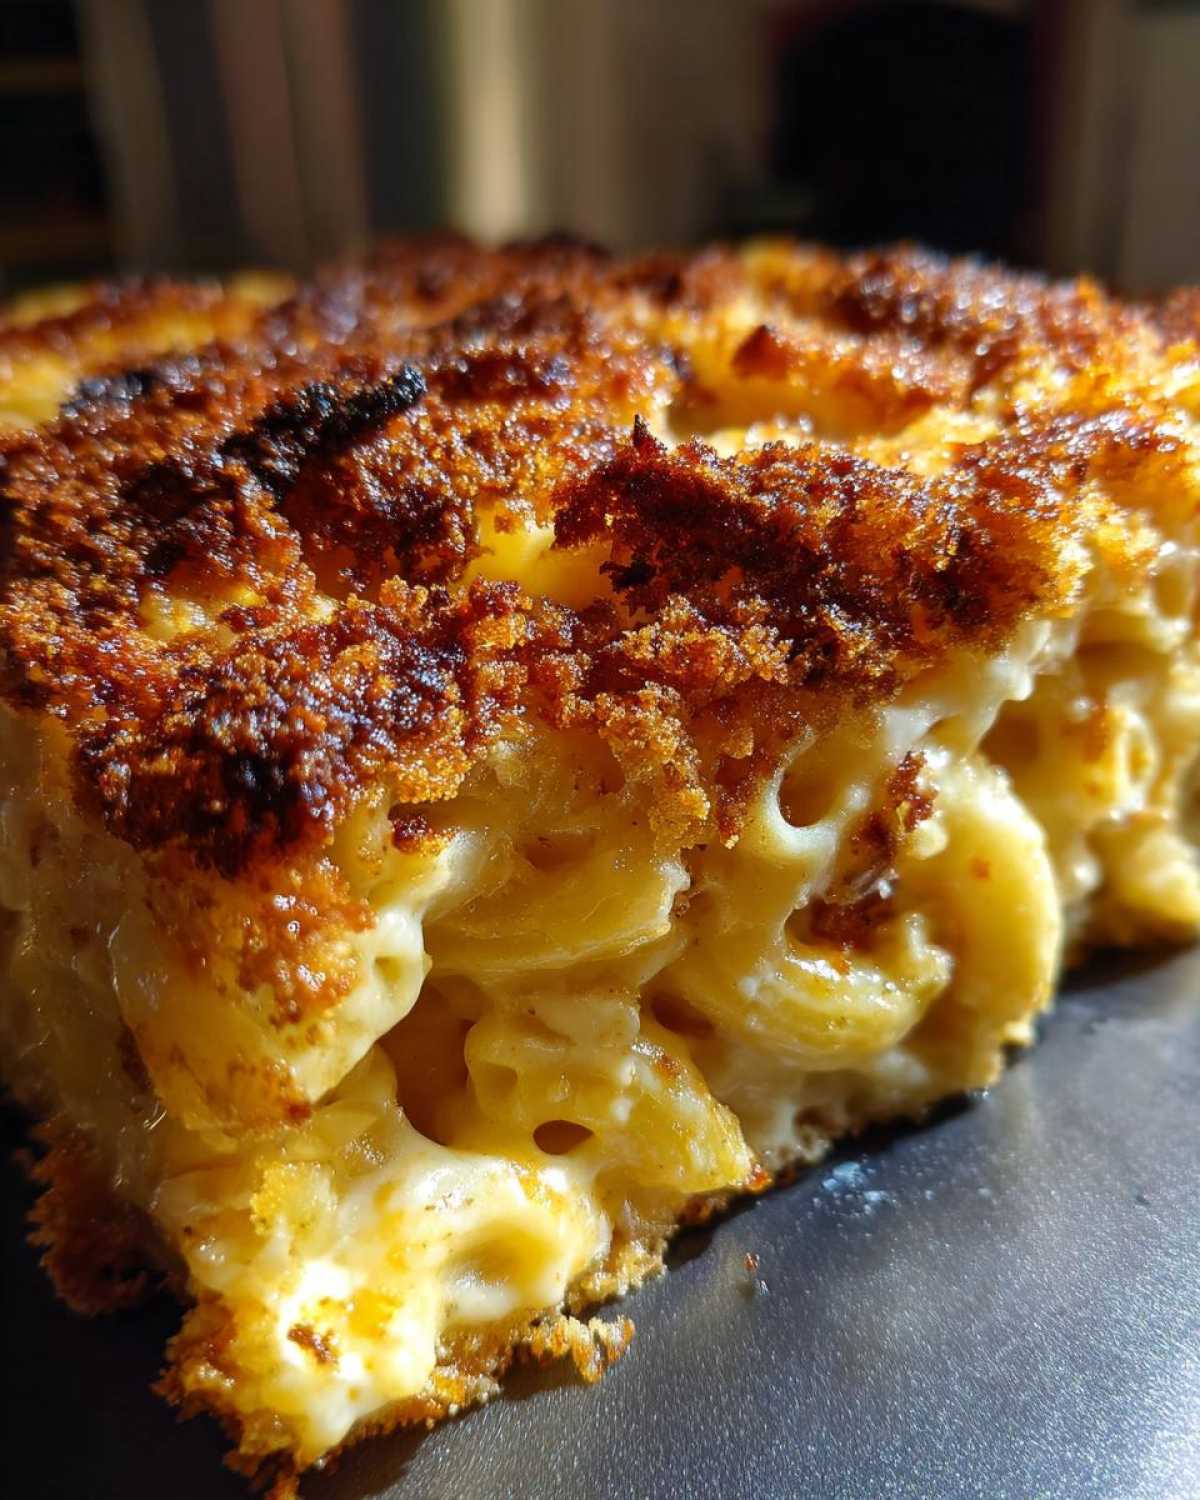
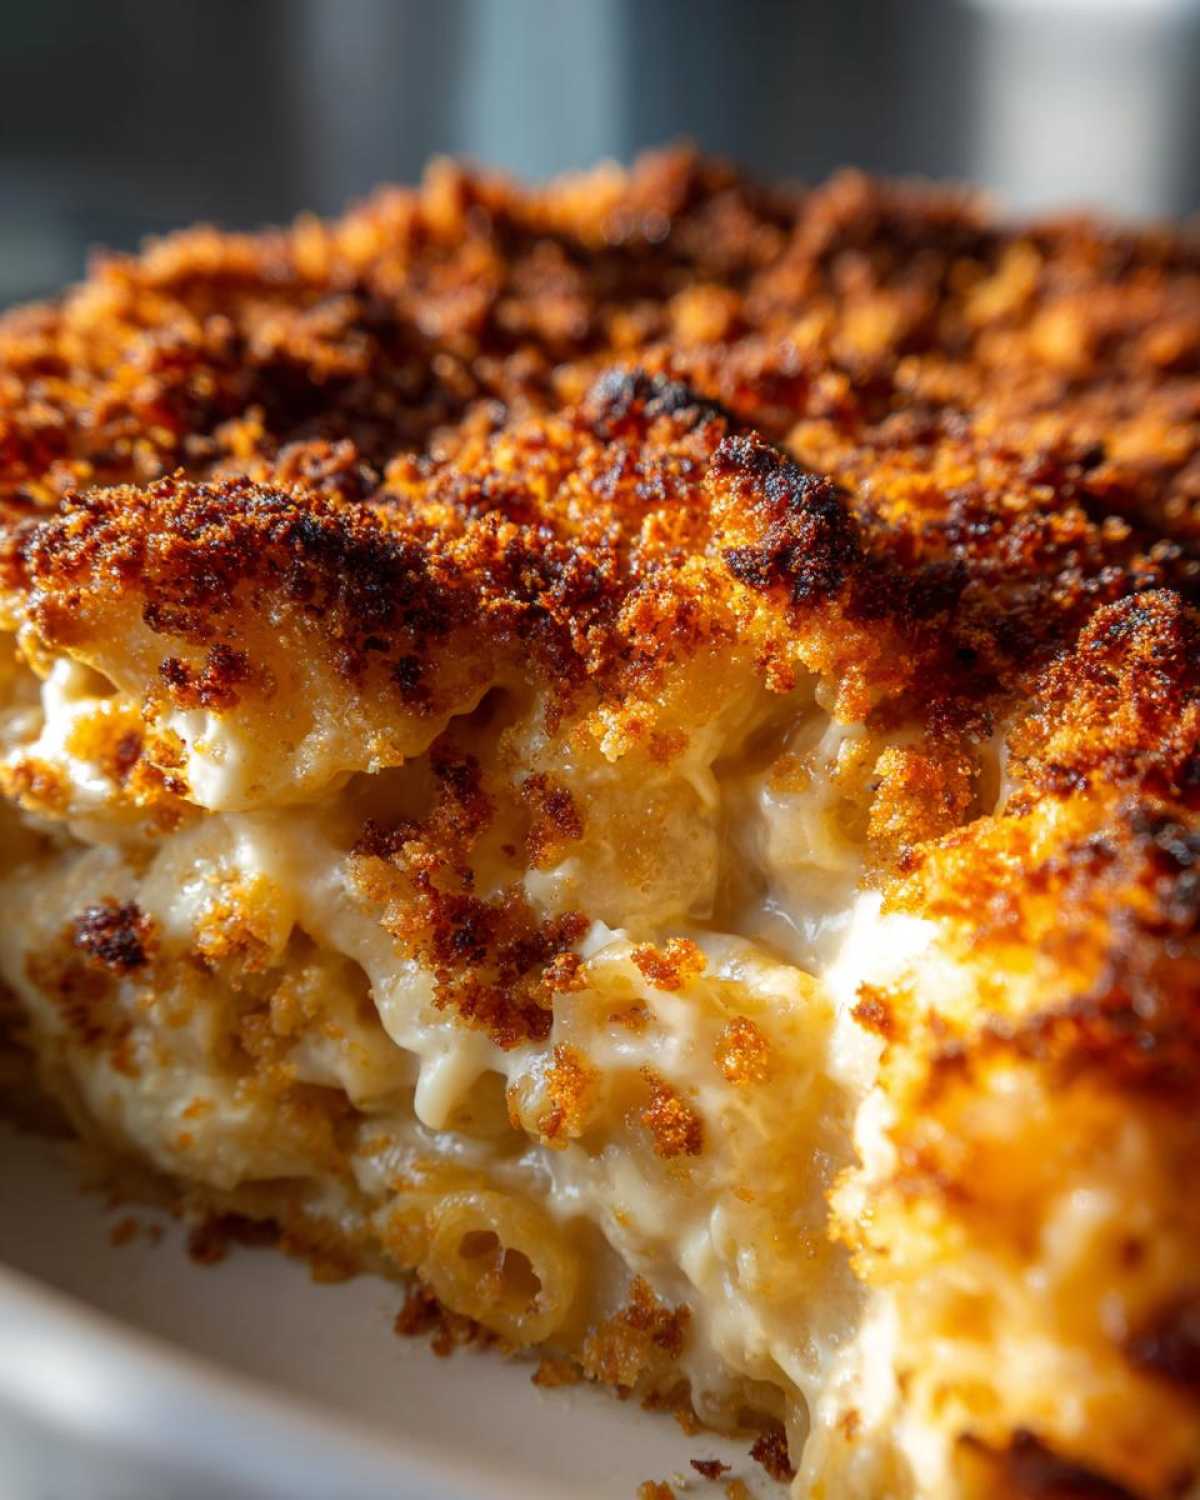
If you’re using standard breadcrumbs, toss them out! For the baked mac and cheese with crunchy topping you dream about, you need Panko. Panko breadcrumbs are lighter and flakier, so they crisp up beautifully golden brown in the oven instead of just absorbing grease.
I toss them lightly with just a touch of melted butter before sprinkling them over the top. It bakes into a gorgeous crust that crackles when you press down with your fork. It’s the best finish for our gourmet baked mac and cheese!
Ingredients for Rich Cheese Sauce and Creamy Baked Mac and Cheese
Gathering your ingredients is half the battle when making this best homemade mac and cheese recipe from scratch. Remember my biggest rule: cheese must be shredded by hand! That stuff in the bags is pre-treated so it won’t clump in the bag, but that anti-caking agent is the first thing that ruins a perfectly smooth rich cheese sauce recipe.
Here is exactly what you need to make this indulgent macaroni and cheese recipe sing:
- 1 pound elbow macaroni (make sure these are cooked just right!)
- 6 tablespoons unsalted butter (the good stuff, please!)
- 1/2 cup all-purpose flour
- 4 cups whole milk, which you absolutely must remember to warm up before adding it
- 1 teaspoon salt
- 1/2 teaspoon black pepper
- 1/4 teaspoon nutmeg (this is my secret warming spice!)
- 1/4 teaspoon cayenne pepper (just a little kick, don’t panic!)
- 8 ounces sharp cheddar cheese, shredded from a block!
- 4 ounces Gruyère cheese, shredded from a block (hello, gourmet flavor!)
- 4 ounces Fontina cheese, shredded from a block (for the ultimate melt factor)
- 1 cup panko breadcrumbs (for that awesome crunch)
- 2 tablespoons melted butter (to toast those panko crumbs)
Keep that milk handy and warm, and promise me you’ll shred that cheese fresh! It’s the difference between a mediocre side and the holiday side dish macaroni everyone fights over. For more tips on building amazing foundational sauces, check out my thoughts on creamy sauces!
How to Prepare Your Baked Mac and Cheese From Scratch
Alright, time to get down to business! Making this baked mac and cheese from scratch sounds fancy, but it’s really just a series of simple steps executed correctly. We’re moving straight from the stovetop to the oven, so get your 9×13 dish ready and crank that oven up to 375°F (190°C) right now. Getting ahead on preheating is always smart!
Cooking the Pasta for Baked Mac and Cheese Perfectly
This step is where so many people drop the ball when making their comfort food mac and cheese. Look at the package directions, and then—I mean it—pull the pasta out two minutes early! We want it just al dente. It should still have a noticeable bite because it’s going to spend another 25 minutes baking in that gorgeous, thick sauce.
If you cook it all the way through now, you’ll end up with pasta mush by the time dinner is served. Drain it well and set that slightly undercooked elbow macaroni aside while we build the star of the show.
Building the No Grainy Cheese Sauce Recipe
This is the difference between a sad casserole and the best homemade mac and cheese recipe. Grab your biggest saucepan and melt those 6 tablespoons of butter over medium heat. Whisk in the flour—that’s your roux base! Let it cook and bubble gently for a solid minute while you stir; you’re essentially toasting the flour. Then, slowly whisk in that pre-warmed milk. Seriously, adding cold milk is an invitation for lumps!
Keep stirring for about 6 to 8 minutes until the sauce thickens enough to coat the back of your spoon nicely. This sauce needs to be a little looser than you think it should be, because the pasta soaks up moisture as it bakes. Once it coats the spoon, take it off the heat! I can’t stress this enough for a no grainy cheese sauce mac and cheese.
Now, throw in your salt, pepper, nutmeg, and cayenne for seasoning. Then, add those beautiful heaps of shredded sharp cheddar, Gruyère, and Fontina just a little at a time, stirring until each handful melts totally smooth before adding the next batch. When it’s all one beautiful, velvety mass, gently fold the cooked pasta in. Make sure every piece is coated. Pour it all into your prepared dish, top with buttered panko, and stick it in the oven for 20 to 25 minutes until you see bubbles and that top is golden brown. Perfect baked mac and cheese!
If you want to explore more creamy sauce techniques, I have my notes on making a killer Alfredo sauce!
Expert Tips for Classic Baked Mac and Cheese Perfection
If you want your classic baked mac and cheese perfection to stand up against anything, you can’t just follow the steps; you have to understand the *why* behind them. I learned these little secrets over years of trying to recreate that perfect, slightly tangy, ultra-creamy texture we all crave in our comfort food mac and cheese. These tips take you from good to absolutely legendary.
Trust me, these small adjustments are why my creamy baked macaroni and cheese never fails to be the star of any gathering!
Always Warm Your Milk Before Adding to the Roux
This might sound fussy, but warming your milk before you stream it into the roux is a non-negotiable step for a no grainy cheese sauce mac and cheese. When you pour cold milk into hot fat and flour, the temperature shock causes the proteins to seize up instantly, leading to those stubborn, hard lumps that just won’t dissolve, even with vigorous whisking.
I usually just set the whole carton near the stove while I’m grating the cheese. When it’s just slightly warm to the touch—not hot!—it mixes seamlessly with the roux base, creating an immediate, smooth foundation for our sauce. It’s such a simple trick, but it saves so much heartache!
Shred Your Own Cheese For The Best Baked Mac and Cheese Blend
We talked about this briefly, but I need to drive it home: stop buying that pre-shredded bag of cheddar! If you’re going to the trouble of making a gourmet baked mac and cheese, you need to use blocks. Pre-shredded cheese is dusted with cellulose or potato starch so the shreds don’t stick together in the bag. That starch prevents smooth melting; it ends up soaking up your beautiful sauce and leaving you with a gritty texture.
When I use my favorite trio—sharp cheddar, Gruyère, and Fontina—I shred them myself, and that starch-free cheese melts down into pure velvet. If you enjoy incredible cheese sauces, you might want to check out my notes on making a foolproof smooth, creamy cheese fondue, as the principles are identical!
Never Add Cheese While the Sauce Is Boiling
This is the final, critical step for keeping your sauce silky when making this cheesy baked pasta casserole. Once your thickened milk mixture is seasoned, you absolutely must pull that saucepan completely off the burner before you introduce a single shred of cheese. If the temperature is too high when you add the cheese, the dairy proteins tighten up too quickly. What happens? The fat splits out from the rest of the sauce, and boom—you have that oily, grainy separation we are desperate to avoid.
By removing it from the heat, you allow the residual warmth to gently melt the cheese into the sauce slowly and evenly. This ensures every drop of your rich cheese sauce recipe stays perfectly emulsified right up until it goes into the oven!
Serving Suggestions for Your Cheesy Baked Pasta Casserole
Whew! You’ve got this incredible, bubbling, golden dish—the cheesy baked pasta casserole of your dreams—sitting on the counter. Now, what are you going to serve it with? Because let’s be real, this comfort food mac and cheese is so rich and decadent, it really deserves some fresh company on the plate. Overloading the table with heavy sides can just weigh everyone down!
My philosophy for serving extremely rich dishes is simple: bring in something bright, acidic, or green to cut through all that glorious fat and cheese. It just helps refresh the palate between bites of that indulgence!
Keep it Light with Green Sides
For my family dinners, I always gravitate toward something green and slightly bitter. It acts like a palate cleanser! A simple side salad tossed with a sharp vinaigrette—lots of lemon or red wine vinegar—is absolutely perfect. The acid dances against the creaminess and makes the whole meal feel balanced.
Another fantastic option is steamed green beans tossed with a little fresh lemon zest and toasted almonds. If you want something warm but still light, roasted asparagus is a winner, too. It gives you that earthy flavor without adding more heaviness to the meal.
Pairings for a Heartier Meal
If you’re serving this as a side dish during the holidays or a big family gathering, it pairs beautifully with lean proteins that won’t fight the cheese flavor. Slow-cooked pulled pork is amazing because the tangy barbecue sauce complements the sharp cheddar perfectly. For something simpler, roasted chicken with herbs like rosemary and thyme always hits the mark.
We also love serving this alongside something tangy, like coleslaw made with vinegar instead of mayo. If you’re looking for another creamy, cheesy option that still feels different, you absolutely have to try my Broccoli Cheddar Soup recipe, though maybe save that for a different night so you don’t get cheese overload!
Making it an All-In-One Meal
Sometimes, you just want a big bowl of cheesy goodness, and that’s okay! If you want to turn this into a complete main dish casserole, just fold in some pre-cooked protein. Shredded rotisserie chicken works wonders! You can toss that chicken in with the pasta and sauce before baking, or if you want to keep it vegetarian, try stirring in some roasted broccoli florets or sautéed mushrooms.
Honestly, once that crust is golden brown, you don’t need much else. Grab a fork and dig in!
Storage and Reheating Instructions
So, you miraculously have leftovers of your truly best homemade mac and cheese recipe? Congratulations! That’s the sign of a winner. Now, the important part: how do you store it so it doesn’t turn into a brick overnight?
Storing Your Baked Mac and Cheese
You need to keep that moisture locked in! Once the casserole has cooled down a bit—say, after about an hour—cover the entire dish tightly with plastic wrap, and then wrap it again with aluminum foil. That double layer acts like a shield against freezer burn or drying out in the fridge. This will keep it fresh for about 3 to 4 days in the refrigerator. It freezes well too, but because this is such a creamy baked macaroni and cheese, I always prefer the fridge if I know I’ll eat it within the month.
Reheating for Ultimate Creaminess
Microwaving this cheesy masterpiece is fast, but it definitely sucks out some of the moisture, which is a real shame for such a great rich cheese sauce recipe. If you have to use the microwave, only reheat individual servings. Put a small amount in a bowl and place a damp paper towel right over the top of the portion before nuking it. Start with 60 seconds, stir it, and keep heating in short bursts until it’s warm through.
The Best Way: Reheating in the Oven
For the best results, especially if you are reheating a whole pan or a large portion, always go for the oven. It gently coaxes the sauce back to life without shocking the dairy. When you take it out of the fridge, try this trick: add a splash—maybe a tablespoon or two—of extra whole milk or even a little heavy cream right over the top of the portion you plan to eat.
Cover the dish loosely with foil and bake it at a lower temperature, around 325°F (160°C), for about 15 to 20 minutes until it’s heated through. If the top looks like it’s getting too brown during reheating, just leave the foil on. Taking that extra five minutes to reheat it gently ensures you get that same luxurious texture you loved straight out of the oven the first time around!
Frequently Asked Questions About Baked Mac and Cheese
I always get tons of questions once people try this recipe because they want to make sure they’re hitting that perfect texture every time. It’s worth asking, because sometimes those little details make all the difference between good and truly unforgettable! Here are the big ones I hear most often about making this family favorite baked pasta.
What is the best cheese blend for baked mac and cheese?
For me, the absolute winner for baked mac and cheese perfection is the trifecta we use in the recipe: Sharp Cheddar for that classic tang, Gruyère for its incredible nutty depth and fantastic smooth melt, and Fontina for that gooey, stretch factor. You need that blend!
If you’re looking to dive deep into why these work so well together—and maybe swap one out if you have to—I wrote a whole breakdown on the best cheese combinations right over here: best cheese blend for baked mac and cheese. Short answer: Don’t just use one!
How do I prevent my baked mac and cheese from drying out?
This is the number one worry people have when making any creamy baked macaroni and cheese casserole, and the solution is actually two-fold, both happening *before* it hits the oven. First, remember I told you to cook the pasta **just al dente**? That slight undercooking means the pasta has room to absorb the sauce without turning to mush during the bake time.
Second, when you finish making your roux and cheese base, the sauce needs to look slightly looser and runnier than you think it should. If it looks perfect in the pot, it will be rock hard when it comes out of the oven! The residual liquid is what keeps this easy cheesy comfort food dish moist.
Can I make this easy cheesy comfort food dish ahead of time?
Yes, you absolutely can! This makes it a lifesaver for holidays or big family dinners. You can assemble the entire thing—pasta mixed with sauce, topping sprinkled on top—and then cover it tightly. Keep it in the fridge for up to 24 hours. When you’re ready to bake, just pull it out of the fridge about 30 minutes before going into the oven so it’s not ice cold, and add about 10 extra minutes to the baking time. It comes out just as bubbly and delicious as if you made it fresh!
Nutritional Estimate for this Indulgent Macaroni and Cheese Recipe
Because this is certainly an indulgent macaroni and cheese recipe and packed with rich cheese and butter, I like to give a rough idea of what you’re working with per serving. Just a quick heads up: these numbers are estimates based on the recipe amounts, and they will change depending on exactly what brands of cheese and milk you use! This is not a low-calorie option, but it is pure comfort food perfection!
For one serving of this classic baked mac and cheese perfection, you’re looking at:
- Calories: 650
- Fat: 38g
- Saturated Fat: 22g
- Carbohydrates: 55g
- Protein: 28g
- Sodium: 650mg
It packs a punch, but every bite of this comfort food mac and cheese is totally worth it!
Share Your Experience Making This Baked Mac and Cheese
I hope this recipe becomes a staple in your kitchen just like it is in mine! Seriously, if you followed my steps—especially warming that milk and ditching the pre-shredded cheese—you should have the creamiest, crunchiest baked mac and cheese you’ve ever made at home. I want to see it!
Please leave a rating and let me know in the comments below how this turned out for your family dinner or get-together. Did your guests rave about that crispy panko top? Which cheese blend did you use? If you snapped a photo of your finished cheesy baked pasta casserole, feel free to tag me on social media!
Your feedback helps other bakers trust this recipe, and I love hearing your stories about making new favorites. Happy baking, and don’t forget to check out my main blog for even more comfort food inspiration!
Nutritional Estimate for this Indulgent Macaroni and Cheese Recipe
Because this is certainly an indulgent macaroni and cheese recipe and packed with rich cheese and butter, I like to give a rough idea of what you’re working with per serving. Just a quick heads up: these numbers are estimates based on the recipe amounts, and they will change depending on exactly what brands of cheese and milk you use! This is not a low-calorie option, but it is pure comfort food perfection!
For one serving of this classic baked mac and cheese perfection, you’re looking at:
- Calories: 650
- Fat: 38g
- Saturated Fat: 22g
- Carbohydrates: 55g
- Protein: 28g
- Sodium: 650mg
It packs a punch, but every bite of this comfort food mac and cheese is totally worth it!
Share Your Experience Making This Baked Mac and Cheese
I hope this recipe becomes a staple in your kitchen just like it is in mine! Seriously, if you followed my steps—especially warming that milk and ditching the pre-shredded cheese—you should have the creamiest, crunchiest baked mac and cheese you’ve ever made at home. I want to see it!
Please leave a rating and let me know in the comments below how this turned out for your family dinner or get-together. Did your guests rave about that crispy panko top? Which cheese blend did you use? If you snapped a photo of your finished cheesy baked pasta casserole, feel free to tag me on social media!
Your feedback helps other bakers trust this recipe, and I love hearing your stories about making new favorites. Happy baking, and don’t forget to check out my main blog for even more comfort food inspiration!
PrintUltimate Creamy Baked Mac and Cheese with Crispy Topping
This recipe delivers rich, creamy baked mac and cheese with a blend of sharp cheeses and a satisfyingly crunchy panko topping.
- Prep Time: 15 min
- Cook Time: 35 min
- Total Time: 50 min
- Yield: 6 servings
- Category: Main Dish
- Method: Baking
- Cuisine: American
- Diet: Vegetarian
Ingredients
- 1 pound elbow macaroni
- 6 tablespoons unsalted butter
- 1/2 cup all-purpose flour
- 4 cups whole milk, warmed
- 1 teaspoon salt
- 1/2 teaspoon black pepper
- 1/4 teaspoon nutmeg
- 1/4 teaspoon cayenne pepper
- 8 ounces sharp cheddar cheese, shredded
- 4 ounces Gruyère cheese, shredded
- 4 ounces Fontina cheese, shredded
- 1 cup panko breadcrumbs
- 2 tablespoons melted butter (for topping)
Instructions
- Preheat your oven to 375°F (190°C). Grease a 9×13 inch baking dish.
- Cook the macaroni according to package directions until just al dente. Drain well and set aside. Do not overcook.
- In a large saucepan, melt 6 tablespoons of butter over medium heat. Whisk in the flour and cook for 1 minute, stirring constantly to form a roux.
- Gradually whisk in the warm milk until the mixture is smooth. Continue to cook, stirring often, until the sauce thickens enough to coat the back of a spoon, about 6 to 8 minutes. Do not let it boil rapidly.
- Remove the sauce from the heat. Stir in the salt, pepper, nutmeg, and cayenne pepper.
- Add the shredded cheddar, Gruyère, and Fontina cheeses to the sauce in handfuls, stirring until each addition is fully melted and the sauce is smooth before adding the next. Taste and adjust seasoning if needed. This is your cheese sauce.
- Gently fold the cooked, drained pasta into the cheese sauce until completely coated. Pour the mixture into the prepared baking dish.
- In a small bowl, toss the panko breadcrumbs with 2 tablespoons of melted butter. Sprinkle the buttered panko evenly over the top of the pasta mixture.
- Bake for 20 to 25 minutes, or until the sauce is bubbly and the topping is golden brown and crisp. Let it rest for 5 minutes before serving.
Notes
- Warm the milk before adding it to the roux; this helps prevent lumps and speeds up thickening.
- Shred your own cheese from blocks; pre-shredded cheese contains anti-caking agents that can make your sauce grainy.
- To keep the sauce creamy, remove it from the heat before adding the cheese.
Nutrition
- Serving Size: 1 serving
- Calories: 650
- Sugar: 7
- Sodium: 650
- Fat: 38
- Saturated Fat: 22
- Unsaturated Fat: 16
- Trans Fat: 1
- Carbohydrates: 55
- Fiber: 3
- Protein: 28
- Cholesterol: 110