

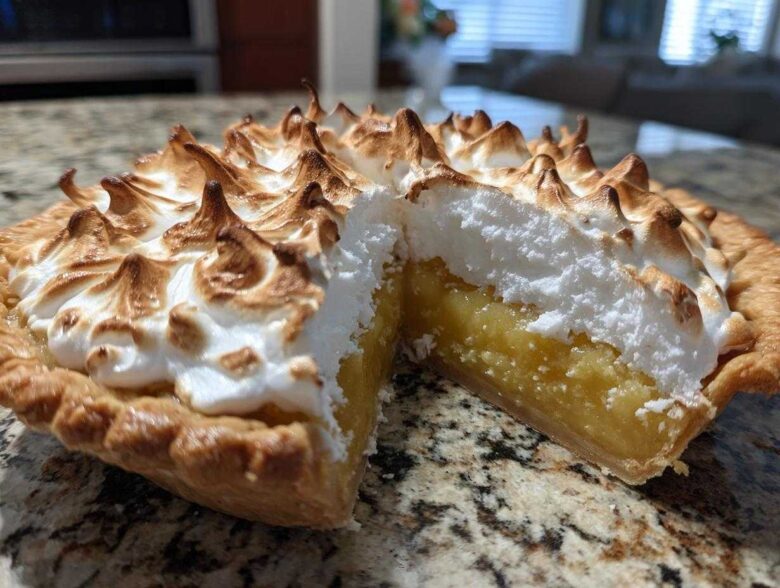
Oh, let’s talk about pies that make you sit up straight. We all have those desserts from childhood that feel like tradition, right? For me, that’s the Best Classic Homemade Lemon Meringue Pie. It has to have that sharp, sunny tang—none of that weak, overly sweet stuff! But honestly, the real battle in making this lemon meringue pie isn’t the filling; it’s the topping. Who hasn’t battled the dreaded weeping meringue that turns your beautiful dessert into a gooey puddle? Trust me, I’ve fought that battle more times than I care to admit!
This recipe, though—this is the one that finally gave me the confidence to call myself a true pie maker. We’ve perfected the technique so you get this perfectly tart, zesty lemon filling nestled in a crisp crust, all crowned with a mountain of fluffy meringue topping that stands tall and proud, resisting all temptation to weep. It’s truly a showstopper dessert when you nail it.
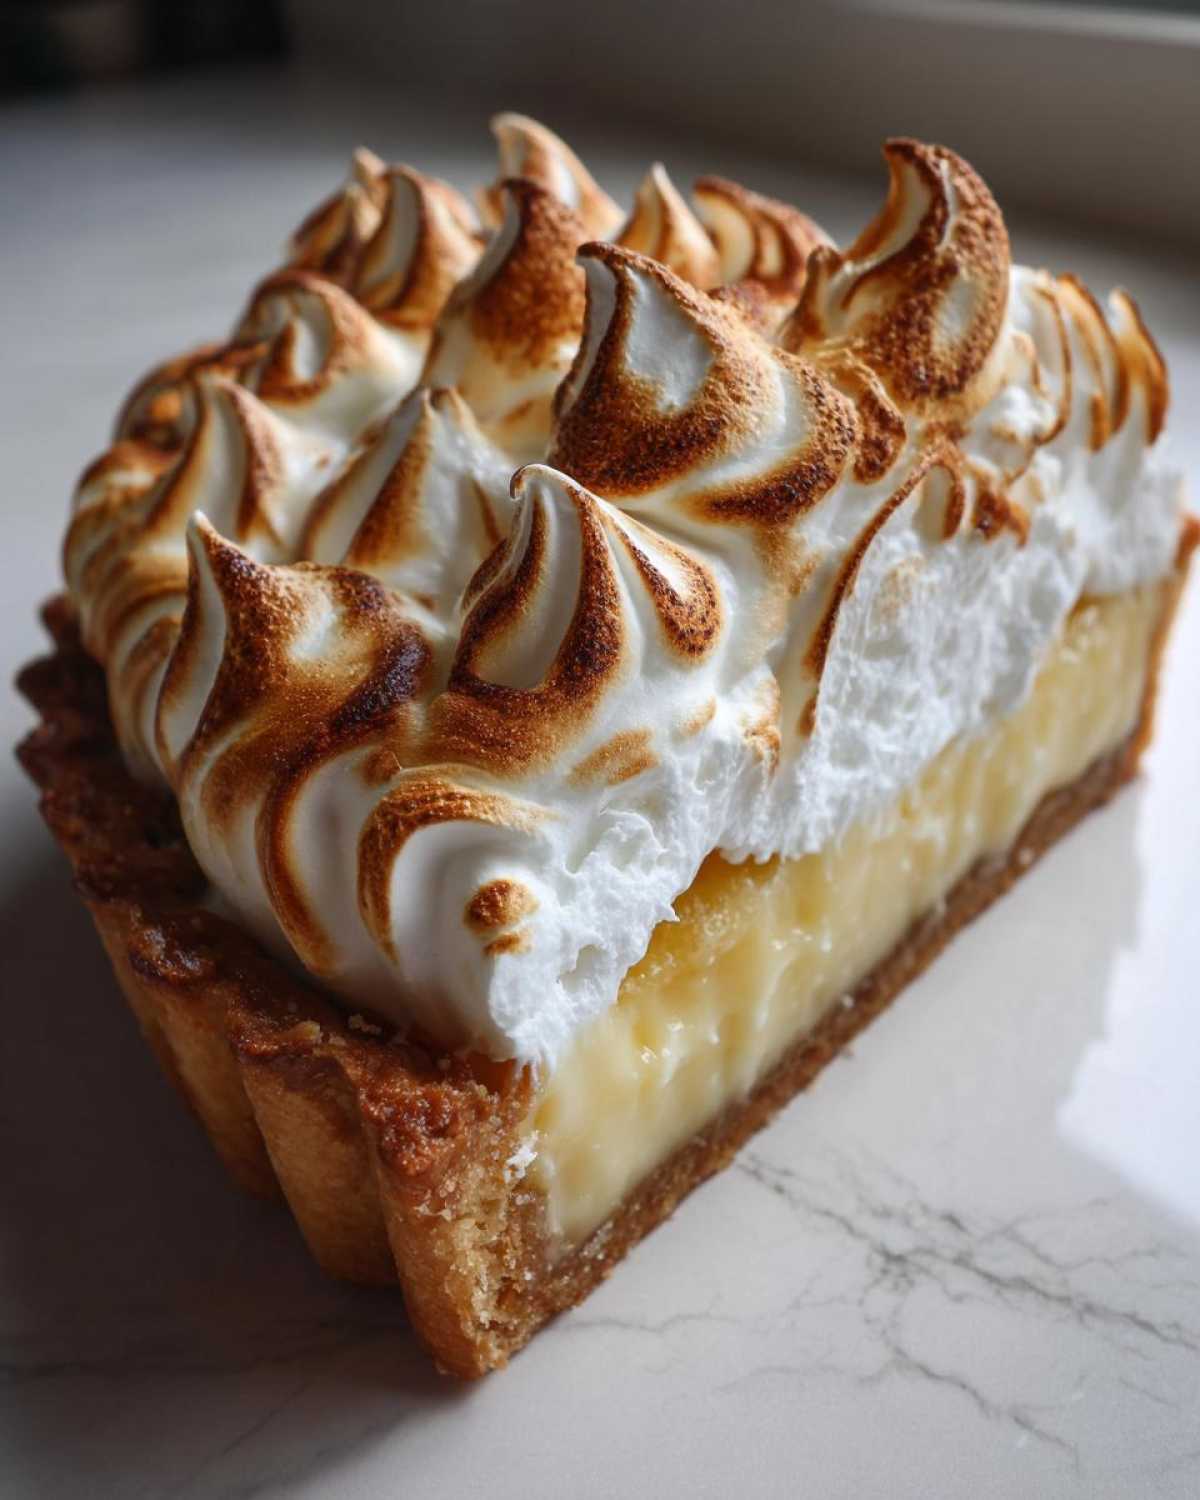
Why This Homemade Lemon Meringue Recipe is a Showstopper Dessert
When you pull this pie out of the oven, I promise you’ll know you’ve made something special. Forget those floppy, sad tourist pies! This Best Classic Homemade Lemon Meringue Pie is built for presentation. I’ve learned a few tricks over the years to make sure it delivers every single time. Honestly, baking this pie is half the fun because you get to brag just a little when people see how perfect it looks!
- The filling has that amazing, intense lemon blast—it’s got real kick!
- You get a dense, creamy custard that holds its shape beautifully when you slice it.
- We tame the egg whites so your Fluffy Meringue Topping looks like soft, white clouds that actually stay put.
If you want to impress folks at a summer picnic or holiday gathering, this is your go-to. You can find all the details on using the right mixing speeds here!
Achieving the Perfect Zesty Lemon Filling
This is where we fight back against blandness. I absolutely insist on fresh lemon juice; bottled stuff just falls flat, you know? Our recipe gets its body and thickness because we cook that cornstarch and sugar mixture until it actually boils for a full minute—don’t skip that boil! That brief boil is your secret weapon for a custard that sets up perfectly firm, not runny. That way, you get that incredible Zesty Lemon Filling that cuts right through the sweetness of the meringue.
Tips for a Fluffy Meringue Topping That Will Not Weep
Okay, let’s talk about meringue survival. The biggest mistake people make is having any trace of fat or oil in their bowl when whipping egg whites. Even one tiny drop of grease will stop them from peaking! We use cream of tartar here—it’s a stabilizer, like a tiny bodyguard for your egg whites. Once you have those stiff, glossy peaks, you need to get that meringue onto the *hot* filling right away and seal it to the edge of the crust. That seal locks in the moisture below, keeping your Fluffy Meringue Topping dry and beautiful for hours!
Gathering Ingredients for Your Lemon Meringue
For the Best Classic Homemade Lemon Meringue Pie, quality ingredients are non-negotiable. I’ve listed everything out here, but pay close attention to the notes about the eggs and lemons—they really make a difference in the final taste and texture. Having everything ready beforehand is key because once that lemon custard starts thickening, things move fast! You can find a great guide on where I source my best baking supplies over at this link.
Here’s what you need for the whole show:
- One (9-inch) unbaked pie crust—you can use store-bought if you’re in a rush, but I always try to make mine from scratch!
- For the sweet base: 1 1/2 cups granulated sugar
- For thickening: 1/3 cup cornstarch
- A pinch of seasoning: 1/4 teaspoon salt
- The liquid base: 1 1/2 cups cold water
- The richness: 4 large egg yolks, and please, make sure they are lightly beaten, not whisked into foam!
- The main flavor: 1/2 cup of fresh lemon juice. Yes, juice them yourself!
- For shine: 2 tablespoons unsalted butter
- For that extra zing: 1 teaspoon lemon zest
- For the topping cloud: 4 large egg whites, and they absolutely must be at room temperature!
- For stability magic: 1/4 teaspoon cream of tartar
- For sweetening the cloud: 1/2 cup granulated sugar (this is separate from the filling sugar!)
See? It looks like a long list, but every single ingredient has a specific job in making this dessert the incredible lemon meringue experience it is!
How To Make Lemon Meringue: Step-by-Step Instructions
Alright, buckle up! This is where we turn those lovely ingredients into the Best Classic Homemade Lemon Meringue Pie. Don’t let the detailed steps scare you; it’s just being methodical. I always put on some upbeat music during this stage, because rushing just leads to trouble, especially with the filling. You can check out my favorite music for baking sessions right here.
Preparing the Crust and Zesty Lemon Filling
First things first, get that oven ready at 350 degrees! You need to pre-bake your crust until it’s just starting to turn golden. It must be completely cool before the filling goes in, or you’ll end up with a soggy bottom—and nobody wants that tragedy! For the filling, whisk your sugar, cornstarch, and salt together in a heavy saucepan before you pour in the water. Then, you cook it until it’s boiling hard and thick. Once you pull it off the heat, you have to temper those gorgeous egg yolks. That means slowly, slowly drizzling in some of that hot liquid while whisking like crazy so they don’t scramble. Pour that mixture back in, bring it back to a boil for just one minute, then stir in the butter, lemon juice, and zest until everything melts smooth. Whew! That’s your flavor powerhouse!
Creating the Perfect Fluffy Meringue Topping
Now for the clouds! This step separates the amateurs from the pros, but you’ve got this. Make absolutely sure your stand mixer bowl and whisk attachment are spotless—I mean, wipe them down with vinegar or lemon juice just to be safe. No grease allowed! Beat those room-temperature egg whites with the cream of tartar until they form soft peaks. Then, slowly rain in that second half-cup of sugar while beating on high speed. Keep going until those peaks are stiff and shiny—when you lift the whisk, it should hold its shape stiffly. This stabilized structure is what keeps your topping beautiful and prevents that sad separation from your Perfect Lemon Custard.
Baking and Cooling the Final Lemon Meringue
Here’s the final push. Take that wonderful, hot lemon filling and immediately dump all your beautiful meringue right on top. Press it down firmly all the way to the edges of the crust—this is critical for sealing it. Once it’s swirled nicely for decoration, pop it into that preheated 350-degree oven until the peaks turn a nice light golden brown, maybe 12 to 15 minutes. Cooling is the hardest part, I know! But you have to cool it on the counter at room temperature for at least four solid hours. If you rush it into the fridge, that temperature shock makes the meringue cry! Patience, my friend, patience!
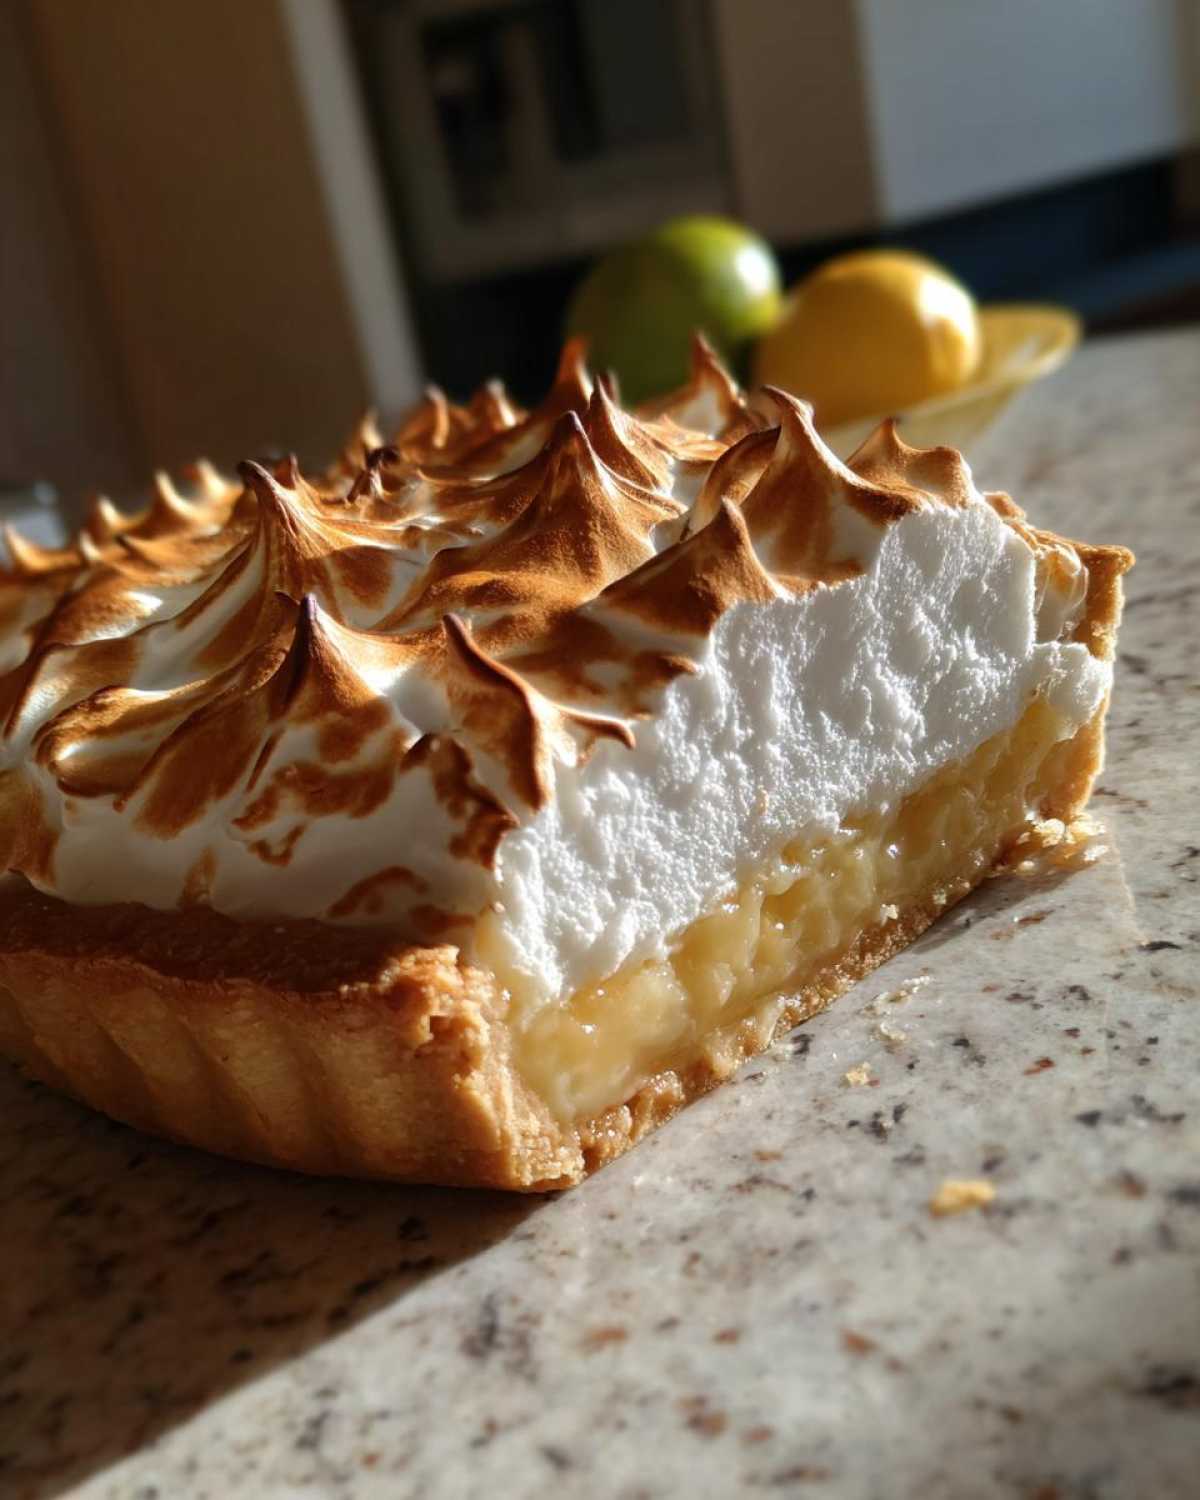
Ingredient Notes and Substitutions for Your Lemon Meringue Pie Recipe
Look, I know sometimes you’re staring into the pantry, and you’re missing one tiny thing. Don’t panic and run to the store just yet! We can troubleshoot, but let’s talk about where you absolutely shouldn’t compromise when making your Lemon Meringue Pie Recipe.
The zest and the juice? They have to be fresh. I’m serious about this! Bottled lemon juice is fine for cleaning your sink, maybe, but not for this classic pie. Fresh lemons give you those natural oils that make the filling smell incredible, not just tart. If you’re missing zest, just use another teaspoon of juice, but you’ll lose some of that deep citrus aroma.
Now, about the egg whites. They must be room temperature when you start whipping for the meringue part. Cold whites just don’t trap air properly. They stay dense and thick, and you won’t get that glorious height. If you forget, just place your separated whites in a glass bowl and sit that bowl in a larger bowl of warm (not hot!) water for about 15 minutes. Now they’re ready to fluff up!
Dealing with Cornstarch Substitutions
Cornstarch is the engine that thickens that custard. It creates a beautiful, clear gel when boiled correctly. If you are absolutely out of cornstarch (and I mean, seriously out), flour is your backup, but it’s not ideal. If you have to use flour, you need about double the amount, as it doesn’t thicken quite as well, and your filling might end up a little cloudier in texture. You’ll also need to boil it for closer to two minutes, not just one, to get rid of that raw flour taste. Honestly, though, for the Homemade Lemon Meringue, just run to the store for cornstarch. It’s worth it!
Butter vs. Margarine in the Filling
This is an easy one: use unsalted butter. It melts beautifully and adds a rich mouthfeel to the Perfect Lemon Custard. Margarine can sometimes separate weirdly once it cools down, leaving little beads of oil in your filling. We want smooth, creamy goodness, so stick to real butter for the best results in this tart and sweet dessert. You can find my notes on achieving amazing textures over at this link.
The quality of these core components makes the difference between an okay pie and the Best Lemon Meringue Pie you’ve ever made. Pay attention to these small details, and the pie will sing!
Serving Suggestions for This Tart and Sweet Dessert
Okay, so you’ve baked this masterpiece. It’s cooled, it’s glorious, and now everyone is just staring at it, waiting for permission to dig in. Since this tart and sweet dessert hits that perfect balance of bright citrus and fluffy sugar, you don’t need much to go with it. In fact, adding too much can actually distract from that perfect tang!
My favorite way to serve it is exactly as is—a clean, generous slice right onto a small dessert plate. But if you really want to dress it up for company, here are a couple of simple ideas I always have on hand.
The Unsweetened Whipped Cream Trick
If you feel like you need *something* extra on the side, skip the sugary toppings. What you want is something cool and mellow to balance that sharp lemon flavor. That means homemade, lightly sweetened (or even unsweetened!) whipped cream.
Just whip heavy cream until medium-stiff peaks form, and add maybe half a teaspoon of vanilla extract and a whisper of powdered sugar. A small, perfect dollop right next to the slice acts like a cool, creamy cloud buffer. It’s lovely next to the crispy, toasted meringue peaks.
Perfect Beverage Pairings
You need beverages that can stand up to the lemon, or ones that are subtle enough not to clash. I find that heavily flavored sodas or overly sweet iced teas just fight with the acidity of the pie. For a classic afternoon treat, you can’t beat a simple cup of hot tea.
I usually go for something light and floral. Think chamomile, a delicate Darjeeling, or even a classic Earl Grey if you like that hint of bergamot. The warmth of the tea contrast beautifully with the chilled filling, and it cleanses the palate so you’re ready for the next bite. If you’re serving this in the summer, a tall glass of ice-cold sparkling water with just a slice of fresh cucumber on the rim is remarkably refreshing alongside this citrus baked good.
Honestly, though, give the pie a moment to shine all on its own first. It deserves the spotlight!
Storage and Reheating Instructions for Homemade Lemon Meringue
So, you’ve made it through the ordeal, and you have leftovers! Congratulations, you have achieved pie nirvana. Storing a Homemade Lemon Meringue pie is tricky business because that beautiful meringue topping wants to spoil the party. The enemy here is moisture drawn from the fridge air, which leads right back to that weeping we tried so hard to avoid during baking.
My golden rule for storing the Best Classic Homemade Lemon Meringue Pie is patience during the cooling phase, followed by smart refrigeration tactics. You absolutely cannot cover the pie tightly right after it comes out of the oven, or you trap steam underneath, which guarantees a soggy crust and weeping meringue.
Proper Initial Cooling for the Best Results
Remember when I told you to cool it on the counter for four hours? That’s non-negotiable, even if you have to guard the pie with your life! This allows the filling to fully set without the drastic temperature change that shocks the egg whites into releasing moisture. Only once the entire pie is genuinely room temperature should you even think about covering it. I usually wait until the meringue is completely dry to the touch before moving it to next steps.
Refrigeration Techniques to Protect the Meringue
Once cooled, you need to get it into that chilly spot, but again, be gentle. You want to keep the top relatively dry. I wrap the pie pan loosely with plastic wrap—key word here is loosely—just enough to keep dust and fridge smells out, but allowing some air circulation. If you have a large cake dome, that works even better!
The filling will stay wonderfully fresh for about three to four days in the fridge. However, for the best texture, try to pull the lemon meringue pie out about 30 minutes before you plan on serving it chilled slices. That little bit of time on the counter helps the custard soften just slightly so it’s creamy again, not stiff straight from the cold. You can read more about keeping your crust crisp, even overnight, over at this site.
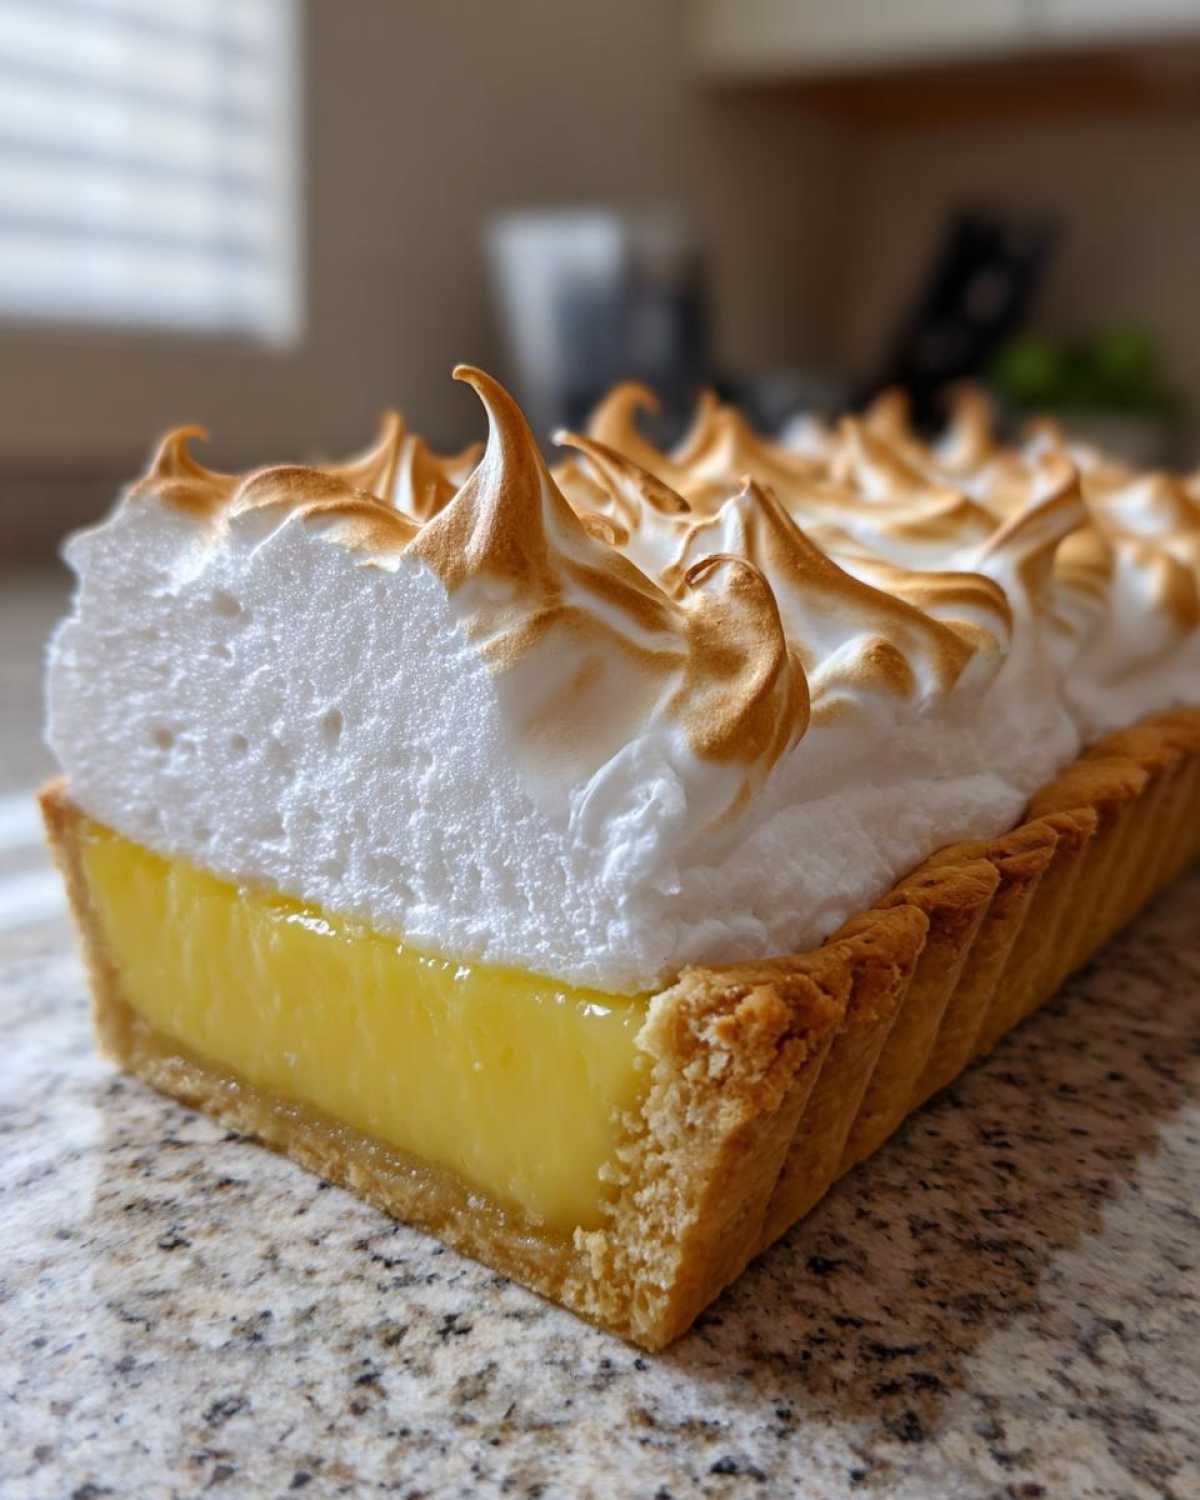
Can You Freeze Lemon Meringue Pie? (The Short Answer is No!)
I get asked this all the time, especially around the holidays. Can you freeze this masterpiece? My answer is a firm, tearful no. Meringue is made of protein and sugar stabilized with water, and when you freeze and thaw it, that structure completely collapses. The filling might freeze okay, but the meringue will separate, look spongy, shrink dramatically, and weep puddles of sugary liquid onto your countertop. For this showstopper dessert, it’s best baked the day before you need it and stored fresh!
Frequently Asked Questions About Making Lemon Meringue
People always have questions when tackling a legendary dessert like this! It’s smart to ask before you start mixing—that’s how we avoid kitchen disasters. I’ve gathered a few of the common worries I hear about making this classic bakery dessert. Knowing the answers helps you feel totally in control of the process.
Can I make the lemon filling ahead of time for my Lemon Meringue Pie Recipe?
This is a tricky one! Yes, you absolutely can make the perfect lemon custard filling ahead of time, which is a lifesaver when you’re hosting. Make the filling exactly as directed, cook it until it boils for one minute, stir in the butter and zest, and then cover the surface directly with plastic wrap. You want that plastic touching the surface to prevent a skin from forming. Let it cool slightly on the counter, then store it in the fridge for up to two days. Just remember, when you go to top it with the meringue, the filling should still be slightly warm, not ice cold, for the best seal!
What is the secret to a ‘No Weep Meringue Pie’?
Oh, the weep! We hate the weep! If you want a genuine No Weep Meringue Pie, you need to focus on two major points we covered. First, when whipping the egg whites, ensure zero trace of grease is present so you hit those stiff, glossy peaks easily. Second, when you put the topping on the filling, you must seal it completely to the crust edge all the way around. I use the back of a spoon to build a little ridge of meringue right against the crust. This traps the steam from the hot filling below, forcing it to cook the meringue slowly instead of letting the moisture escape and condense on top of the crust. That trick made all the difference for me!
If you’re looking for inspiration on other summer lemon treats, you can browse through some of my other baking adventures over on the main blog page. Happy baking!
Estimated Nutritional Data for This Incredible Lemon Delight
Now, look, I’m a cook, not a certified nutritionist, so take these numbers with a grain of salt—or maybe half a cup of sugar, depending on how much you eat!
This information is based on standard ingredient amounts and serving sizes we calculated for 8 slices. Since we are making a serious, old-fashioned dessert here, it’s rich! This isn’t your light, diet-friendly snack. This is a slice of pure comfort and sunshine that you deserve. If you use a lighter crust or skip the full height of the meringue, your numbers will look different, of course.
Think of this as the detailed breakdown for our delectable incredible lemon delight:
- Serving Size: 1 slice
- Calories: 380
- Sugar: 55g (Yes, it’s high, but it’s balanced by that tart lemon!)
- Sodium: 150mg
- Fat: 14g
- Saturated Fat: 5g
- Carbohydrates: 62g
- Protein: 6g
- Cholesterol: 110mg
Remember, this is just a guide for your citrus baked goods. The real value is in the satisfaction of taking something simple and turning it into a gorgeous, impressive tart and sweet dessert that everyone will remember. Enjoy responsibly!
Share Your Best Lemon Meringue Creations
That’s it! You’ve done the work, you’ve mastered the temper, and hopefully, you have a towering, beautiful pie sitting on your counter right now. I’m dying to see your results! When you bake something this gorgeous, you can’t just keep it to yourself, right?
Please, please, please jump down to the comments section below. I want to hear everything! Did you manage to get those stiff, glossy peaks on the meringue? How did you score yours differently? Did your family even let it sit the full four hours before slicing?
Rate This Recipe and Leave a Note
If this recipe delivered that perfect combination of zesty lemon filling and sky-high topping for you, please leave a rating! Five stars helps other bakers feel confident enough to try making this dessert too. Even if you had a little hiccup—maybe your crust shrank or you got a tiny bit of weepy sugar on the edges—let me know what happened. We all learn from each other’s kitchen adventures.
If you want to send me a picture of your finished pie—especially one of those gorgeous, golden-brown swirls on top—you can always reach out through my contact page. I try to respond to everyone!
Tag Us on Social Media
I love seeing this Best Classic Homemade Lemon Meringue Pie pop up on social media platforms. Take a high-angle shot—you want to capture all that beautiful height on the meringue!
When you post it, make sure you tag me! Seriously seeing your beautiful lemon meringue creations brightens my day faster than fresh lemon zest hits a bowl of sugar. Go show off what an incredible baker you are!
PrintThe Best Classic Homemade Lemon Meringue Pie with Stabilized Meringue

Make a classic lemon meringue pie featuring a tart, zesty lemon custard filling and a tall, fluffy, stabilized meringue topping that resists weeping.
- Prep Time: 30 min
- Cook Time: 30 min
- Total Time: 210 min
- Yield: 8 servings
- Category: Dessert
- Method: Baking
- Cuisine: American
- Diet: Vegetarian
Ingredients
- 1 (9-inch) unbaked pie crust
- 1 1/2 cups granulated sugar
- 1/3 cup cornstarch
- 1/4 teaspoon salt
- 1 1/2 cups cold water
- 4 large egg yolks, lightly beaten
- 1/2 cup fresh lemon juice
- 2 tablespoons unsalted butter
- 1 teaspoon lemon zest
- 4 large egg whites, room temperature
- 1/4 teaspoon cream of tartar
- 1/2 cup granulated sugar (for meringue)
Instructions
- Preheat your oven to 350 degrees Fahrenheit. Bake the pie crust according to package directions until lightly golden. Cool completely.
- For the filling, whisk together 1 1/2 cups sugar, cornstarch, and salt in a medium saucepan. Gradually whisk in the cold water until smooth.
- Cook the mixture over medium heat, stirring constantly, until it thickens significantly and comes to a boil. Boil for 1 minute, stirring constantly. Remove from heat.
- In a separate bowl, lightly beat the egg yolks. Slowly temper the yolks by whisking about 1 cup of the hot sugar mixture into the yolks.
- Pour the tempered yolk mixture back into the saucepan with the remaining hot mixture. Cook over medium heat, stirring constantly, until the mixture returns to a boil. Boil for 1 minute. Remove from heat.
- Stir in the butter, lemon juice, and lemon zest until the butter melts and the filling is smooth.
- Pour the hot lemon filling immediately into the cooled, prebaked pie crust.
- For the stabilized meringue, place the egg whites and cream of tartar in a clean, grease-free bowl of a stand mixer. Beat on medium speed until soft peaks form.
- Gradually add the remaining 1/2 cup of sugar, one tablespoon at a time, while beating continuously. Increase speed to high and beat until stiff, glossy peaks form.
- Spread the meringue over the hot filling, making sure the meringue touches the crust edge all around to prevent shrinking. Create decorative swirls with the back of a spoon.
- Bake at 350 degrees Fahrenheit for 12 to 15 minutes, or until the meringue is lightly golden brown.
- Cool the pie completely on a wire rack at room temperature for at least 4 hours before slicing. Do not refrigerate immediately, as rapid cooling can cause the meringue to weep.
Notes
- To prevent the meringue from weeping, ensure your mixing bowl and beaters are completely free of any grease or yolk residue.
- For the best texture, use fresh lemon juice rather than bottled concentrate.
- Slice the pie using a sharp, thin knife dipped in hot water between cuts for clean servings.
Nutrition
- Serving Size: 1 slice
- Calories: 380
- Sugar: 55
- Sodium: 150
- Fat: 14
- Saturated Fat: 5
- Unsaturated Fat: 9
- Trans Fat: 0
- Carbohydrates: 62
- Fiber: 1
- Protein: 6
- Cholesterol: 110