

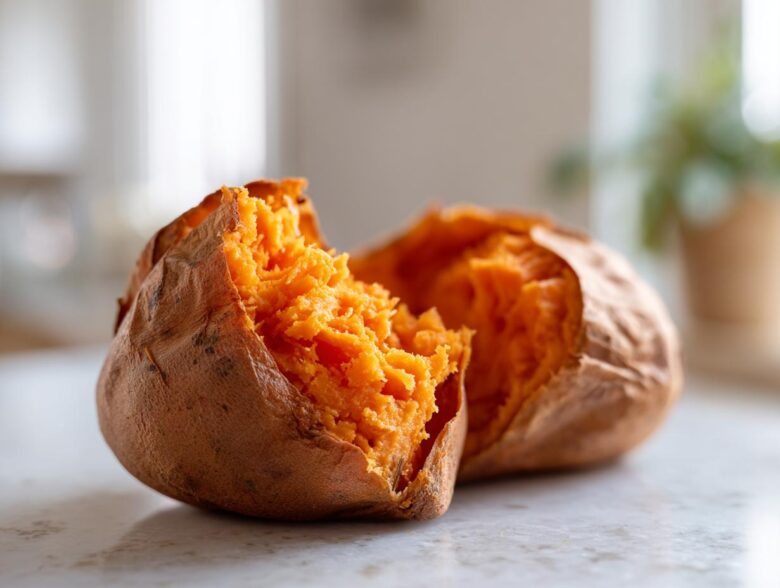
If you’ve ever spent an hour baking a sweet potato only to cut it open and find gummy, slightly wet flesh inside? Ugh, I know that frustration! It used to happen to me constantly. I was always wrapping them tight in foil, thinking that was the secret to trapping moisture, but all it did was steam them to mush!
Seriously, it took me years of experimentation to figure out the perfect, completely foolproof method for getting that incredible, naturally sweet flavor and the fluffiest texture you could ever dream of. And guess what? The best baked sweet potato doesn’t require foil at all! This technique gives you skin that’s just slightly crisp and an interior that practically melts when you poke it. Trust me, once you try cooking them directly on the rack, you’ll never go back to the soggy foil prison again.
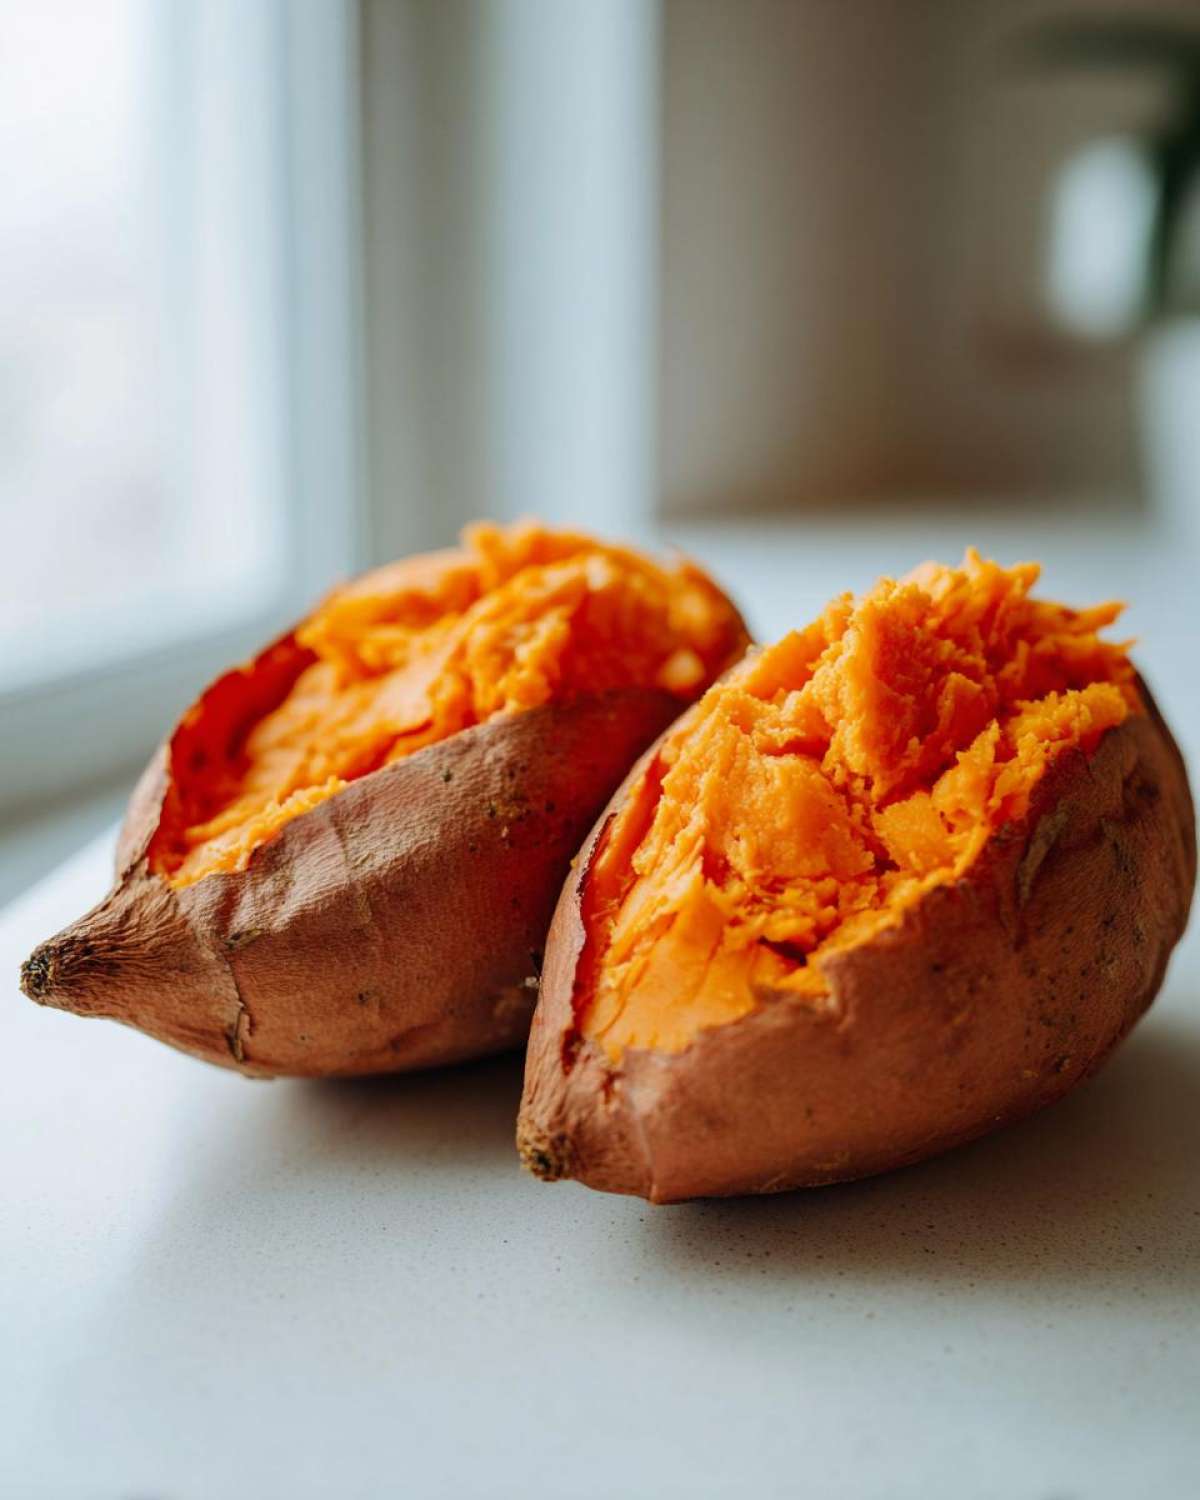
Why This is the Best Baked Sweet Potato Recipe (No Foil Needed)
I’m telling you, tossing out the aluminum foil changed everything! This truly is the easy baked sweet potato recipe you’ve been looking for because it hits every mark. We’re aiming for speed, flavor, and that beautiful, fluffy texture you’ll never forget without any extra steps or cleanup. The absolute best part? The skin actually gets a little bit of roast to it instead of just being steamed soggy.
The no foil sweet potato baking method sounds scary at first—putting them right on the center rack!—but it lets all that excess moisture evaporate into the oven. That’s how you unlock that super fluffy sweet potato oven recipe result we all want. Plus, zero cleanup underneath the potatoes is heavenly when you bake a baked sweet potato this way.
Key Features of Our Fluffy Sweet Potato Oven Recipe
- Perfect Fluffy Interior: That steam escape trick makes all the difference on the inside.
- Minimal Prep Time: Seriously, five minutes prep and you’re done until they’re ready to eat!
- Crispy Skin Potential: You get a far better texture than when you wrap them up.
- Super Versatile: Ready to become a side dish or the base for a full meal.
Essential Ingredients for Your Baked Sweet Potato
Okay, this is where I tell you that you literally need almost nothing to make these potatoes taste like they came from the best steakhouse in town! Part of why I love this so much is how basic the ingredient list is. It strips away all the fluff so you can actually taste the pure sweetness of the potato itself. You only need four things, and I bet you have them sitting in your pantry right now.
When you’re making a baked sweet potato this way, the quality of the potato matters more than the toppings, so pick good ones!
- 4 medium sweet potatoes (I look for ones that are similar in size so they all finish cooking at the same time, about 6 to 8 ounces each is perfect).
- 1 tablespoon olive oil (Use the regular kind, not the fancy extra virgin stuff for this! We just need enough to help the seasoning stick).
- 1 teaspoon coarse salt (Like kosher salt—those bigger flakes give you a much better crust than fine table salt).
- 1/2 teaspoon black pepper (Freshly cracked always tastes better, but whatever you have is fine!).
That’s it! No butter needed until you’re ready to eat. No sugar, no foil wrapping required. It’s just the potato, a little fat, and some simple seasoning to kick off that beautiful roasting process and pull out the natural sweetness.
How to Bake Sweet Potatoes Perfectly: Step-by-Step Instructions
Alright, now we get into the nitty-gritty! This is where we put those other flat, sad potatoes to shame. Learning how to bake sweet potatoes perfectly really just comes down to understanding moisture management and heat flow. If you follow these steps exactly, you’re guaranteed to have success. We aren’t doing any fancy mixing or complicated ingredient prep here; this is pure oven magic for the very best baked sweet potato.
The whole process, from scrubbing to serving, takes right around 50 minutes total, which is fantastic for a weeknight side dish or a super quick dinner base. Remember, the key to the crispy skin baked sweet potato hack is getting airflow all around the vegetable!
Prepping the Potatoes for Maximum Fluffiness
First things first: wash them! Scrub those babies under running water like you’re trying to get off years of dirt. I use a clean rag or veggie brush just to make sure every speck is gone from the skin. Even though we are aiming for crispy skin, we don’t want any grit in the final product. Once they are spotless, you must pat them absolutely dry. Seriously, use a paper towel and dry them until you think they can’t get any drier. Excess water turns to steam, and steam makes soggy skin!
Next up, the pricking! This is non-negotiable. Grab a standard dinner fork and stick it deep into the sweet potato—I mean, really jab it in there—about six or seven times all over the surface. Don’t be shy! If you skip this, the steam builds up internally, and you risk the potato exploding, which is certainly not the kind of dinner drama anyone needs. Pricking lets that steam escape gently, which is what creates that beautifully airy, fluffy interior we want.
Baking Time and Temperature for the Perfect Baked Sweet Potato
Time to set up our oven for success! Preheat your oven to 400 degrees Fahrenheit. This temperature is the sweet spot—hot enough to crisp the outside edges without burning them before the inside cooks through. Once hot, grab your olive oil mixture—yes, we’re oiling and seasoning them now. Rub the oil lightly over the entire surface, making sure it’s just a thin coat, then sprinkle heavily with that coarse salt and pepper.
Here is the most important part for that speedy cooking time: Place the oiled and seasoned potatoes *directly* onto the center oven rack. I repeat: No baking sheet beneath them! If you use a sheet, you’re trapping steam underneath, and that’s going to result in a soft bottom. We want consistent heat all the way around for a truly quick baked sweet potato dinner. Bake them for 40 to 50 minutes. For the best result, check doneness by sliding a fork in; if it glides in with zero resistance, they are done. For guaranteed melt-in-your-mouth texture, aim for an internal temperature of 205 degrees Fahrenheit. That’s the secret to foolproof fluffiness!
Expert Tips for the Crispiest Skin Baked Sweet Potato Hack
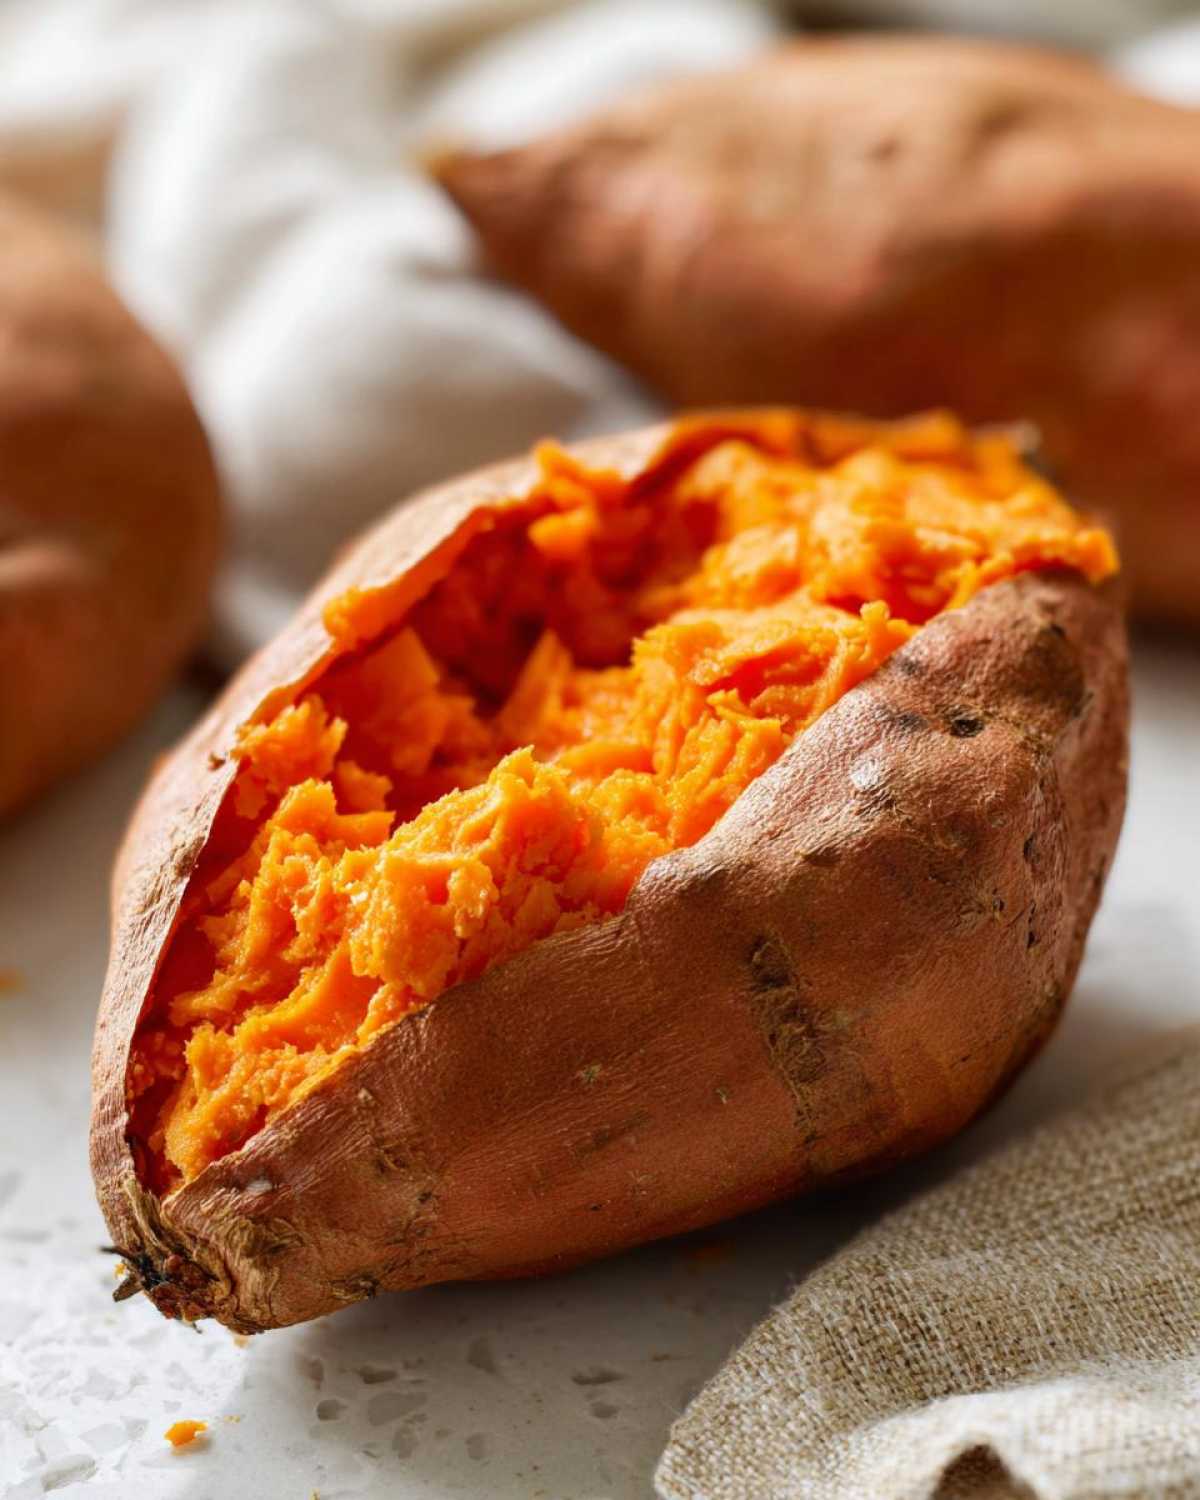
Even though this method is already fantastic, I have a couple of little tricks up my sleeve to push that skin texture over the top! If you want a true restaurant-quality finish on your baked sweet potato, these small details make a huge impact. Honestly, getting that perfectly crackly, slightly salty skin is just as important as having a creamy center, right?
First, let’s talk about the dampness again. I cannot stress this enough: make sure those potatoes are bone dry after washing. I usually let mine sit on a dish towel for five minutes after I think they’re dry, just to air-dry any lingering surface moisture. This step is absolutely crucial for achieving the crispy skin baked sweet potato hack we’re aiming for here.
For the absolute crispiest result, especially if you’re cooking a big batch, you need to lift them off the baking rack! The instructions suggest putting them straight on the center rack, which is great, but if you have a wire rack that fits inside your baking sheet, use it! Place the seasoned potatoes on that wire rack, and then put the whole setup onto your baking sheet. This lets heat circulate underneath them completely, preventing any steam from getting trapped at the bottom. You can check out how I use racks for other recipes, like my amazing twice-baked potatoes, to get you thinking about airflow right here.
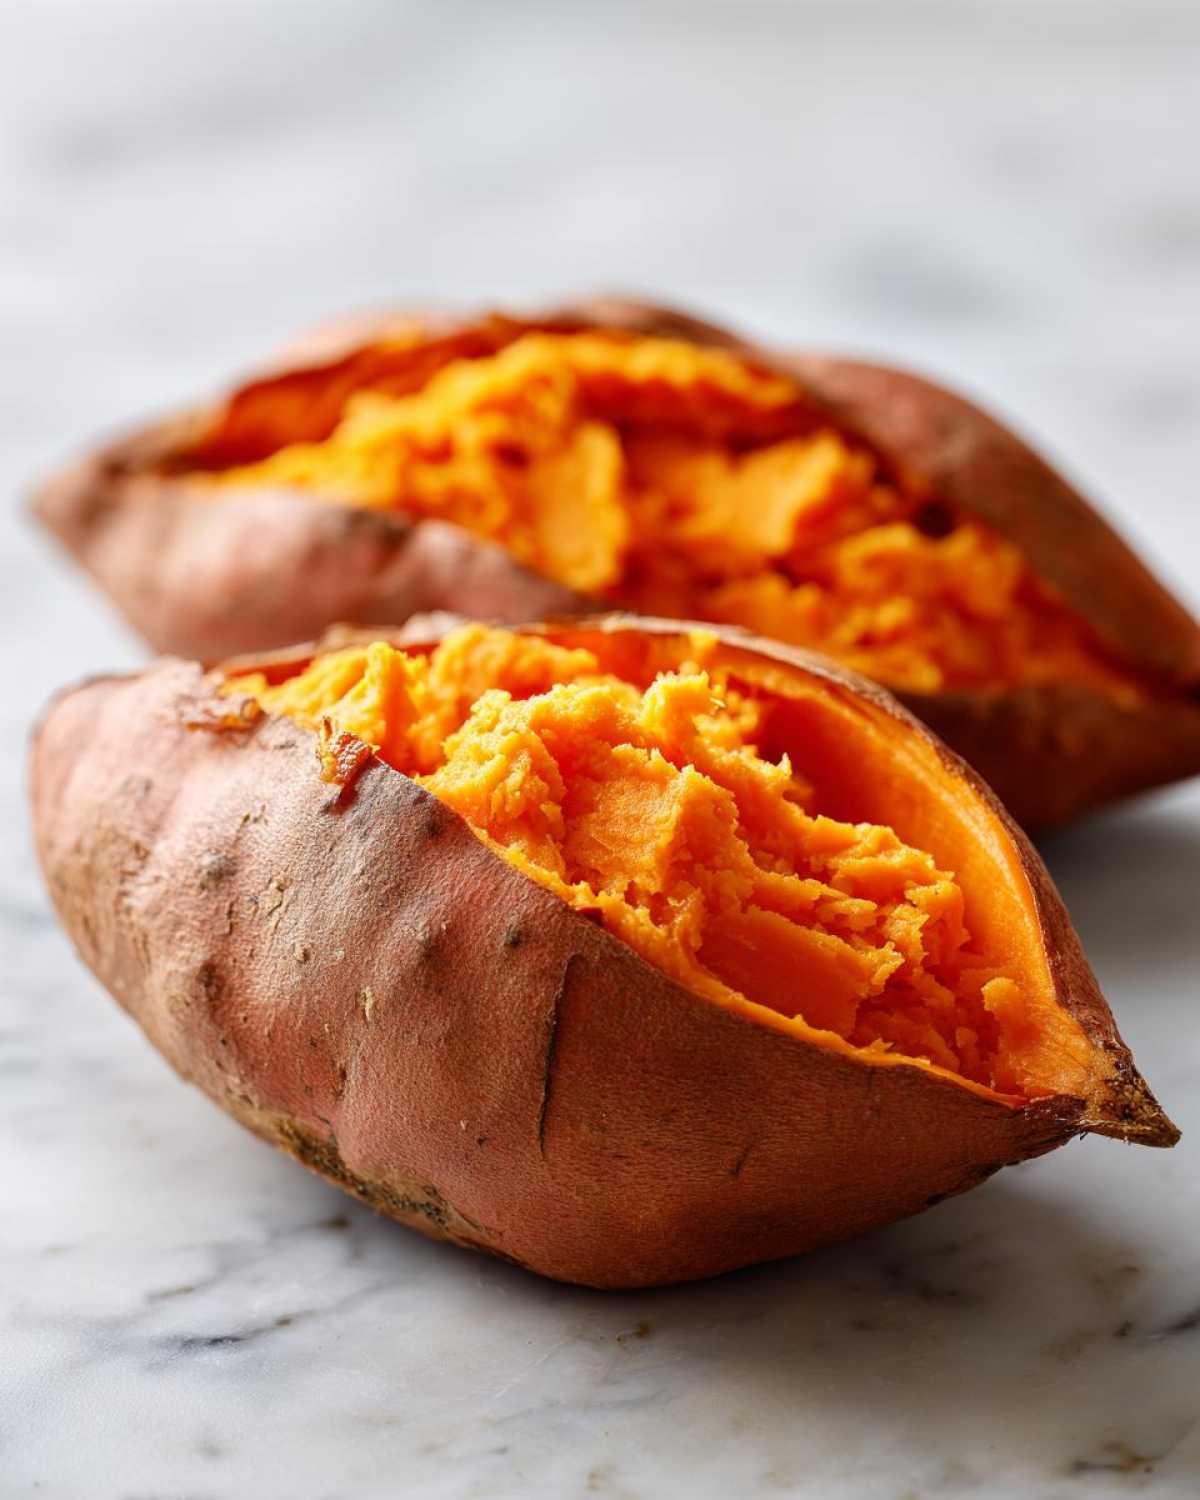
Finally, if you want to go the sweet route instead of savory salt and pepper—and I love leaning into that natural sweetness sometimes—try brushing them with a little maple syrup right around the 25-minute mark. Don’t do it at the beginning, or the sugar will burn before the inside cooks! Just brushing it on halfway through gives you this incredible caramelized shell on your baked sweet potato that is just heavenly when mixed with the fluffy interior.
Versatile Ways to Serve Your Baked Sweet Potato Side Dish Idea
Once you’ve mastered this simple method, you realize the perfectly cooked sweet potato is the ultimate culinary workhorse! It’s not just relegated to Thanksgiving tables, oh no. This is truly the backbone of several quick meals. I use these potatoes constantly for meal prep sweet potatoes because they hold up so well.
Think about it: you can dress it up or dress it down. It works as a naturally sweet side dish alongside roasted chicken, or you can load it up completely and call it dinner! Because the flesh is so wonderfully fluffy, it just begs for some contrast—whether that’s salty cheese, spicy chili, or maybe just a slab of my favorite cinnamon butter. It’s such a wonderful, healthy baked potato alternative because of that inherent sweetness.
Simple Oven Roasted Sweet Potatoes Topping Ideas
You’ve got the base ready—fluffy, hot, and waiting. Now, what are you going to top it with? Here are a few quick ideas that I cycle through every week:
- The Classic Sweet Fix: A big pat of softened butter, a drizzle of maple syrup, and a heavy sprinkle of cinnamon and sea salt flakes. Simple perfection!
- Savory & Hearty: Top it with leftover pulled pork, a scoop of black beans, crumbled cotija cheese, and a dash of hot sauce. Dinner ready in two minutes!
- Herbaceous & Bright: Stir the flesh with a bit of goat cheese, chopped fresh chives, and a squeeze of lime juice. It tastes so fresh.
- Protein Power: Spoon taco-seasoned ground turkey or ground beef right over the top, maybe finish with a dollop of Greek yogurt instead of sour cream.
See? Endless possibilities! It’s the easiest sweet potato side dish idea because it only requires heating up whatever leftovers you already have!
Storage and Reheating Instructions for Meal Prep Sweet Potatoes
One of the biggest reasons I rely on this foolproof baked sweet potato method is how unbelievably well they hold up for taking to lunch during the week. Seriously, these things are champions for meal prep sweet potatoes! They keep their wonderful texture much better than a standard baked white potato, which is why I always make at least double the recipe.
You want to store them whole if you can, but if you’ve already mashed the insides in the oven, that’s okay too. Just make sure they cool down completely before you even think about sealing them up. If you put hot sweet potatoes into a container, you trap moisture, and that invites sogginess right back into your perfectly cooked spud. Once cooled, pop them into an airtight container in the fridge. They should stay absolutely perfect for about four days. Don’t push it past that, though!
Now, reheating them is where you need to be careful if you want to preserve that slightly crispy skin hack. The microwave is fast, sure, but it’s the enemy of crispy skin. If you’re in a huge rush, zap it for 60 seconds to warm the inside, but then quickly pop it into a toaster oven or regular oven set to 350°F for about 5 to 8 minutes. This second blast of dry heat brings back some of the skin’s original texture. If you don’t really care about the skin, then yes, just zap it for two minutes until it’s piping hot, but don’t say I didn’t warn you about the texture change!
Troubleshooting Common Baked Sweet Potato Issues
Even with the best method in the world, sometimes things go a little sideways in the oven, right? Don’t panic! We’ve all been there. The great thing about these potatoes is that minor texture issues are usually super easy to fix, and they rarely ruin the whole thing. I’ve learned that most problems come down to two things: time or trapped moisture. Since we skipped the foil, we’ve already solved half the battle, but let’s tackle the rest!
If your beautiful orange-fleshed friend isn’t cooperating, check your temperature first. Was your oven really at 400 degrees? Sometimes ovens lie to us, especially around the holidays when everyone is baking. If you haven’t checked, grab one of those little oven thermometers; they’re cheap and they save so much guesswork!
My Potato Stays Hard in the Middle
This is the most frustrating one, usually because you’re hungry and you want to dig in now! If you test it with a fork, and it feels like you’re trying to stab a rock instead of a soft vegetable, that just means it needs more time—plain and simple. Remember, a dense, large sweet potato can easily take 55 or even 60 minutes at 400°F.
Here’s my fix: Don’t panic and turn the heat higher! That will just burn the outside. Instead, put it back in the oven for another 10-minute interval. When you open the oven door again after that 10 minutes, poke it in a different spot. If it’s still resisting, give it another 5 minutes. The key here is patience. Keep testing every 5 minutes until that fork slides right in. Once it’s soft, you need to let it rest for 5 minutes before slicing, which lets the residual heat finish cooking the very center evenly.
What If My Skin is Soggy?
Ah, the nemesis! If you followed the recipe and your skin is still soft and sad, it’s almost always because of trapped steam. Did you use a baking sheet underneath the potatoes? If so, that’s likely the culprit. The sheet reflects heat back up, essentially baking the bottom of the potato in its own trapped moisture.
If you didn’t use a sheet, check if the potato was completely dry when you oiled it up. A wet spot before the oil goes on traps a bubble of water that turns into steam. For the future, try using that wire rack trick I mentioned earlier—airflow is your best friend for crispiness! If you *insist* on using a baking sheet for cleanup reasons, make sure you use a wire rack on top of it so the potato isn’t sitting directly on the metal.
My Potato Split Open Wide During Baking
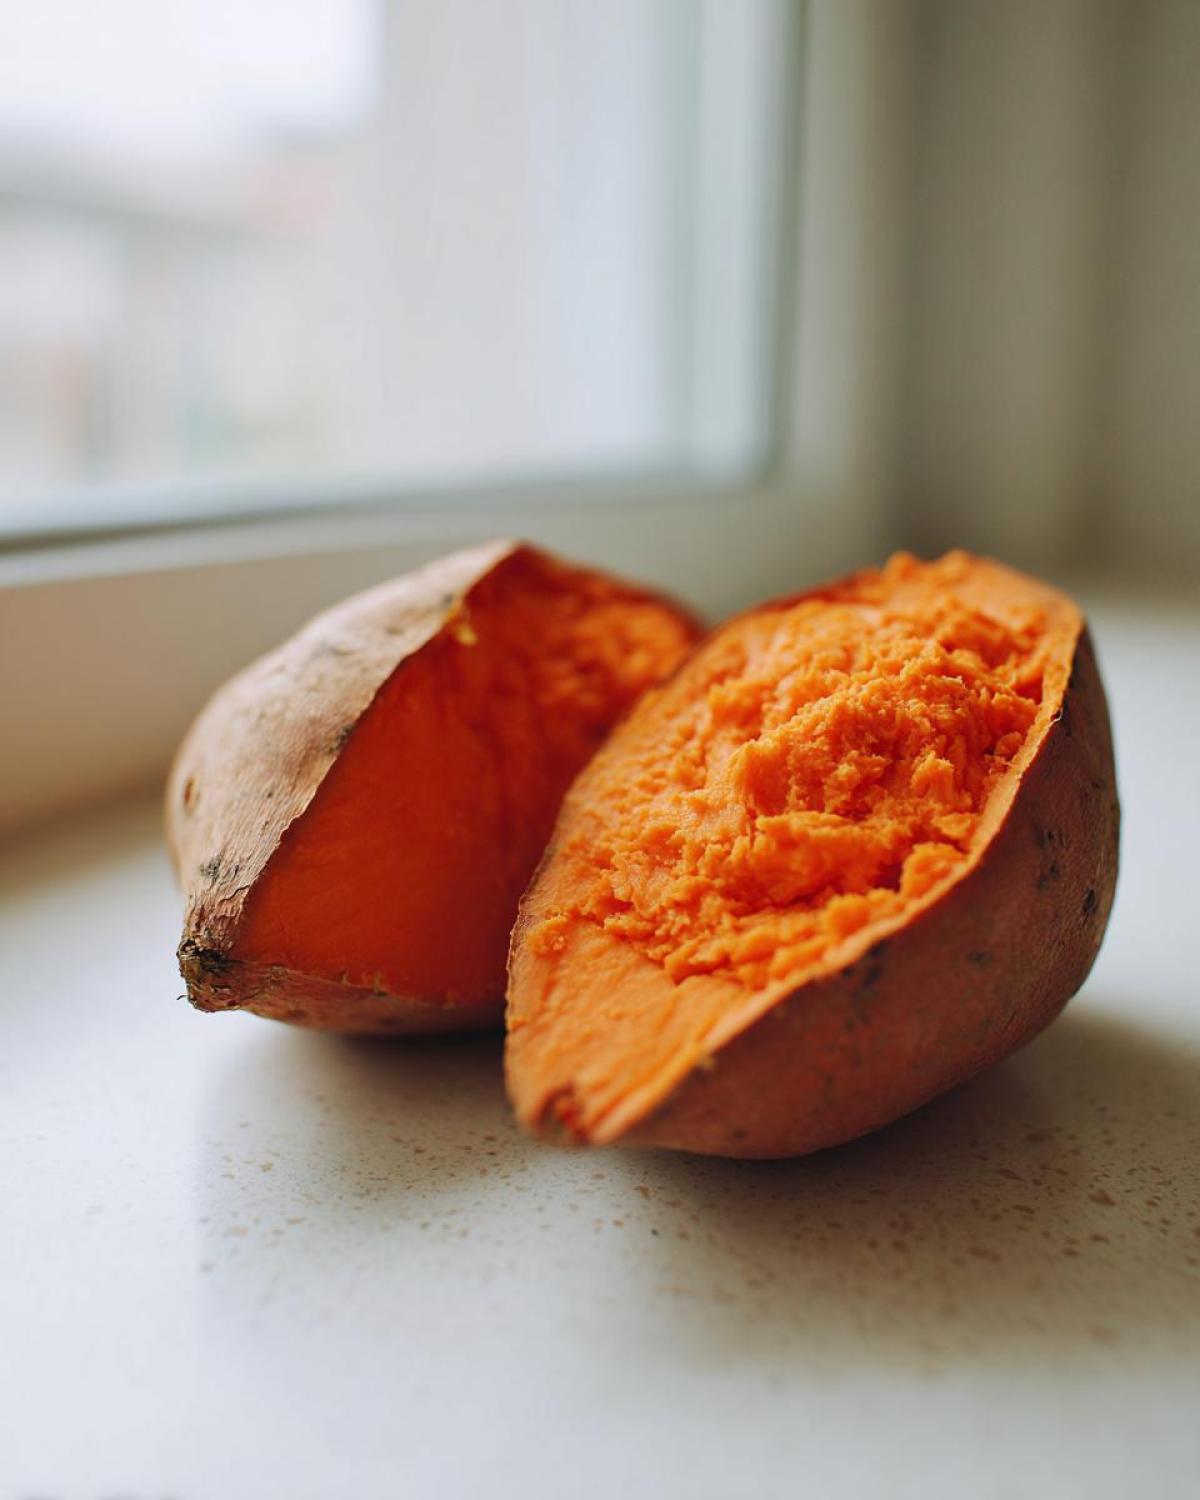
Don’t worry, your potato didn’t explode into oblivion—it just vented! This happens when the steam build-up pressure gets too high because the skin is too tough or you didn’t prick it enough. It’s perfectly safe to eat, honestly. It’s just not the prettiest presentation.
The fix is exactly what we did in the prep stage: Make sure you use that fork and give the potato at least six sturdy, deep pricks all over before it even goes into the oven. Those holes are safety valves, and they let the steam leak out gently while the potato cooks, which keeps that skin intact and your interior fluffier. If it splits a little, pile on the cinnamon butter, and nobody will even notice!
Frequently Asked Questions About the Baked Sweet Potato
I get so many questions about this recipe, mostly because people are shocked at how well it works without foil! Here are some of the most common things readers ask when trying to nail the perfect baked sweet potato at home.
Can I use aluminum foil when making this easy baked sweet potato recipe?
Honestly, you absolutely can use foil if it’s your preference, but I really, really encourage you not to! The entire secret to getting that beautiful, slightly crisp skin and ensuring you have a genuinely fluffy sweet potato oven recipe is letting the moisture escape. If you wrap the potato, you end up steaming it, and you just won’t get that slightly roasted exterior. If you must use it for cleanup reasons, only loosely tent the top, but keep the bottom exposed to the rack!
Can I bake sweet potatoes faster than 45 minutes?
That’s a great question that pops up a lot when people are looking for a quick baked sweet potato dinner! To speed things up, you need smaller potatoes—medium ones cook faster than large ones. You can also try the piercing method plus the wire rack technique, and check them at the 30-minute mark. However, if you try to go much faster or crank the heat up past 400°F, you risk burning the outside before the starchy center of your baked sweet potato cooks through. It’s a balancing act, so I stick with the 40-50 minute window for consistency.
What is the best type of sweet potato for baking?
When shopping for your ingredients, look for firm sweet potatoes that are uniform in shape. The jewel-toned, orange-flesh variety (like Beauregard or Jewel) is what most people think of for this recipe, and those work perfectly! They have a high starch content which leads to that wonderfully soft, naturally sweet result. Avoid any sweet potatoes that feel soft to the touch or have blemishes, as these might be mushy inside already. Picking uniform sizes is the best way to guarantee the success of this simple oven roasted sweet potatoes technique.
Is this recipe good for meal prep sweet potatoes?
Yes! This is one of the fantastic benefits of choosing the direct-baking, no-foil method. Since the skin dries out slightly during cooking, these cooked potatoes hold up way better in the fridge than soggy, foil-wrapped ones. Cook them fully, let them cool on a wire rack until room temperature, and then store them whole or wrapped tightly in an airtight container. They are fantastic for grabbing for lunch all week long!
How do I make sure I have the best baked sweet potato dessert base?
If you’re aiming for maximum sweetness for a dessert topping, skip the salt and pepper entirely! Instead, lightly brush the oiled potato with a tablespoon of maple syrup or honey about 15 minutes before they are done baking. This coaxes out extra natural sugars. When you slice it open, it’s intensely sweet and ready for a scoop of vanilla ice cream, marshmallows, or even just brown sugar and pecans. You can check out my full rundown on making them sweeter for dessert inspiration here!
Nutritional Snapshot of a Healthy Baked Potato Alternative
I know so many of us are trying to eat cleaner, and part of that means knowing exactly what’s going into our bodies, even when it comes to simple sides. The great news is that since this baked sweet potato recipe uses just a tiny bit of oil and relies on the natural goodness of the vegetable, it’s an absolutely fantastic option!
When you strip away all the heavy additions like creamy toppings or sugary casseroles, this simple preparation is a nutritional powerhouse. It’s naturally gluten-free, vegetarian, and packed with vitamins. It’s truly a fabulous healthy baked potato alternative because you control every single ingredient that touches it. Keep in mind these numbers are just estimates based on the four simple ingredients we used for baking, not including any toppings!
Here is a quick look at the estimated breakdown for one medium potato, based on our specific prep method:
- Serving Size: 1 medium potato
- Calories: About 180 (Not bad for something so satisfying!)
- Carbohydrates: 38g
- Fiber: 6g (That’s why they keep you full!)
- Protein: 4g
- Fat: 3g (Mostly healthy fats from that tiny bit of oil)
- Sugar: 13g (All natural sugars, which taste amazing baked!)
- Sodium: 230mg (This is mainly just from the coarse salt we added for the crust.)
See? High in fiber and naturally sweet. It’s such a great way to get vitamins into your family without making a fuss. Next time you’re building a plate, remember this simple roasted tuber is way better fuel than a heavy, processed side dish!
Share Your Perfect Baked Sweet Potato Creation
There you have it! The absolute easiest, no-fuss way to get that fluffy, restaurant-quality baked sweet potato every single time. I hope this method brings you as much joy—and amazing side dishes—as it brings me!
But the story doesn’t truly end here, does it? Baking is such a personal journey. I want to know what you think! Did this no-foil hack save your dinner plans? Did you use my maple syrup trick, or did you go savory?
Please, please, please leave a rating for the recipe up top! Even better, drop a comment down below telling me your absolute favorite topping for your perfect **baked sweet potato**. I’m always looking for new ways to dress these beauties up, and I love hearing about how you made this recipe your own. If you have any burning questions (and I mean *actual* burning questions, not just oven temperature ones!), send me a note through my contact page, but I bet this method answers most of them!
Happy baking, friends, and enjoy those perfectly fluffy insides!
PrintPerfect No-Foil Baked Sweet Potato

Learn the simple method to bake whole sweet potatoes in the oven for a fluffy interior and slightly crisp skin without using aluminum foil.
- Prep Time: 5 min
- Cook Time: 45 min
- Total Time: 50 min
- Yield: 4 servings
- Category: Side Dish
- Method: Baking
- Cuisine: American
- Diet: Vegetarian
Ingredients
- 4 medium sweet potatoes
- 1 tablespoon olive oil
- 1 teaspoon coarse salt
- 1/2 teaspoon black pepper
Instructions
- Preheat your oven to 400 degrees Fahrenheit (200 degrees Celsius).
- Wash the sweet potatoes thoroughly under running water and scrub the skins clean. Pat them completely dry with a paper towel.
- Prick each sweet potato deeply several times all over using a fork. This allows steam to escape.
- Rub the outside of each potato lightly with olive oil.
- Sprinkle the coarse salt and pepper evenly over the oiled skins.
- Place the prepared sweet potatoes directly onto the center oven rack. Do not use a baking sheet or foil underneath.
- Bake for 40 to 50 minutes, depending on the size of your potatoes.
- The potatoes are done when you can easily pierce the center with a fork and the internal temperature reaches 205 degrees Fahrenheit.
- Remove from the oven and let them cool for 5 minutes before slicing open lengthwise. Fluff the inside flesh with a fork.
Notes
- For extra crispy skin, place the potatoes on a wire rack set inside a baking sheet before placing it in the oven.
- If you prefer a sweeter result, you can skip the salt and pepper and lightly brush the potatoes with maple syrup halfway through baking.
- These are excellent for meal prepping; store cooked potatoes in an airtight container in the refrigerator for up to four days.
Nutrition
- Serving Size: 1 medium potato
- Calories: 180
- Sugar: 13
- Sodium: 230
- Fat: 3
- Saturated Fat: 0.5
- Unsaturated Fat: 2.5
- Trans Fat: 0
- Carbohydrates: 38
- Fiber: 6
- Protein: 4
- Cholesterol: 0