

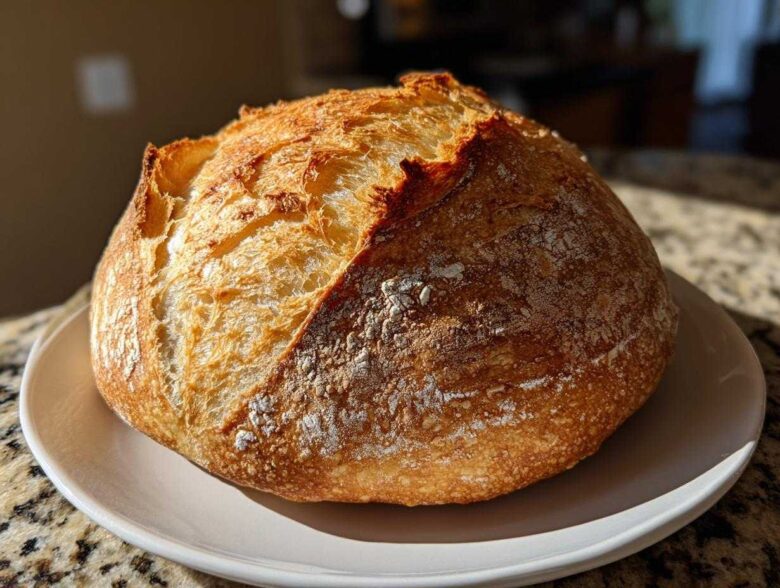
There’s nothing quite like that moment when you pull a loaf of bread from the oven. The smell alone—deep, yeasty, and utterly comforting—is enough to stop any conversation dead in its tracks. I remember when Amina first challenged me to bake something that wasn’t grilled, and I was terrified of yeast! But guys, this recipe changed everything. We cracked the code on making truly bakery-style **italian bread** right here in our home. If you think making artisan bread is too hard or takes all day, stick with me. This is a fantastic, easy crusty homemade italian bread recipe perfect for beginners. It delivers that wonderful golden crust and soft inside every single time. Trust me, it’s the first bread recipe you should ever try! I have so many more baking adventures we’ve shared over on our main blog page, but this loaf is where you start your journey.
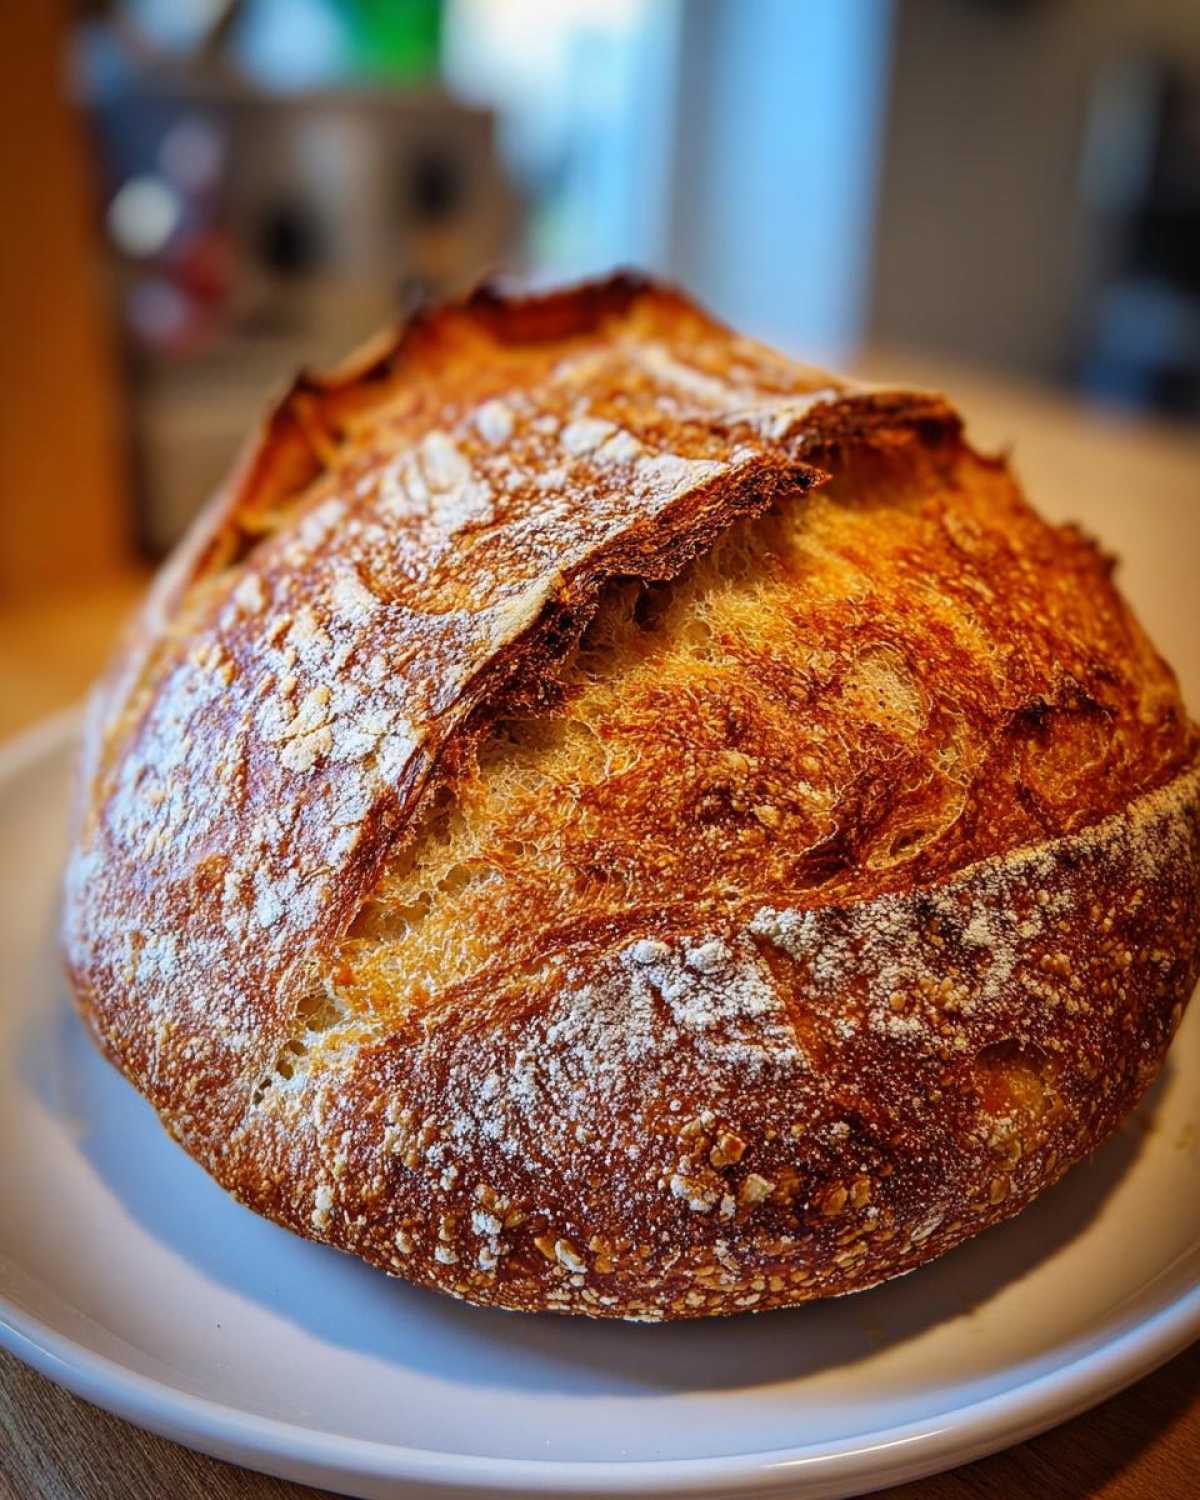
Why This Easy Crusty Homemade Italian Bread Recipe Works for Everyone
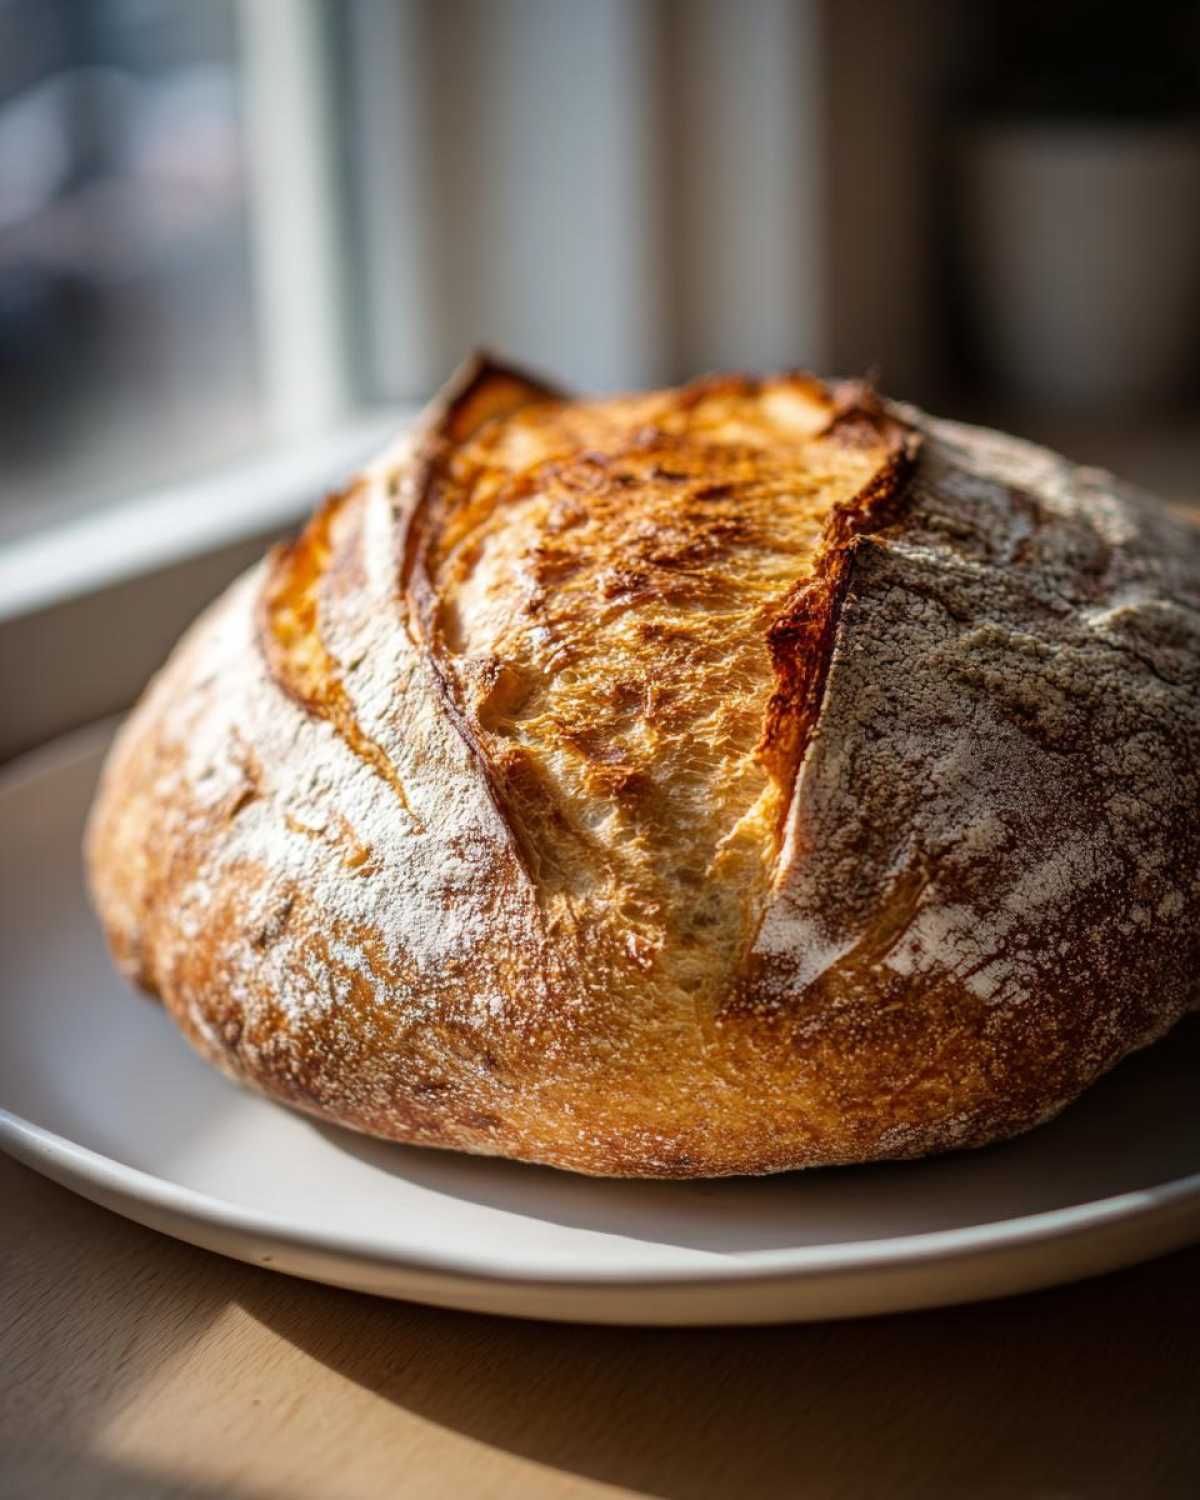
I know baking can seem intimidating, but if you’ve ever wanted to master **Easy Crusty Bread Baking**, this recipe is your secret weapon. We focus on getting that amazing contrast: that beautiful, golden, crunchy crust, and a delightfully soft inside, crusty outside bread texture that usually only bakeries nail.
Why does it work so well, even for those of us who aren’t expert bakers? It comes down to precision in a few key spots. We keep the ingredients simple—stuff you already have—but we use technique to elevate them.
- It has quick prep time, leaving you energy for the fun part!
- It uses basic pantry ingredients, so no special store runs are needed.
- The kneading and steaming guarantee that signature texture every time.
Achieving the Perfect Bakery Style Italian Loaf Texture
The whole point of a perfect **Bakery Style Italian Loaf** is that exterior crunch. We achieve that because the dough has just enough strength from the 8-minute knead, but the real magic happens when we introduce steam right when the bread goes into the oven. That blast of humidity keeps the crust soft enough to expand fully before it sets hard. That way, you get that gorgeous, crackly shell wrapped around a beautifully soft and chewy interior. It’s just heaven!
Ingredients Needed for Your Homemade Italian Bread Recipe
Okay, getting the right supplies is the first step toward making this incredible **Homemade Italian Bread Recipe**. The beauty here is that we aren’t relying on fancy imported items. We’re sticking to the basics, which keeps this affordable and accessible. You need three and a half cups of all-purpose flour, a good teaspoon and a half of salt, just one teaspoon of sugar to wake up the yeast, and one standard packet of active dry yeast—that’s about 2 1/4 teaspoons, so don’t eyeball it!
Then comes the moisture: we need 1 1/2 cups of water, and this is crucial—it needs to be warm, like bathwater for a baby, around 105 to 115°F. Finally, don’t forget two tablespoons of olive oil, which we’ll use both inside the dough and to keep the bowl nice and slick.
Ingredient Notes and Simple Substitutions
This recipe uses all-purpose flour, which gives you a lovely, soft inside, perfect for a **Simple Sandwich Bread**. If you really crave that extra ‘pull’ or chew, you can try swapping in bread flour cup-for-cup, but honestly, the AP flour works perfectly for our goals here!
Remember that yeast activation in Step 1? Make sure your water isn’t too hot, or you’ll kill the yeast instantly! That little foamy cap you’re looking for is your sign that the yeast is alive and ready to do its job. We’re making magic with just flour, water, and yeast, folks!
Step-by-Step Instructions for Quick Italian Bread Tutorial
Alright, this is where the fun starts! Don’t be intimidated by the steps; think of it as a simple dance between hand mixing and waiting patiently. We’re aiming for that beautiful, pliable dough that promises a wonderful **italian bread** loaf later on. Just follow my lead here, and you’ll ace the timing. It’s all about watching for those visual cues that tell you the dough is happy and ready for the next stage. You can review these basic steps whenever you need a reminder, or check out this great guide on getting that perfect crust for inspiration!
Activating Yeast and Mixing the Dough
First things first, we wake up the yeast! Mix your warm water—and I mean warm, not hot, or you’ll be sad—with the sugar and the active dry yeast in a big bowl. You seriously have to wait five to ten minutes until it gets foamy on top. That foam is your assurance that the yeast is alive and hungry. Once it’s bubbly, stir in your olive oil, salt, and about half your flour.
Kneading and First Rise for Chewy Italian Loaf
Now for the elbow grease! Dump in the rest of that flour and mix it until it looks like a shaggy mess—don’t worry about it being perfect yet. Turn that dough out onto a lightly floured surface. You need to knead this for a solid 8 to 10 minutes. That’s long enough to develop that **Chewy Italian Loaf** texture we love. Amina always tells me, “David, feel for the dough to stop grabbing and start smiling at you.” You’re looking for smooth and elastic. Once it’s done, oil up your bowl, nestle the dough inside, cover it, and let it sit for about an hour and a half until it’s doubled up. Patience pays off!
Shaping and Creating Steam for Golden Brown Crust Bread
Once it’s puffed up, give it a gentle punch down—that’s important for releasing all that gas! Shape it gently into your favorite oval or round loaf shape and set it on parchment paper for its second, shorter nap—about 30 to 45 minutes. While that’s happening, crank that oven up to 400°F! To get that amazing crust, put a shallow pan on the bottom rack while it preheats. Right before that dough goes in, score the top with a sharp knife—just a few shallow lines. Then, the crucial step for a **Golden Brown Crust Bread**: carefully pour a cup of hot water into that bottom pan and shut the door fast! That steam is what separates a decent loaf from a bakery showstopper. You’ll bake this for about 30 to 35 minutes, and trust me, you’ll want to try this one alongside our classic apple cobbler sometime for a real comfort meal balance!
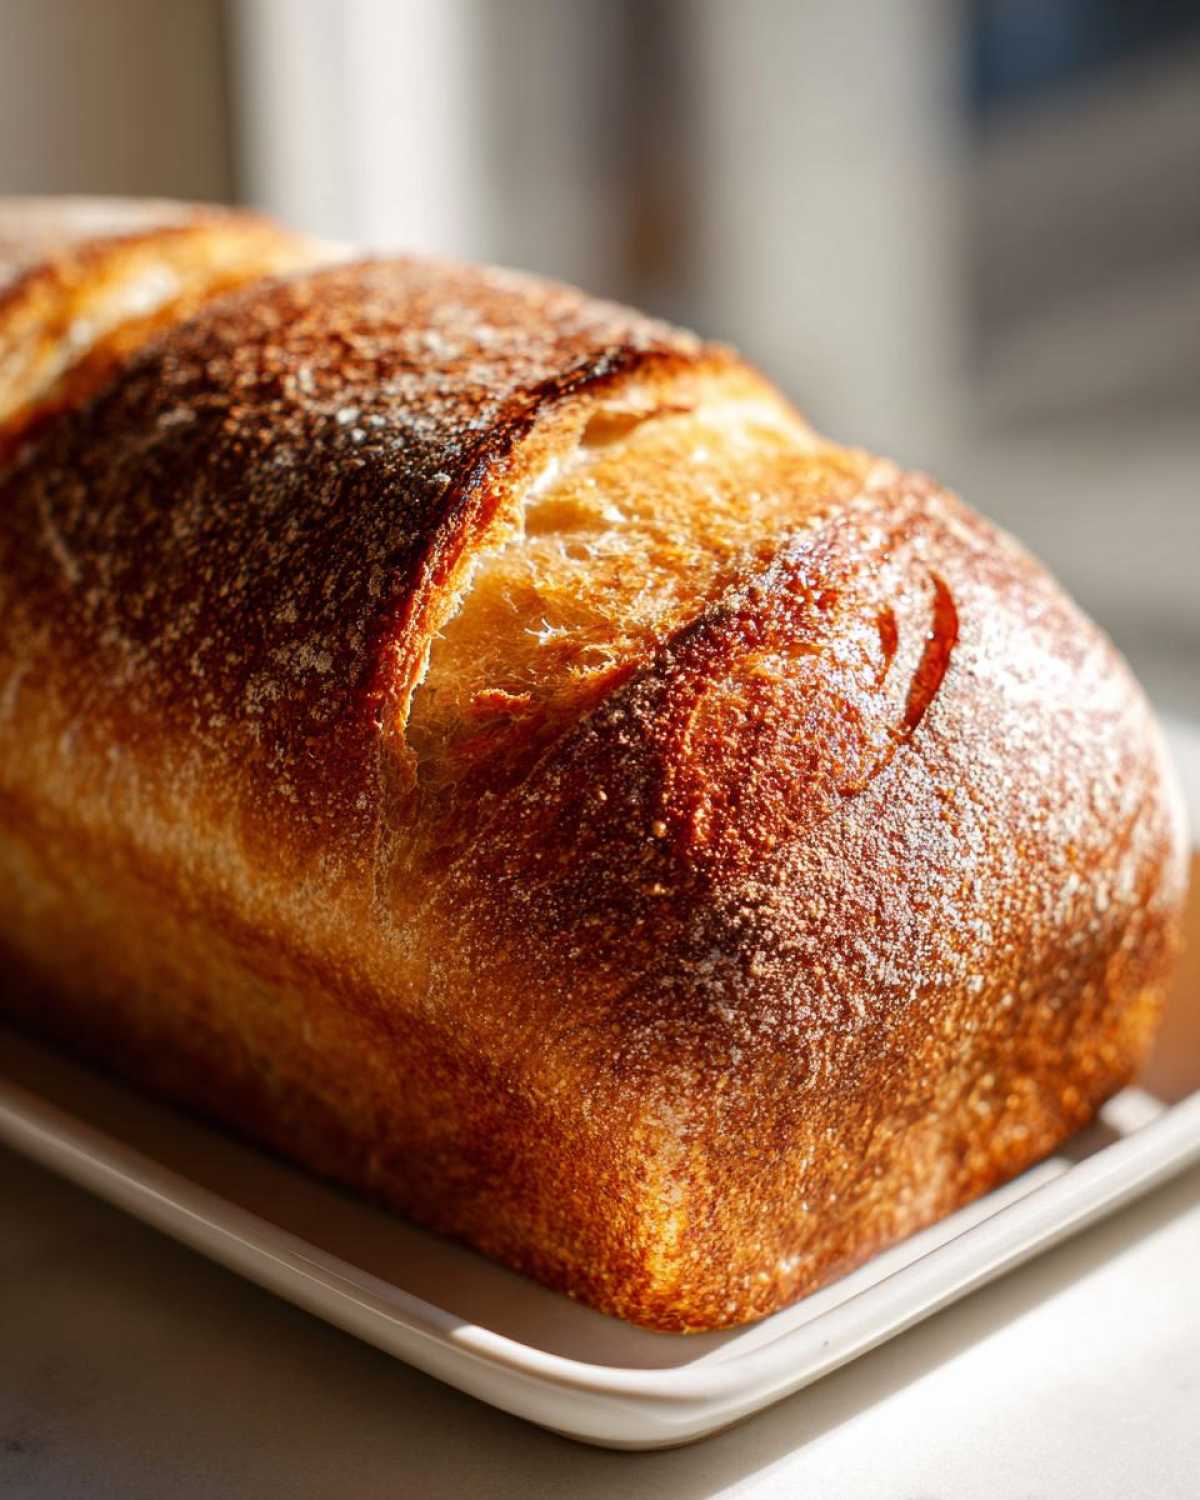
Tips for Success When Baking Artisan Bread at Home
Even though this is touted as an easy recipe, mastering **Beginner Bread Making** still requires a couple of pro tricks up your sleeve. Remember those notes I included? They aren’t just suggestions; they are the difference between okay bread and something you proudly serve!
If you want that crust to go from crusty to *crackly*, try this: during the first 20 minutes of baking, quickly open the oven door every ten minutes and lovingly spritz the loaf with water using a spray bottle. Careful, don’t let all that lovely steam escape, but that extra moisture infusion really helps the exterior shimmer. Also, if you’re feeling adventurous, using bread flour instead of all-purpose gives you a slightly heavier, chewier texture inside, which I find incredibly satisfying with this loaf. If you love moist cakes, you might also want to check out my recipe for moist homemade chocolate cake—it’s all about texture!
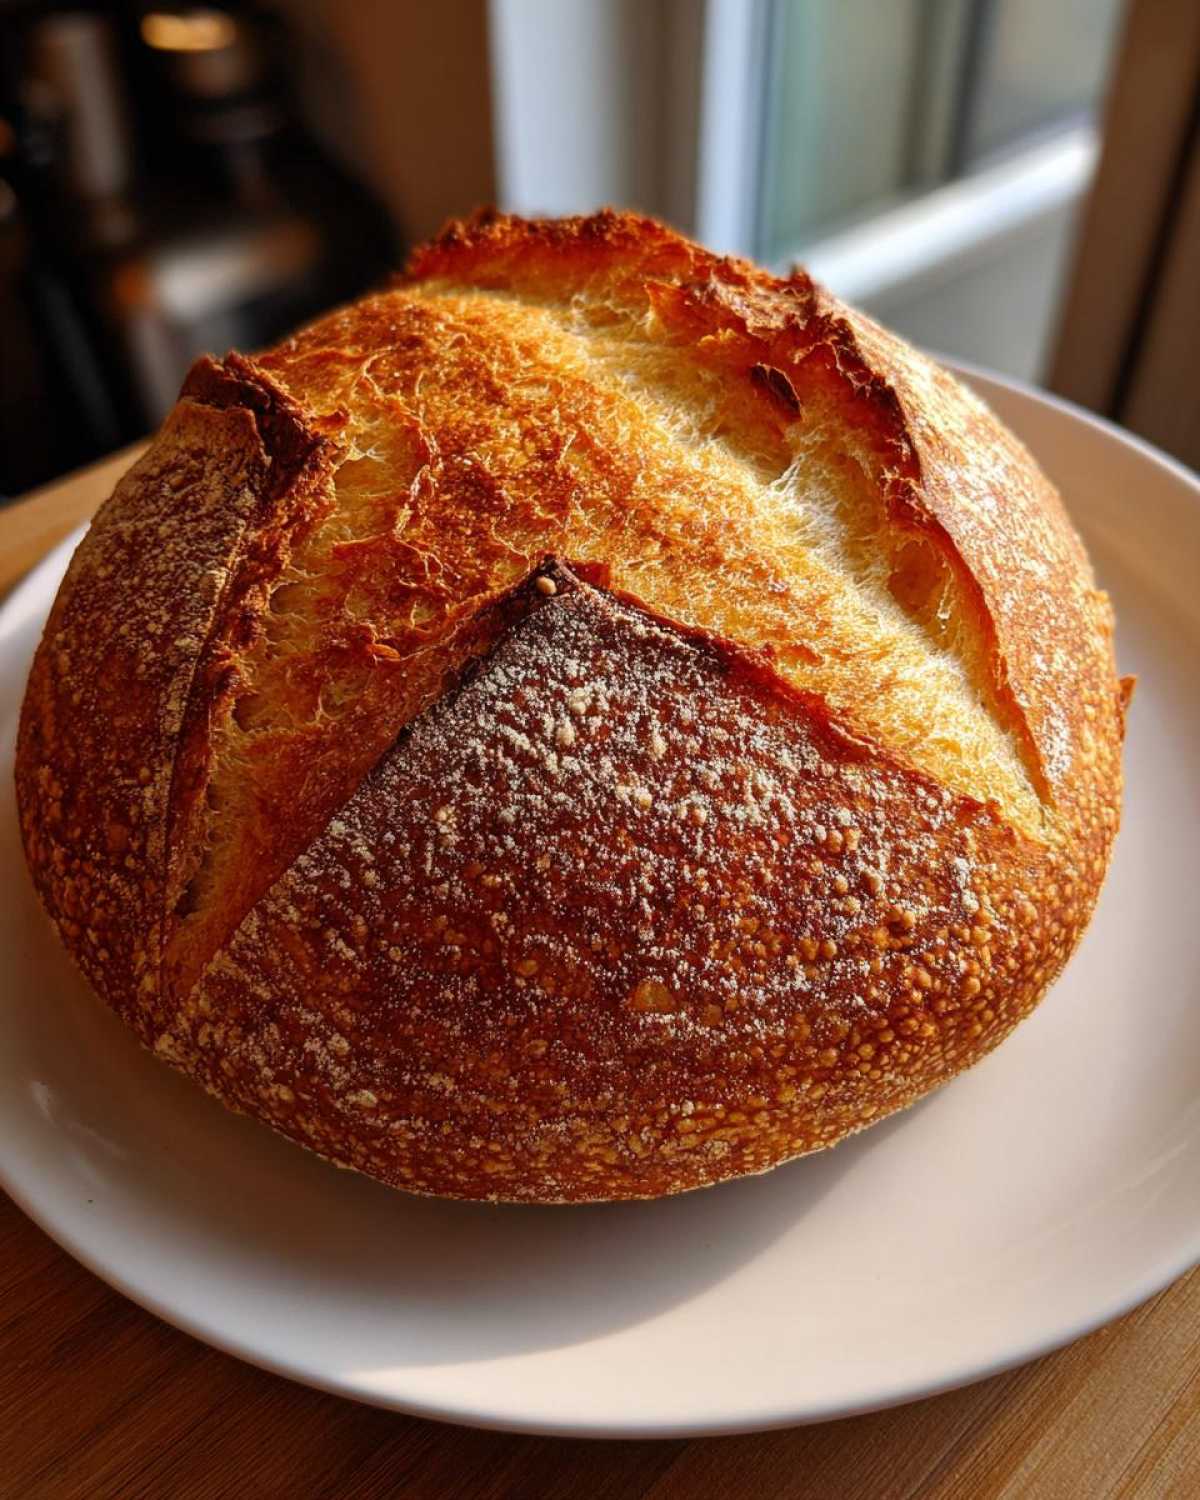
If your loaf is under-browning, remember that external heat source mentioned by others, like this advice from another bread enthusiast. Next time, maybe we’ll try a larger steam pan for even better results!
Serving Suggestions for Your Fresh Baked Bread Aromas
Okay, now that your kitchen smells like the best bakery in Italy, what do you do with this amazing **italian bread**? Honestly, you could just stand over the cooling rack and eat it plain, but please don’t! This loaf is built for partnering up.
It’s perfect as one of those classic **Dipping Bread Recipes**. Drizzle some really good olive oil on a shallow plate—maybe add a pinch of flaky salt—and just tear off pieces. That golden crust deserves that olive oil bath!
But if you’re having dinner, this makes the perfect **Dinner Side Bread Recipes** companion. It holds up beautifully to big, saucy dishes. I never make Amina’s famous creamy Italian sausage gnocchi soup without this warm loaf ready to soak up every drop. It’s also hearty enough that you can start making some serious sandwiches with the leftovers!
Storage and Reheating Instructions for Crusty Italian Bread
Baking fresh bread is rewarding, but keeping that crust crackly the next day can be tricky! As soon as the loaf has cooled completely, you want to store it right—never in plastic, or you’ll steam the crust right off! I just wrap mine loosely in a clean kitchen towel and leave it on the counter. That keeps the interior soft while letting the crust breathe.
If you have leftovers that have gone a little soft? Don’t toss them! Pop that loaf (or slices) back into a 350°F oven for just five to seven minutes. It wakes the bread right back up. That heat re-crisps the crust beautifully, and suddenly, you’re enjoying amazing **italian bread** all over again!
Frequently Asked Questions About Making Italian Bread
I know you might have a few lingering questions as you get ready to bake this! It’s totally normal when you’re tackling something new like this **Artisan Bread at Home**. Here are some of the things that folks always ask me about this recipe. Don’t worry if your first loaf isn’t perfect; we all learn by doing!
Can I skip the steam when baking this Italian Bread?
Oh, I really, really wouldn’t suggest you skip it! That steam environment inside the oven during the first half of the bake is what gives us that signature **Golden Brown Crust Bread**. Without it, the crust sets too fast, and you end up with a tougher, duller exterior instead of that crunchy, golden shell. If you can’t use the water pan, try spritzing the sides of the oven really heavily with water a few times in the first 15 minutes instead. It’s not quite the same as the big steam bath, but it helps!
How long does the dough really need to rise?
This is all about watching the dough, not really the clock! The recipe calls for 1 to 1.5 hours for the first rise, but if your kitchen is cold, it might take 2 hours. You’re looking for a specific visual cue: the dough should look puffy and have doubled in size. If you gently poke it with a floured finger, the indent should slowly fill back in, but not completely vanish. That’s when you know you’ve got enough flavor developed in that **Homemade Italian Bread Recipe**!
Can I use instant yeast instead of active dry yeast?
Yes, absolutely! Instant yeast is often easier for **Beginner Bread Making**. Active dry yeast needs that slightly warm water bath to proof and show you it’s alive, but instant yeast doesn’t *require* that step. If you use instant yeast, you can actually skip Step 1 completely! Just mix the instant yeast straight in with the dry ingredients (like the flour and salt) before adding the liquid. It saves you about 10 minutes, which is great if you need a **Quick Italian Bread Tutorial**!
If you want to see how this bread goes with some richer flavors, check out my tips for making moist carrot cake—it’s a totally different vibe but relies on that same precise chemistry!
Is this loaf good for making sandwiches?
It is fantastic! This recipe makes a lovely **Soft Inside Crusty Outside Bread** that’s durable enough for fillings but still soft enough to enjoy. For the ultimate fresh Italian bread sandwich, I always let the loaf cool completely before slicing it medium-thin. It’s miles better than anything store-bought. For more baking inspiration, check out the tips on this site for other easy loaves!
Understanding the Nutrition in This Classic Italian Baking
Look, when you’re making something this comforting and delicious, you aren’t exactly whipping out a calculator, right? But since we are being open and honest about everything that goes into our kitchen, I wanted to give you a quick rundown. Remember, these numbers are estimates based on the recipe breakdown, serving one slice. This transparency is just part of how Amina and I practice good E-E-A-T when we share our food with you!
For one typical slice of this **Classic Italian Baking**, you’re looking at about 150 calories. We are keeping the sugar nice and low—only 1 gram—and it’s naturally low in fat too, only 2 grams. It’s a wonderful, straightforward bread that serves as a perfect backbone for any meal. We think enjoying fresh bread in moderation is absolutely part of a happy life!
Share Your Homemade Italian Bread Creations
Wow, you actually did it! You made **Italian bread**! I am so thrilled for you. Seriously, please come back here and leave a rating for the recipe—it helps other home bakers know this is the real deal. I love seeing your creations, so tag us on social media when you share those golden crusts. Seriously, what’s the first thing you dipped this amazing loaf into? Was it garlic butter or straight olive oil? We love hearing about your favorite ways to enjoy it!
If you enjoyed this journey into baking, I hope you’ll check out how we make our soft and chewy peanut butter cookies next. Happy baking, my friends!
If you’re curious about other crusty loaves, that recipe linked from Bens’ Recipes is another fantastic option for that perfectly structured loaf!
PrintEasy Crusty Homemade Italian Bread: Bakery-Style Loaf

You can bake bakery-style Italian bread at home with this simple recipe. It delivers a golden, crunchy crust and a soft, chewy interior using basic pantry ingredients.
- Prep Time: 20 min
- Cook Time: 35 min
- Total Time: 2 hours 5 minutes
- Yield: 1 loaf
- Category: Baking
- Method: Baking
- Cuisine: Italian
- Diet: Vegetarian
Ingredients
- 3 1/2 cups all-purpose flour
- 1 1/2 teaspoons salt
- 1 teaspoon granulated sugar
- 2 1/4 teaspoons active dry yeast (1 packet)
- 1 1/2 cups warm water (about 105-115°F)
- 2 tablespoons olive oil, plus more for the bowl
Instructions
- In a large bowl, mix the warm water, sugar, and yeast. Let this mixture sit for 5 to 10 minutes until it becomes foamy. This shows the yeast is active.
- Add the olive oil, salt, and half of the flour to the yeast mixture. Mix until just combined.
- Gradually add the remaining flour, mixing until a shaggy dough forms.
- Turn the dough out onto a lightly floured surface. Knead the dough for 8 to 10 minutes until it becomes smooth and elastic. You want a soft inside, so do not over-flour the surface.
- Lightly oil a large bowl. Place the dough in the bowl and turn it over to coat it with oil. Cover the bowl with plastic wrap or a clean kitchen towel.
- Let the dough rise in a warm place for 1 to 1.5 hours, or until it has doubled in size. This first rise develops the flavor.
- Gently punch down the dough to release the air. Shape it into a round or oval loaf.
- Place the shaped dough on a baking sheet lined with parchment paper or in a loaf pan. Cover it loosely.
- Let the dough have a second, shorter rise for about 30 to 45 minutes. While it rests, preheat your oven to 400°F (200°C). For a crispier crust, place a shallow pan on the bottom rack while preheating to create steam later.
- Before baking, use a sharp knife to score the top of the loaf with a few shallow diagonal cuts.
- If you used the steam pan, carefully pour 1 cup of hot water into the shallow pan on the bottom rack and quickly close the oven door.
- Bake for 30 to 35 minutes, or until the crust is golden brown and the internal temperature reaches 200°F (93°C).
- Remove the bread from the oven and let it cool completely on a wire rack before slicing. Enjoy the aroma of fresh baked bread!
Notes
- For an extra crispy crust, lightly spritz the loaf with water every 10 minutes during the first 20 minutes of baking.
- If you want a chewier texture, use bread flour instead of all-purpose flour.
- This bread is perfect for dipping in olive oil or serving alongside pasta meals.
Nutrition
- Serving Size: 1 slice
- Calories: 150
- Sugar: 1
- Sodium: 280
- Fat: 2
- Saturated Fat: 0.3
- Unsaturated Fat: 1.7
- Trans Fat: 0
- Carbohydrates: 30
- Fiber: 1.5
- Protein: 5
- Cholesterol: 0